The new engine and trans are installed with a new oil pan ,rear and front crank seals. New injectors with new intake manifold gaskets,timing chain and rails should see a nice reliable tow car for the owner 🙂 .New fuel hoses and clamps will connect the fuel system together .
Tag Archives: Mercedes W111 restoration
220SE cabriolet Mercedes
An update n the cabrio’s engine job. After some time a set of new pistons has been made to suit the new bore size (1mm oversize) which was necessary to repair the pitting caused by water getting into the engine at some time in the past.
Crank shaft has been linished ,balanced and cleaned .Connecting Rods have checked for straightness,big and small end bore true and new small end bushes fitted and honed to size.
New pistons and rings with new bearing shells fitted .
New side plate and block bungs are fitted ,with the crank and pistons installed after checking clearances and fitting new crank seals.
Distributor and pump drive installed with sump .New timing chain and slide rails are also in place.
The oil pump was measured and was within specs.
300 SE Lang W112 Rust repair progress
rear panel rust repair .
The rear panel on this car has had a few hits over the last 51 years and suffered from some pretty bad repair work. To straighten the dents and remove the rust ,caused by leaking tail light gasket i made a patch and cut out the rust with a hole saw.
With access through the hole , I could poke a dolly in and shrink out all the small dents .Last step was to repair the hole where the lights fit .It was pretty tough getting the dings out because the metal had been ground pretty hard in the past when someone has tried to fix the panel in the past.
Mercedes W112 Rust repair ,More progress.
Rear panel repairs.
The rear panel looked straight to begin with but there was tell tail signs of body filler which was falling out. After stripping it back to the bare steel ,it could be seen tht the panel wasn’t too badly damaged ,
The white stuff is old body filler which will be removed.
A few small rust outs have been welded up the ring shows more filler which has been parti ally removed.
On the right side there is a rust hole which will be repaired with a patch.
On both sides of the fuel door i had to shrink out a pair of dents which had been filled. Hard to see here but it’s now very smooth .
These are the two dents i removed
Mercedes 300SE W112
Most of the rusty panels on the left side have now been removed with help from the oner,Phiol. Phil ha flown in from Western Australia to see how it’s done..
the lower sections have to removed to get rid of all the rust and restore the Strength to the body.
as can be seen the jack point is rotten with rust opening holes into the cars interior .
the bottom of the wheel house wall is removed to gain access to the rust .
the rusted parts are ground off to the edge of rust free metal
measn while in the Front the rusted parts have been sought out ,the left side is qite good (apart from the sill sections)
On the Right side the booster will have to removed to get at the rust under it, leaking brake fluid has stripped off the paint and resulting moisture has attacked the steel.
the bottom of the front chassis support will need to be replaced.
In the left front guard it can be seen that the PVC undercoating covered everything,unlike lesser Finnys.
The fuel tank sender shows that it is basically shot.
Mercedes Benz 250S for sale.
250 S in very straight condition. Been off the road since 2010 due to a minor fault. This is a project car and will require normal work to get registration etc . There is very little rust in the right front sill front and the rear boot box bottom,right hand side.Â
No rust in the doors or floors!! no dash cracks ,and the MBtex seats are still very good. Original boot mat is in very nice condition .Â
Finny Stuff
220SE coupe project update,March 2015
220SE More rust uncovered.
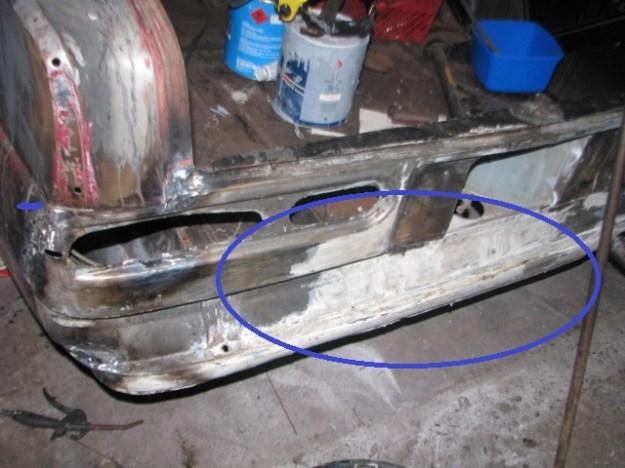
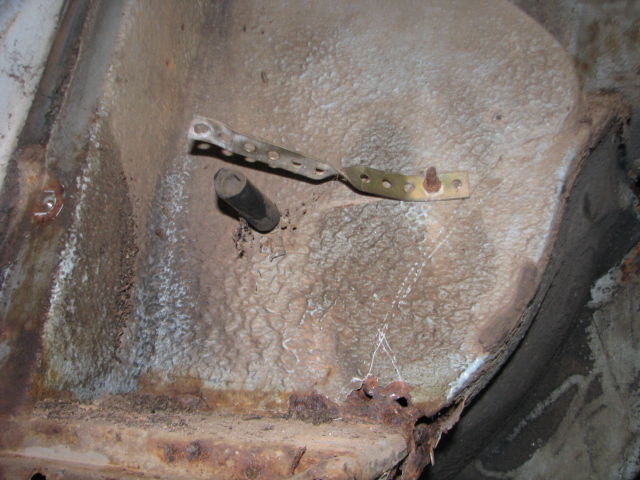
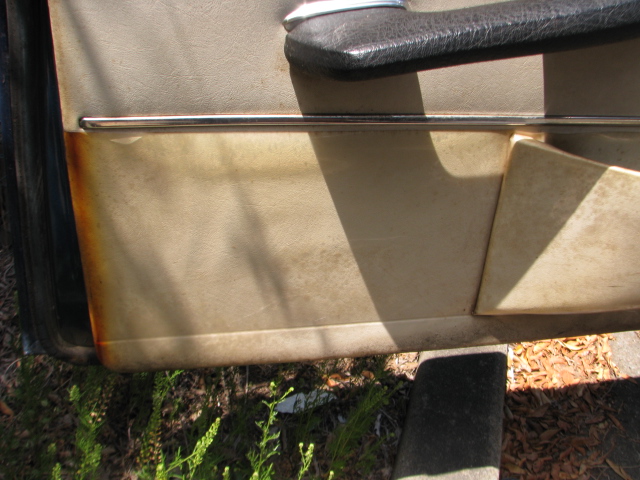
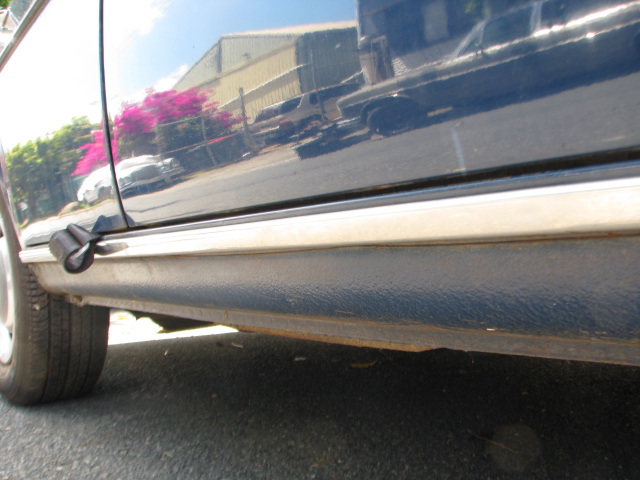
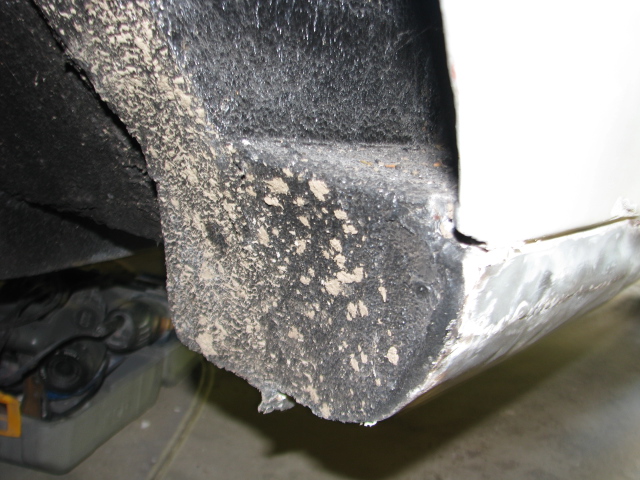
today,Australia Day ,was spent cutting the passenger side sill cover off. It was pretty rough on the outside but under neath it was even worse . Two layers of rusty metal covered in a thick layer of filler…all very ugly The above pic shows what was under the filler, pataches welded and pop riveted into place..
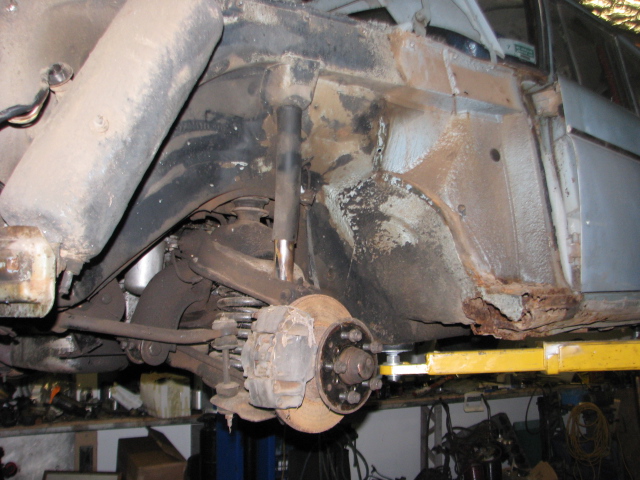
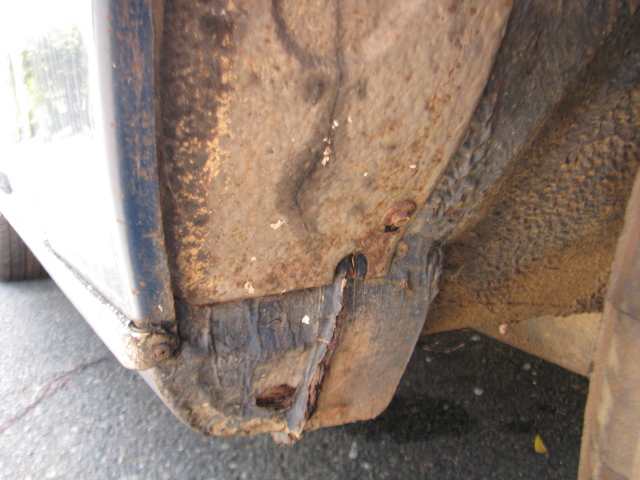
Front of the sill covered in pataches, silicone bathroom calking and black bituminous under seal. All guaranteed to look ugly and dodgy. Note: No jack point…or even a hole for one!!!
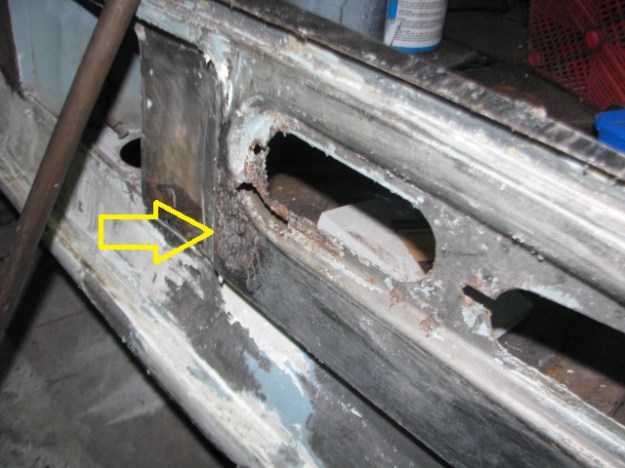
Cutting open the pathes with the plasma cutter was slow because of all the layers of rust hidden underneath.
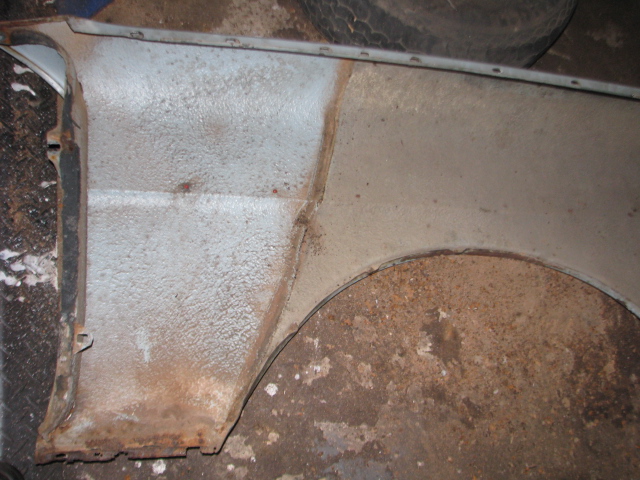
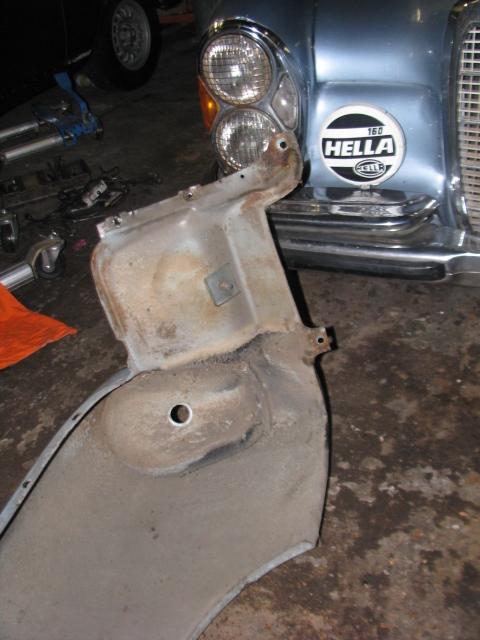
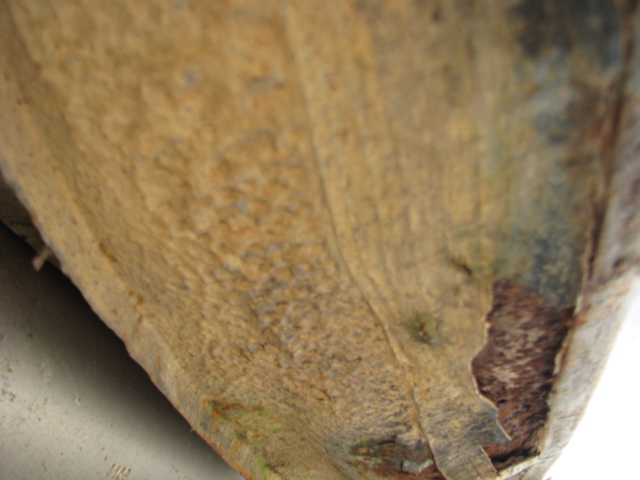
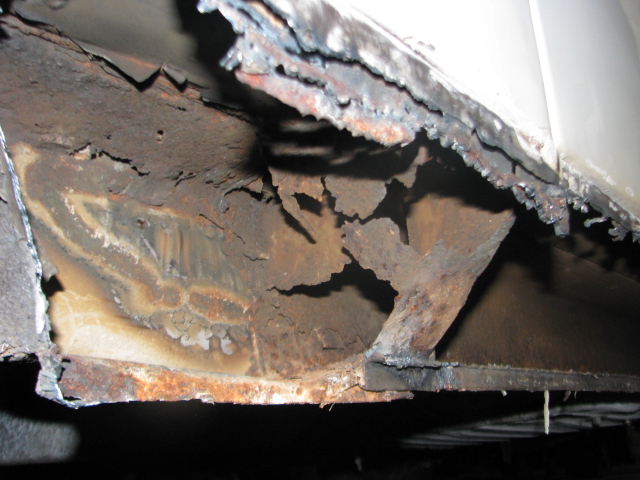
The inside of the sill revealed it to be the outside of another panel from another car. Someone had cut a curved piece from a wreck and stuck it over the rust
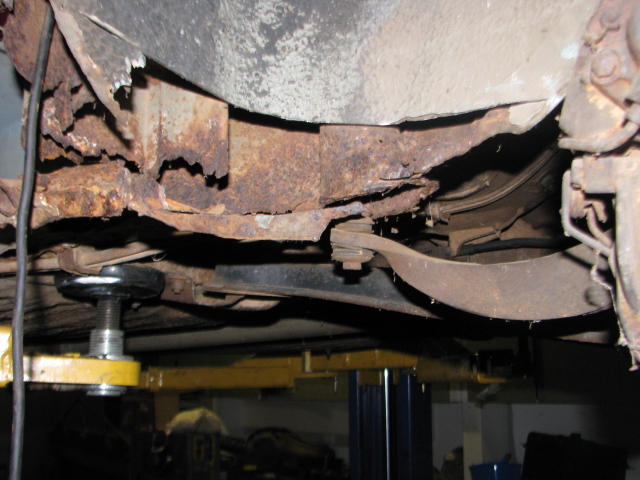
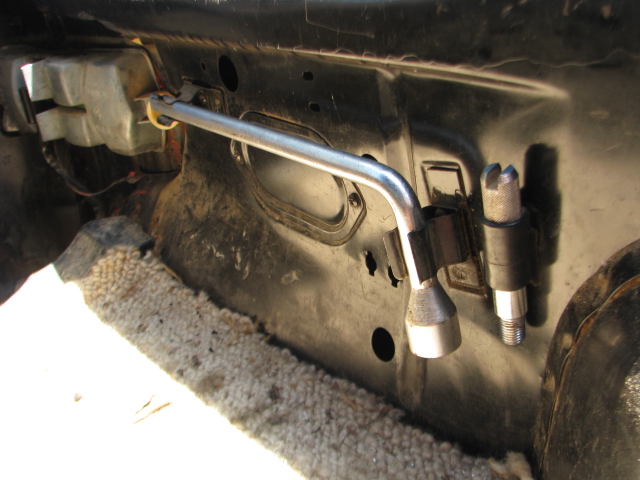
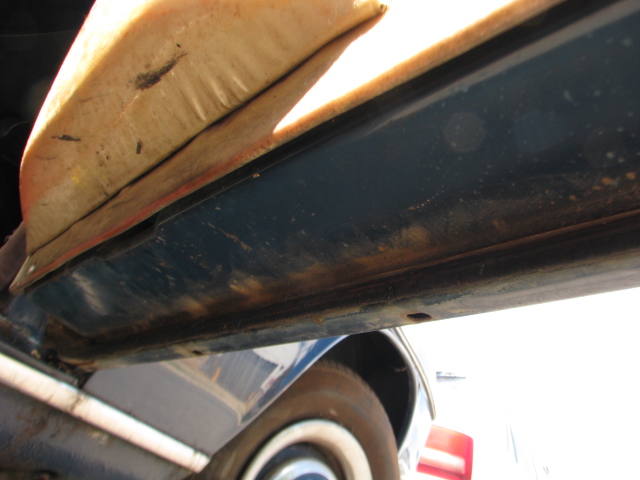
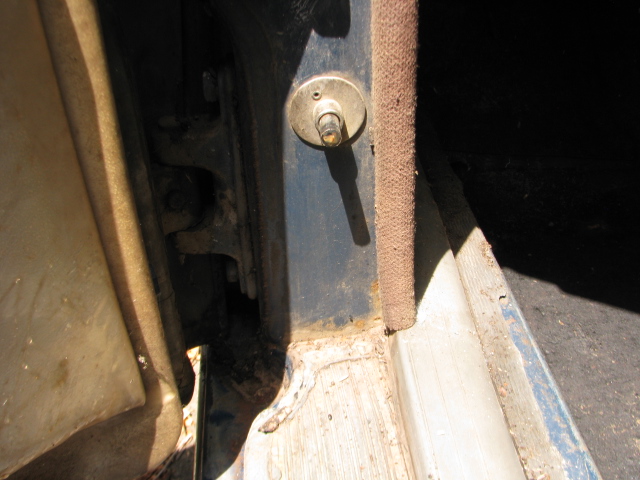
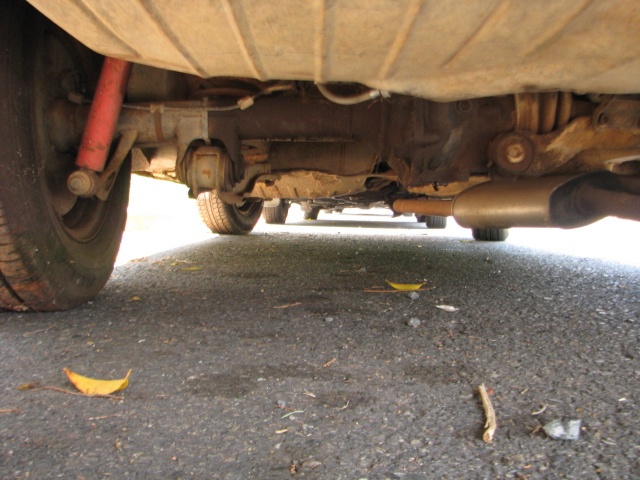
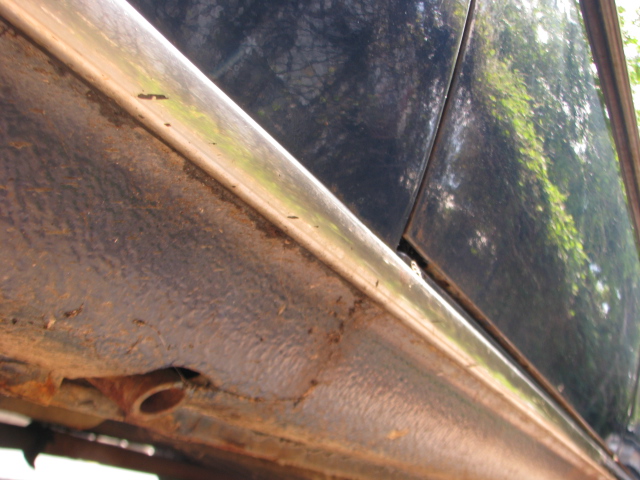
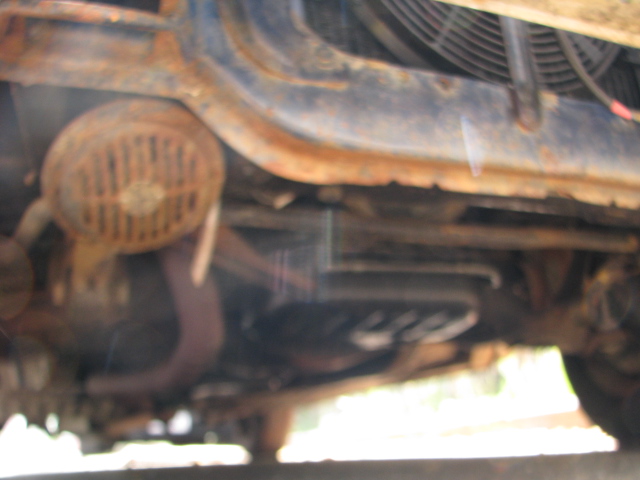
Above is picture taken from ground level pointing upwards. As can be seen the bottom of the A pillar has dissapeared completely along with jack point . On the left of the pic is another patech welded over rust but on the inside of the chassis rail. This has been removed and new chassis rail section made to replace the missing section of chassis.
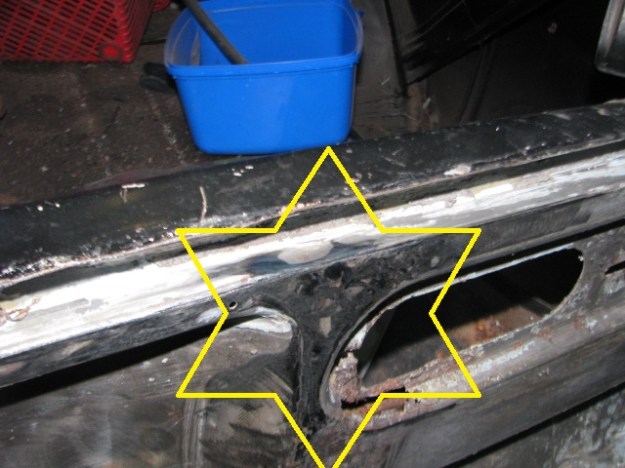
Below, the double layers of metal 1/2 way through removal.
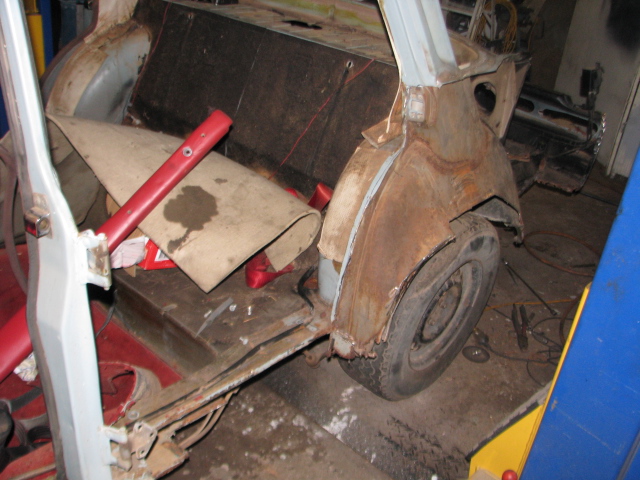
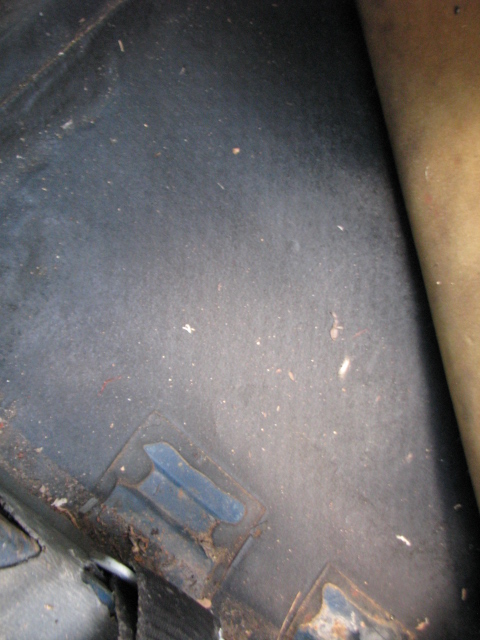
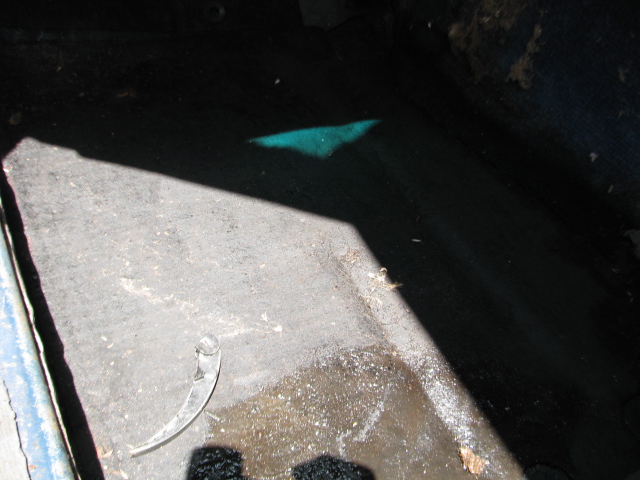
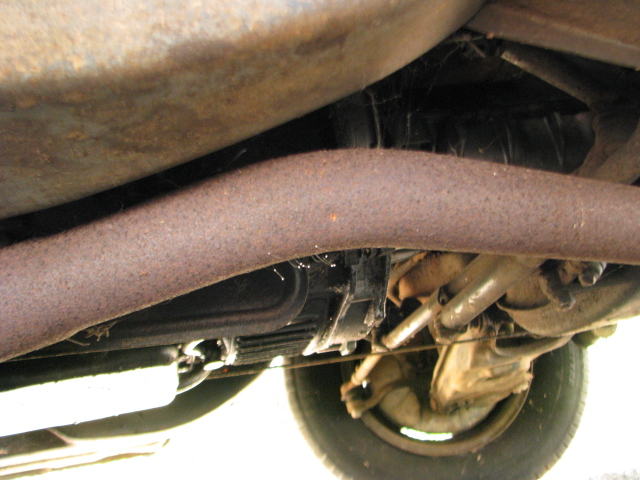
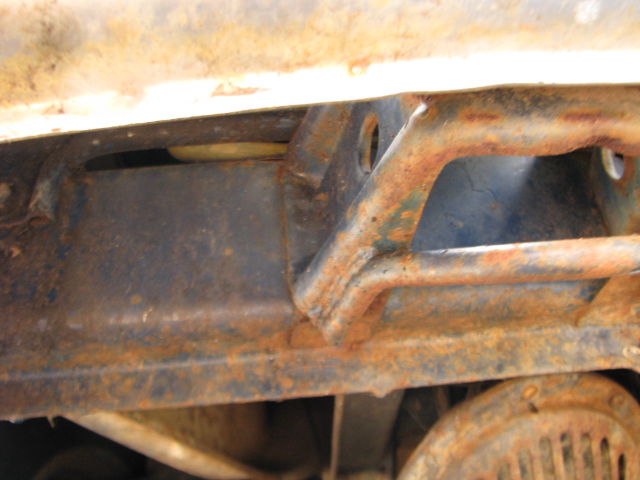
Below, this is remants of the front of the chassis after the patches on the floor were removed.