Tag Archives: Mercedes W111 engine rebuilding

Mercedes 220SE Restoration

 The Bonnet has been stripped to the metal and primed several times and is at last getting smooth enough . KONICA MINOLTA DIGITAL CAMERA

The Roof however is a different matter. It has sever damage all over it some of which i hammered out and metal finished but some is too badly damaged to completely remove so it has been leaded . The darker spots are Low spots and the lighter spots are high spots revealed in the first primer and guide coats. It’s as if someone had gone over the roof with a ball pien hammer KONICA MINOLTA DIGITAL CAMERA

The boot Lid is similar but not as bad as high spots made by things being carried in the have hit the skin . In the meantime other panels are also getting the primer ,sand,Primer,Sand,Primer routine too..

Mercedes W111 Bonnet/hood part#A1118805657 For sale.

New Old Stock Mercedes  low Grille Coupe Bonnet . NLA from Daimler AG. Marks in black coating from storage .No Rust. Offers invited.

img_0097img_0098img_0096img_0102img_0103img_0104

220SE restoration Pt 3

IMG_0115

New old stock chassis member to replace the damaged part

Although it is a bit shelf soiled, this part is both rare and in very good condition ,a lucky find!!.

IMG_0093 (1)

To fit the new Chassis rail, the old one has to be removed .

IMG_0094 (1)

Some hidden damage that will be repaired, note the body filler used to hide rust holes. 

The firewall has a few dents where the chassis rail pushed back against  it. These will be repaired before the new part is fitted.

IMG_0095 (1)

body filler over rust holes and distorted panel section. 

IMG_0096

Rusty damage in the firewall where the chassis rail butts up. 

IMG_0097 (1)

Rusted out section. Front guard had been welded on ….. not good!. 

IMG_0098

Paint removal has started. 

220SE Restoration .pt 2

IMG_0115

After Removing the Front bumpers , this tell tale was discovered, a spacer between the Chassis bumper mount and the bumper iron.  Someone had done this to allow the front bumper to  appear to sit evenly . A closer look under the car was necessary .

IMG_0114

This picture shows a group of creases in the left front chassis leg

Because i intend to refinish the under side in the correct PVC undercoating I had begun to strip the bituminous underseal that had been applied in the past . This stuff causes rust rather than protect against it .  The front of the left hand chassis leg is bent backwards with a large crease in it.

IMG_0113

The Circles out line the easiest visible damage which had been covered with body filler to disguise it. 

The Chassis leg will have to be replaced to repair the damage .

IMG_0100

More damage and bad repairs have been discovered in the sill sections . where the remnants of one the jacking points has been discovered albeit with some bad patches and would have been too dangerous to use. 

The sills on either side have been patched several times over the decades to hide rust, the one above was removed and discovered to have been held on with contact glue…..

IMG_0098

The Circle indicates an area where the sill is 4 (four) layers thick of rusted metal and body filler with patches applied with contact adhesive. 

Close up of one of the patches which looks to have been cut from the side of an old fridge.


220 SE Cabrio 1St engine start

 The Cabriolet gets it’s new engine and after a few minutes cranking ,bursts back into life!.

Mercedes Benz 220SE Restoration

A short movie showing the engine removal .

220SE Restoration .

IMG_0067

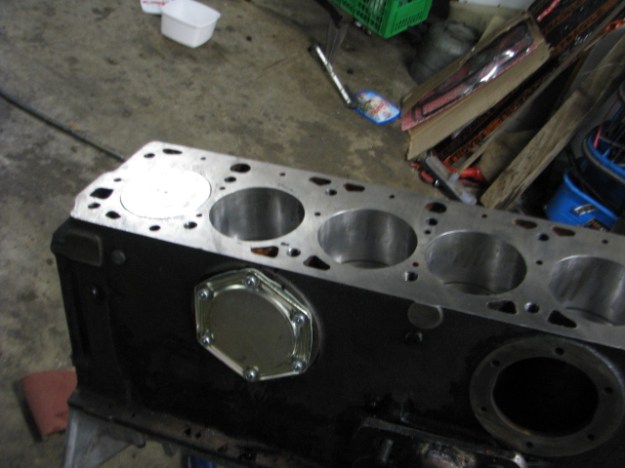
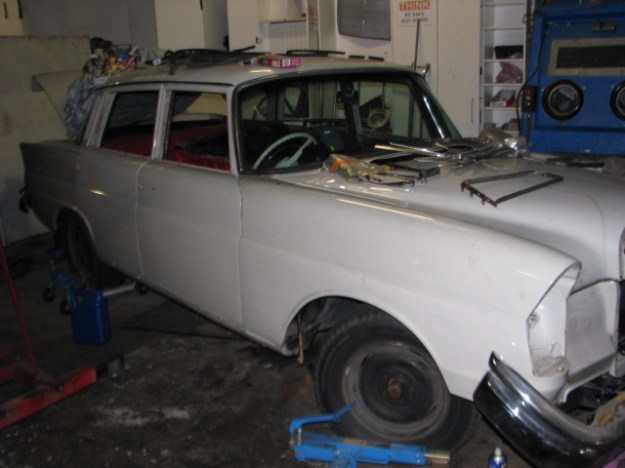
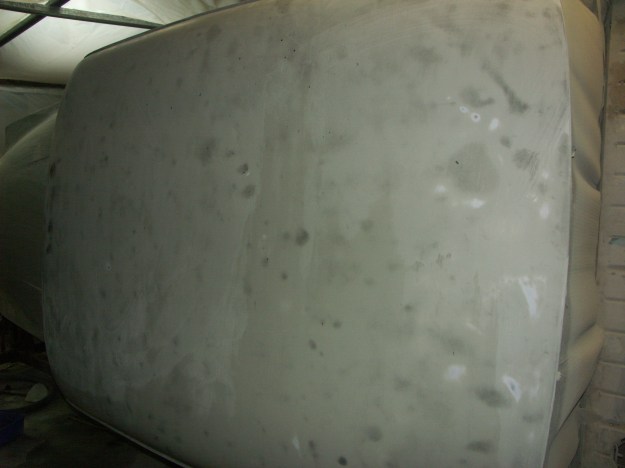
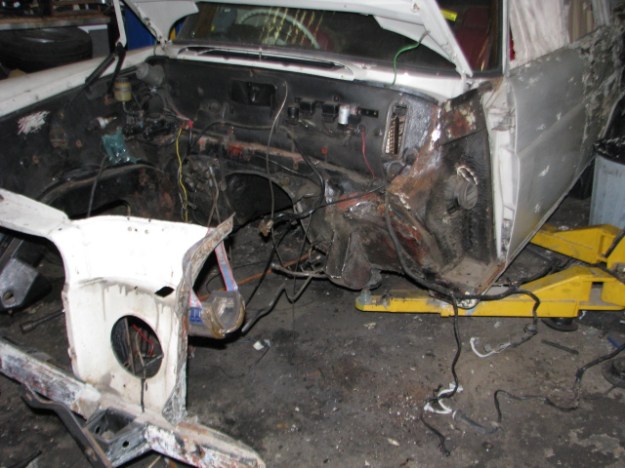
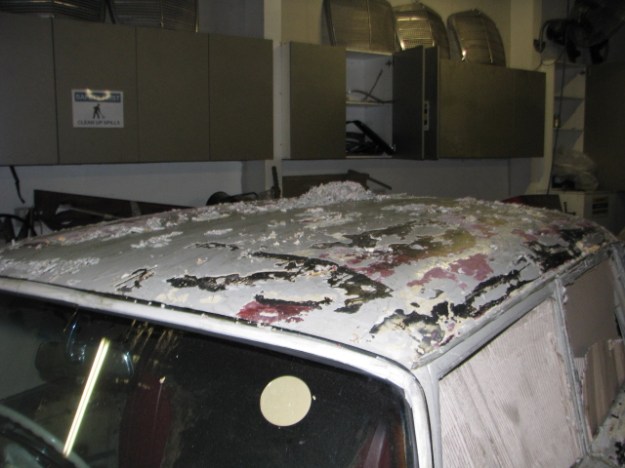
This is an early 220SE which has been sent in from overseas for a complete make over. .All of the bright trim is being removed followed by a strip back to bare metal .IMG_0072

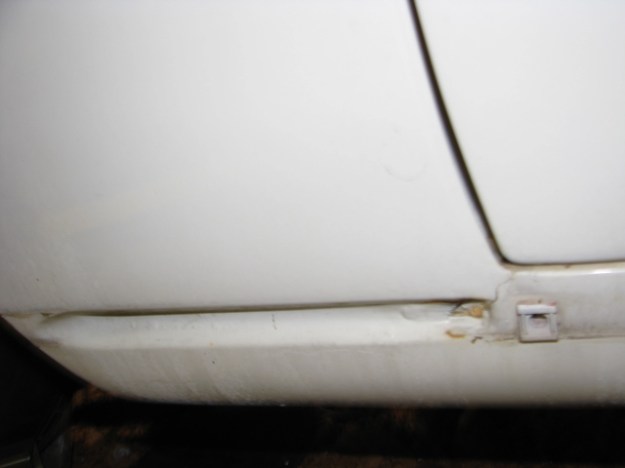
Unfortunately some repairs in the past were not very well done and will need to be made right to remove rust which is just starting under the body filler.

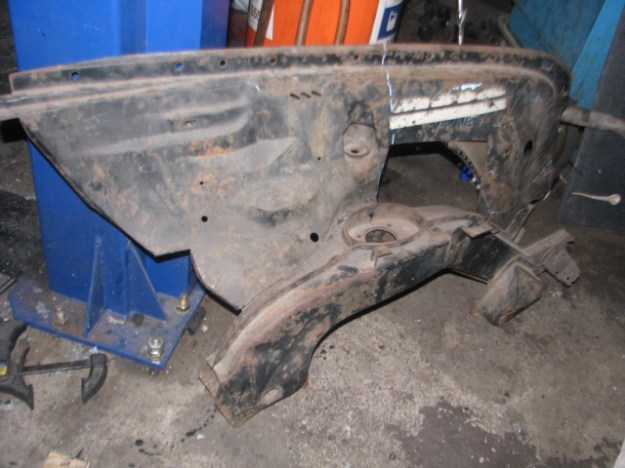
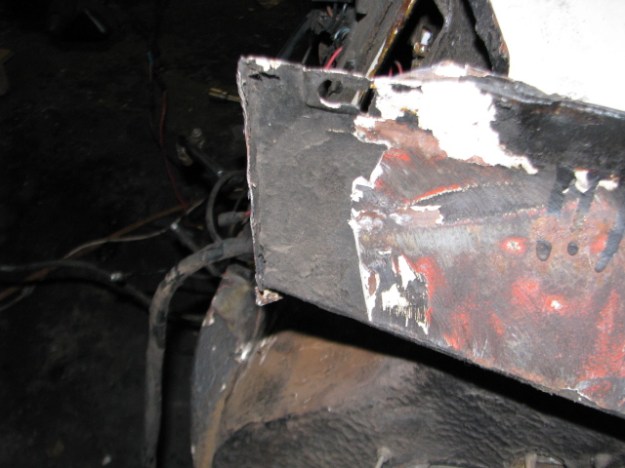
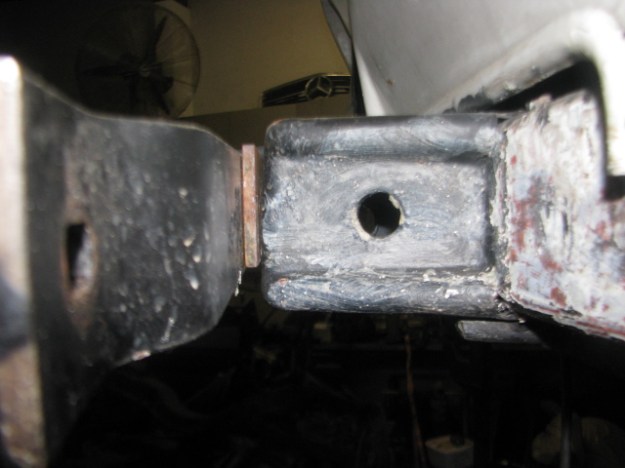
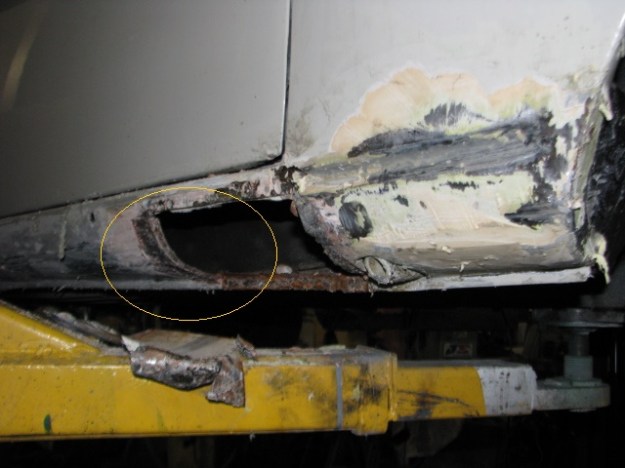
Here, the front mudguards have been welded to the sill/rocker sections. These are unibody car and they flex a lot which cracks any joins which should not be welded up.

IMG_0077

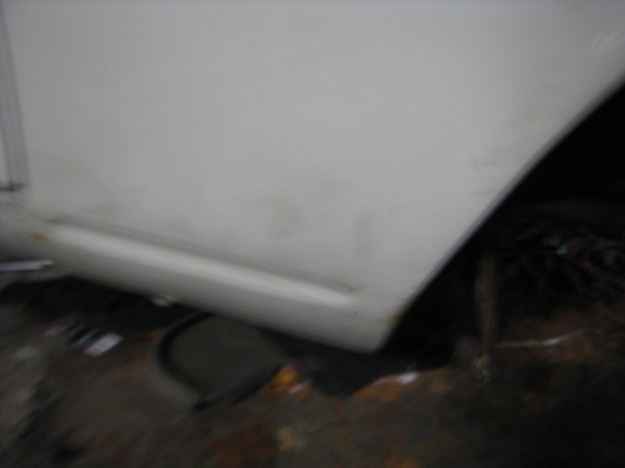
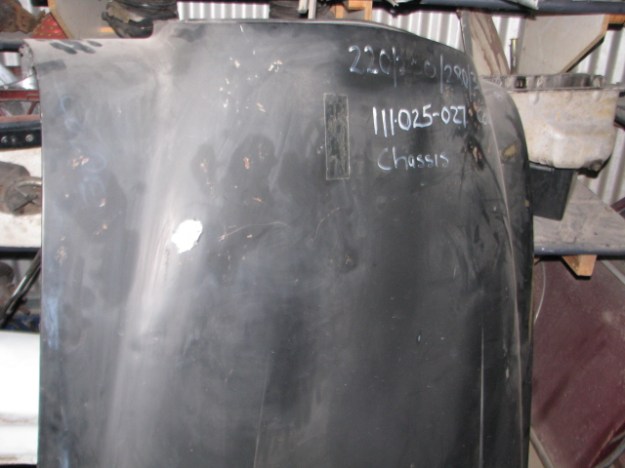
Not a very clear picture but this is the Drivers side.

IMG_0082

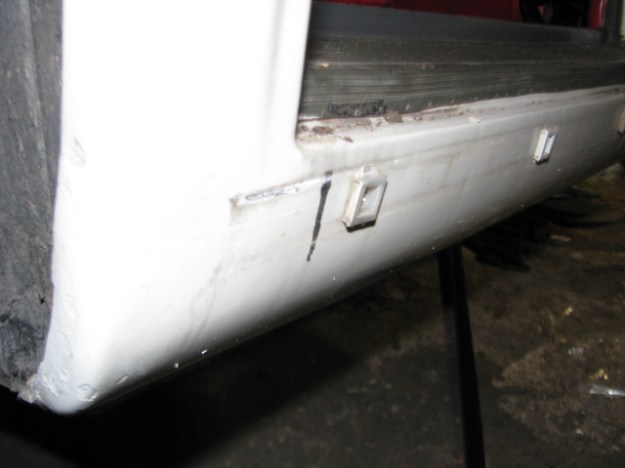
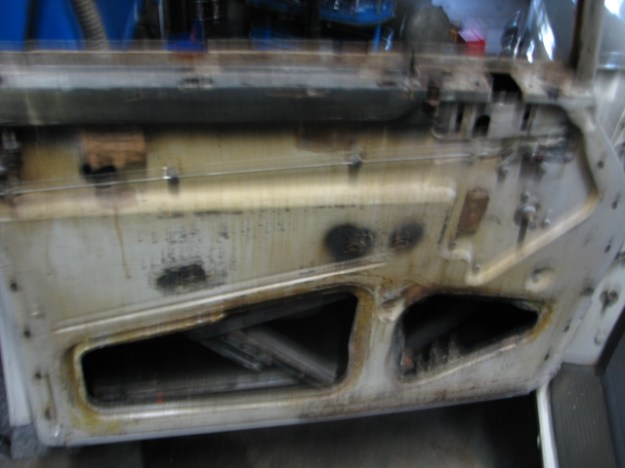
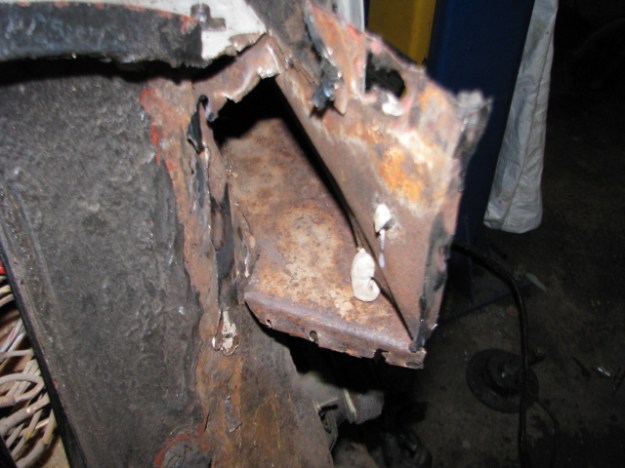
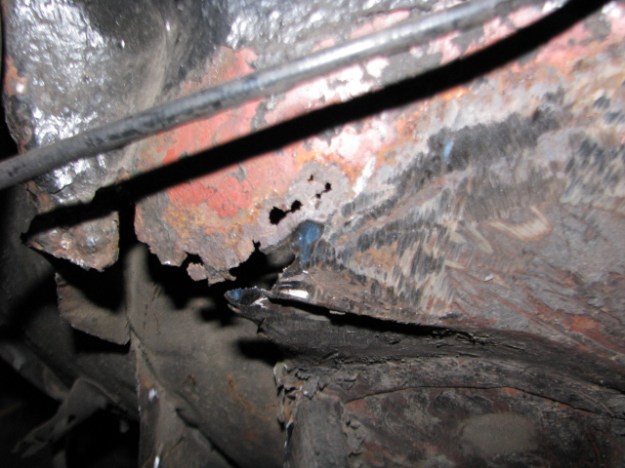
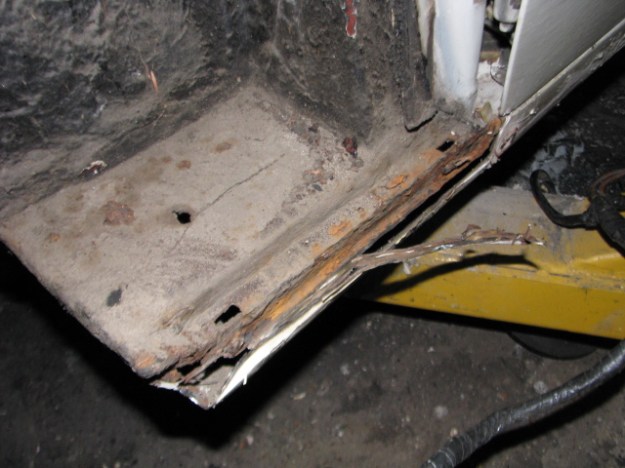
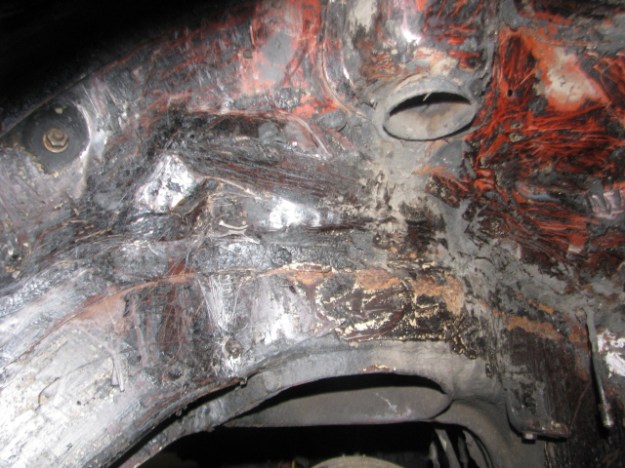
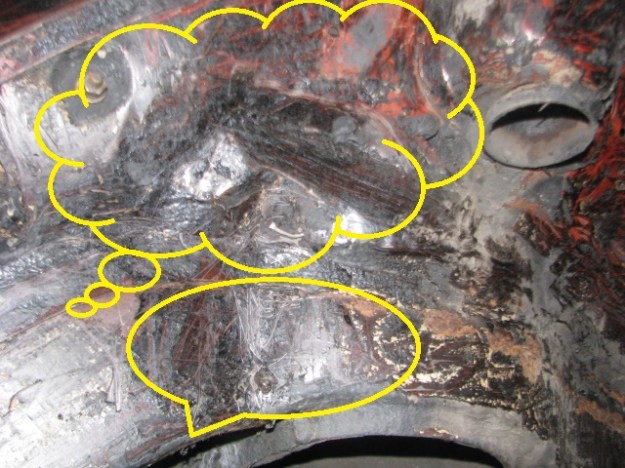
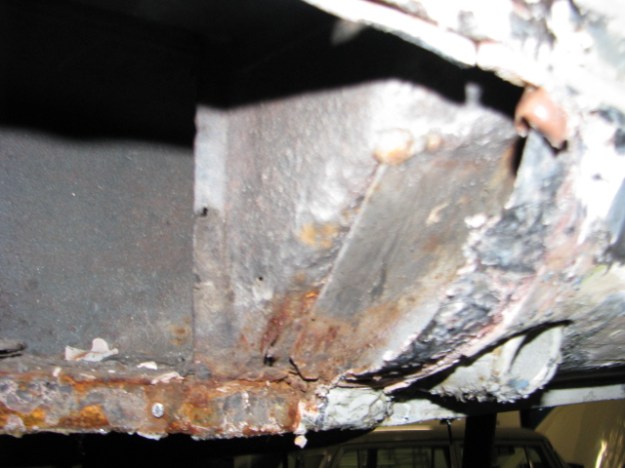
This the rear end of the Sill section at the drivers side rear door. The seams have been filled,again this must be rectified.

IMG_0087

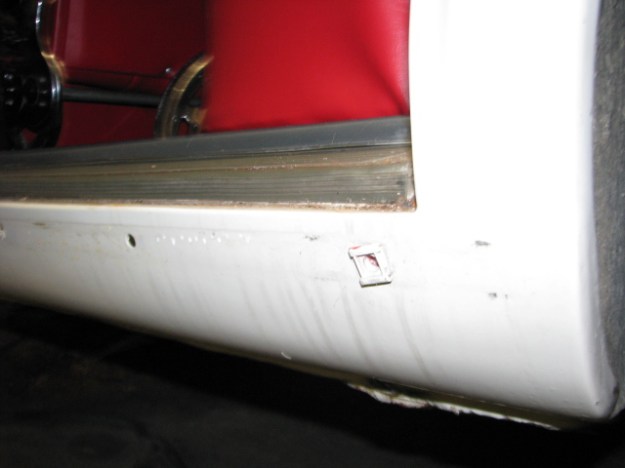
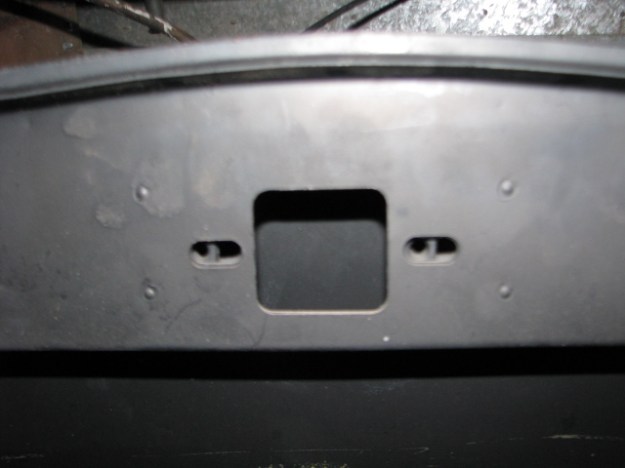
Passenger is side is the same with much work required to fix. As can be seen in both pictures, both jacking points are missing … 😦

IMG_0073

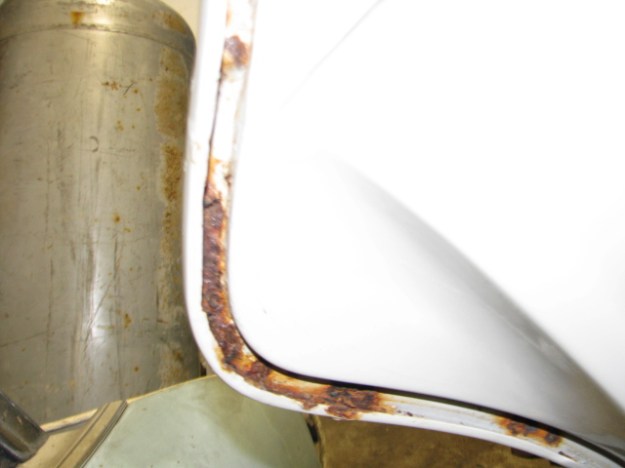
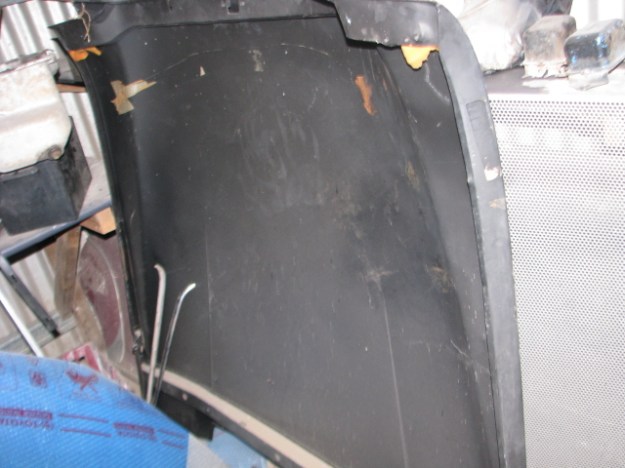
This the Seam at the top of the rear quarter which again has been badly filled and is cracking with rust showing through the paint .

IMG_0086

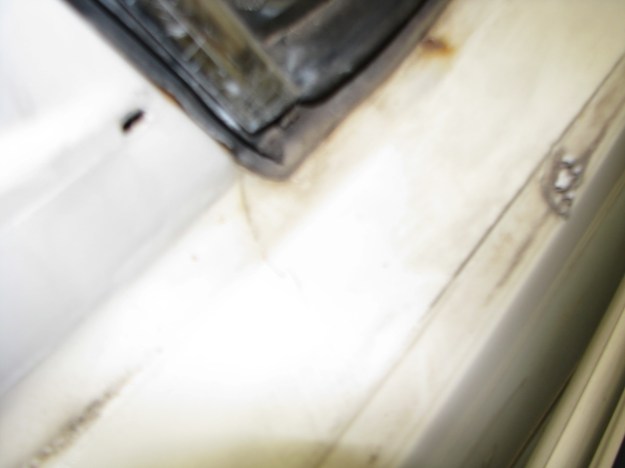
The bottoms of the doors are showing signs of rust where the door rubbers seat , this will have to cleaned out and treated to prevent further rust.

IMG_0084

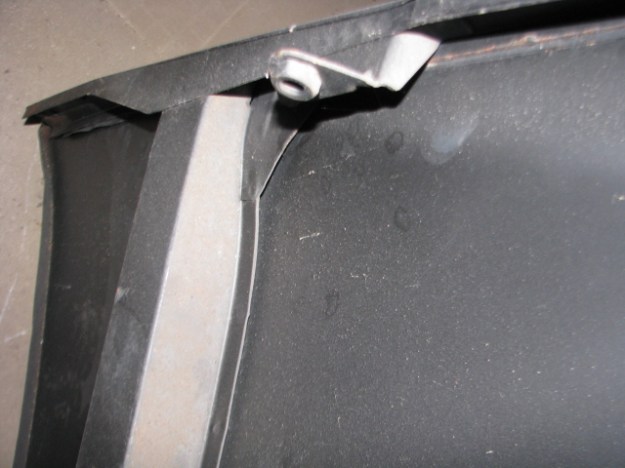
Inside the door groove there is a little rust which has just been caught in turn.

IMG_0071

In the past the doors have been sprayed inside  with bituminous under coat, which unfortunately never works .This will be removed and a proper rust sealer applied.

IMG_0076

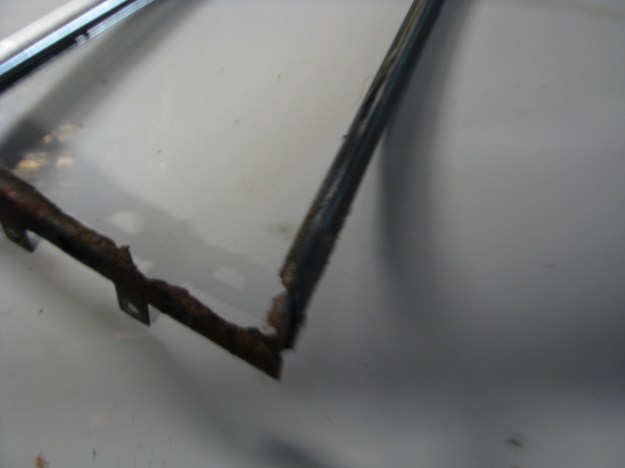
This is the drivers side 1/4 light frame which unfortunately is rusted away so the hunt begins for a new or better one.


Mercedes 220SE Cabrio engine Rebuild assembly

IMG_0024

New Pistons installed ,side covers and sump fitted ,note: the deck has been machined to ensure it’s flat and true.

IMG_0026

Head is reassembled with all new Valves. The valve heads were pitted from corrosion and machining them would have made the valve head margins too thin.

IMG_0028

Cylinder head, water pump, and distributor drive fitted .Timing chain was replaced with a superior Iwis Chain,the one in the pic was just used to help install the new chain.

IMG_0016

Accessories added and nearly ready to install in the car.
IMG_0017

220SE cabriolet Mercedes

An update n the cabrio’s engine job. After some time a set of new pistons has been made to suit the new bore size (1mm oversize) which was necessary to repair the pitting caused by water getting into the engine at some time in the past.

Crank shaft has been linished ,balanced and cleaned .Connecting Rods have checked for straightness,big and small end bore true and new small end bushes fitted and honed to size.

IMG_0007 (1)

New pistons and rings with new bearing shells fitted .

IMG_0005 (2)

IMG_0009 (2)

New side plate and block bungs are fitted ,with the crank and pistons installed after checking clearances and fitting new crank seals.

IMG_0008 (1)

Distributor and pump drive installed with sump .New timing chain and slide rails are also in place.

The oil pump was measured and was within specs.


Mercedes 220 E cabrio Engine rebuild

With the engine now stripped down and measured in preparation ,the head has been cleaned to reveal some corrosion IMG_0109

IMG_0083

The seats are worn but not pitted but the cylinders #5 & 6 show a lot of pitting indicating a leaky head gasket in the past . the head will be machined slightly to get rid of the pitting.

The valves will probalby replaced if grinding them removes too much of the valve sealing face.