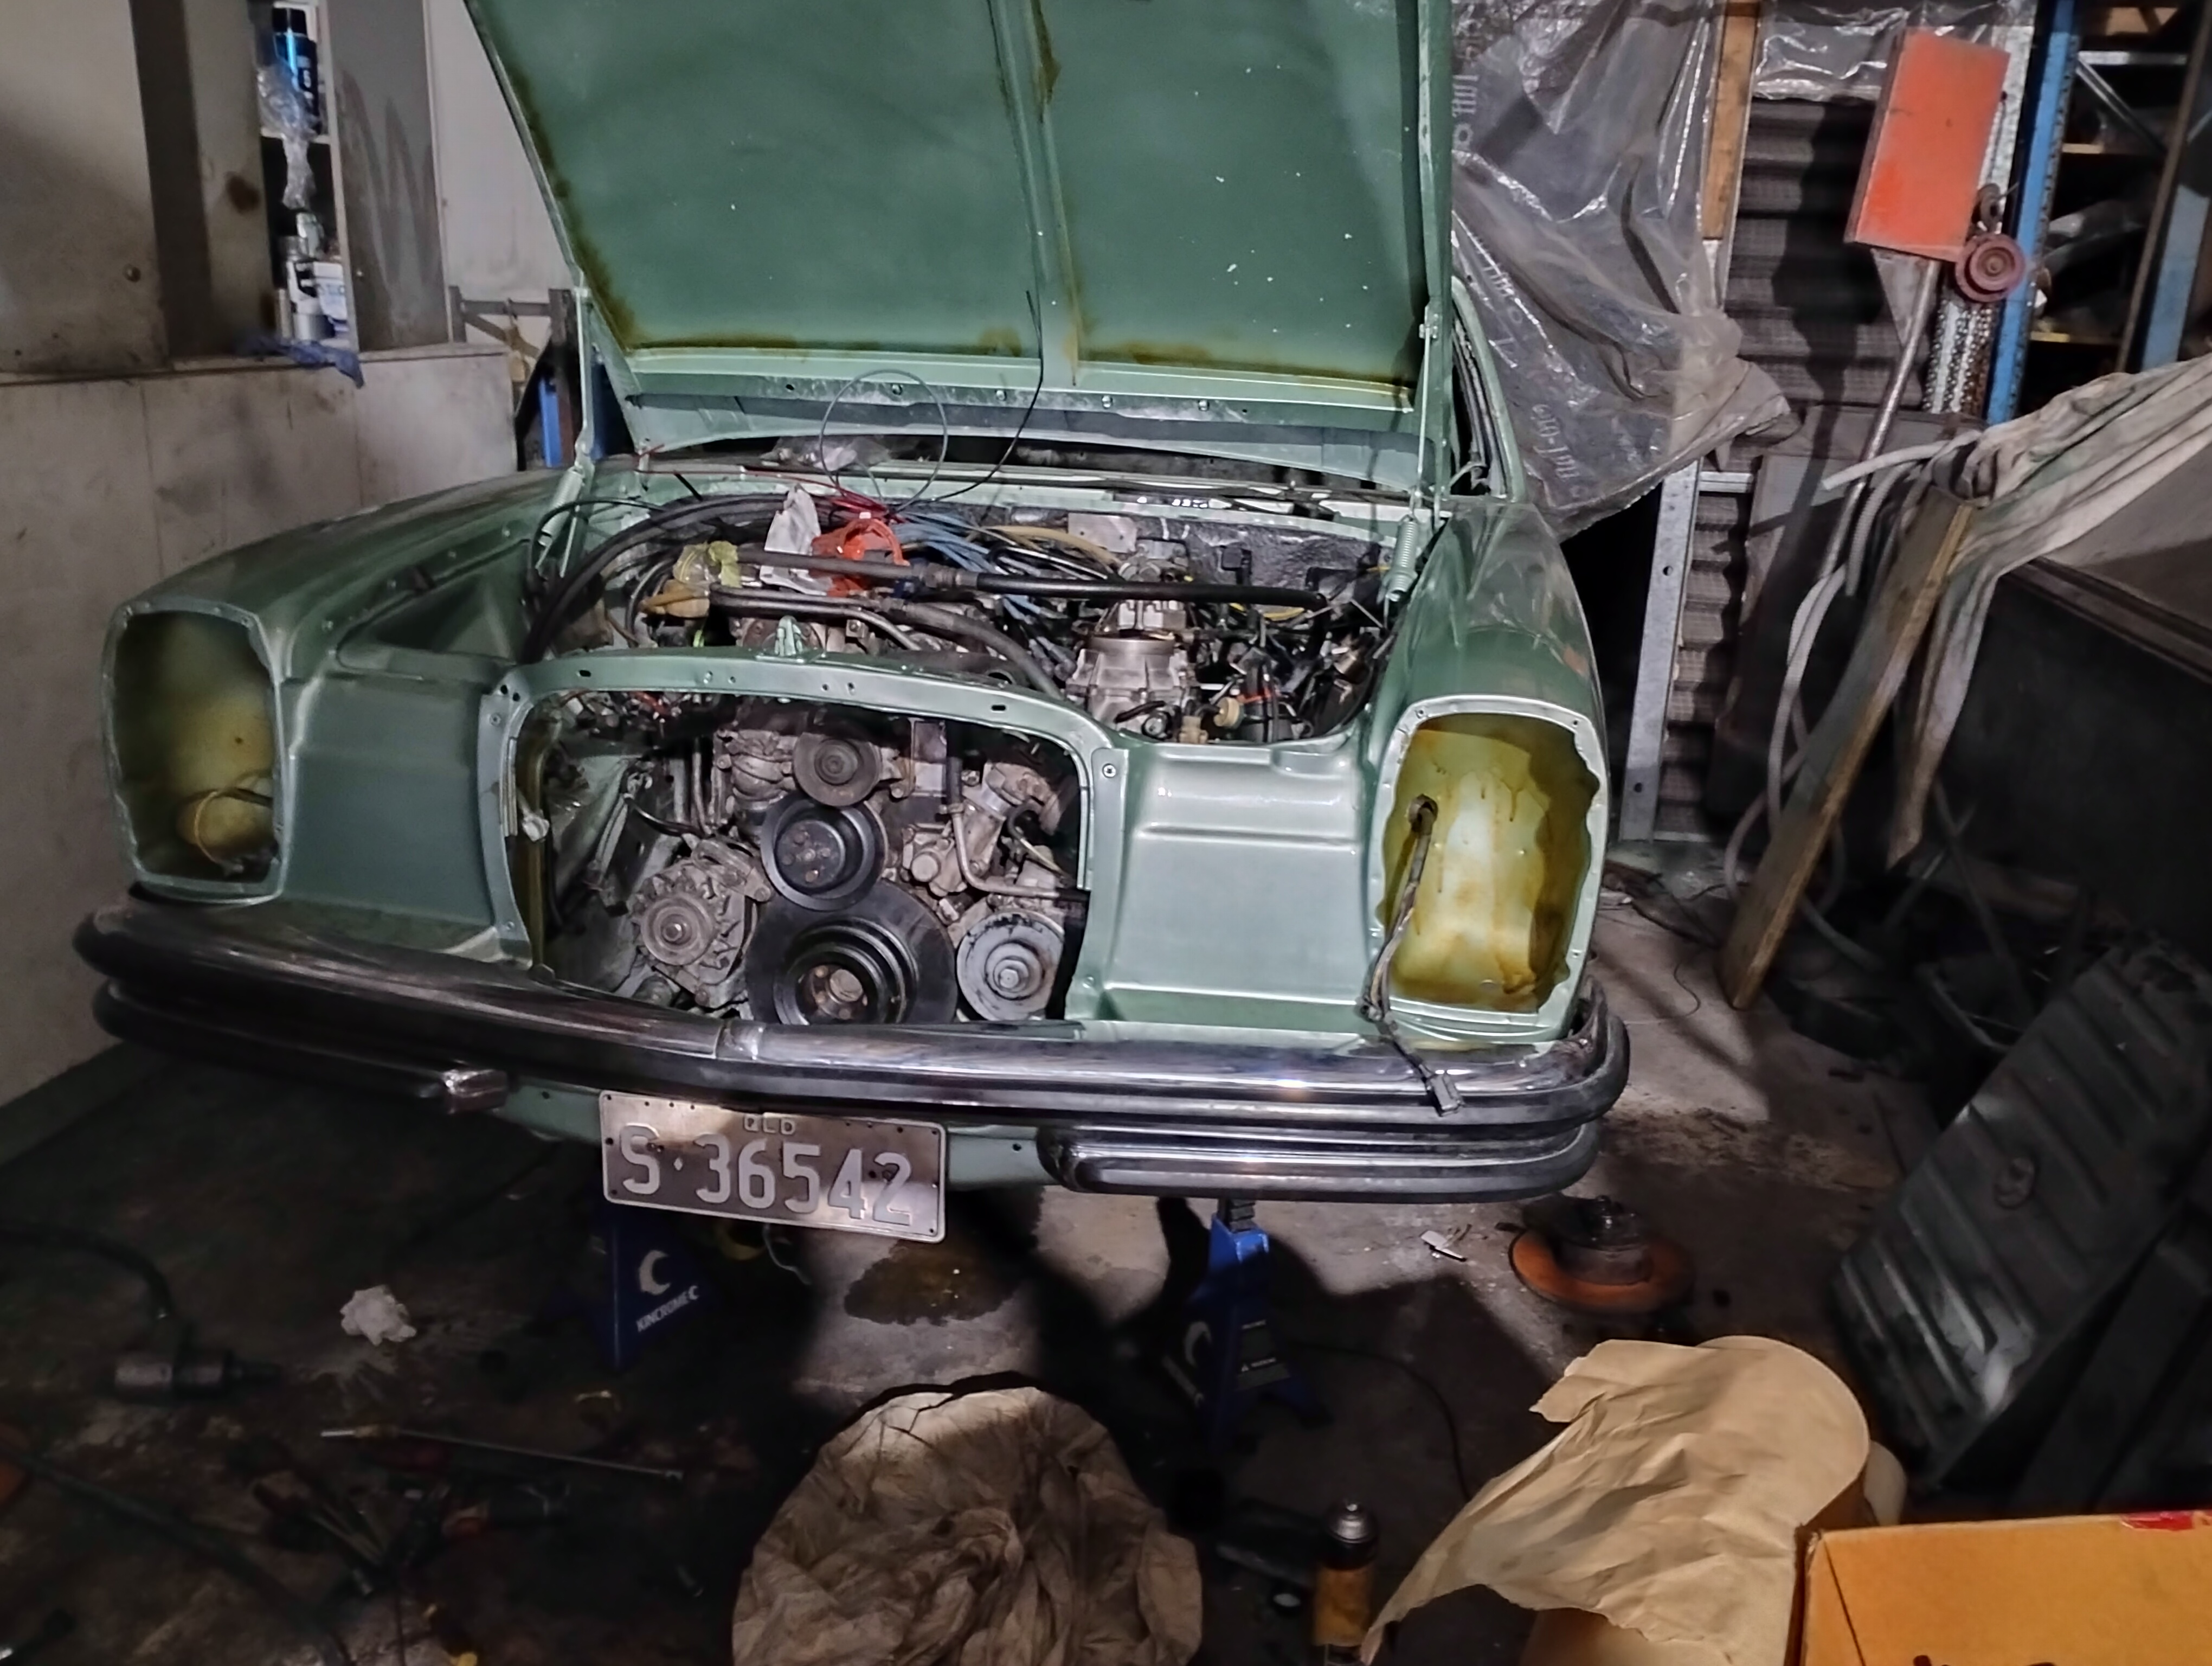
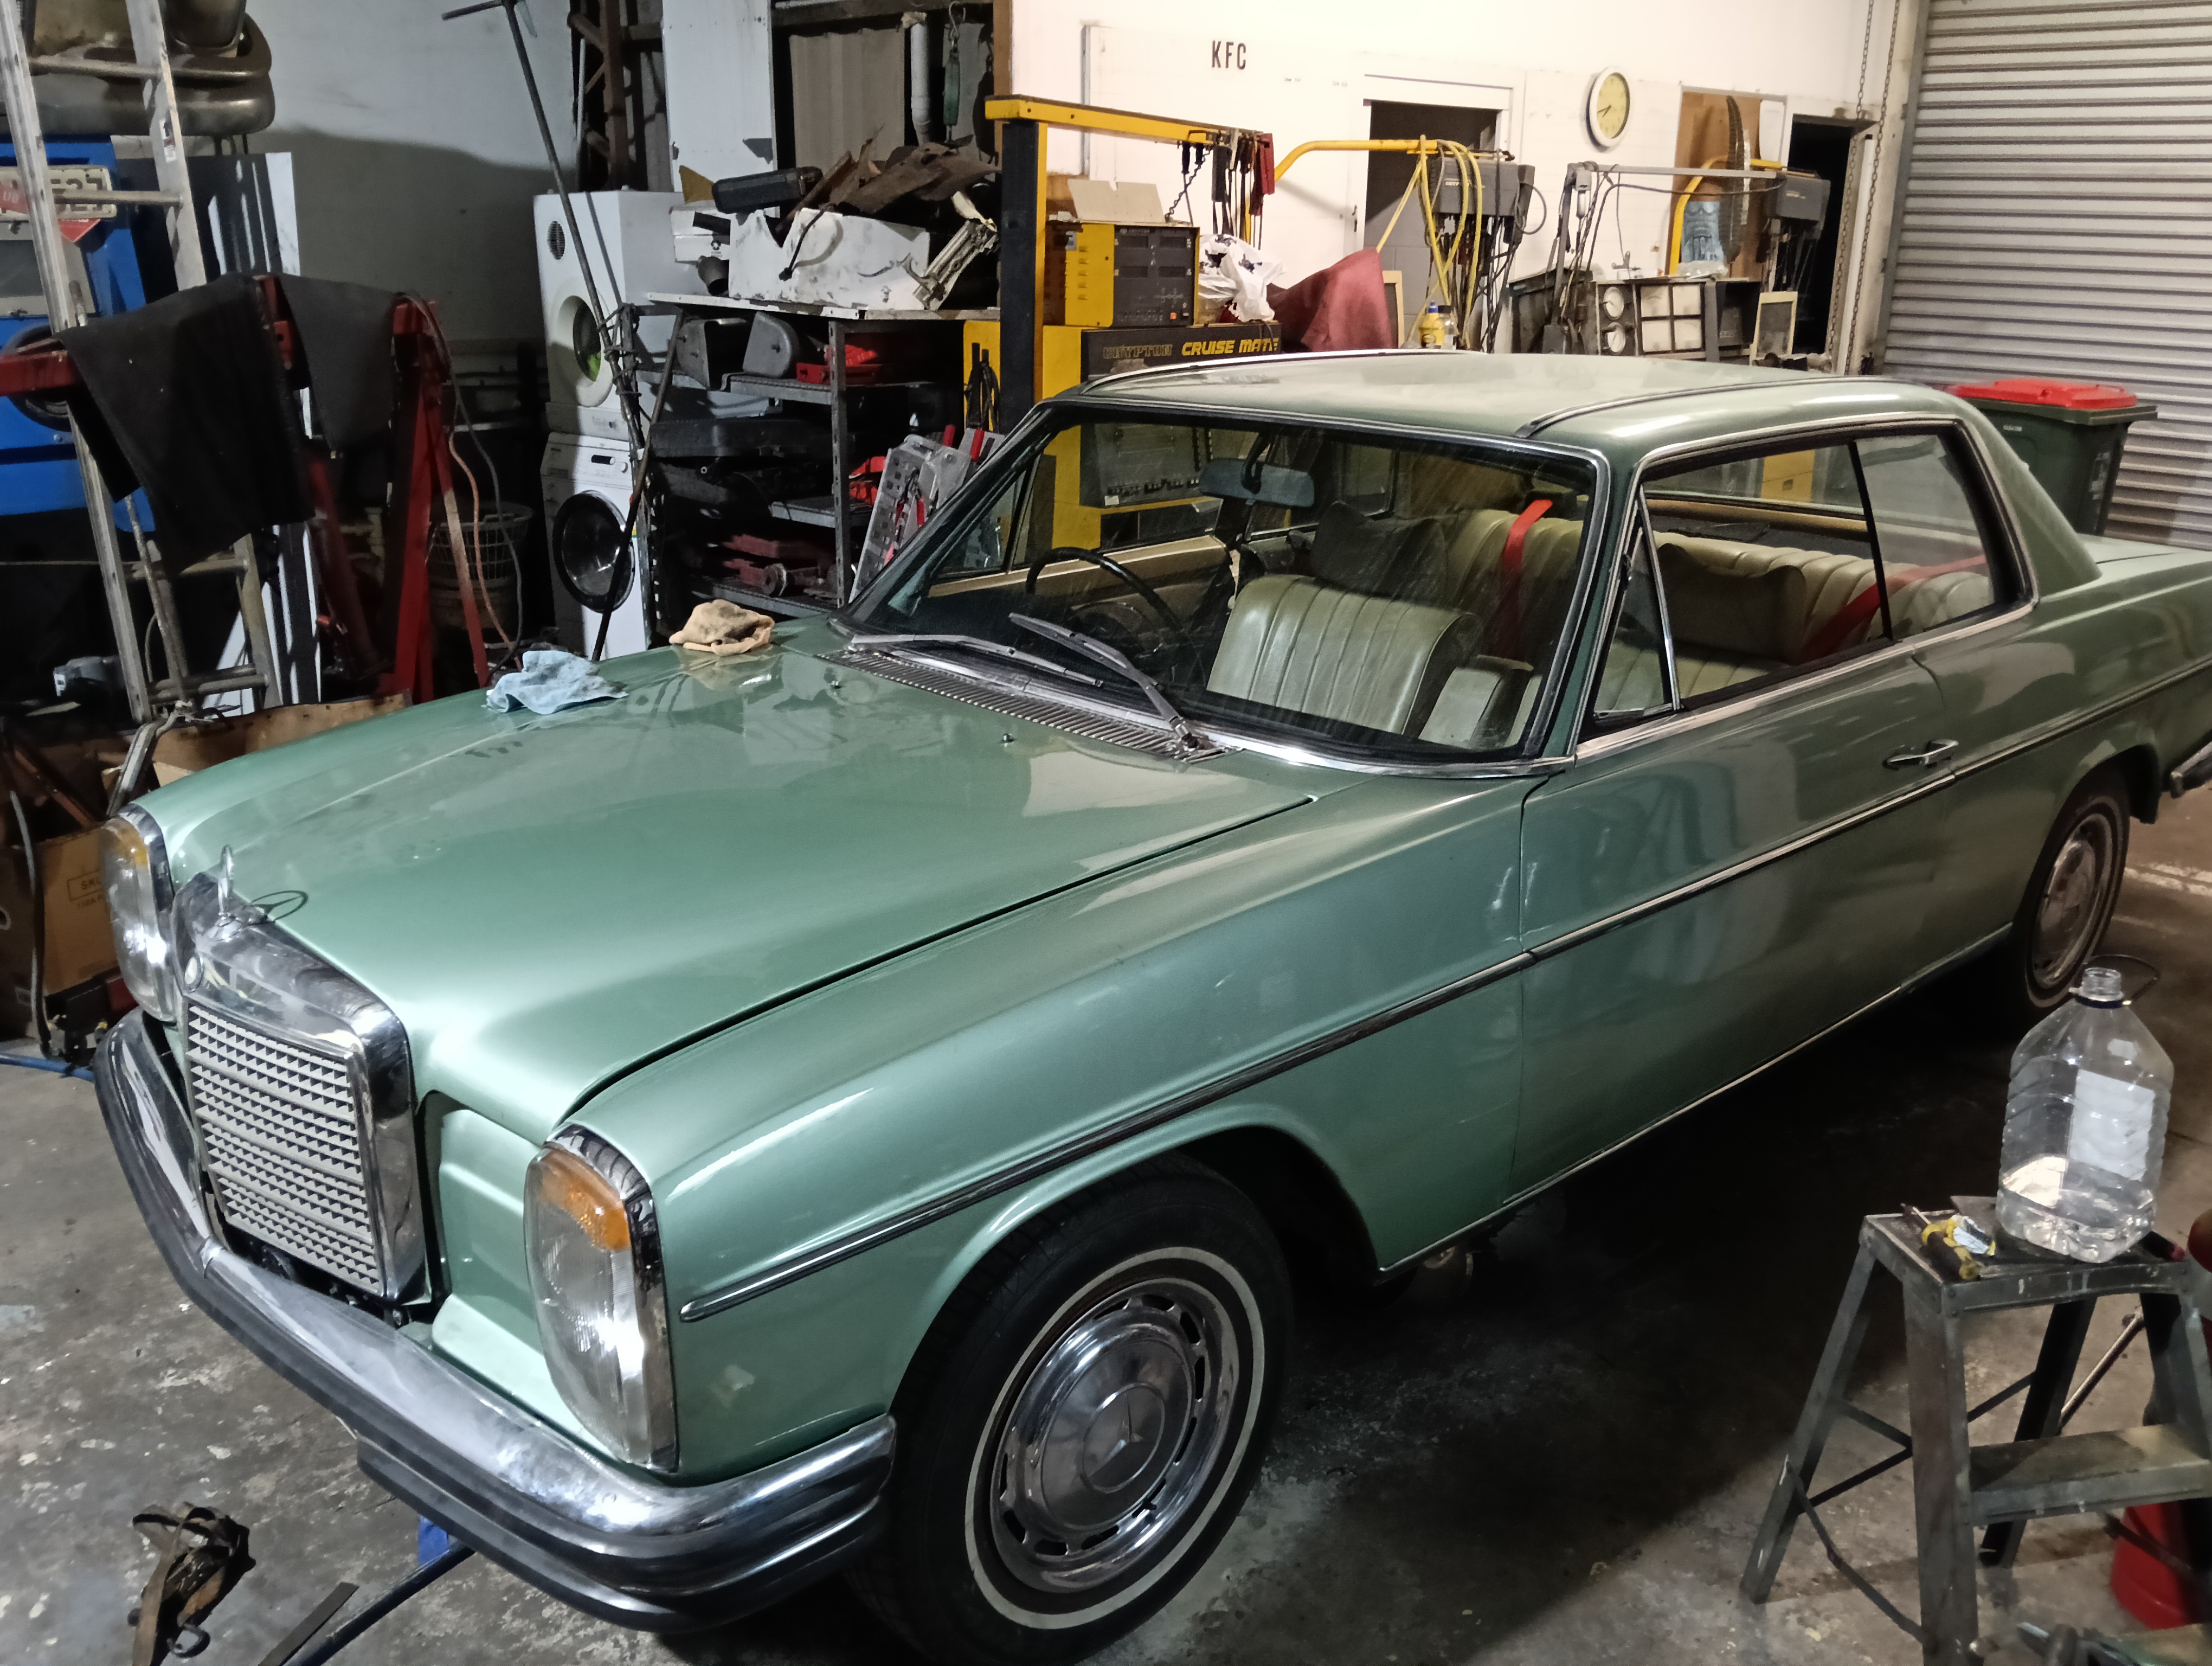
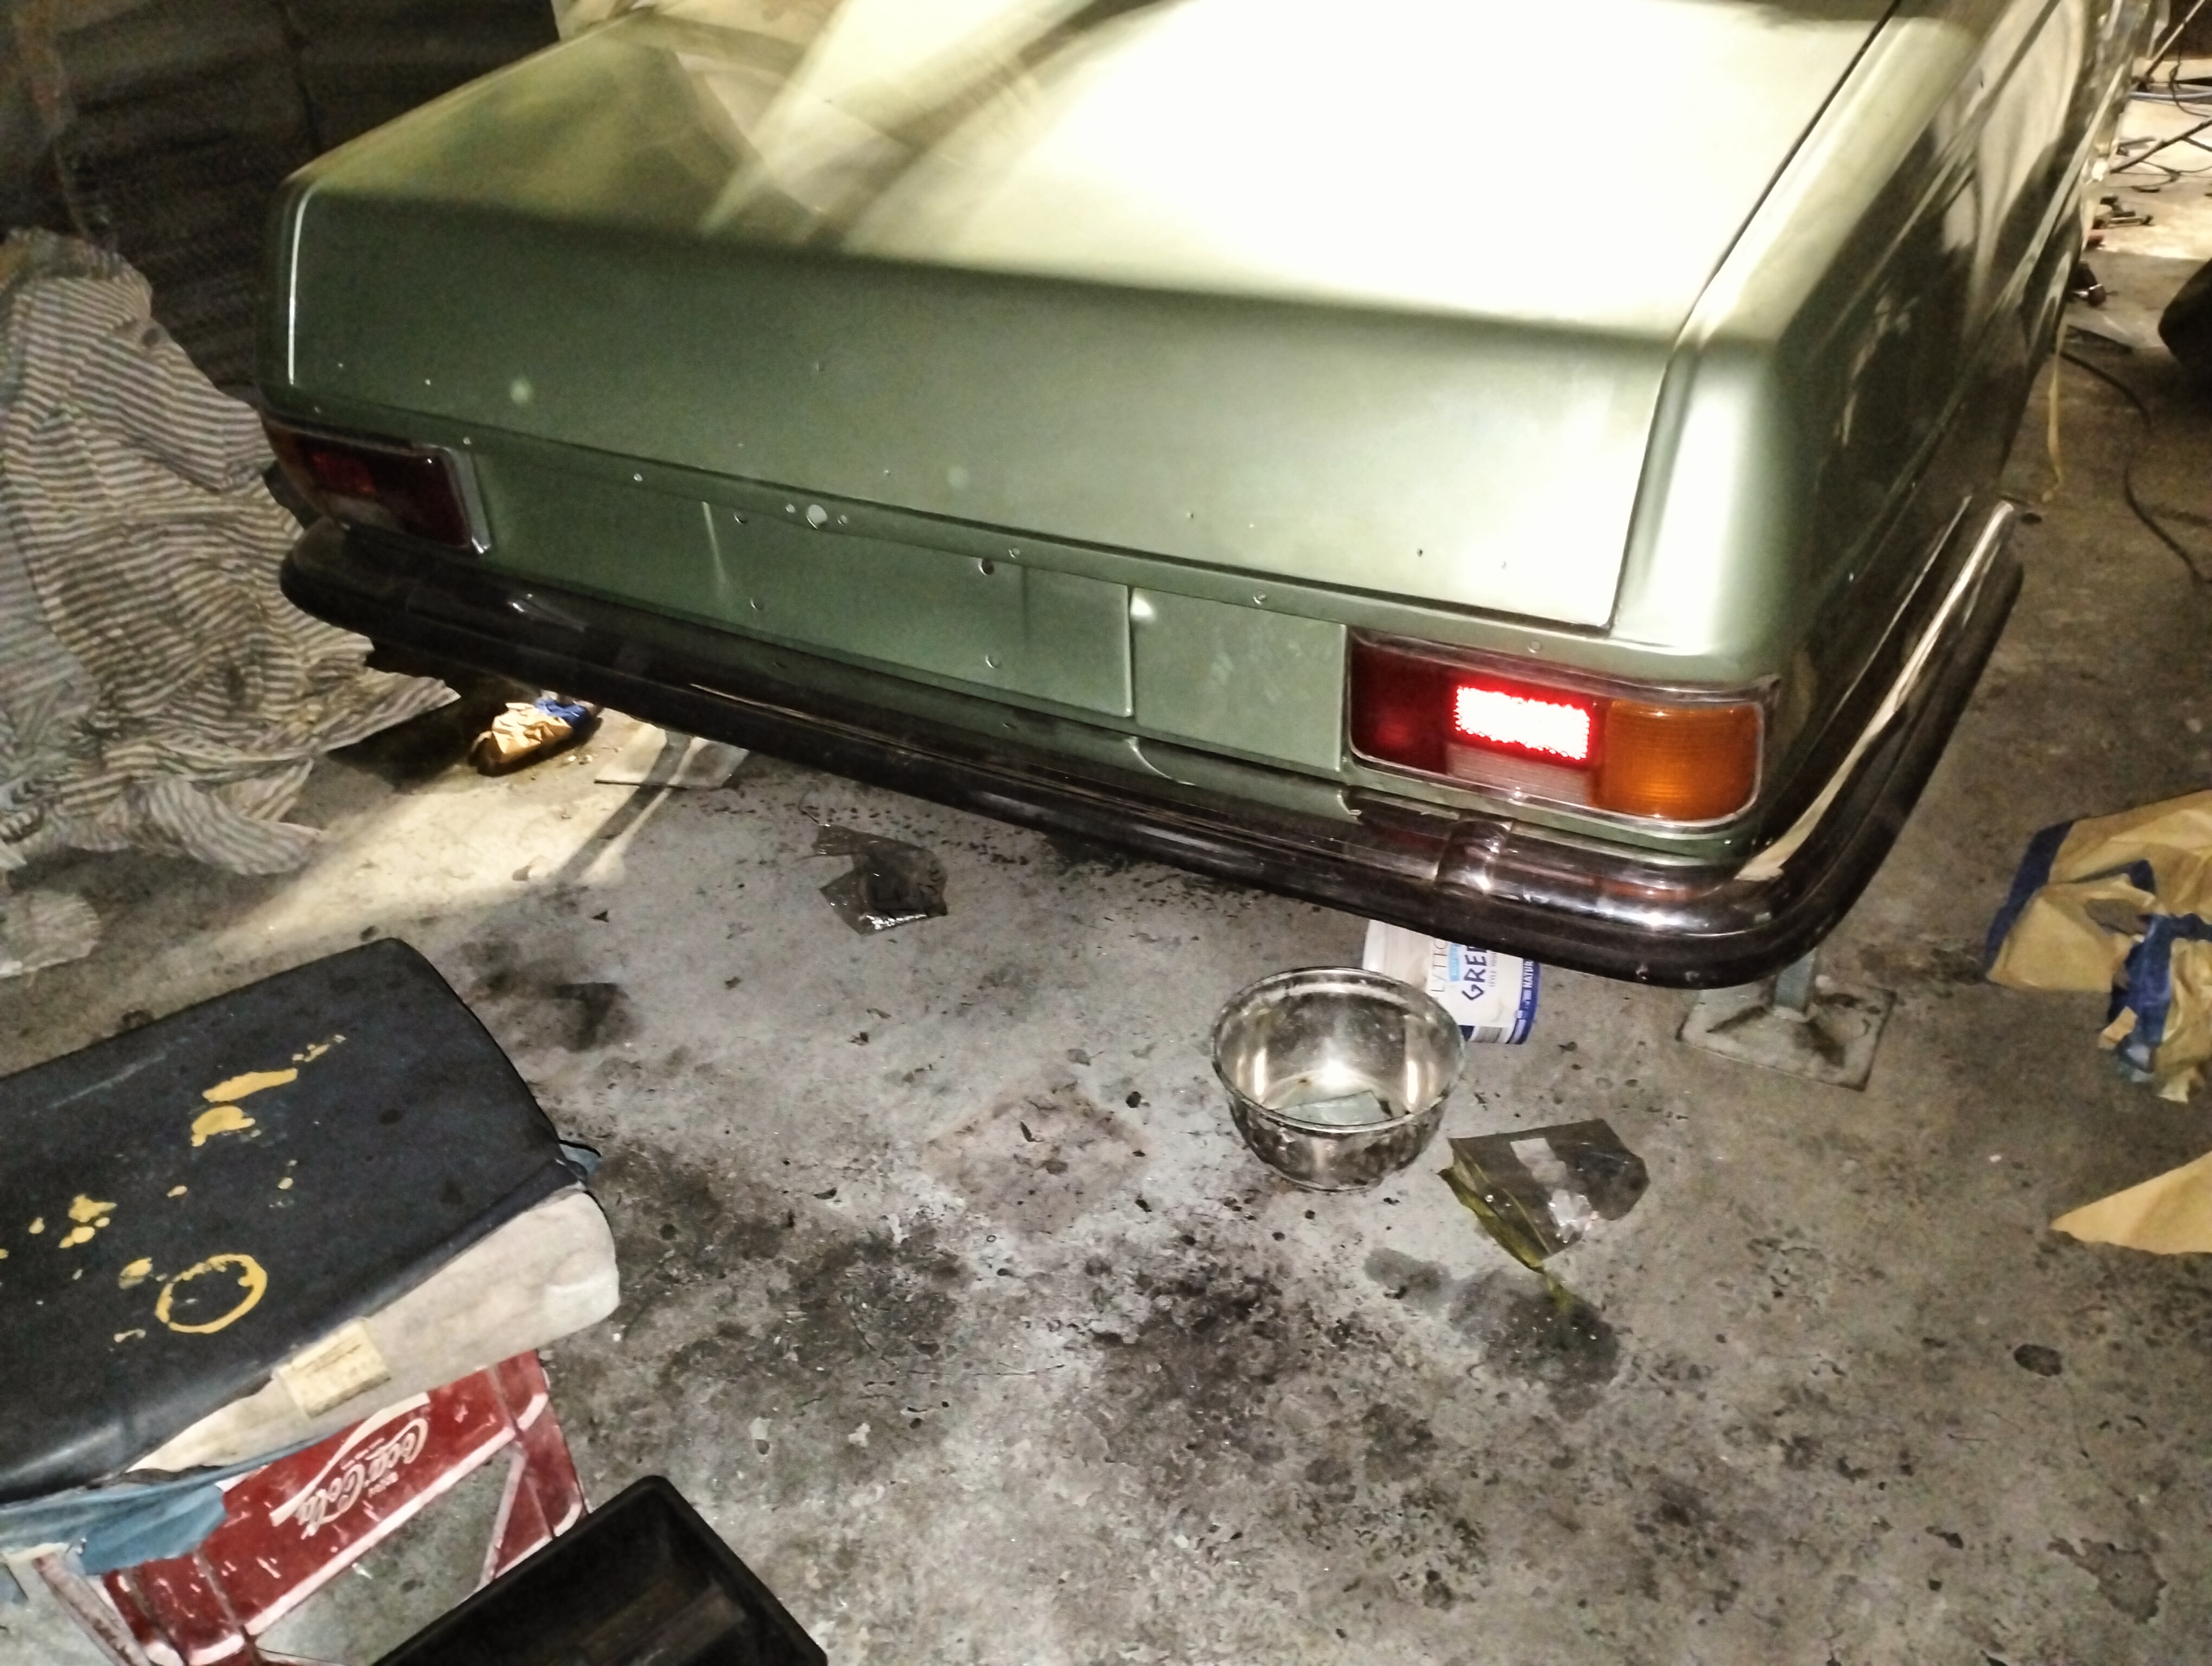
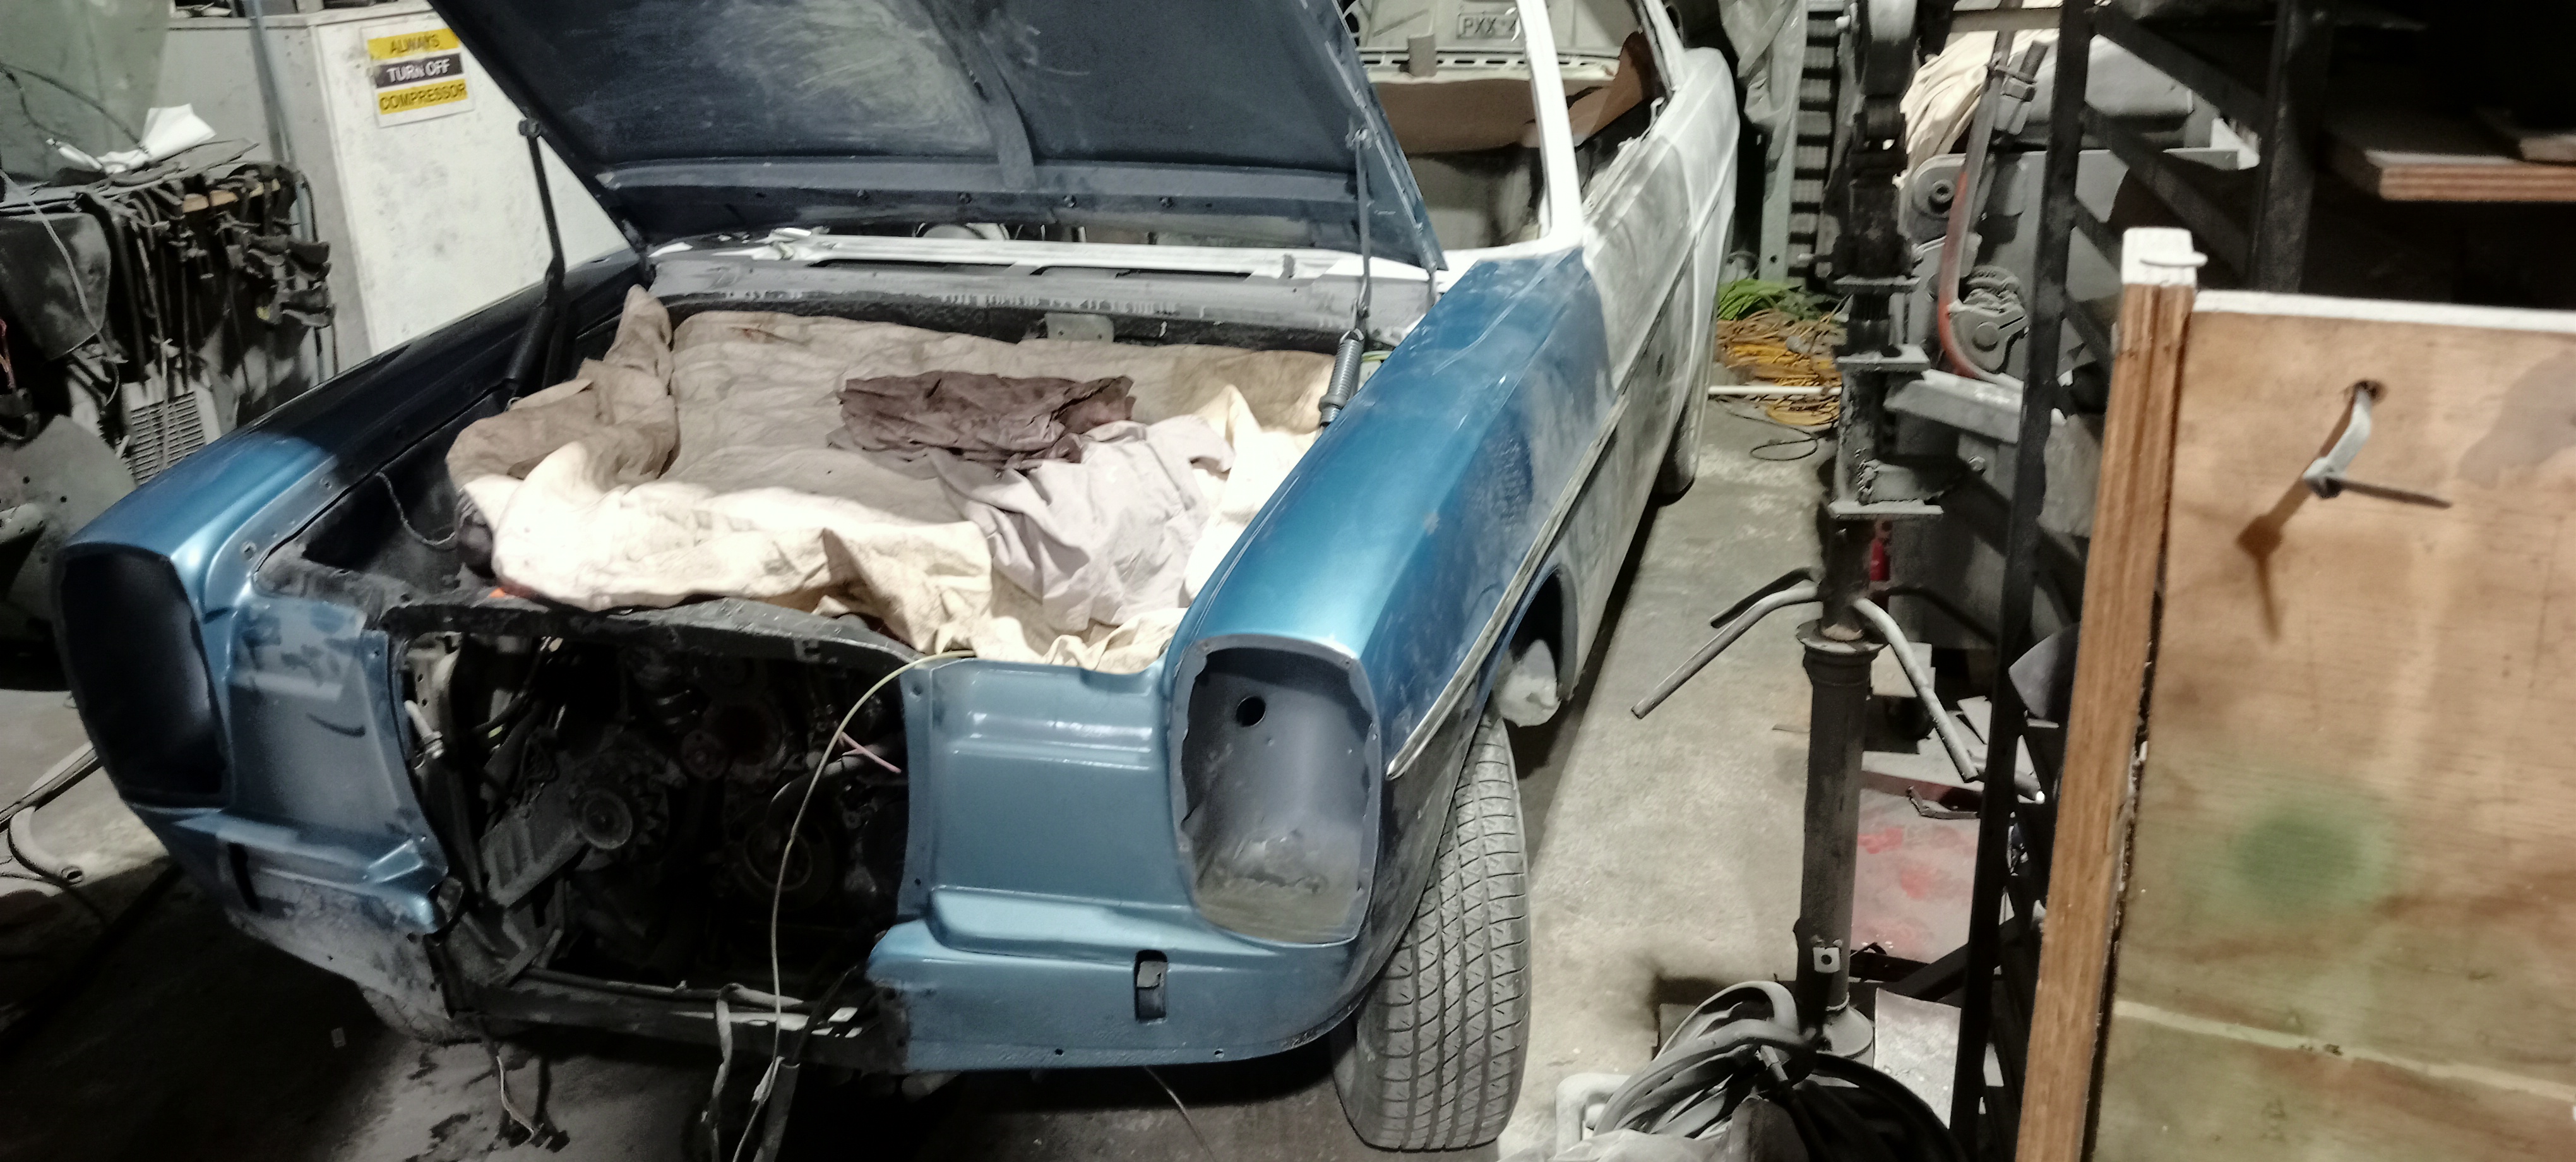
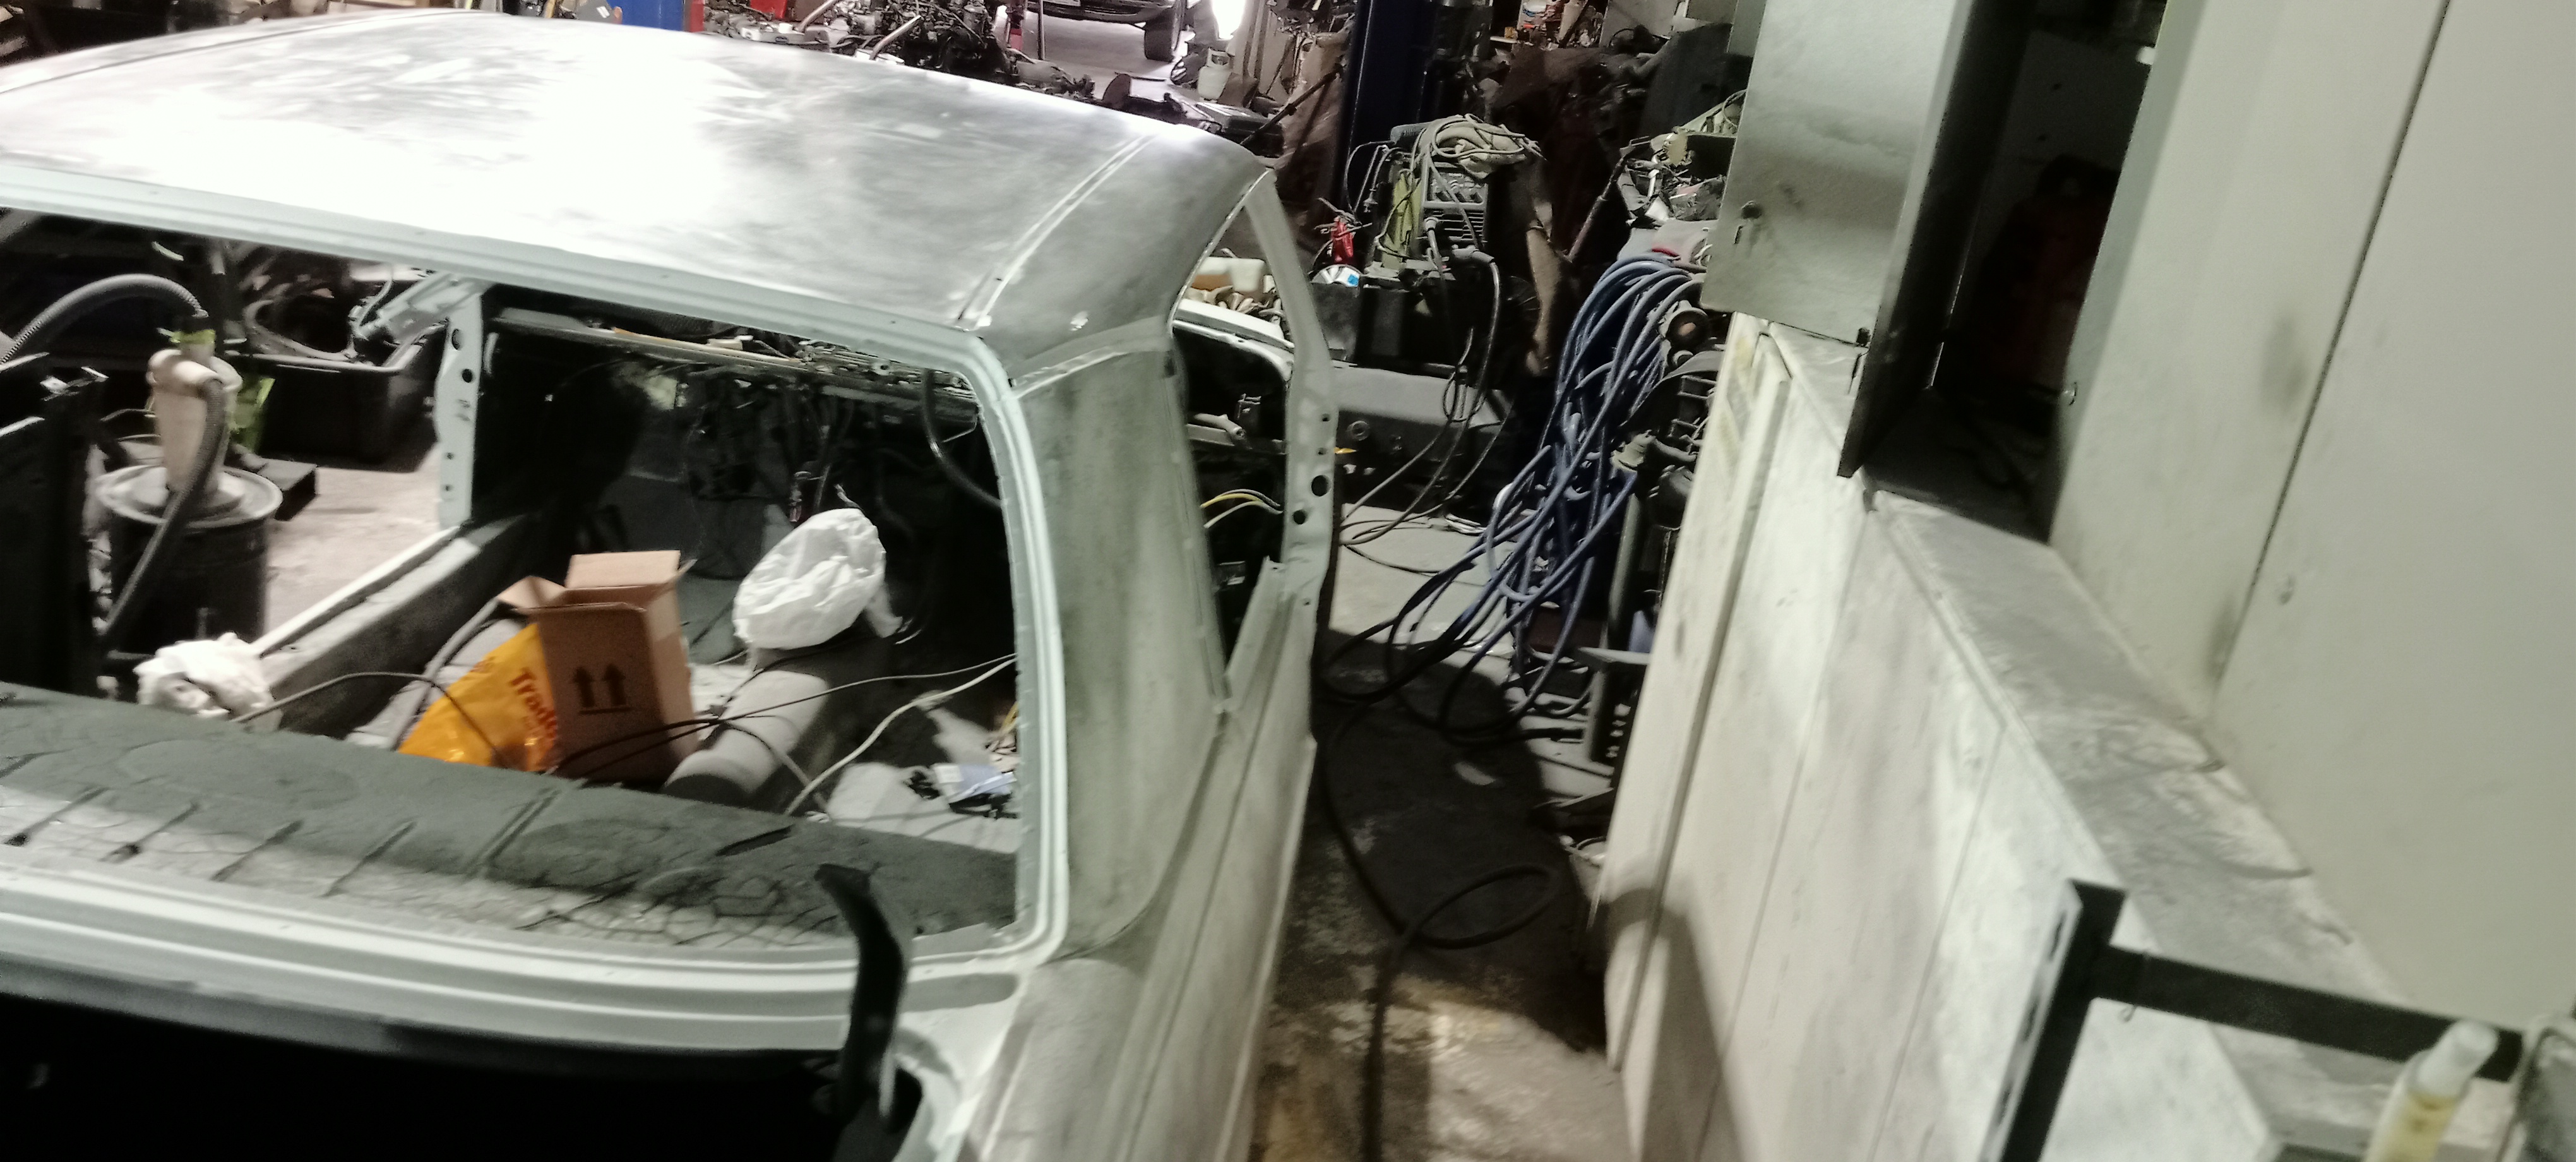
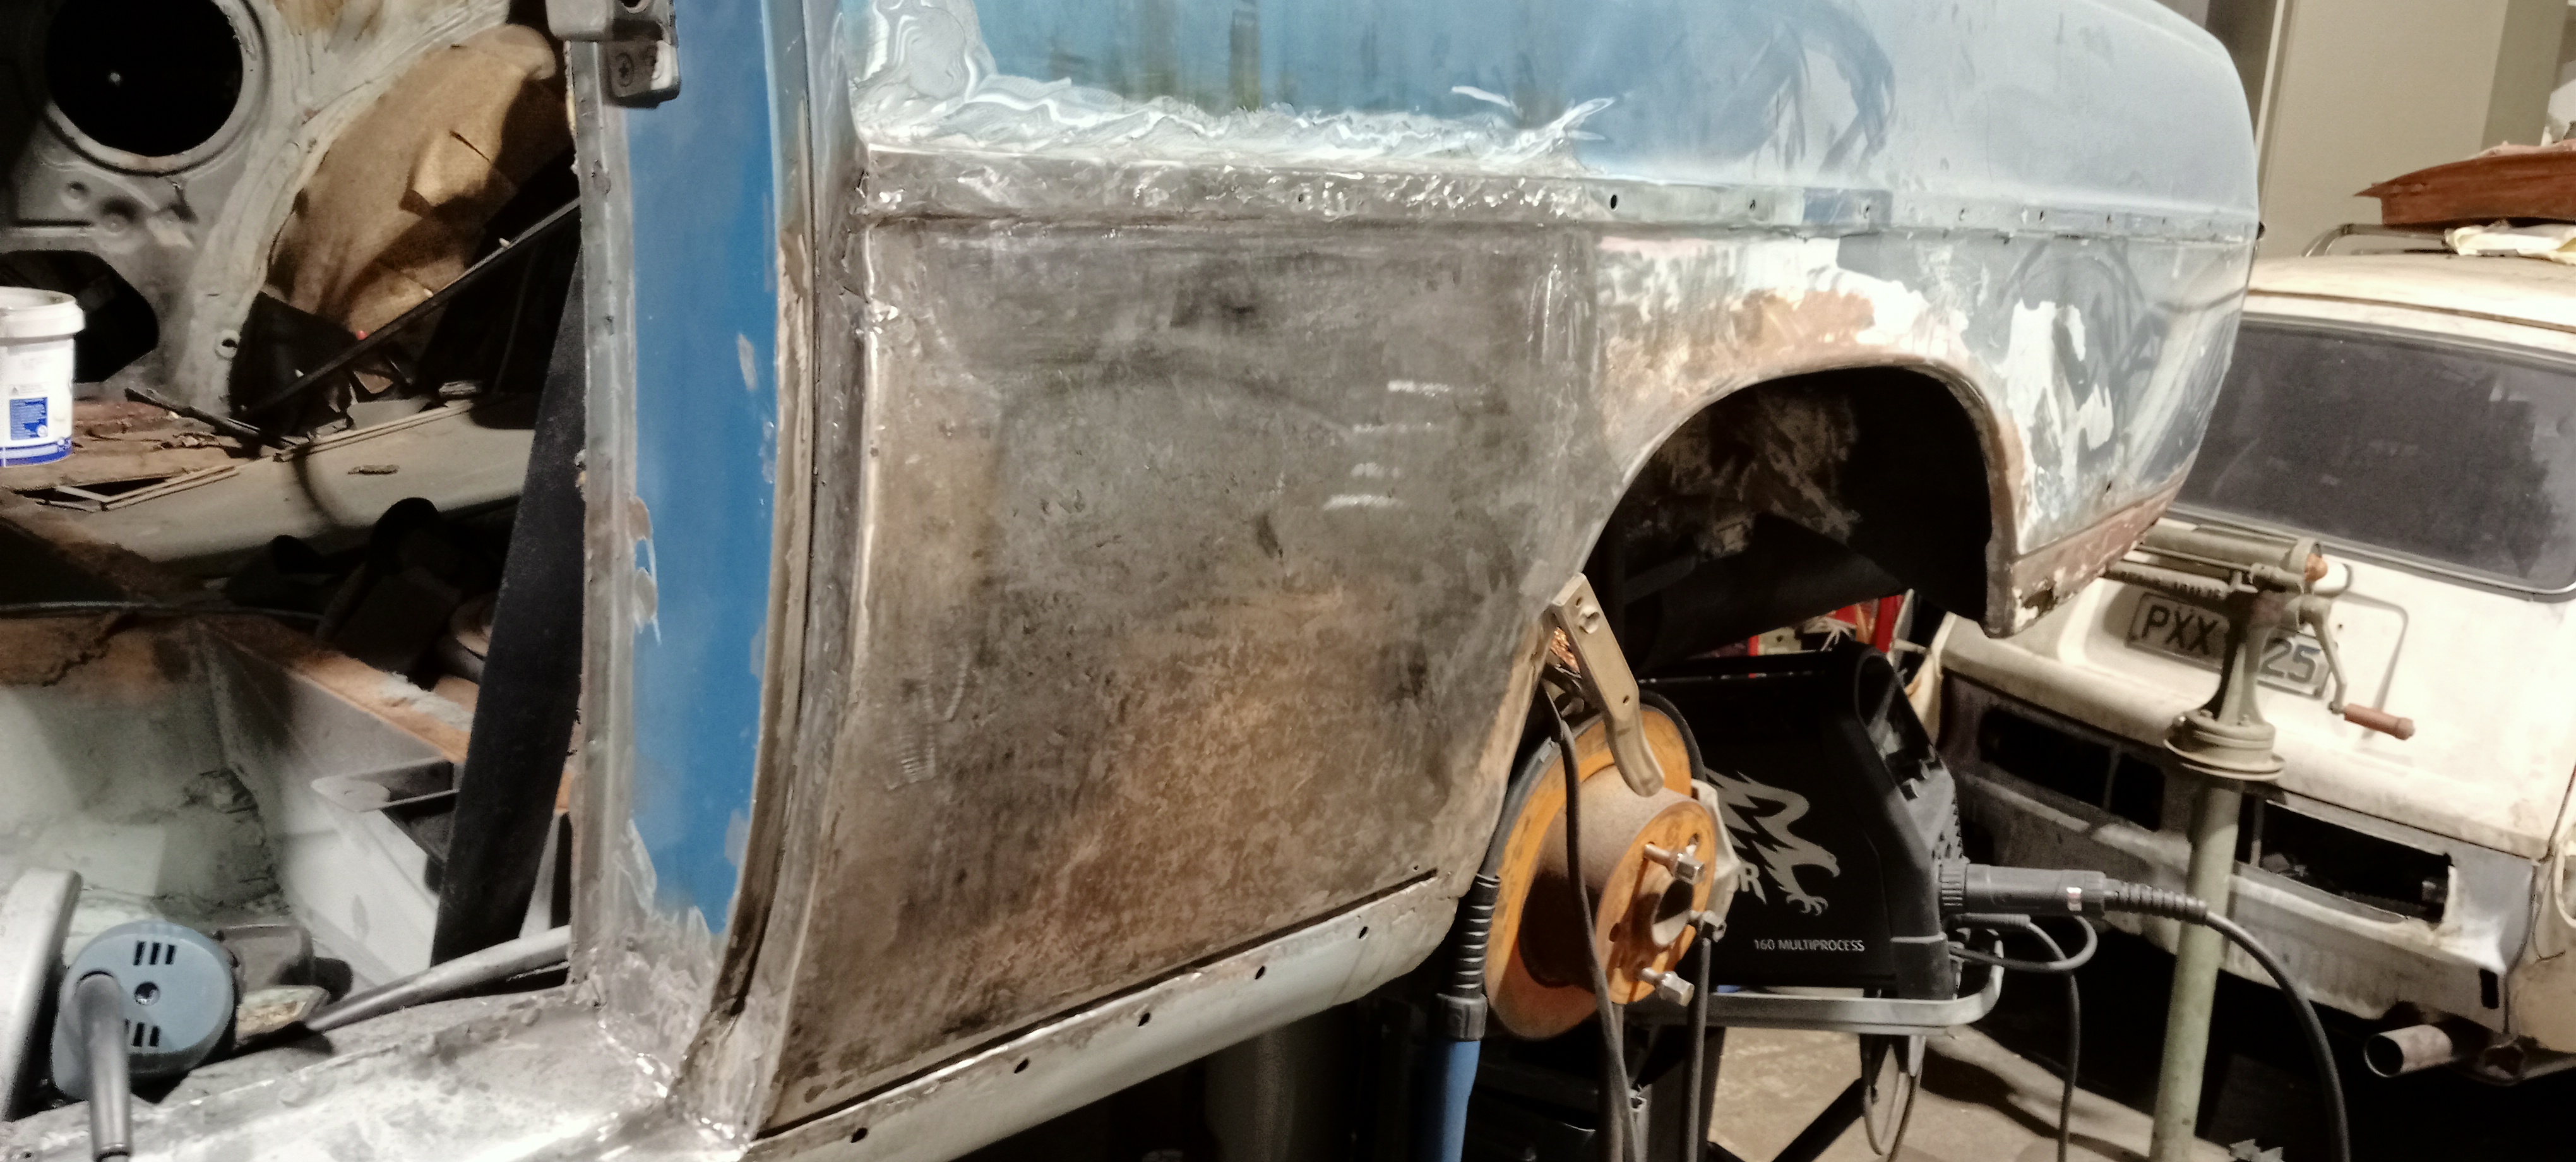
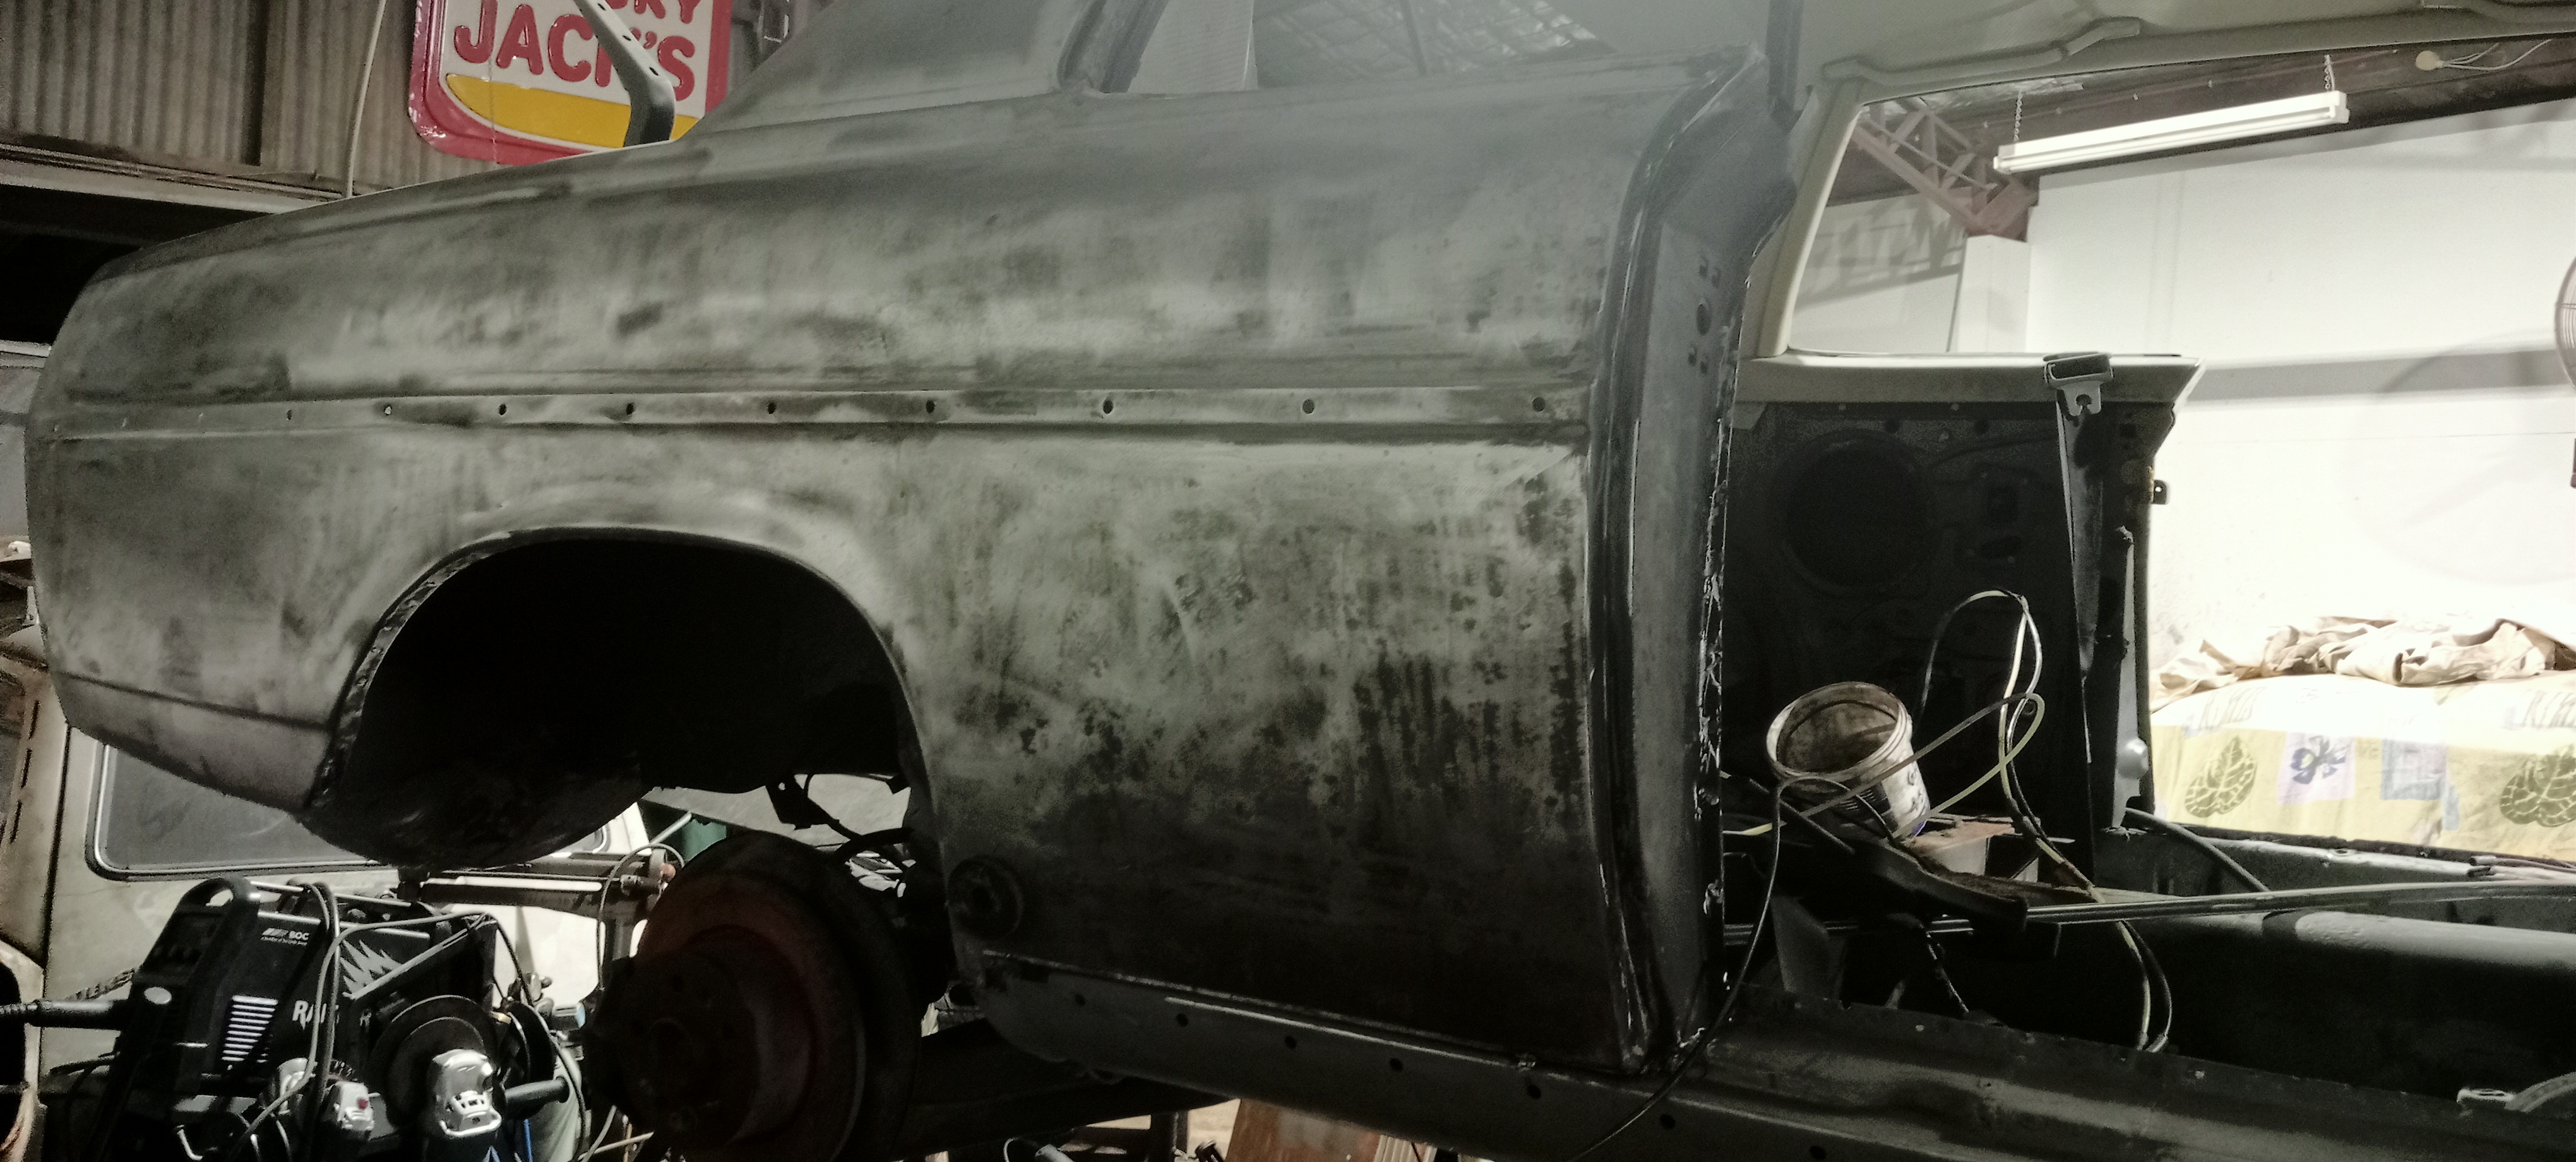
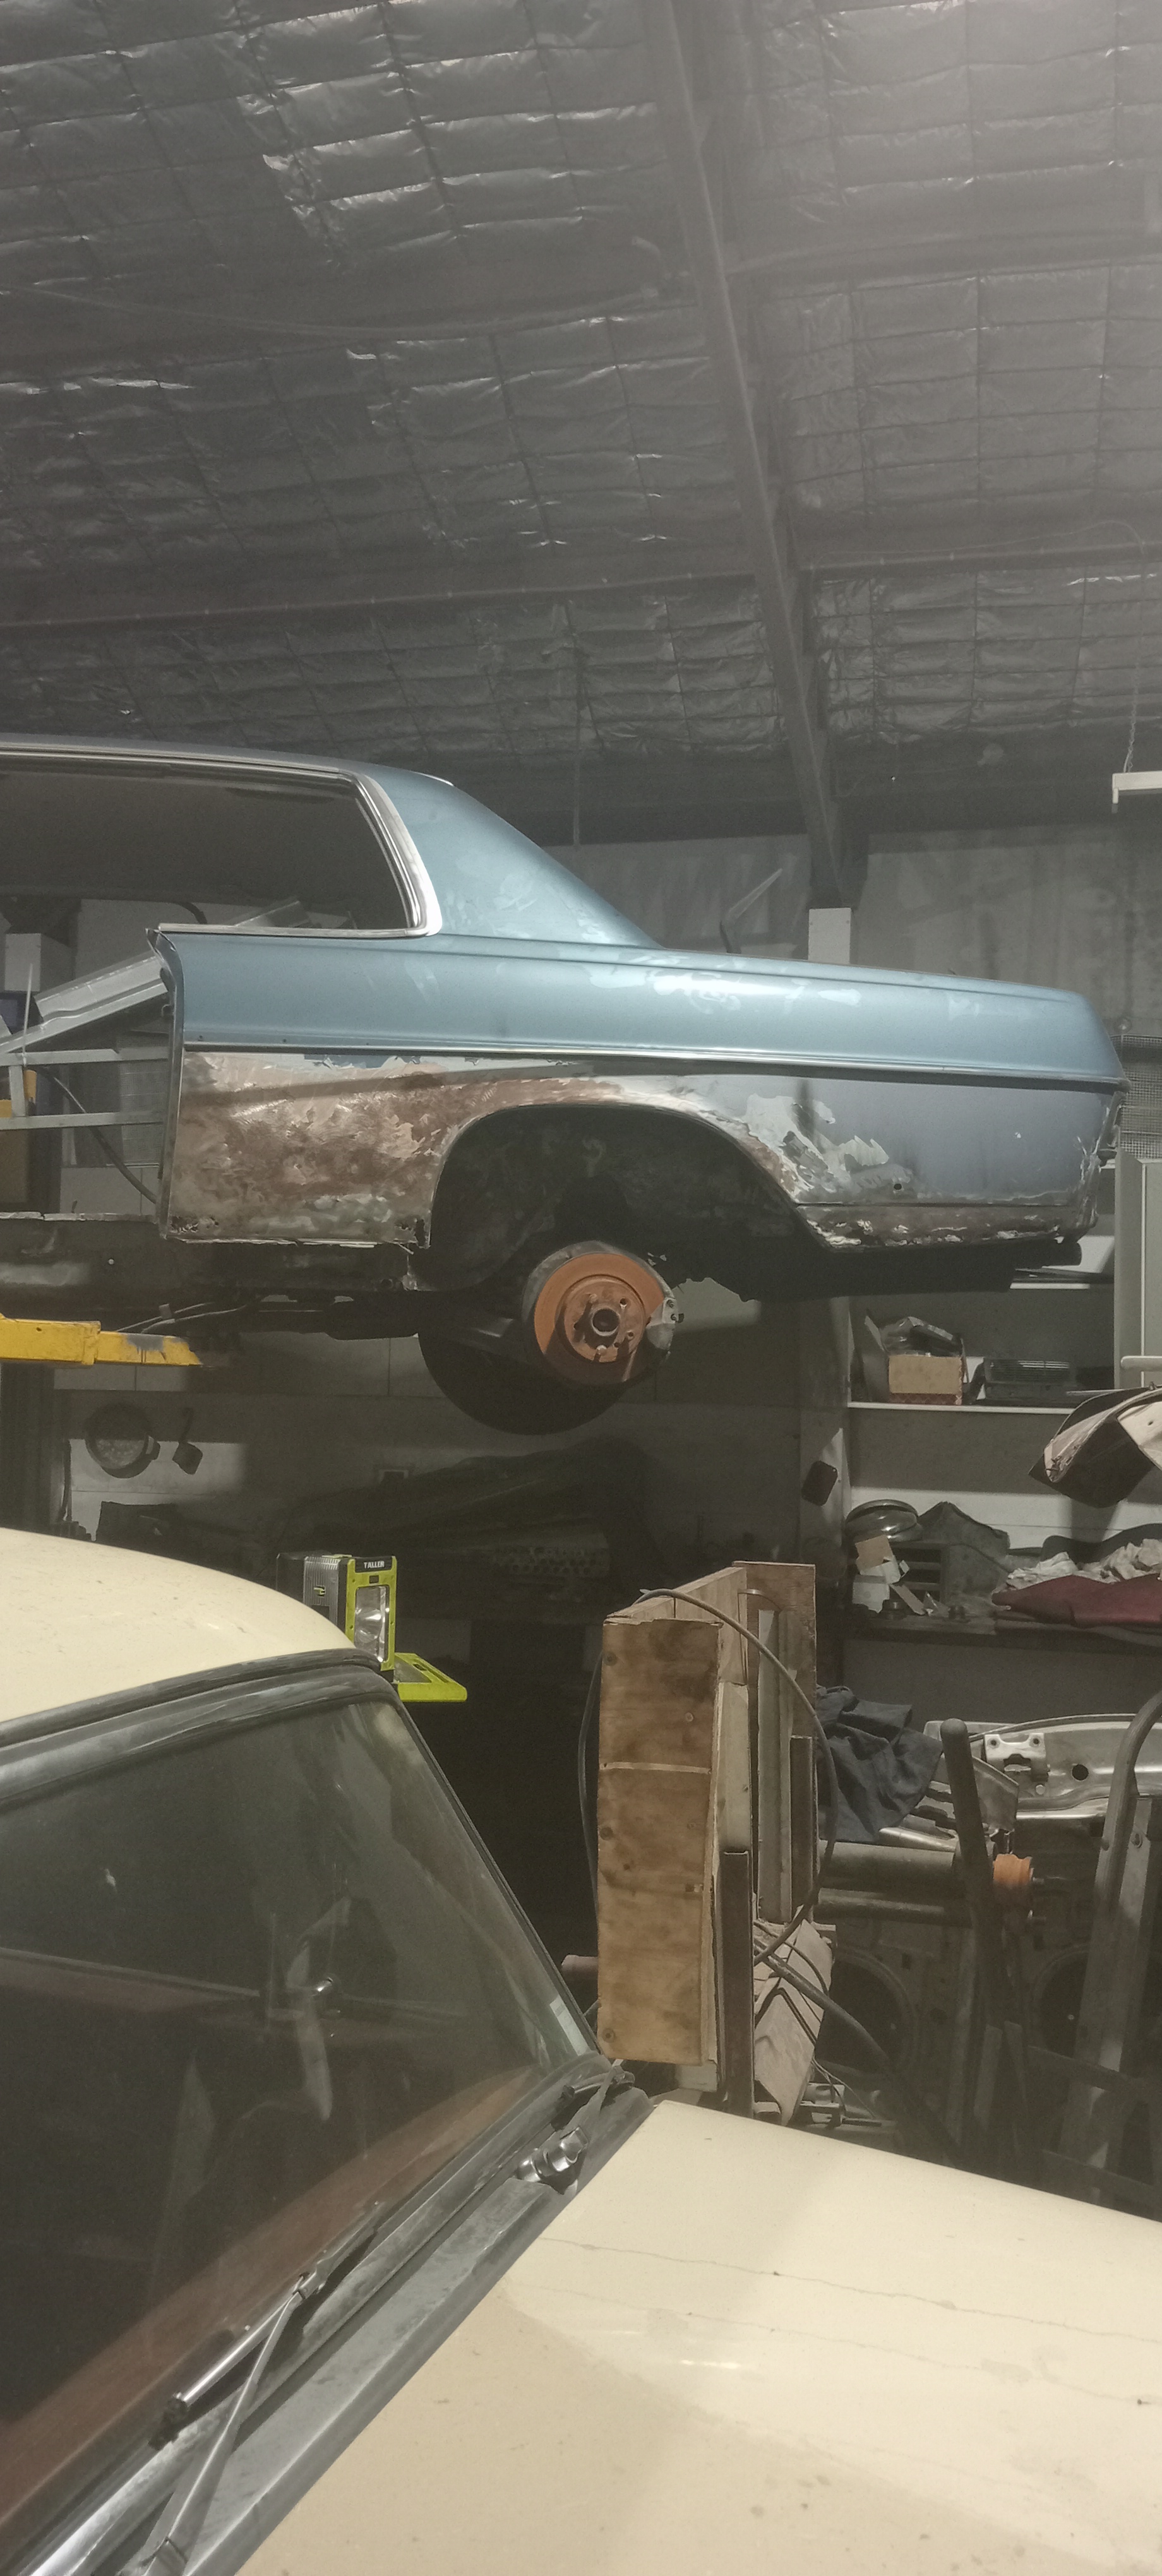
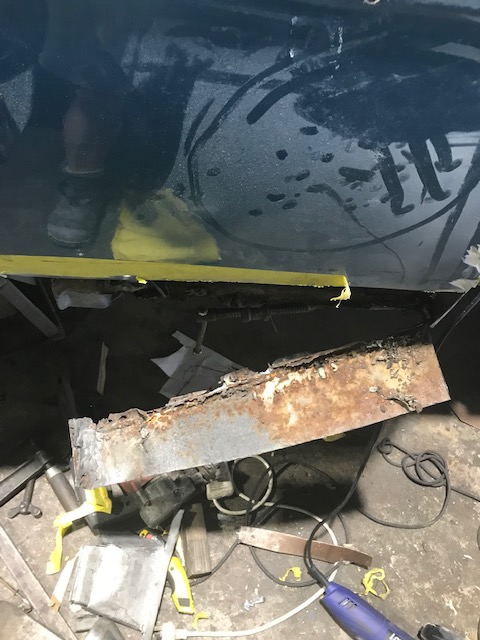
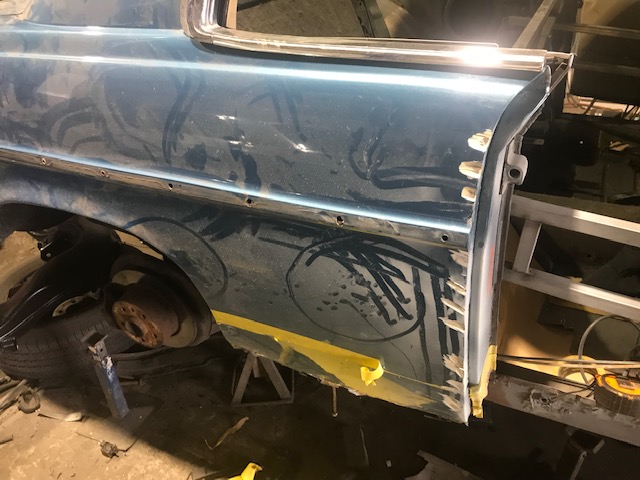
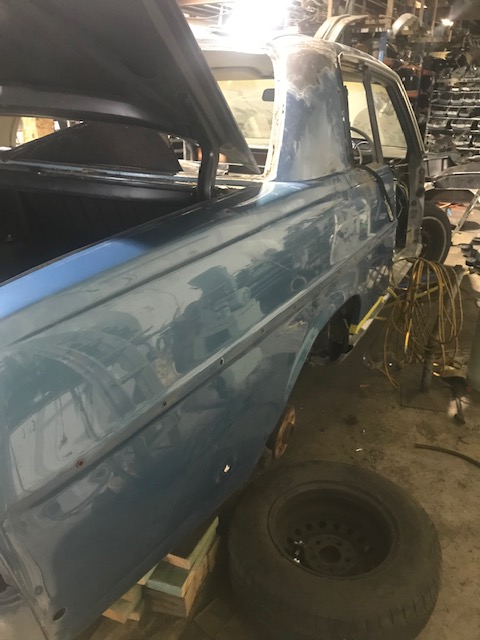
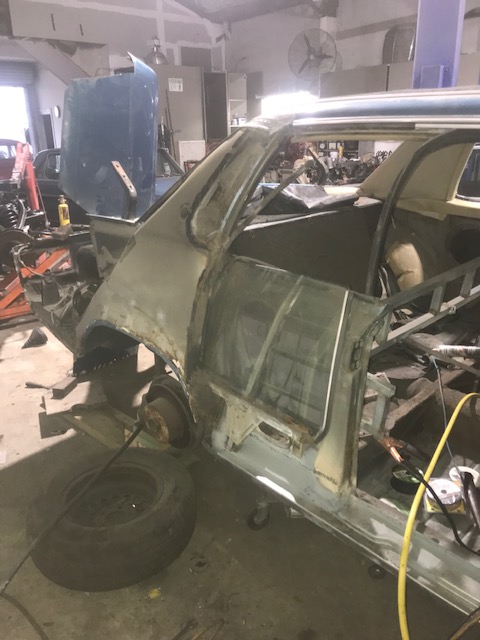
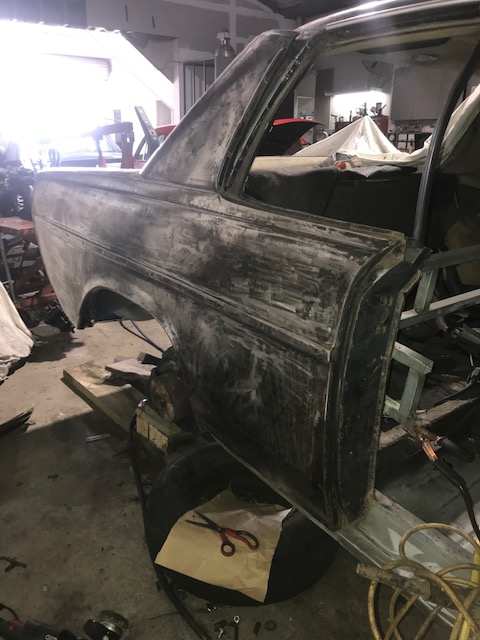
A client bought in a 280SL ‘pagoda’ which had a slight rust hole in the left rear wheel arch. While the car was on the hoist I saw a lot more rust than was known about,A section of floor underseal was removed ,then the left hand box section under the seat was cut open to reveal even more rust.
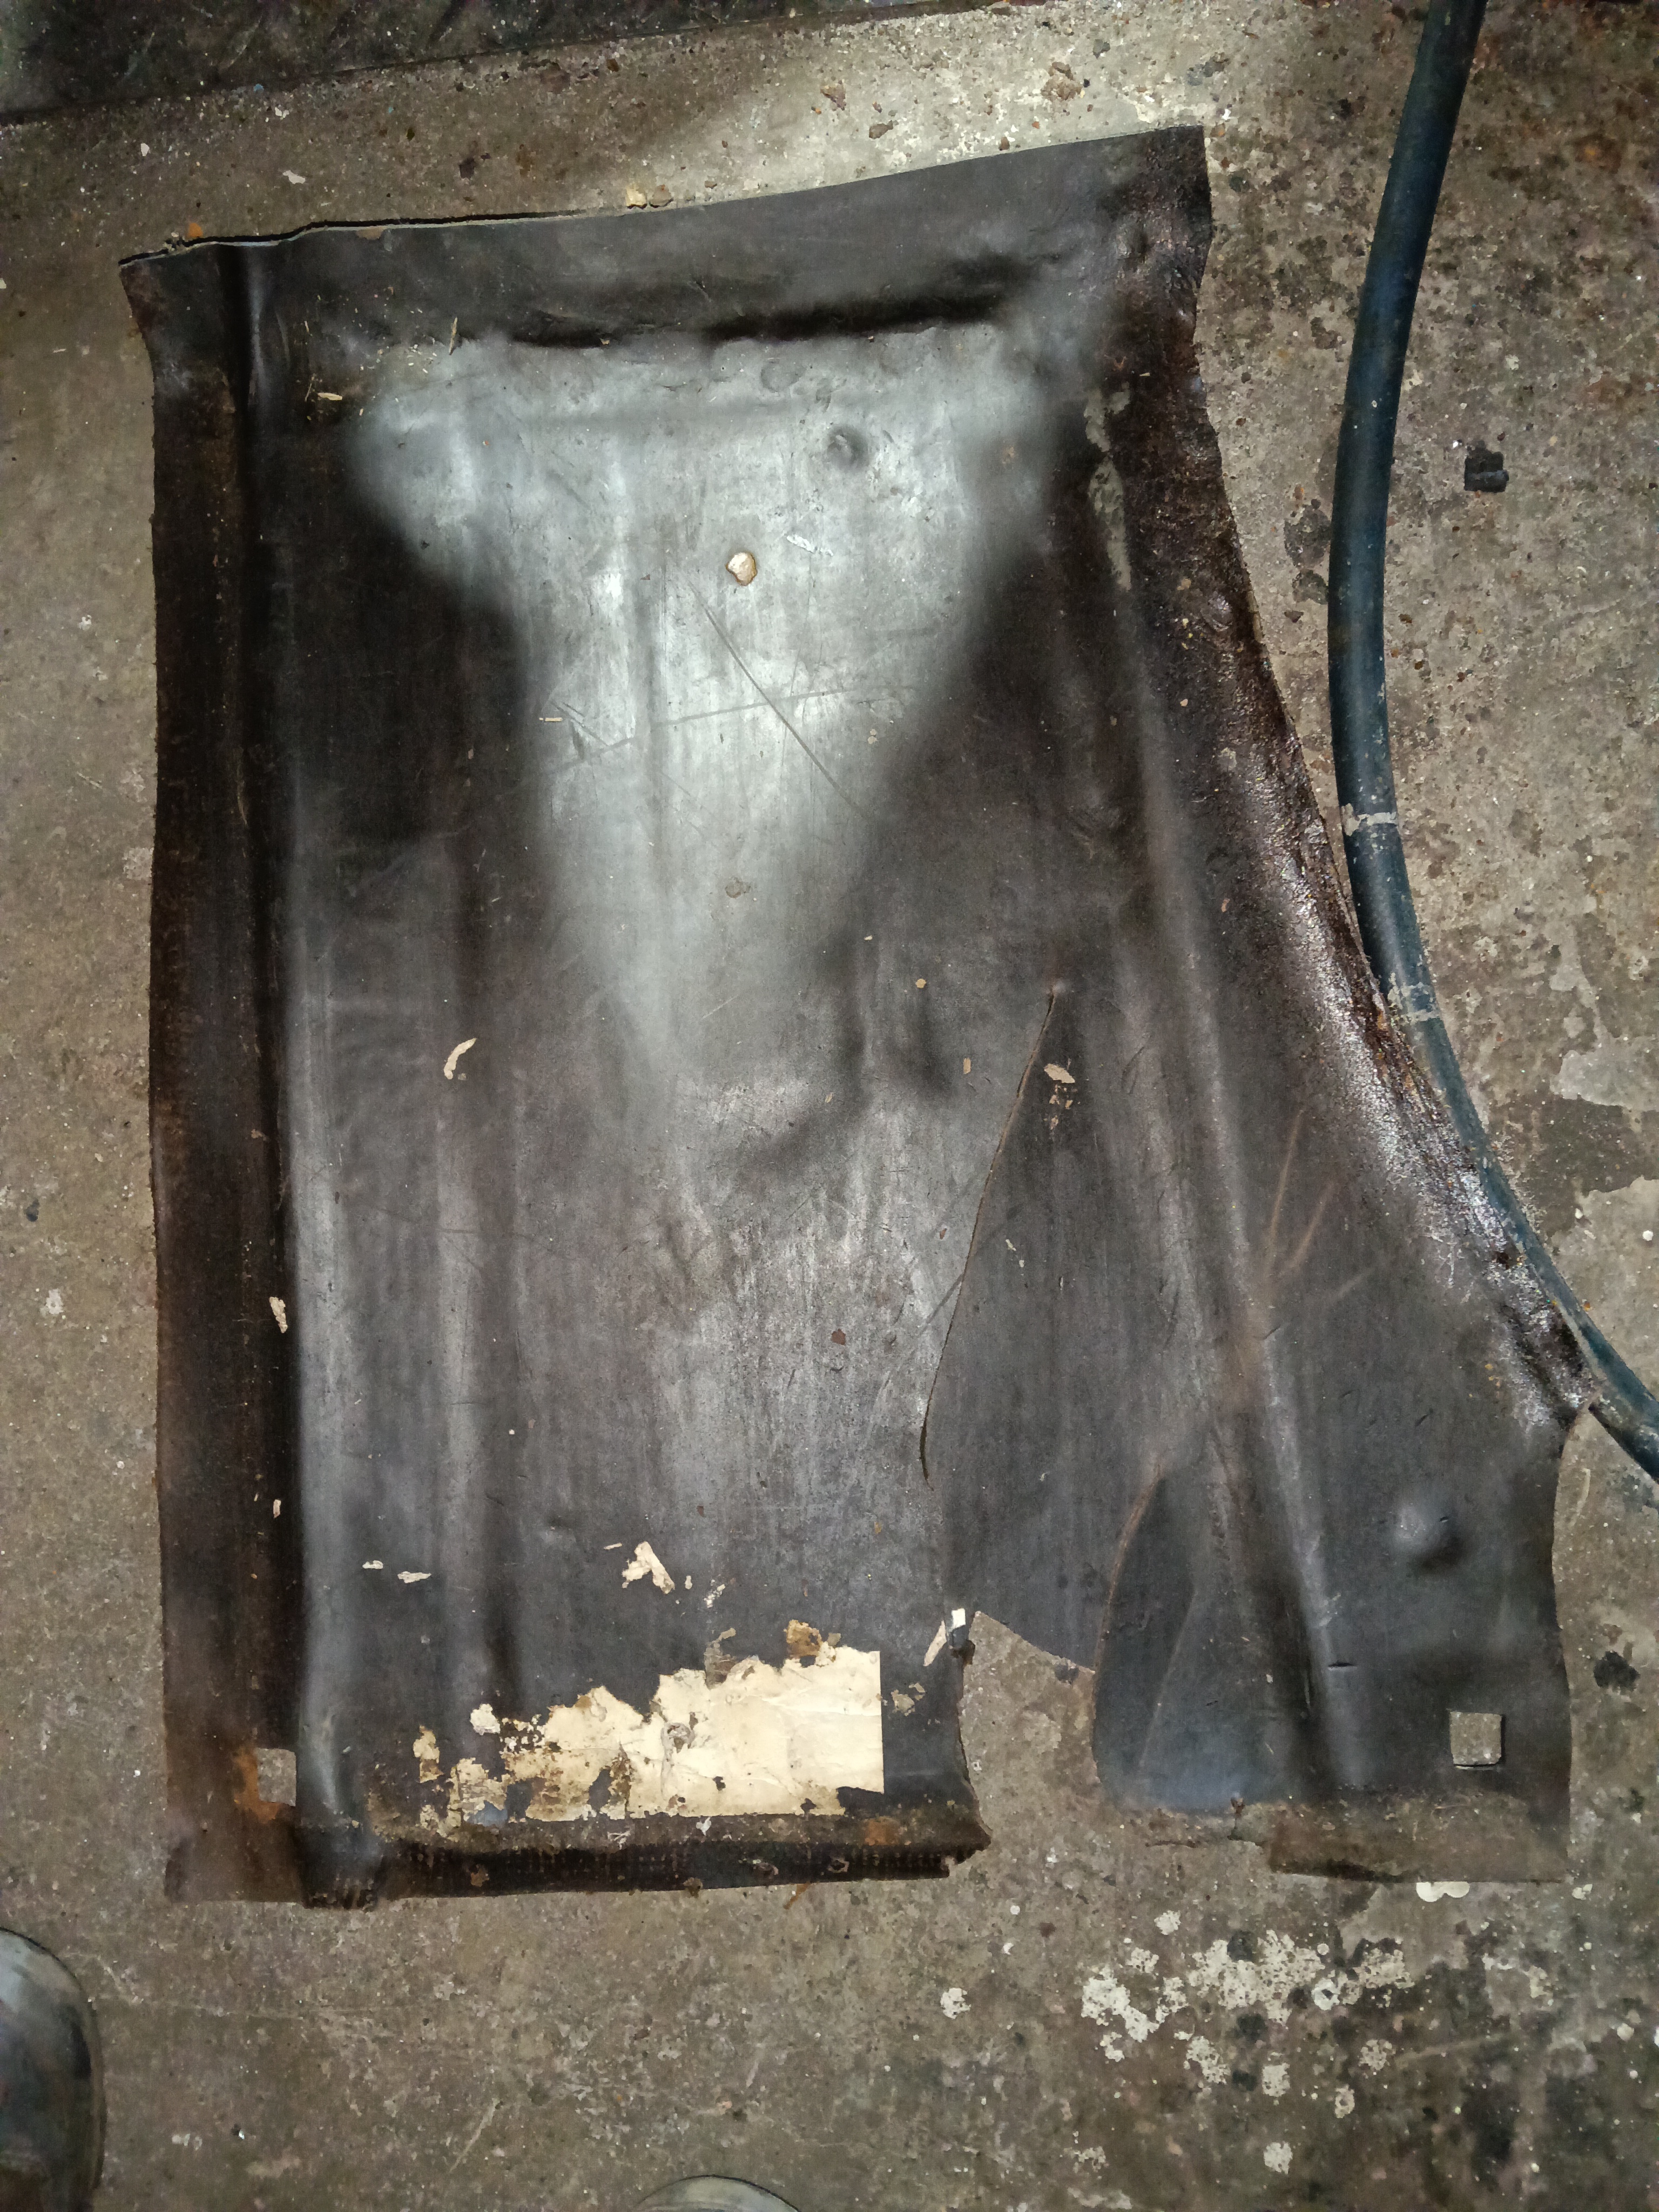
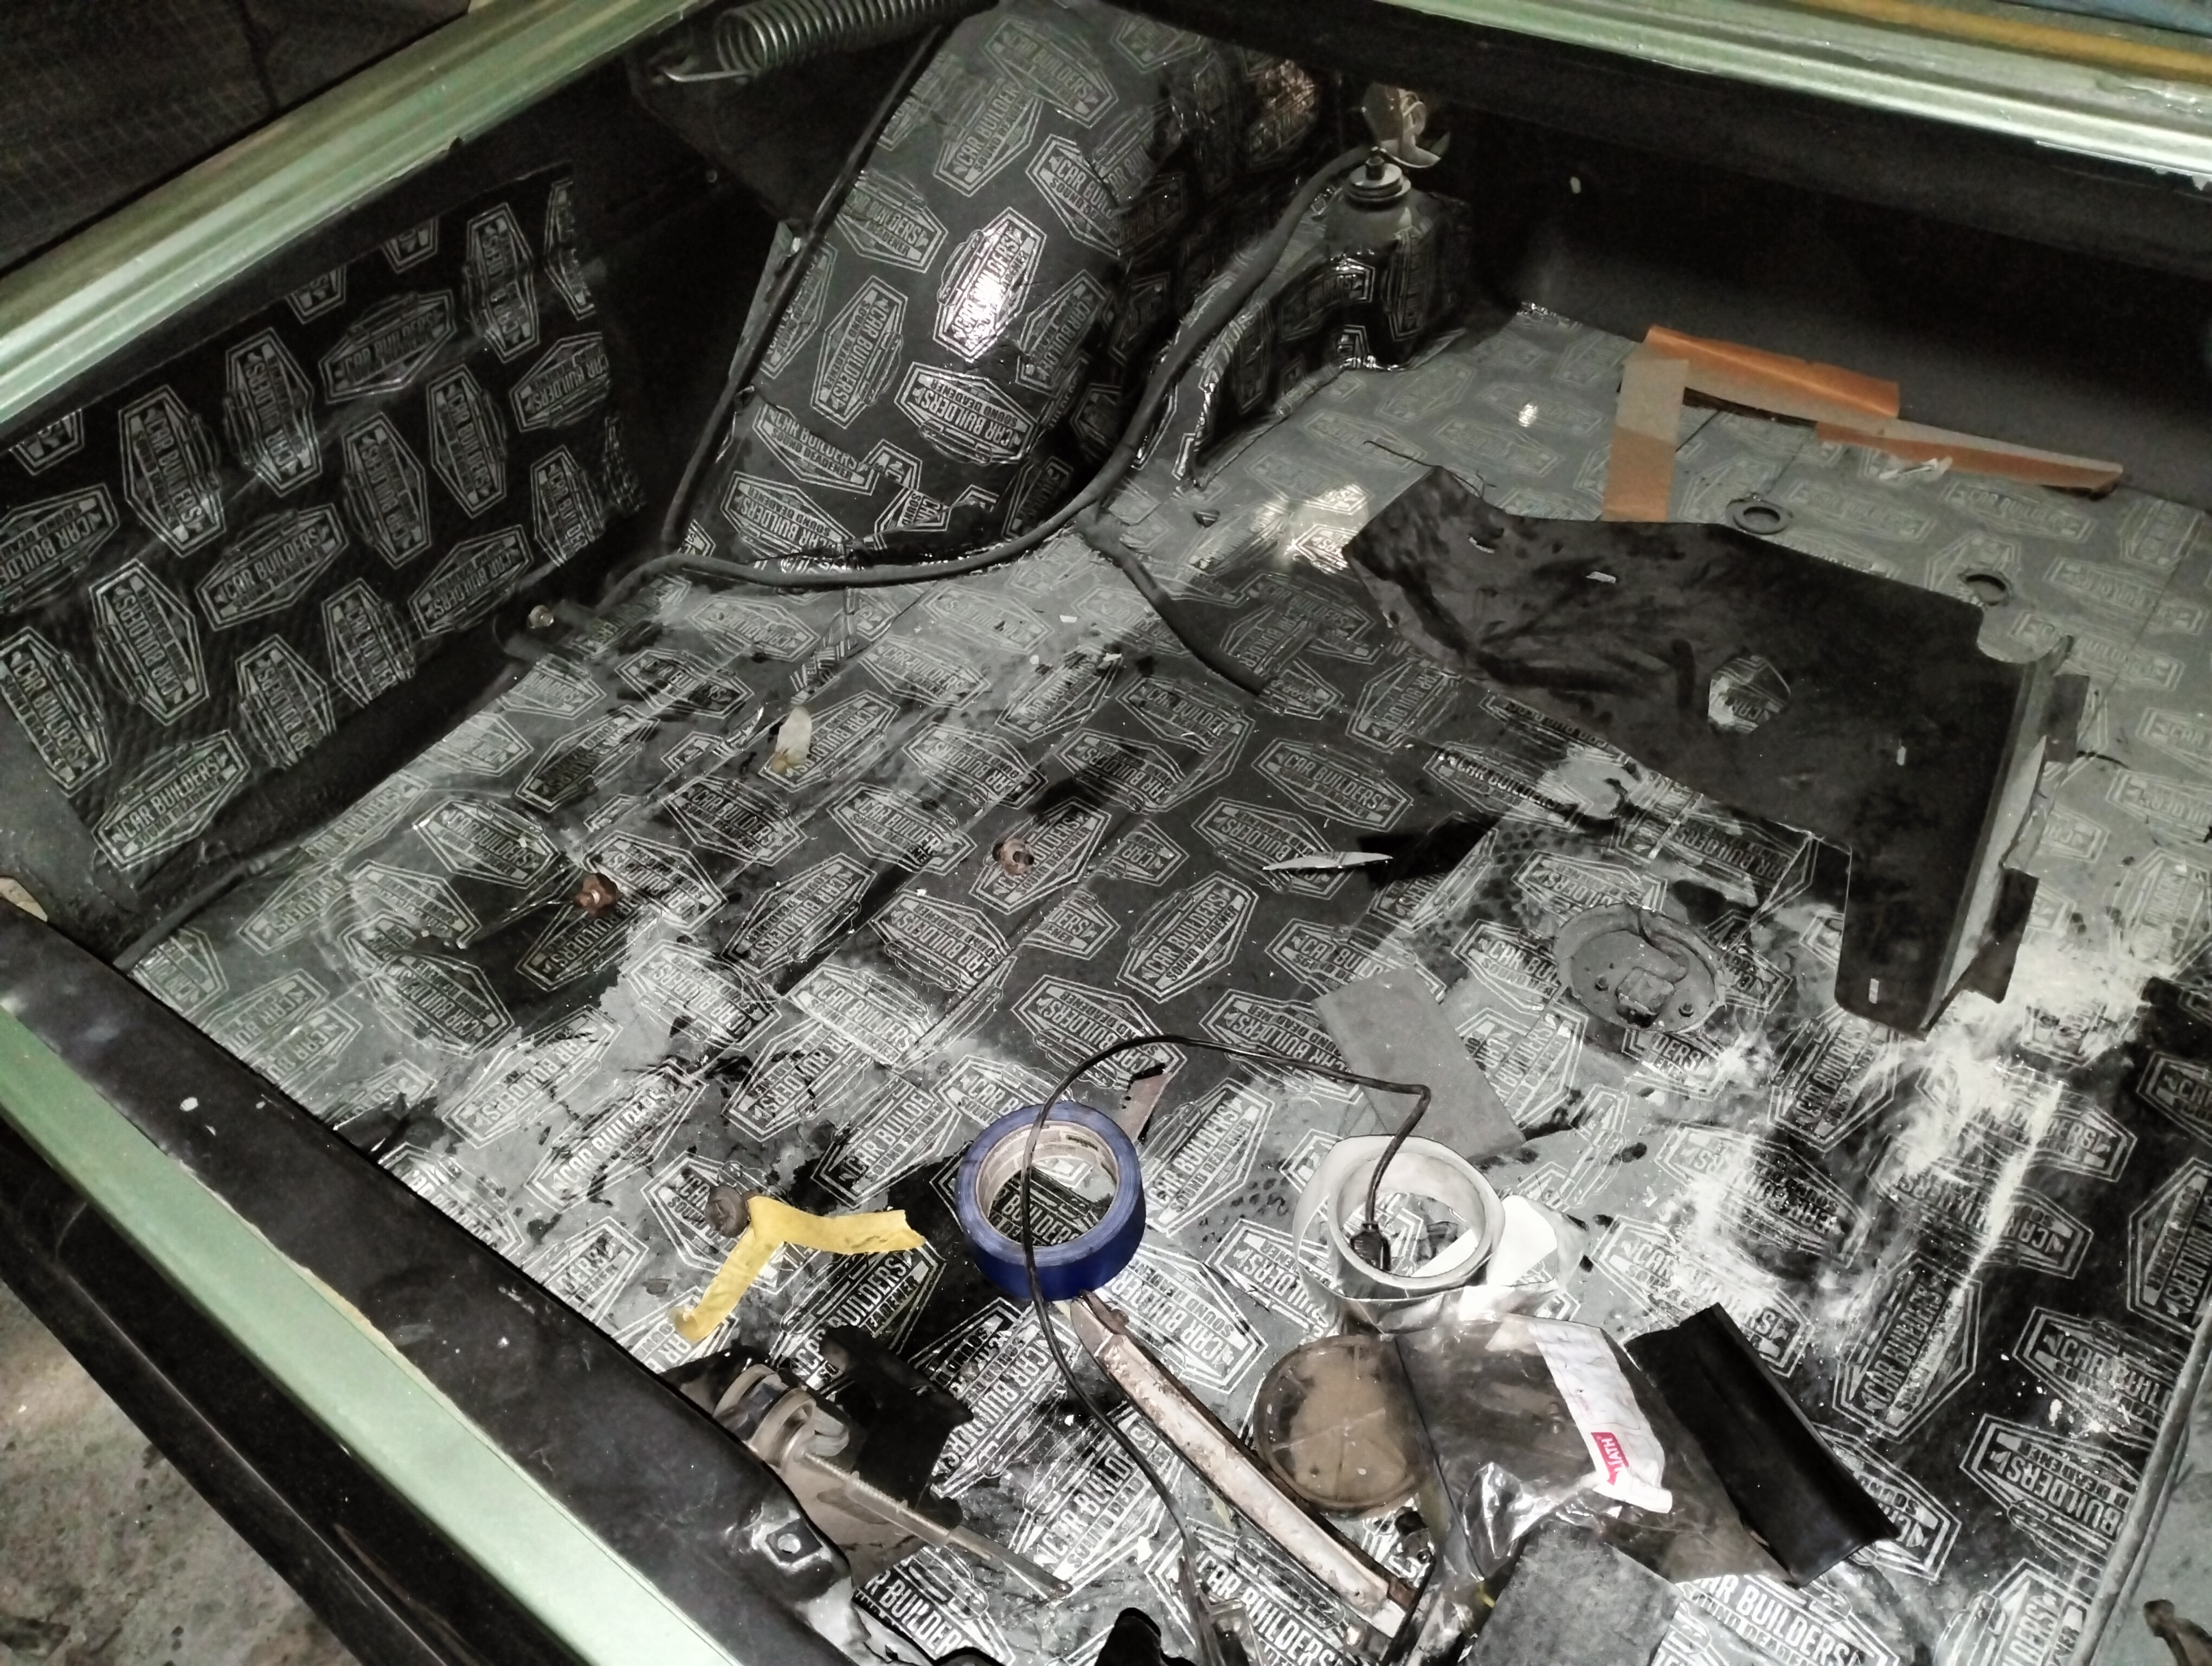
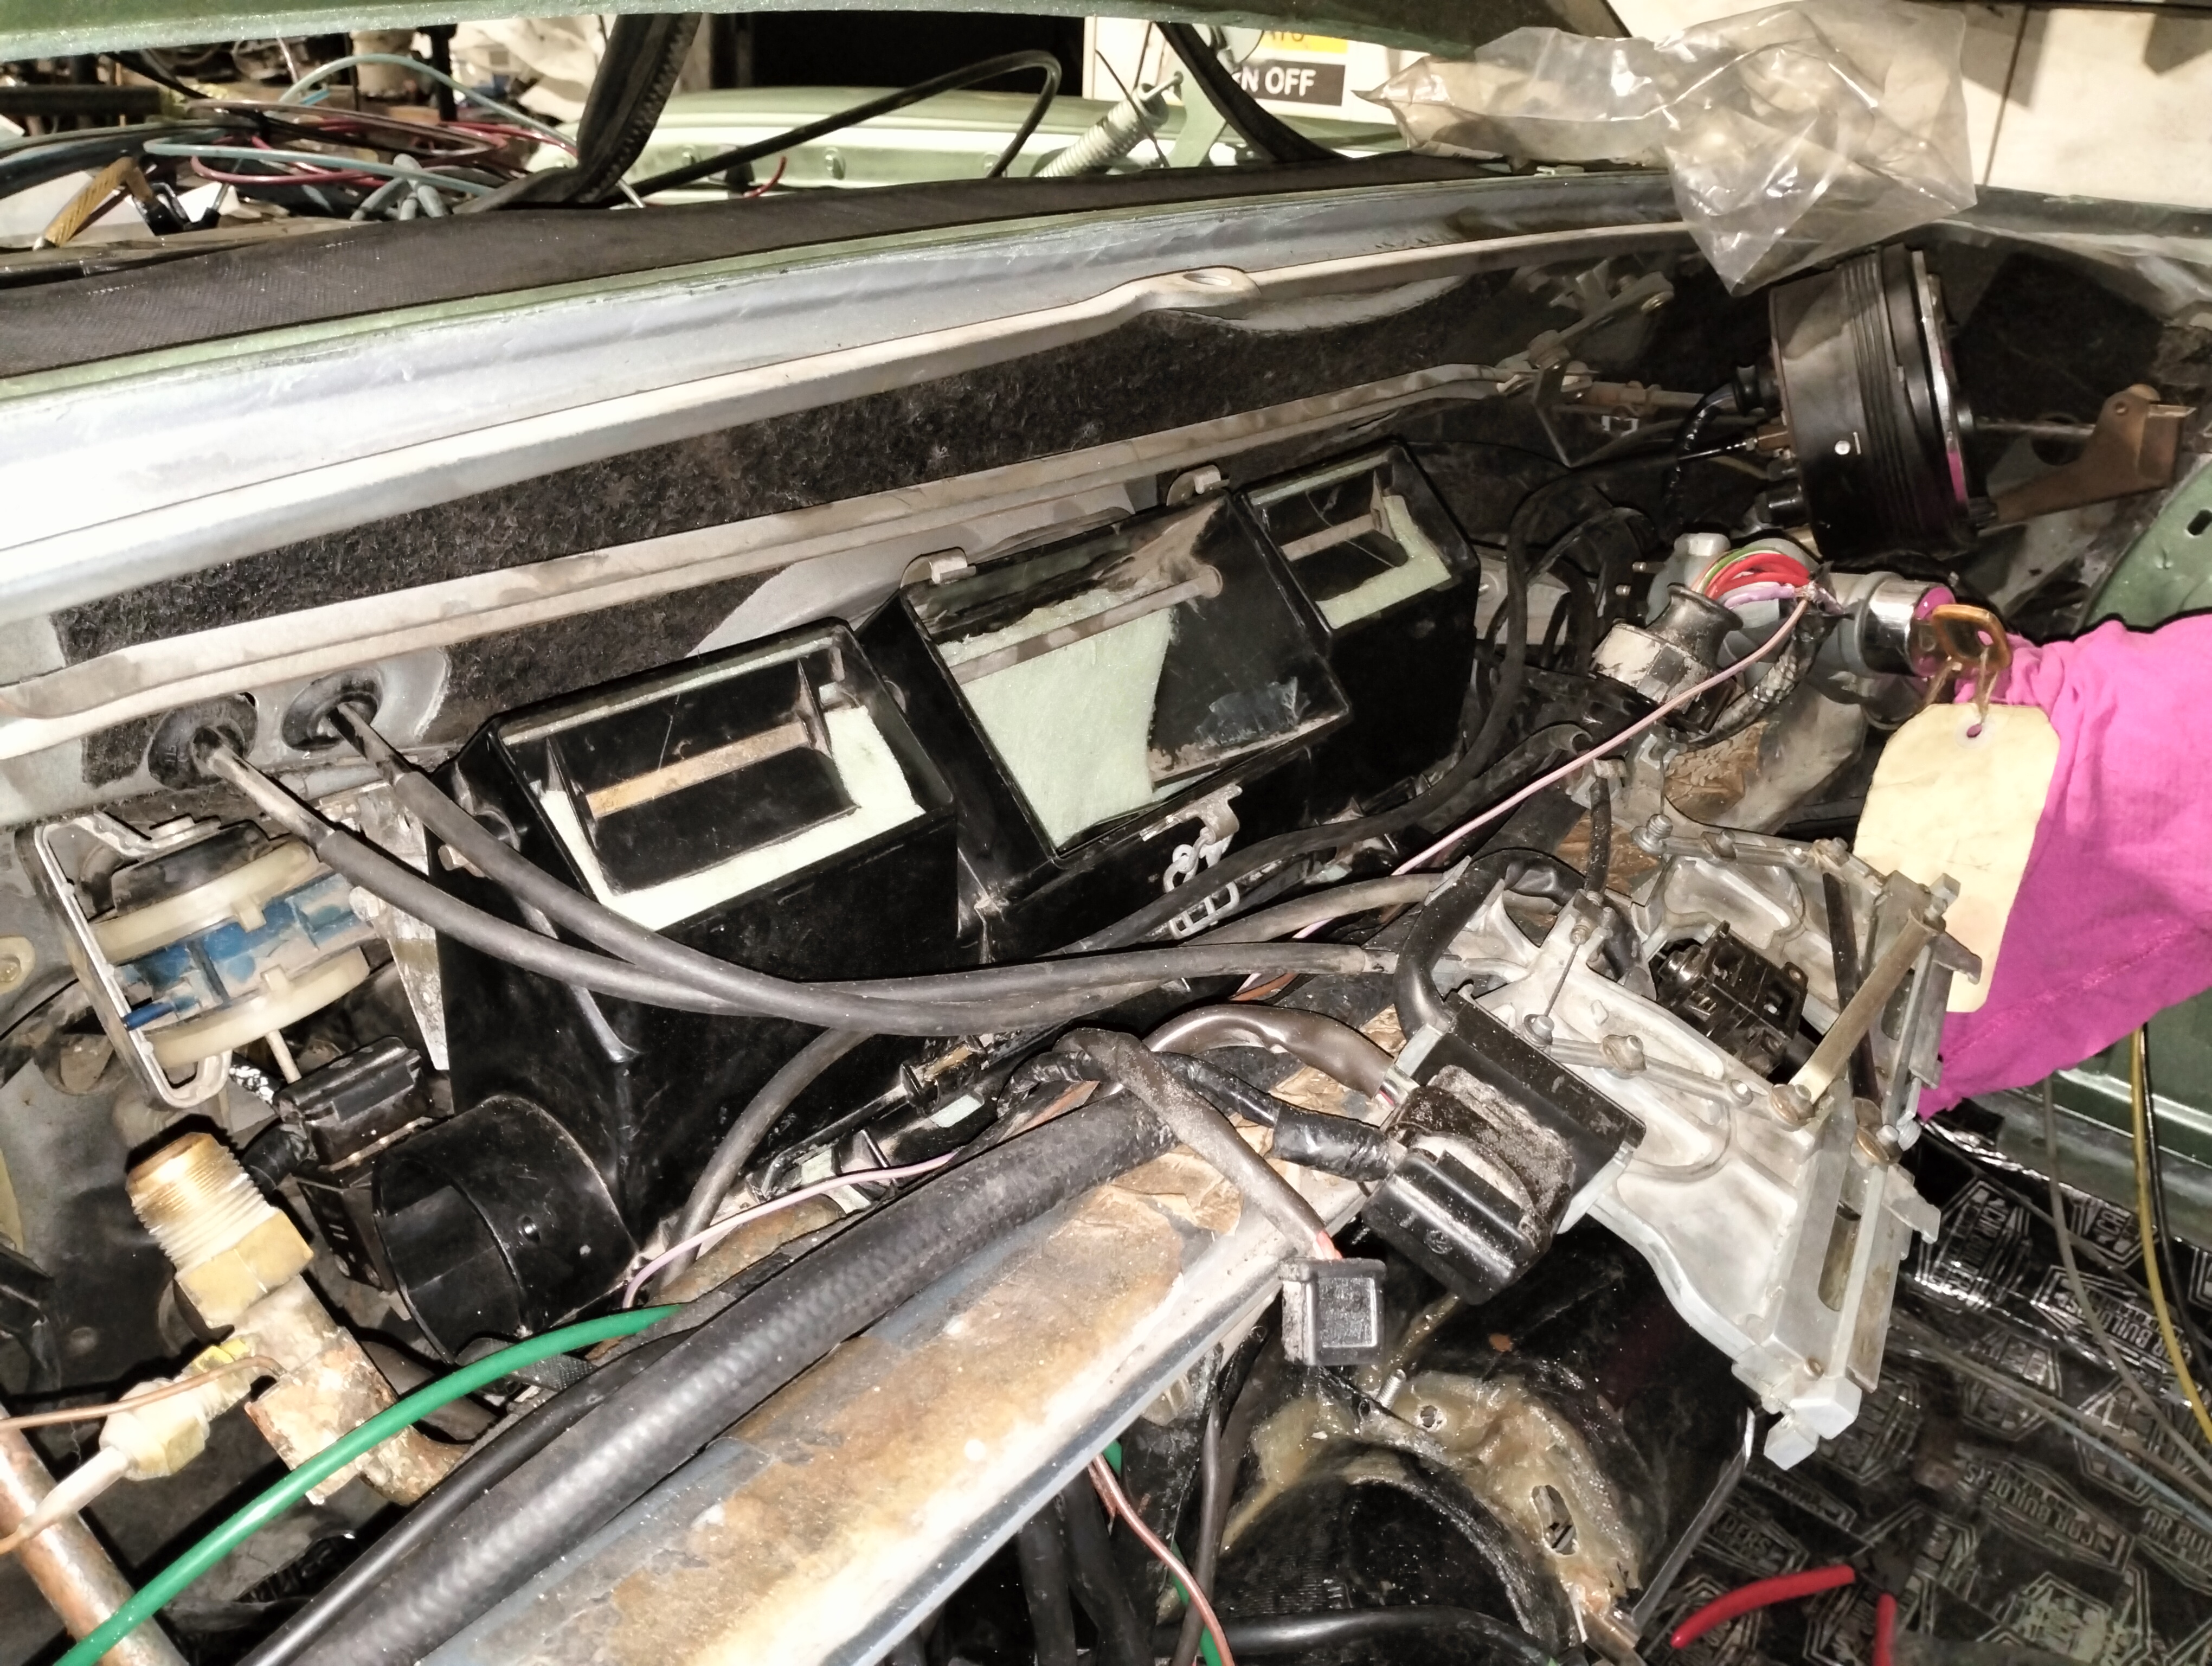
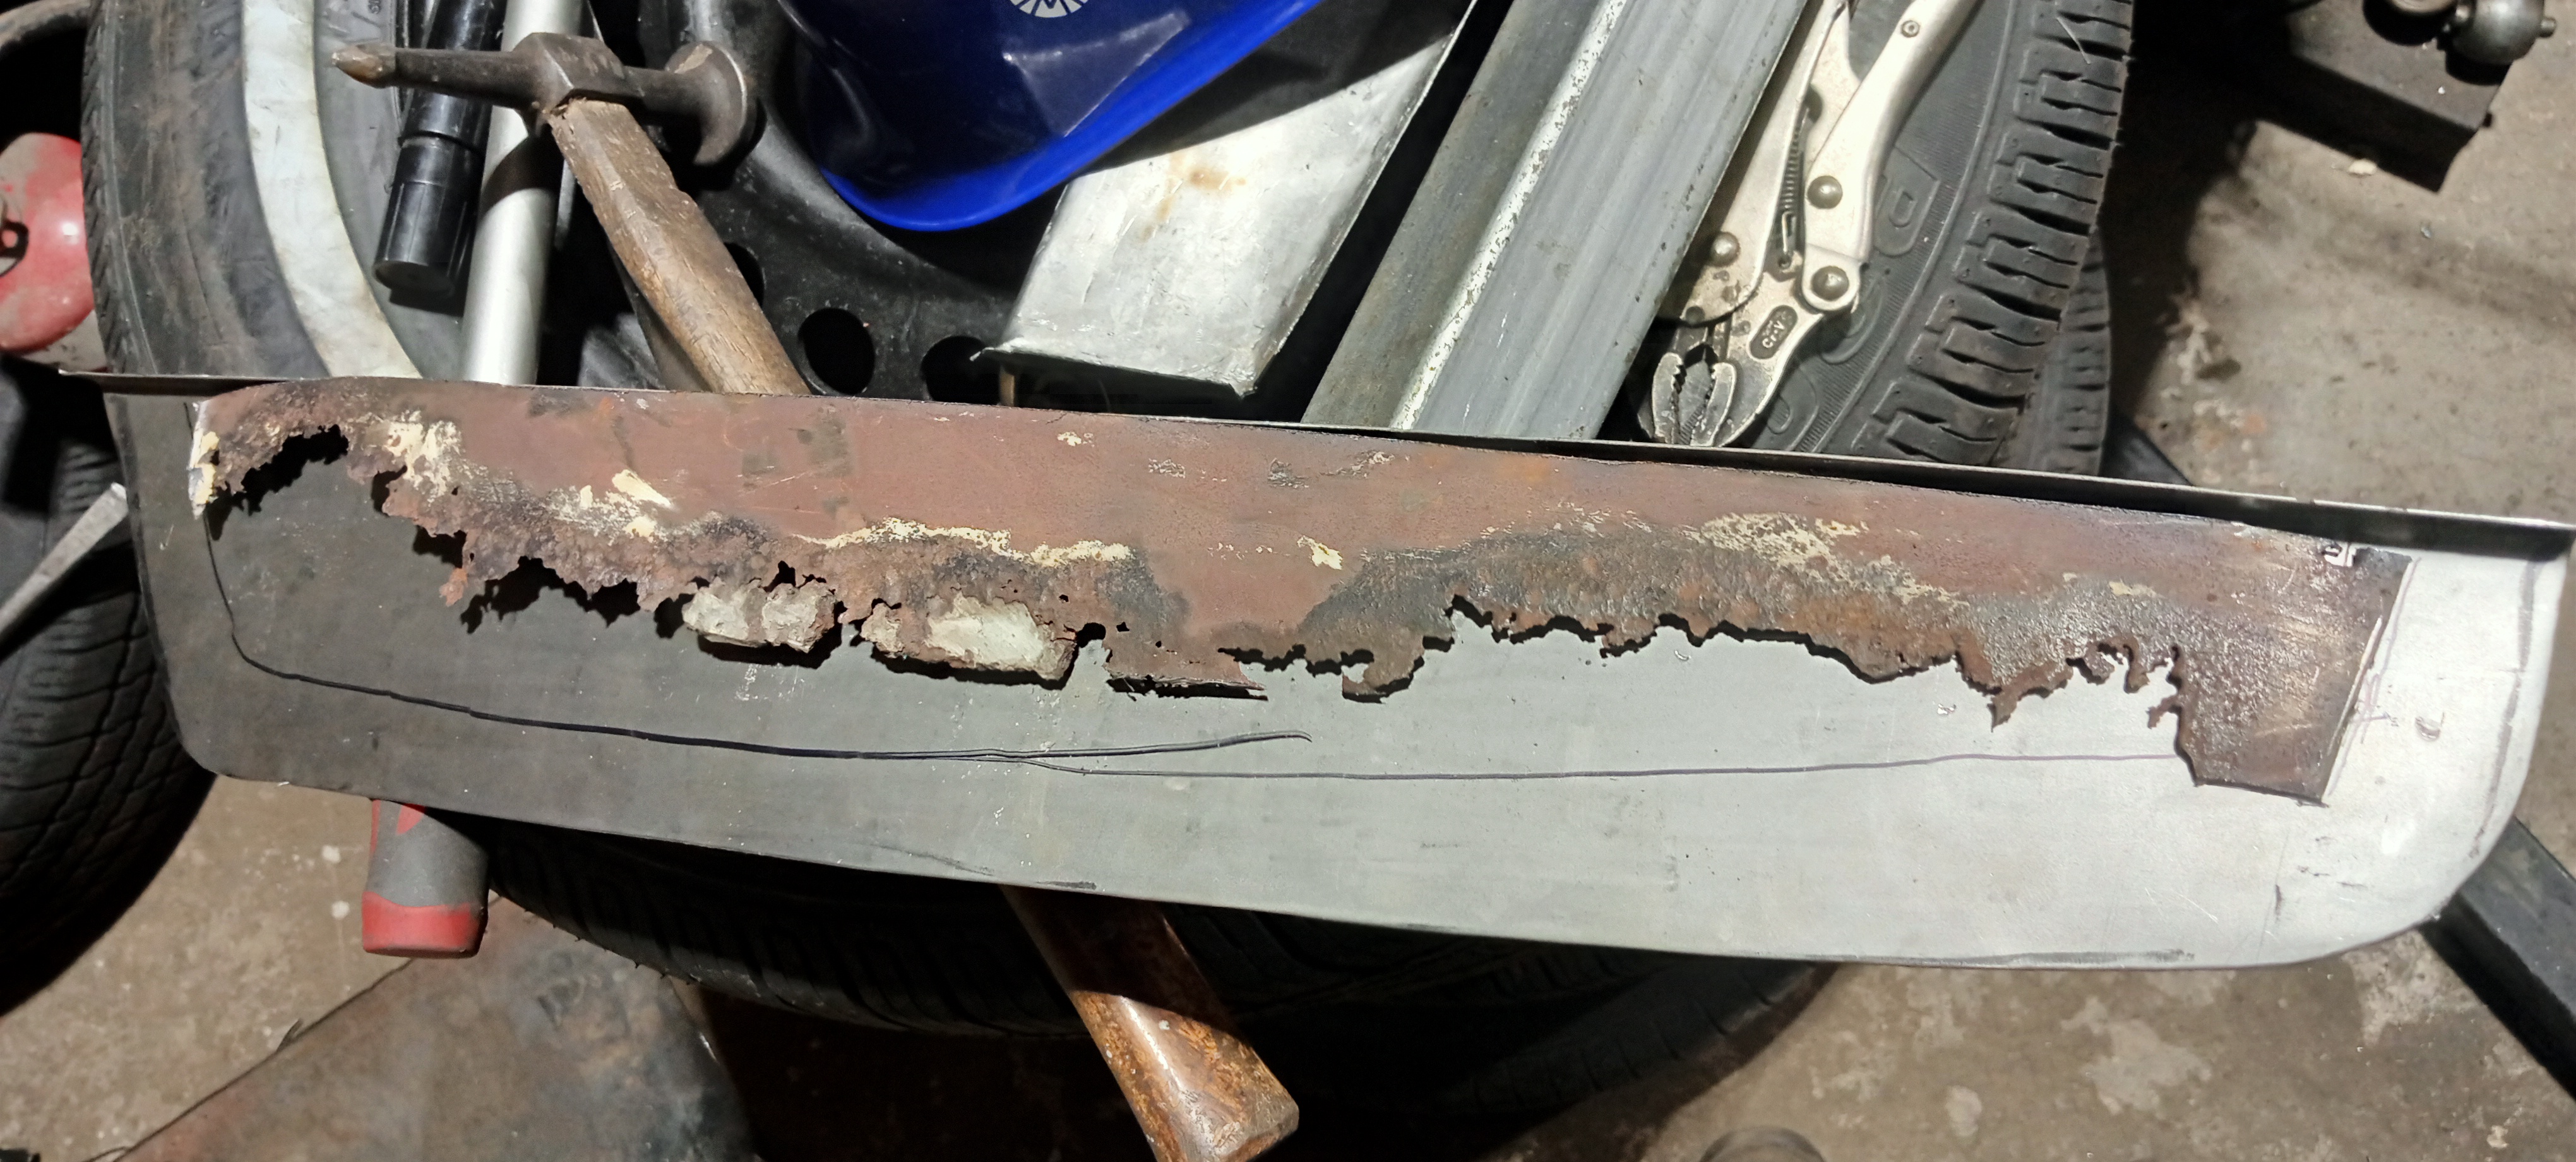
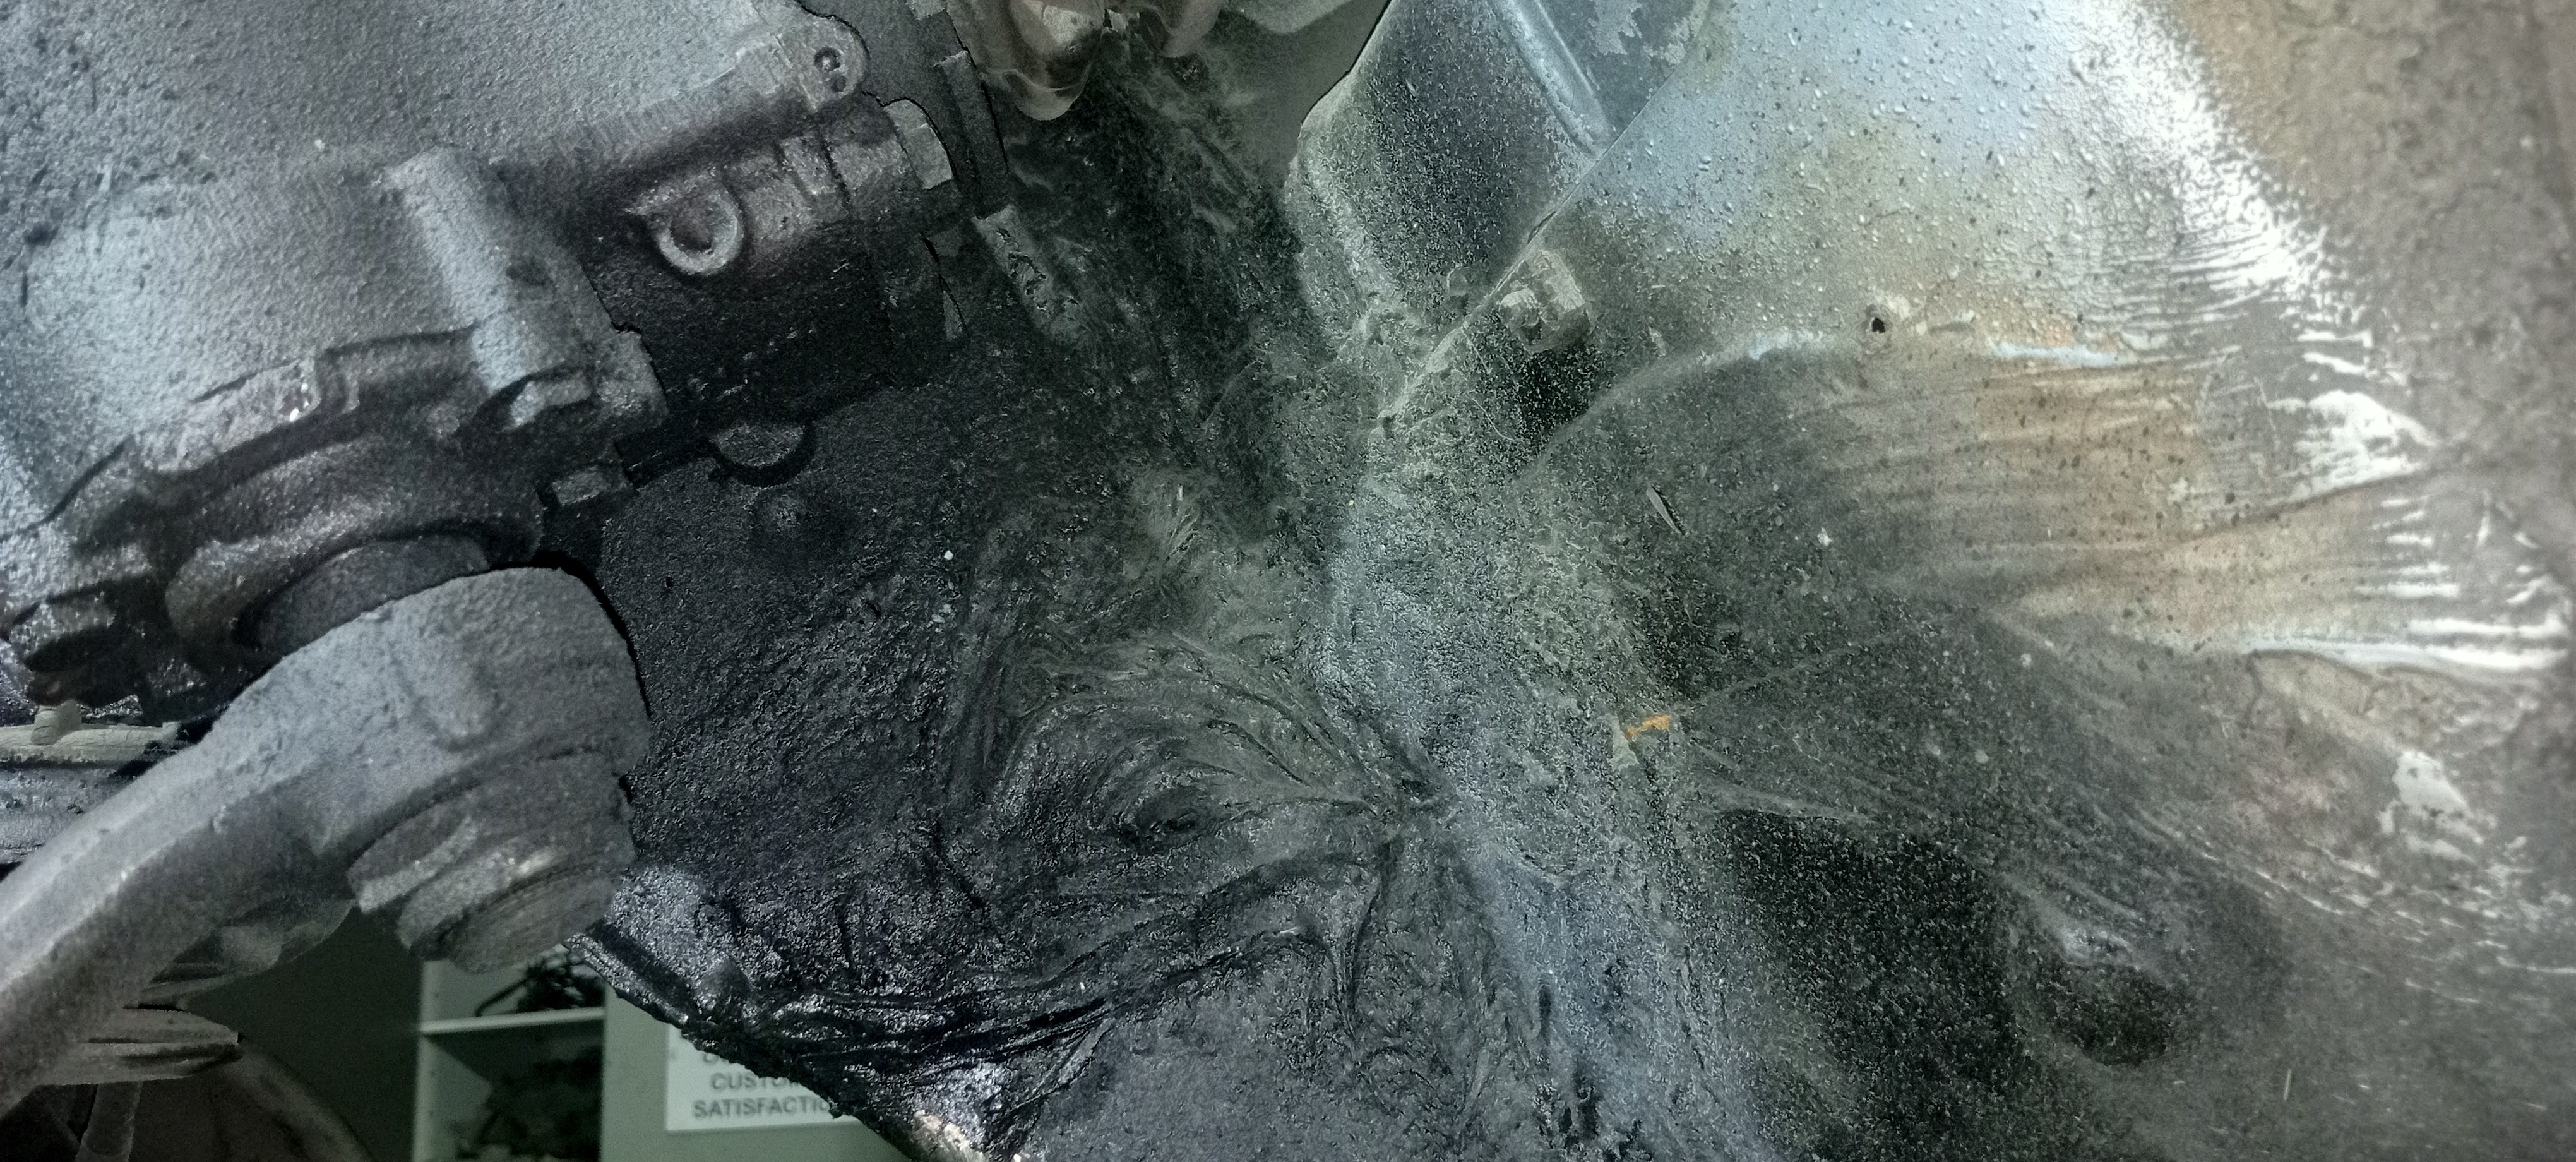
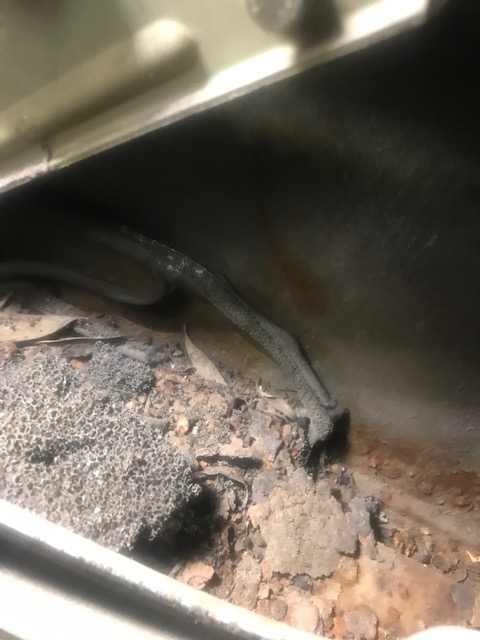
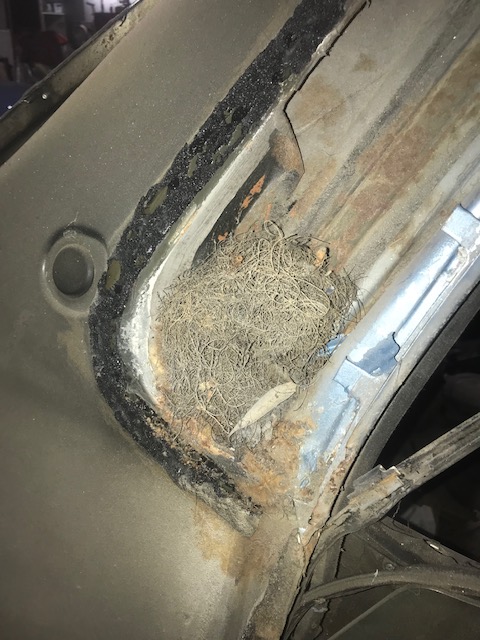
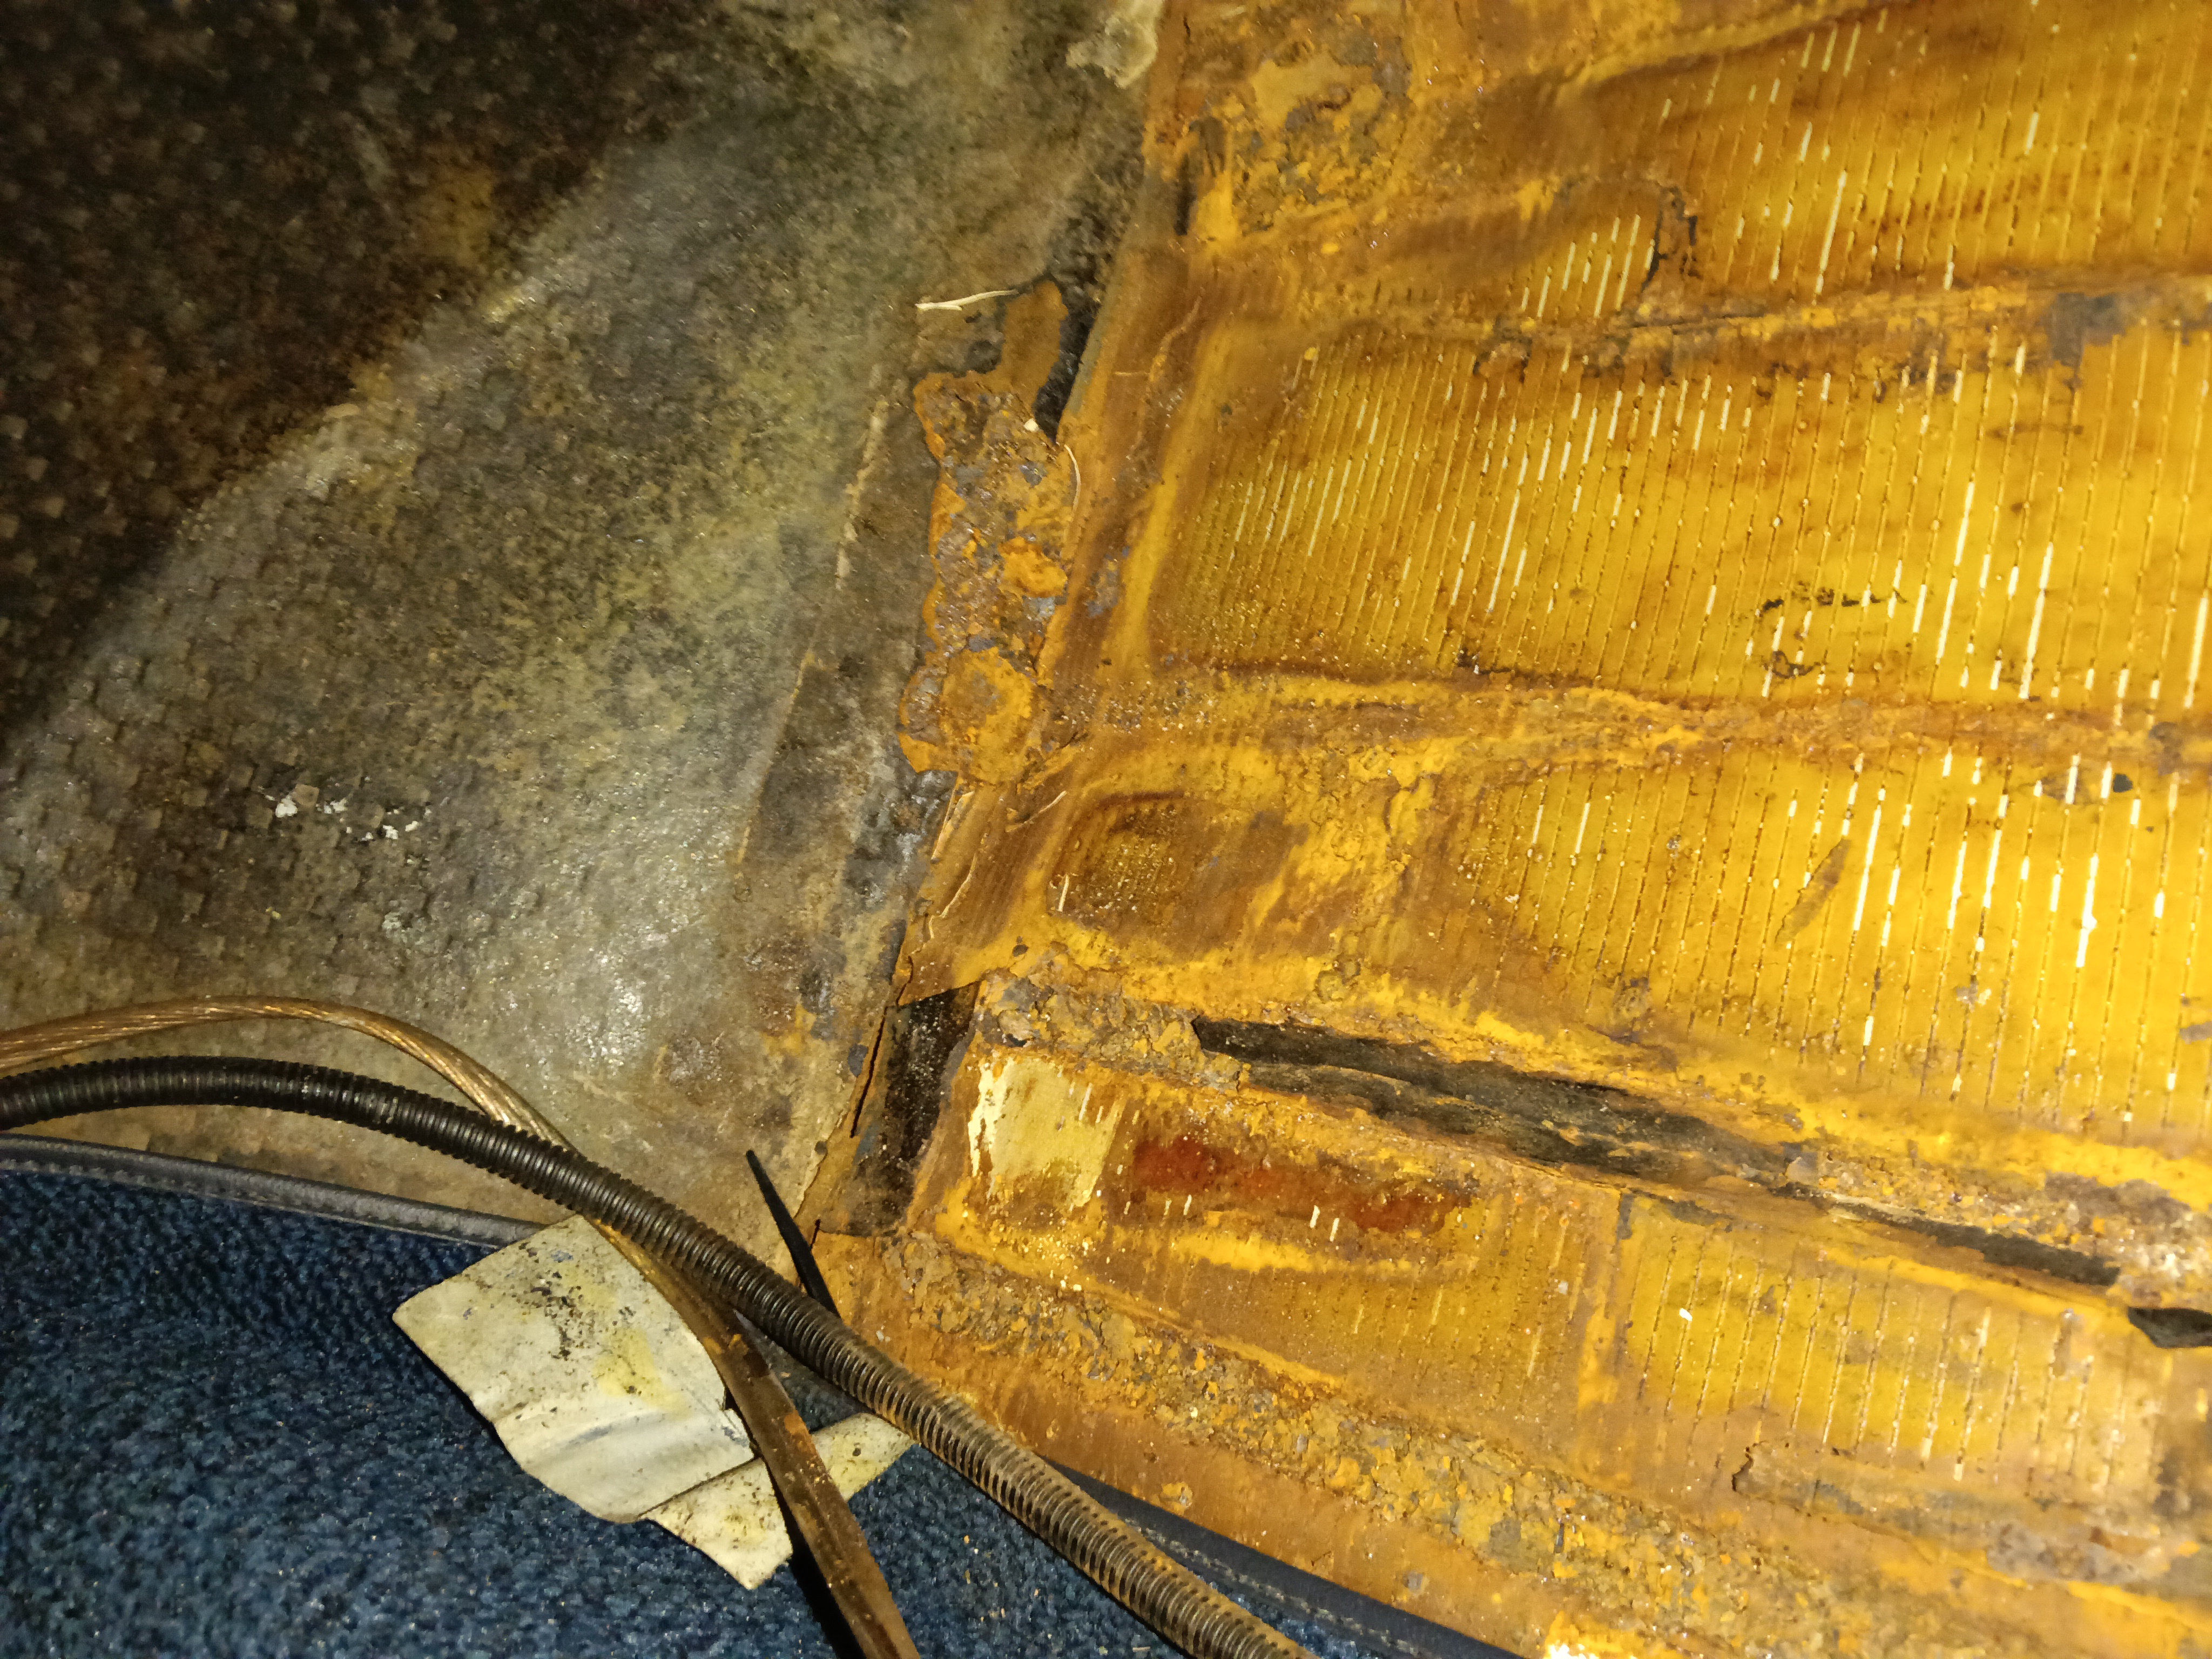
Much of the rust was hidden under bituminous sound deadening pads ,these took a long time to remove.Although this one came out in one piece.
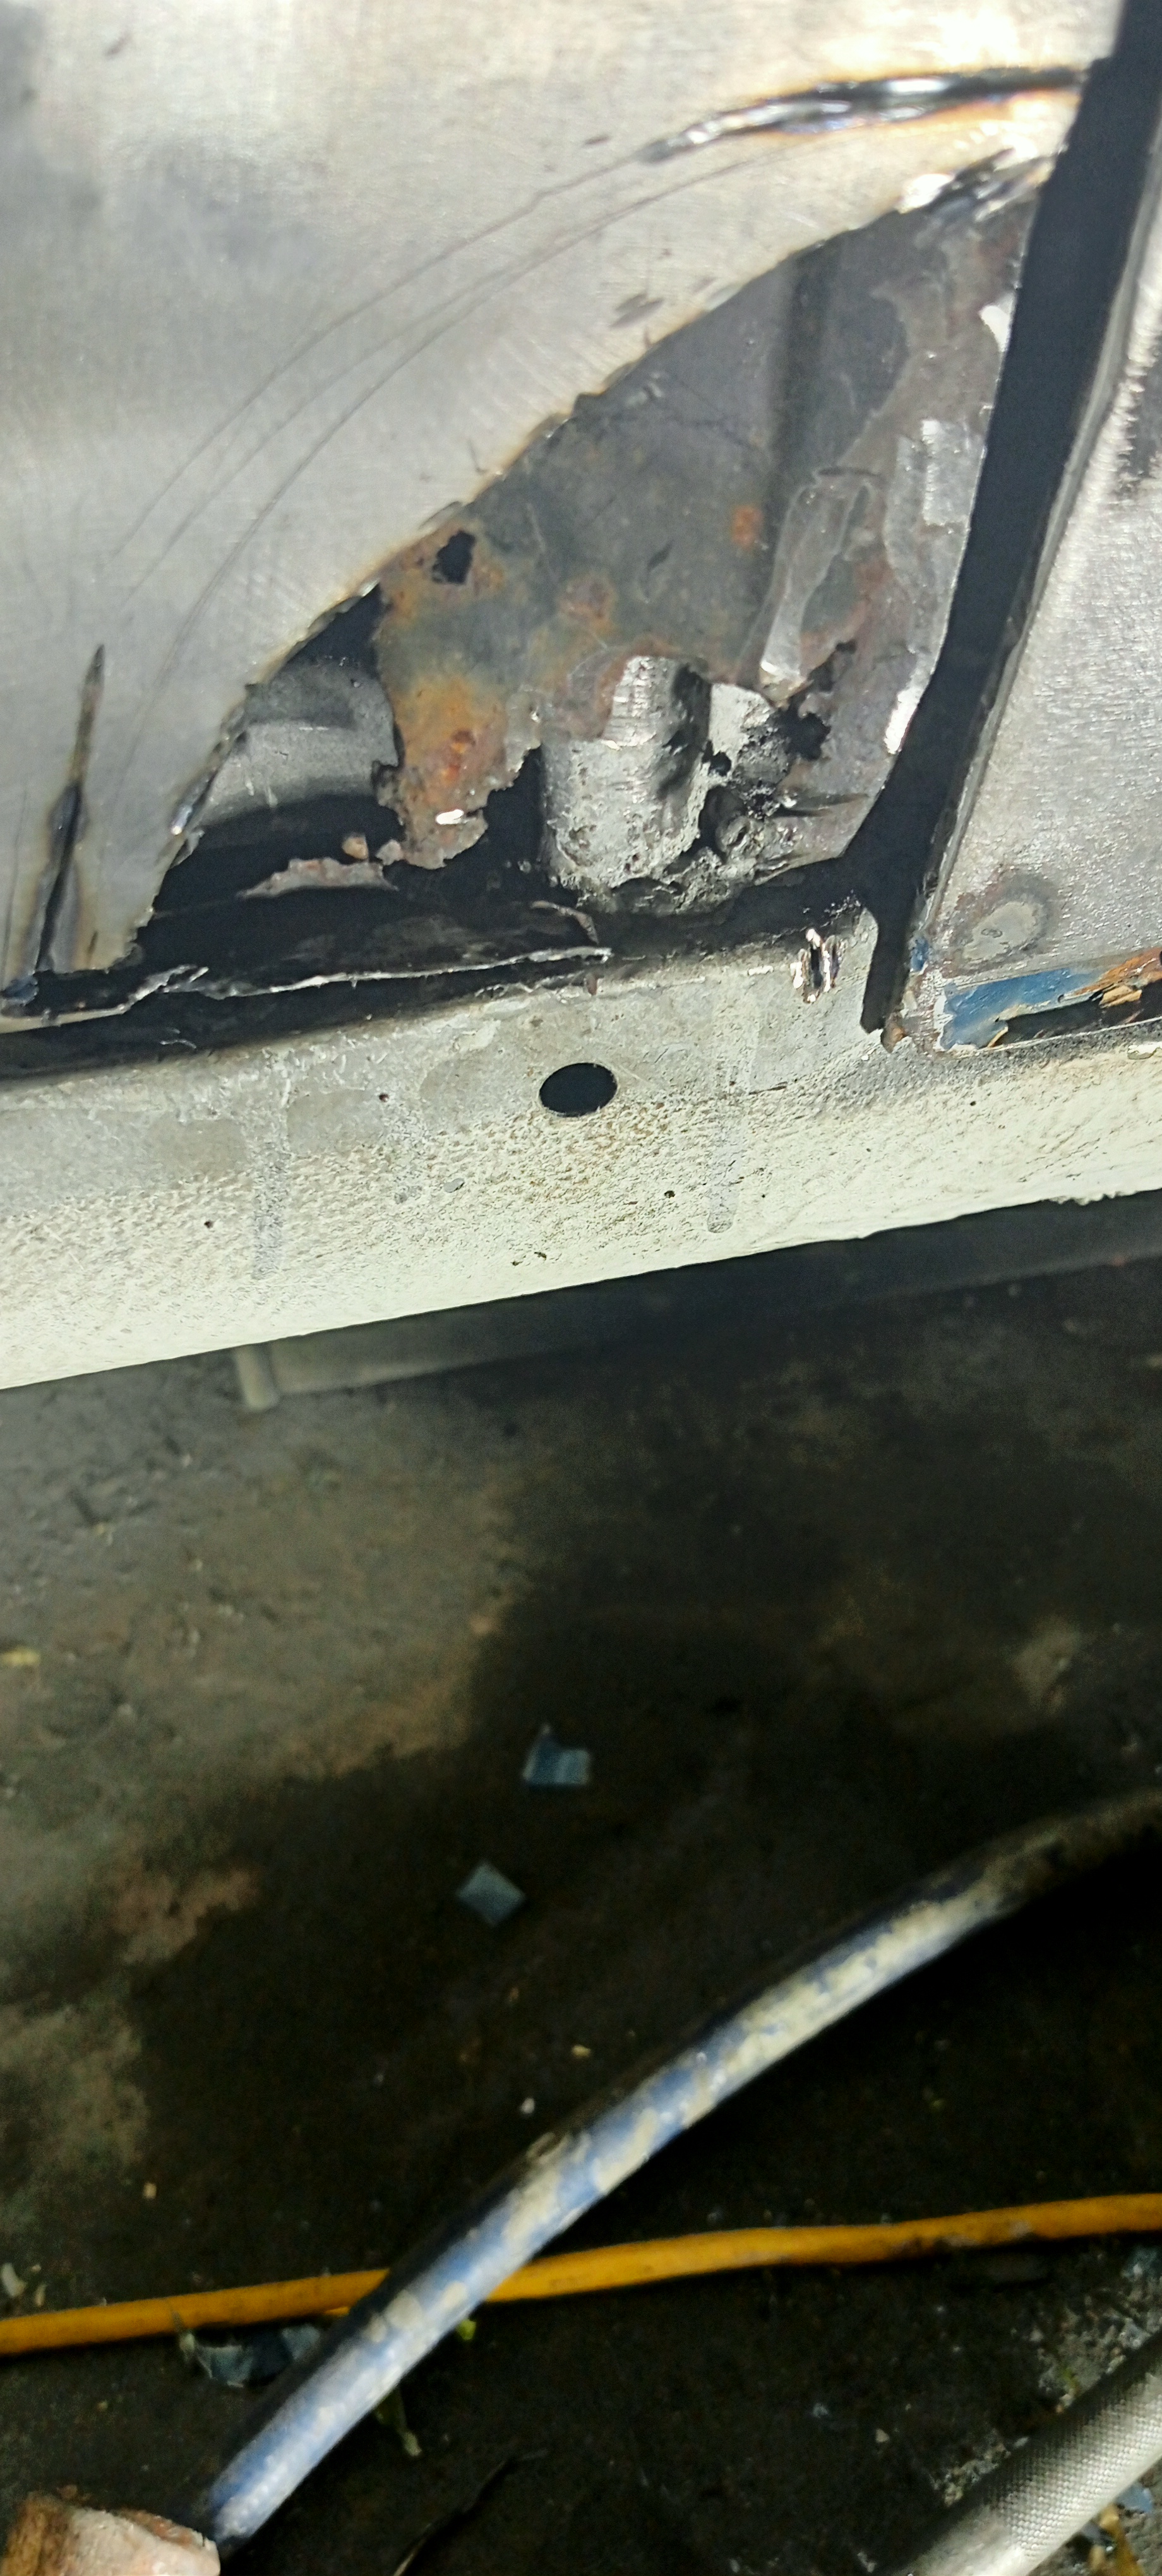
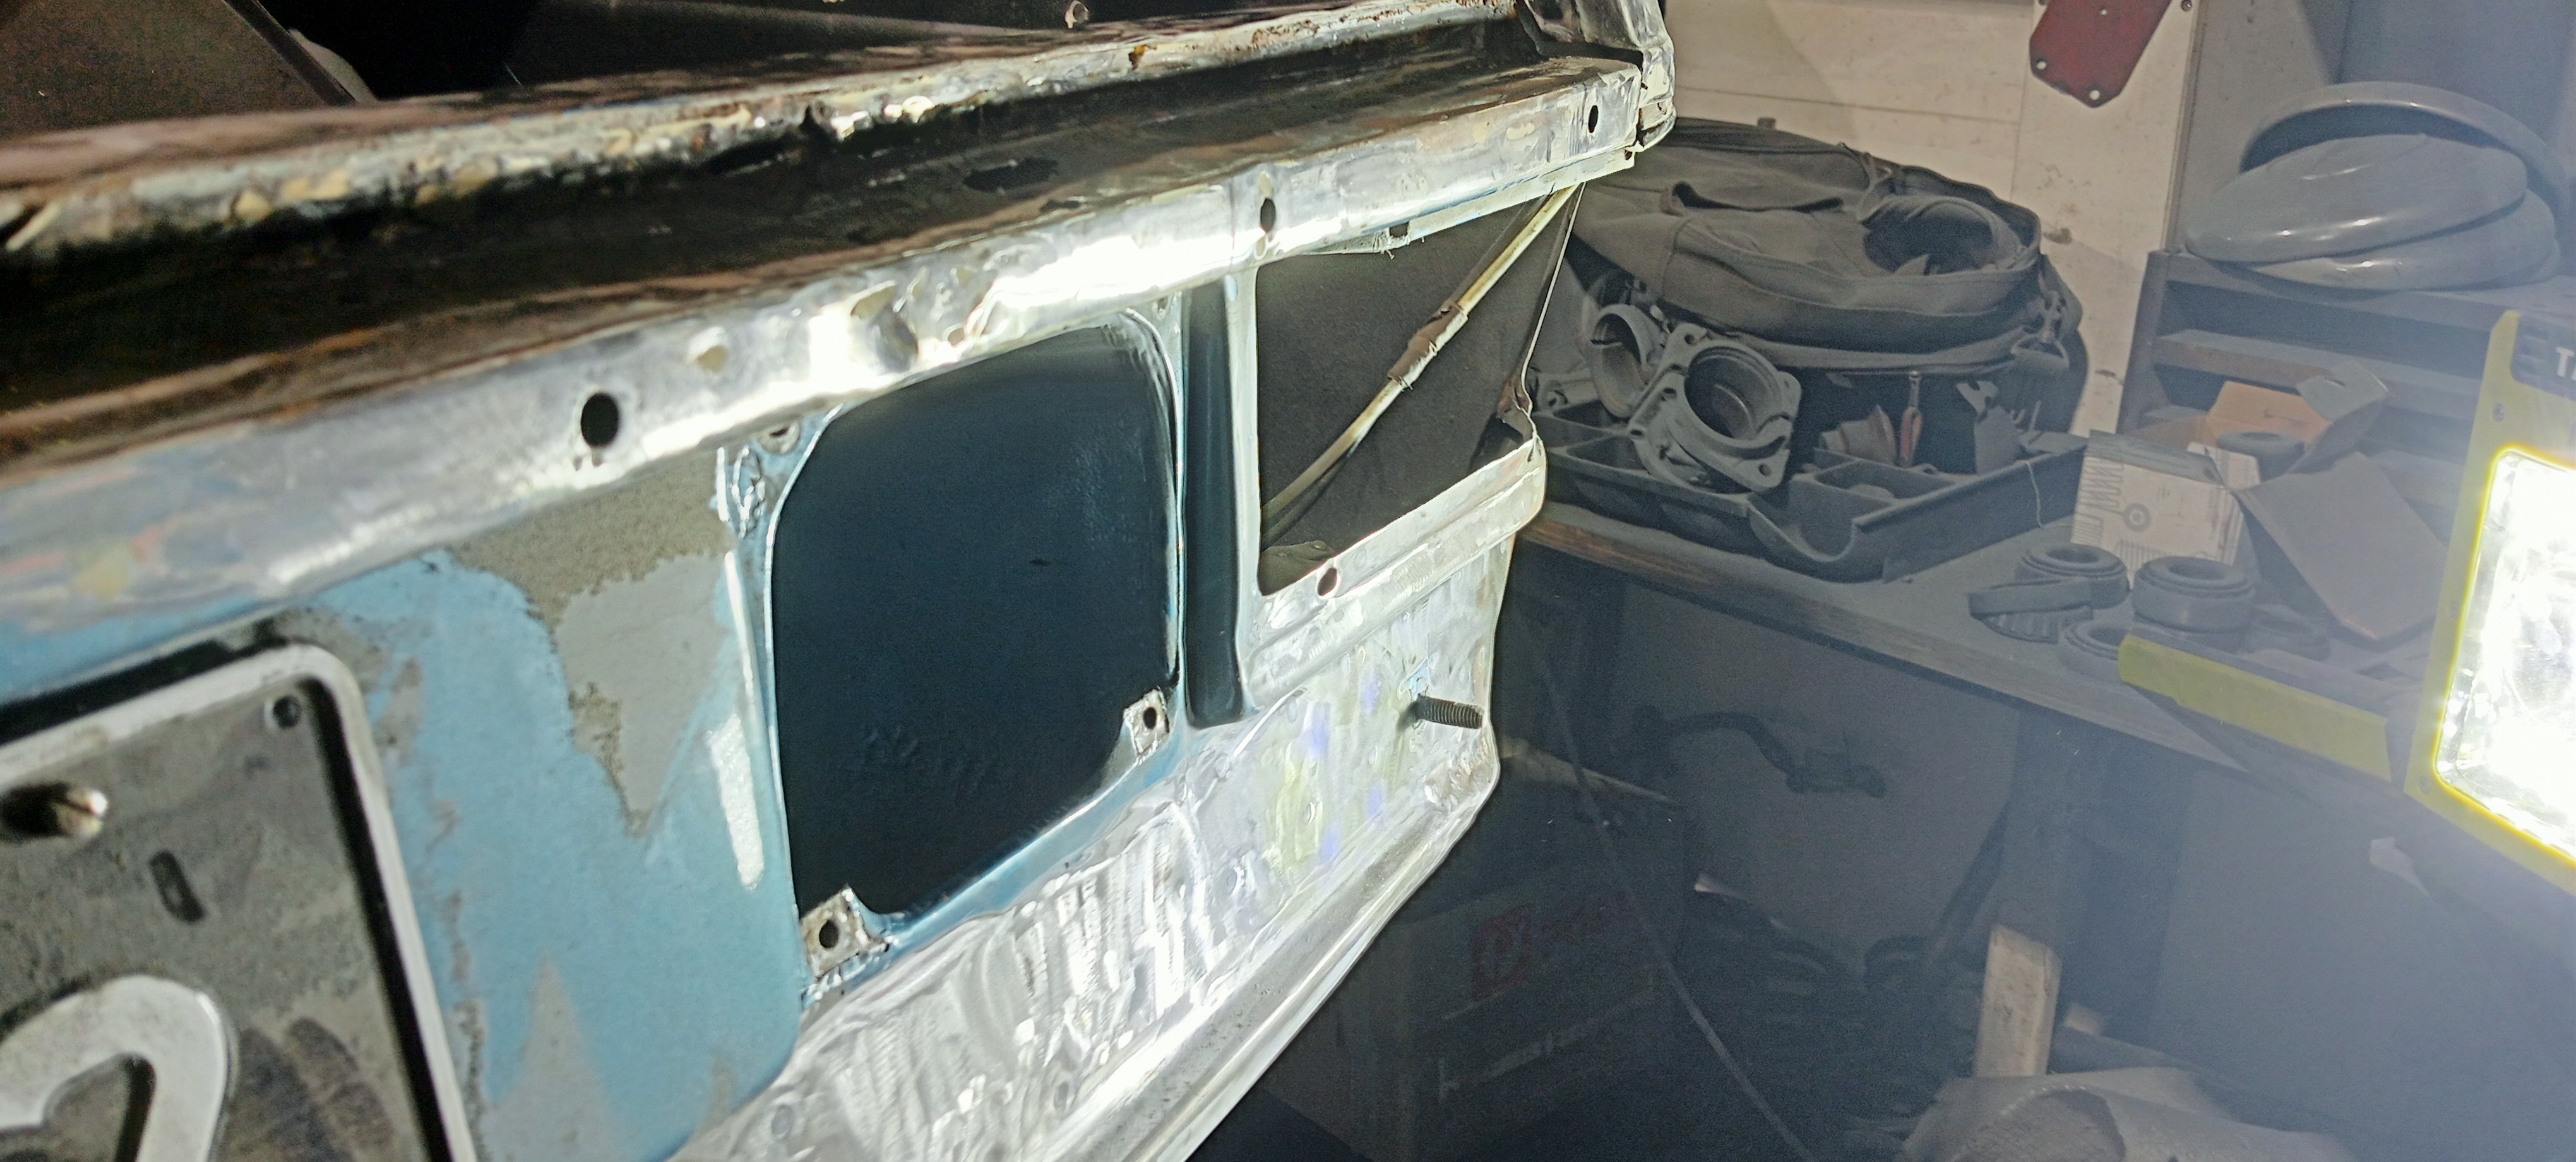
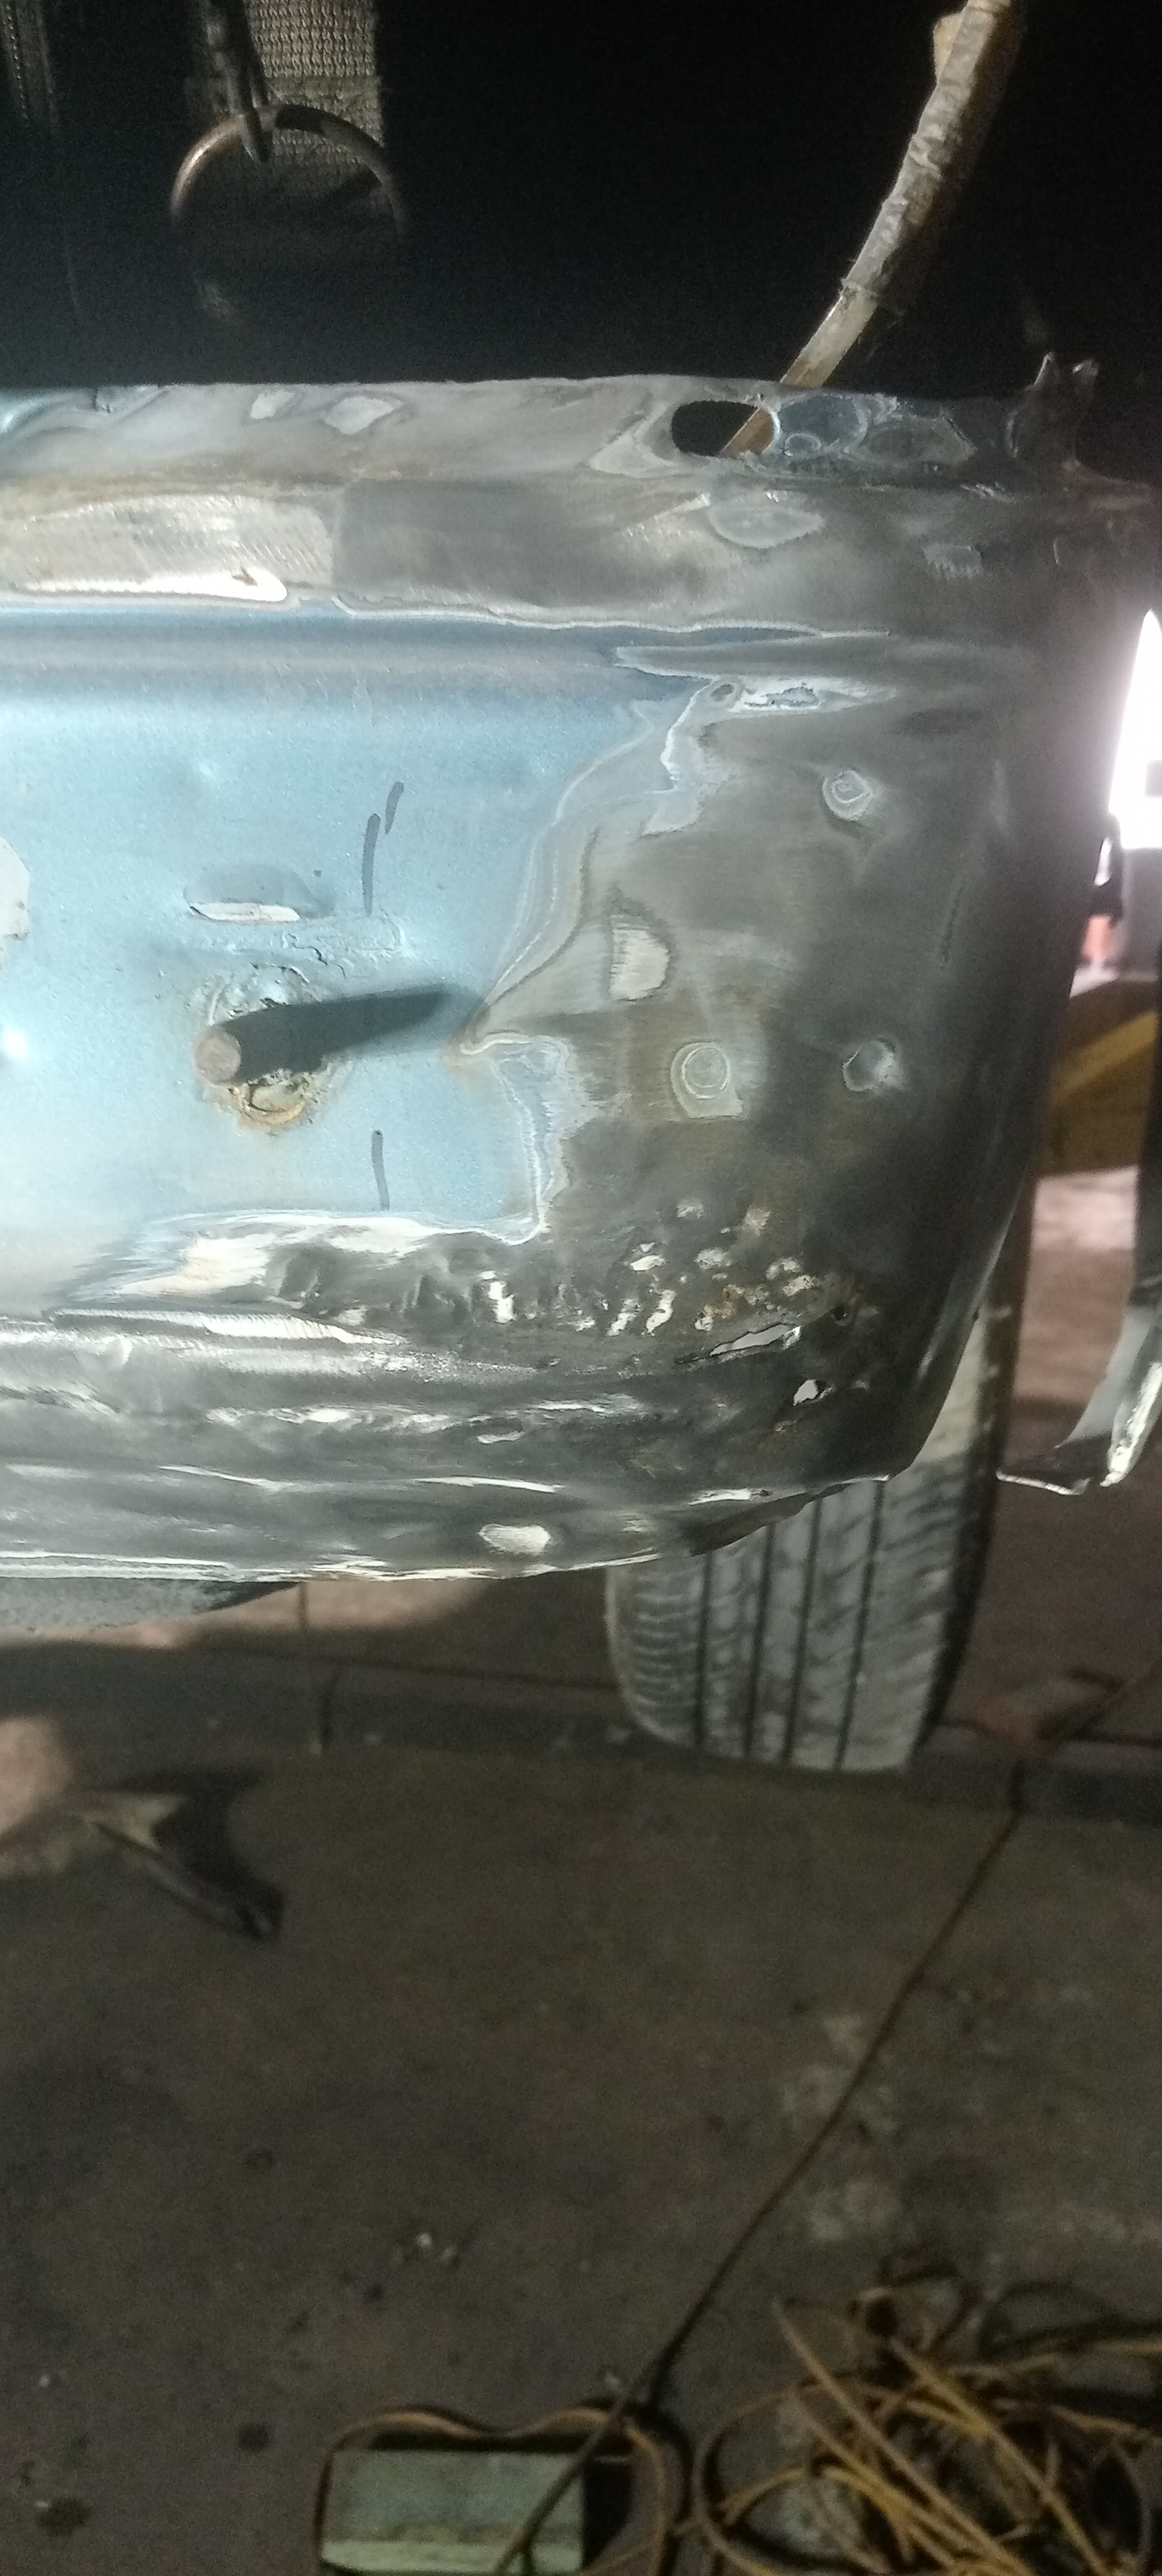
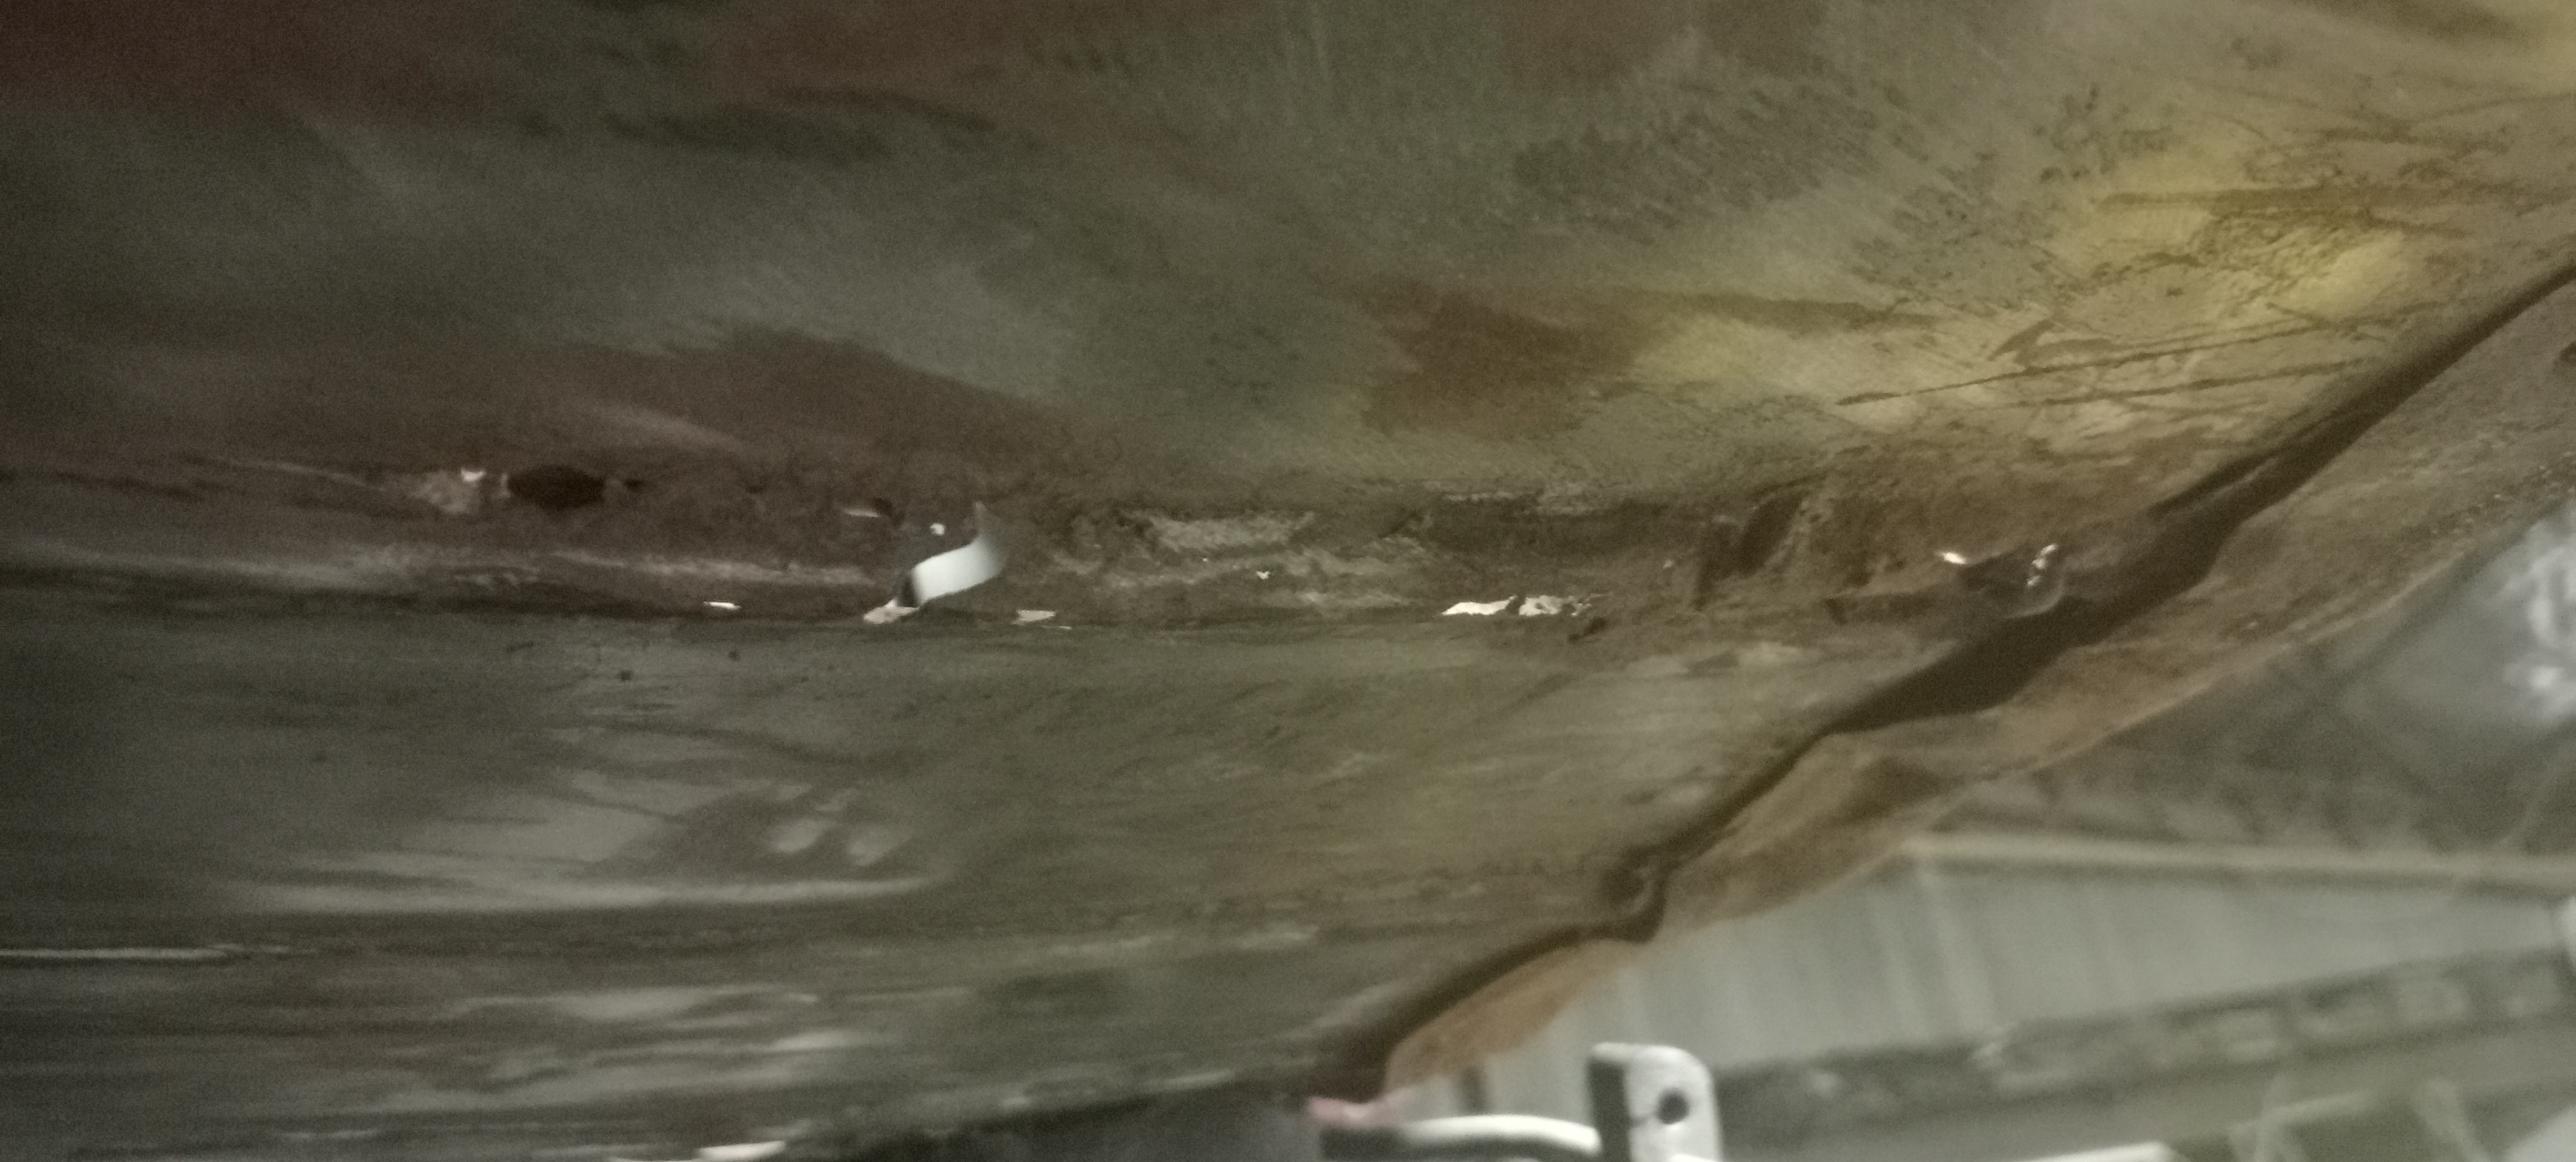
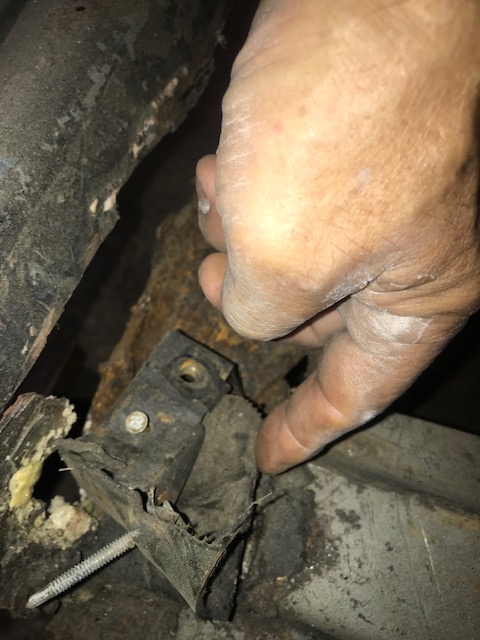
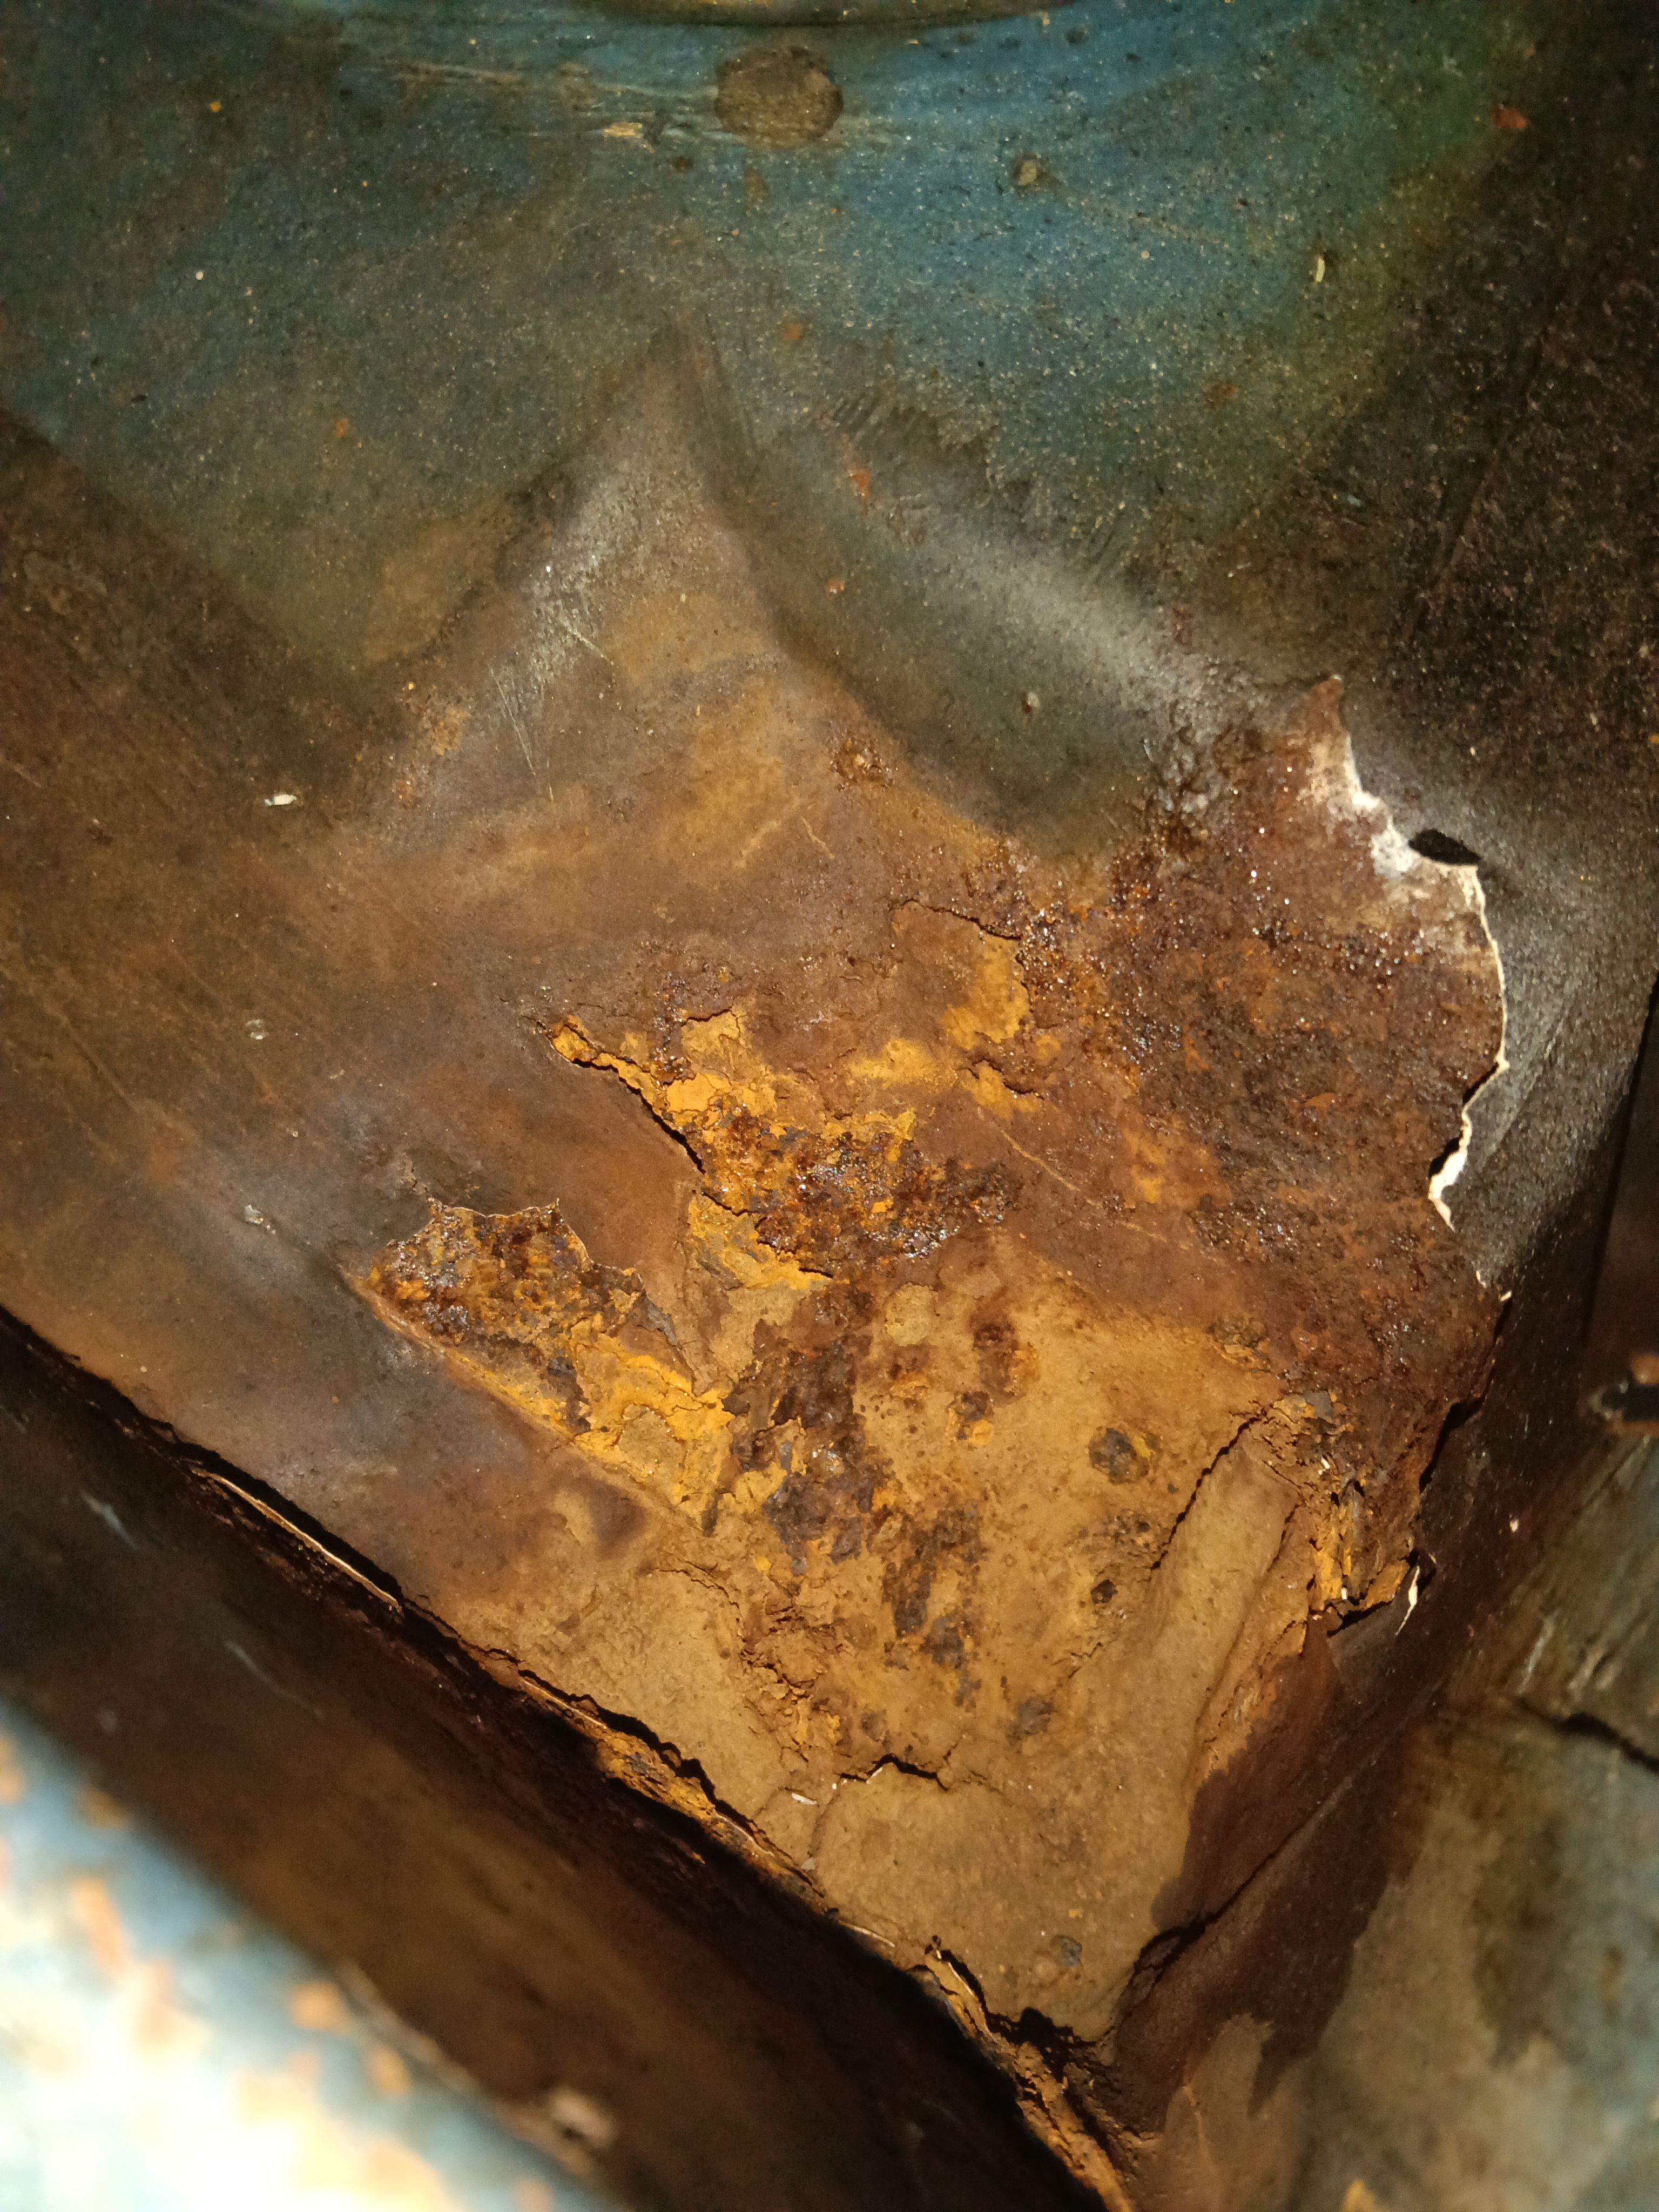
This is the left hand foot well showing the join betweeen the footboard and the floor, which is both rusted and bent.
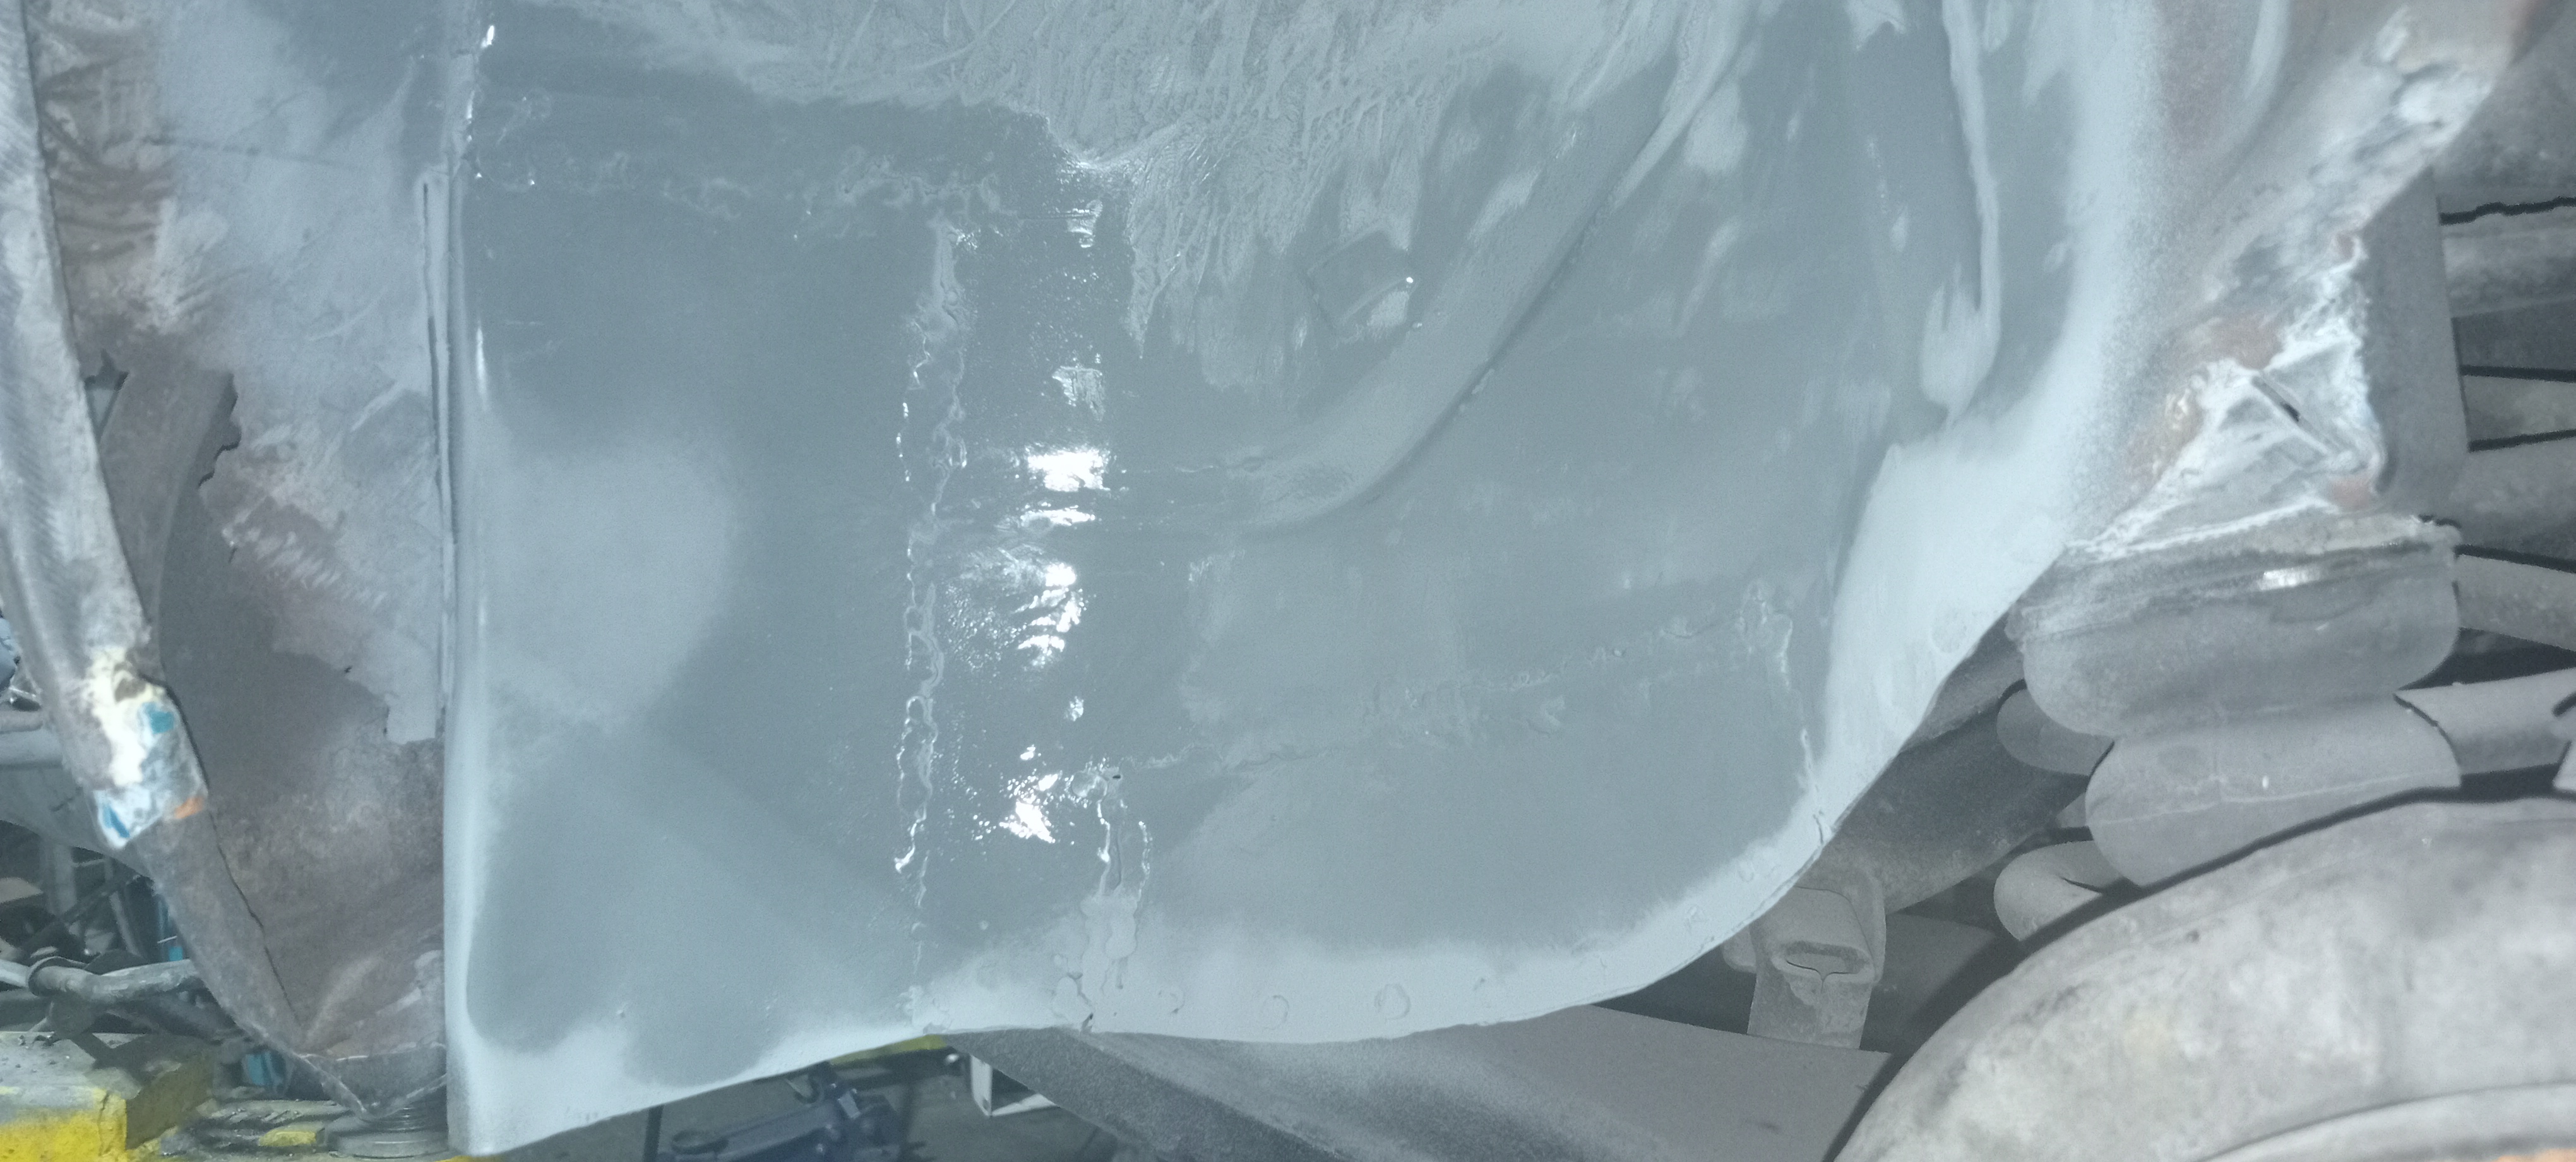
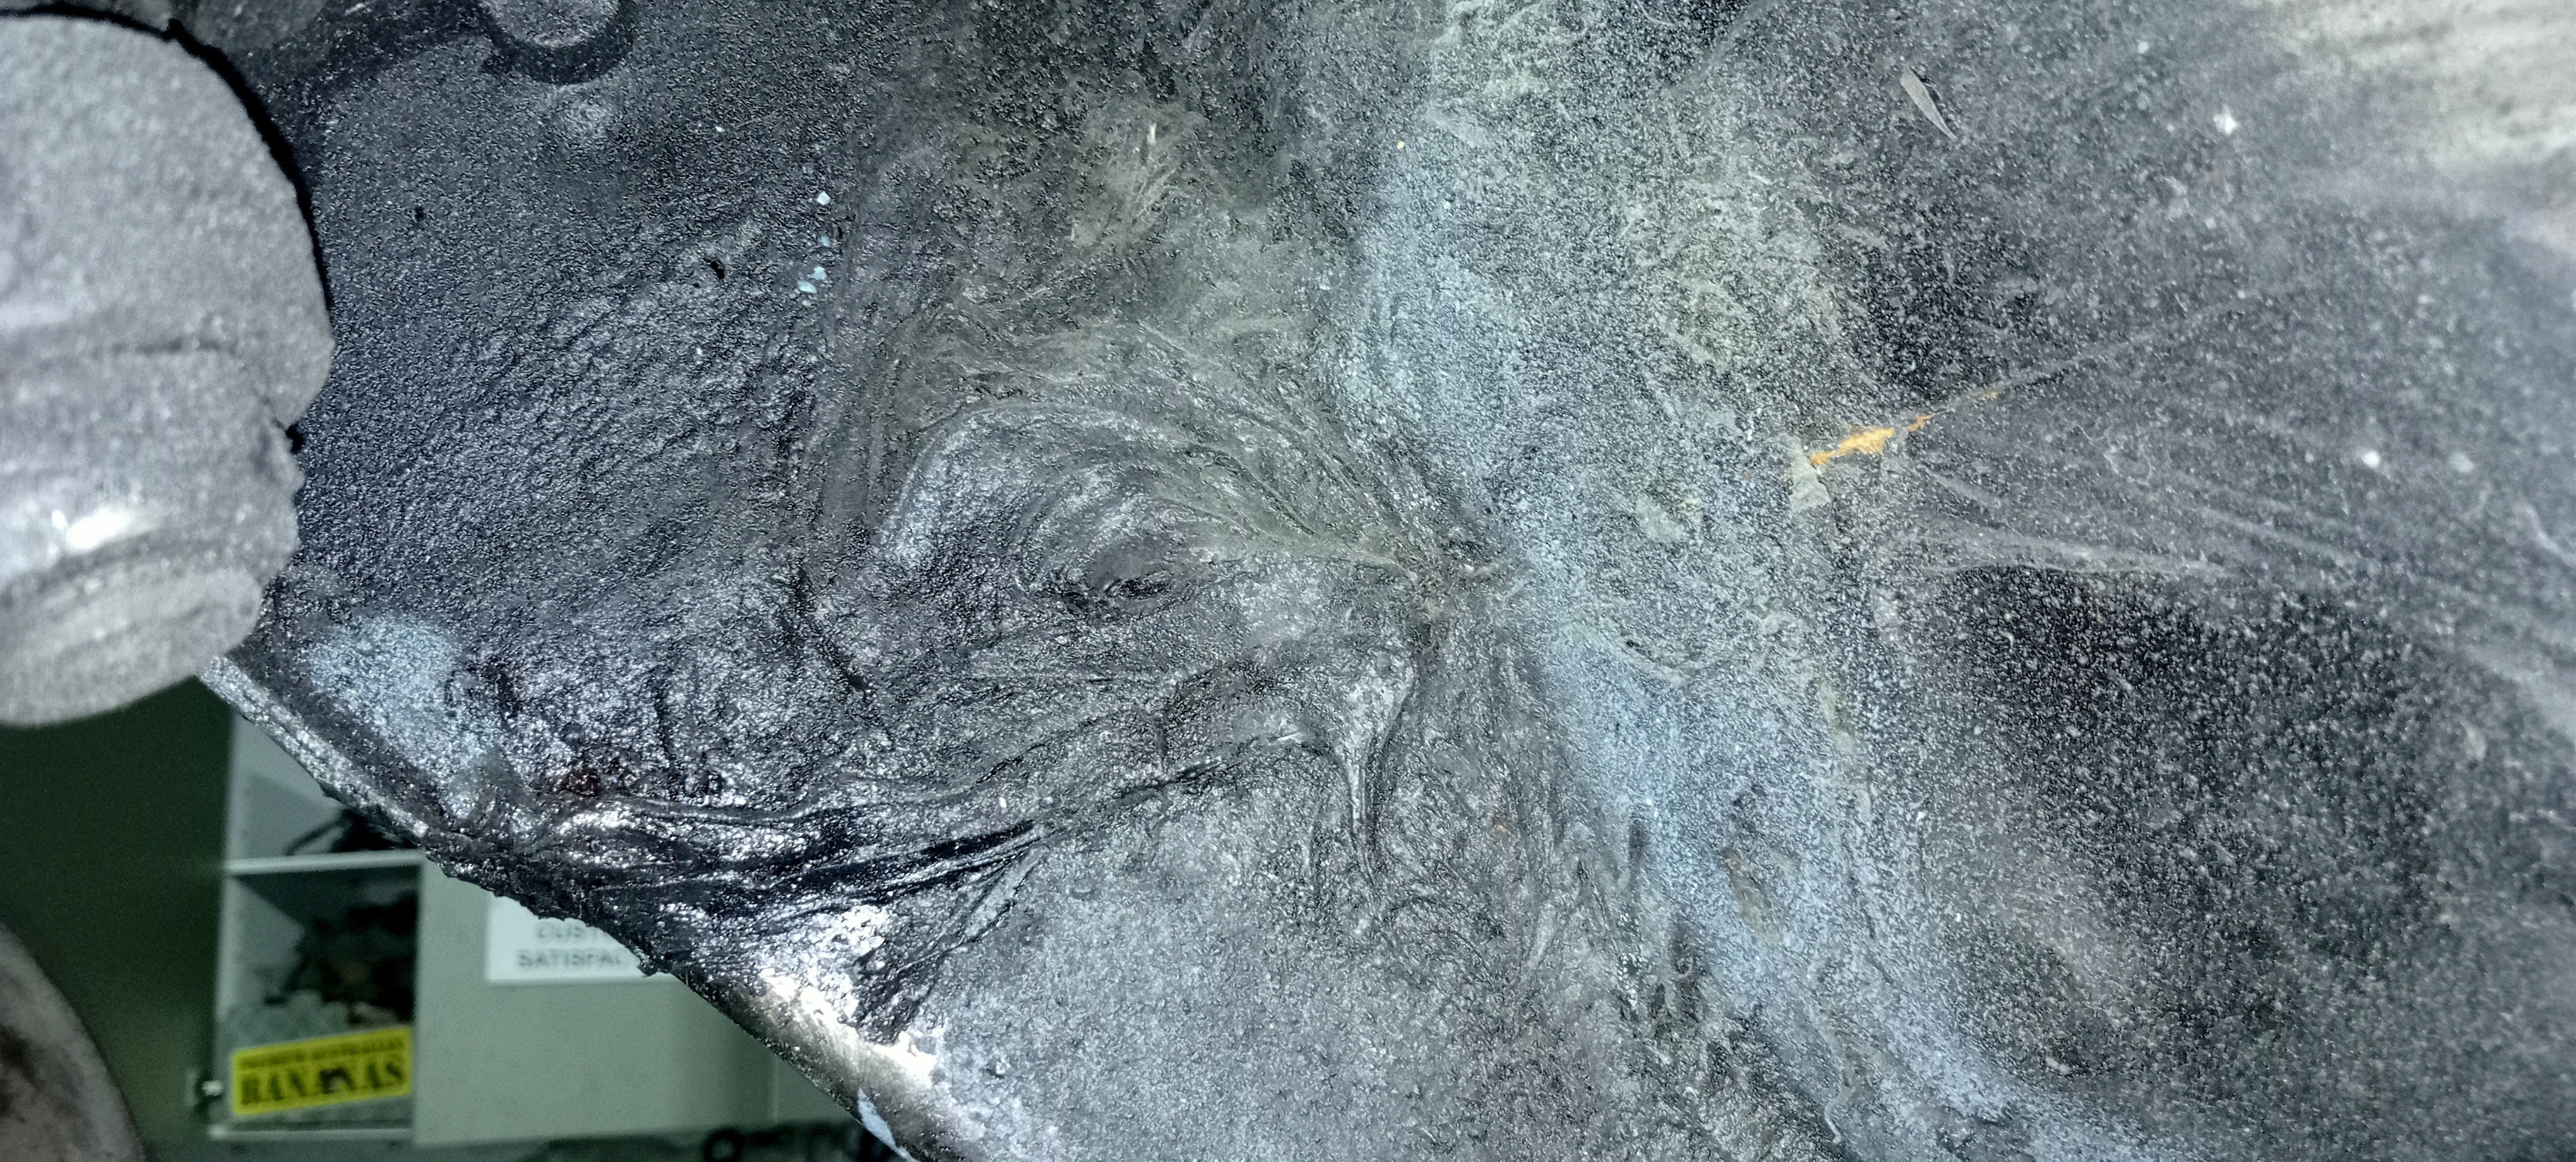
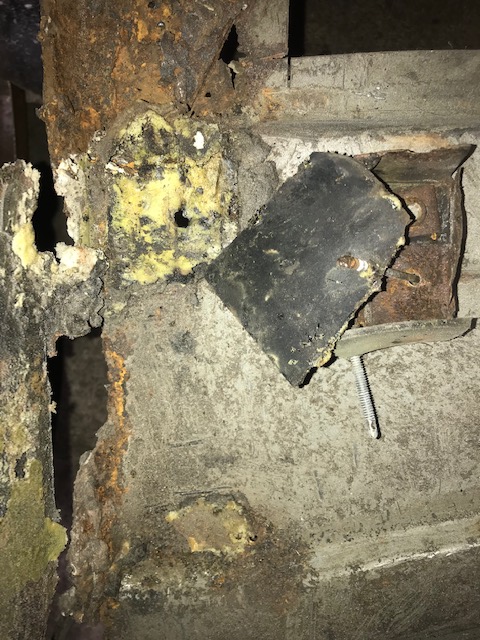
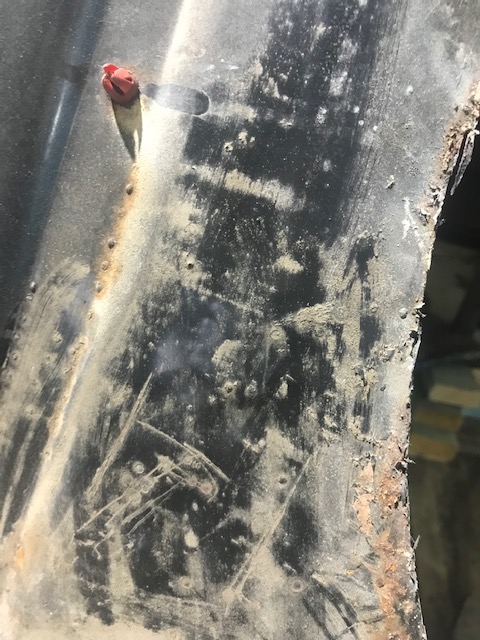
Without the factory sound deadening rust and silicone is revealed.
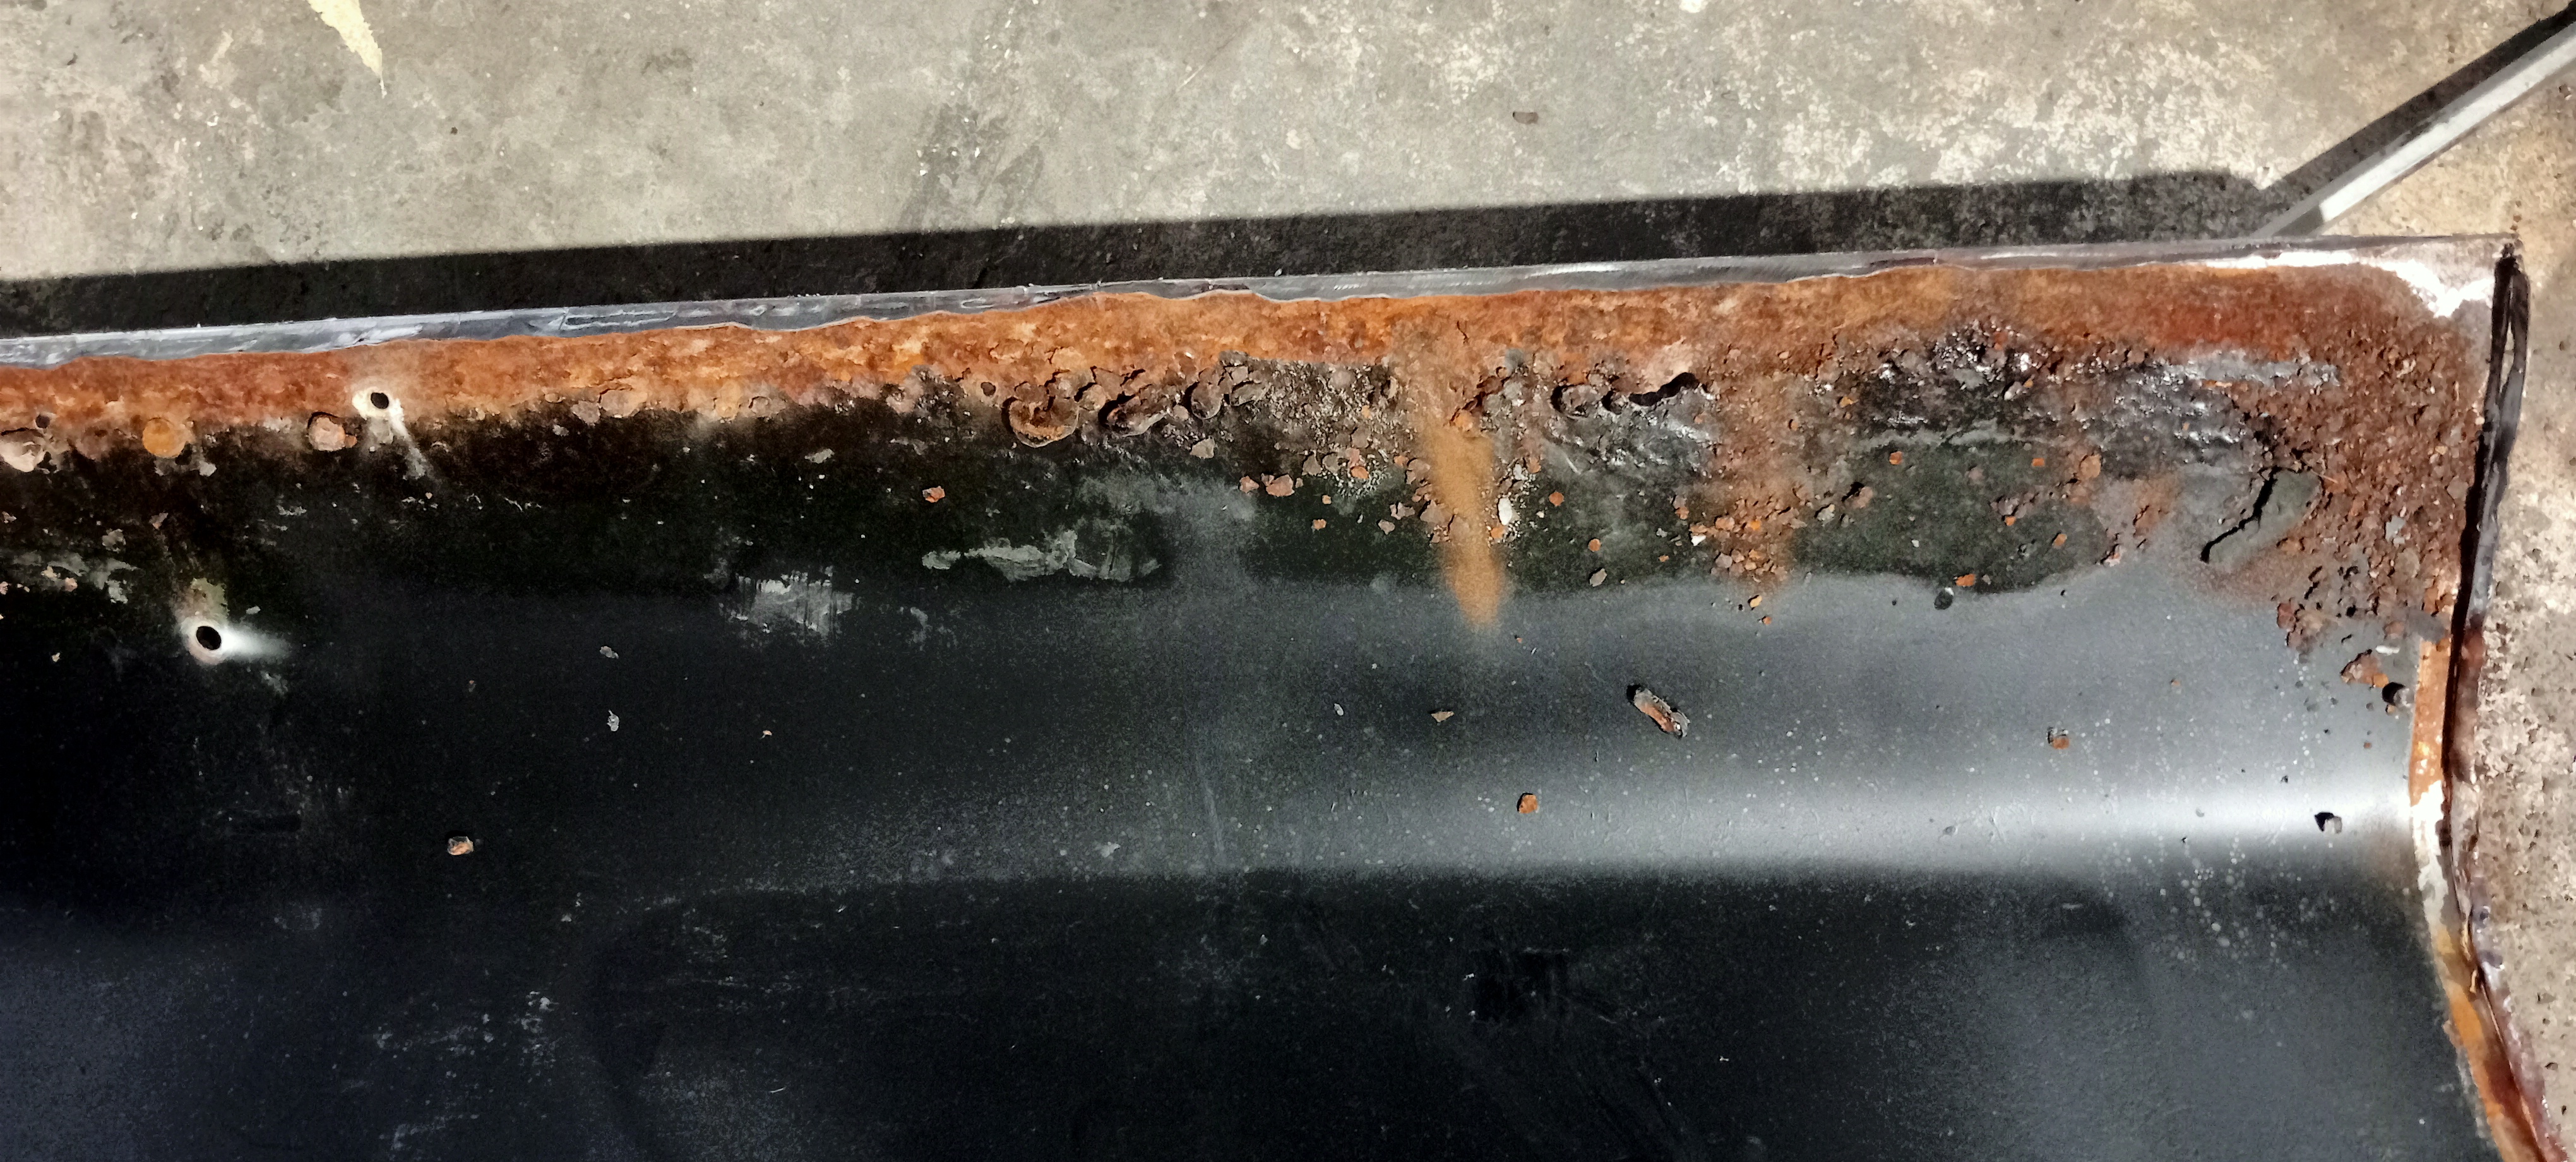
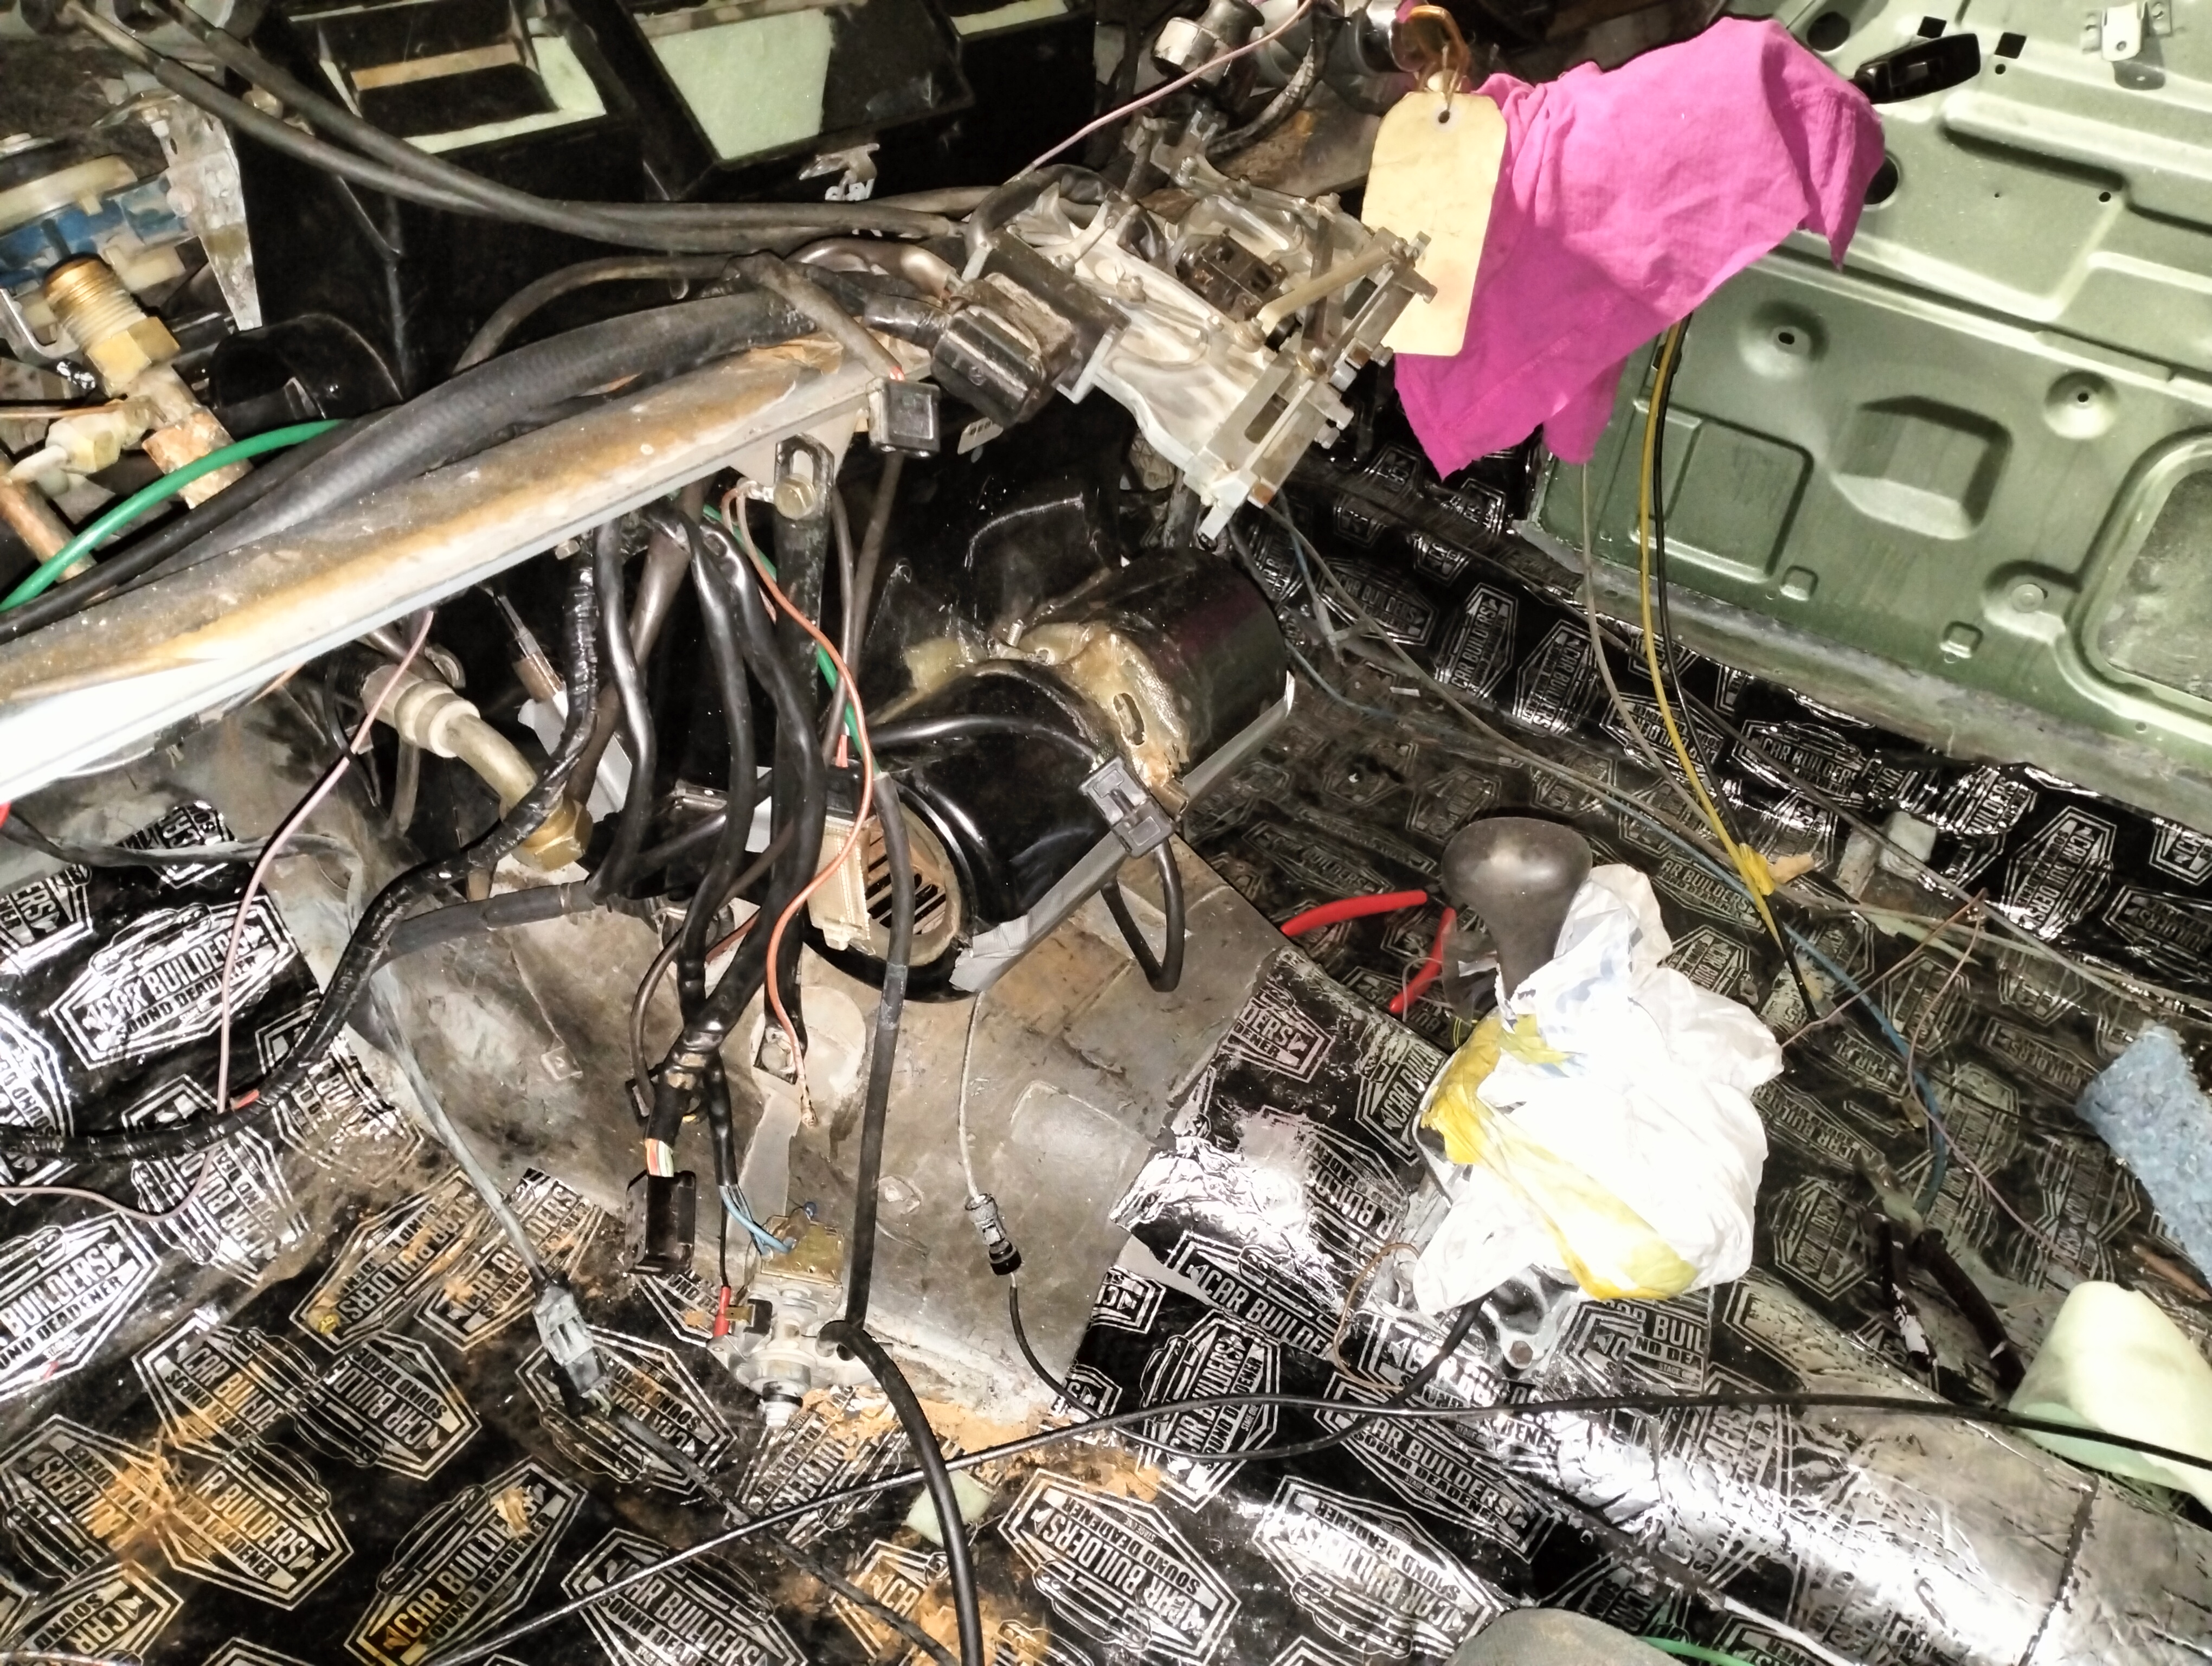
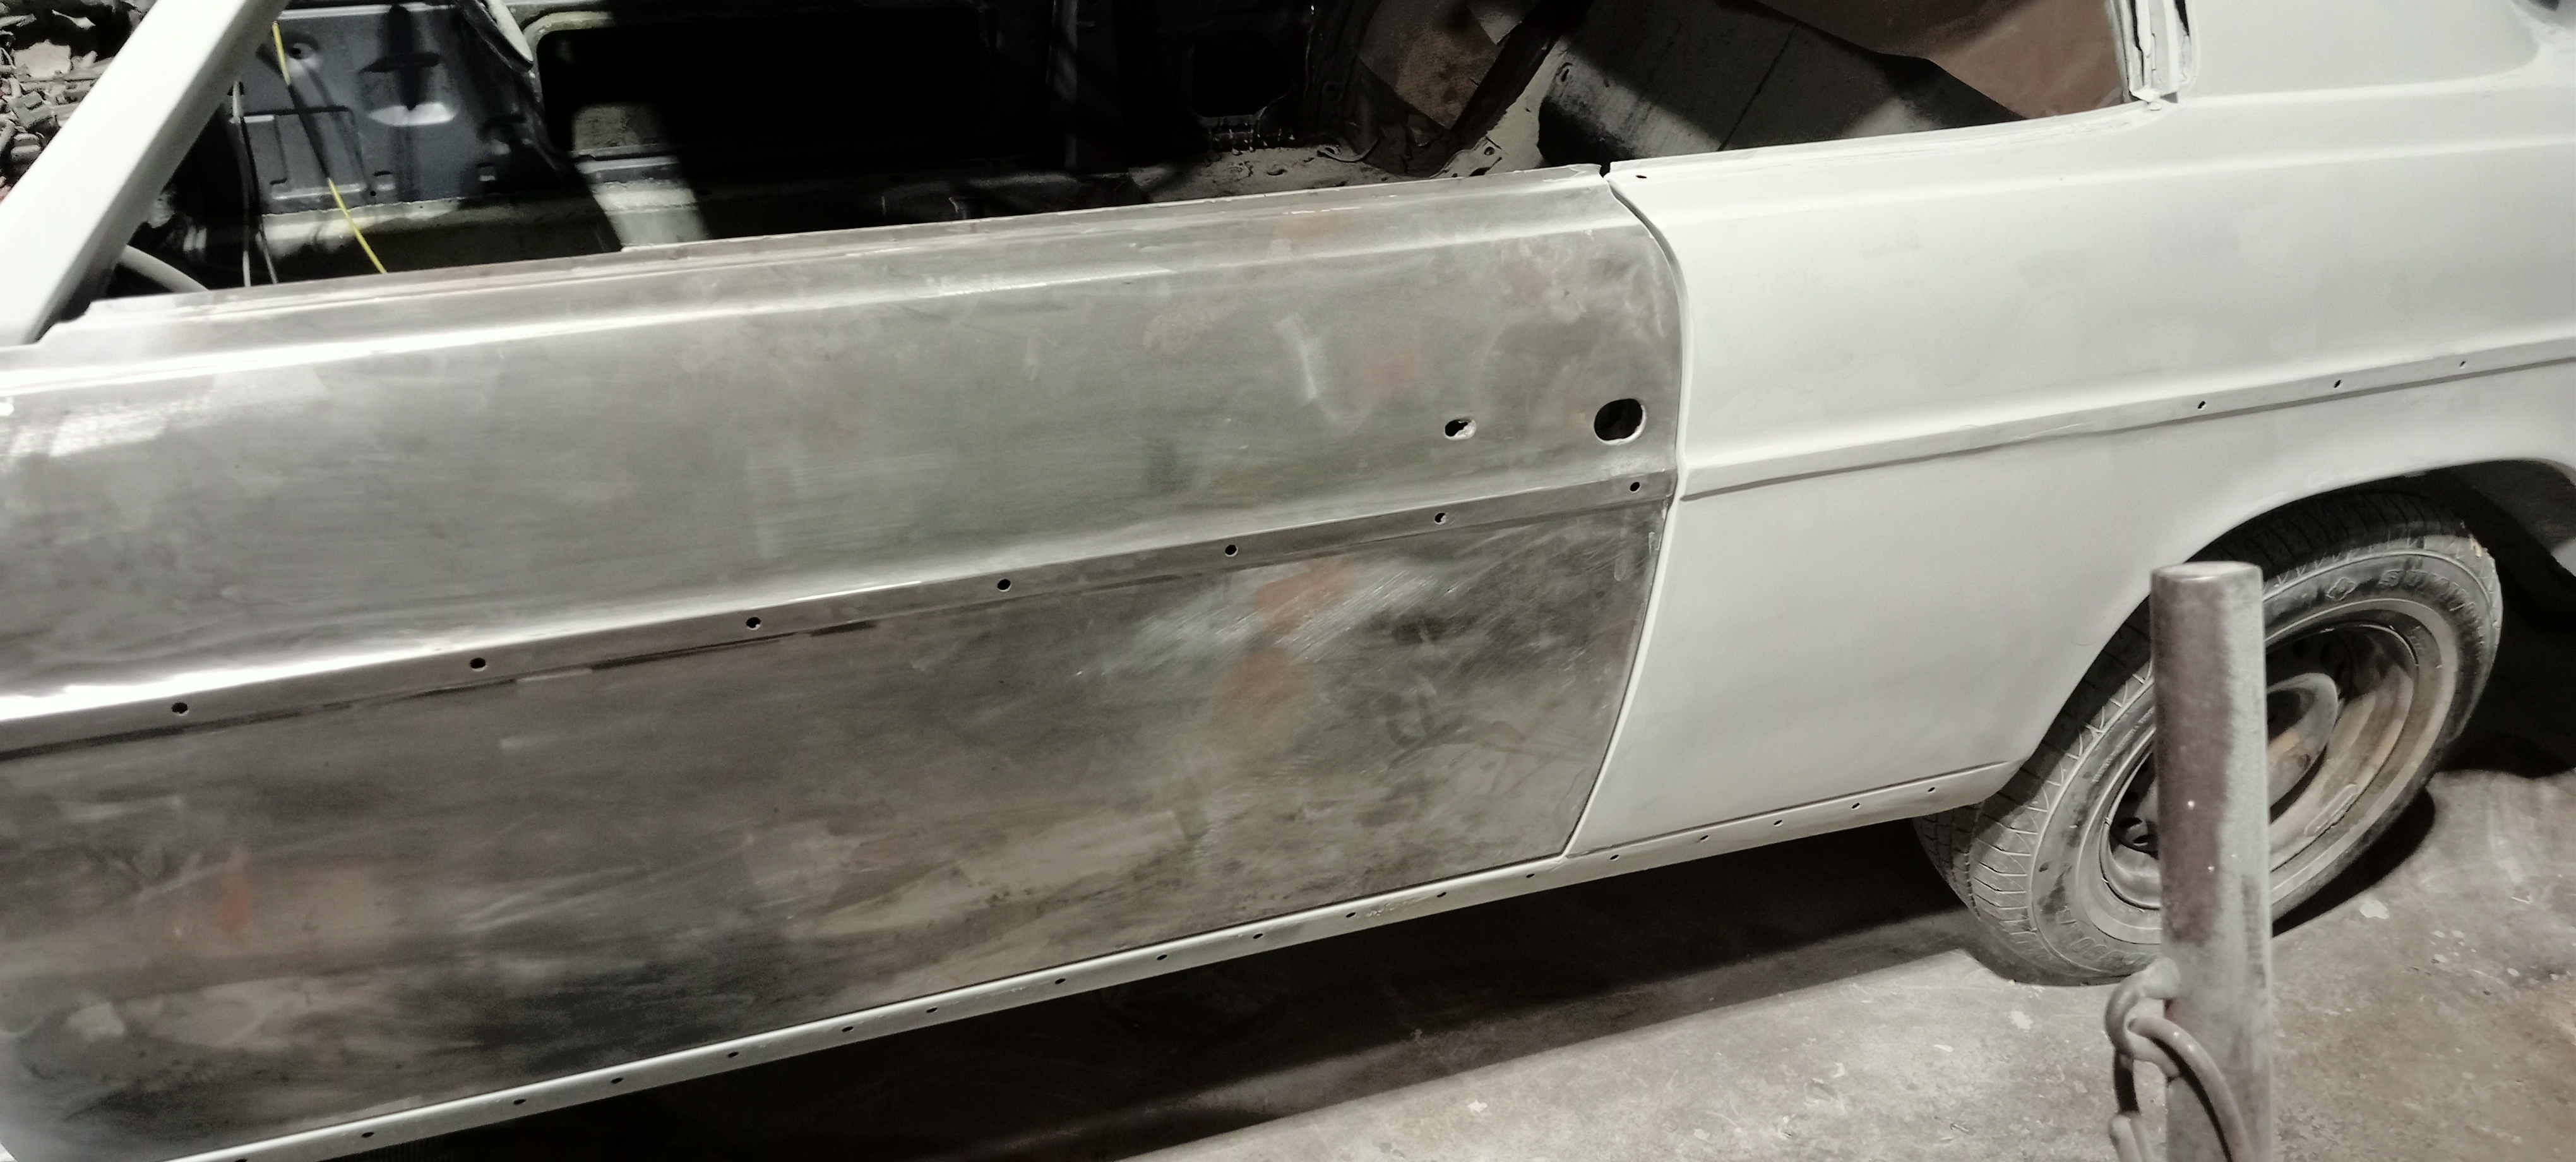
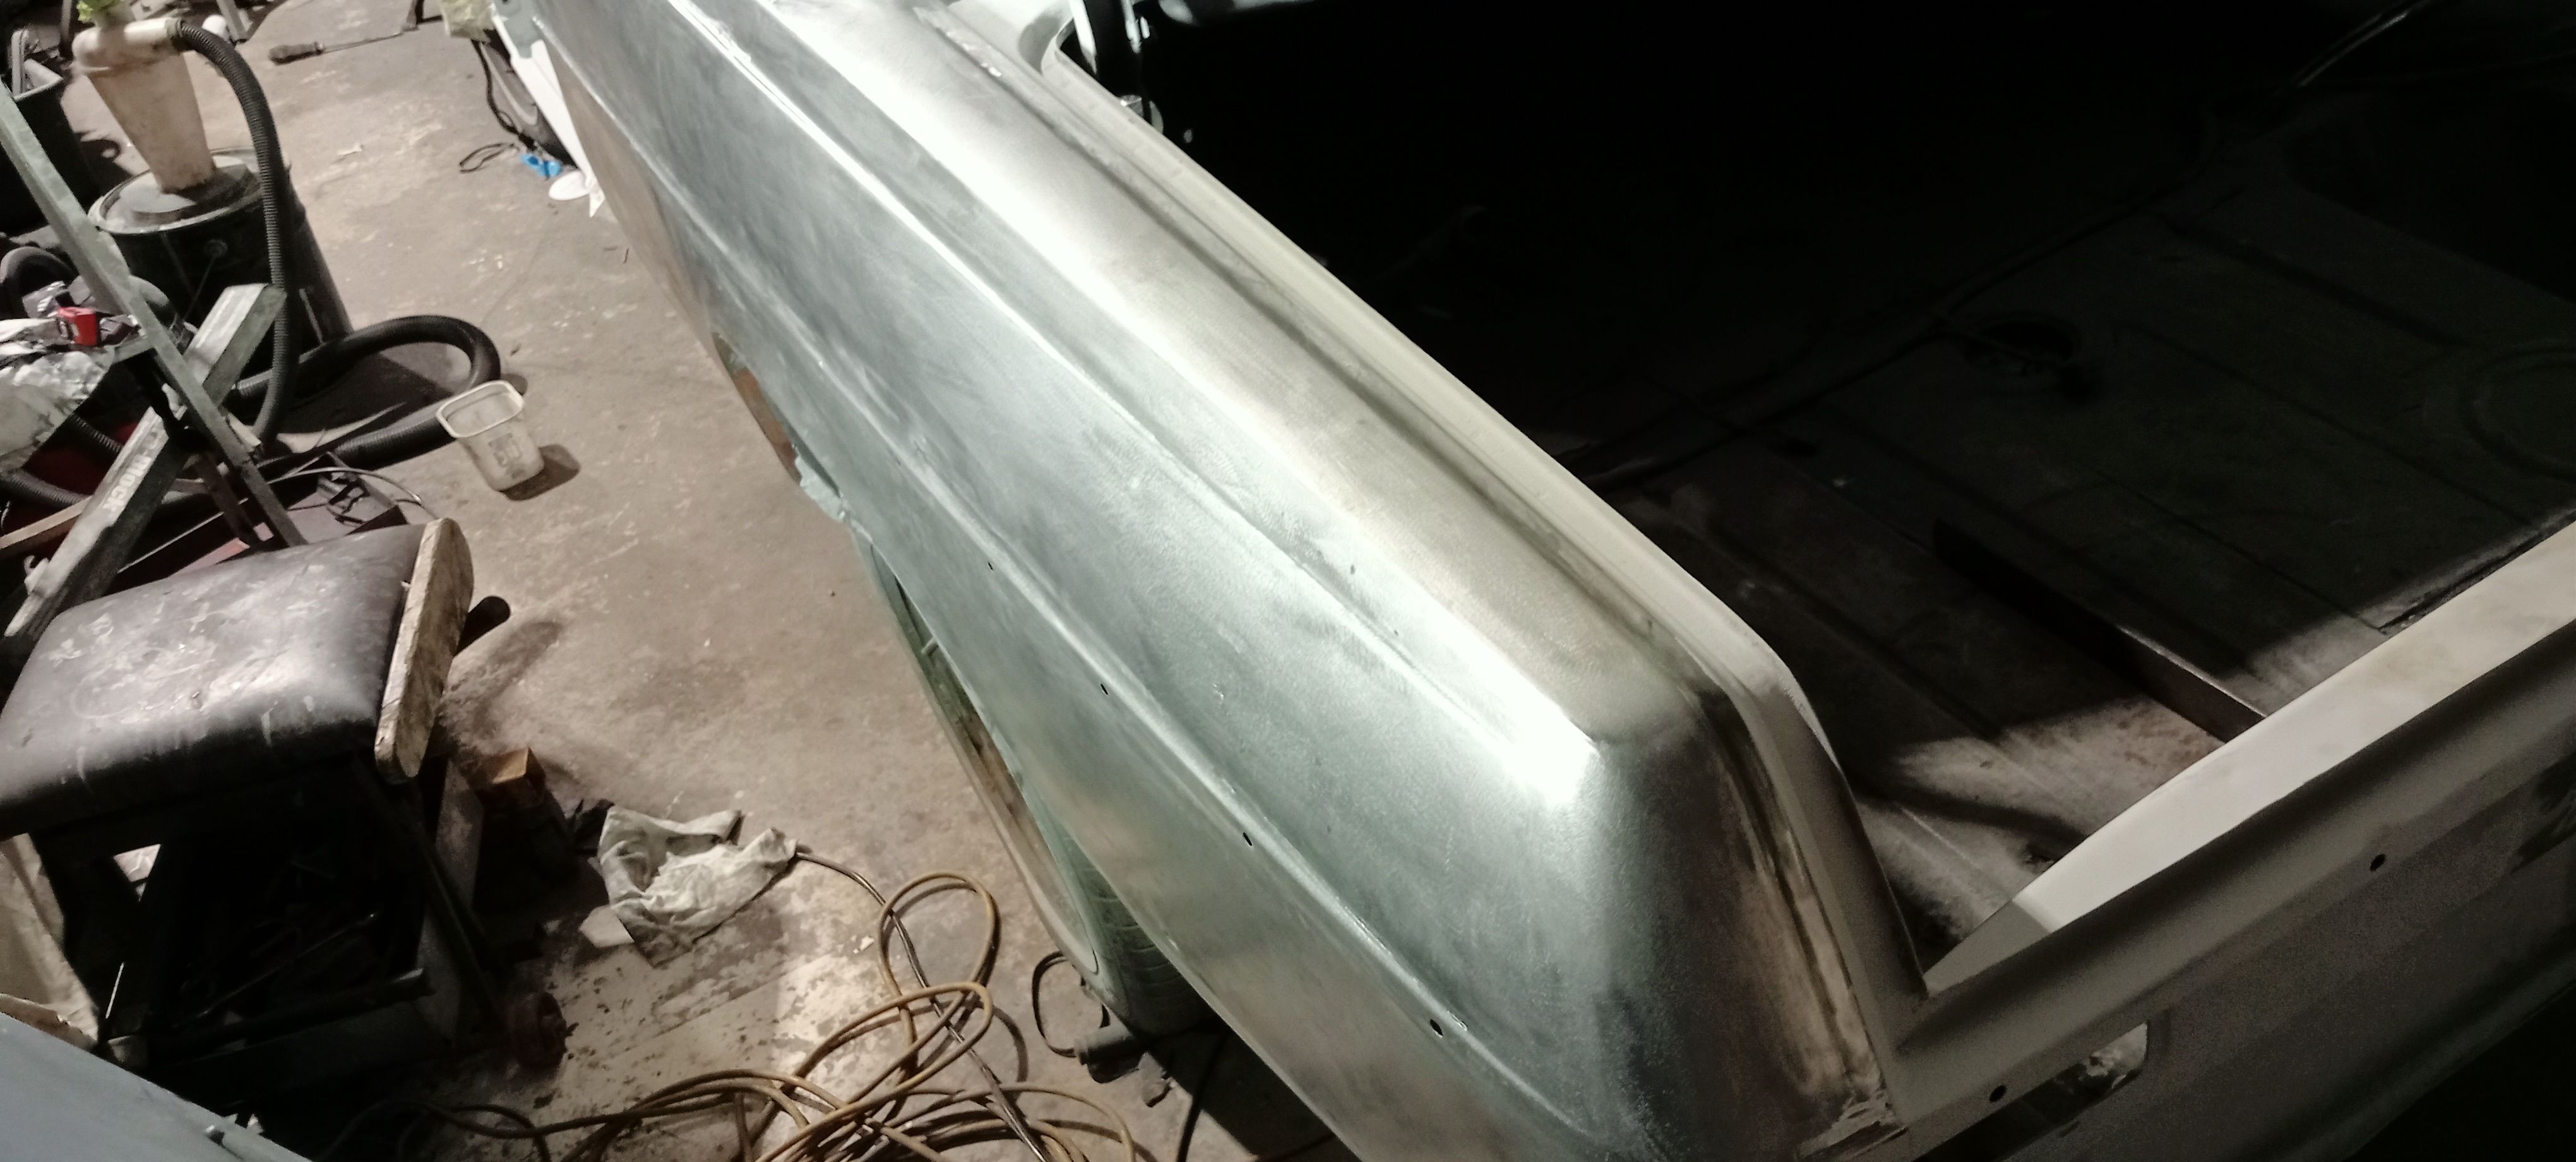
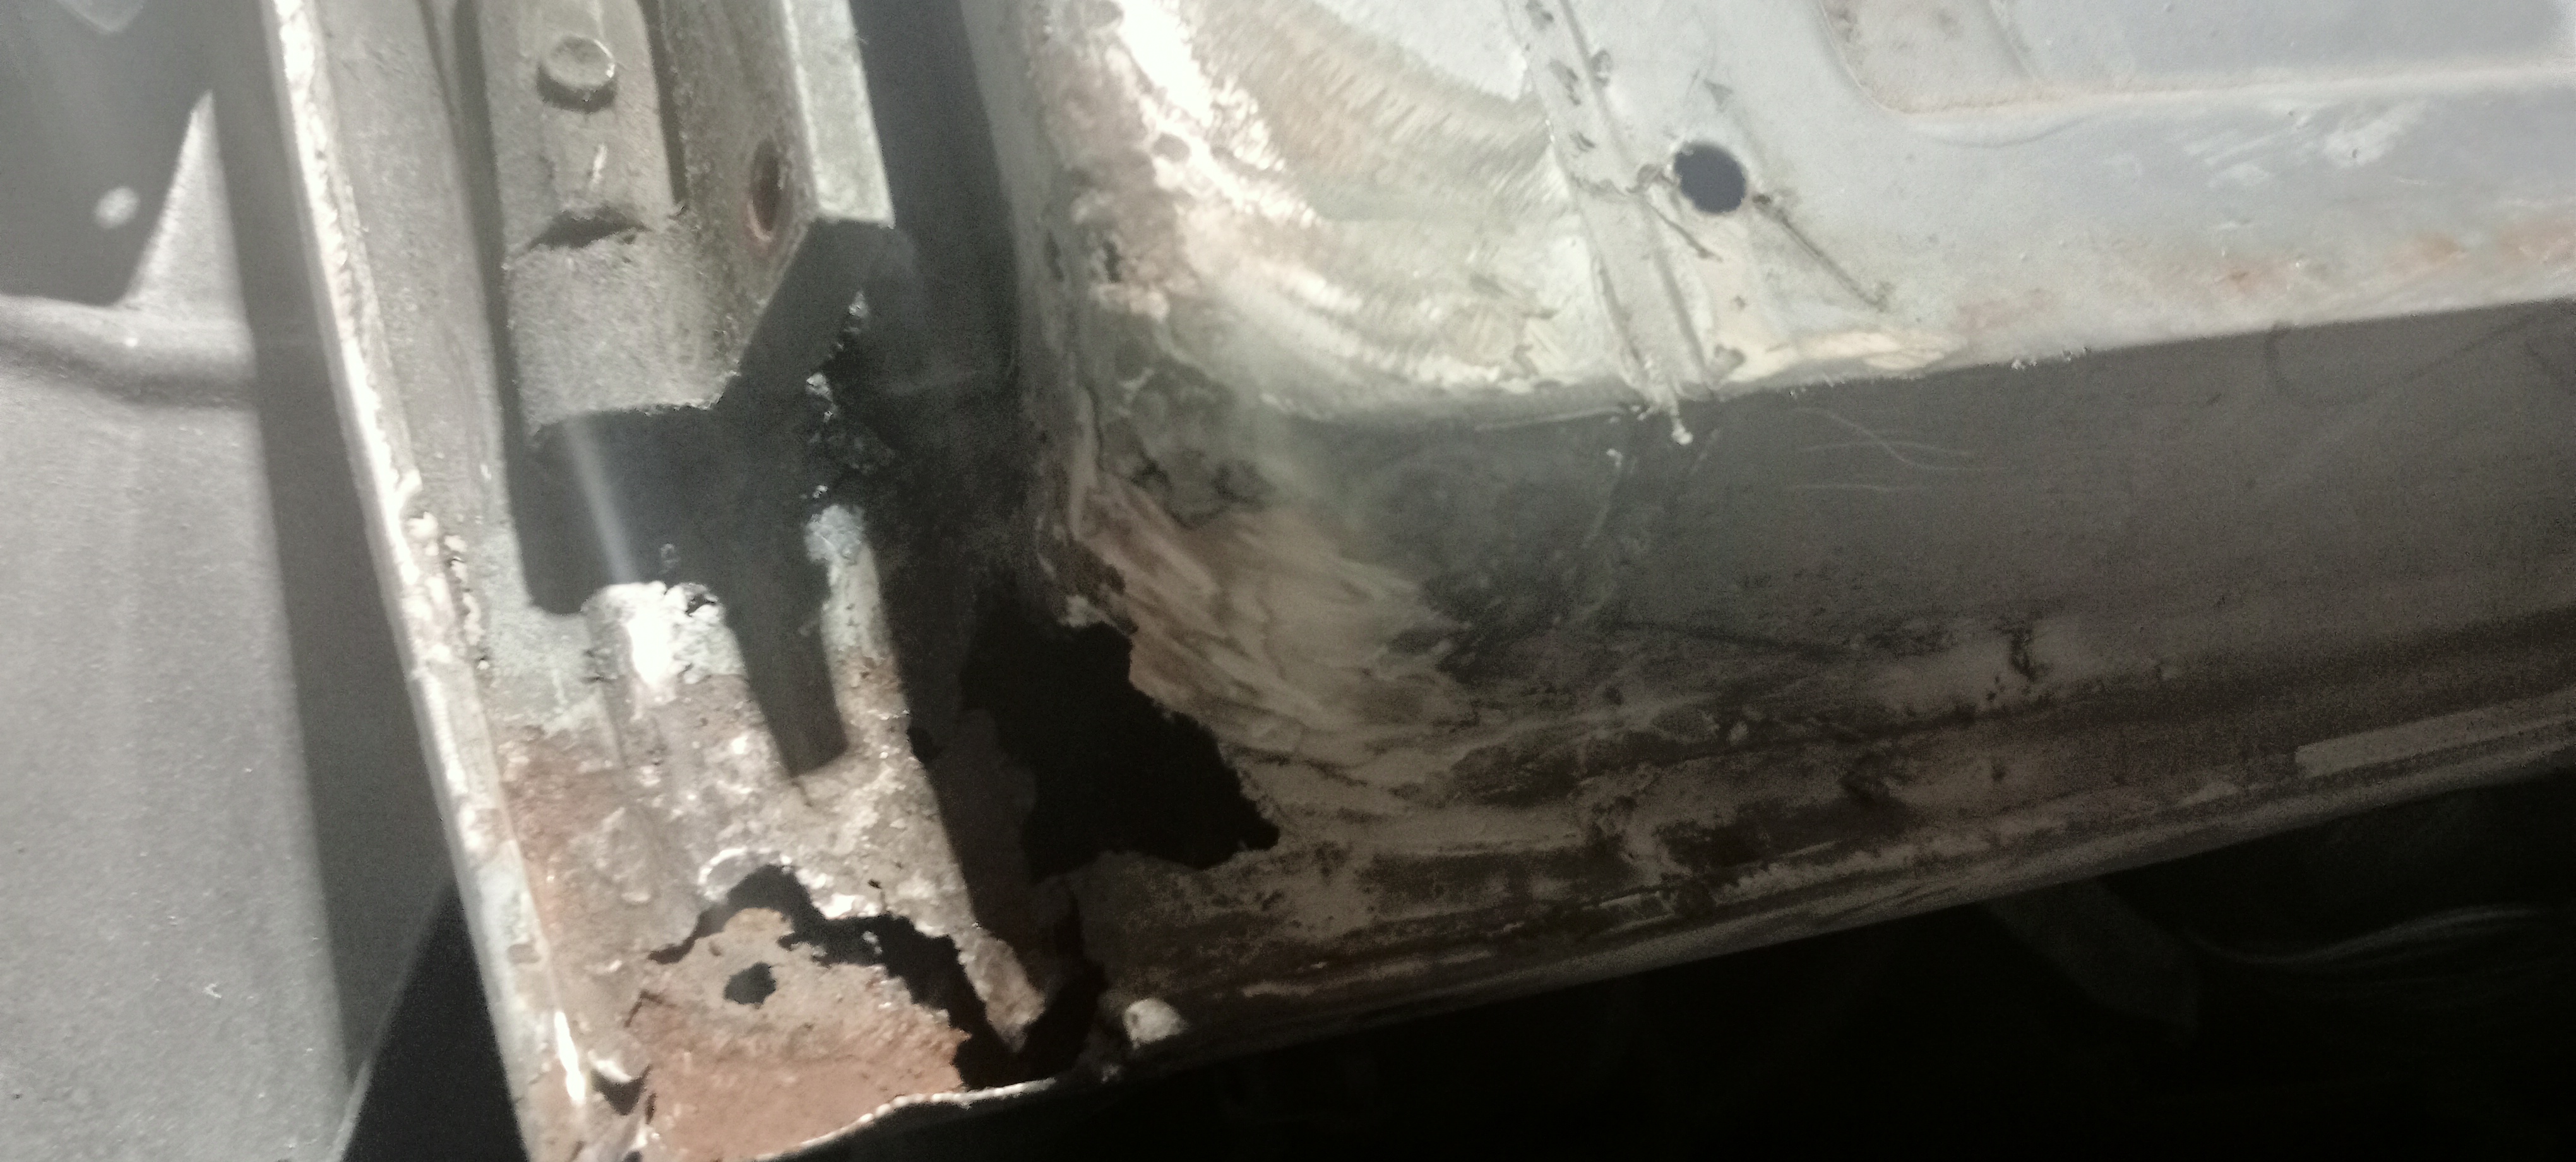
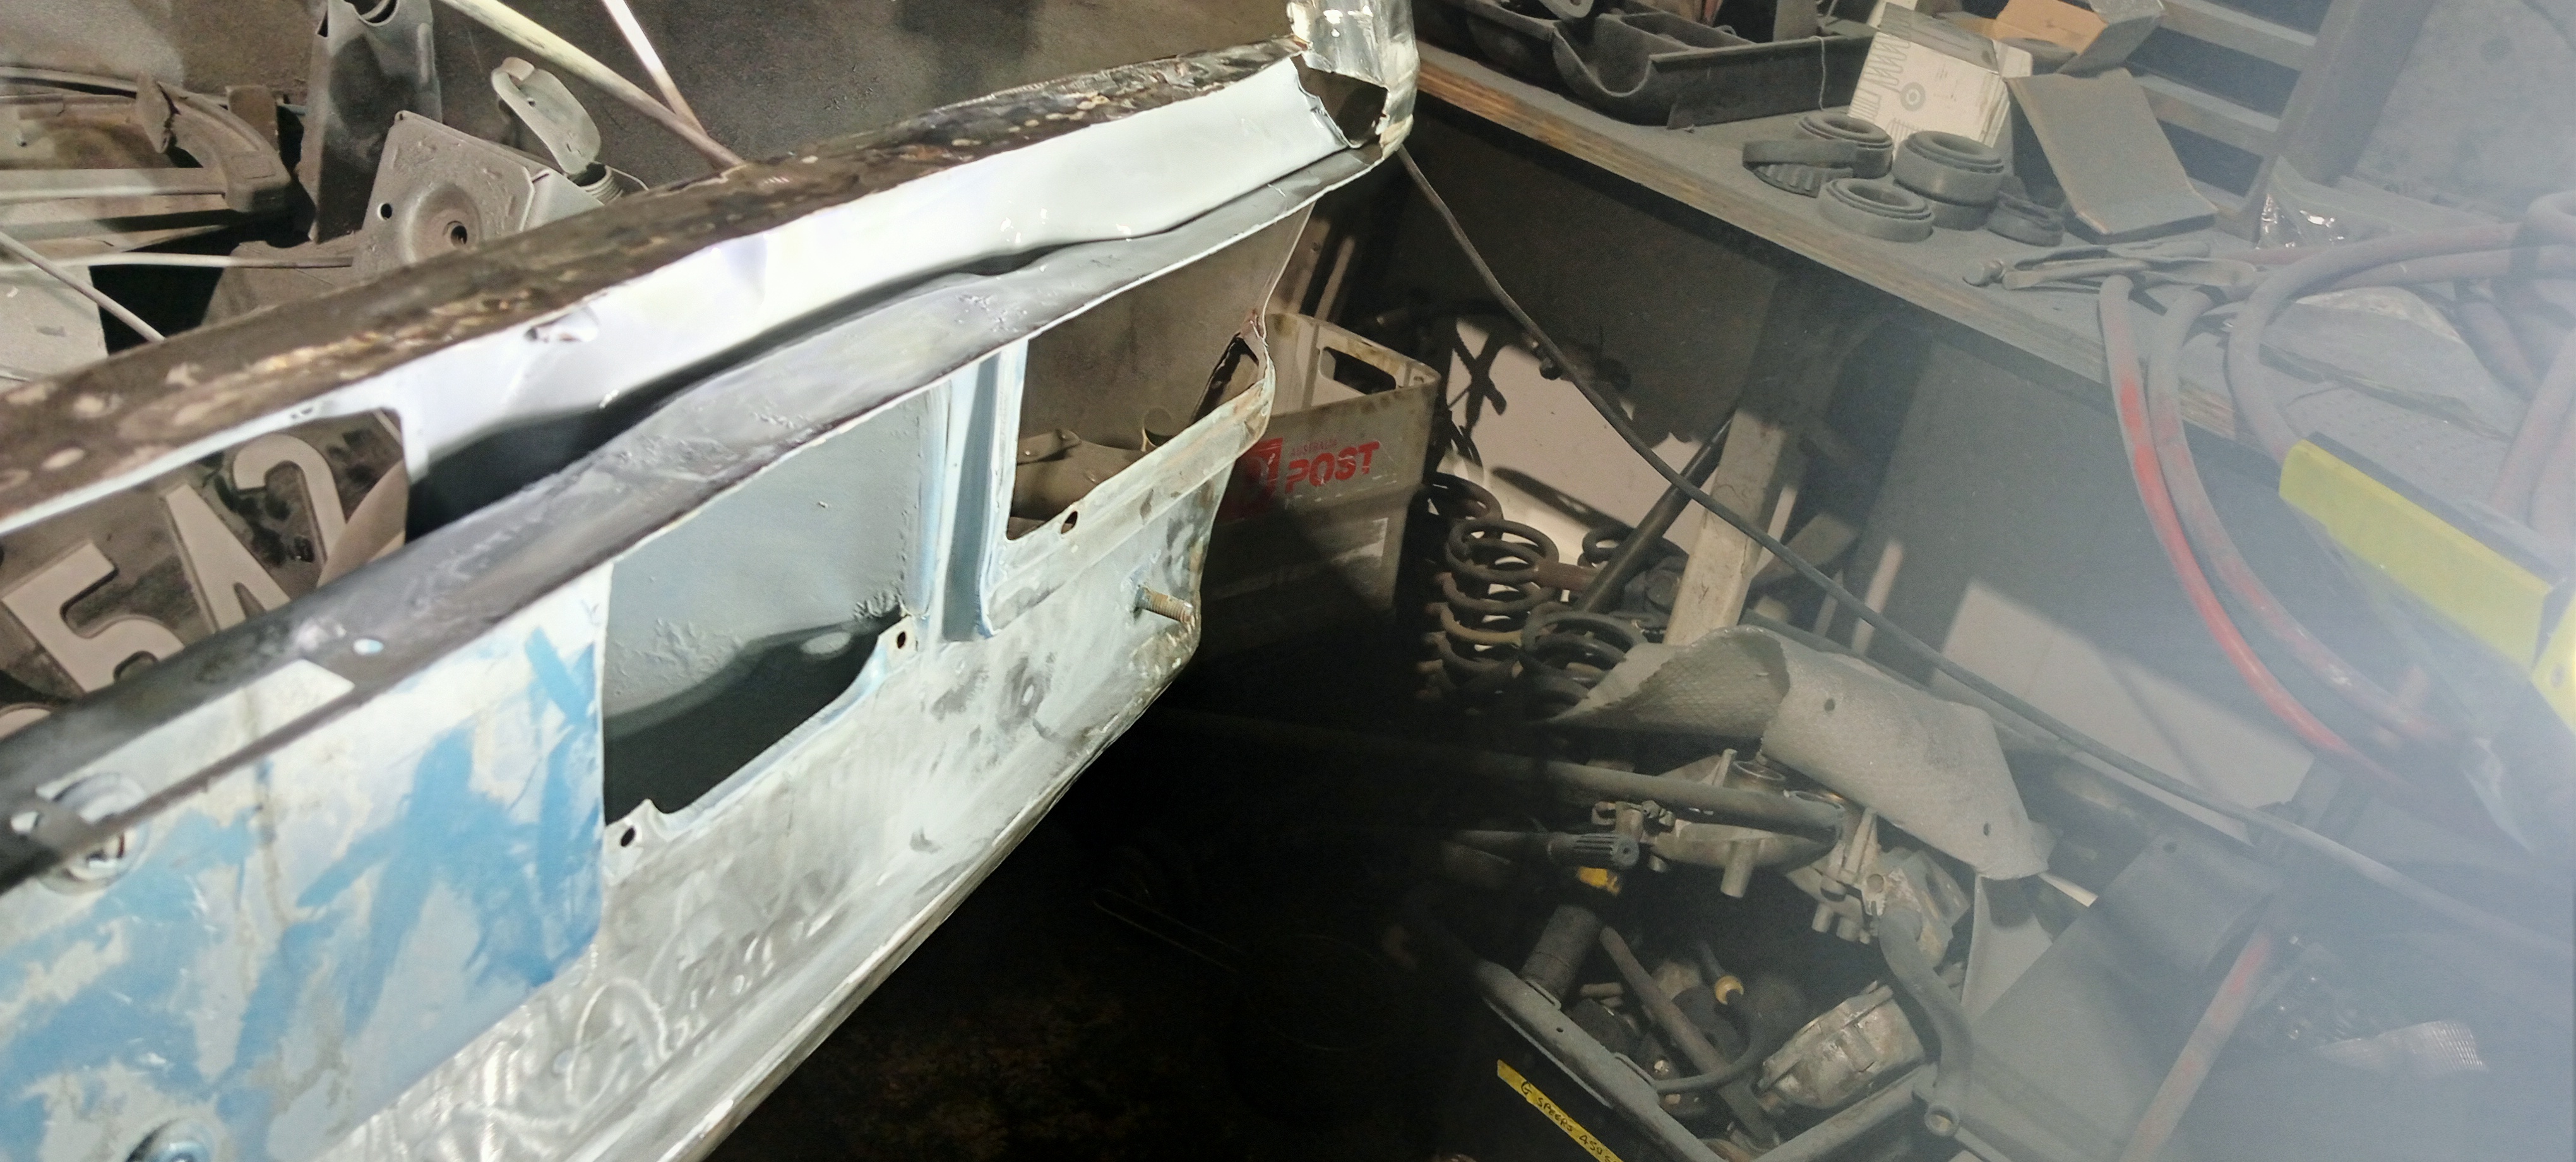
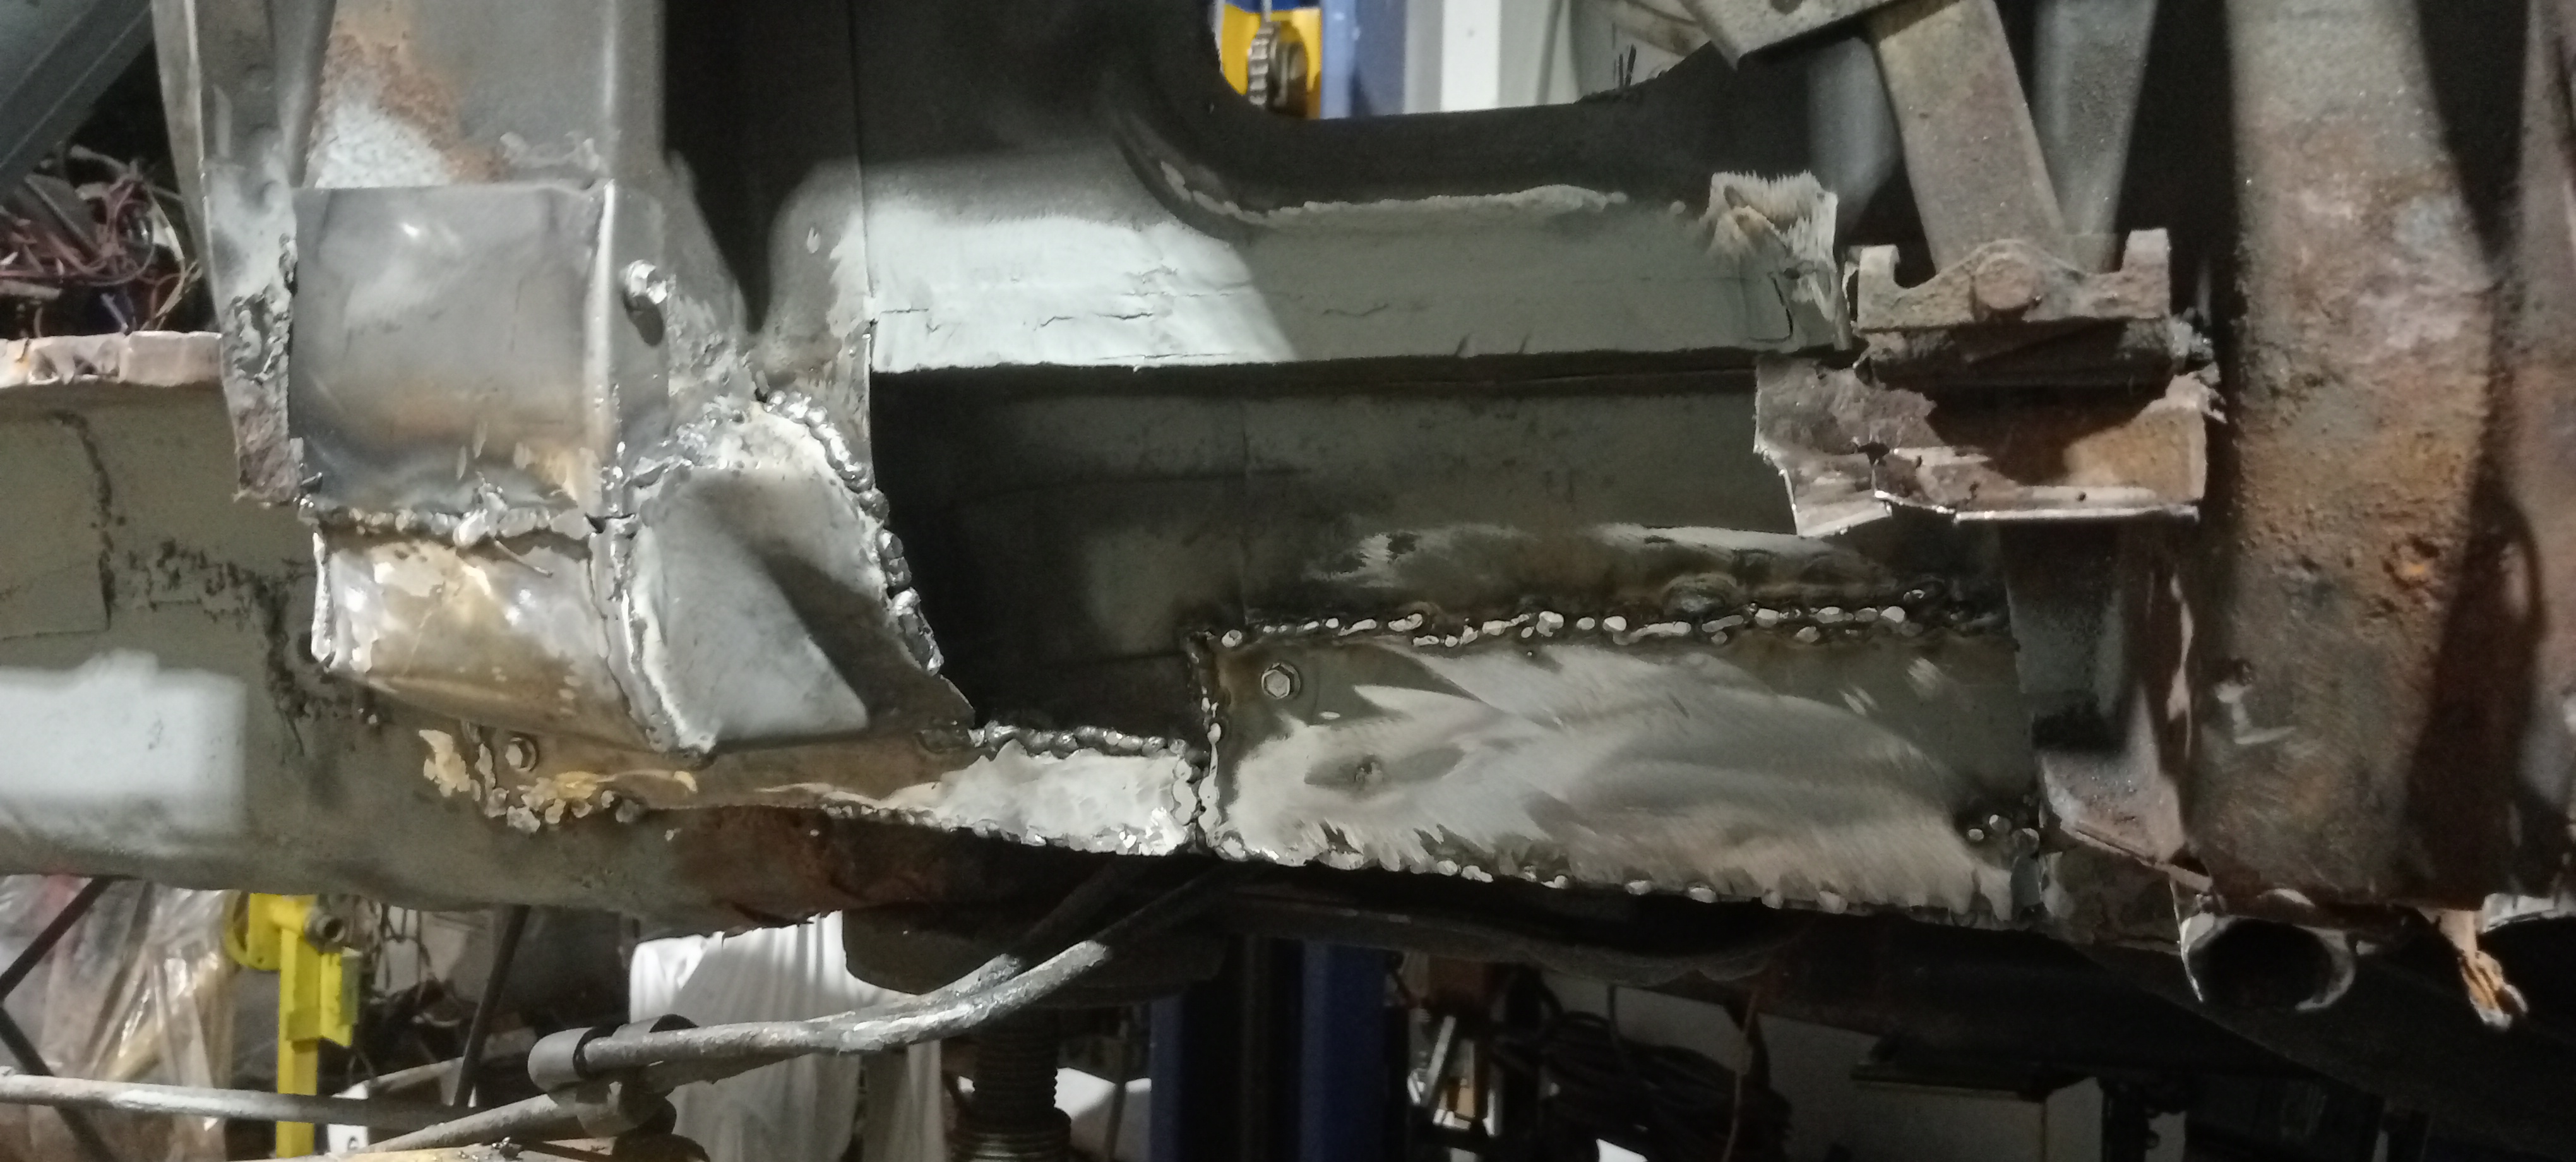
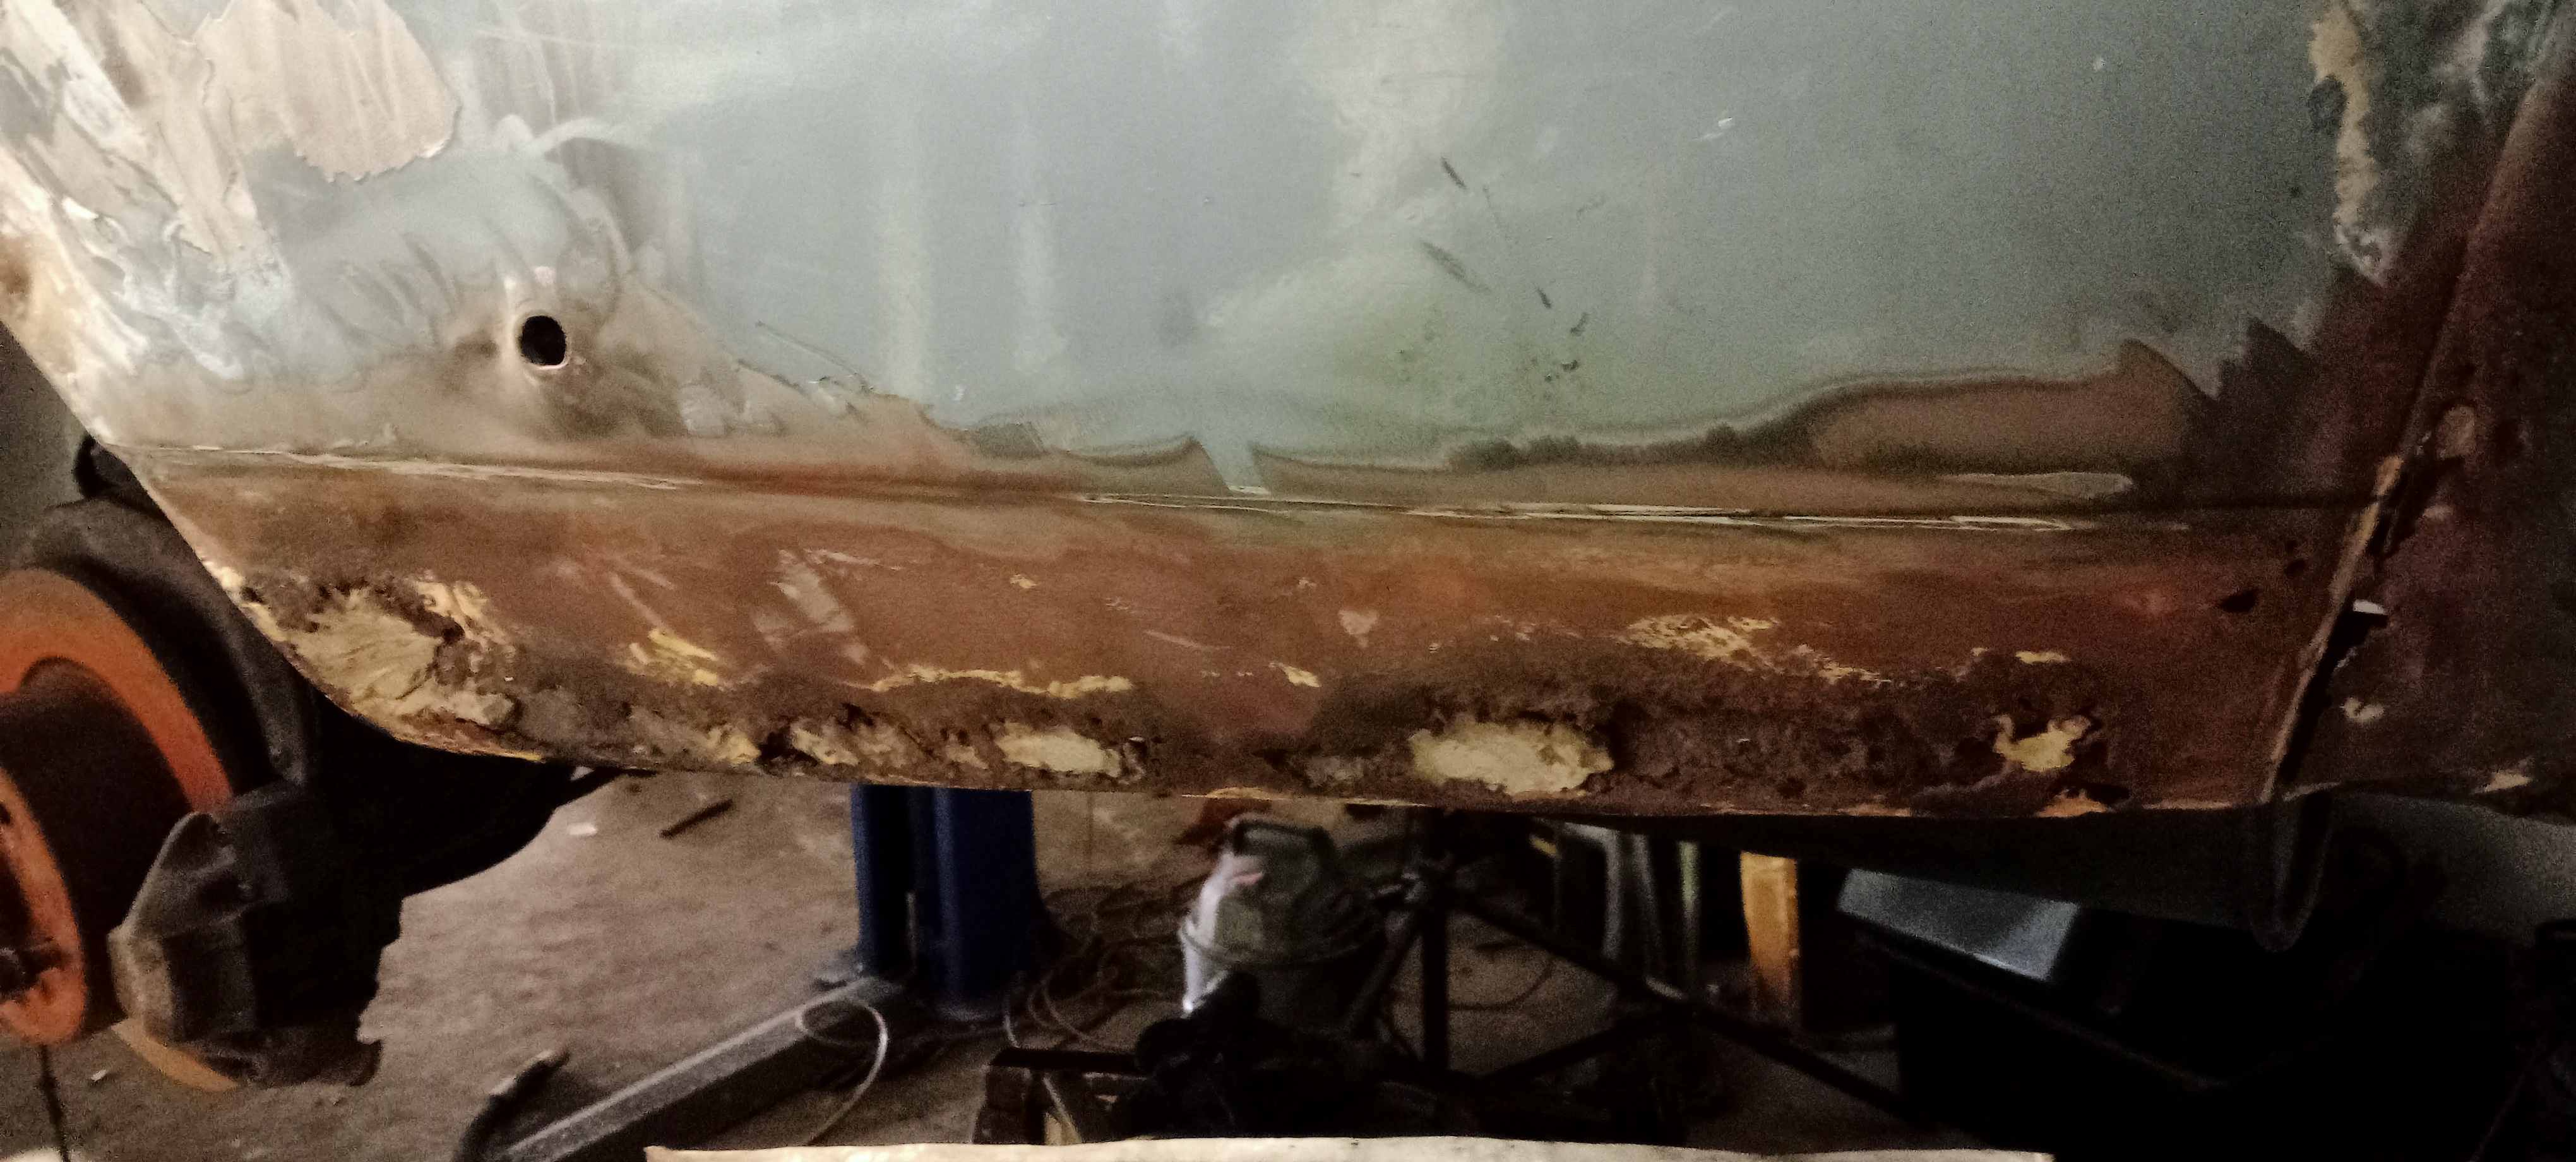
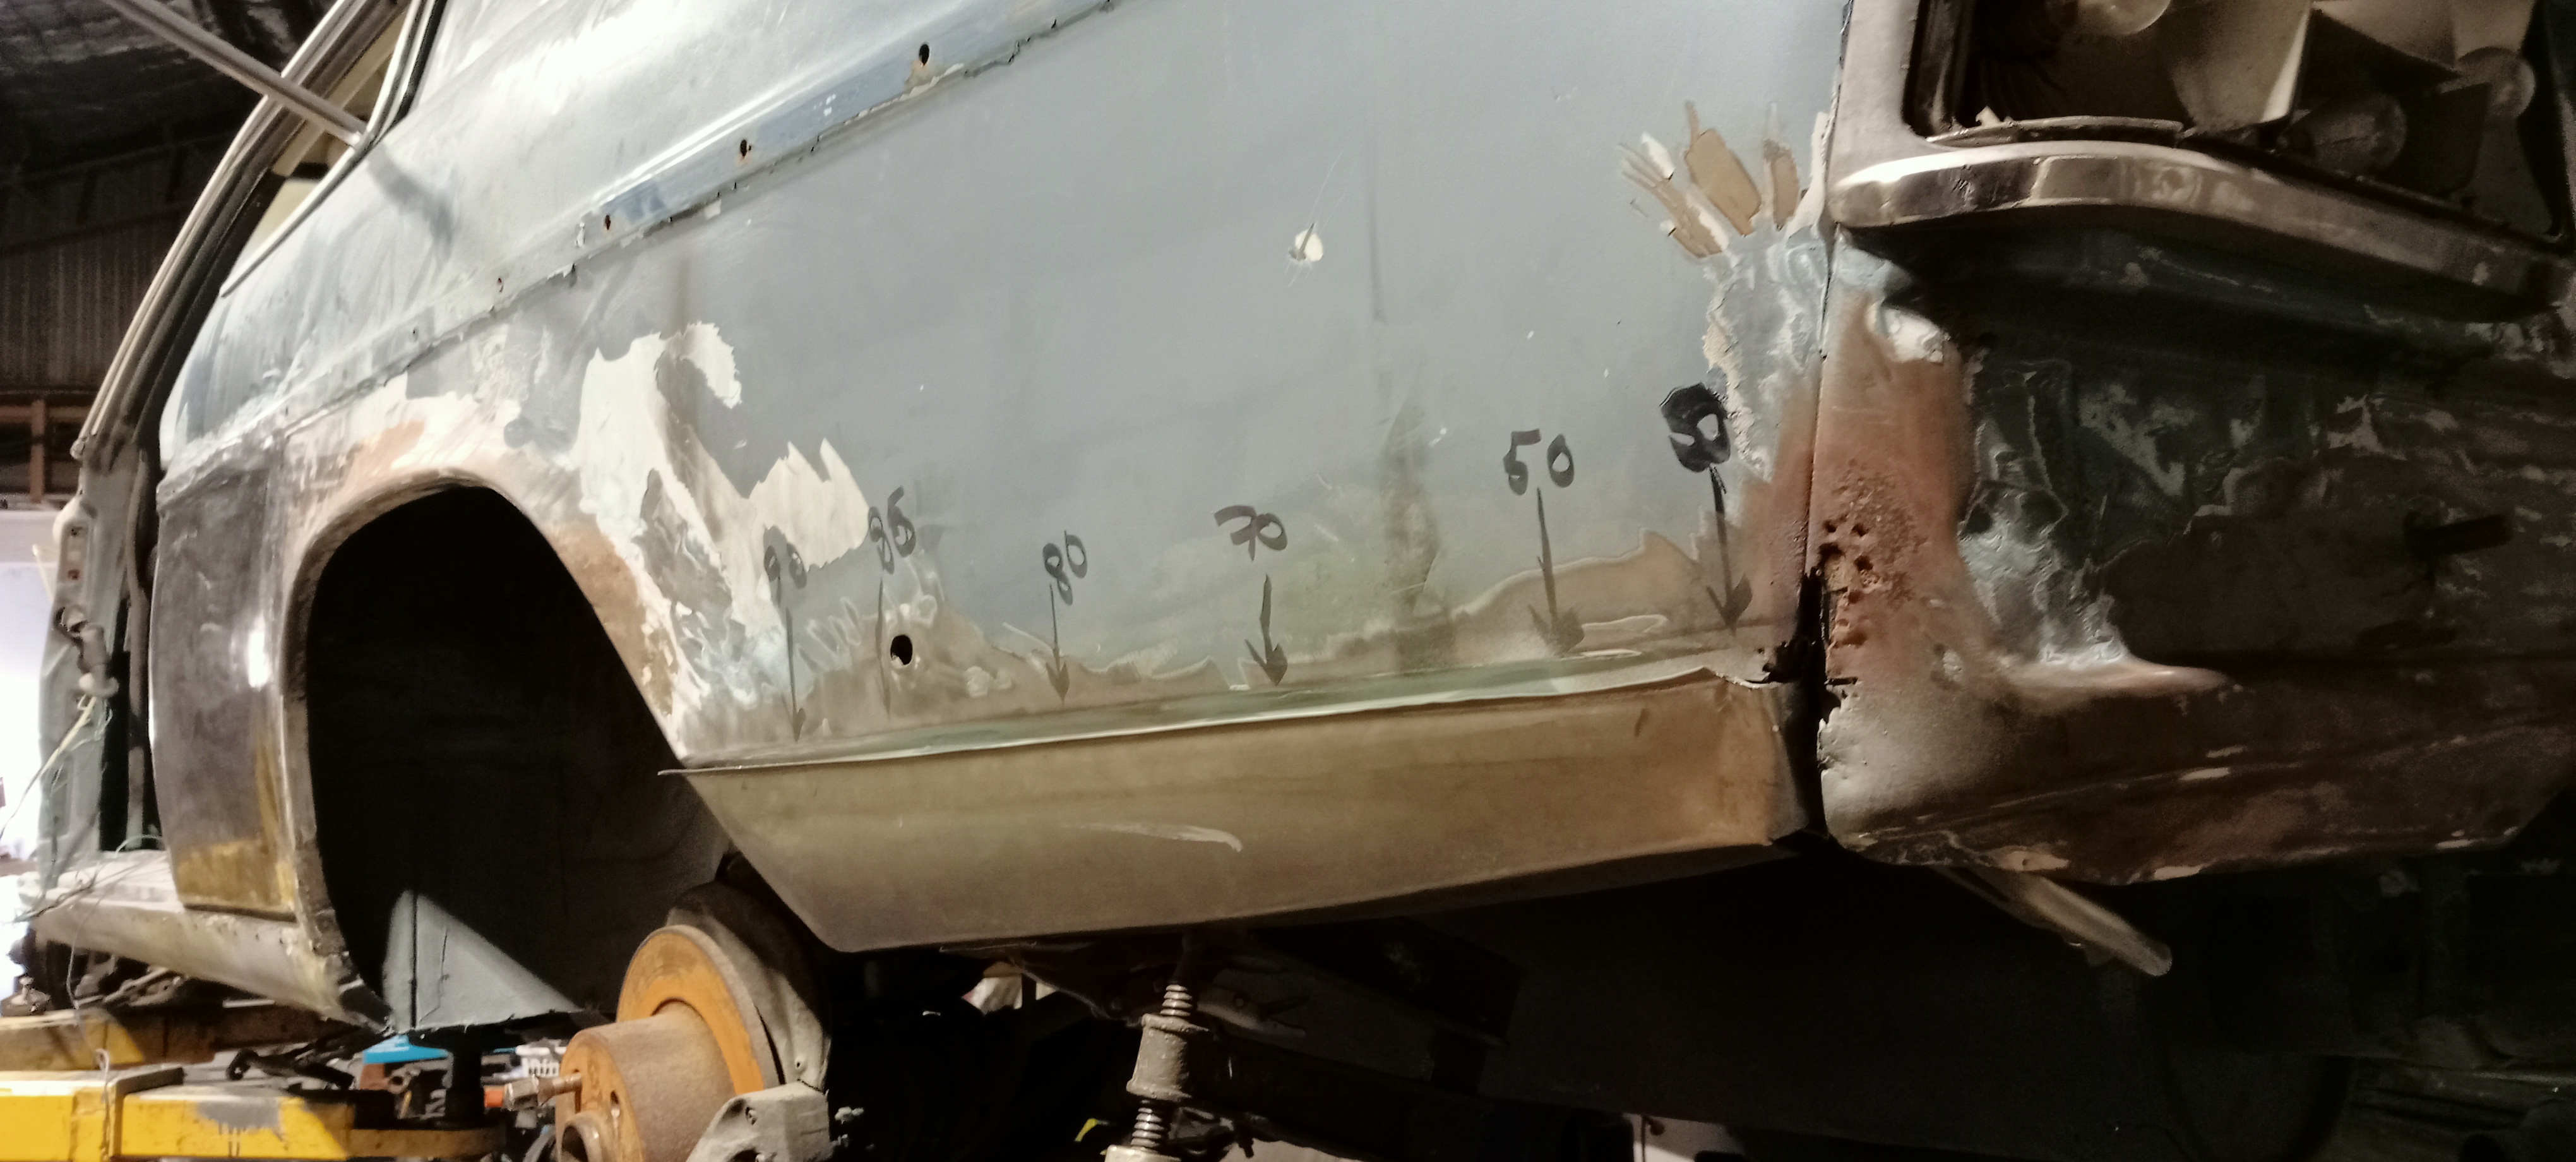
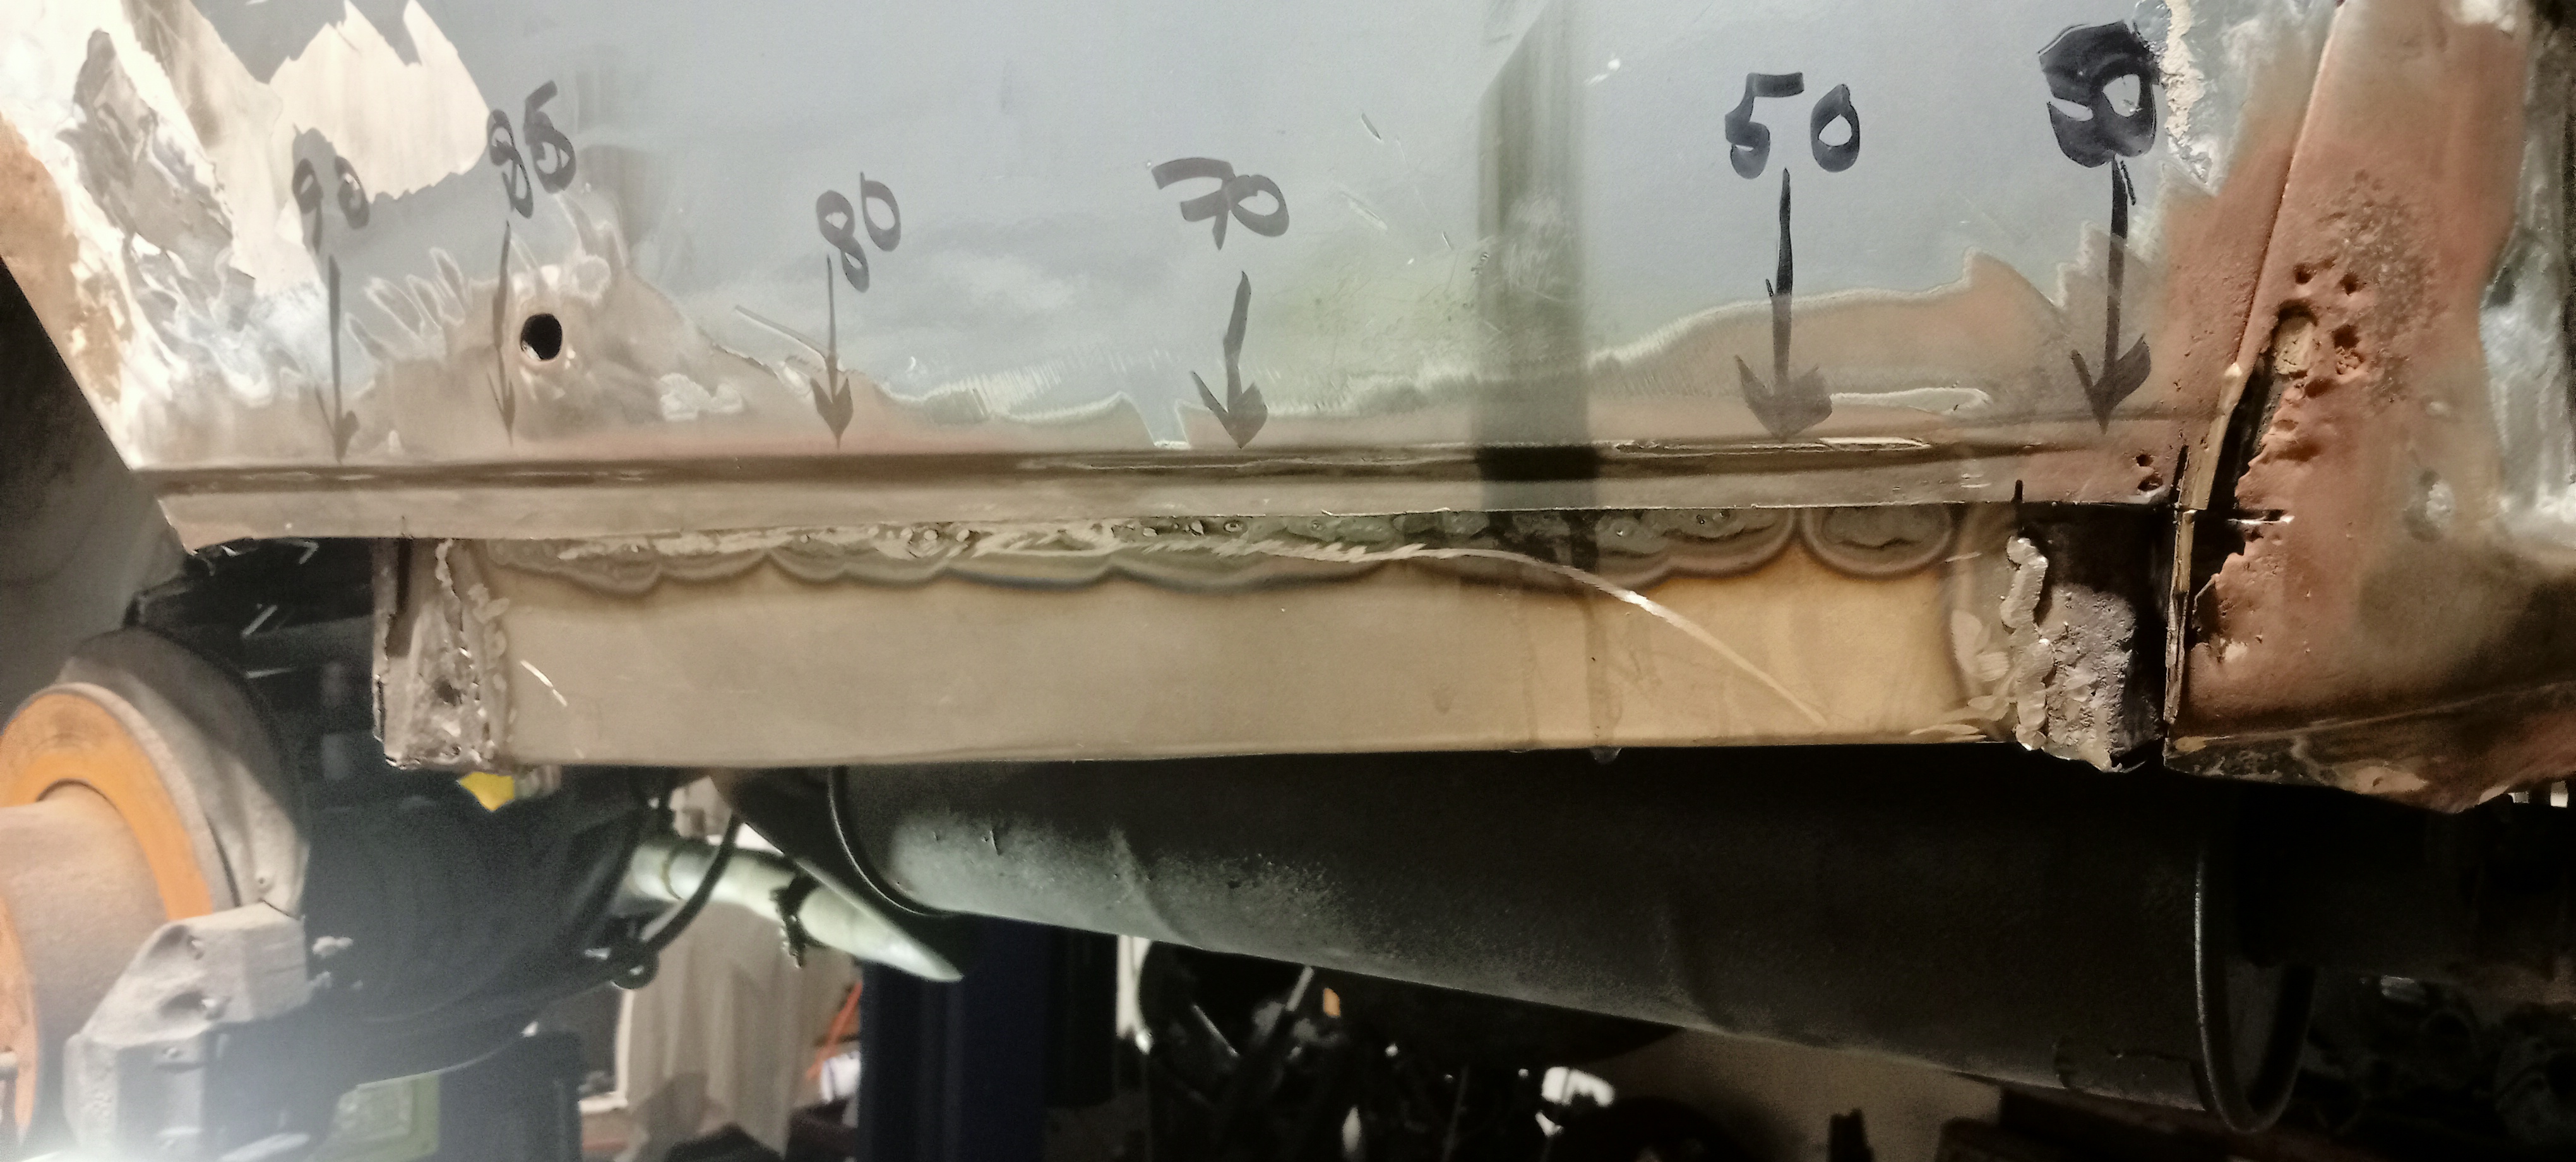
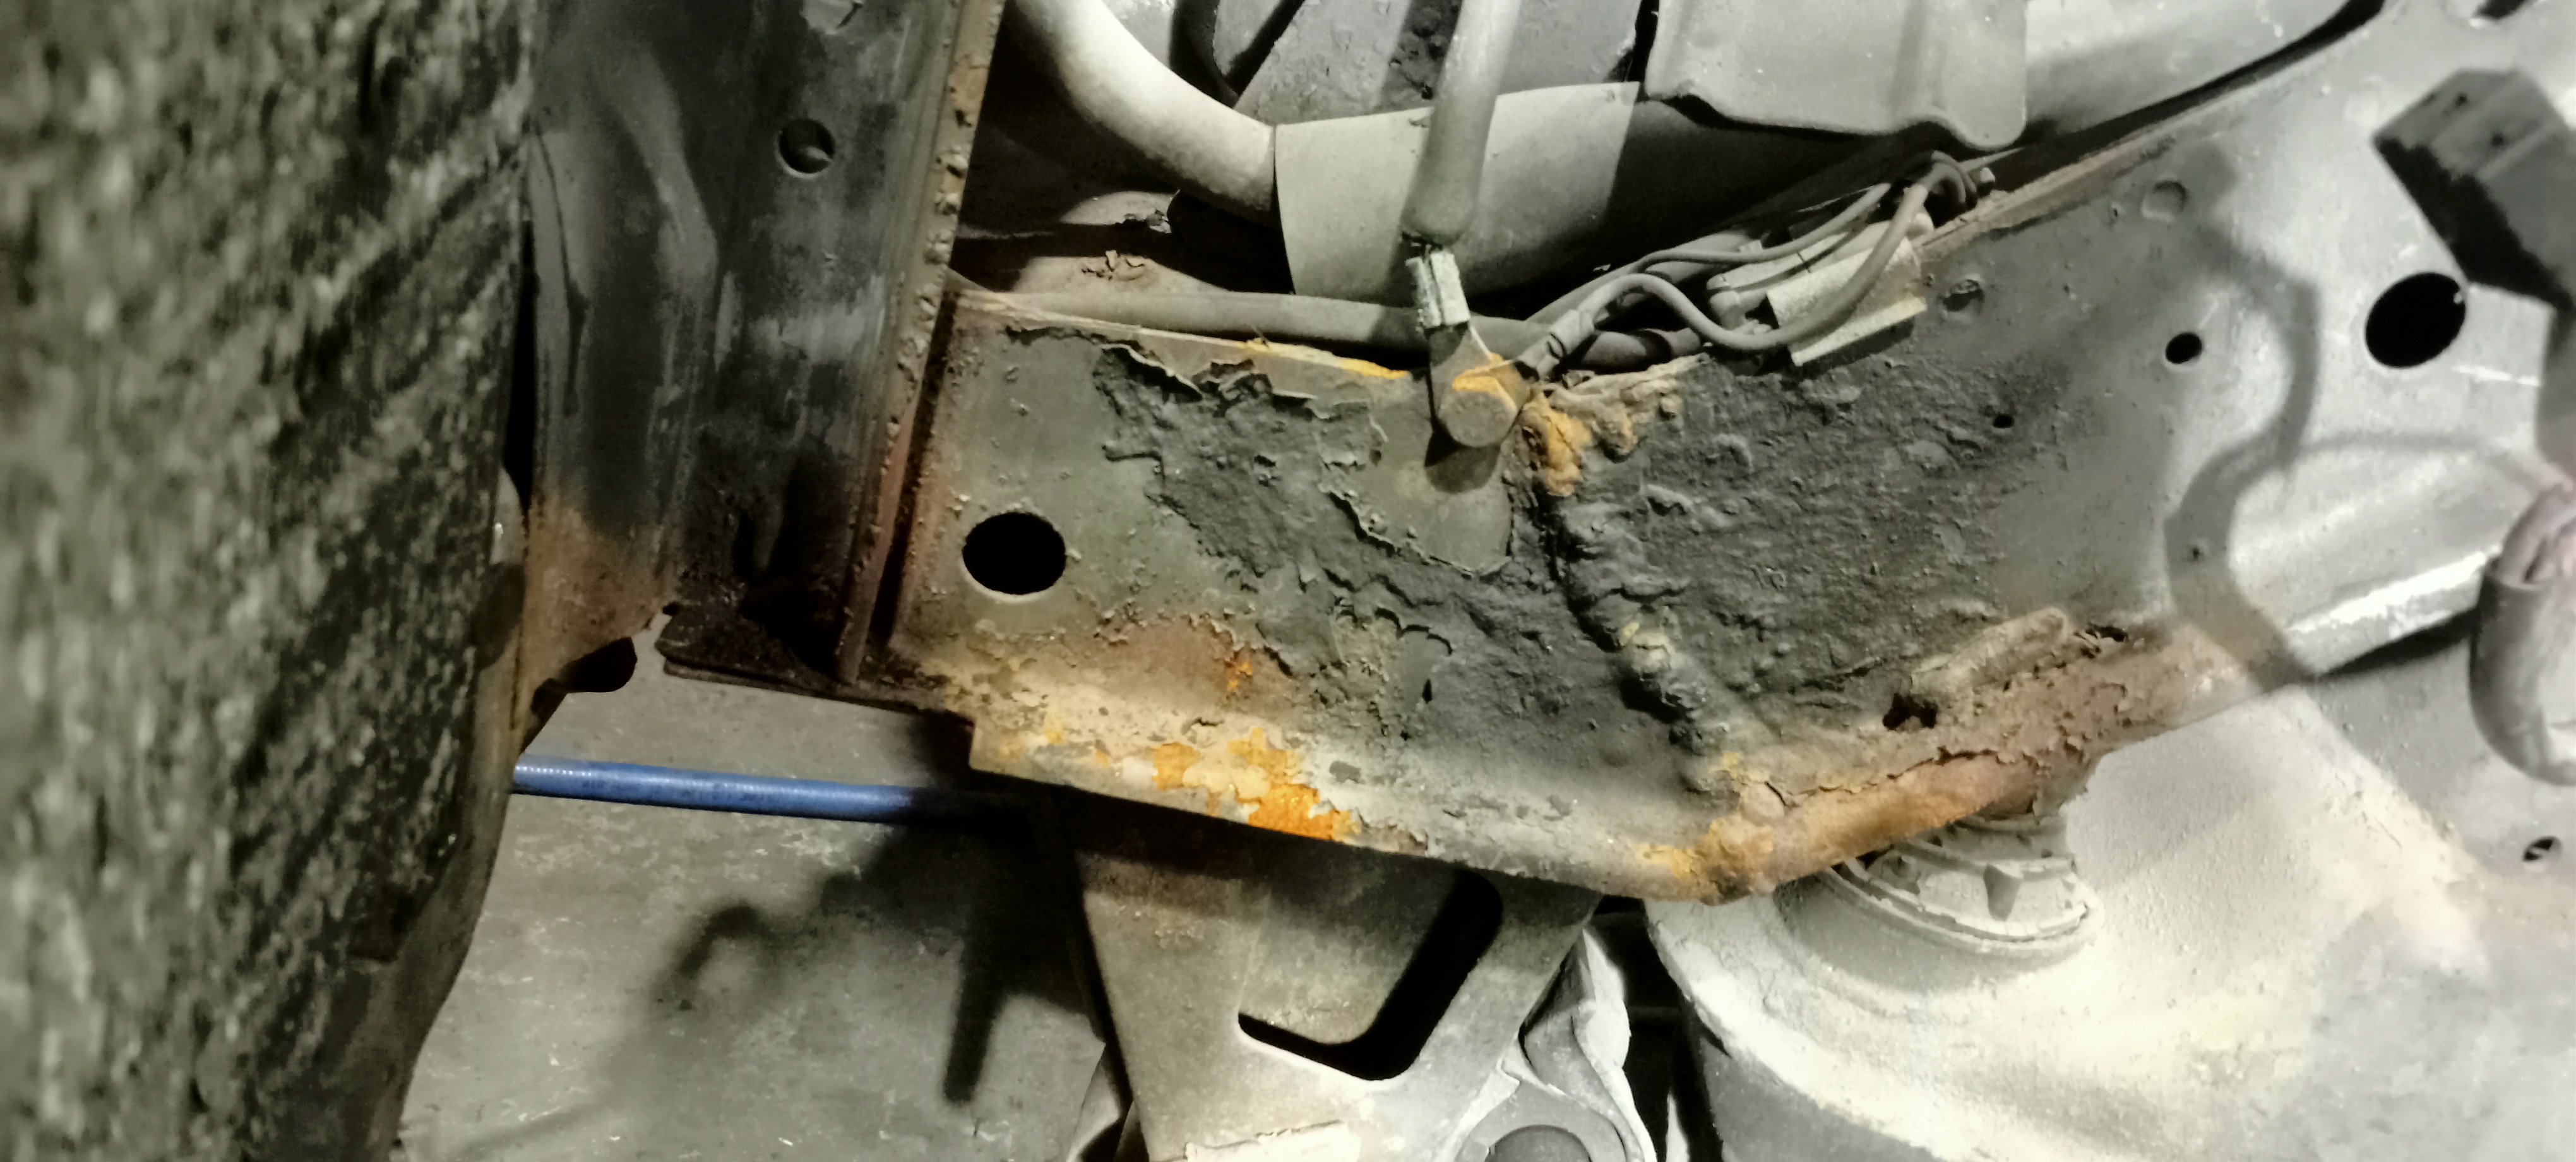
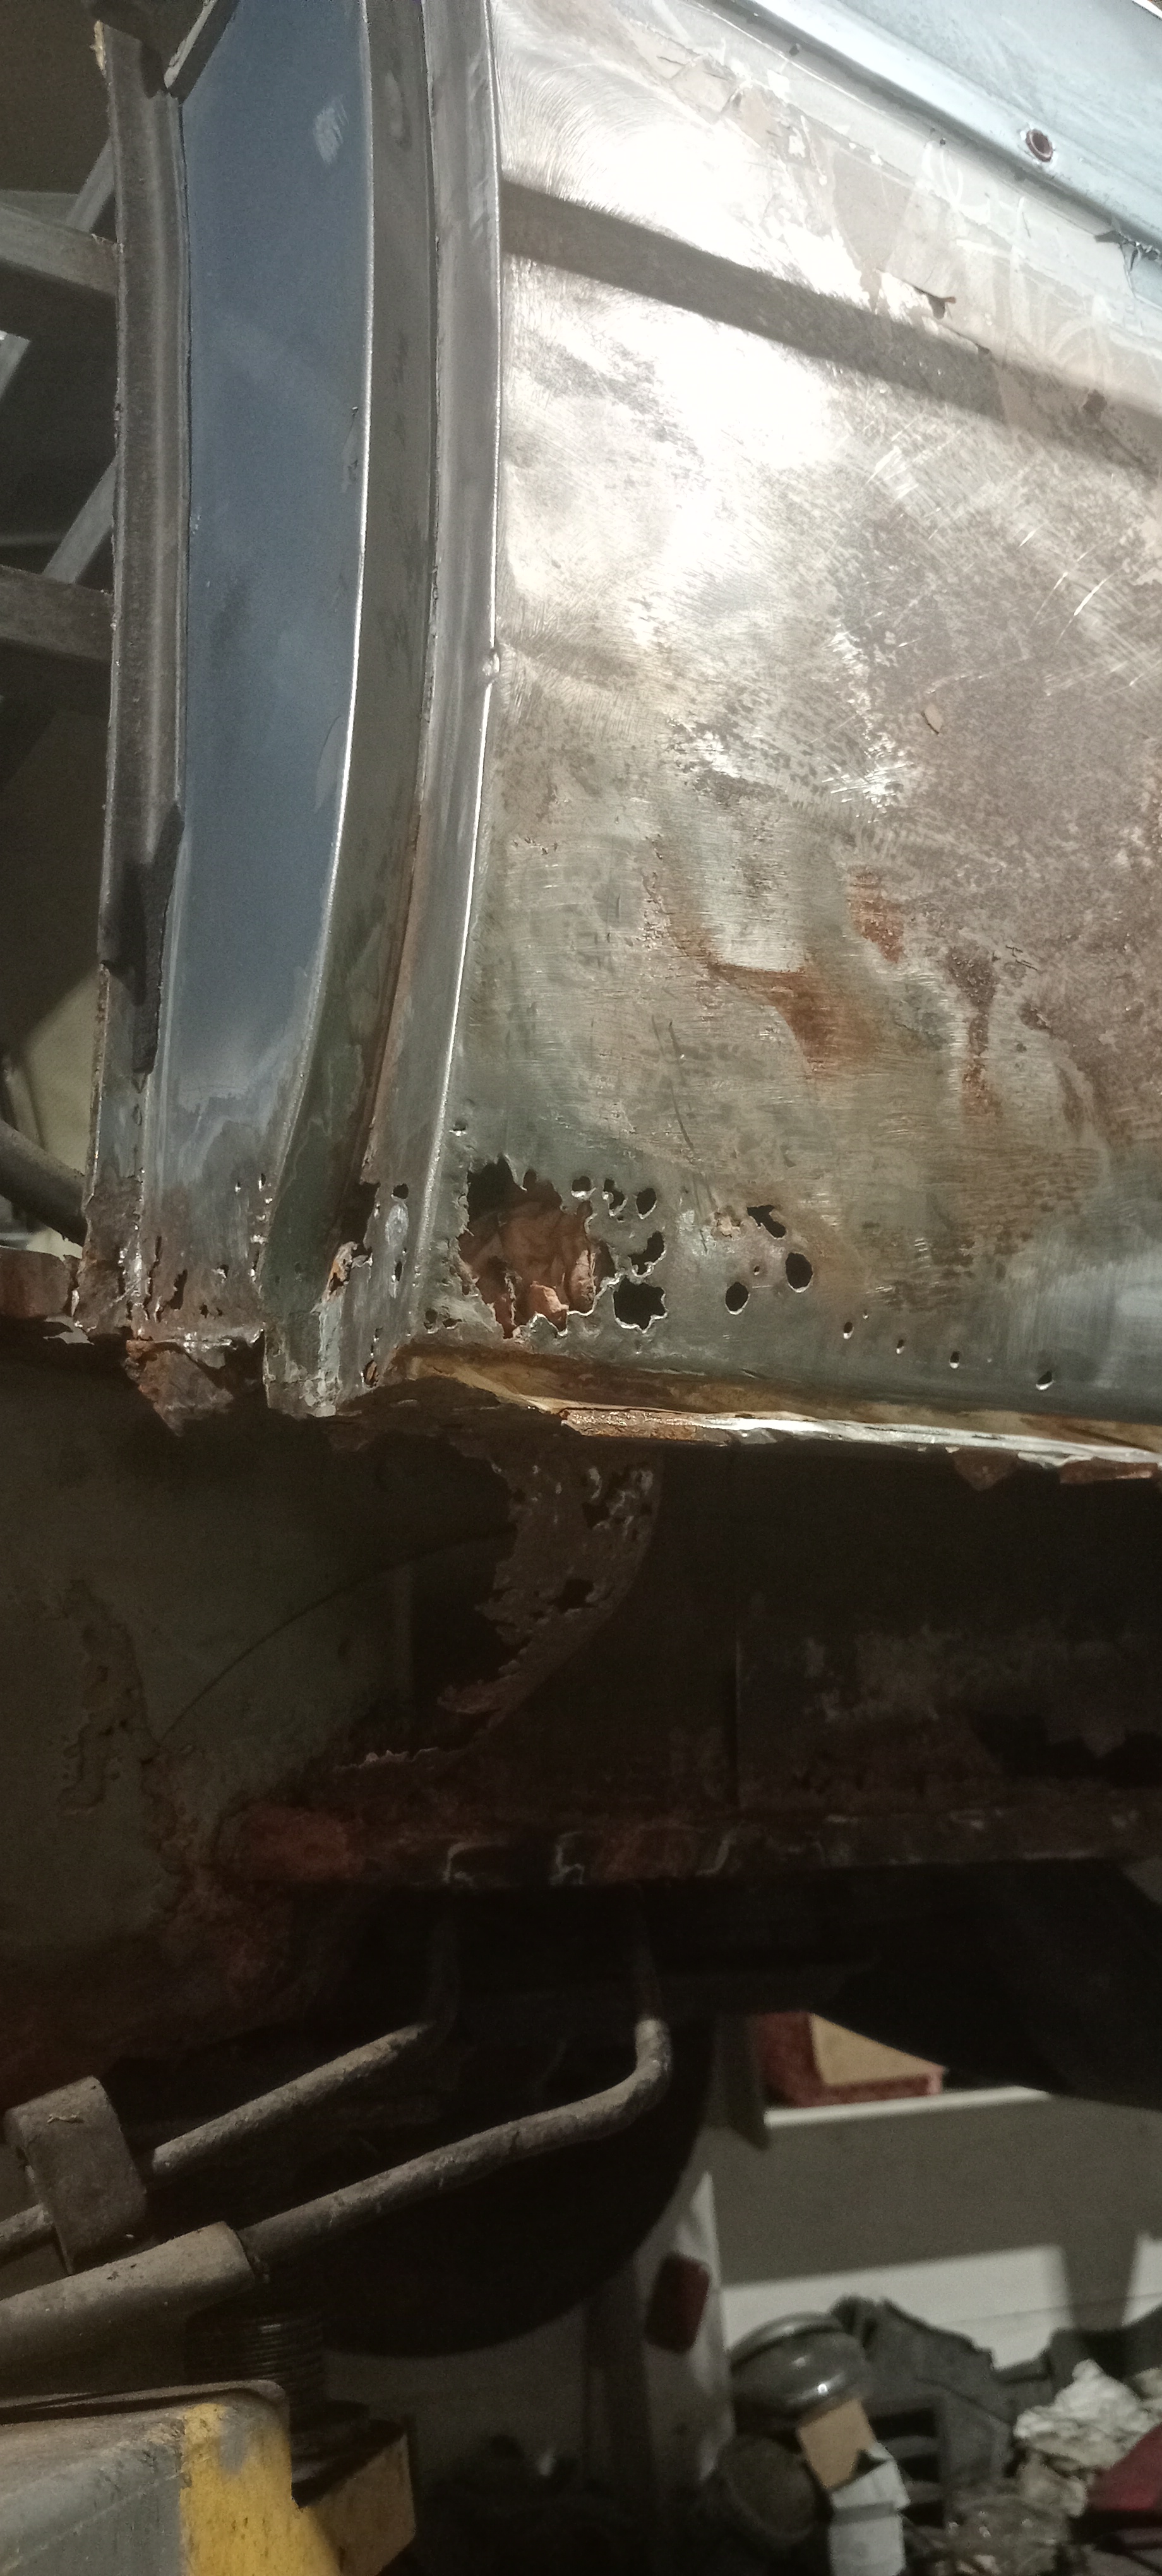
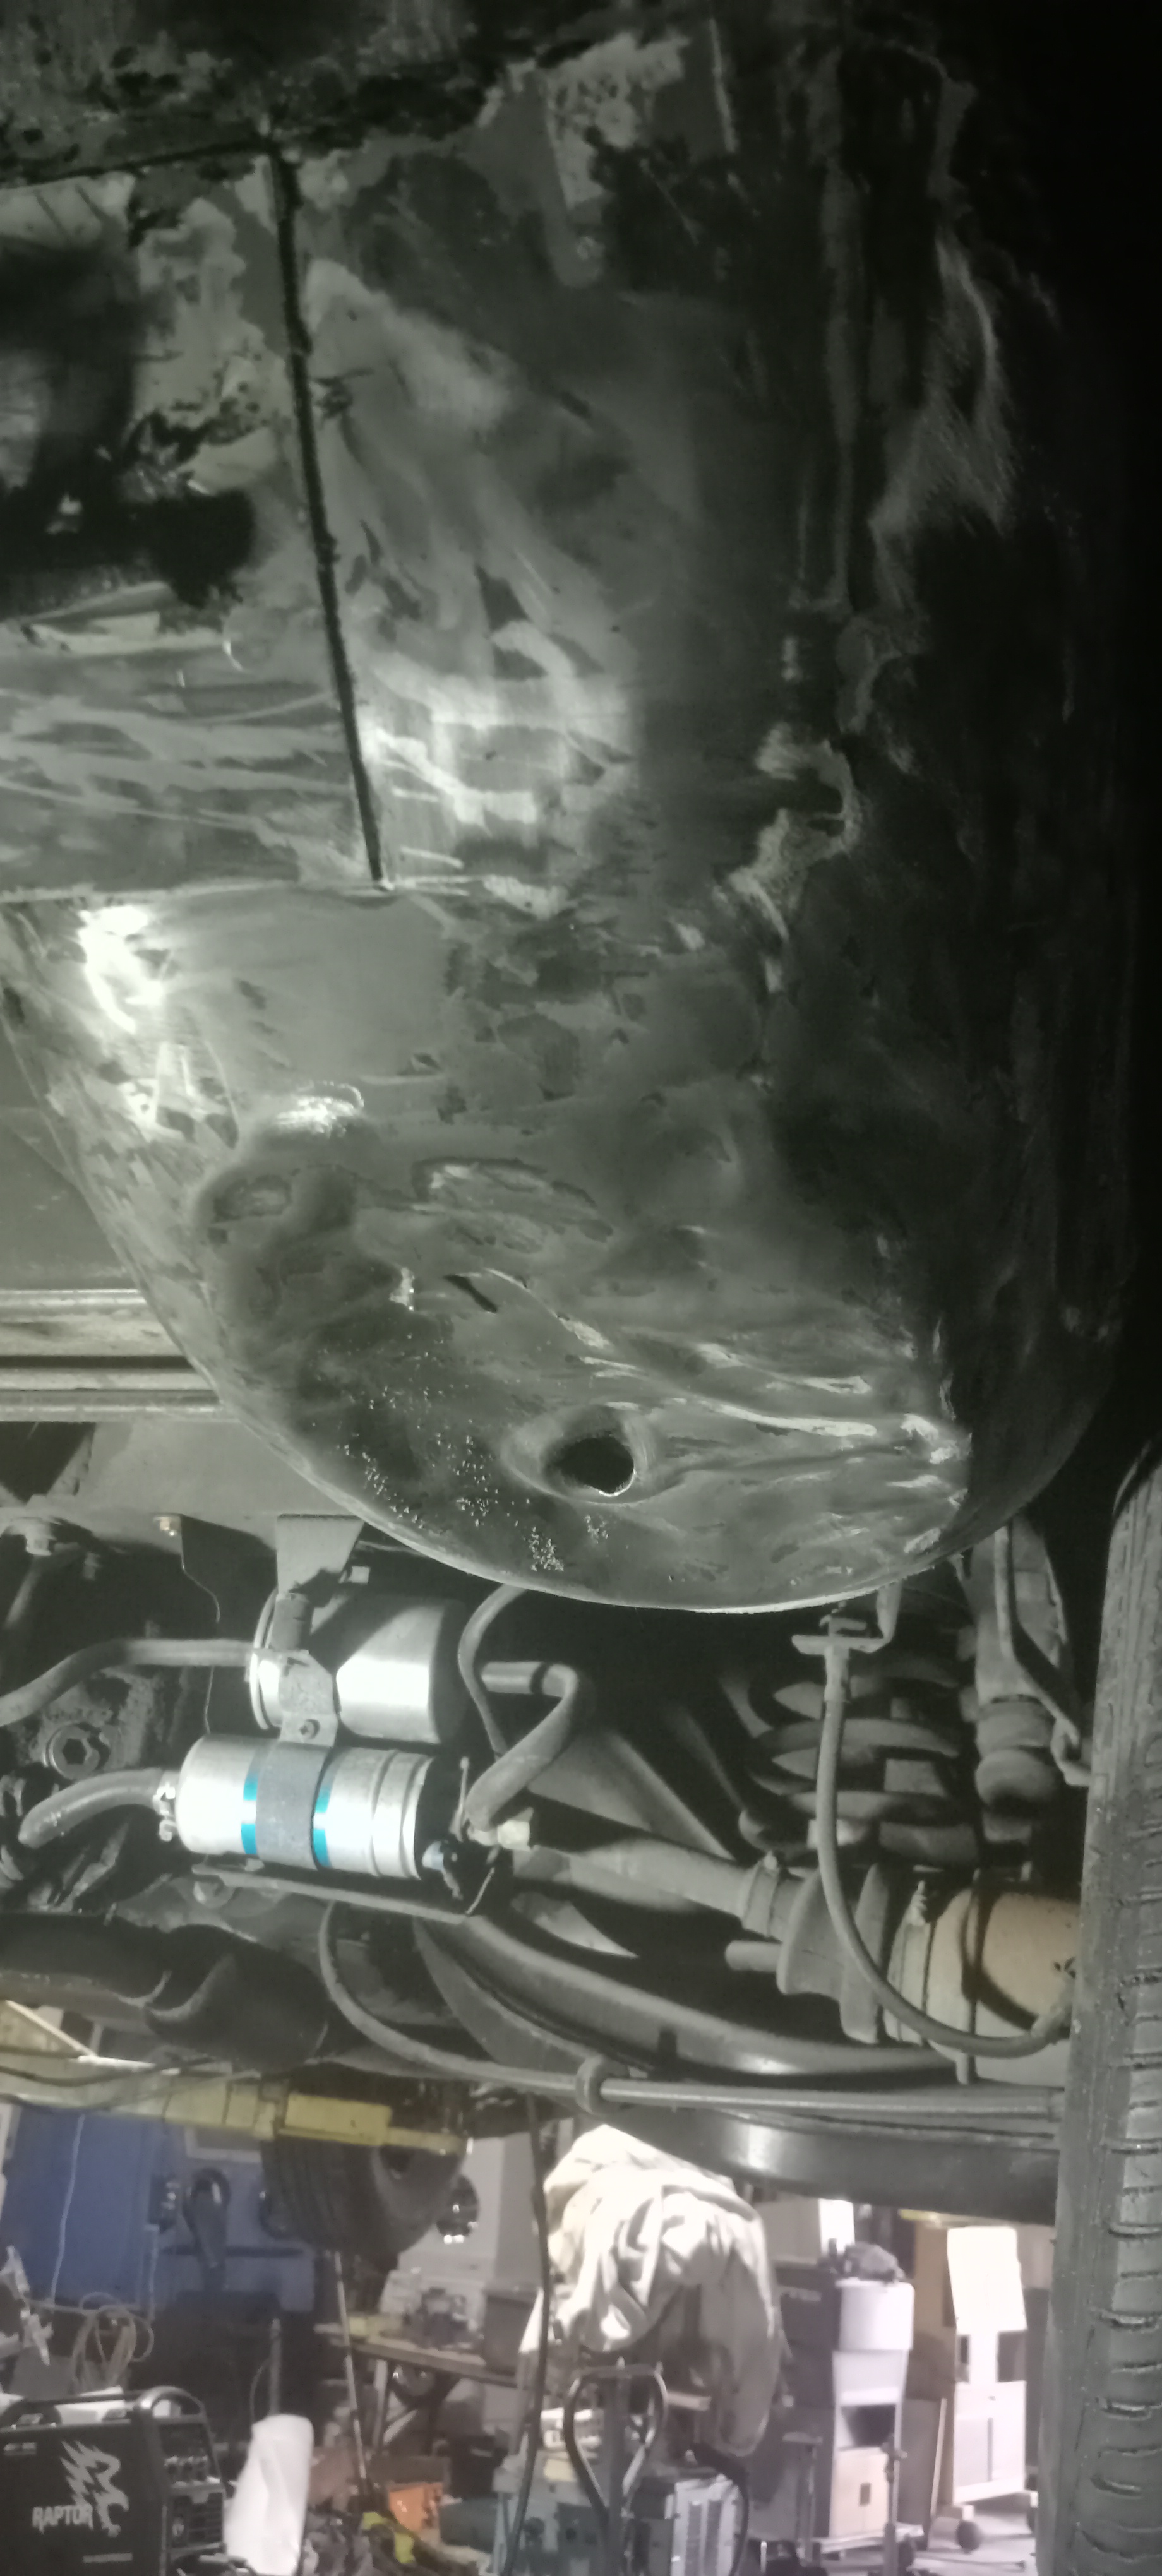
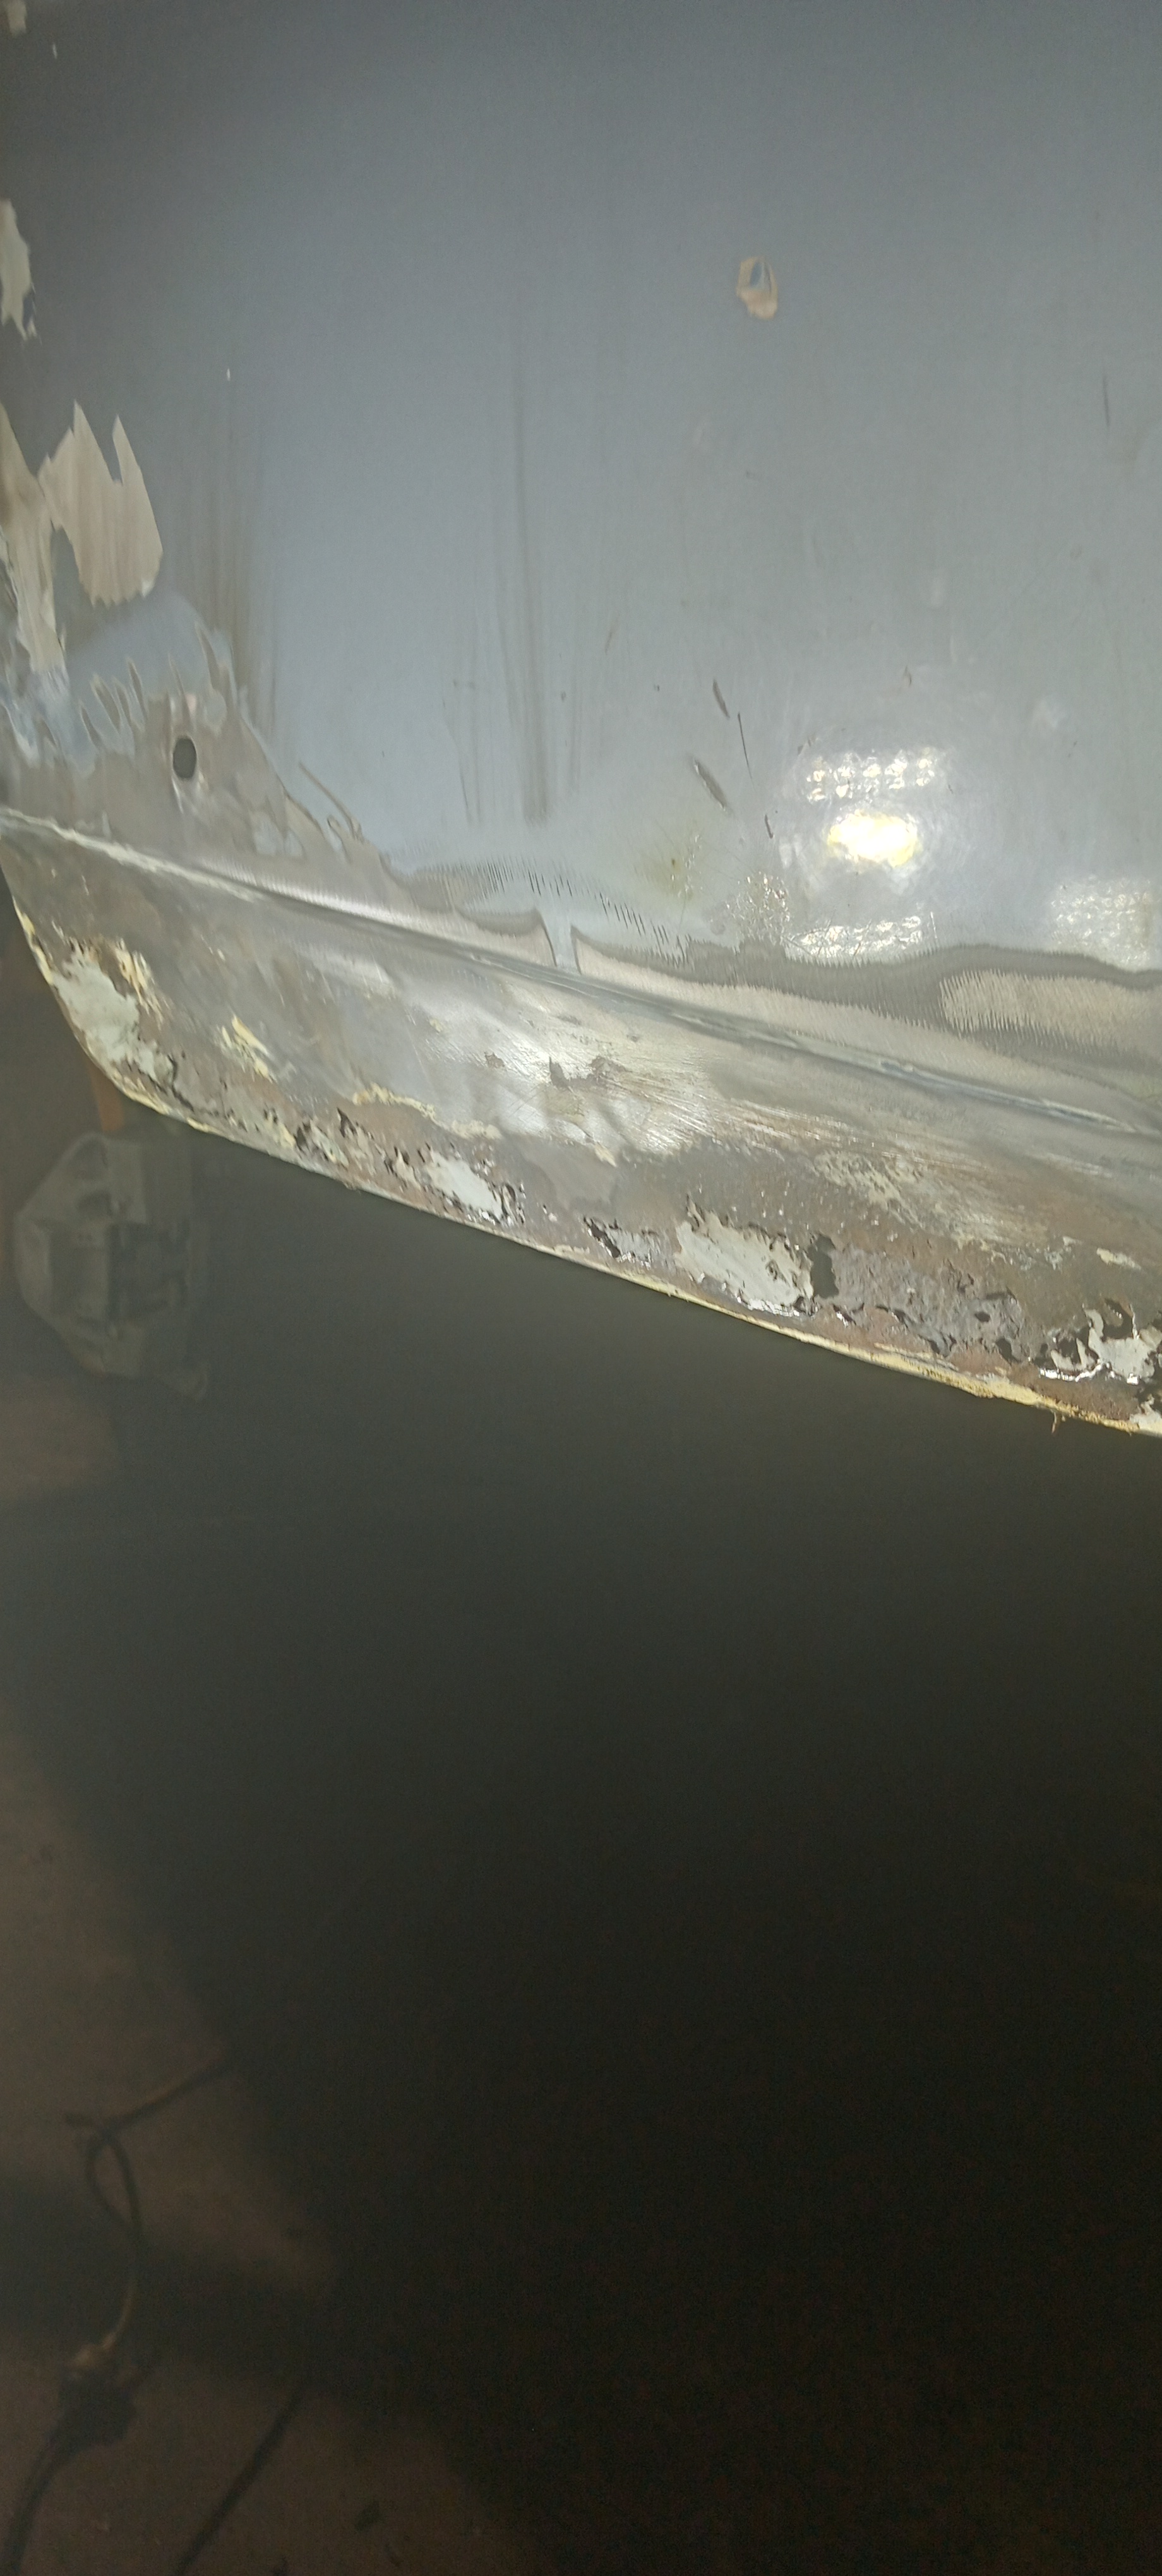
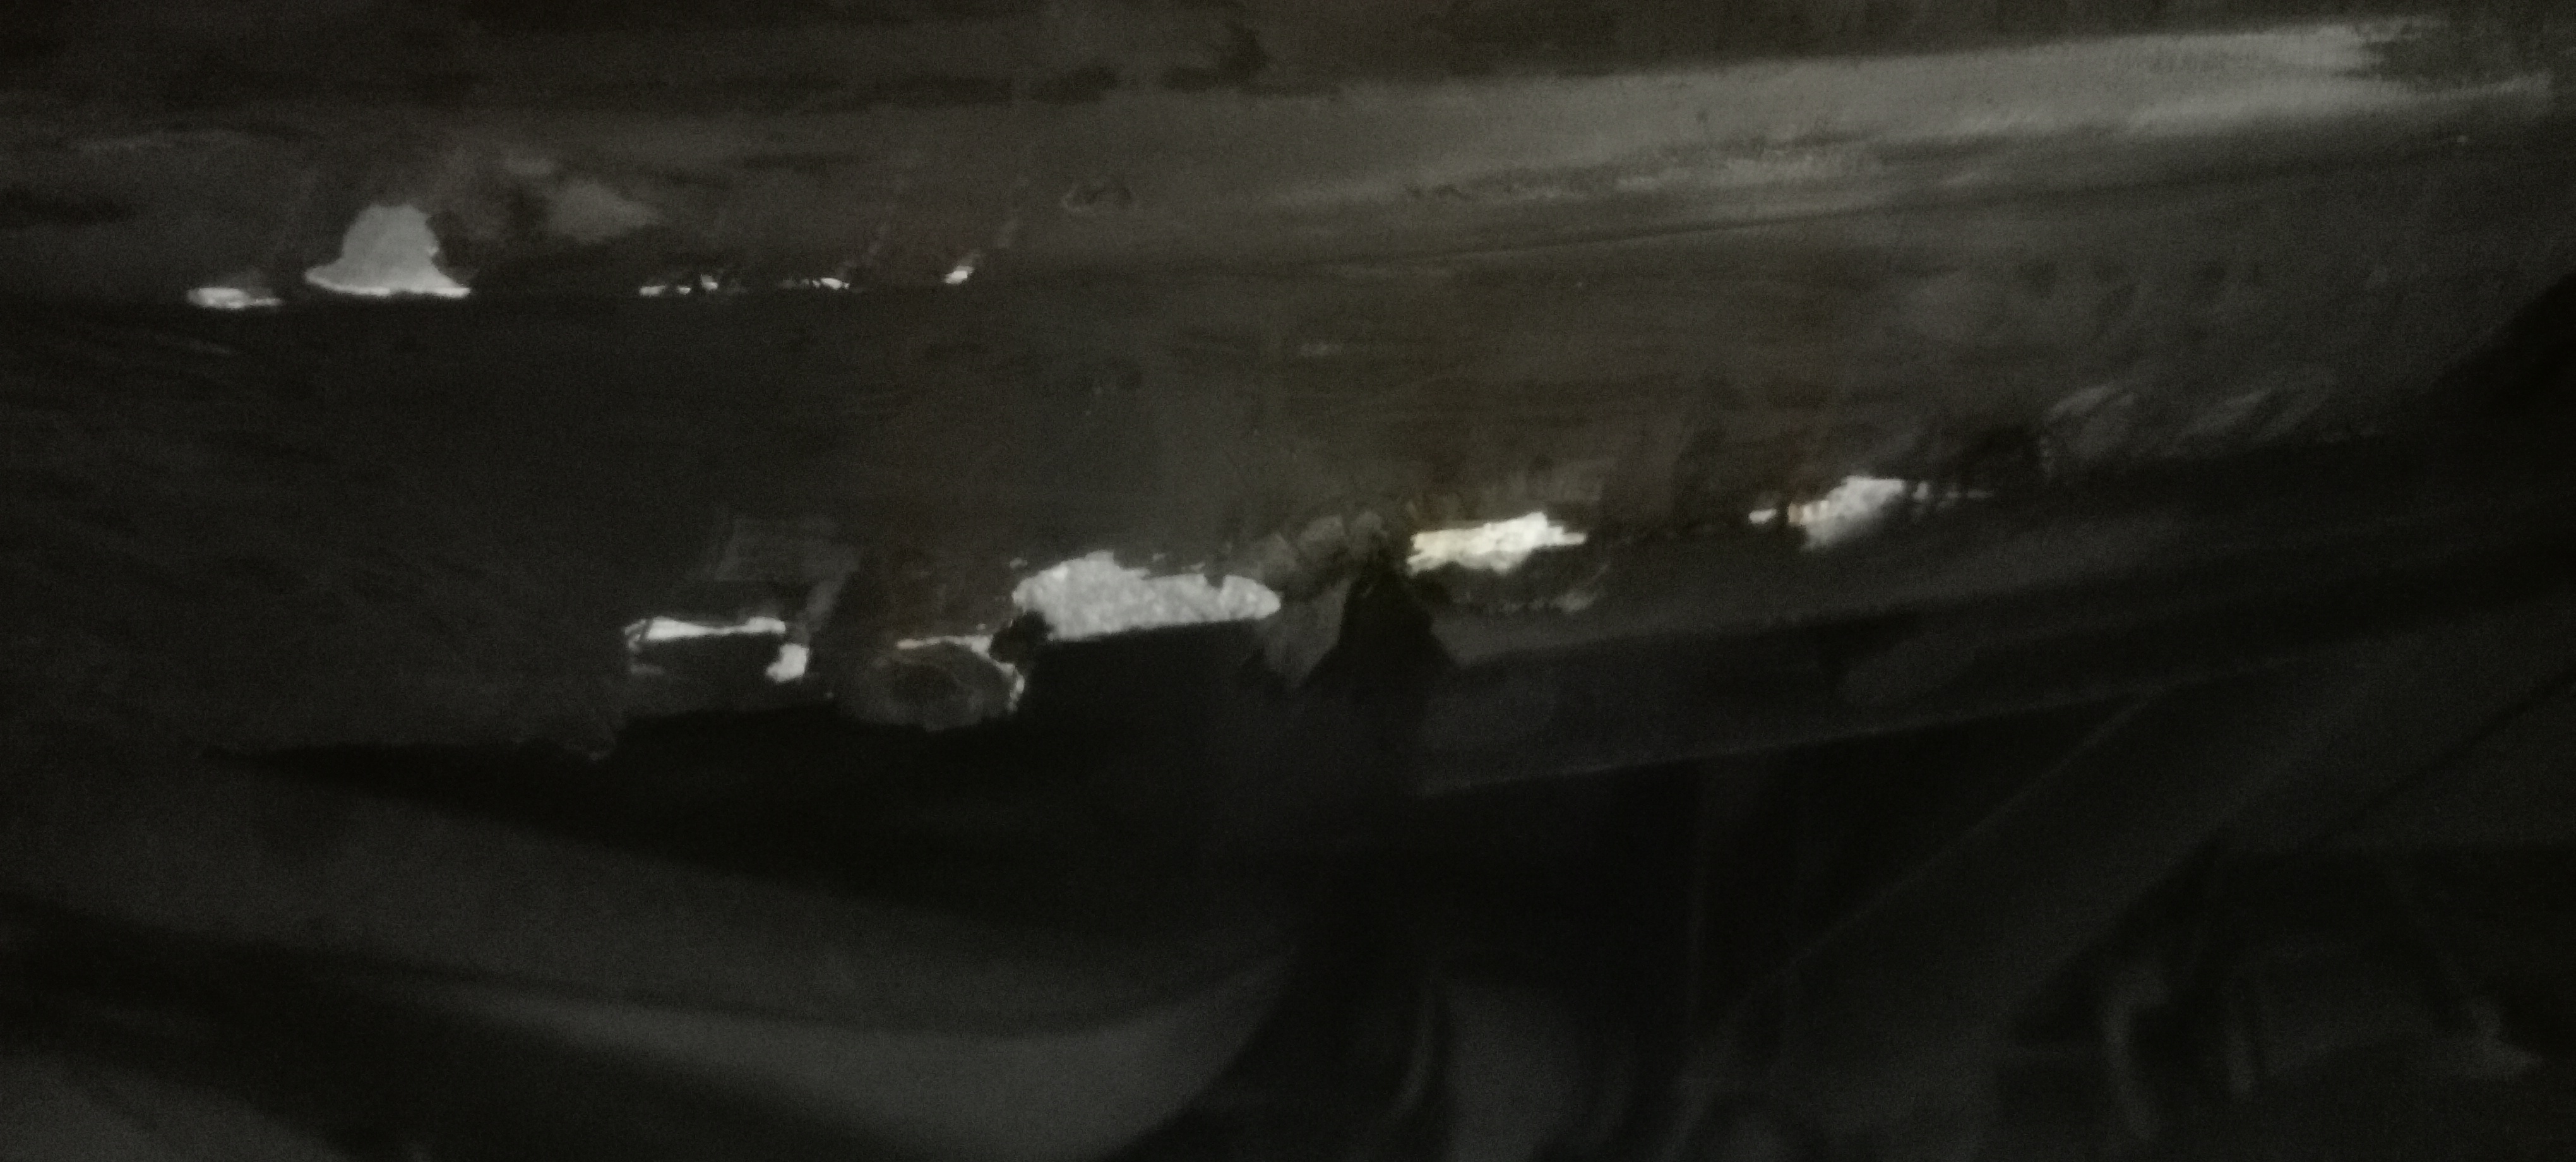
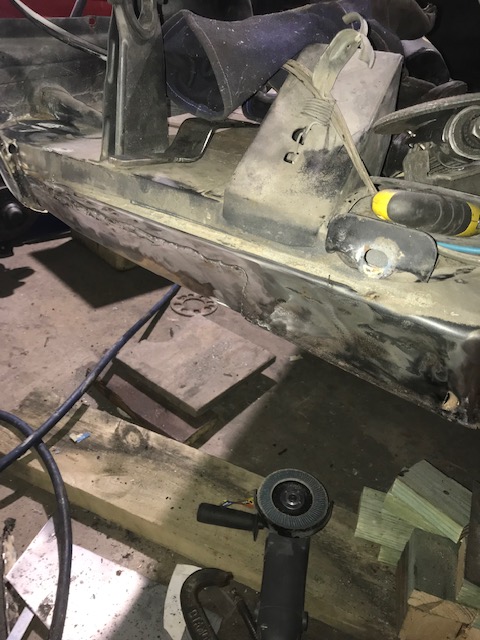
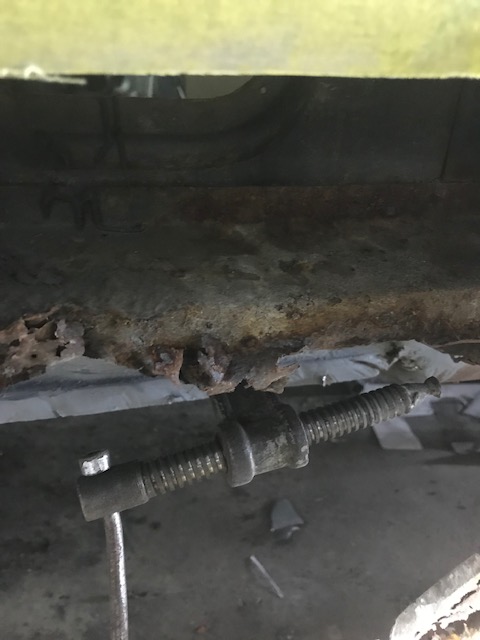
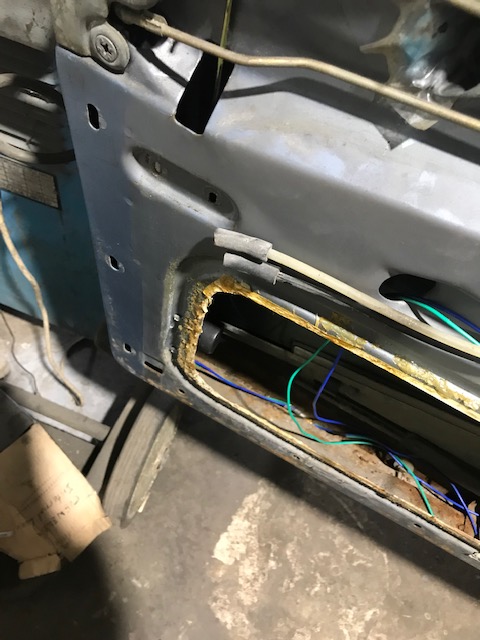
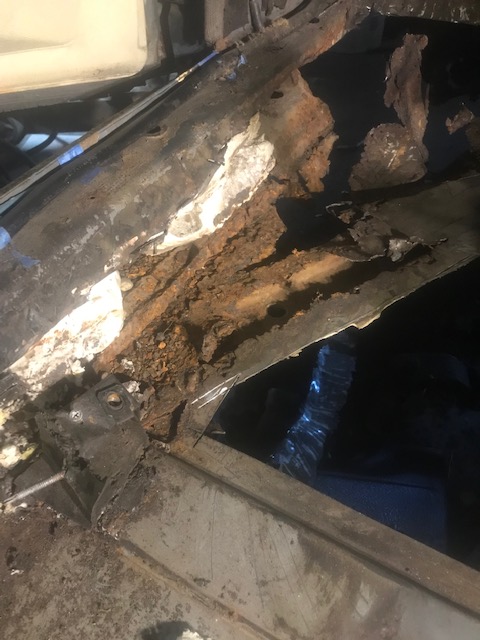
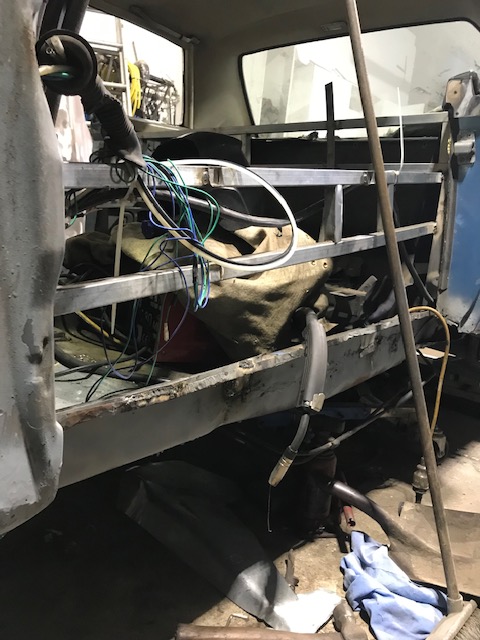
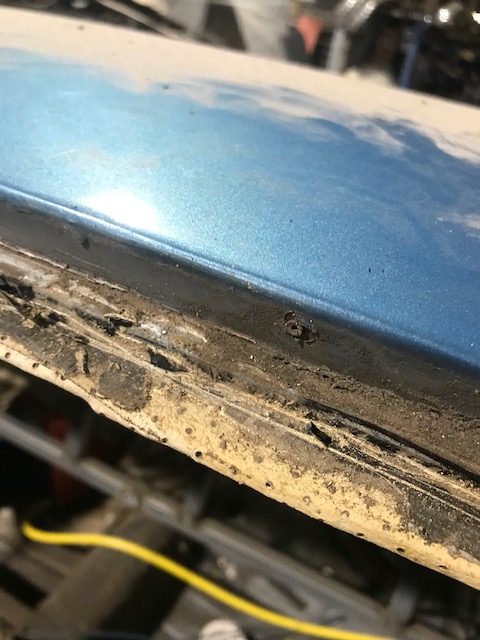
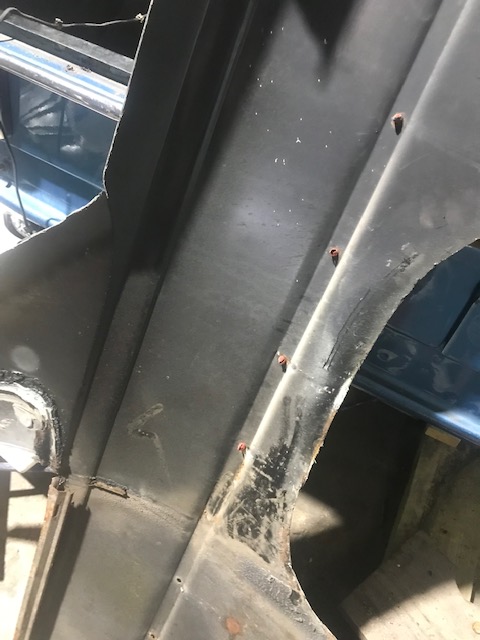
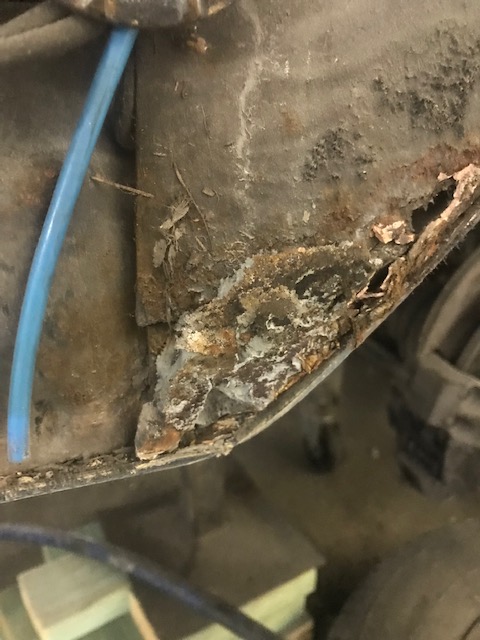
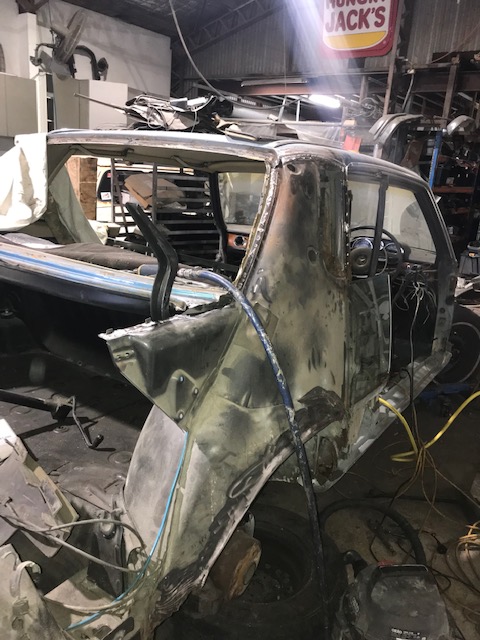
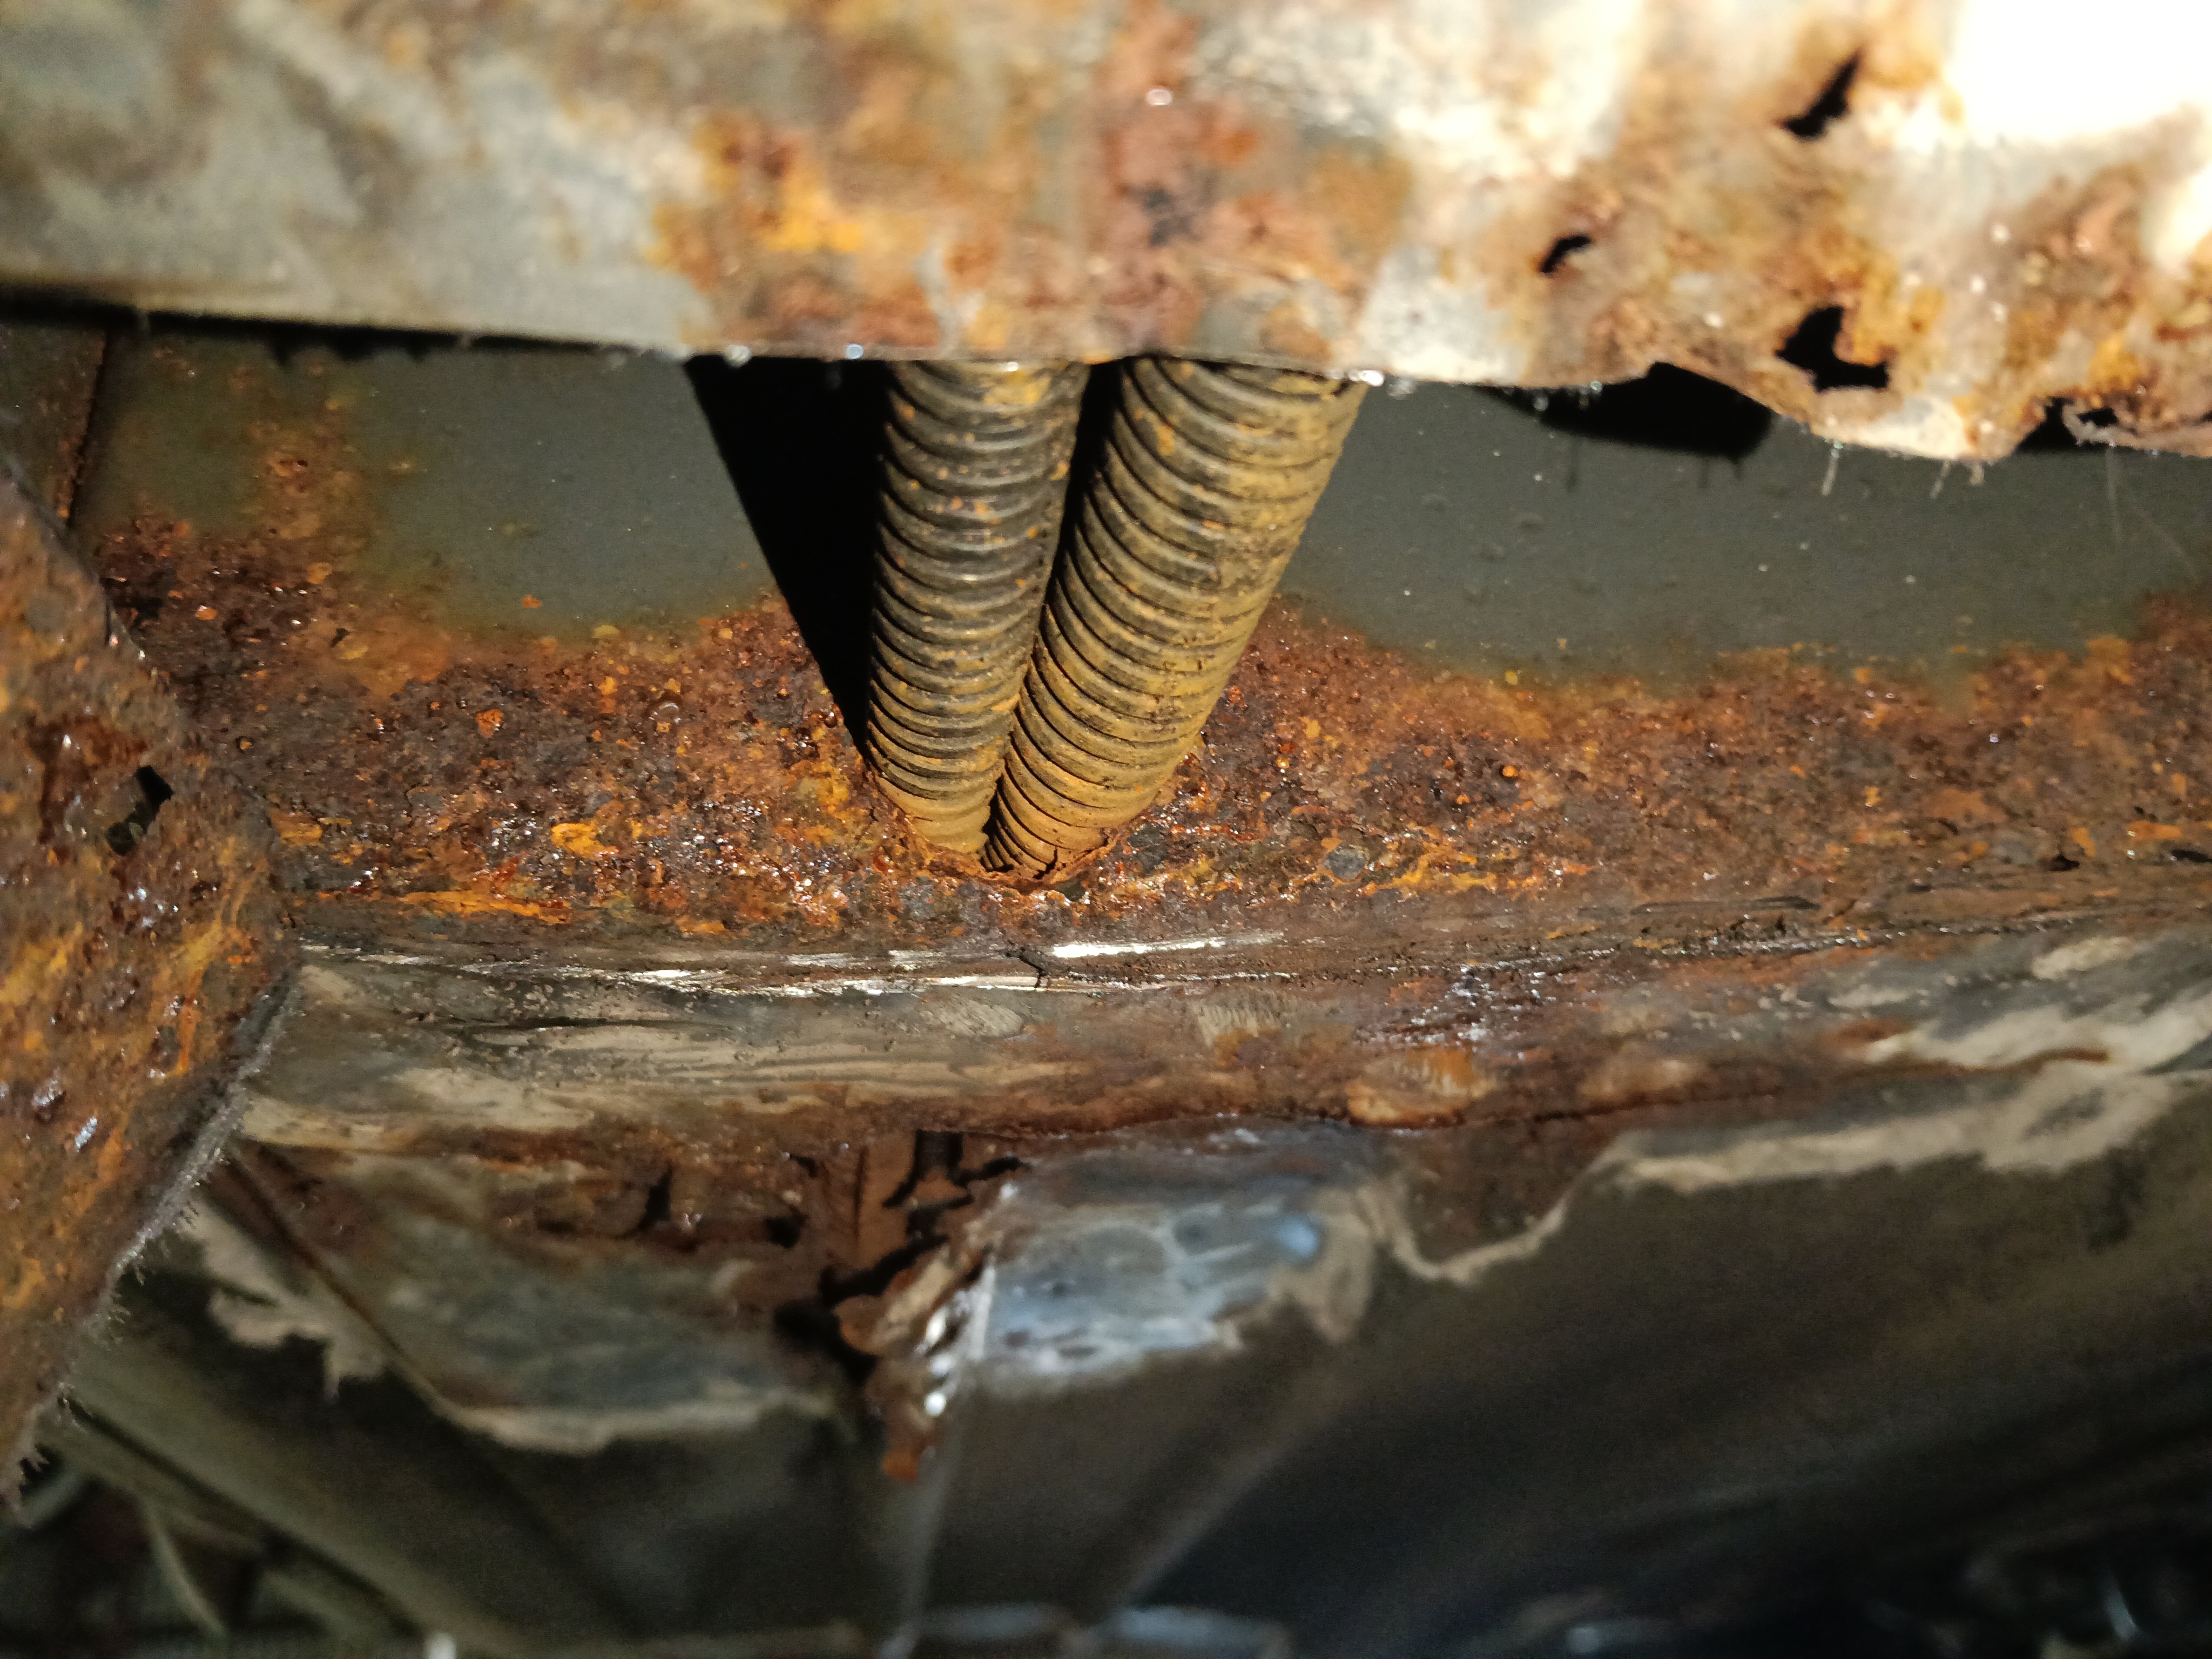
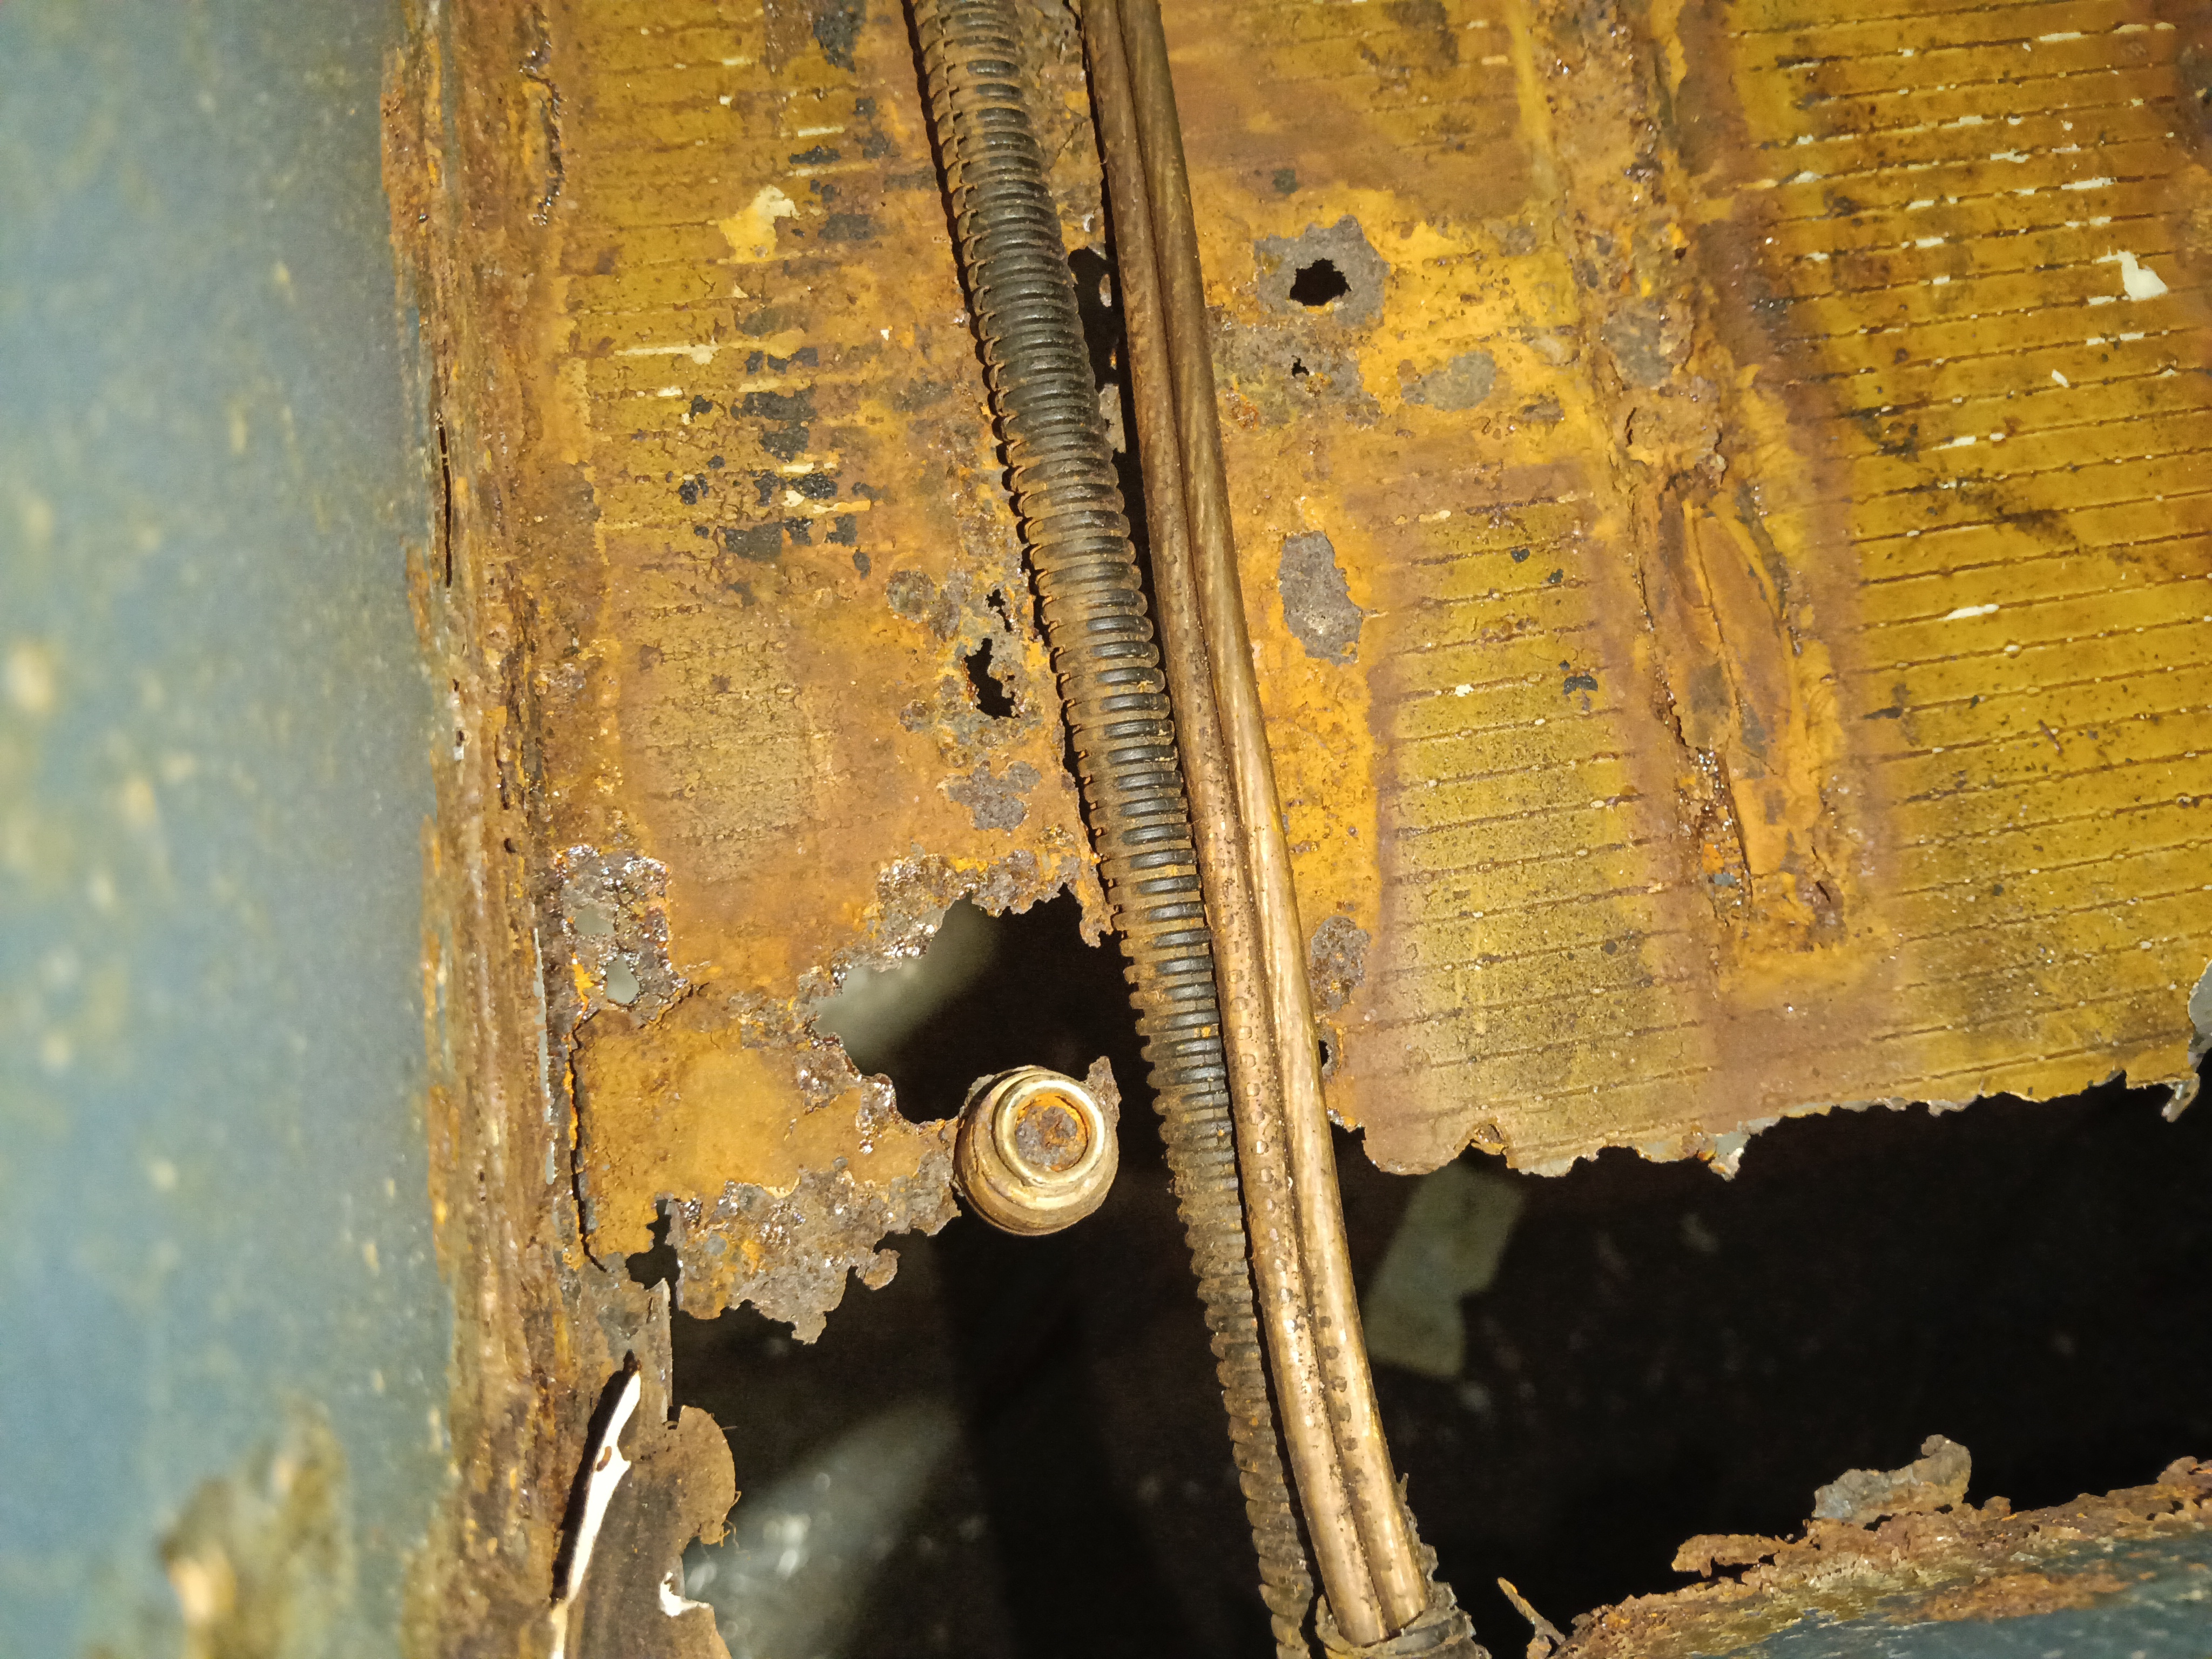
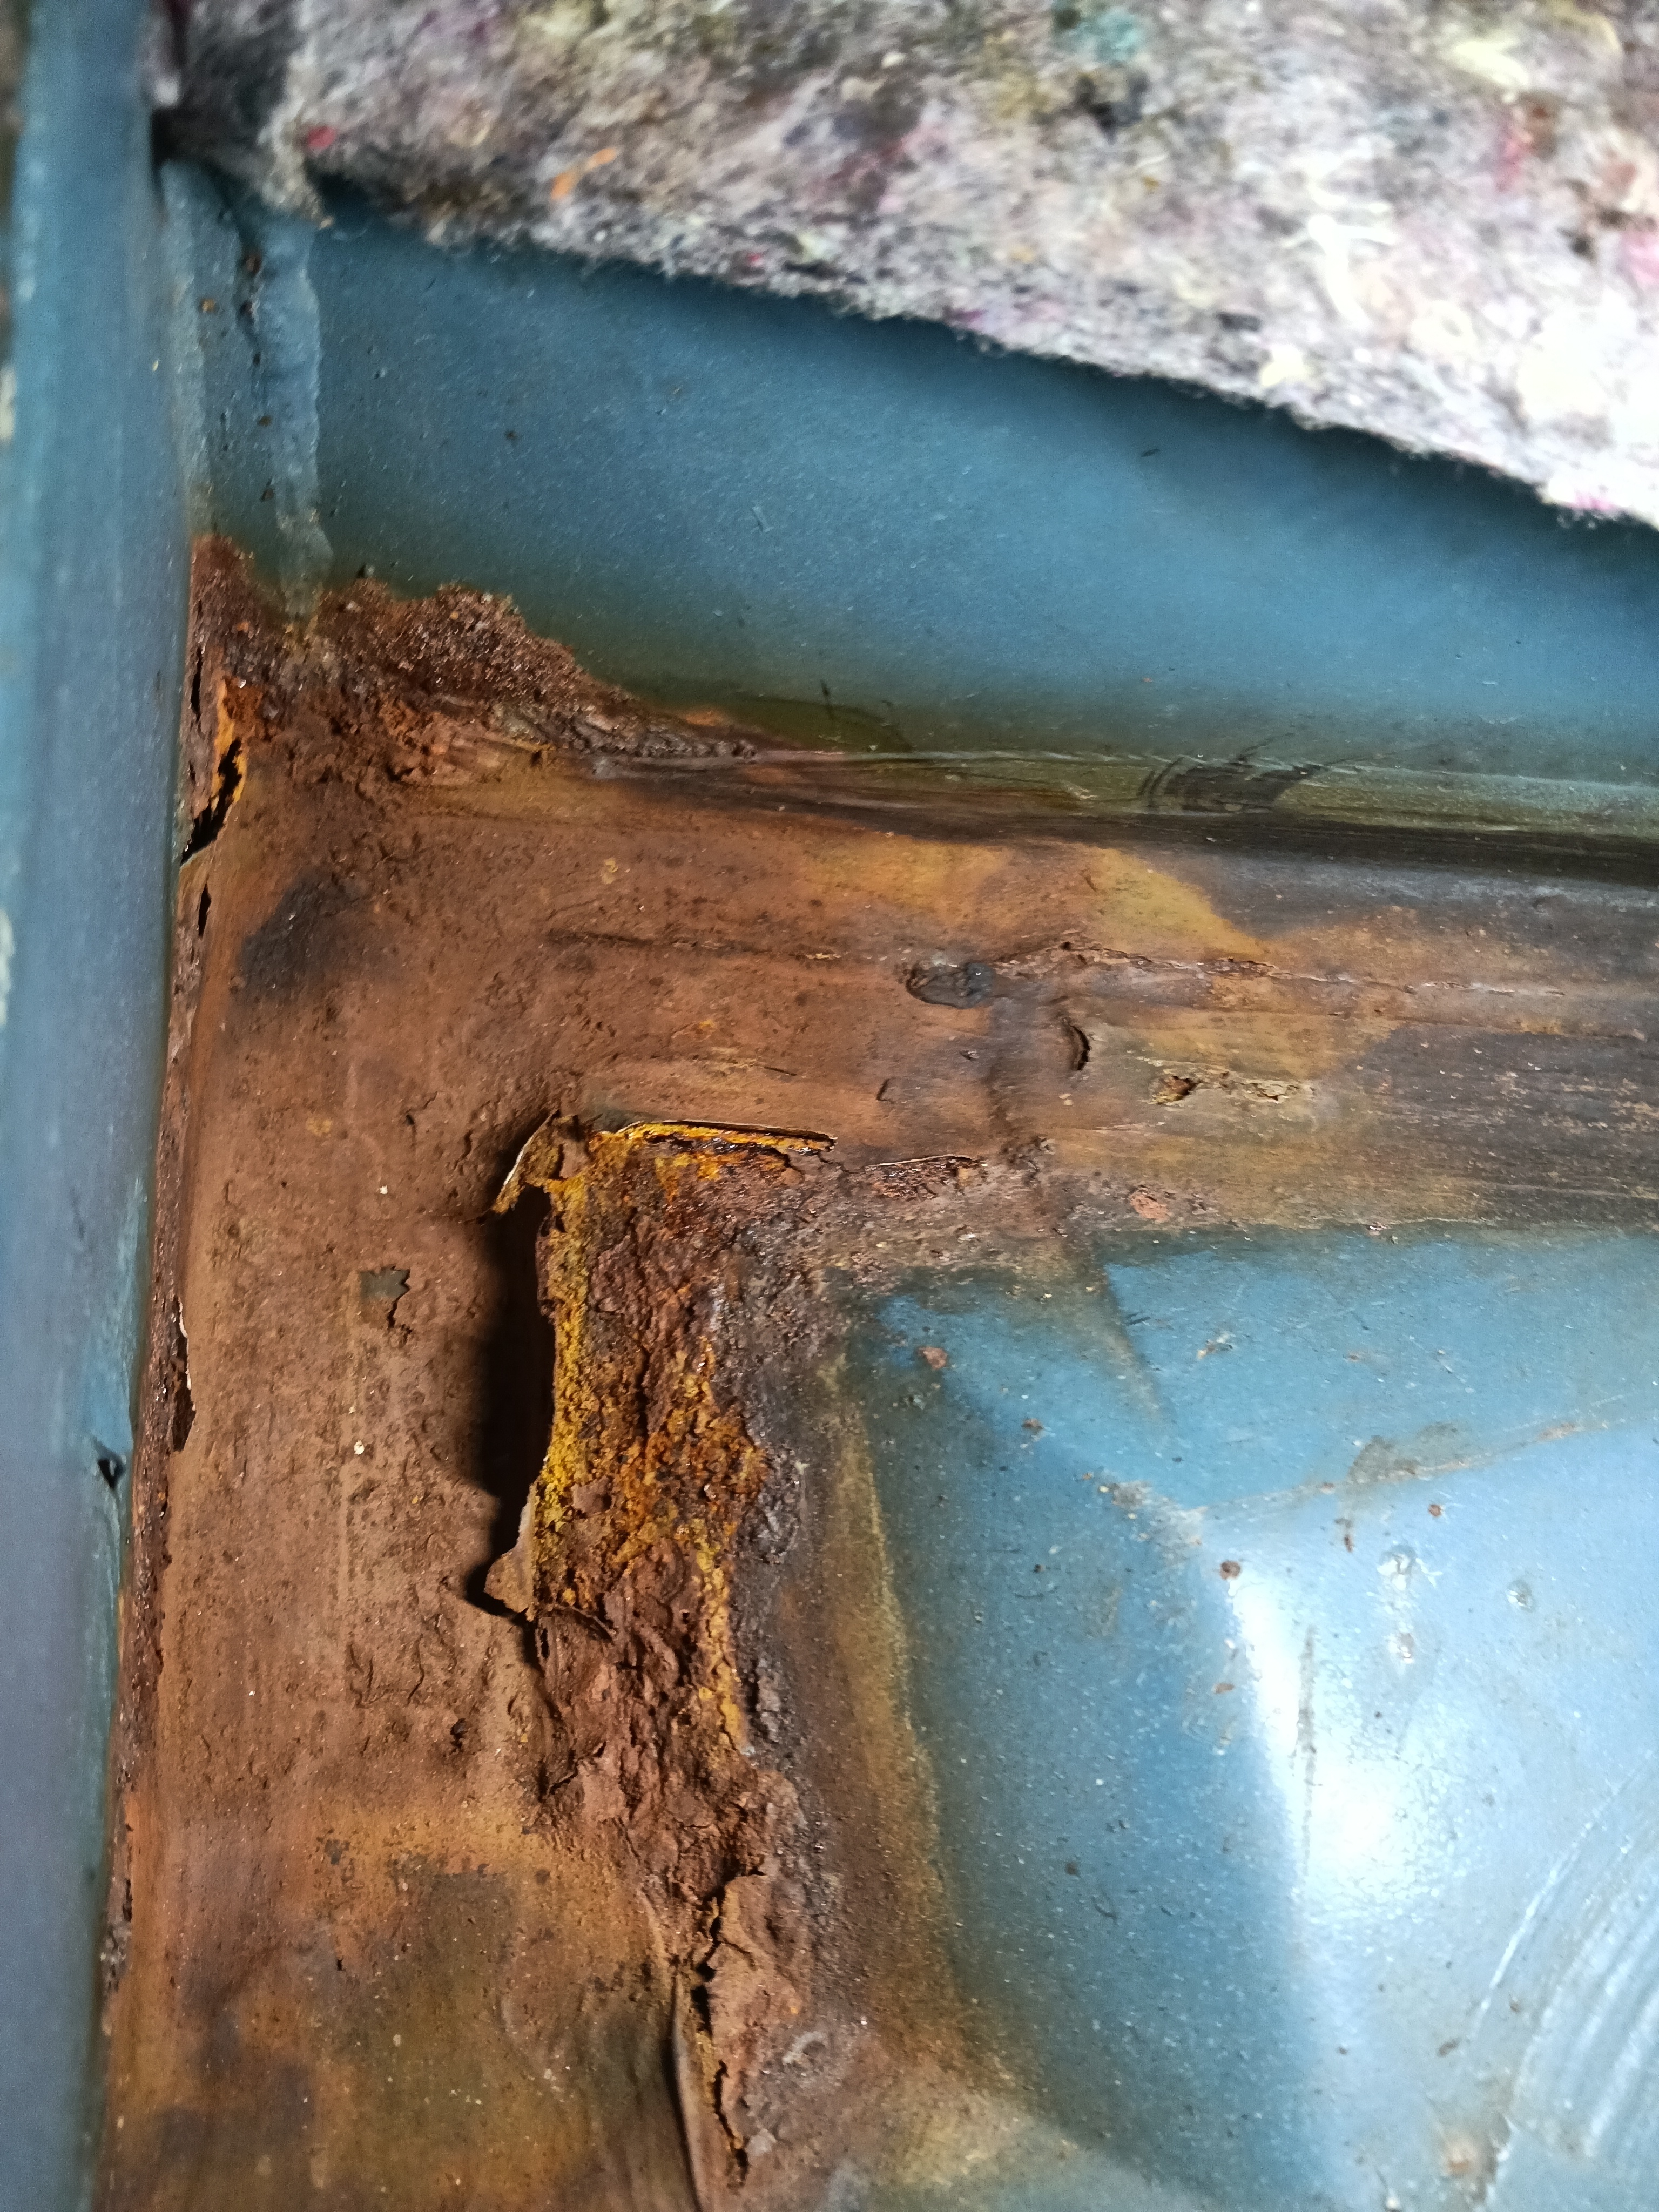
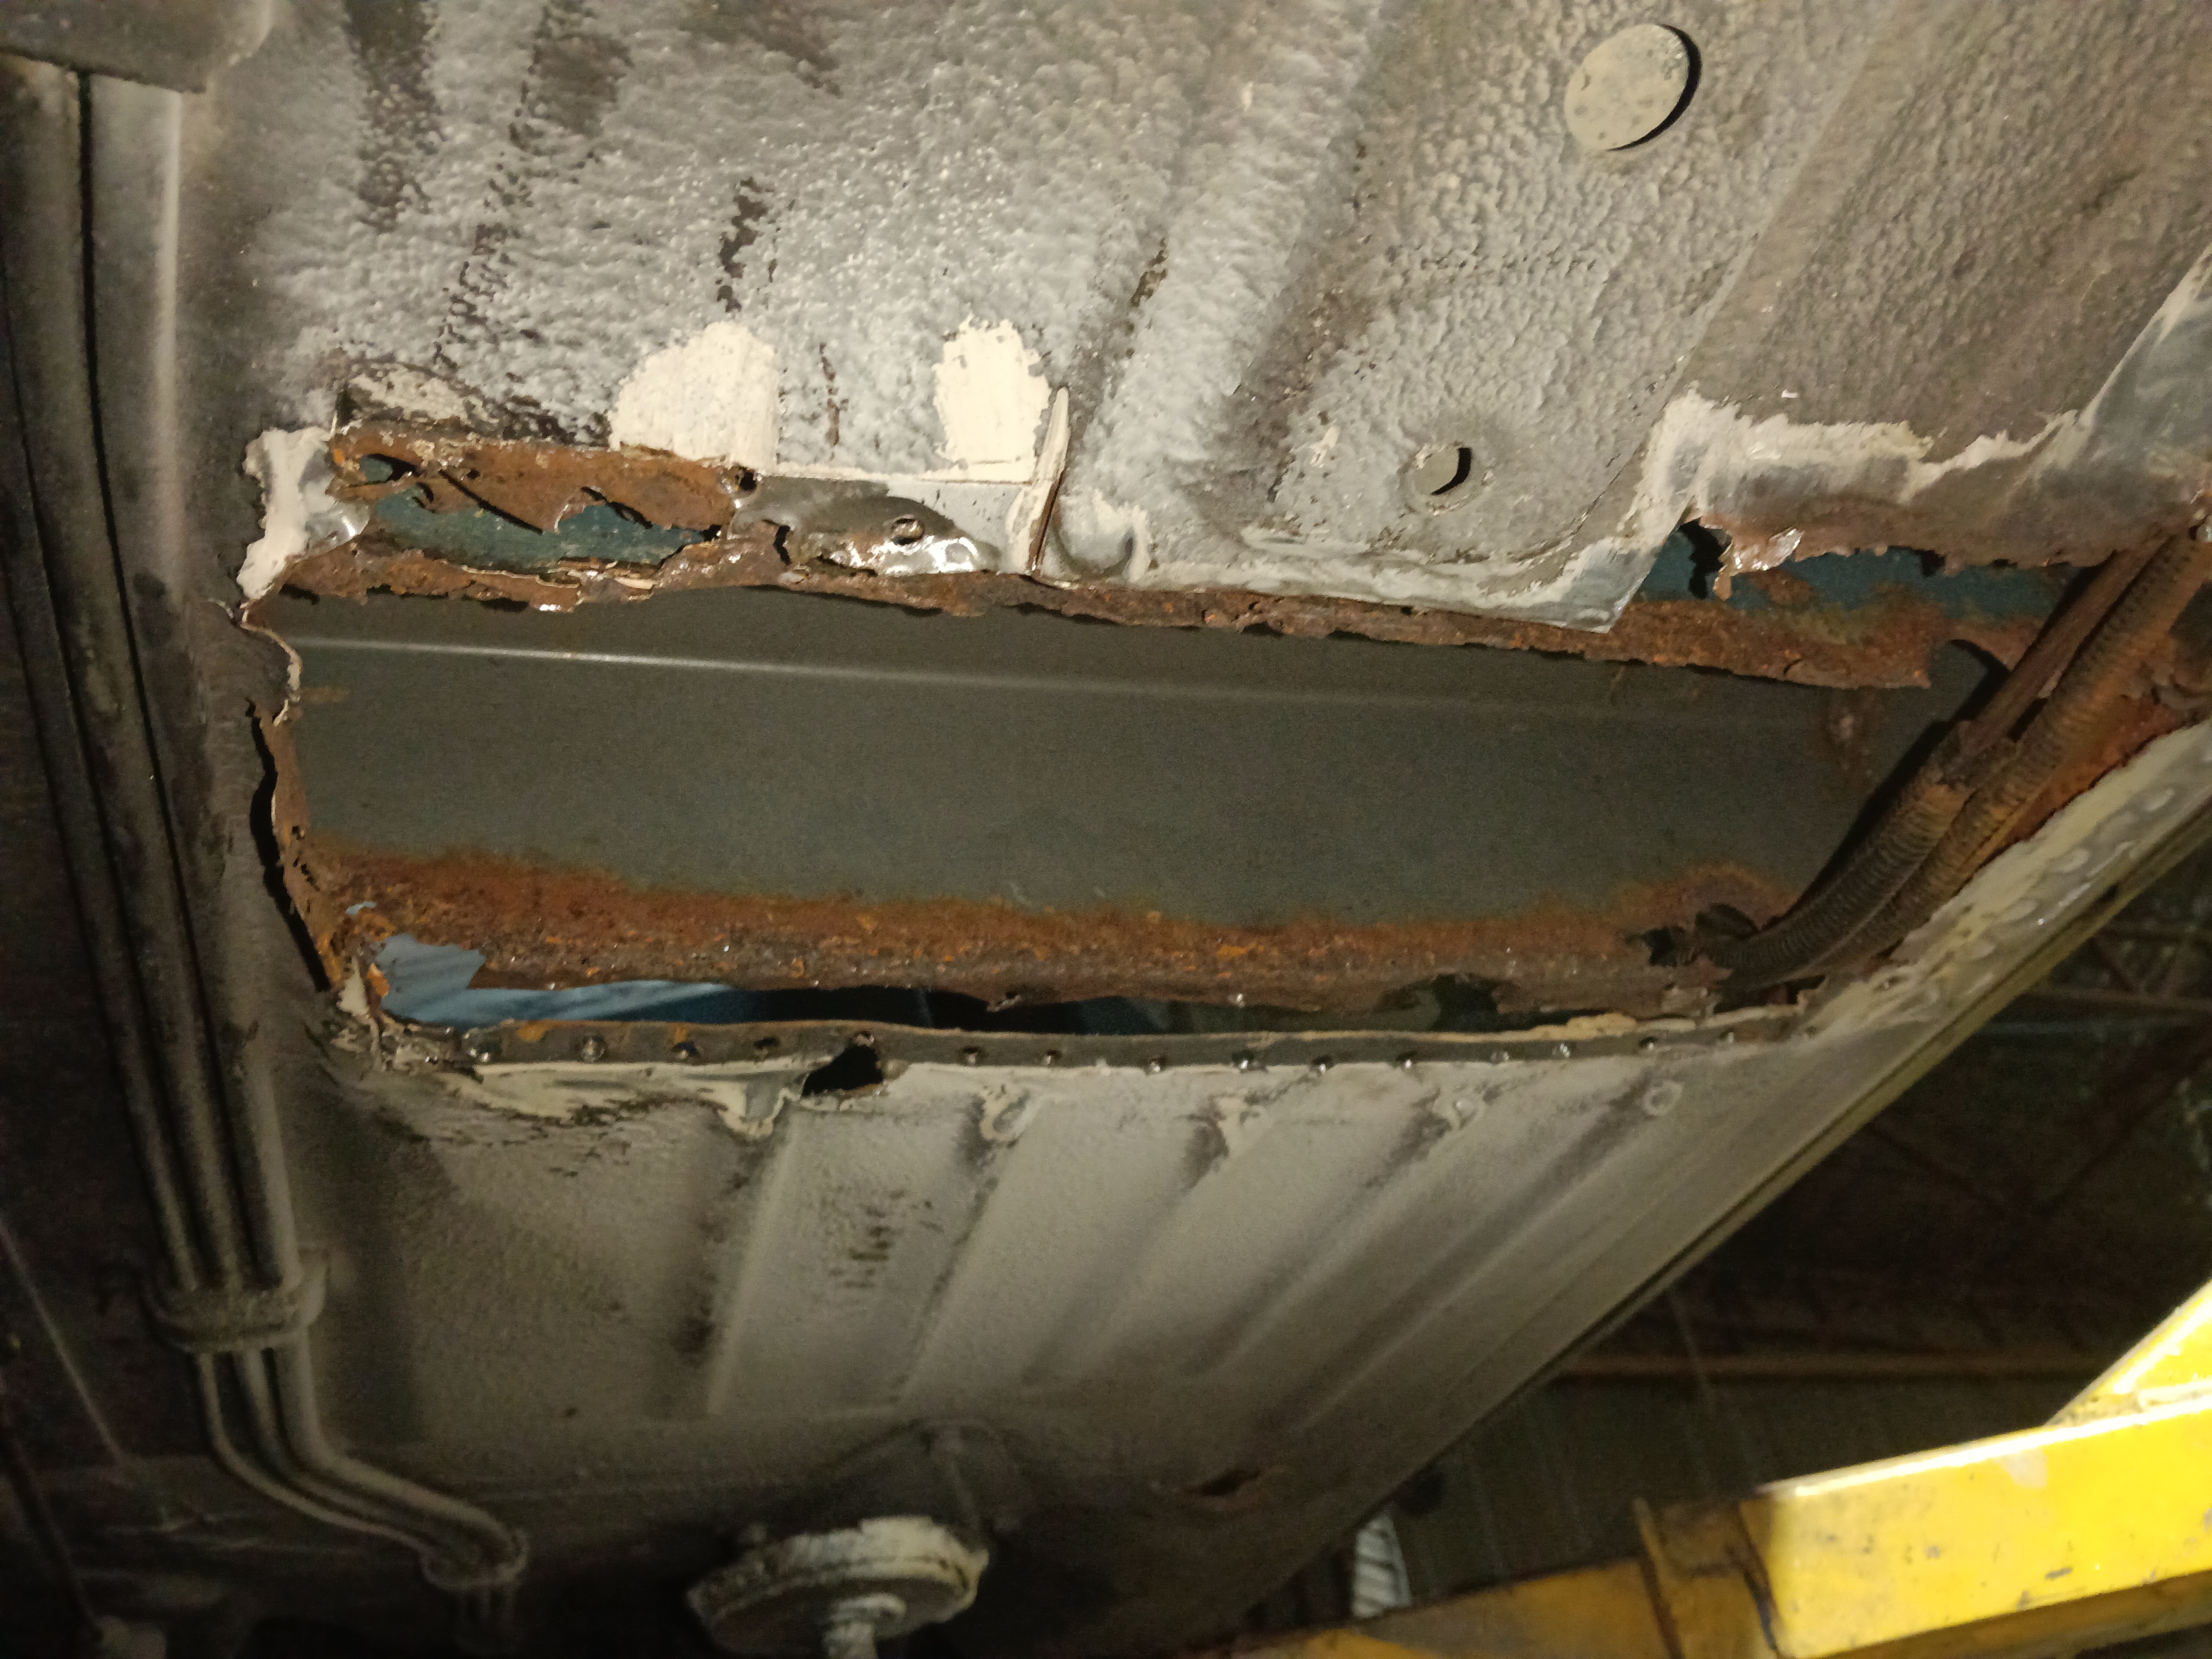
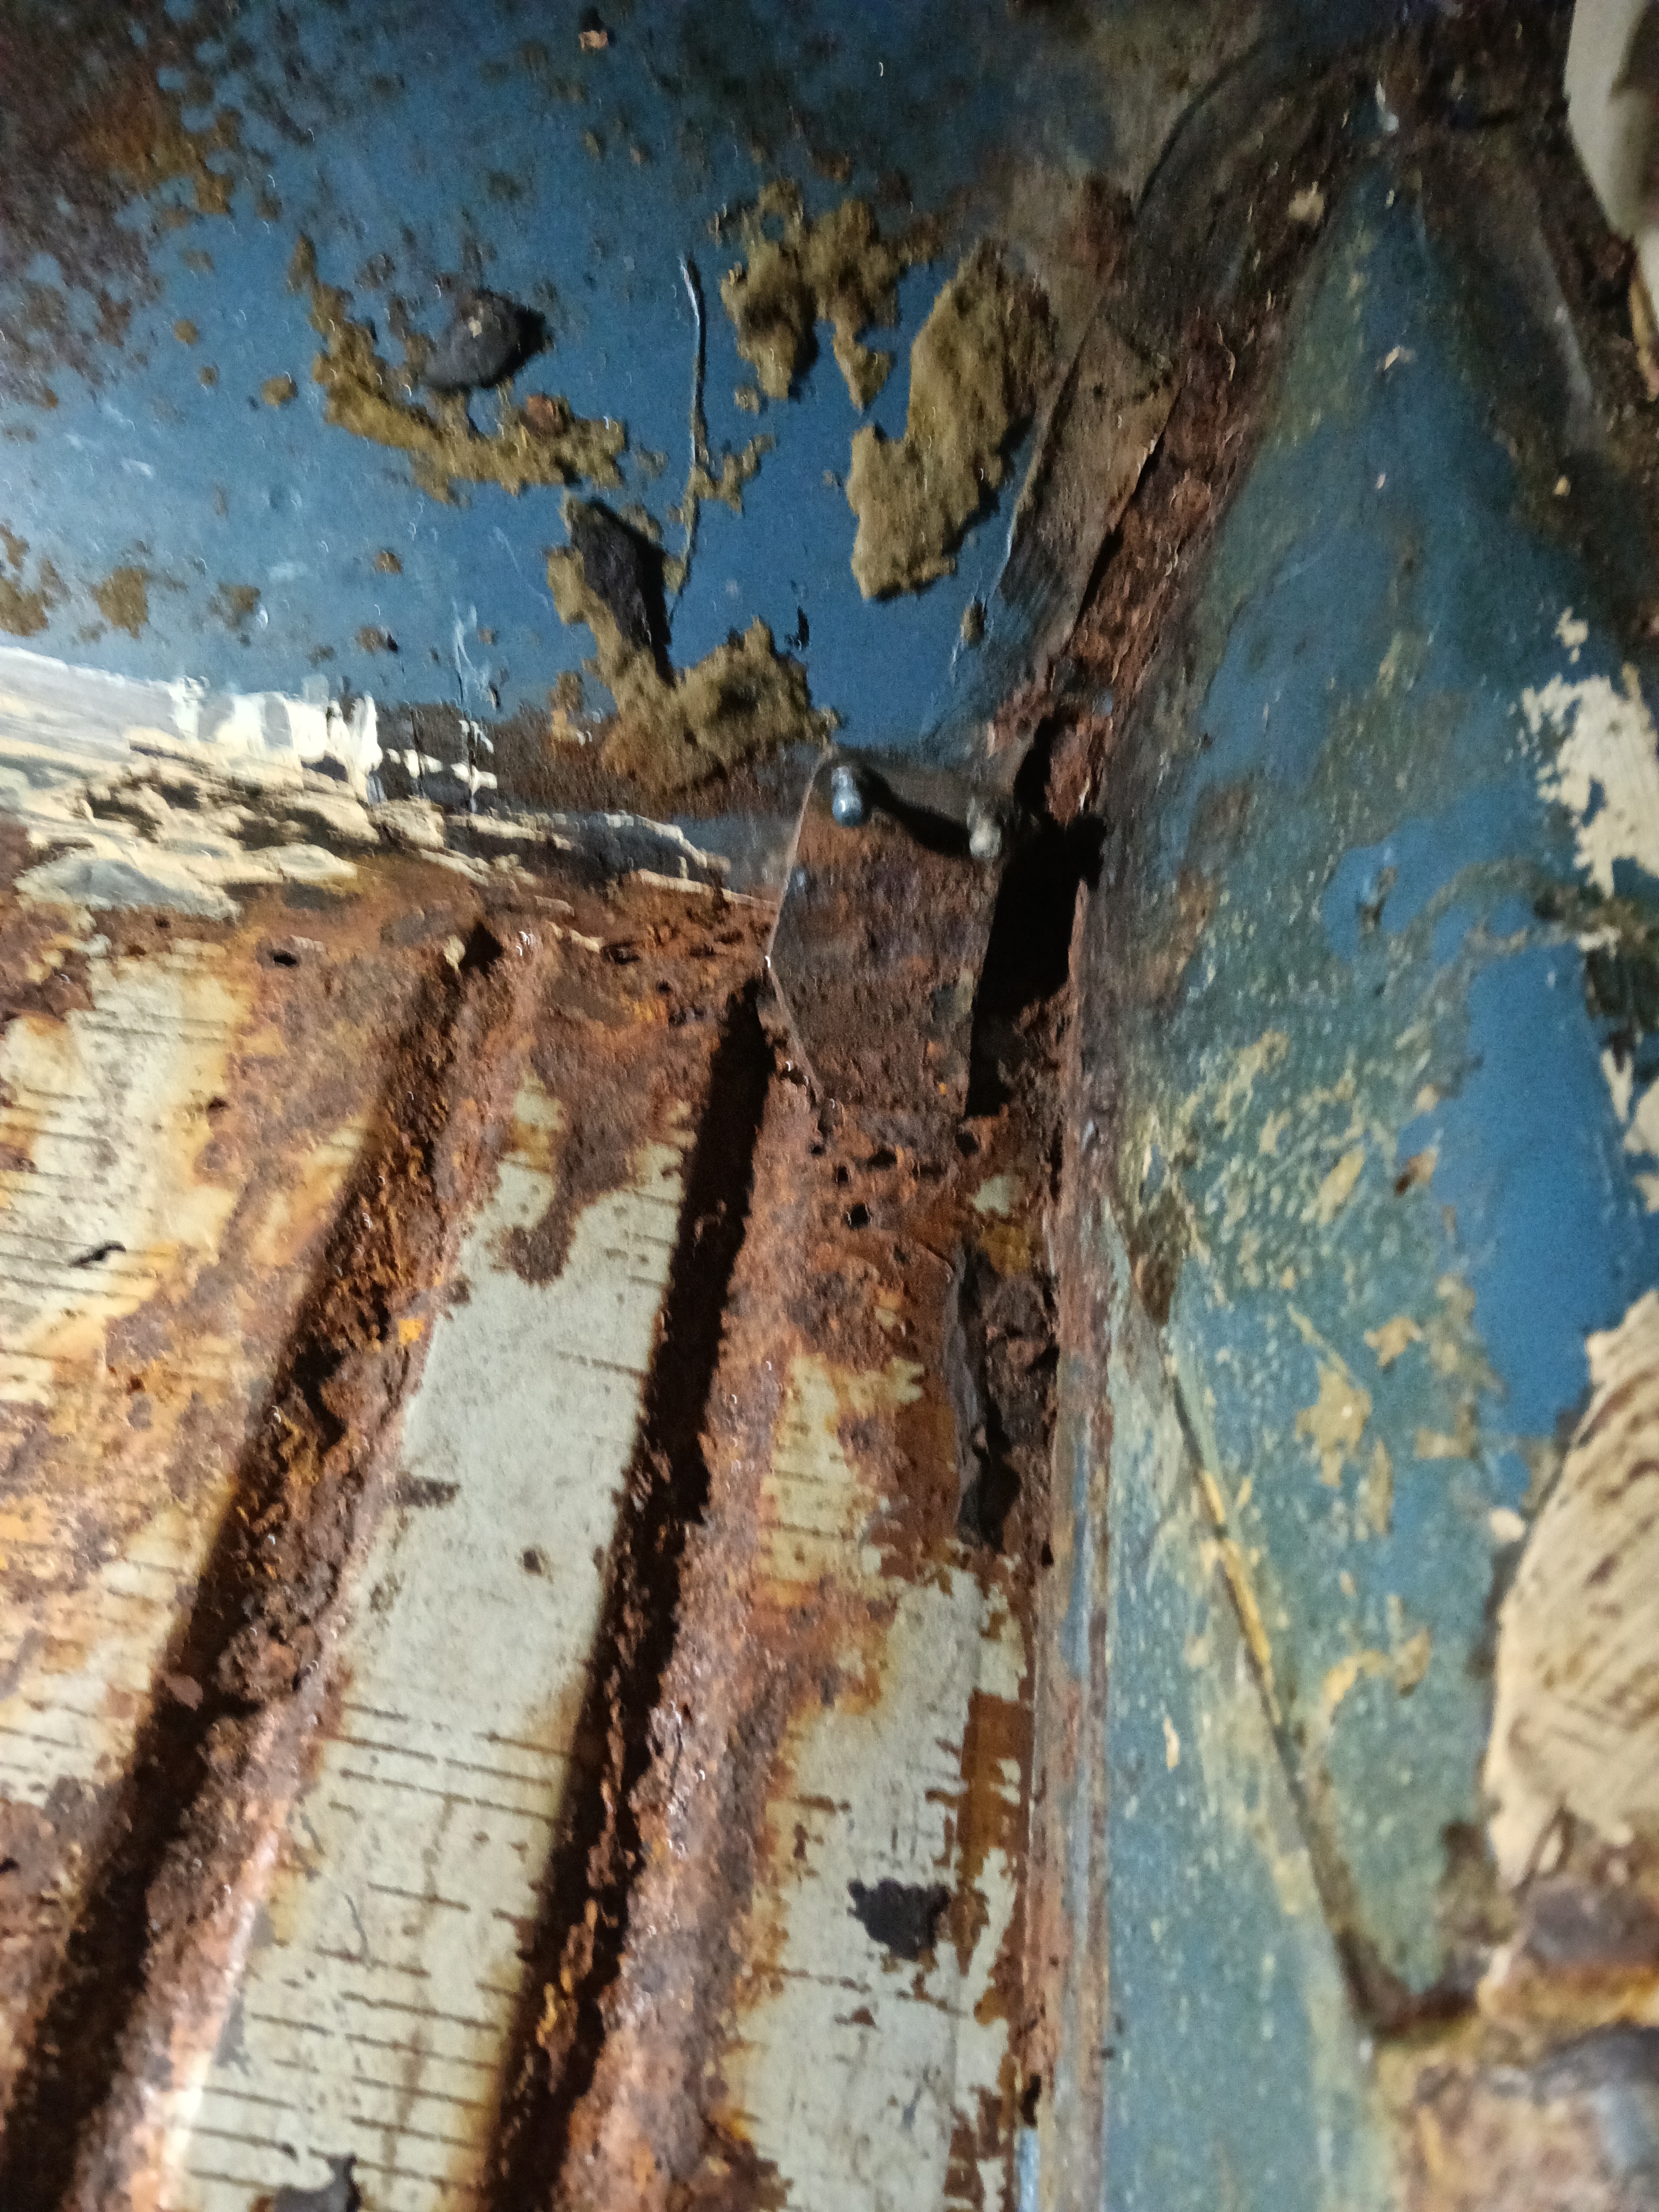
The left side of the body’s sill section rusted between the floor and the side section . The cables are for an amp hidden in the rear of the car.
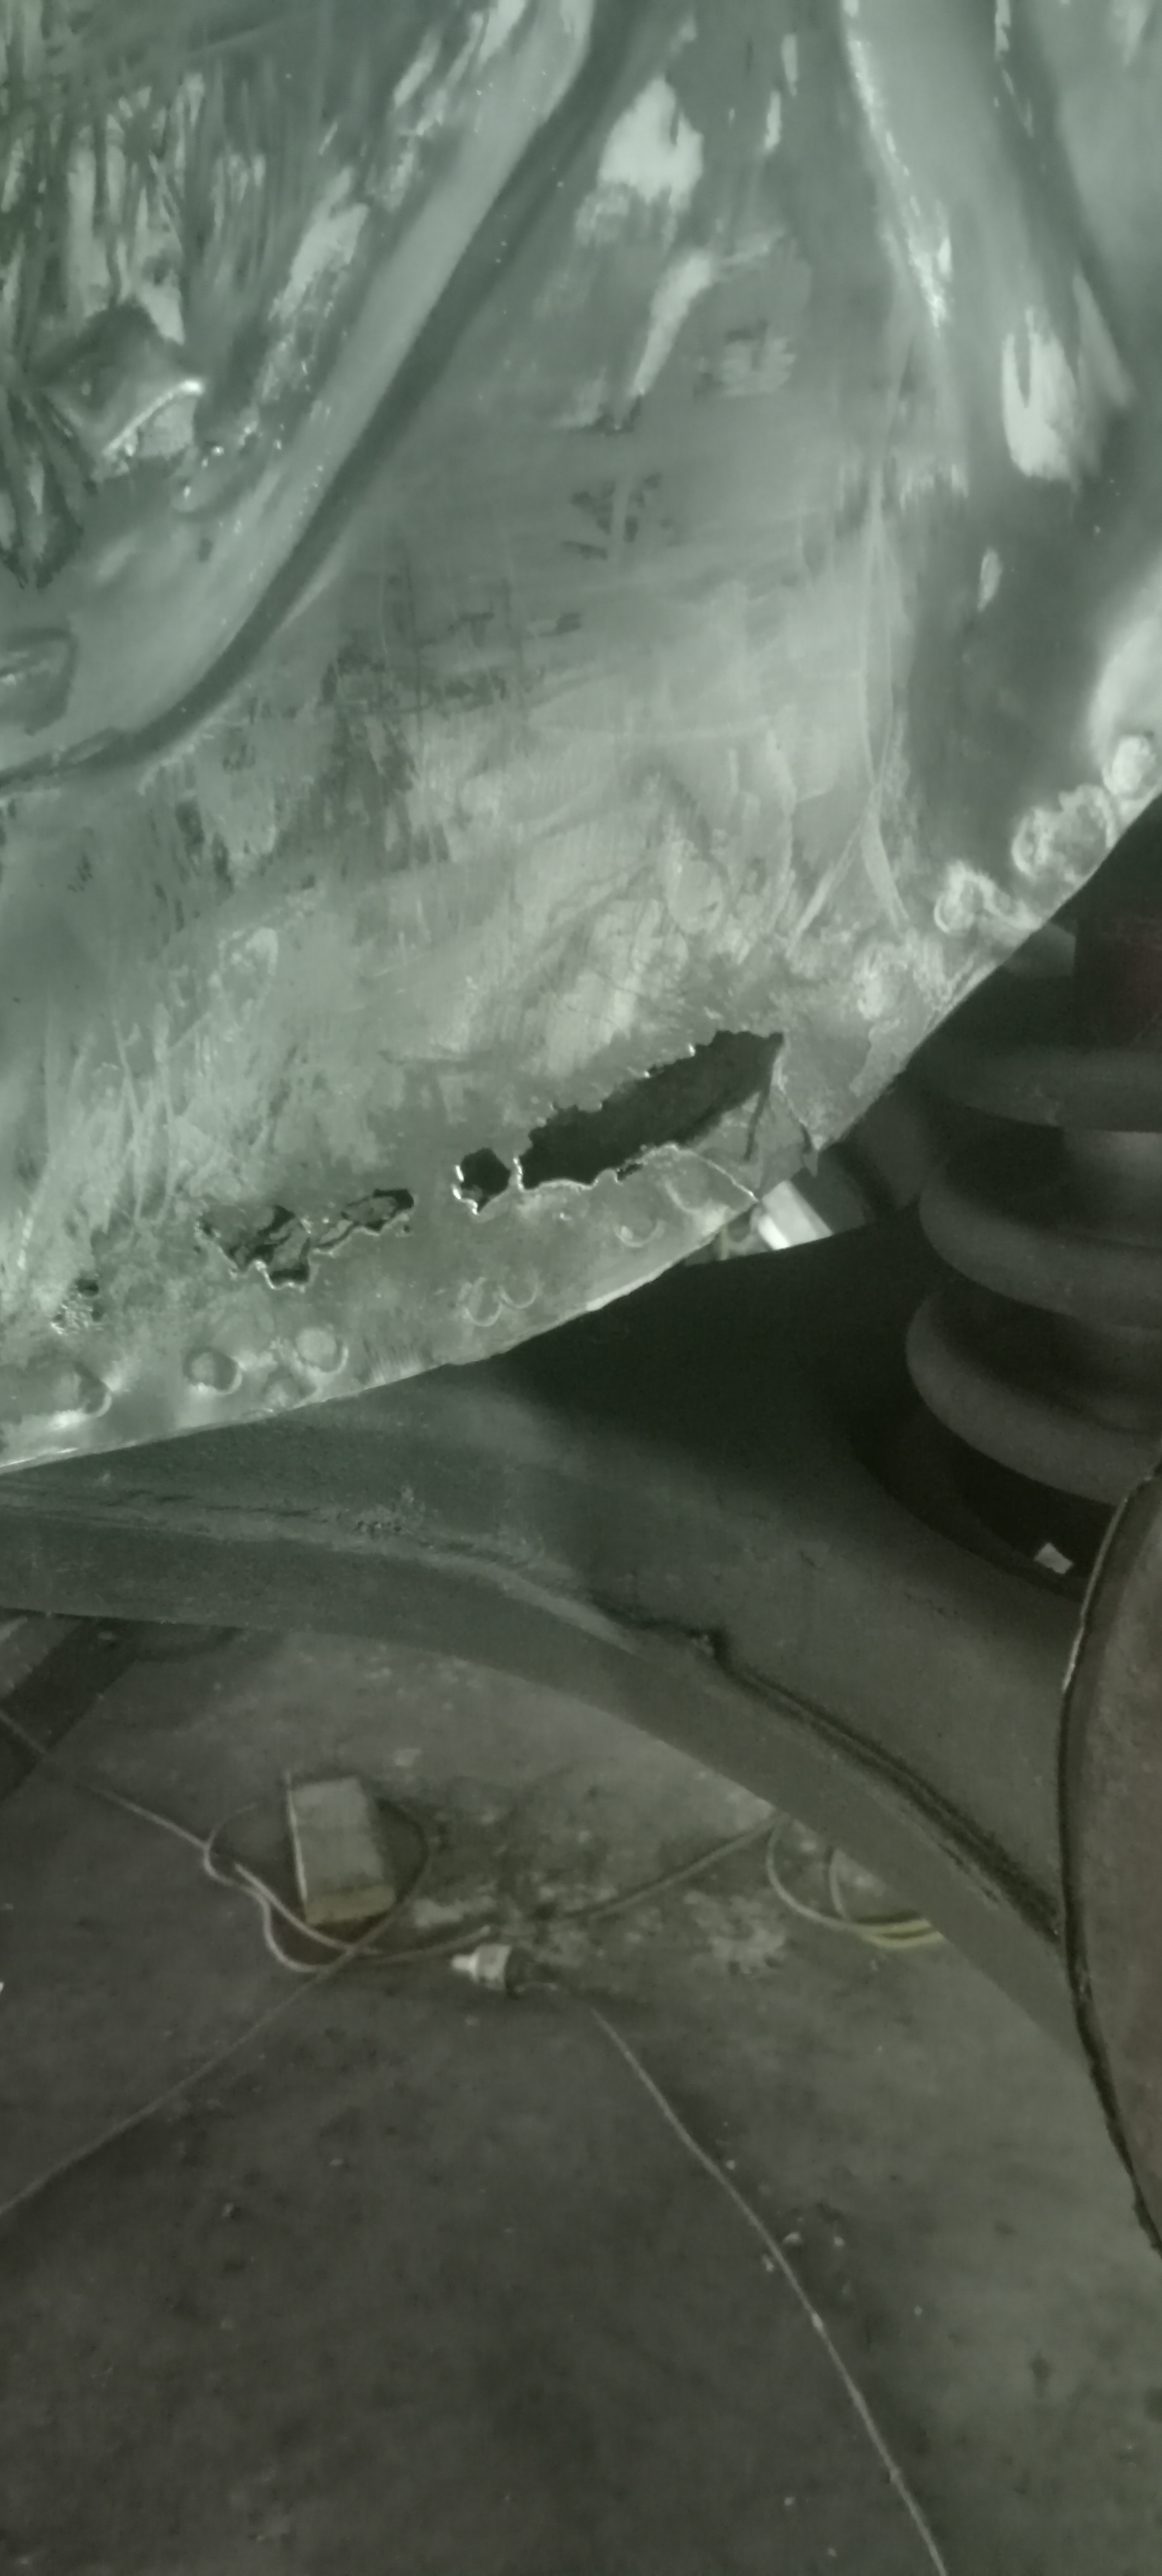
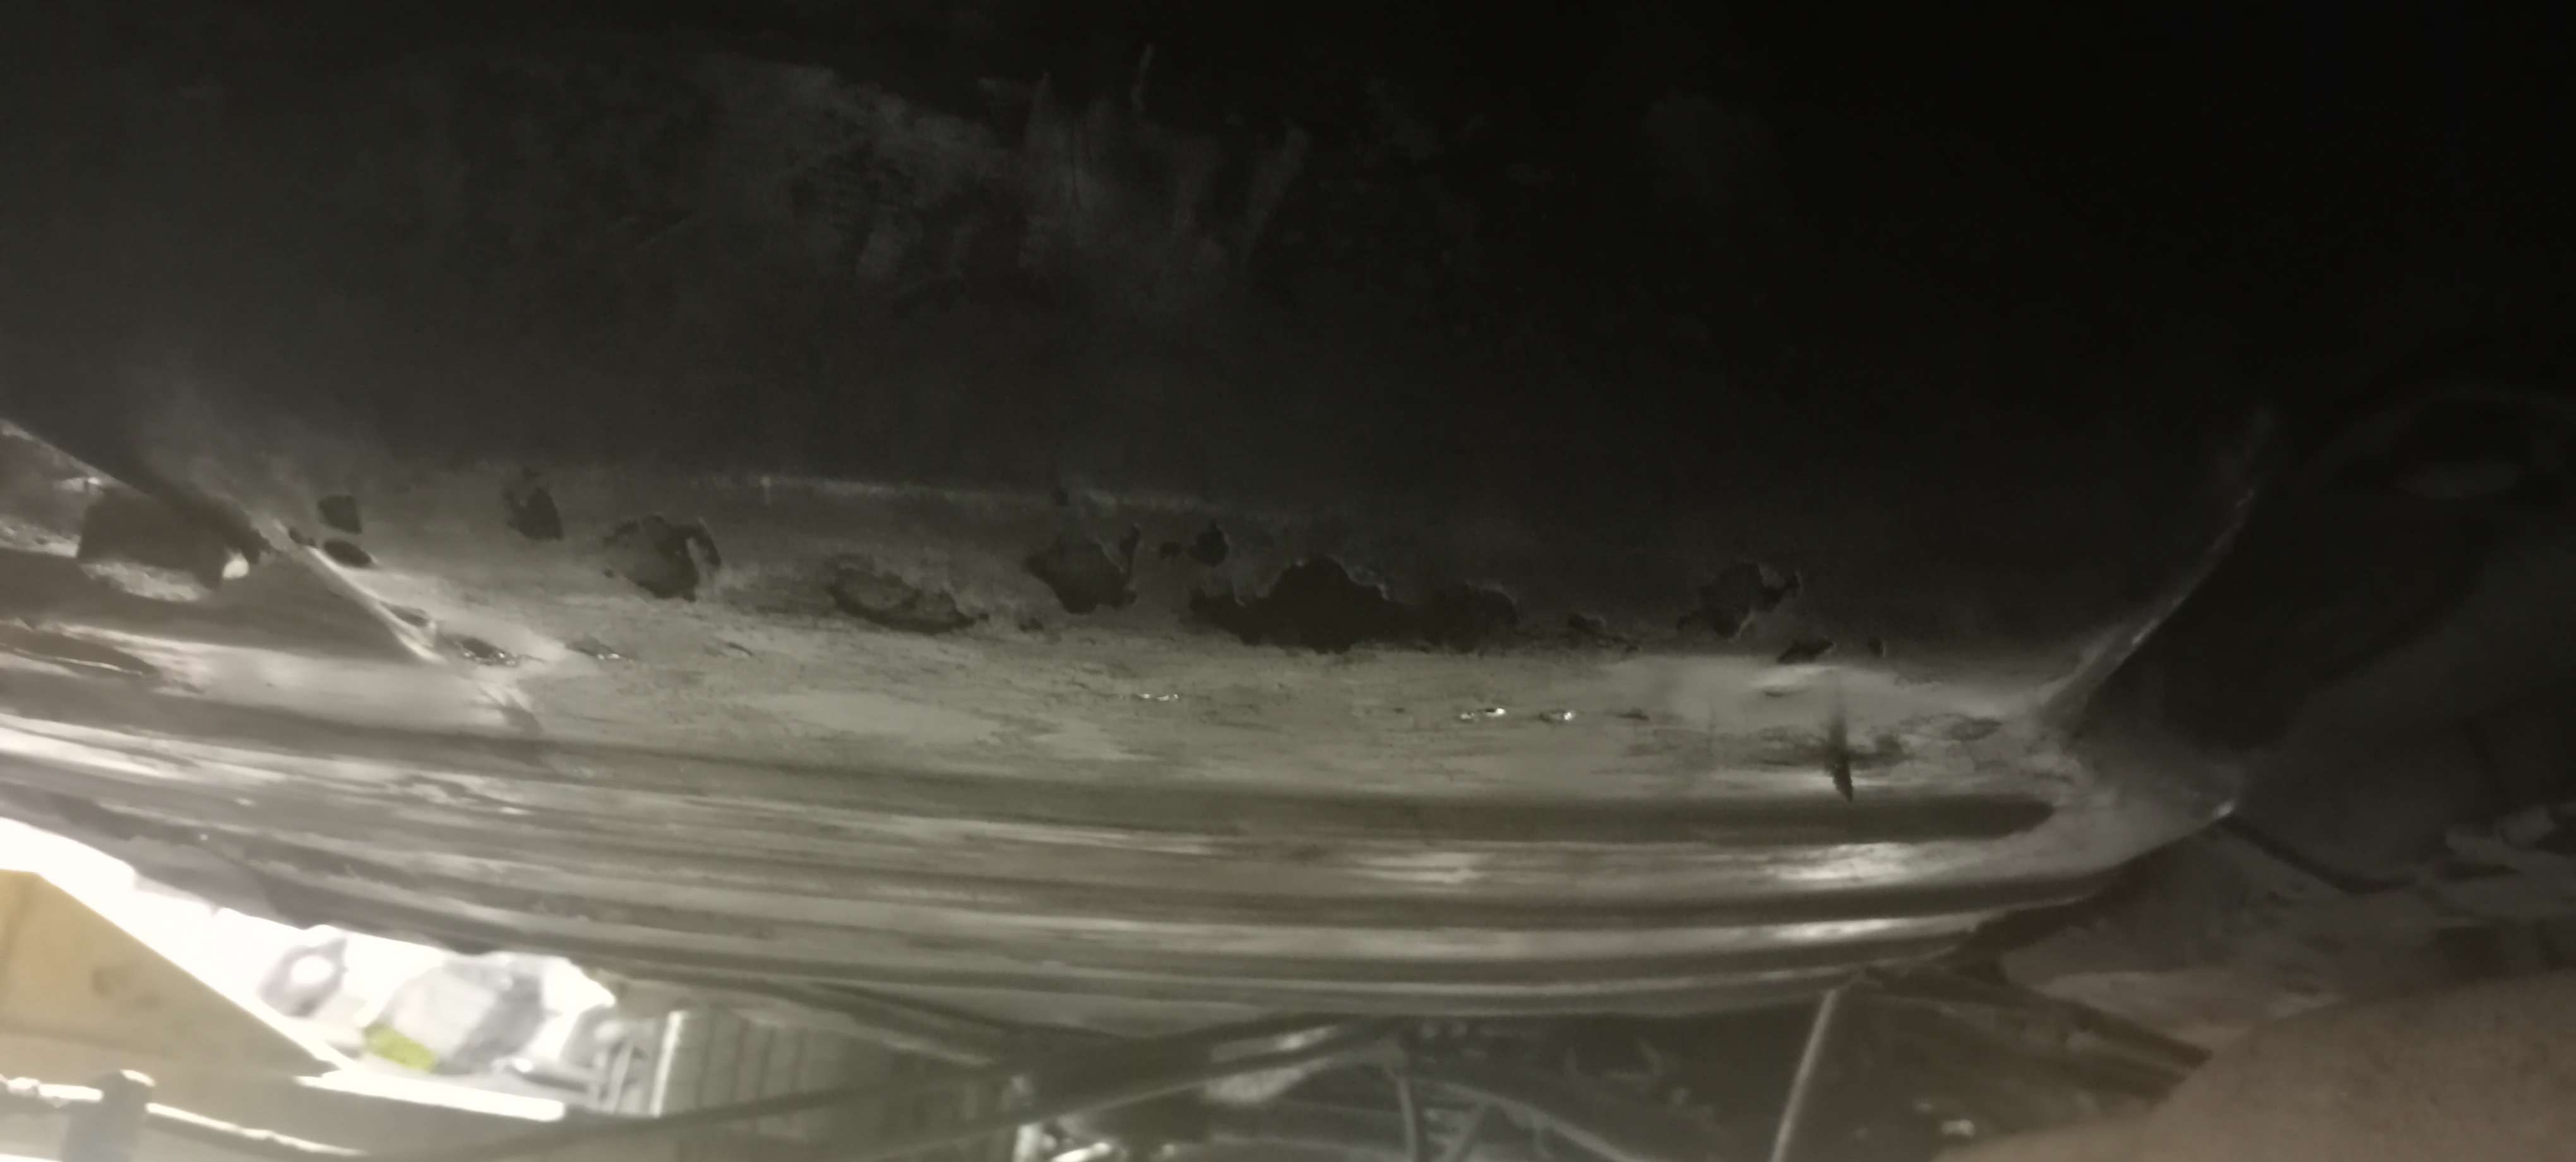
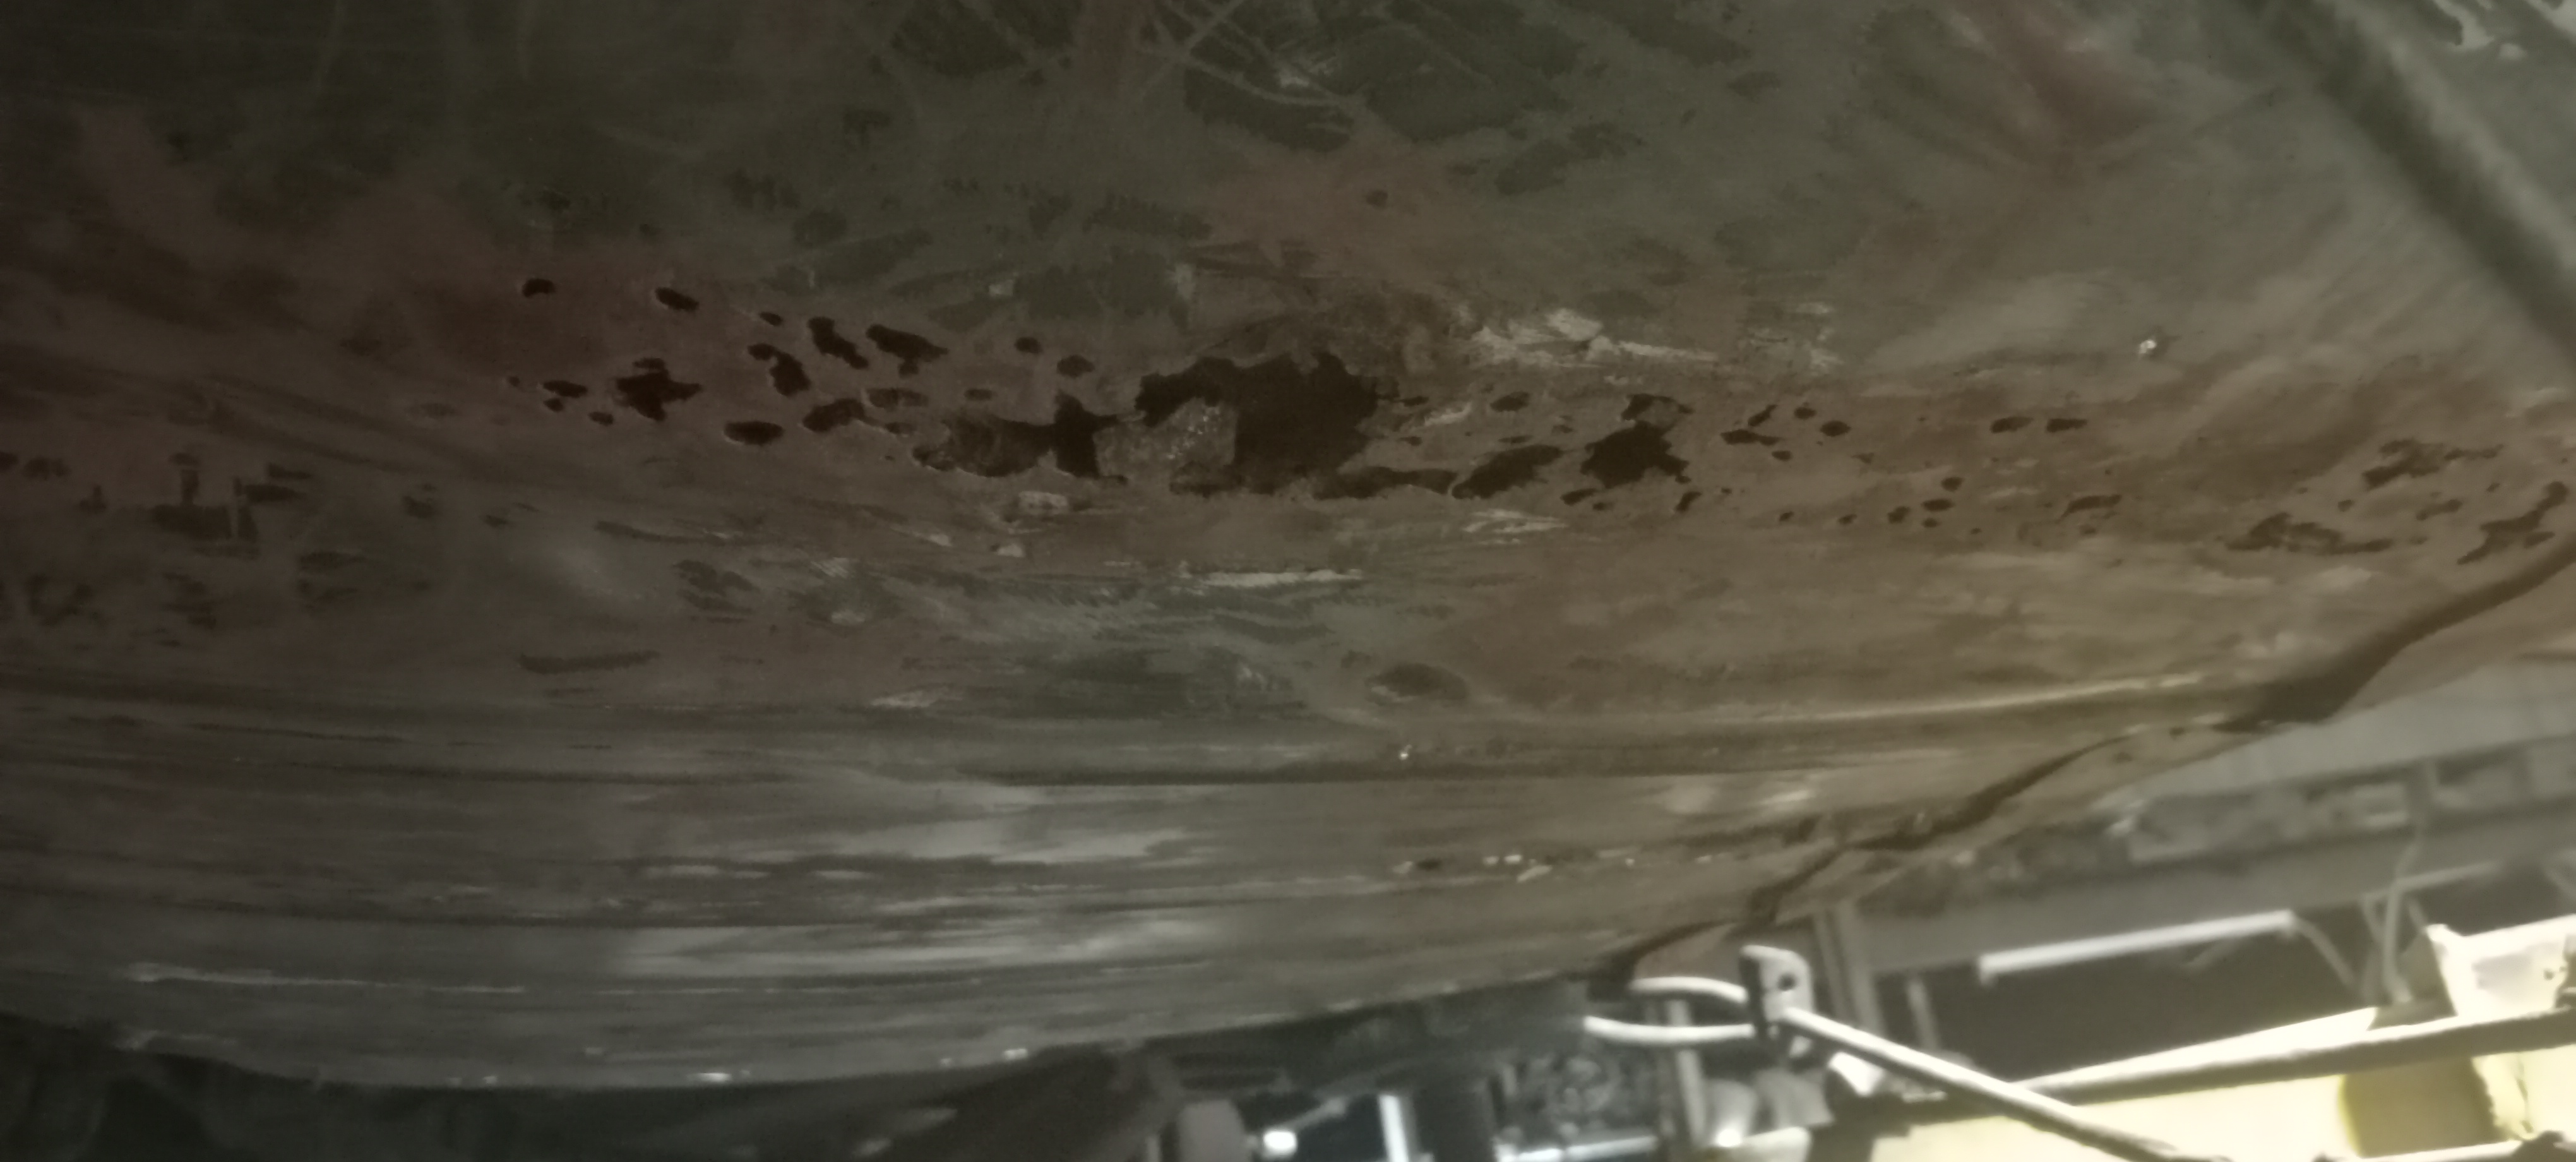
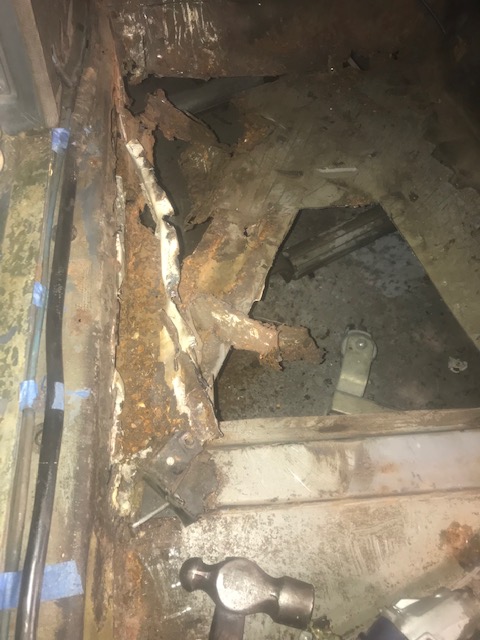
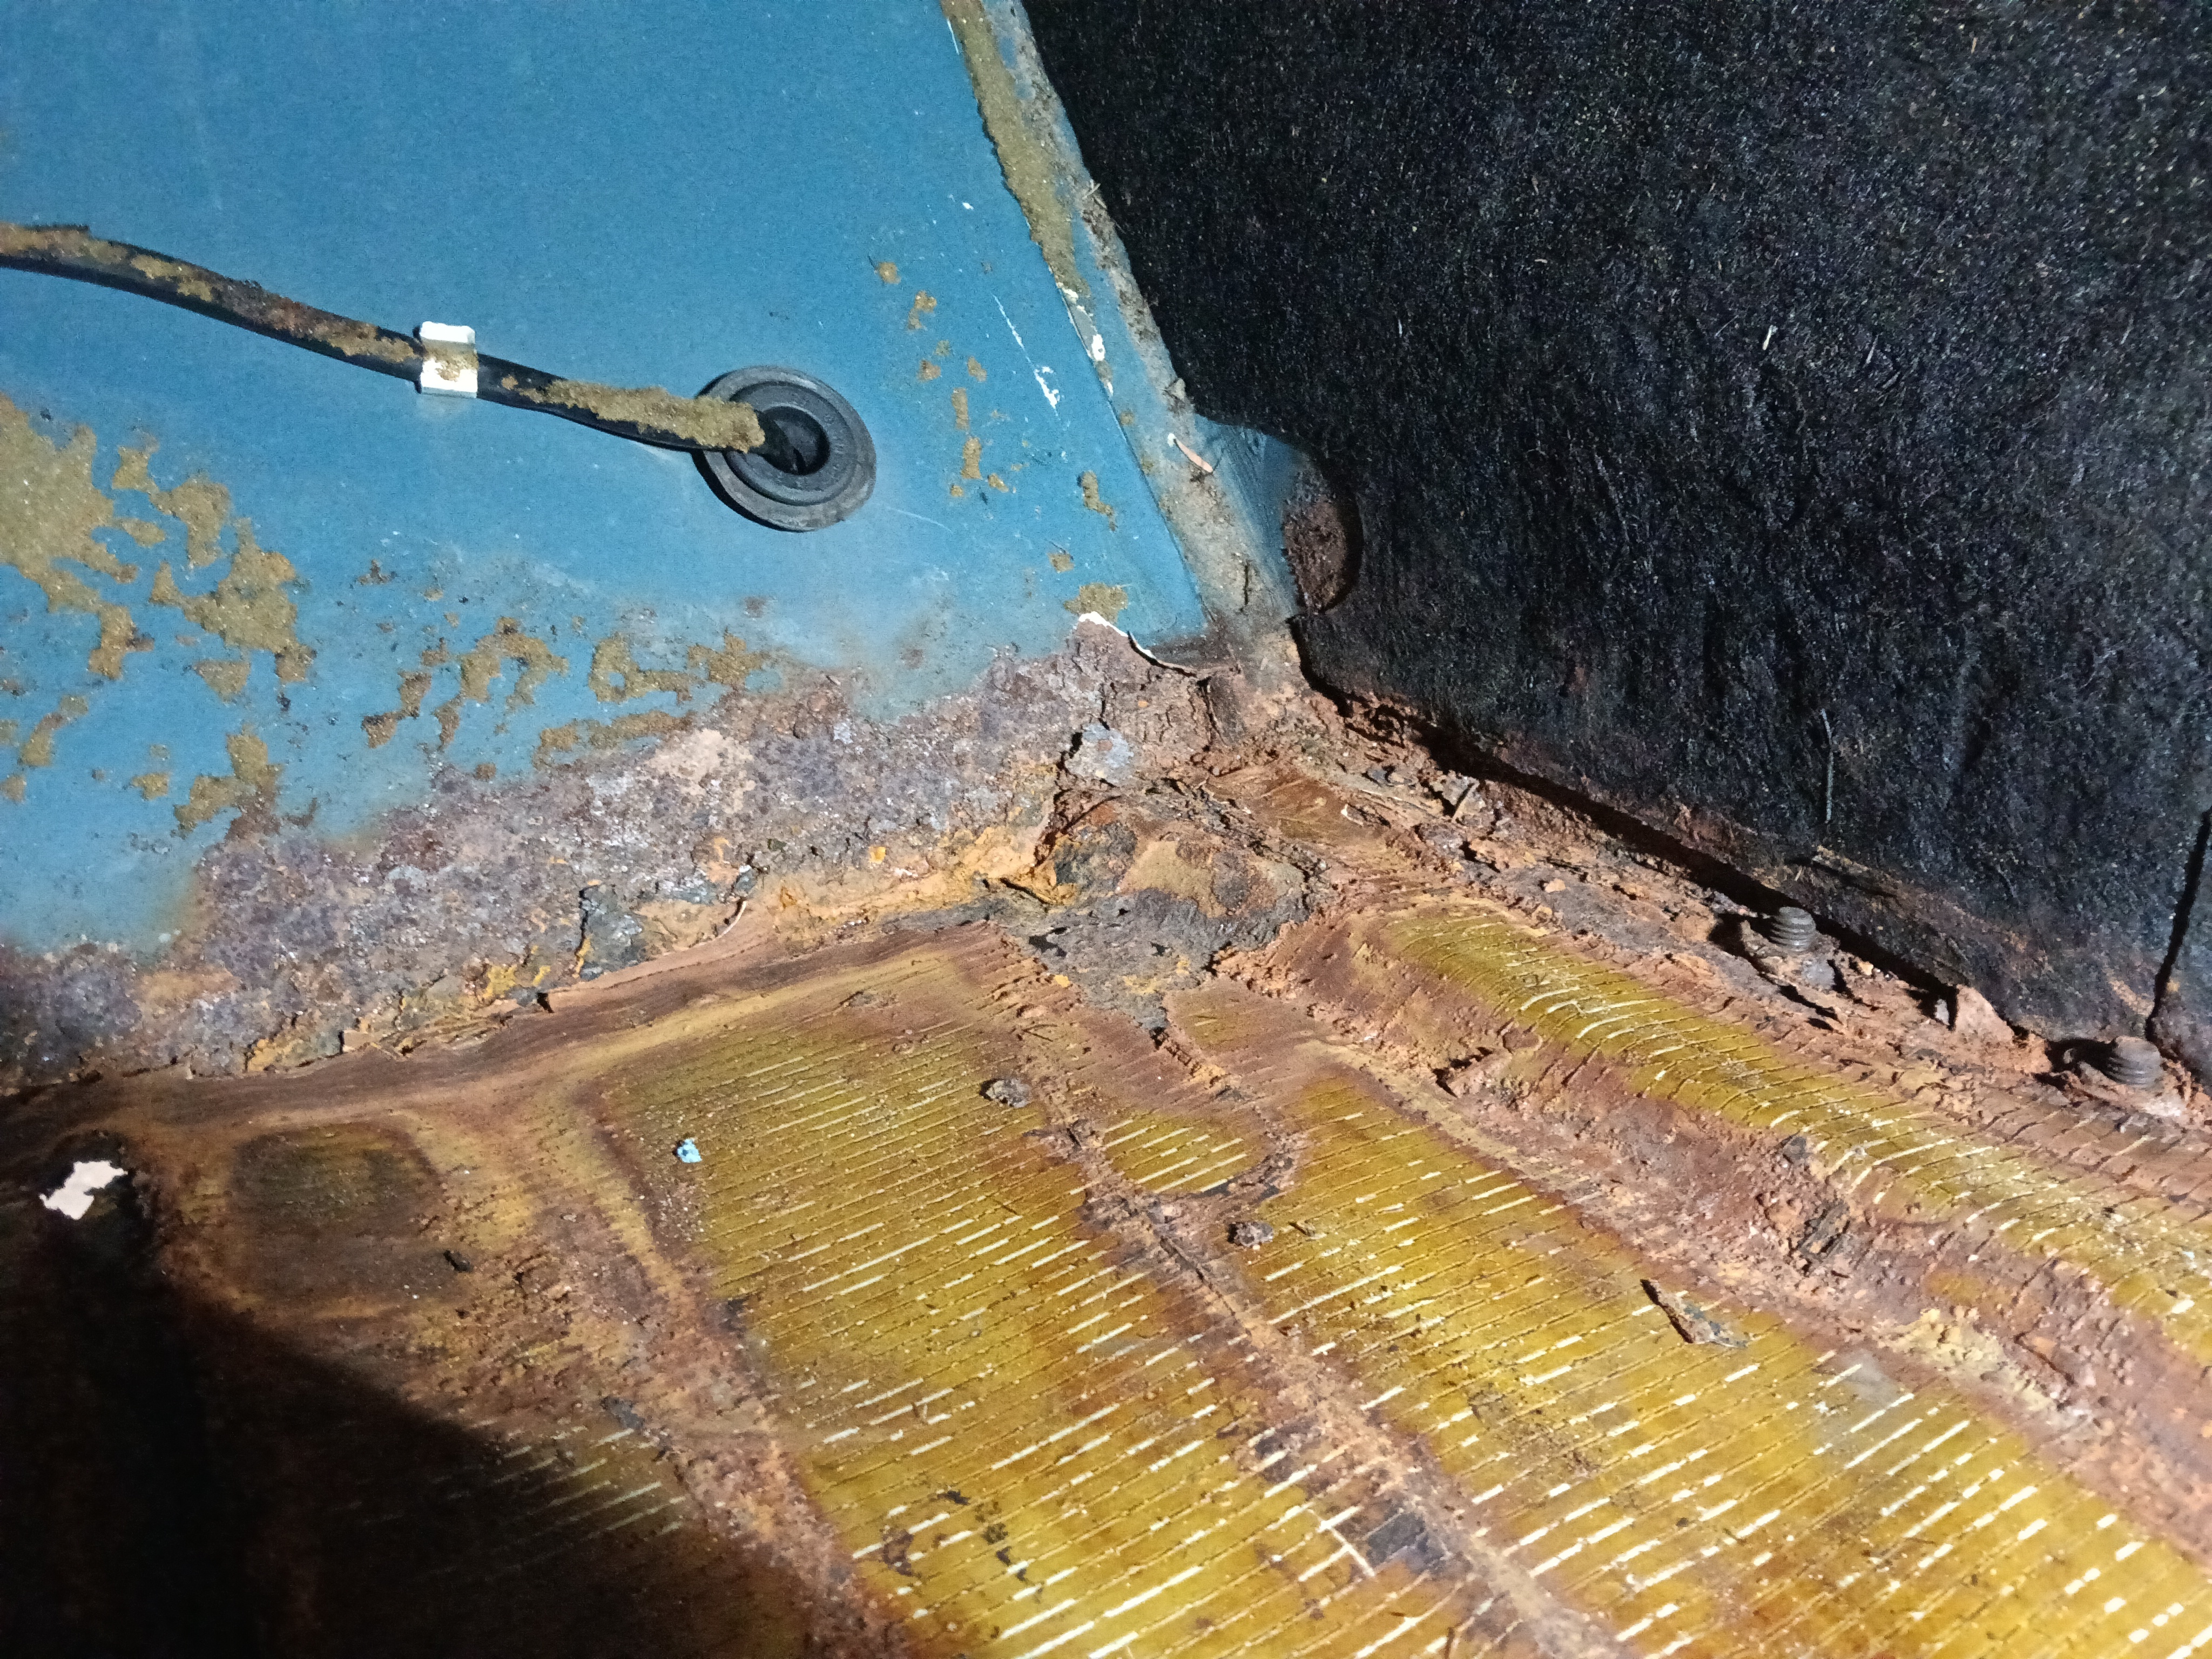
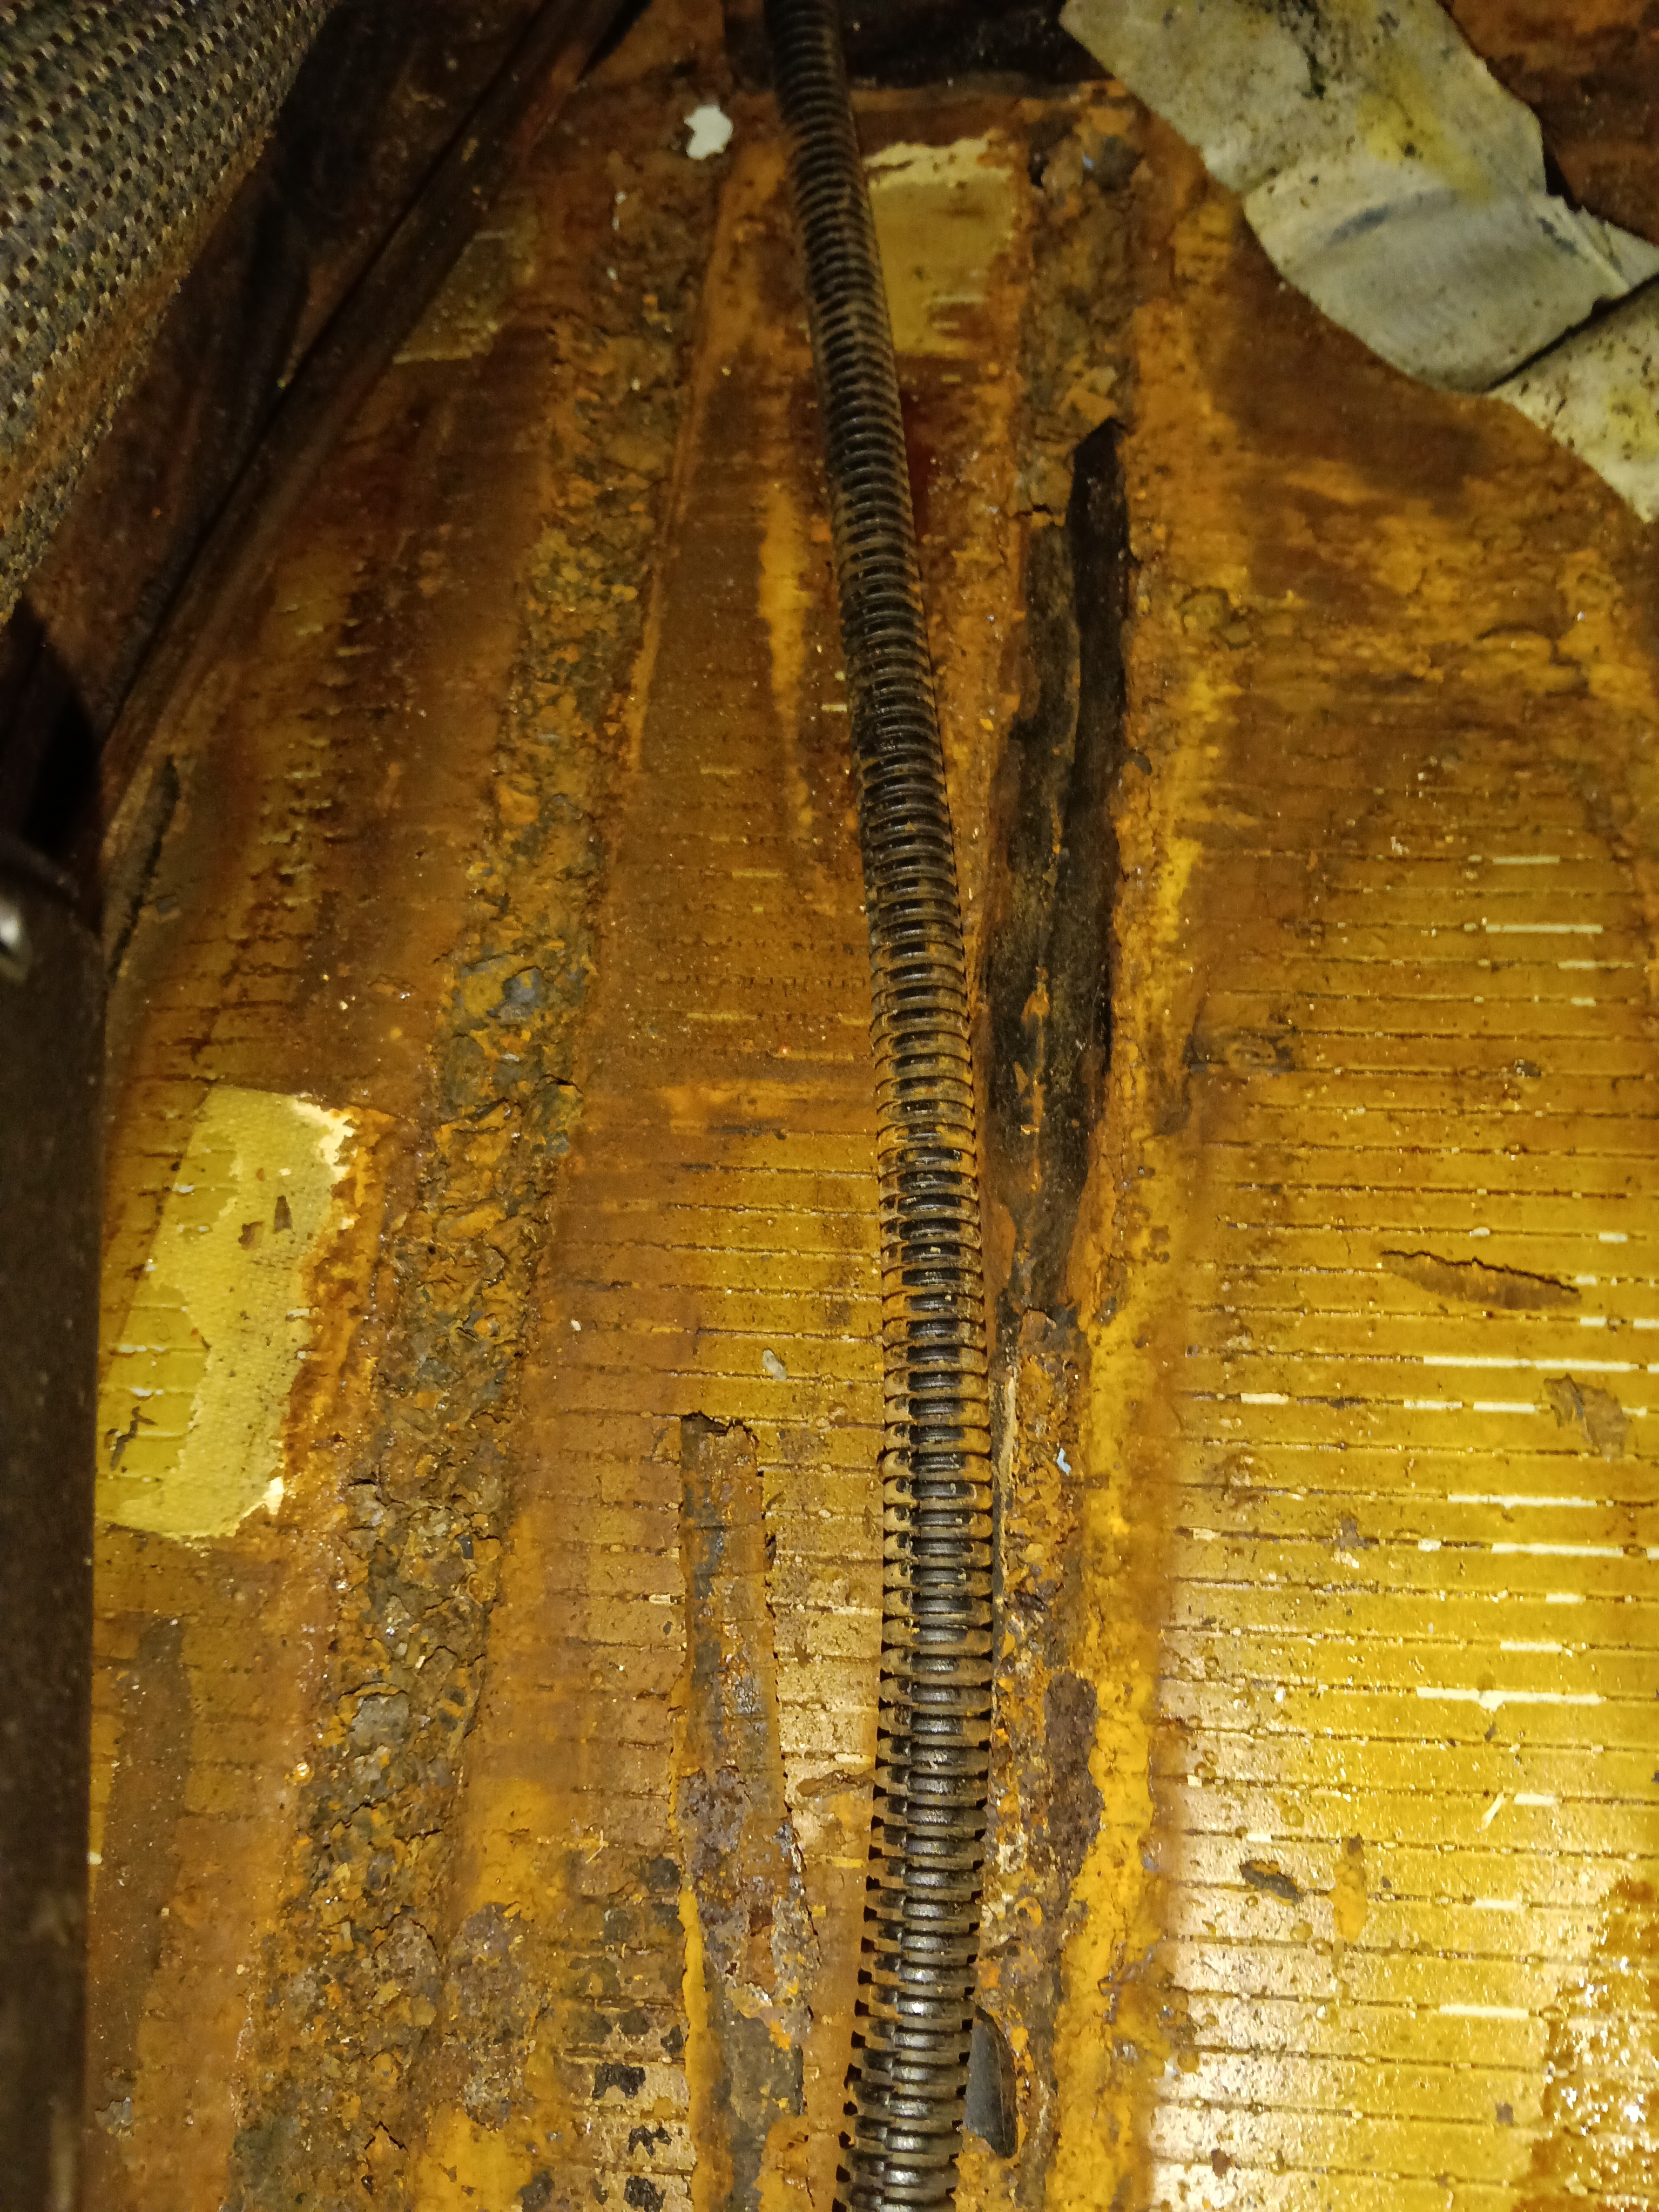
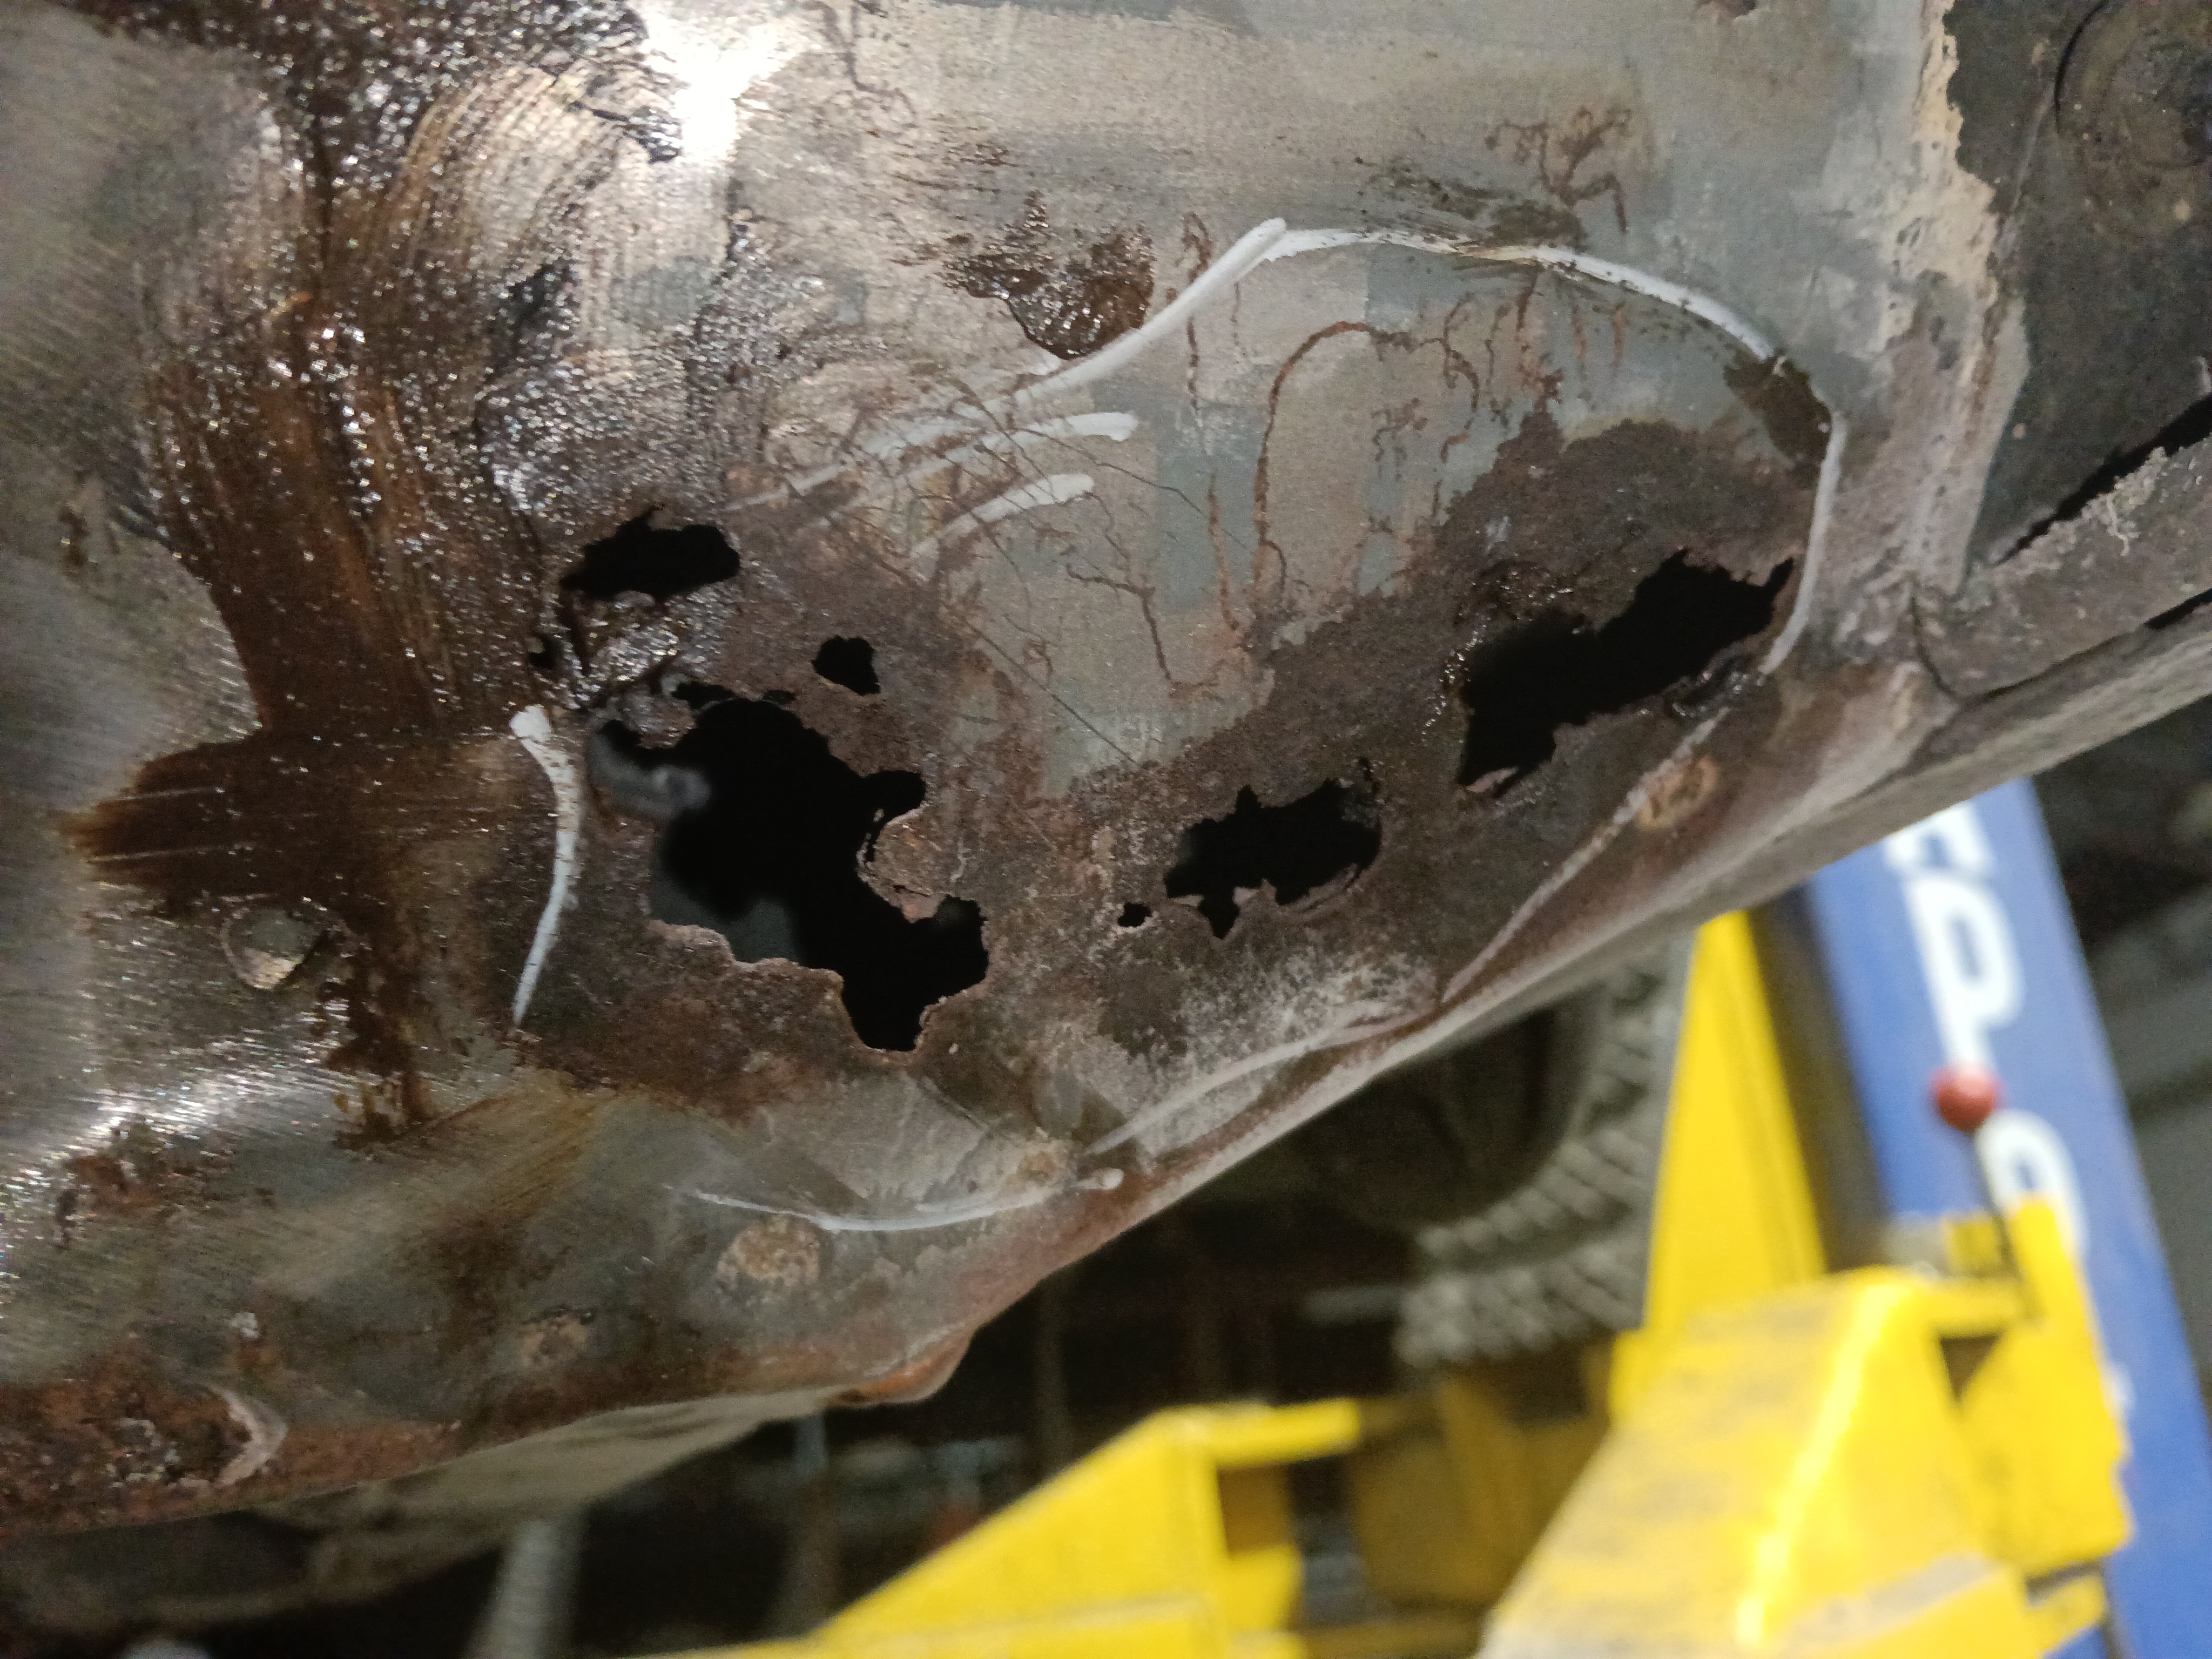
rear of the left floor section showing the rust outs.
With the last of the sound deadening on the rear part of the floor .
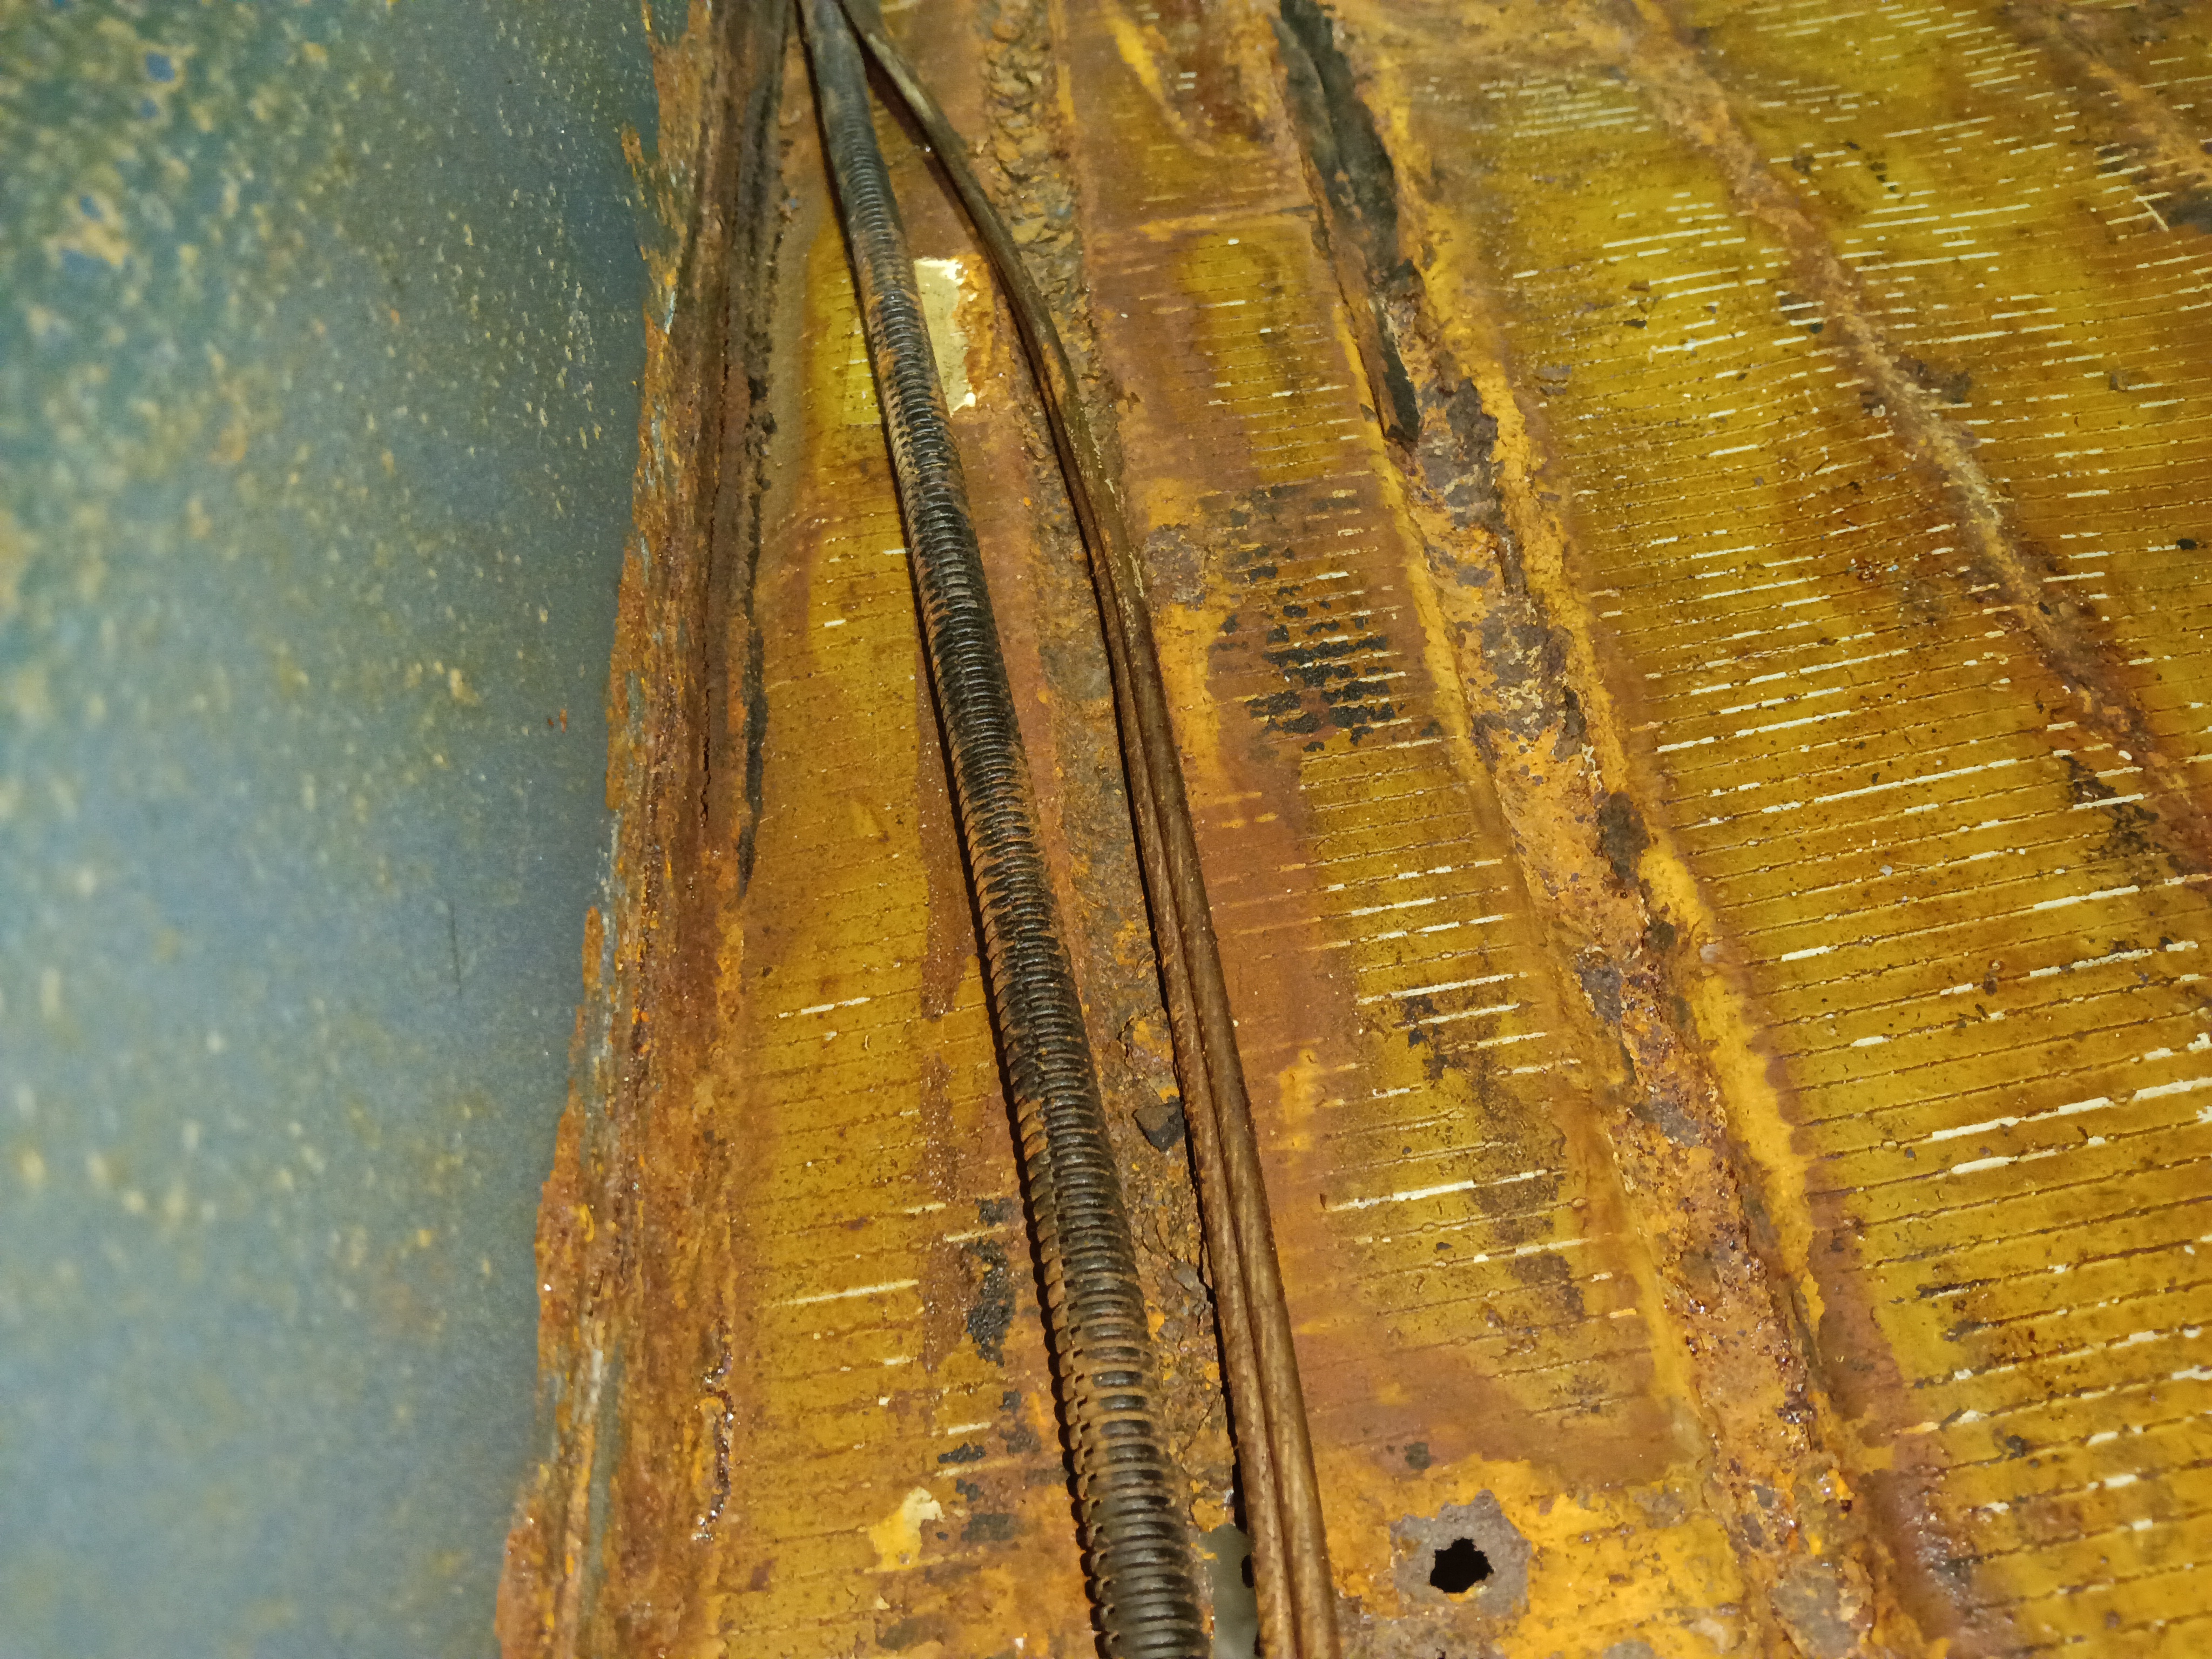
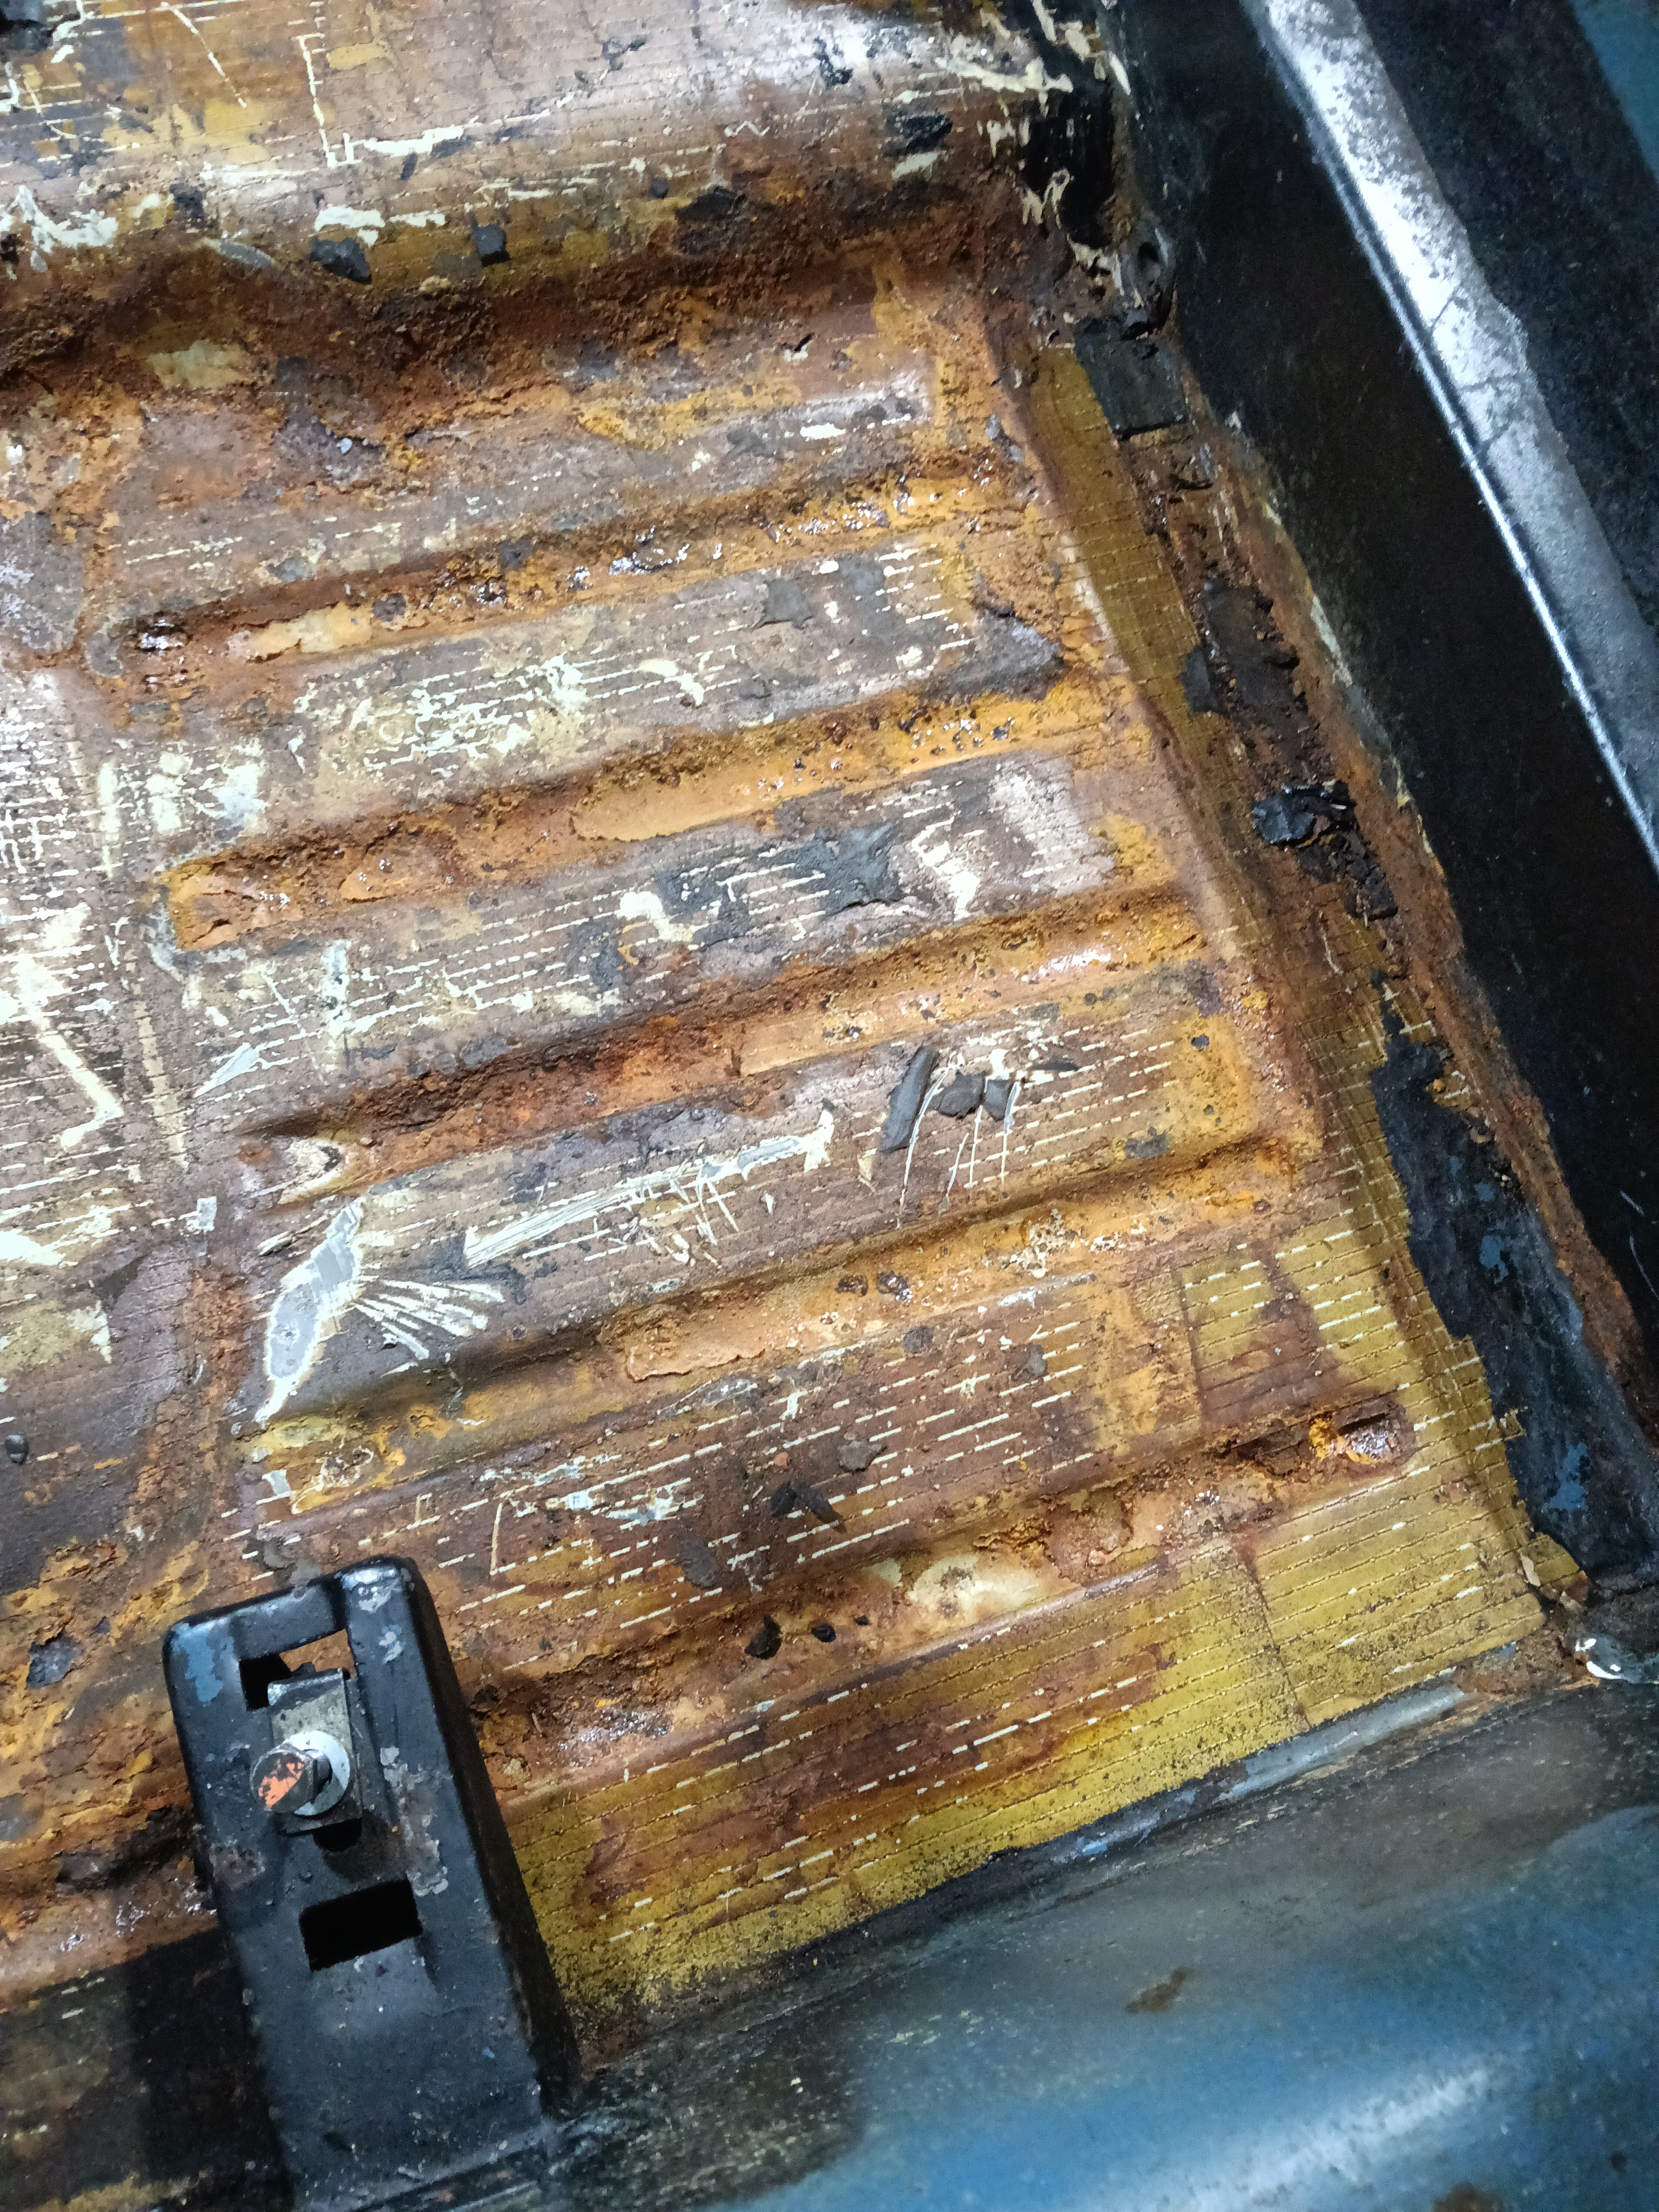
Rust on the mid part of the left floor.
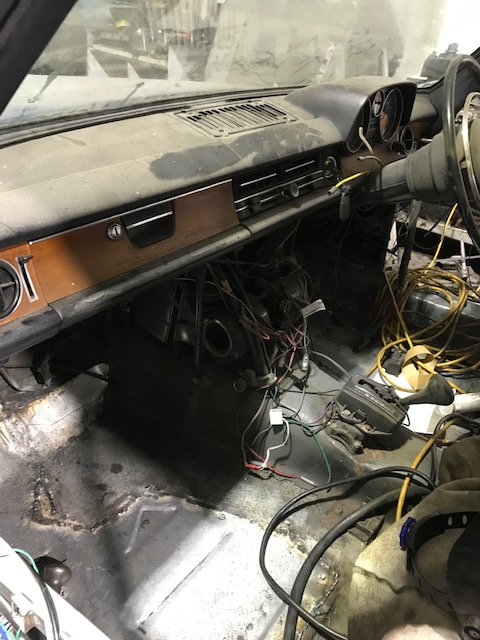
Amp for radio,
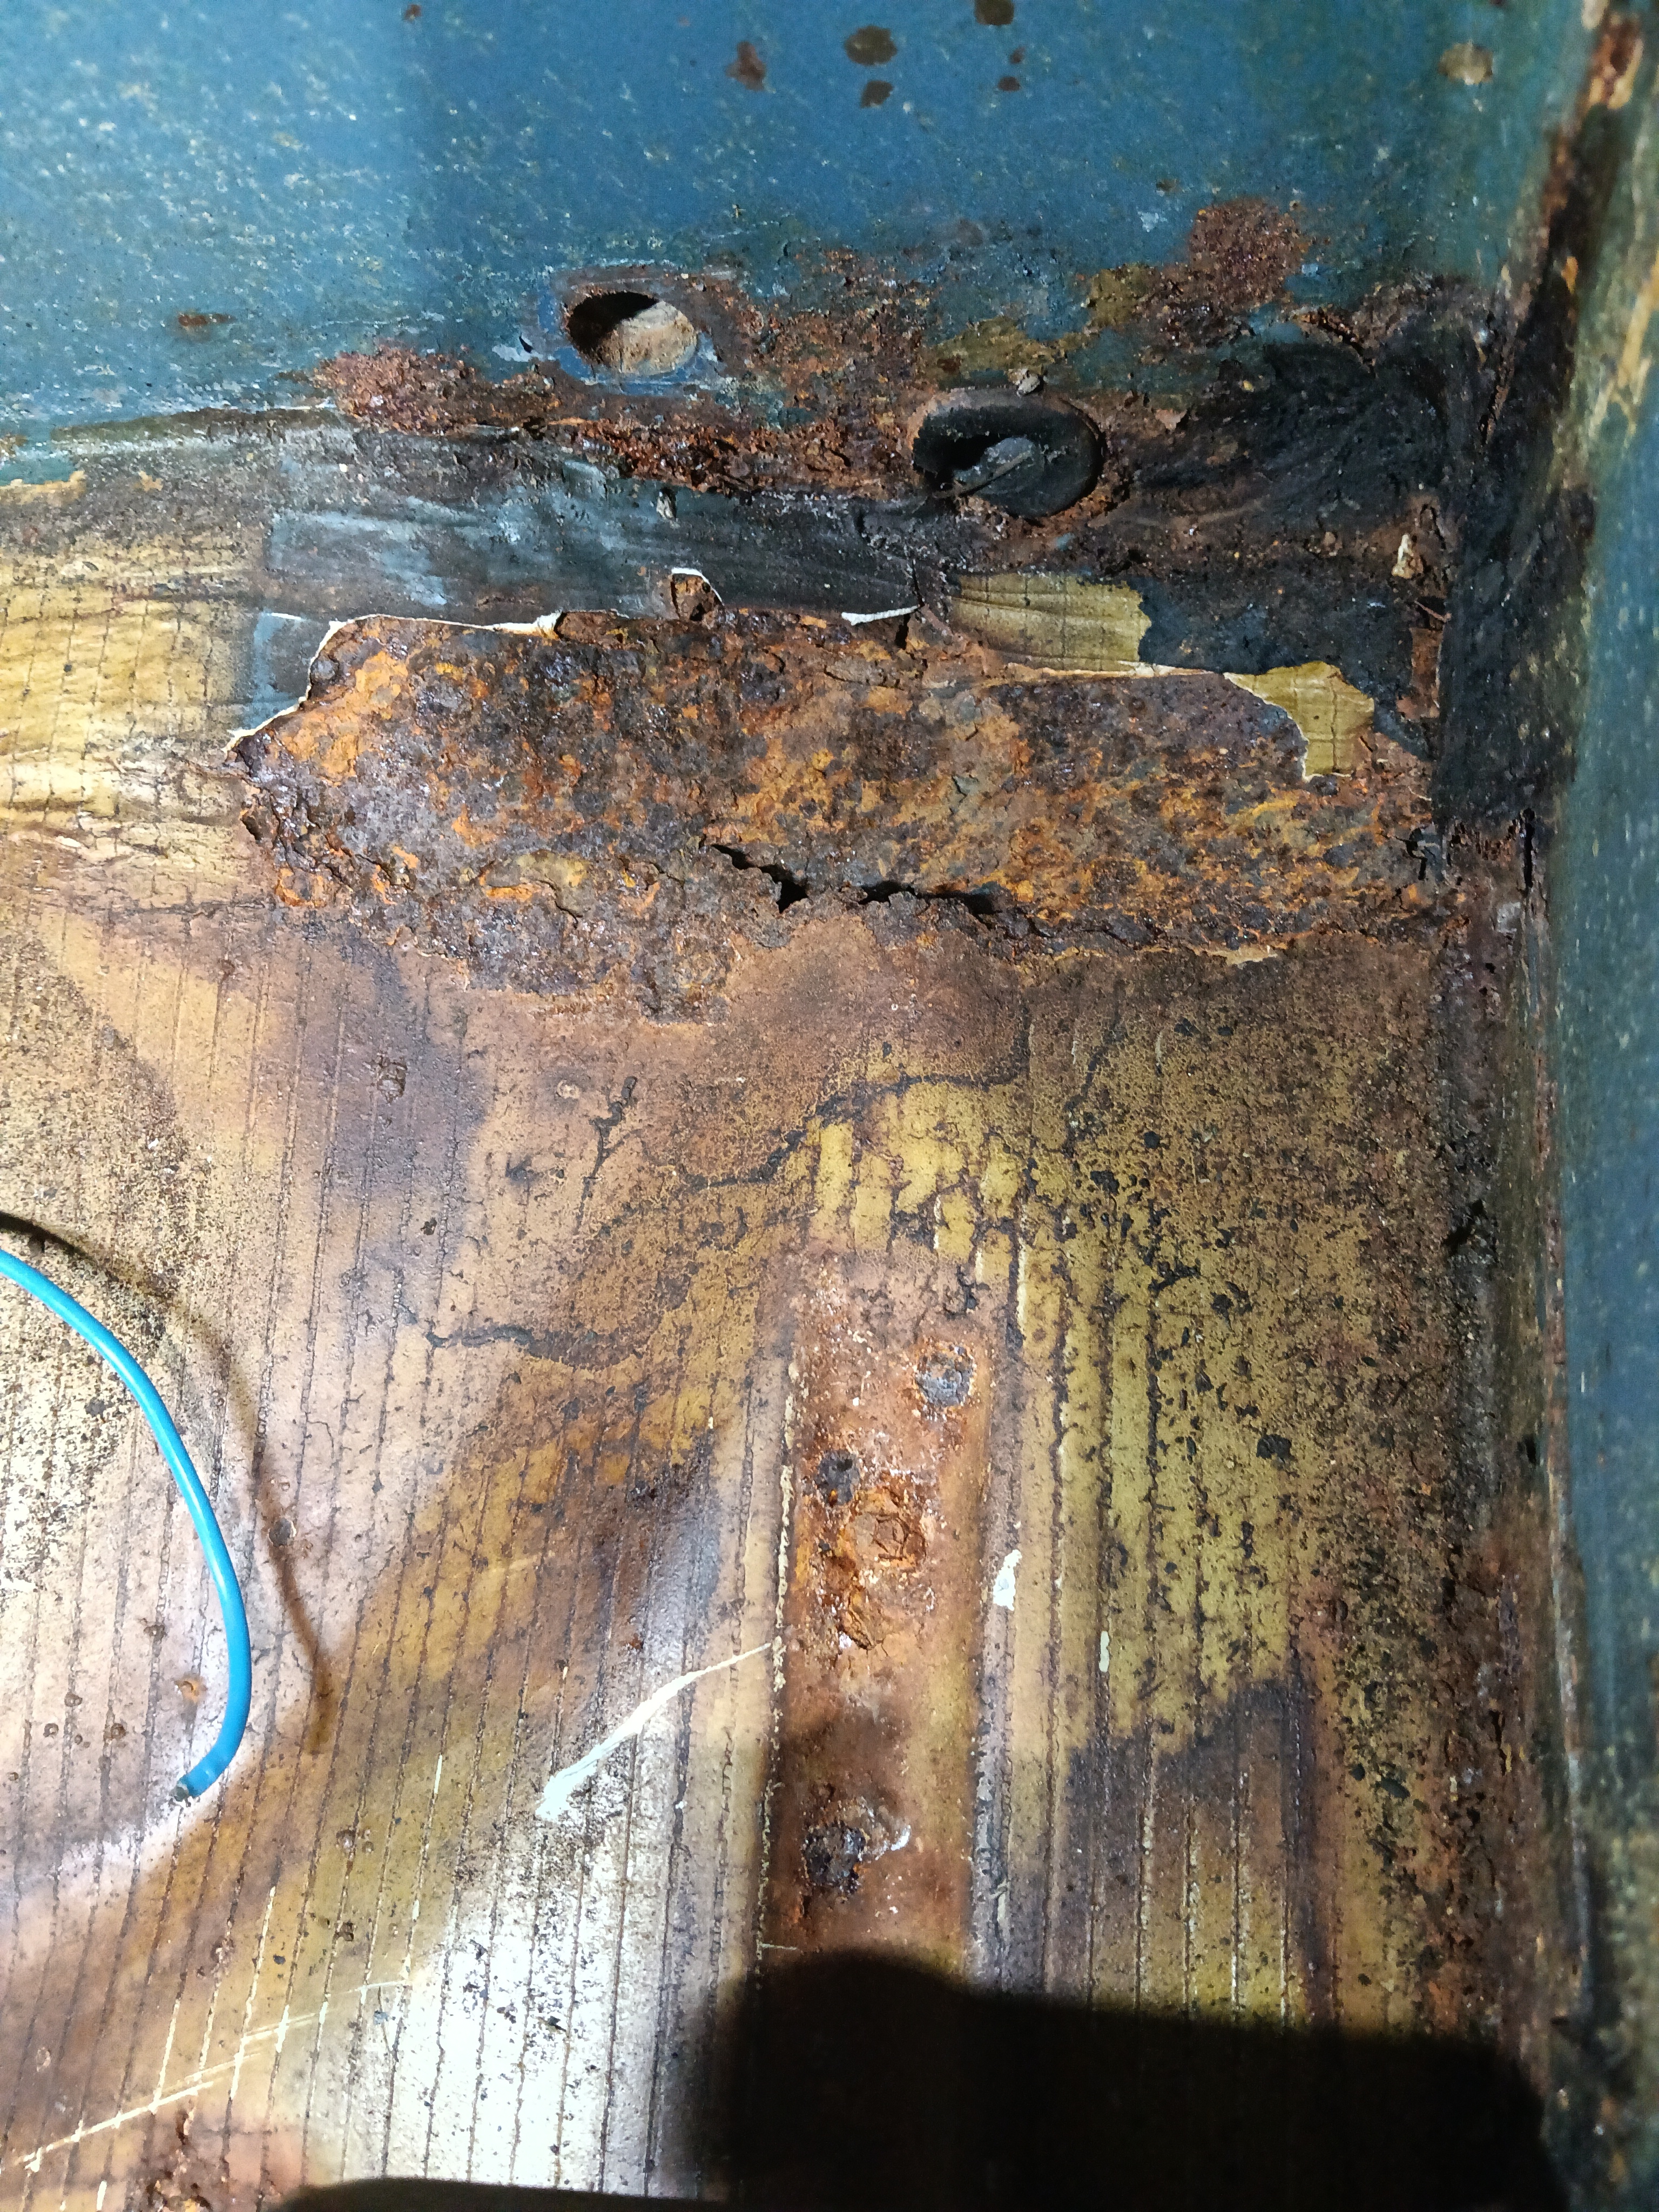
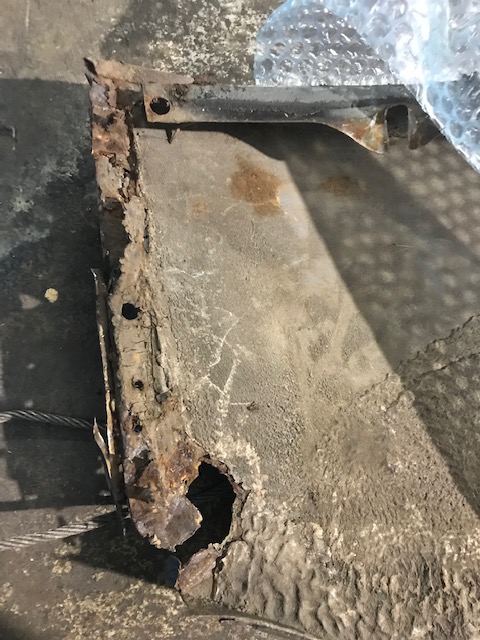
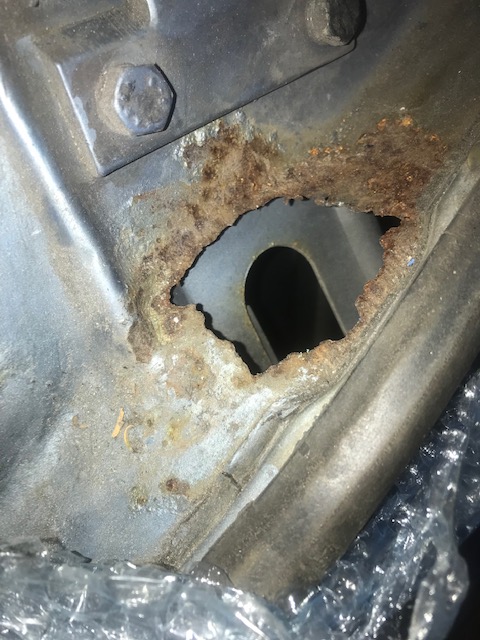
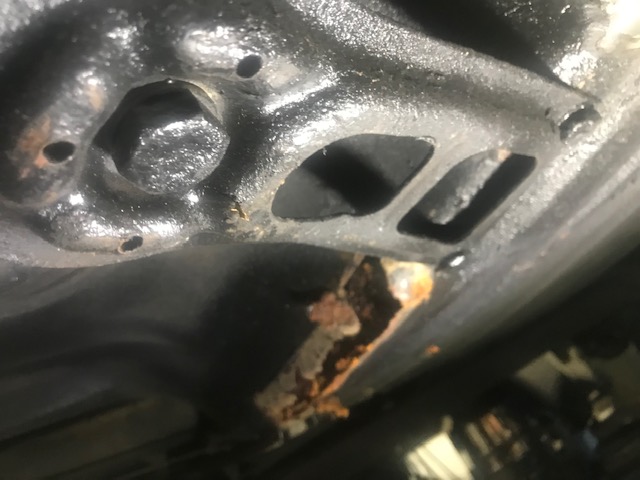
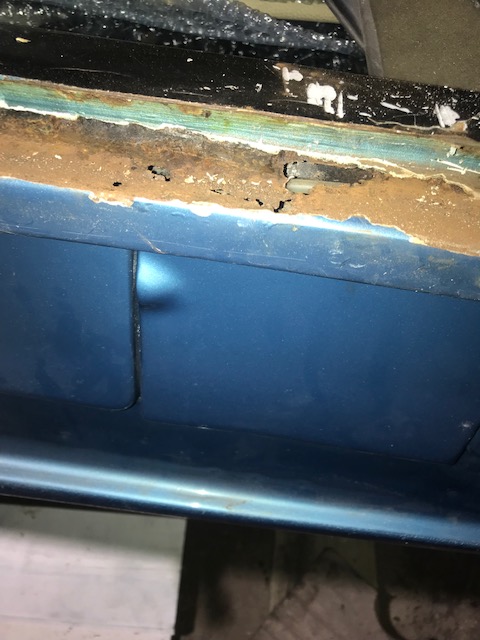
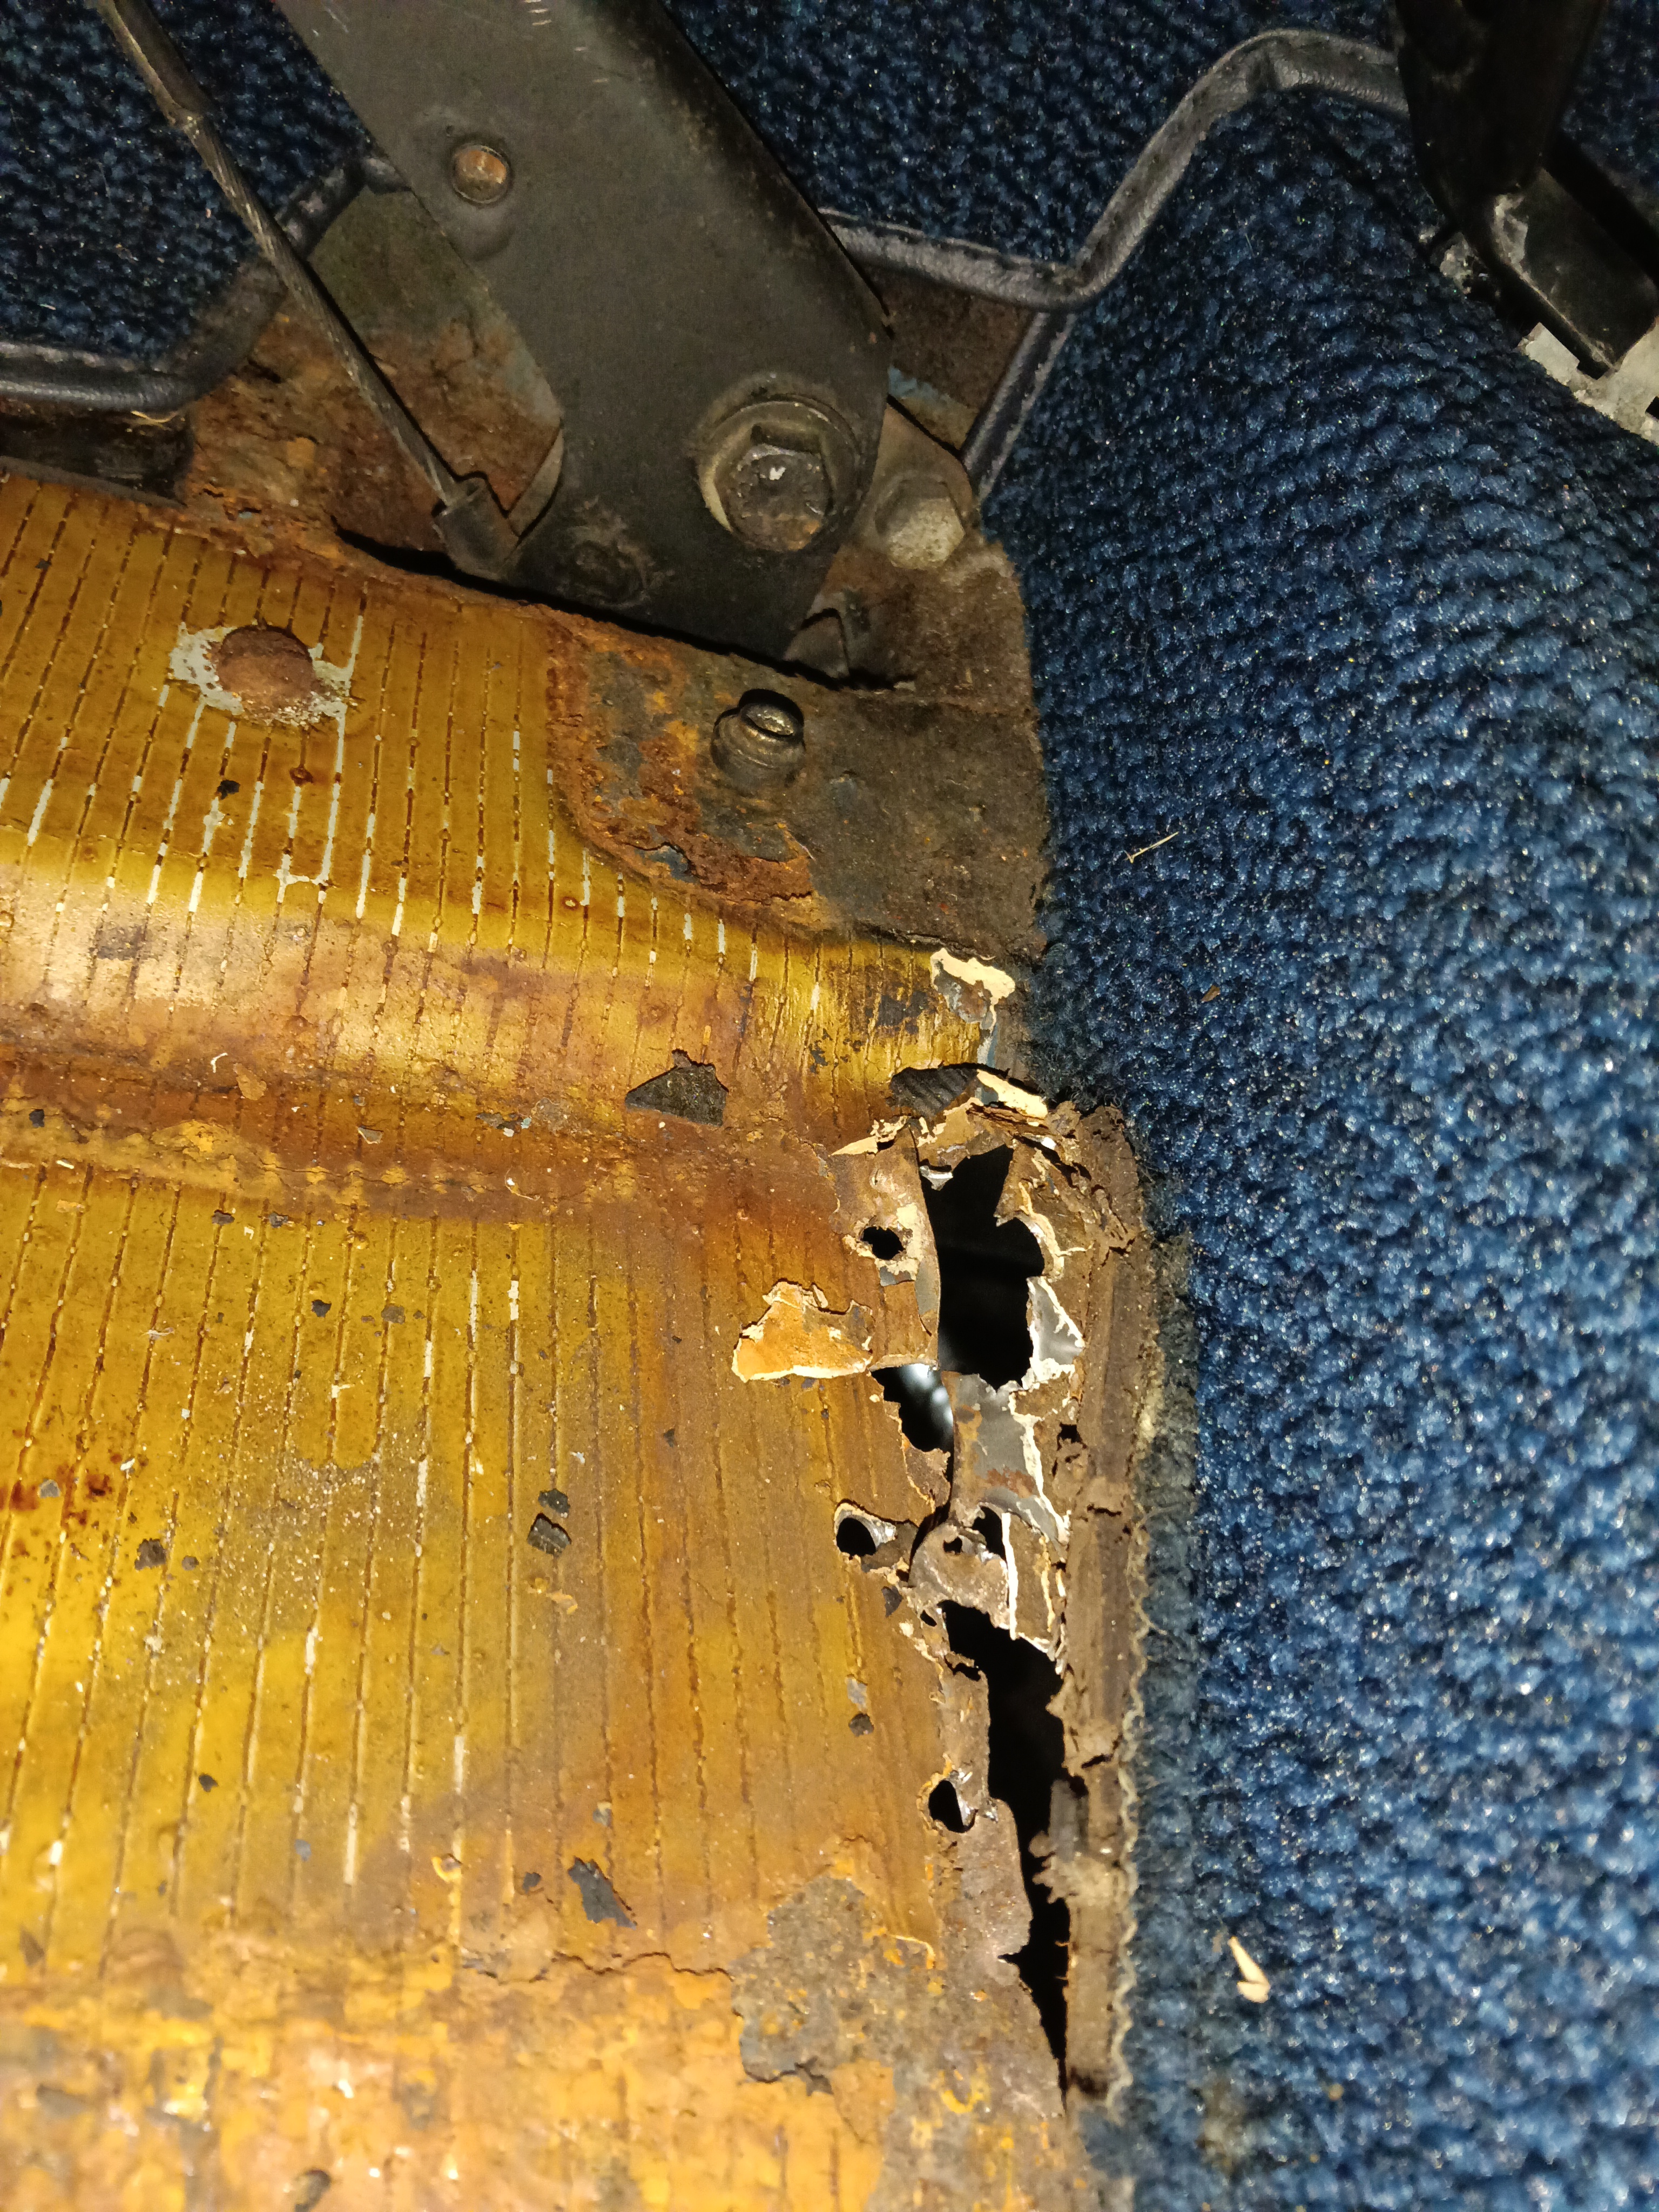
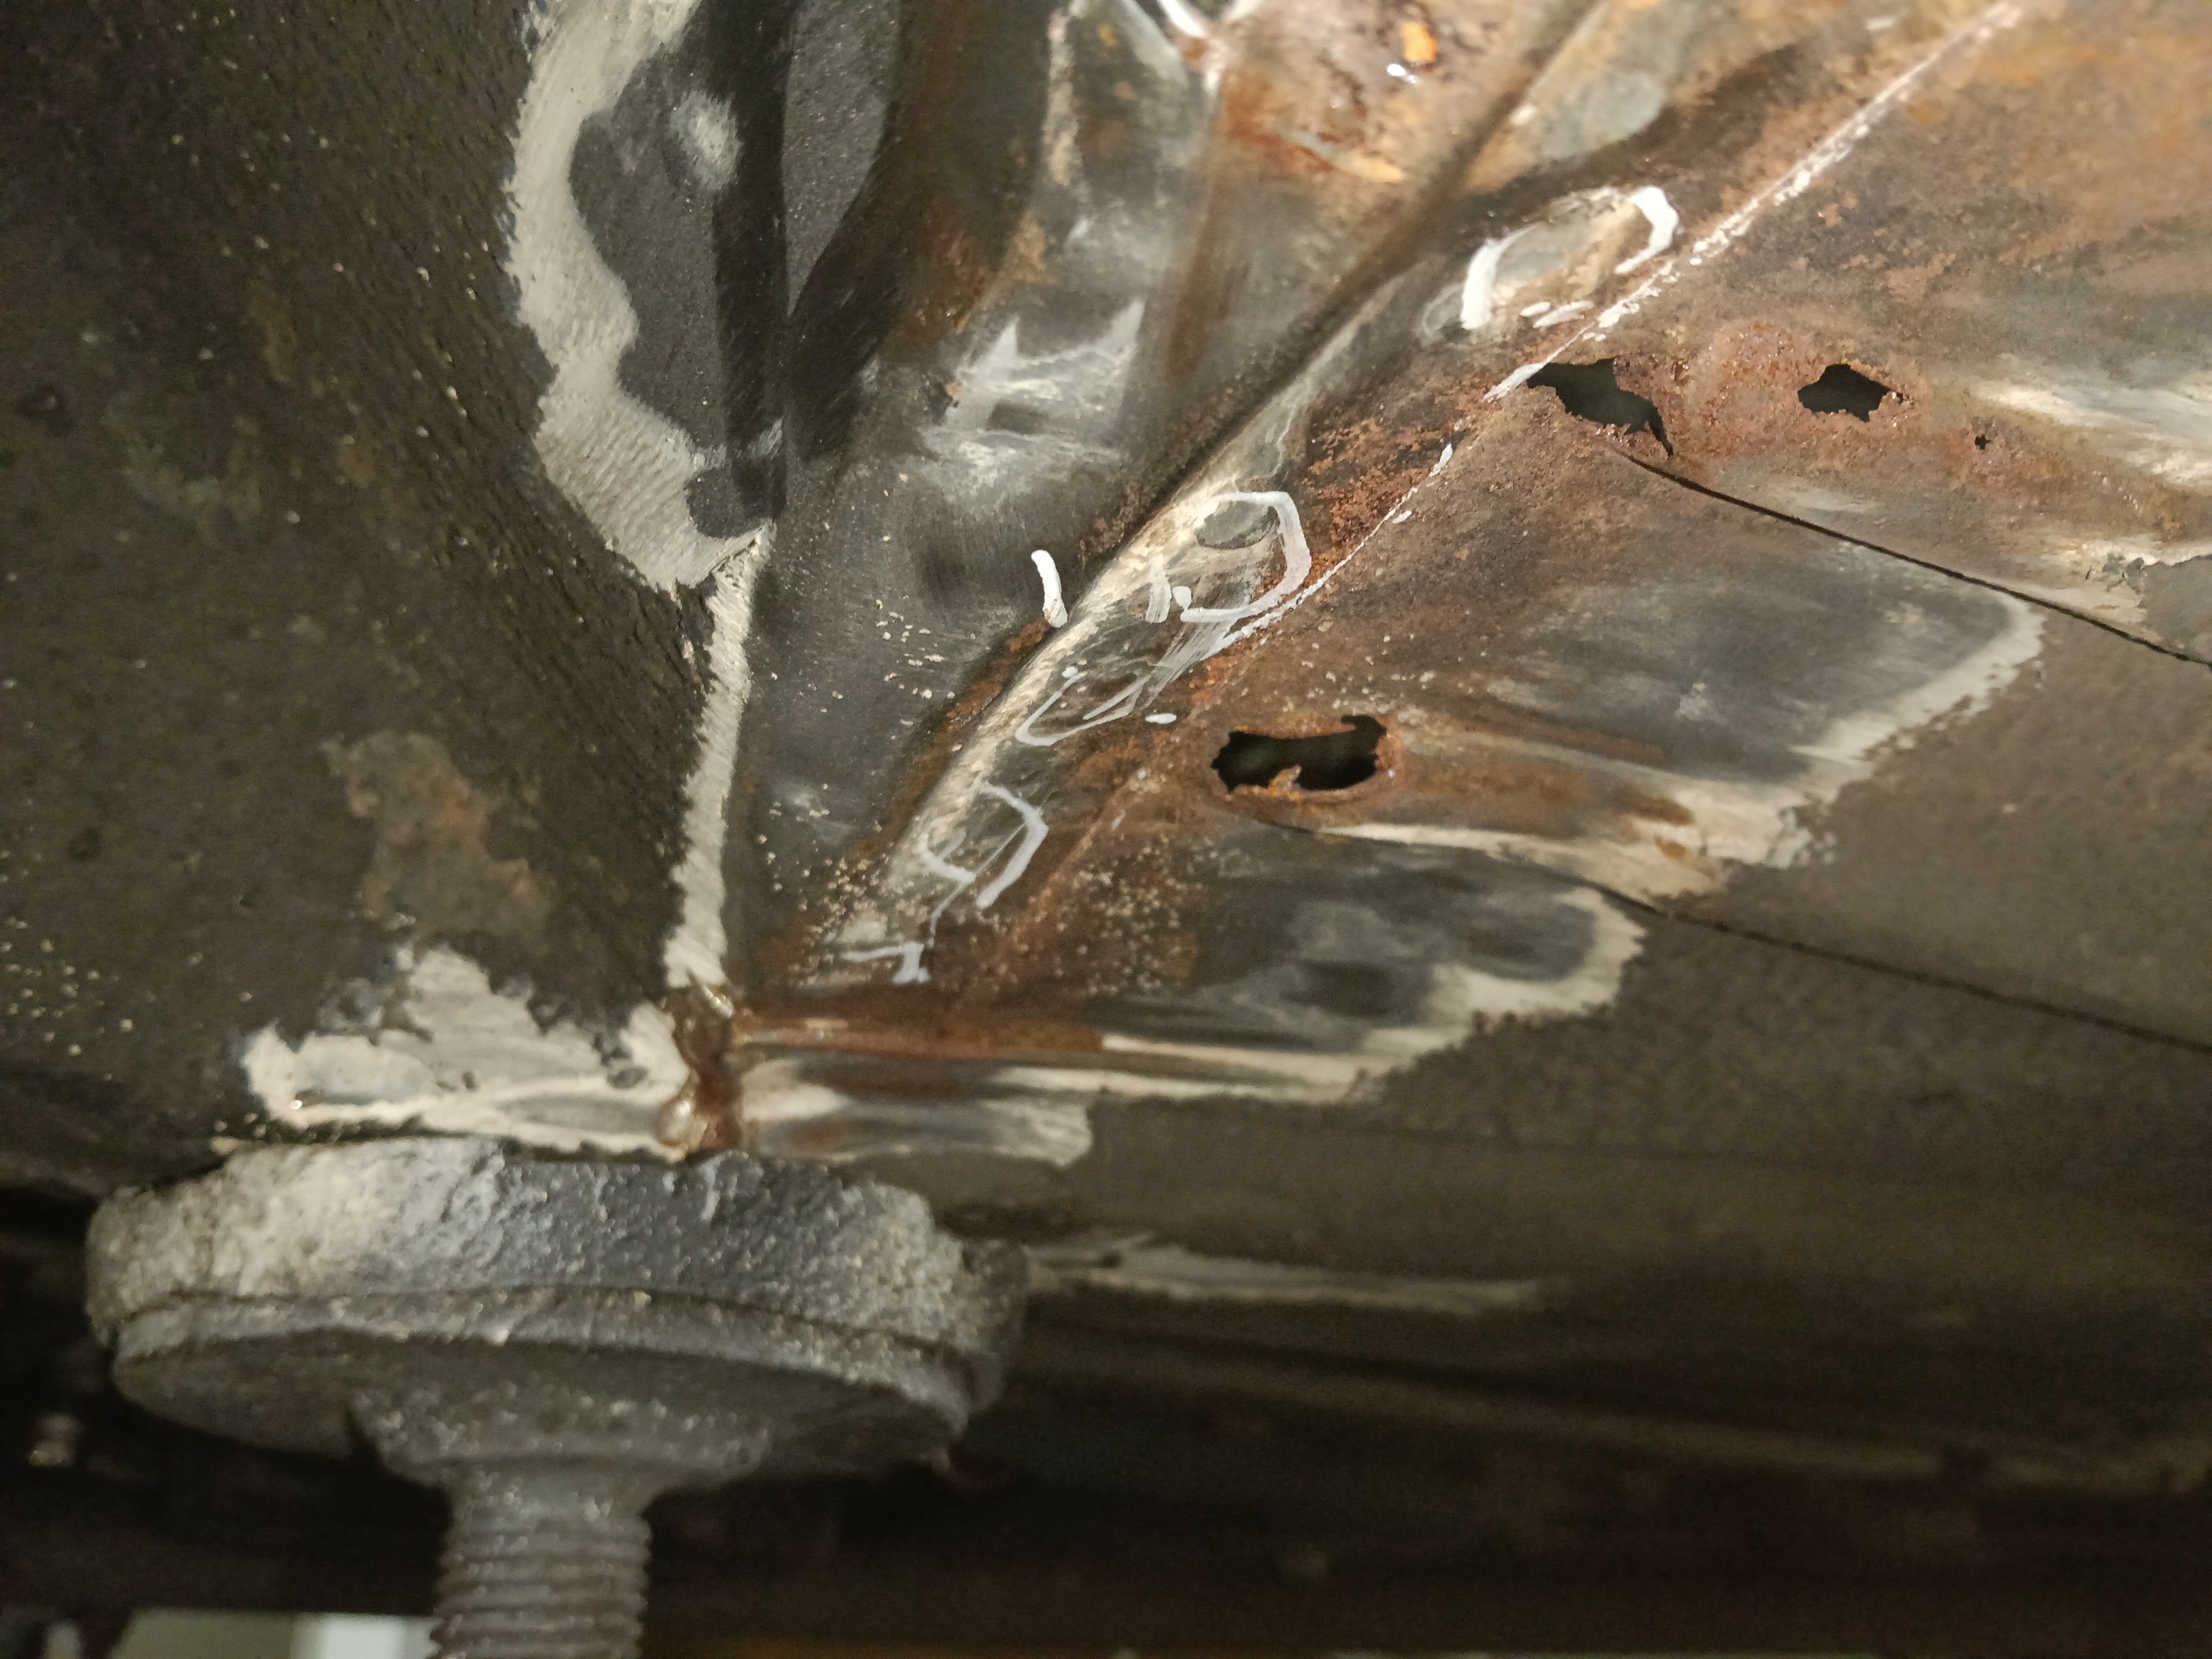
Closer veiw of left corner by trans tunnel.With a rust hole.
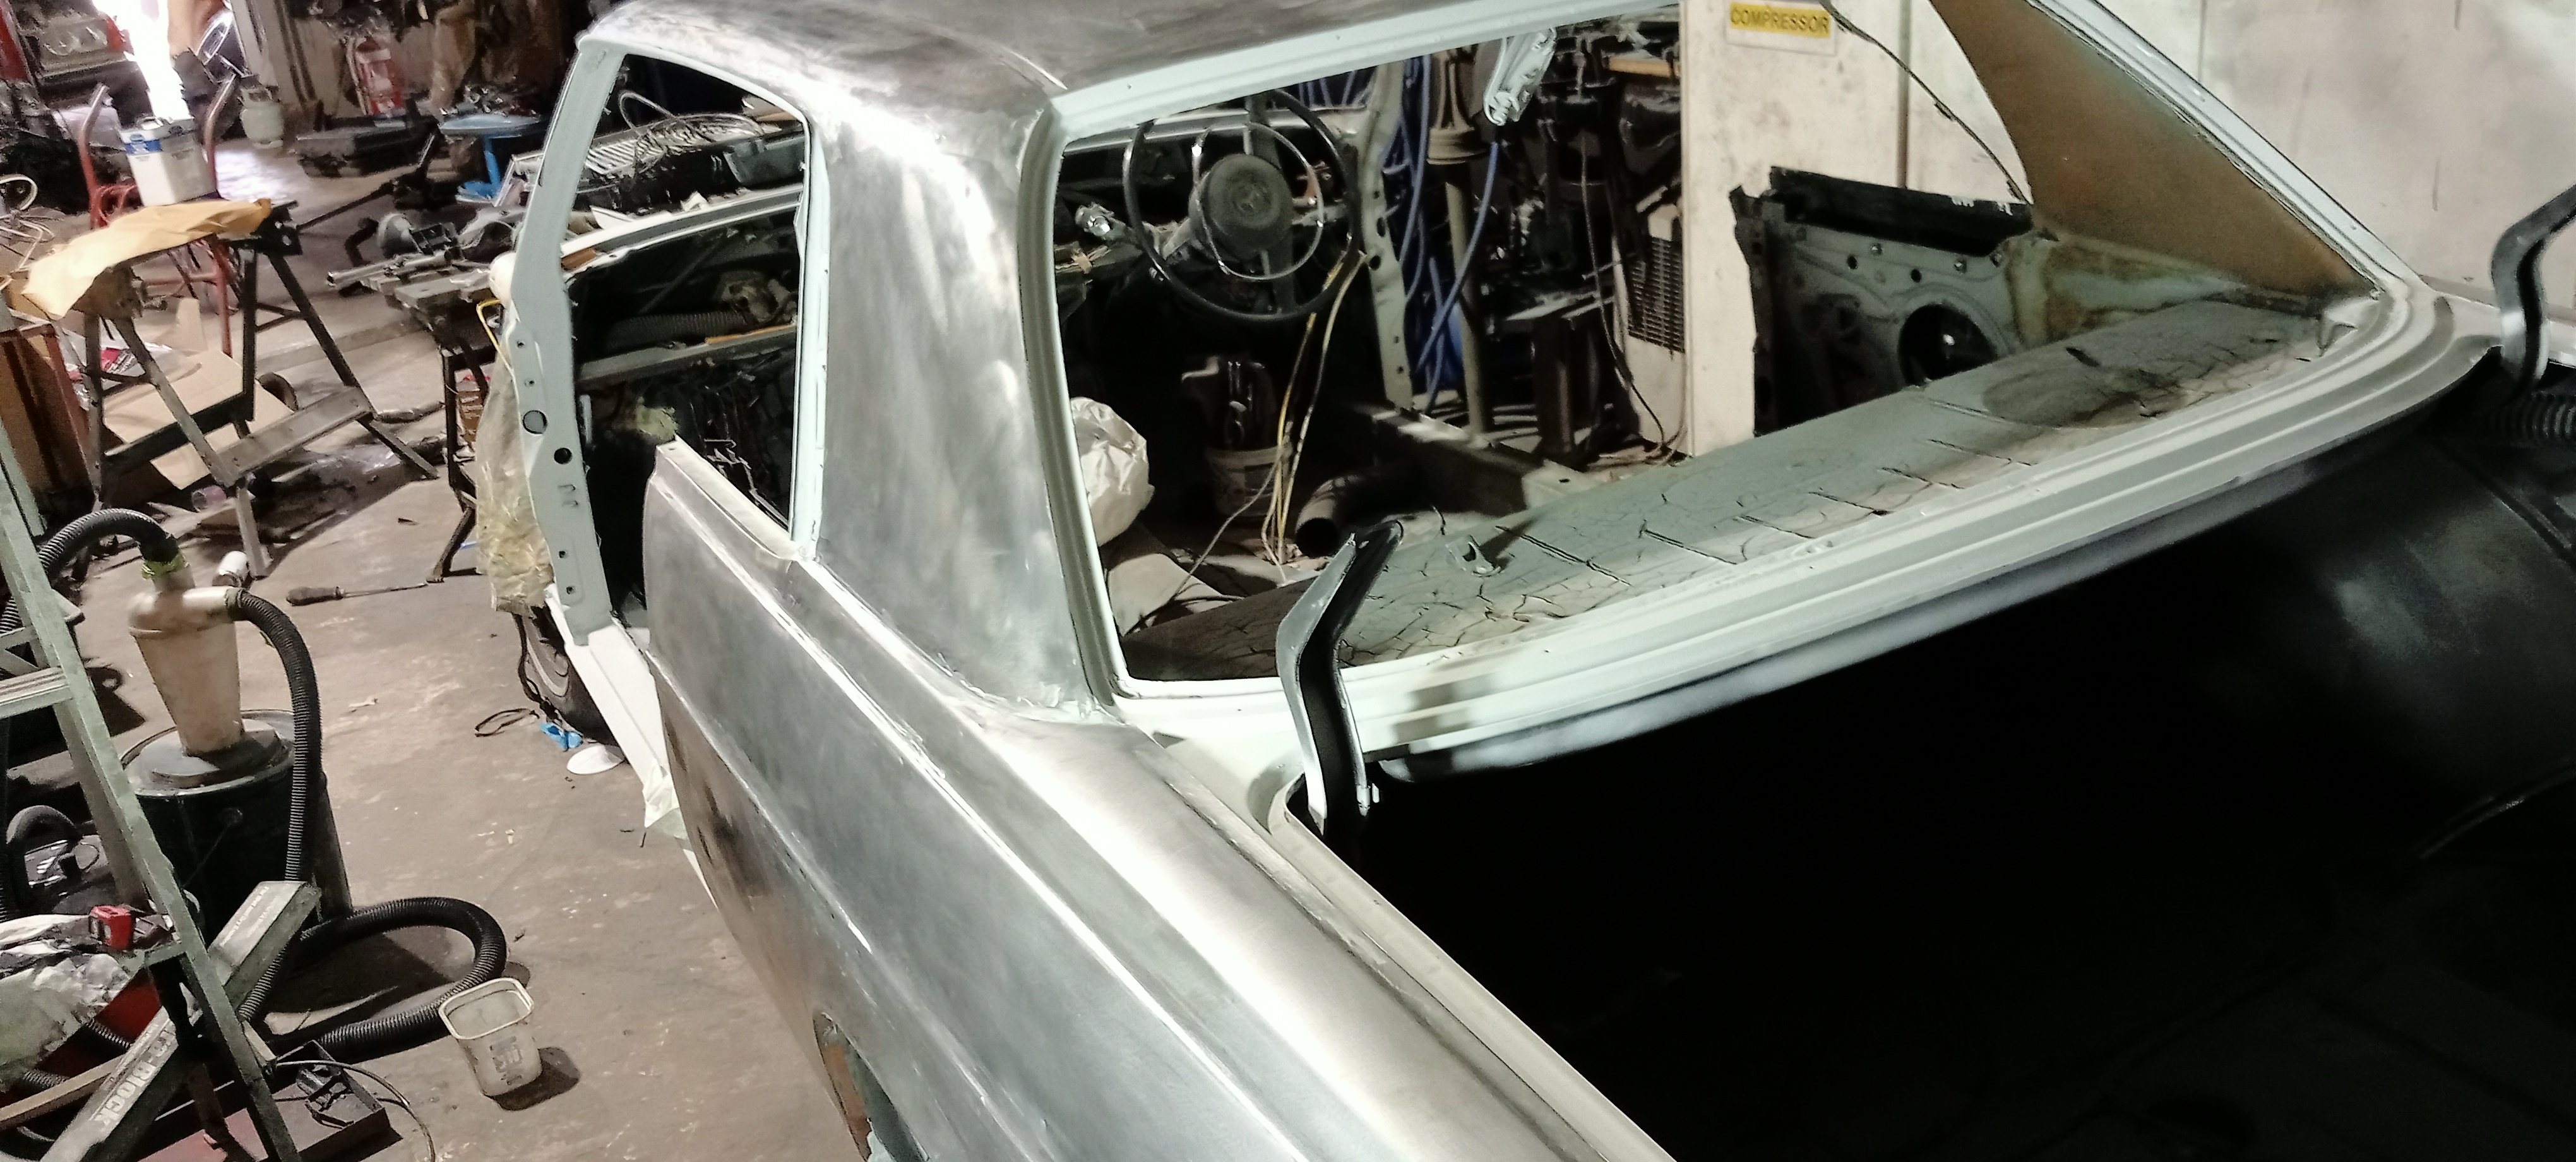
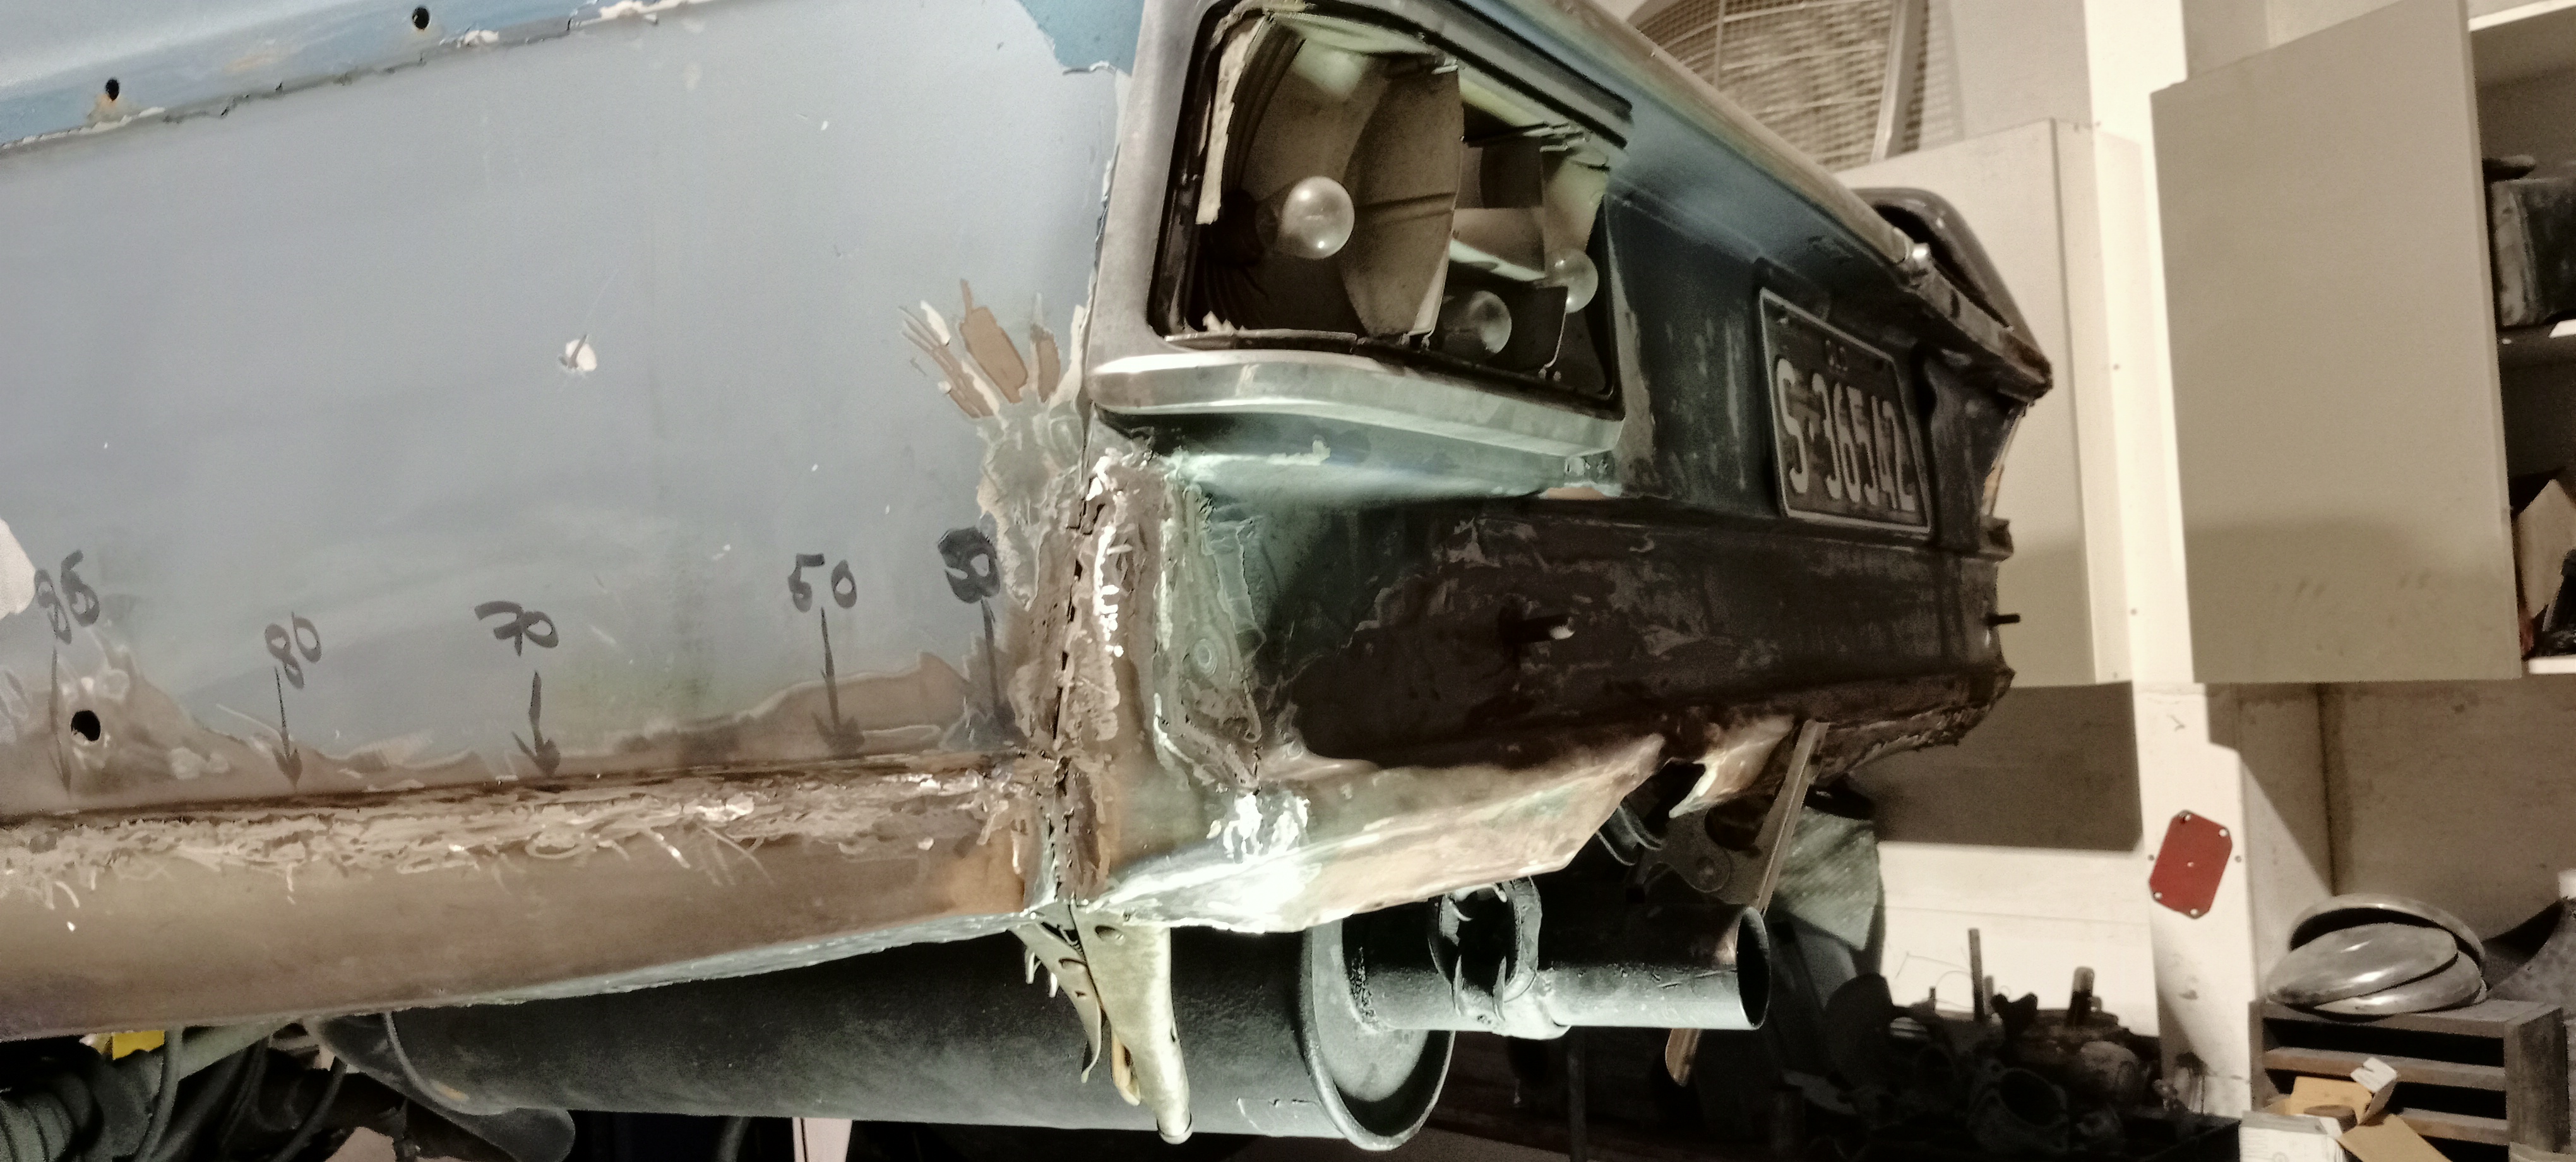
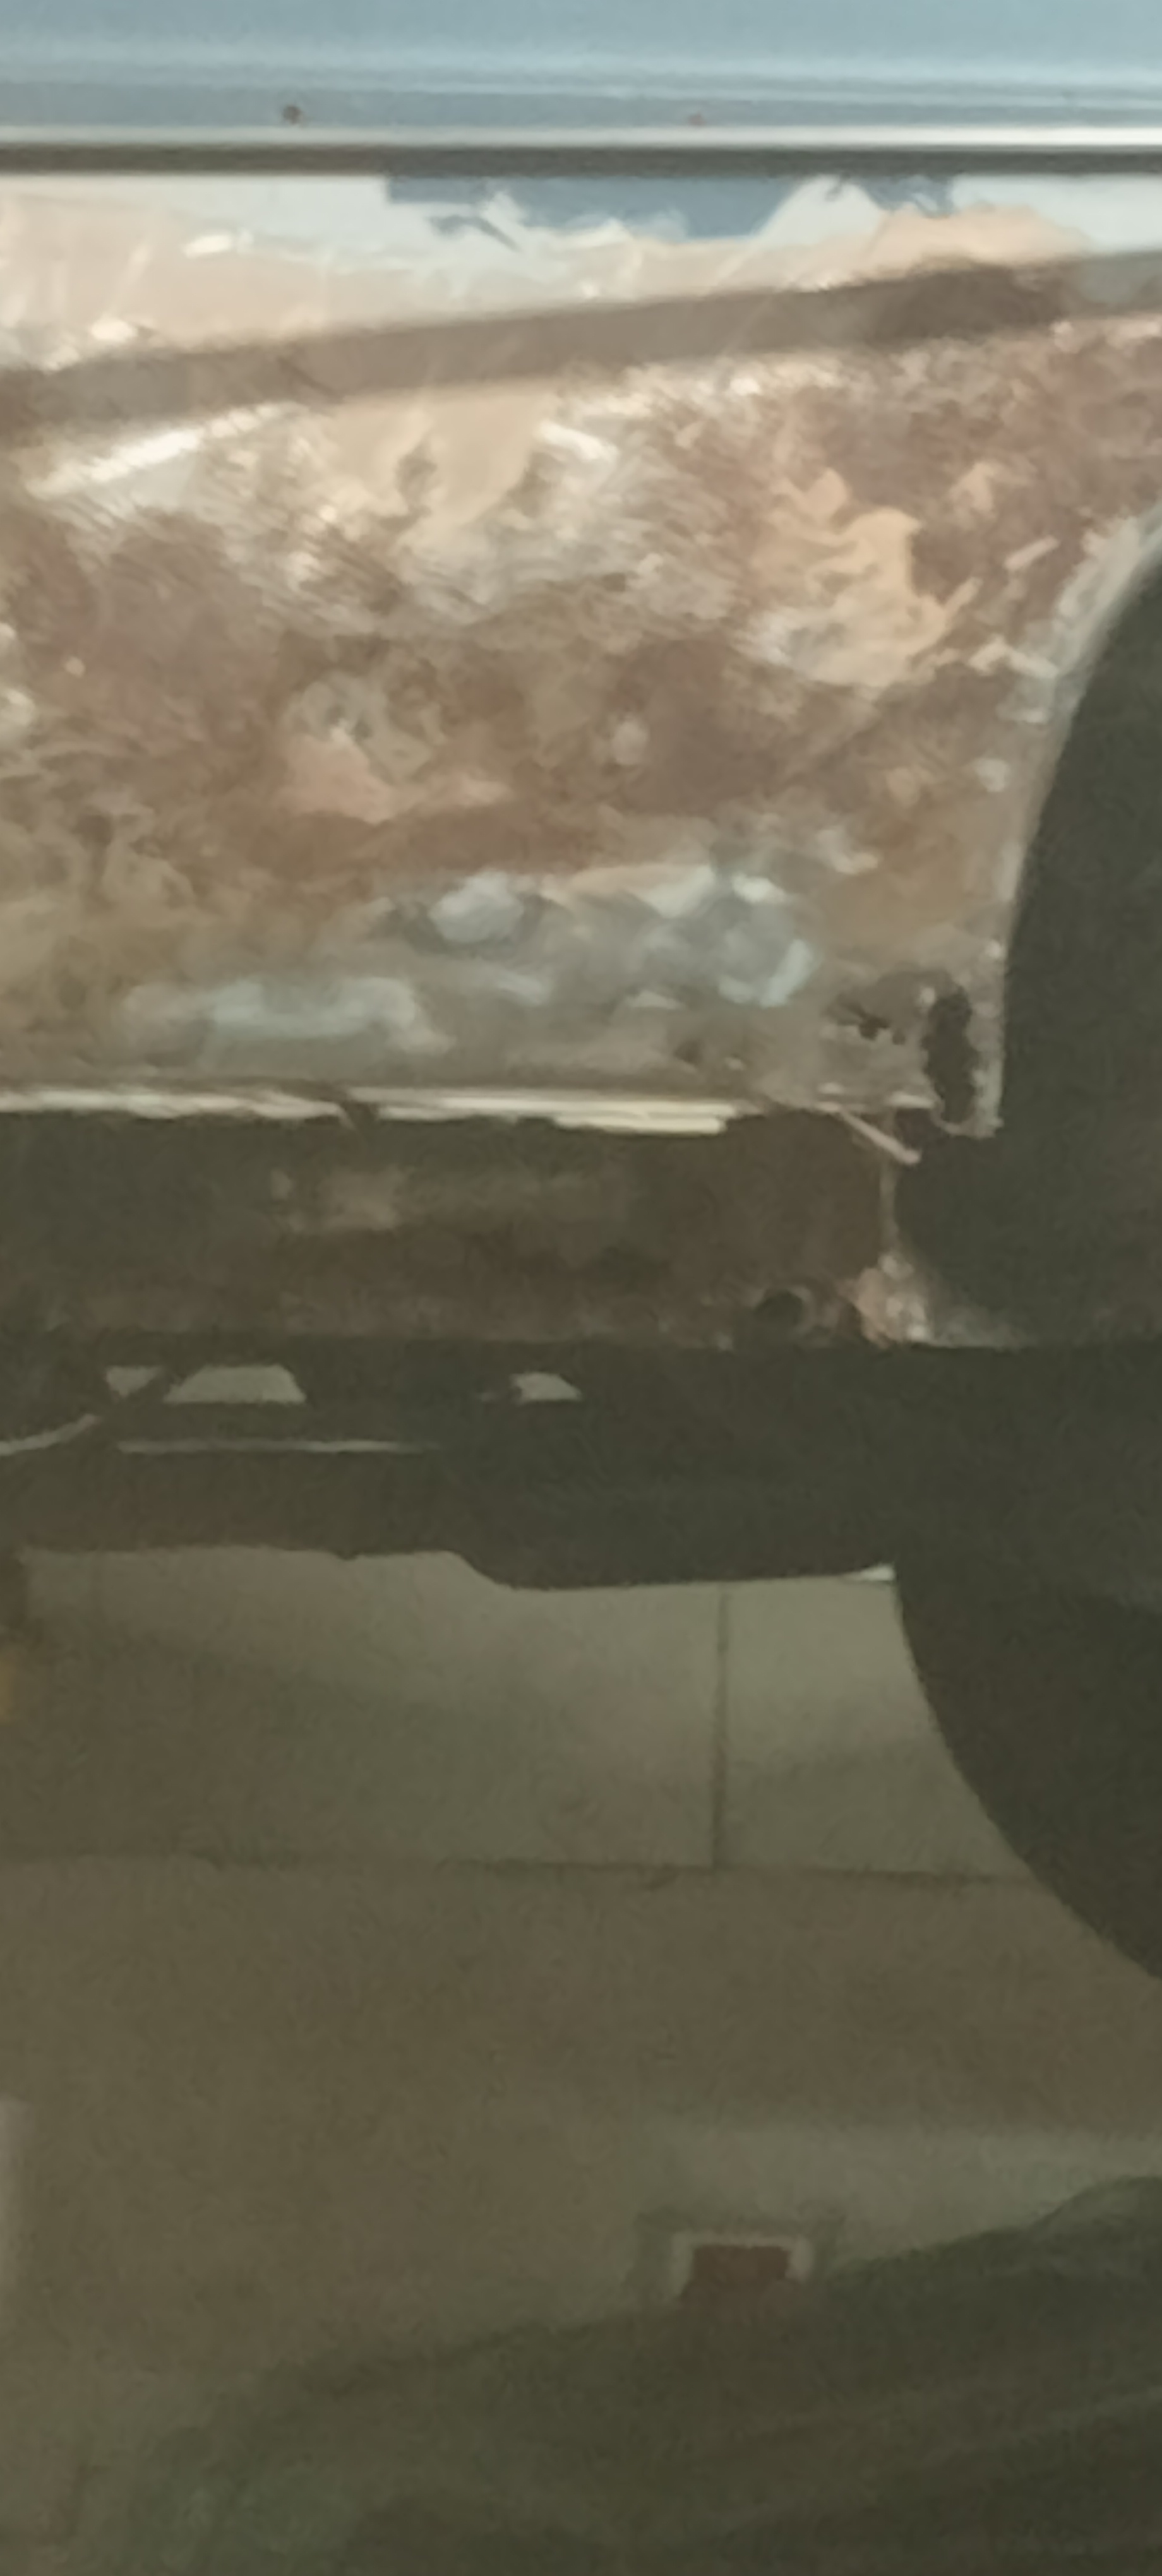
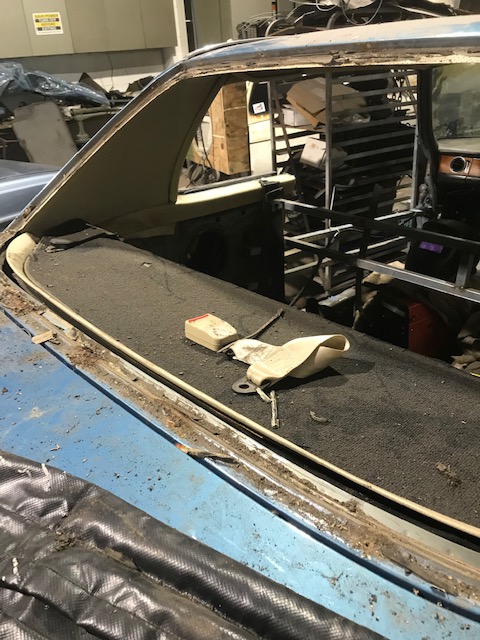
Corner of body right side,under the soft top boot area.
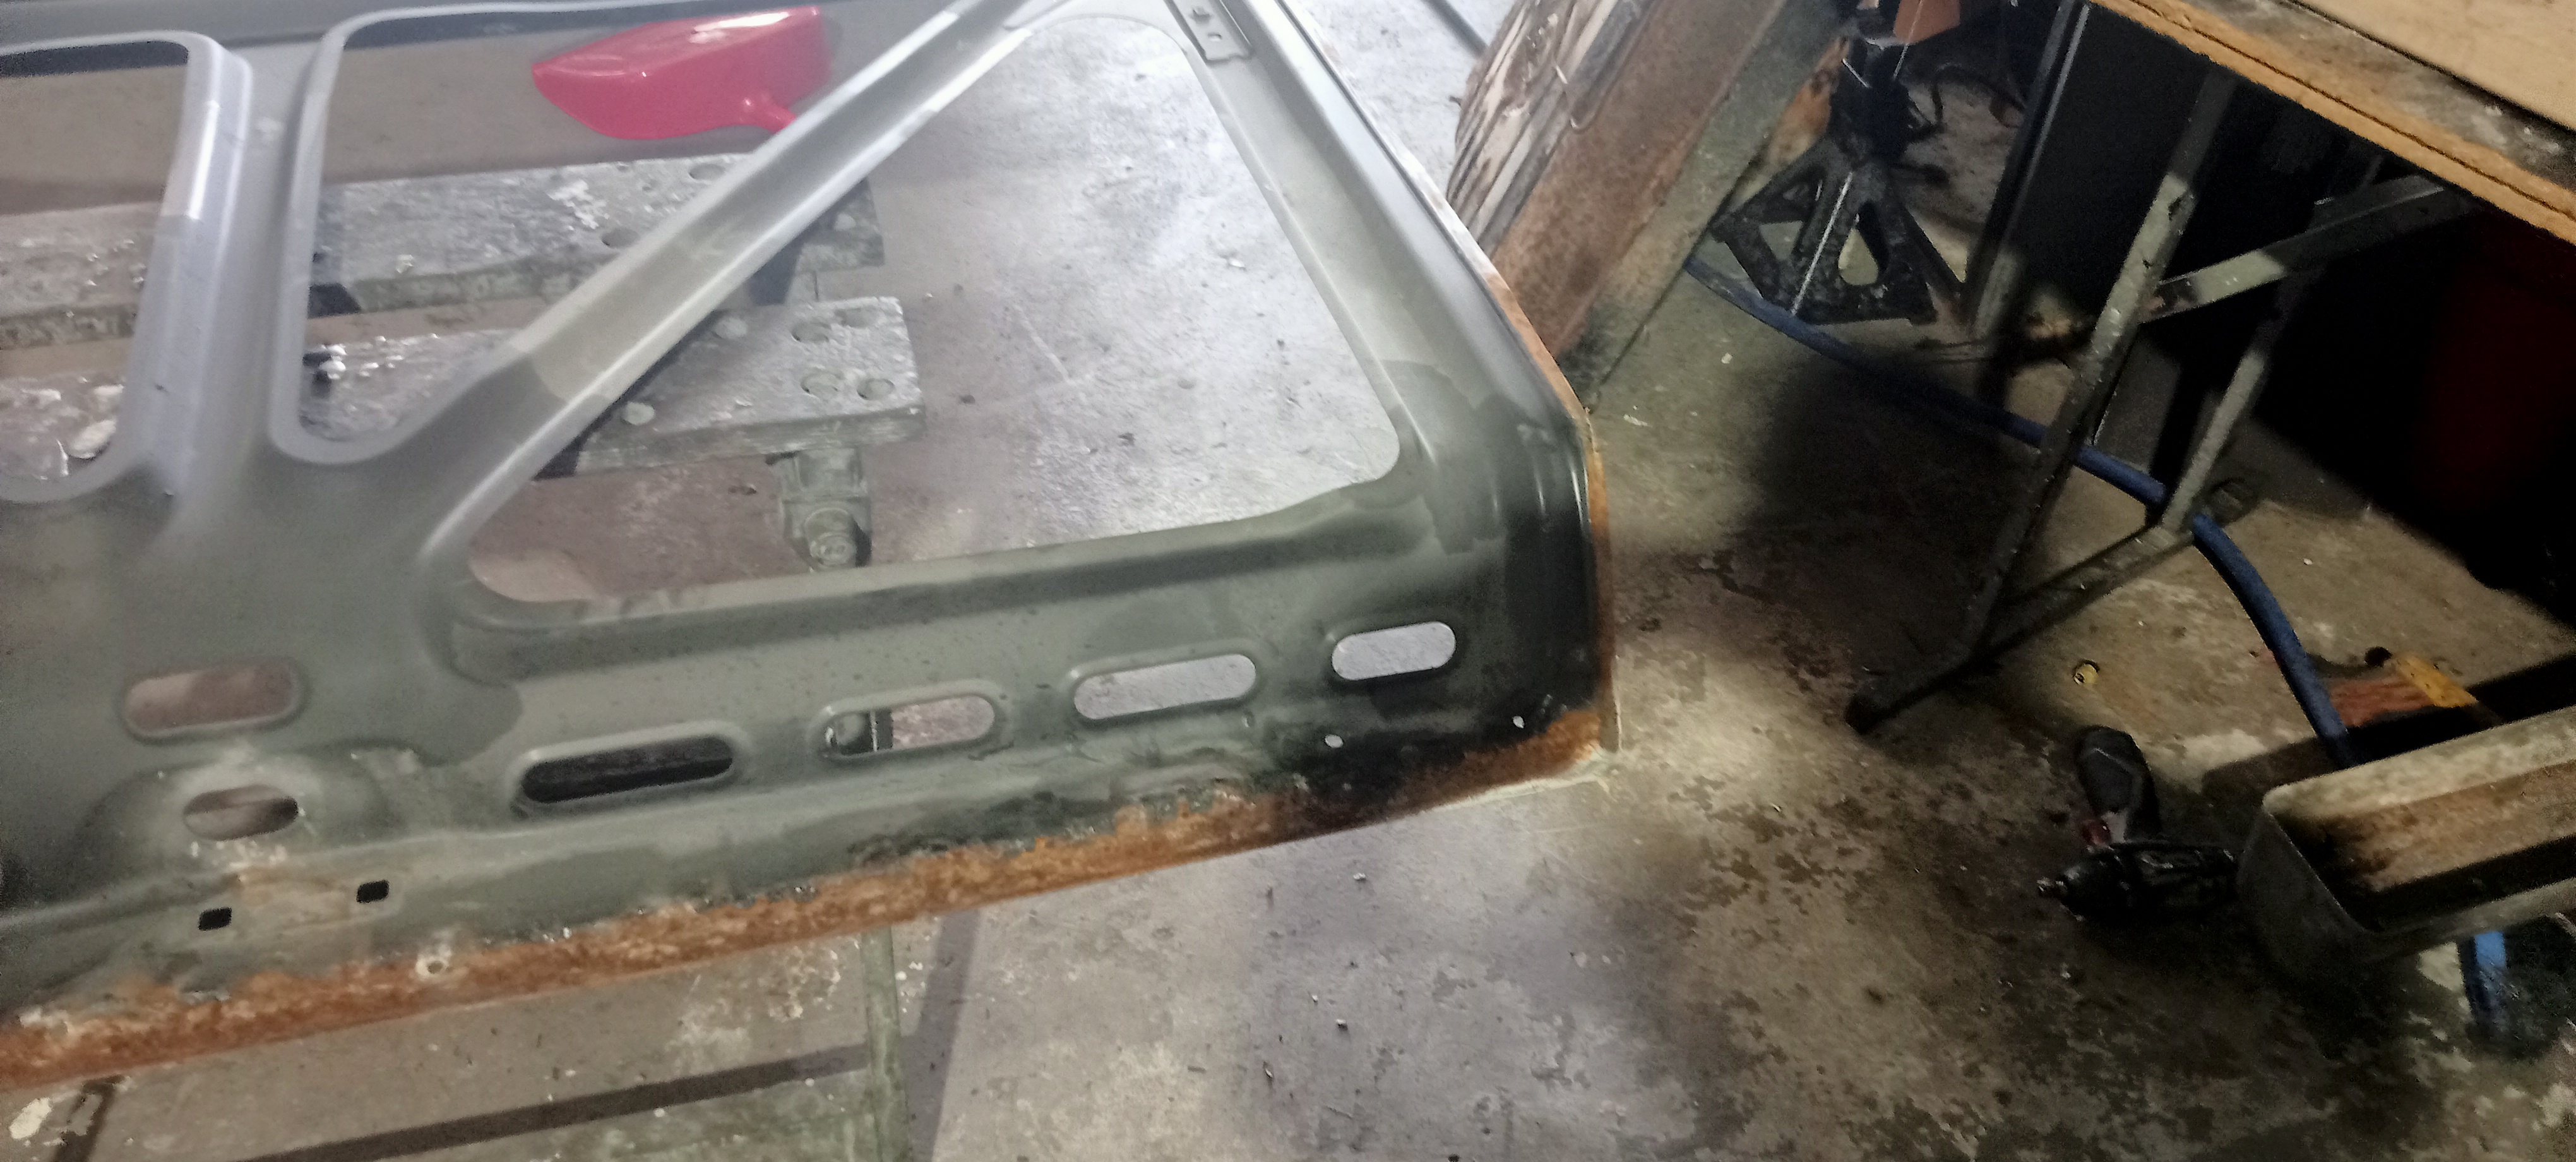
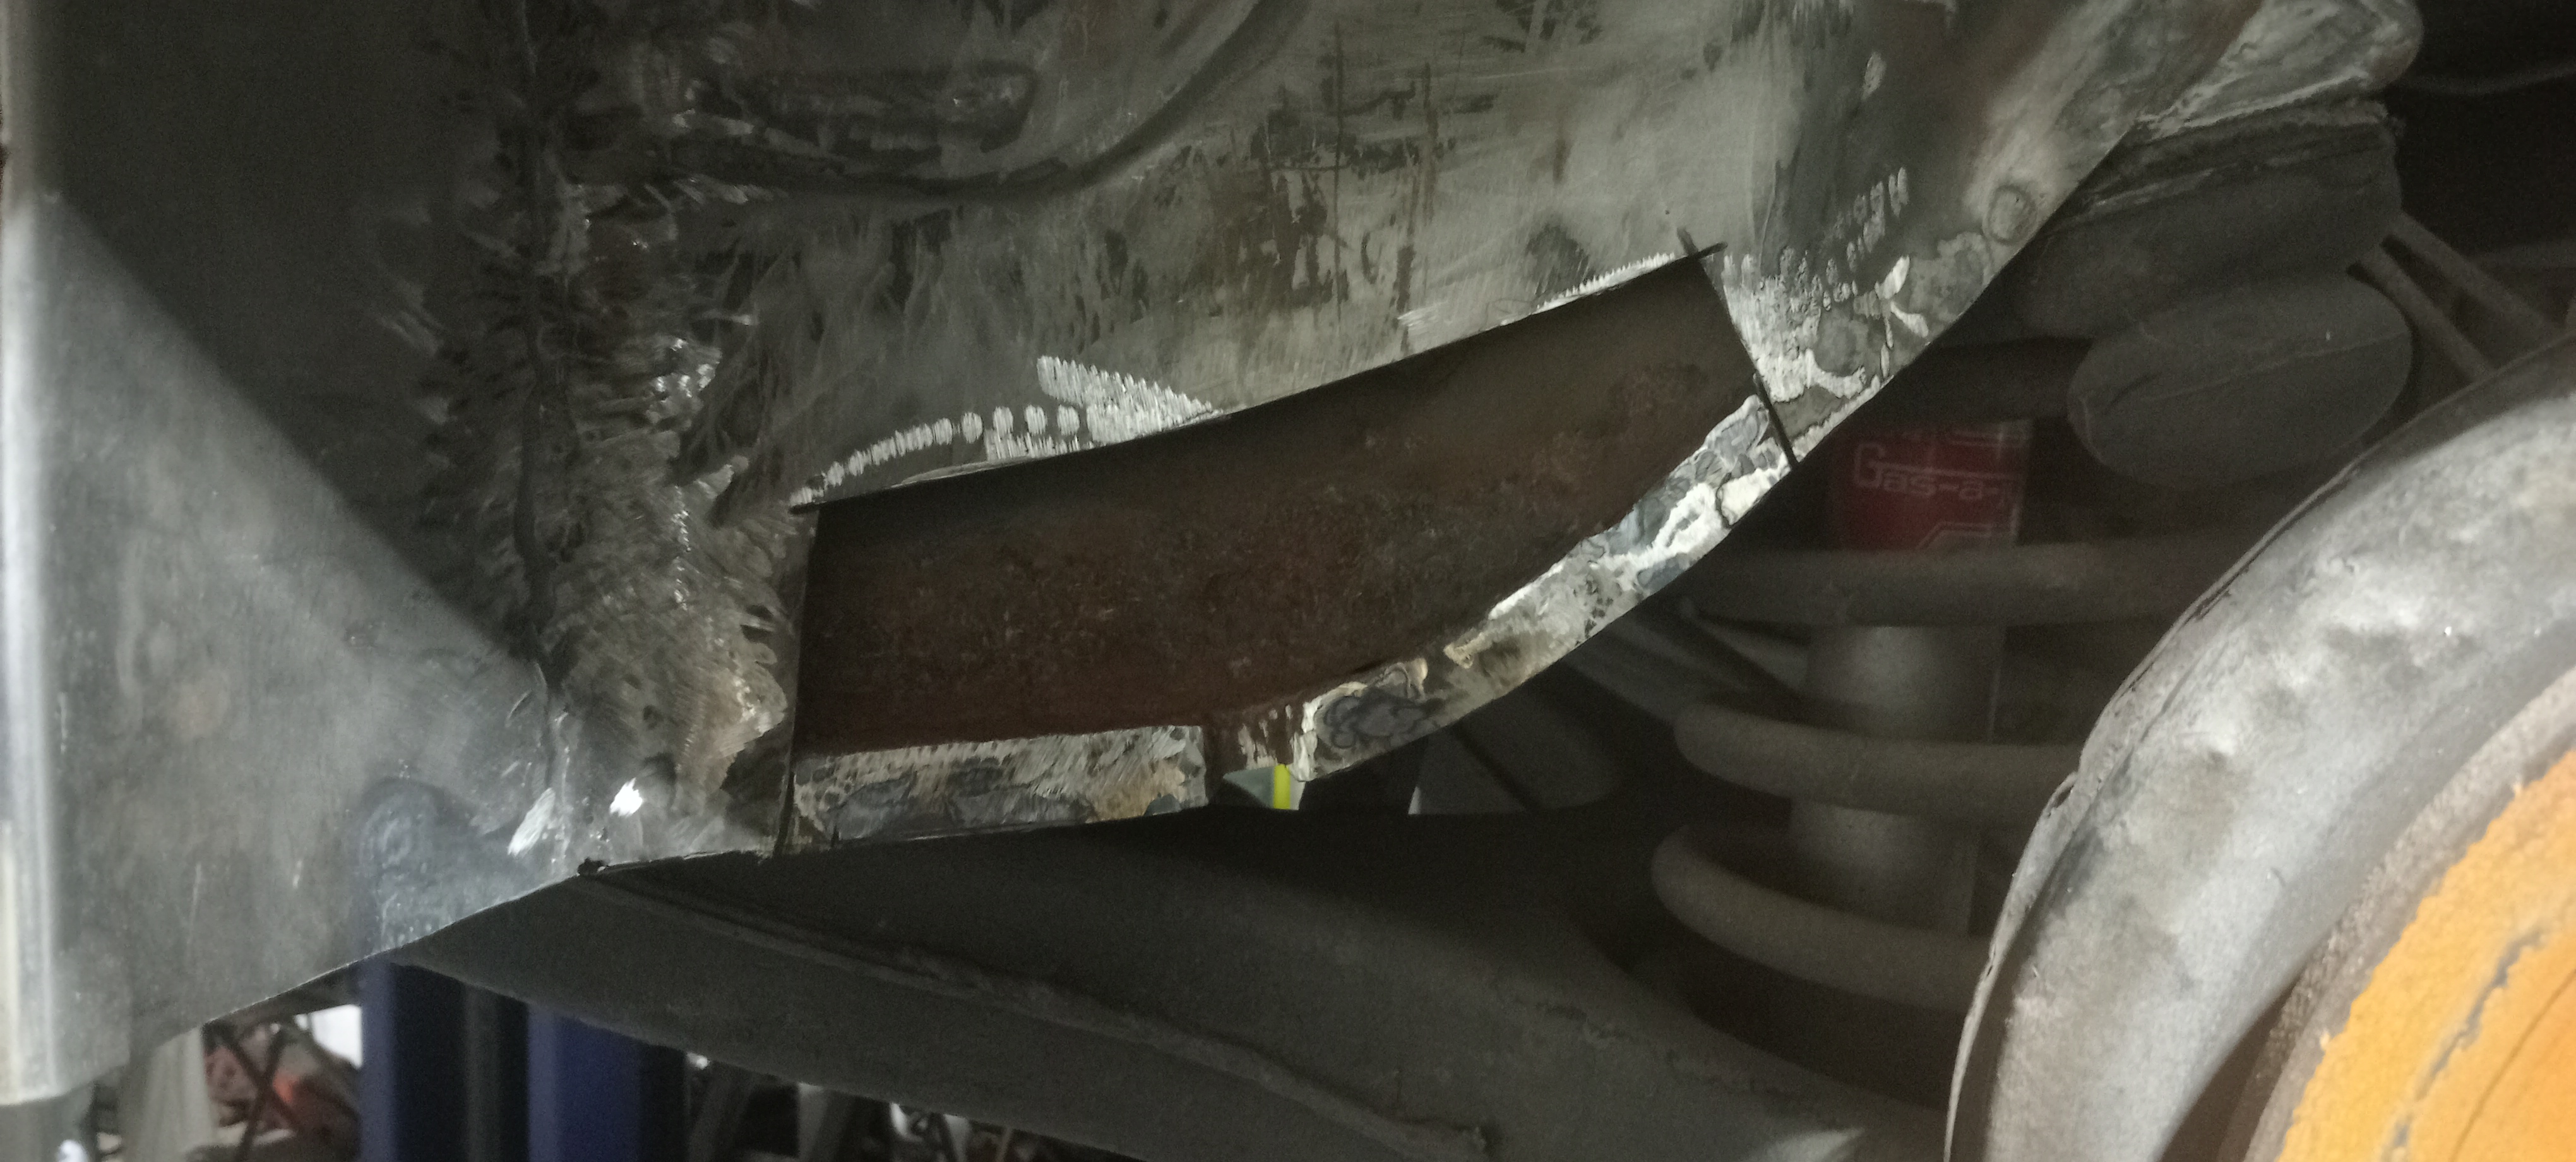
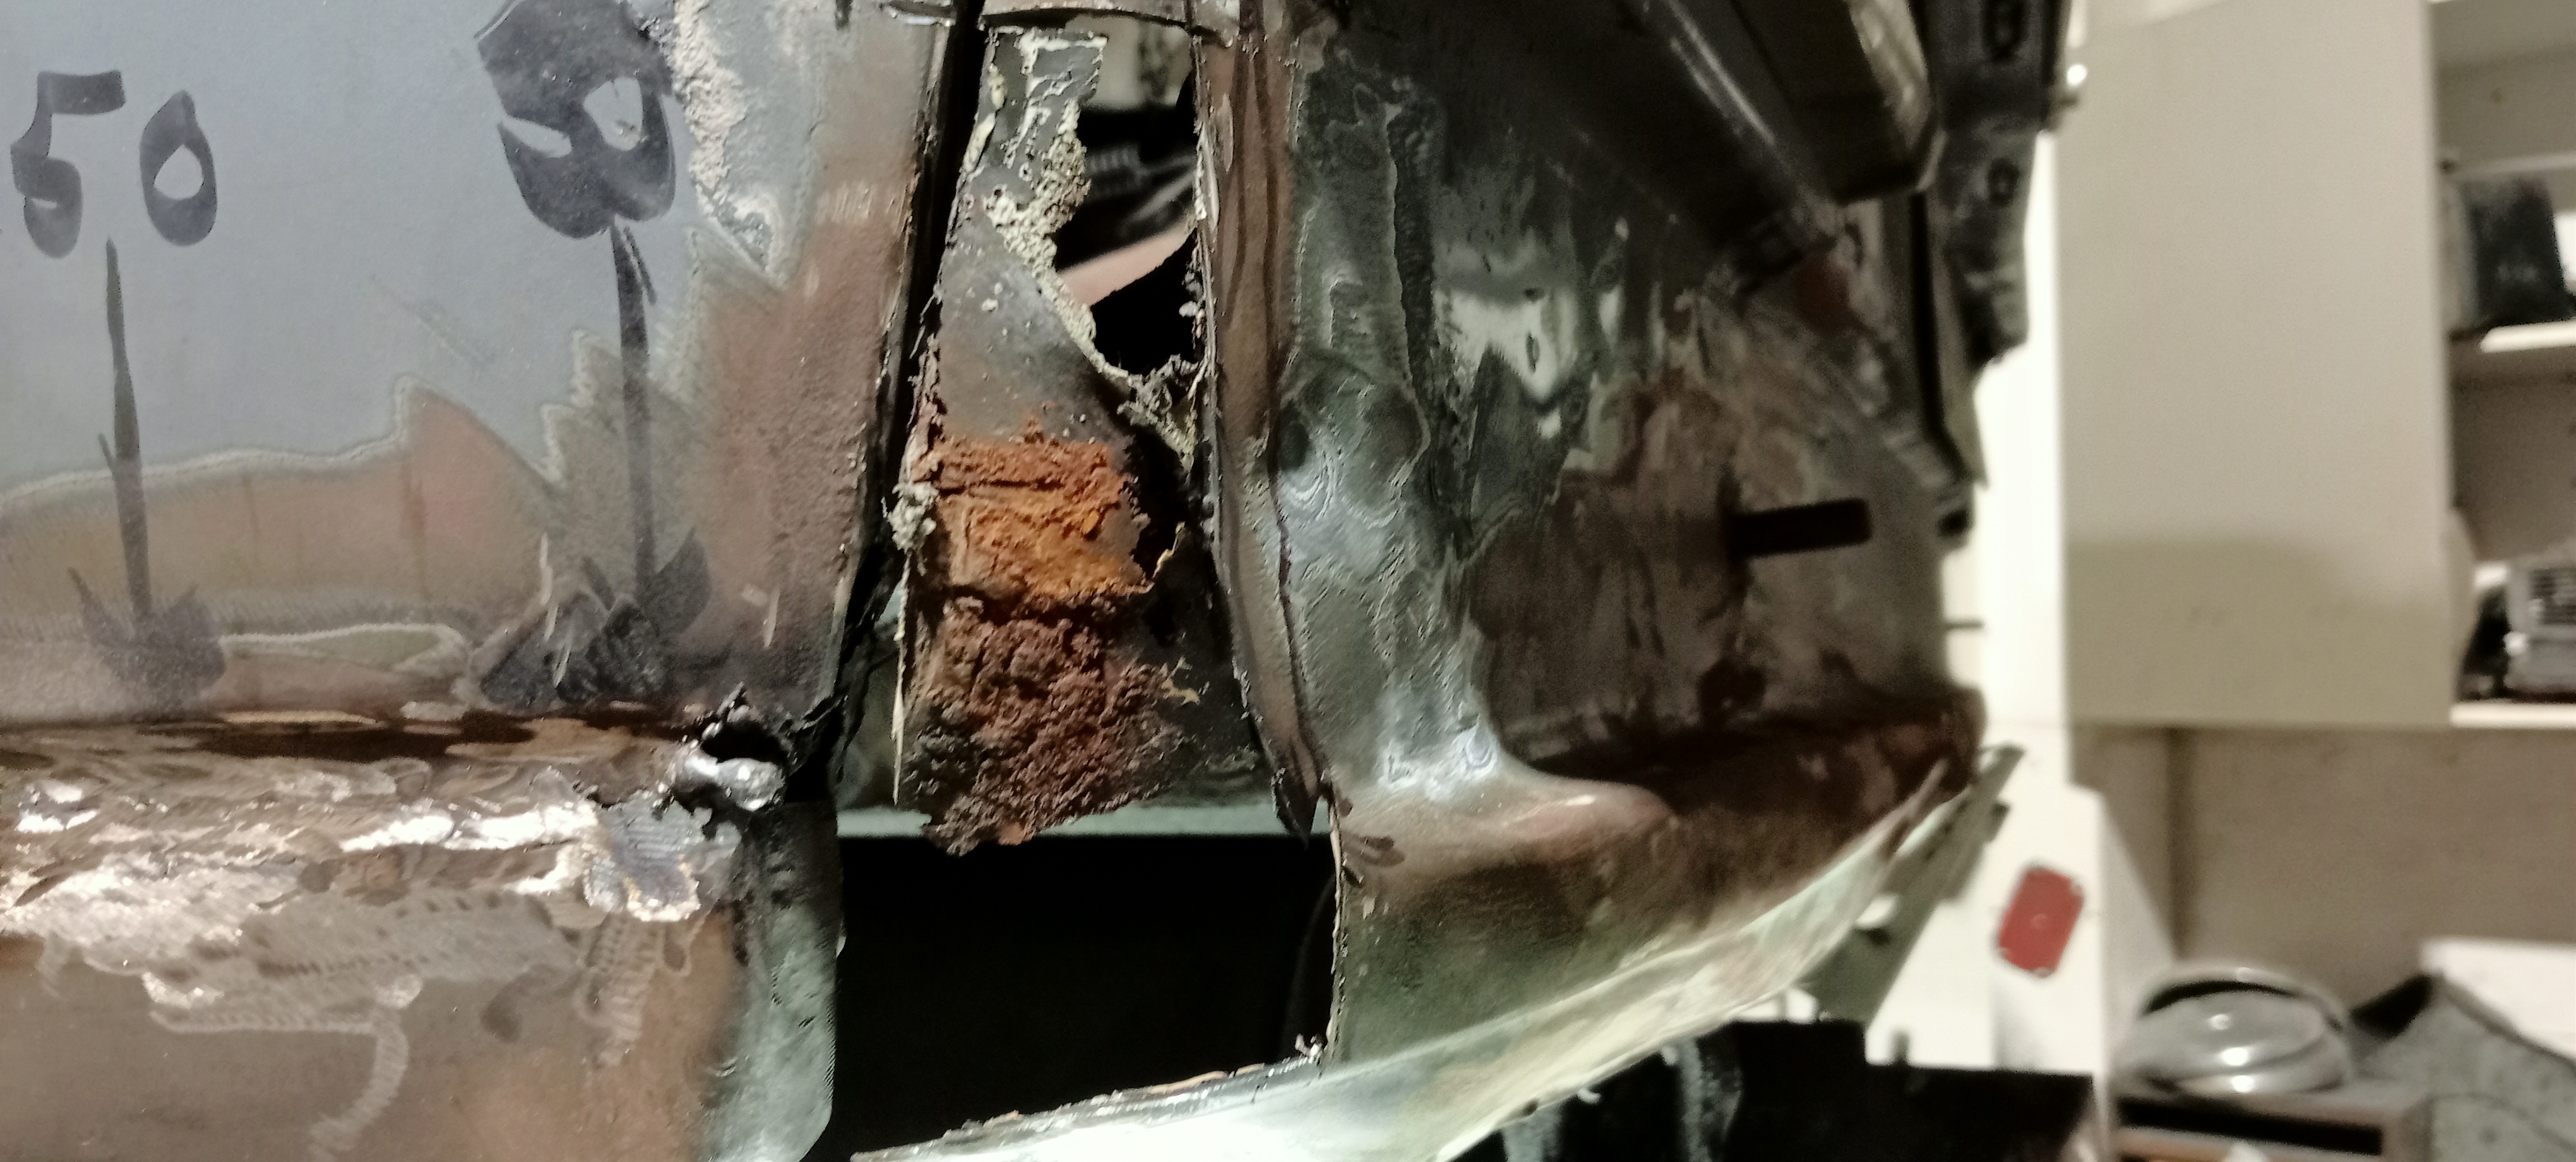
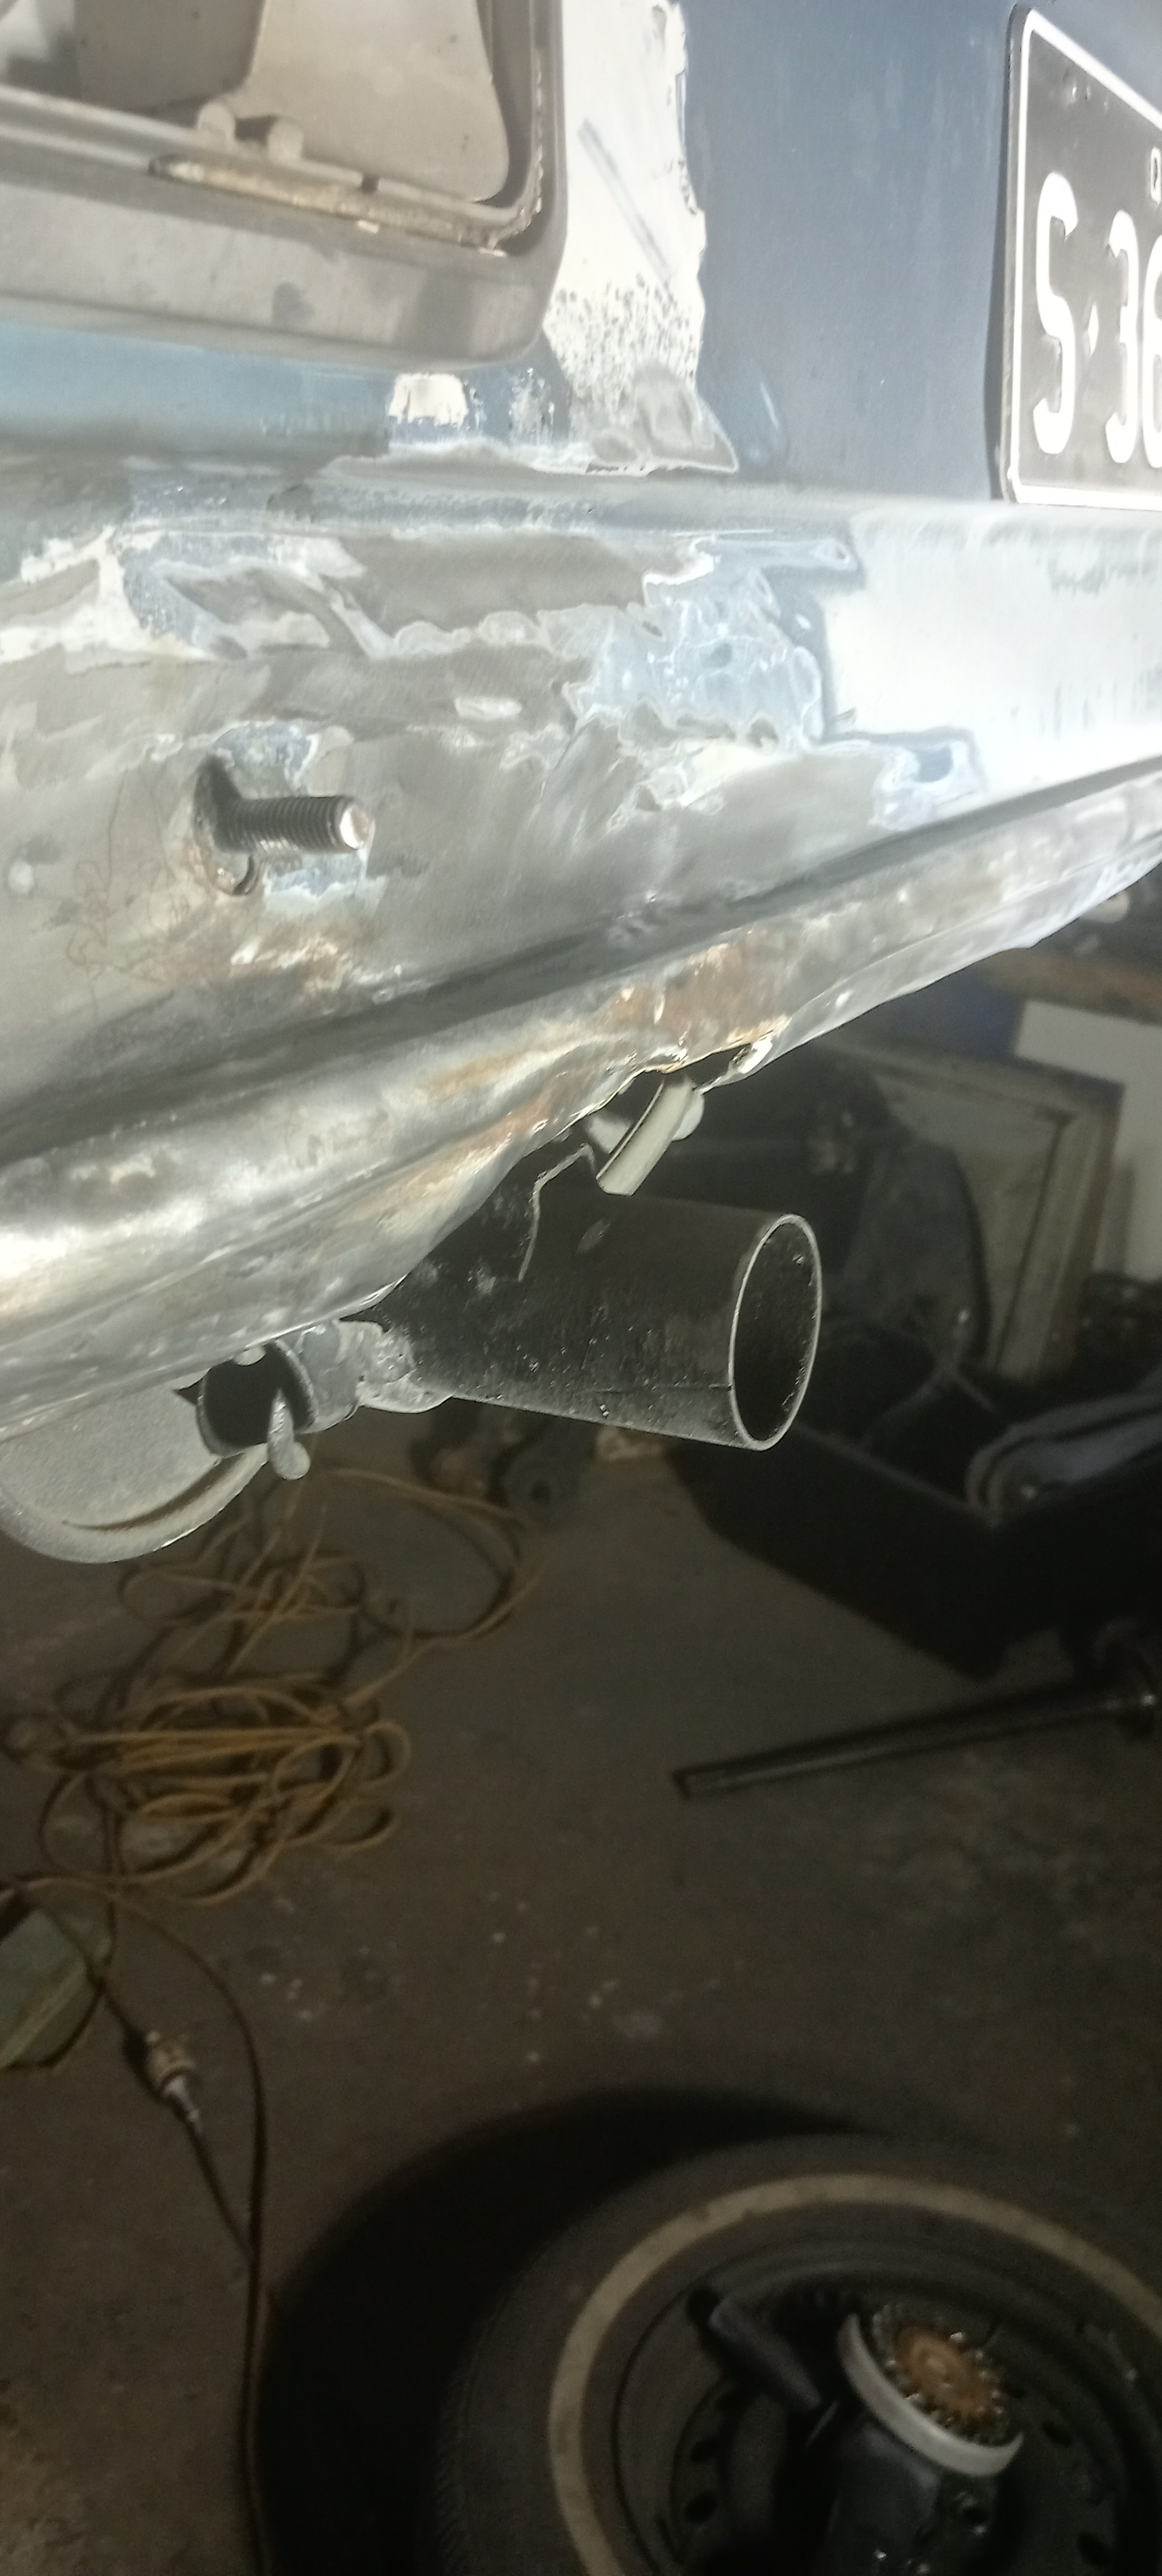
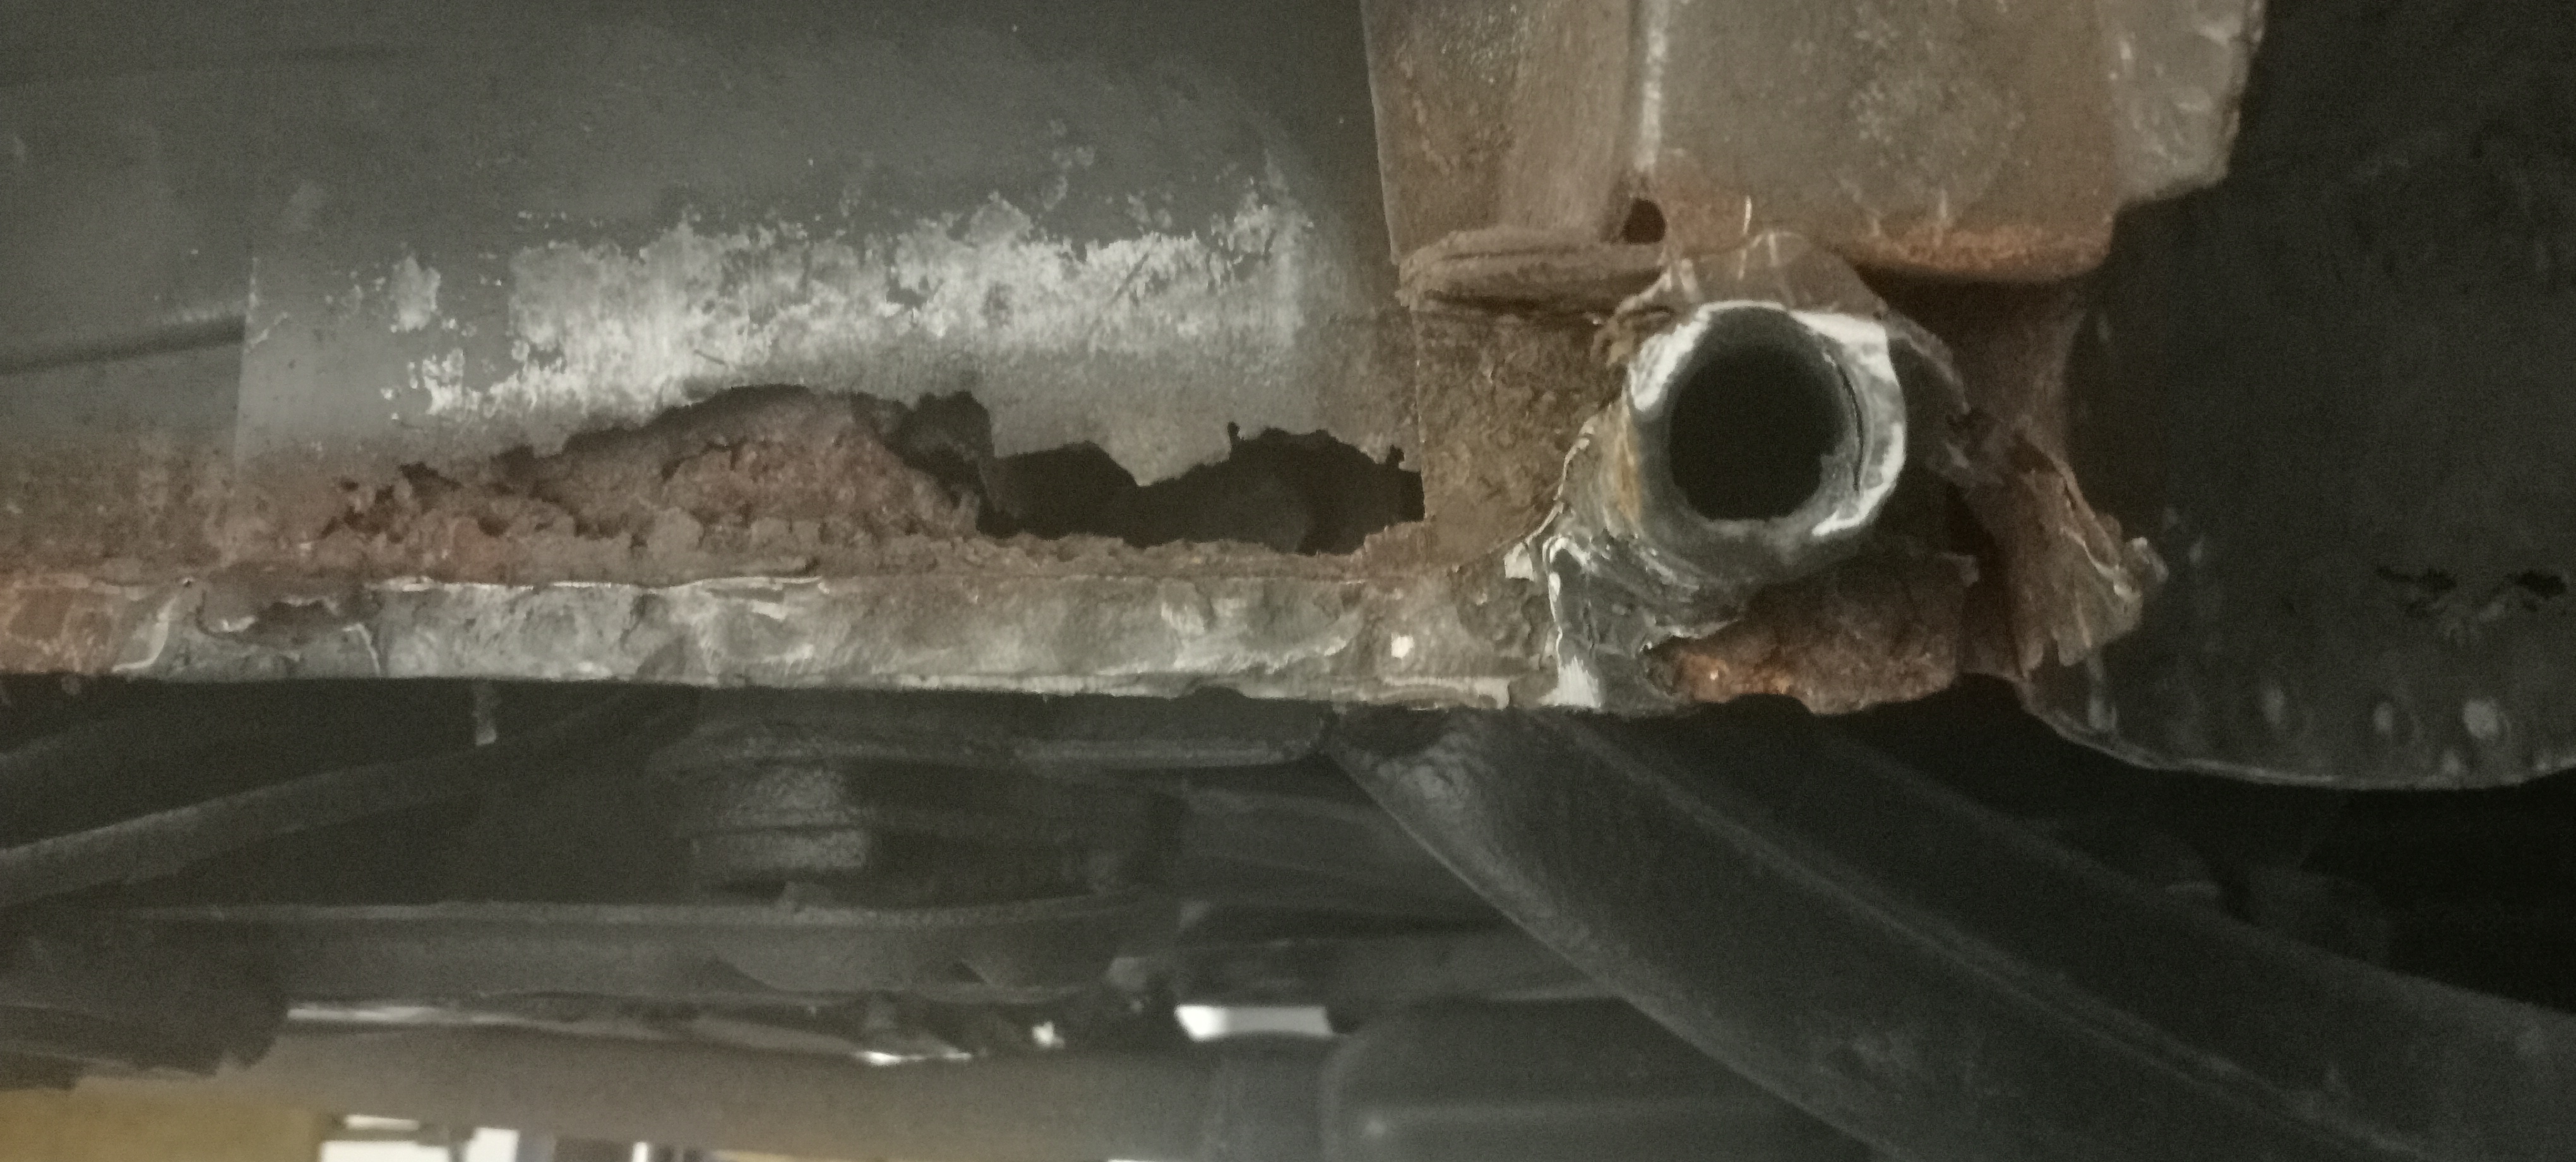
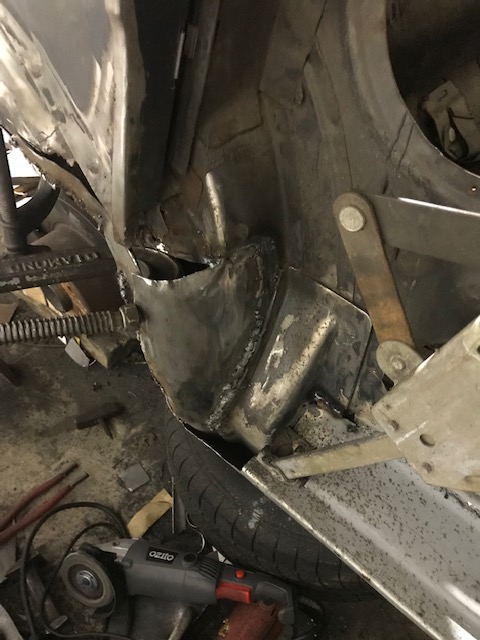
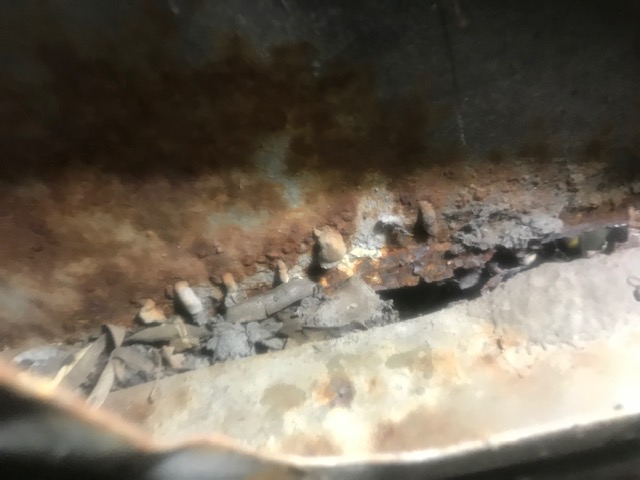
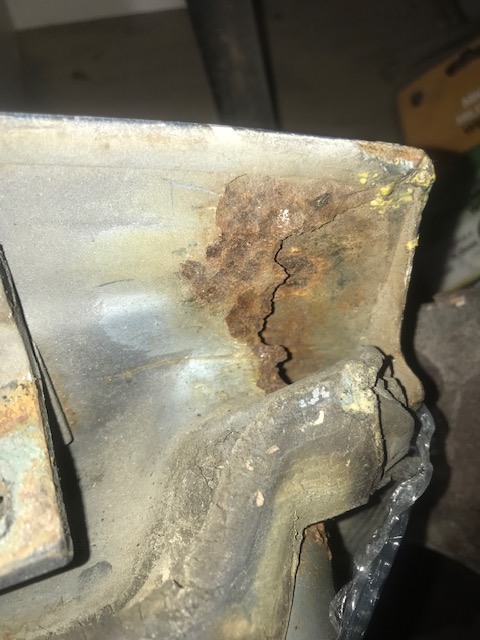
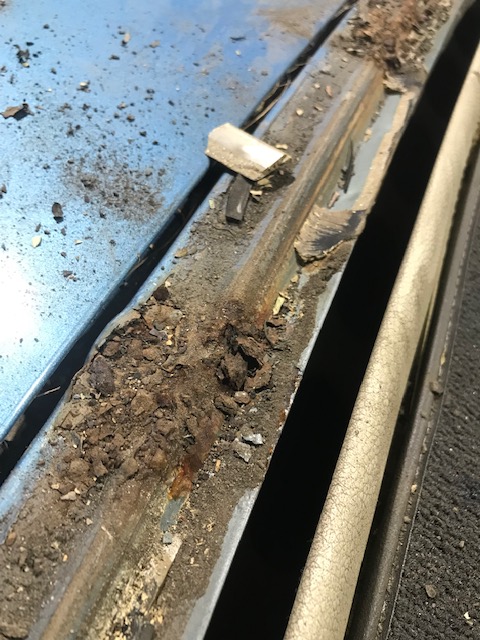
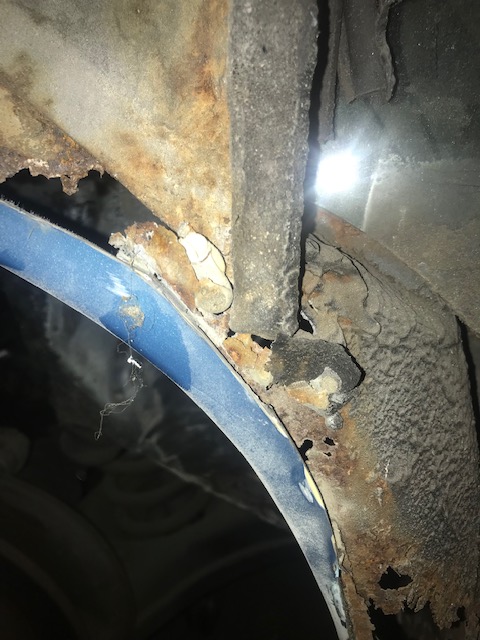
Left hand corner of frame section with rust in the seams.
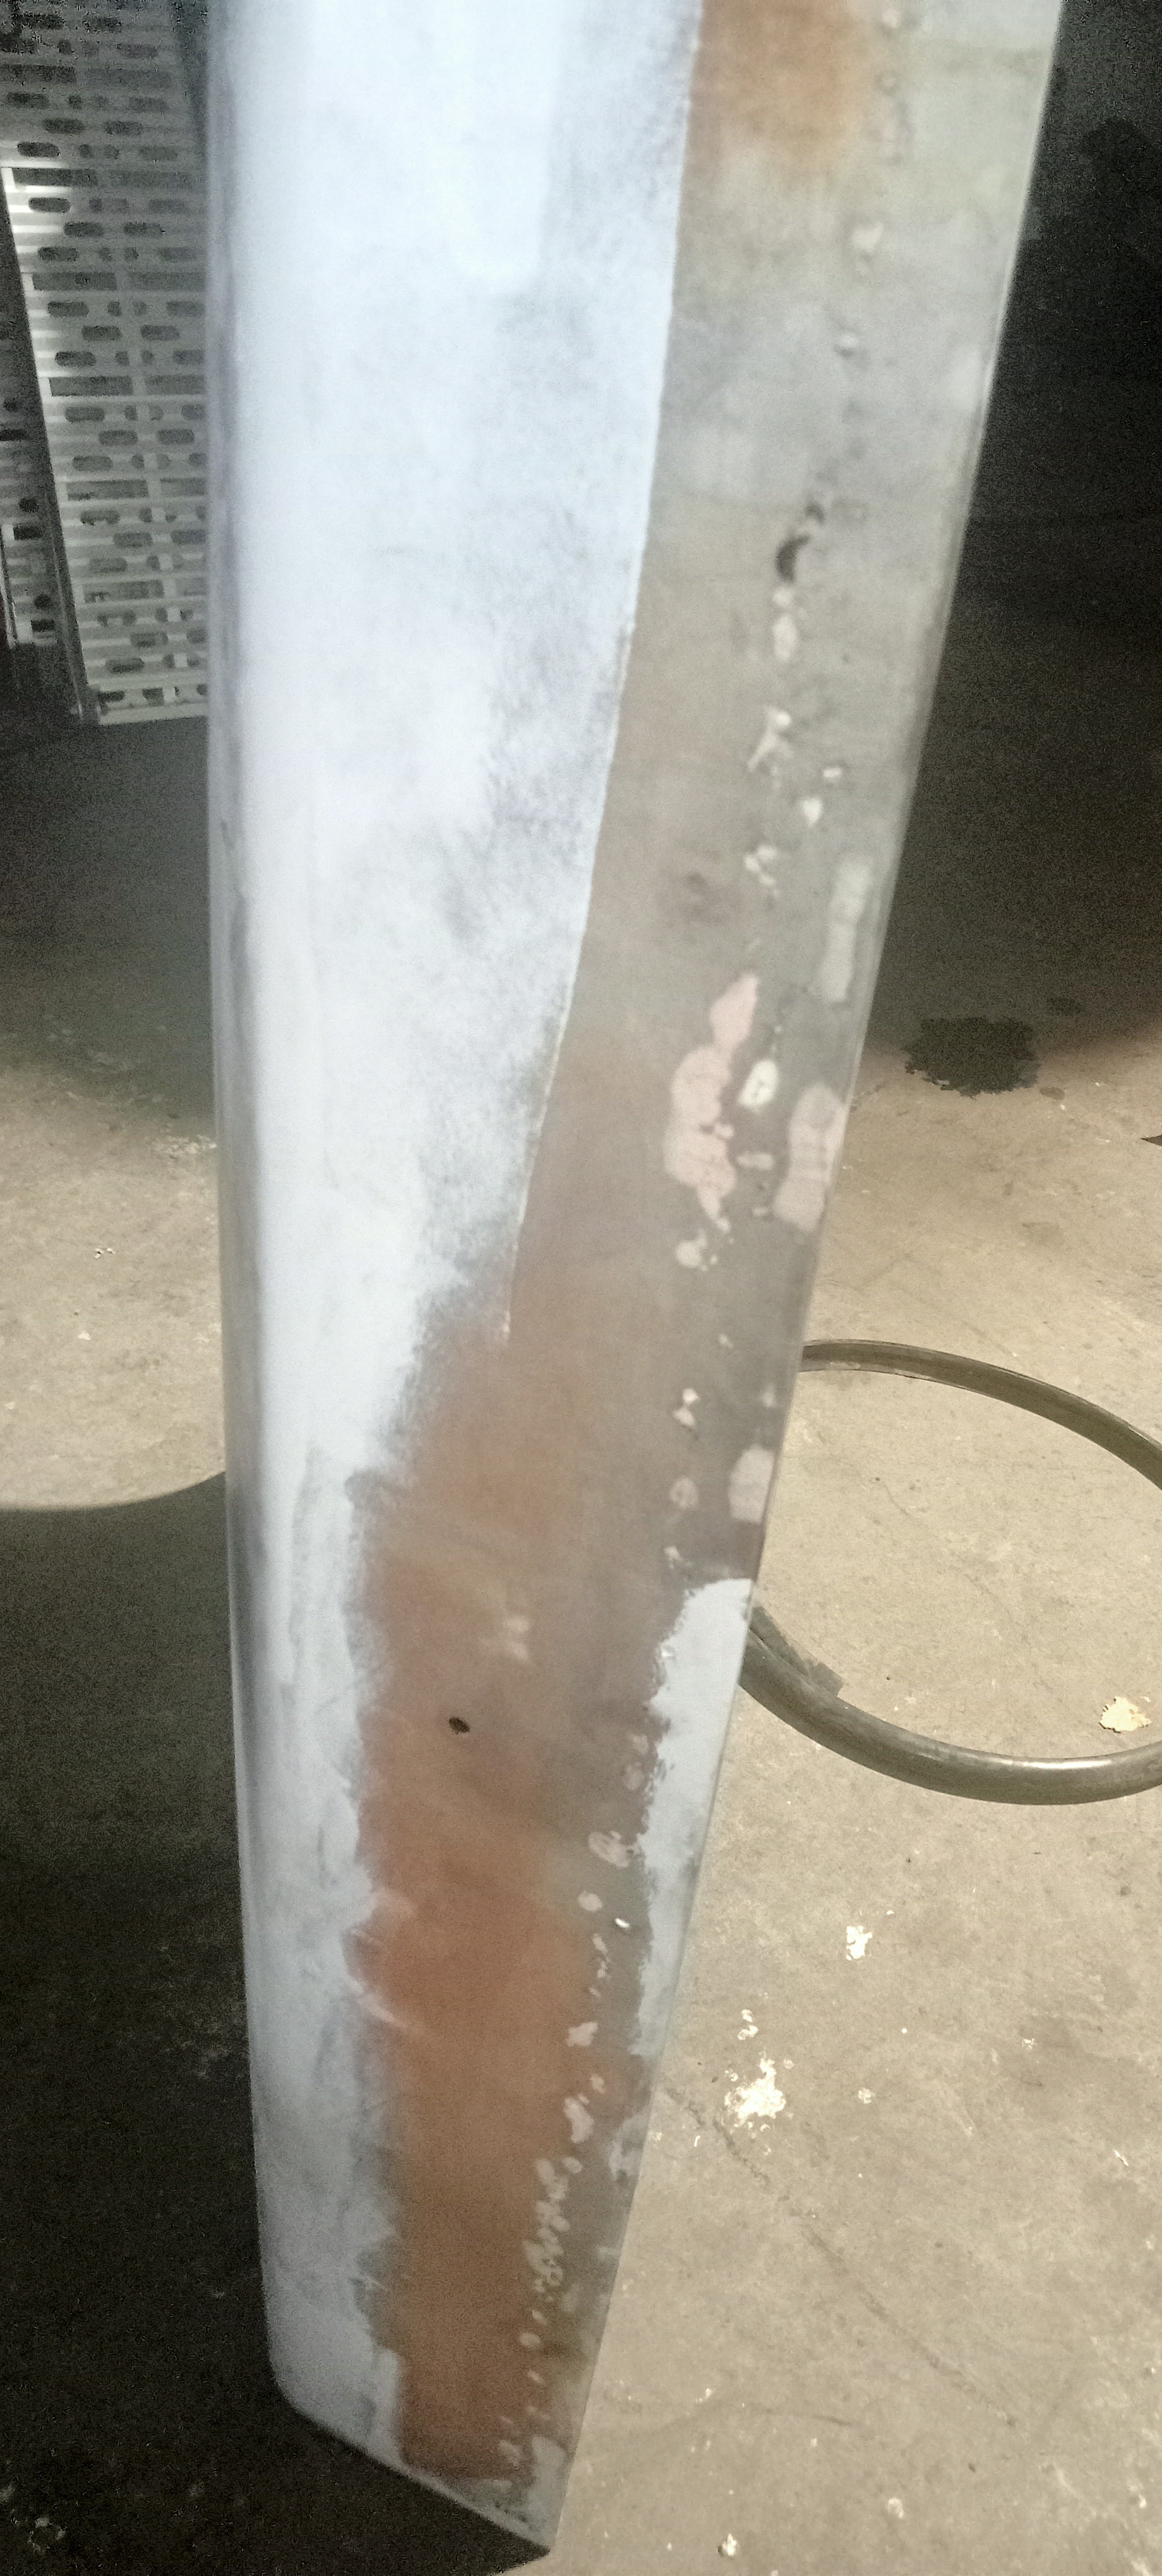
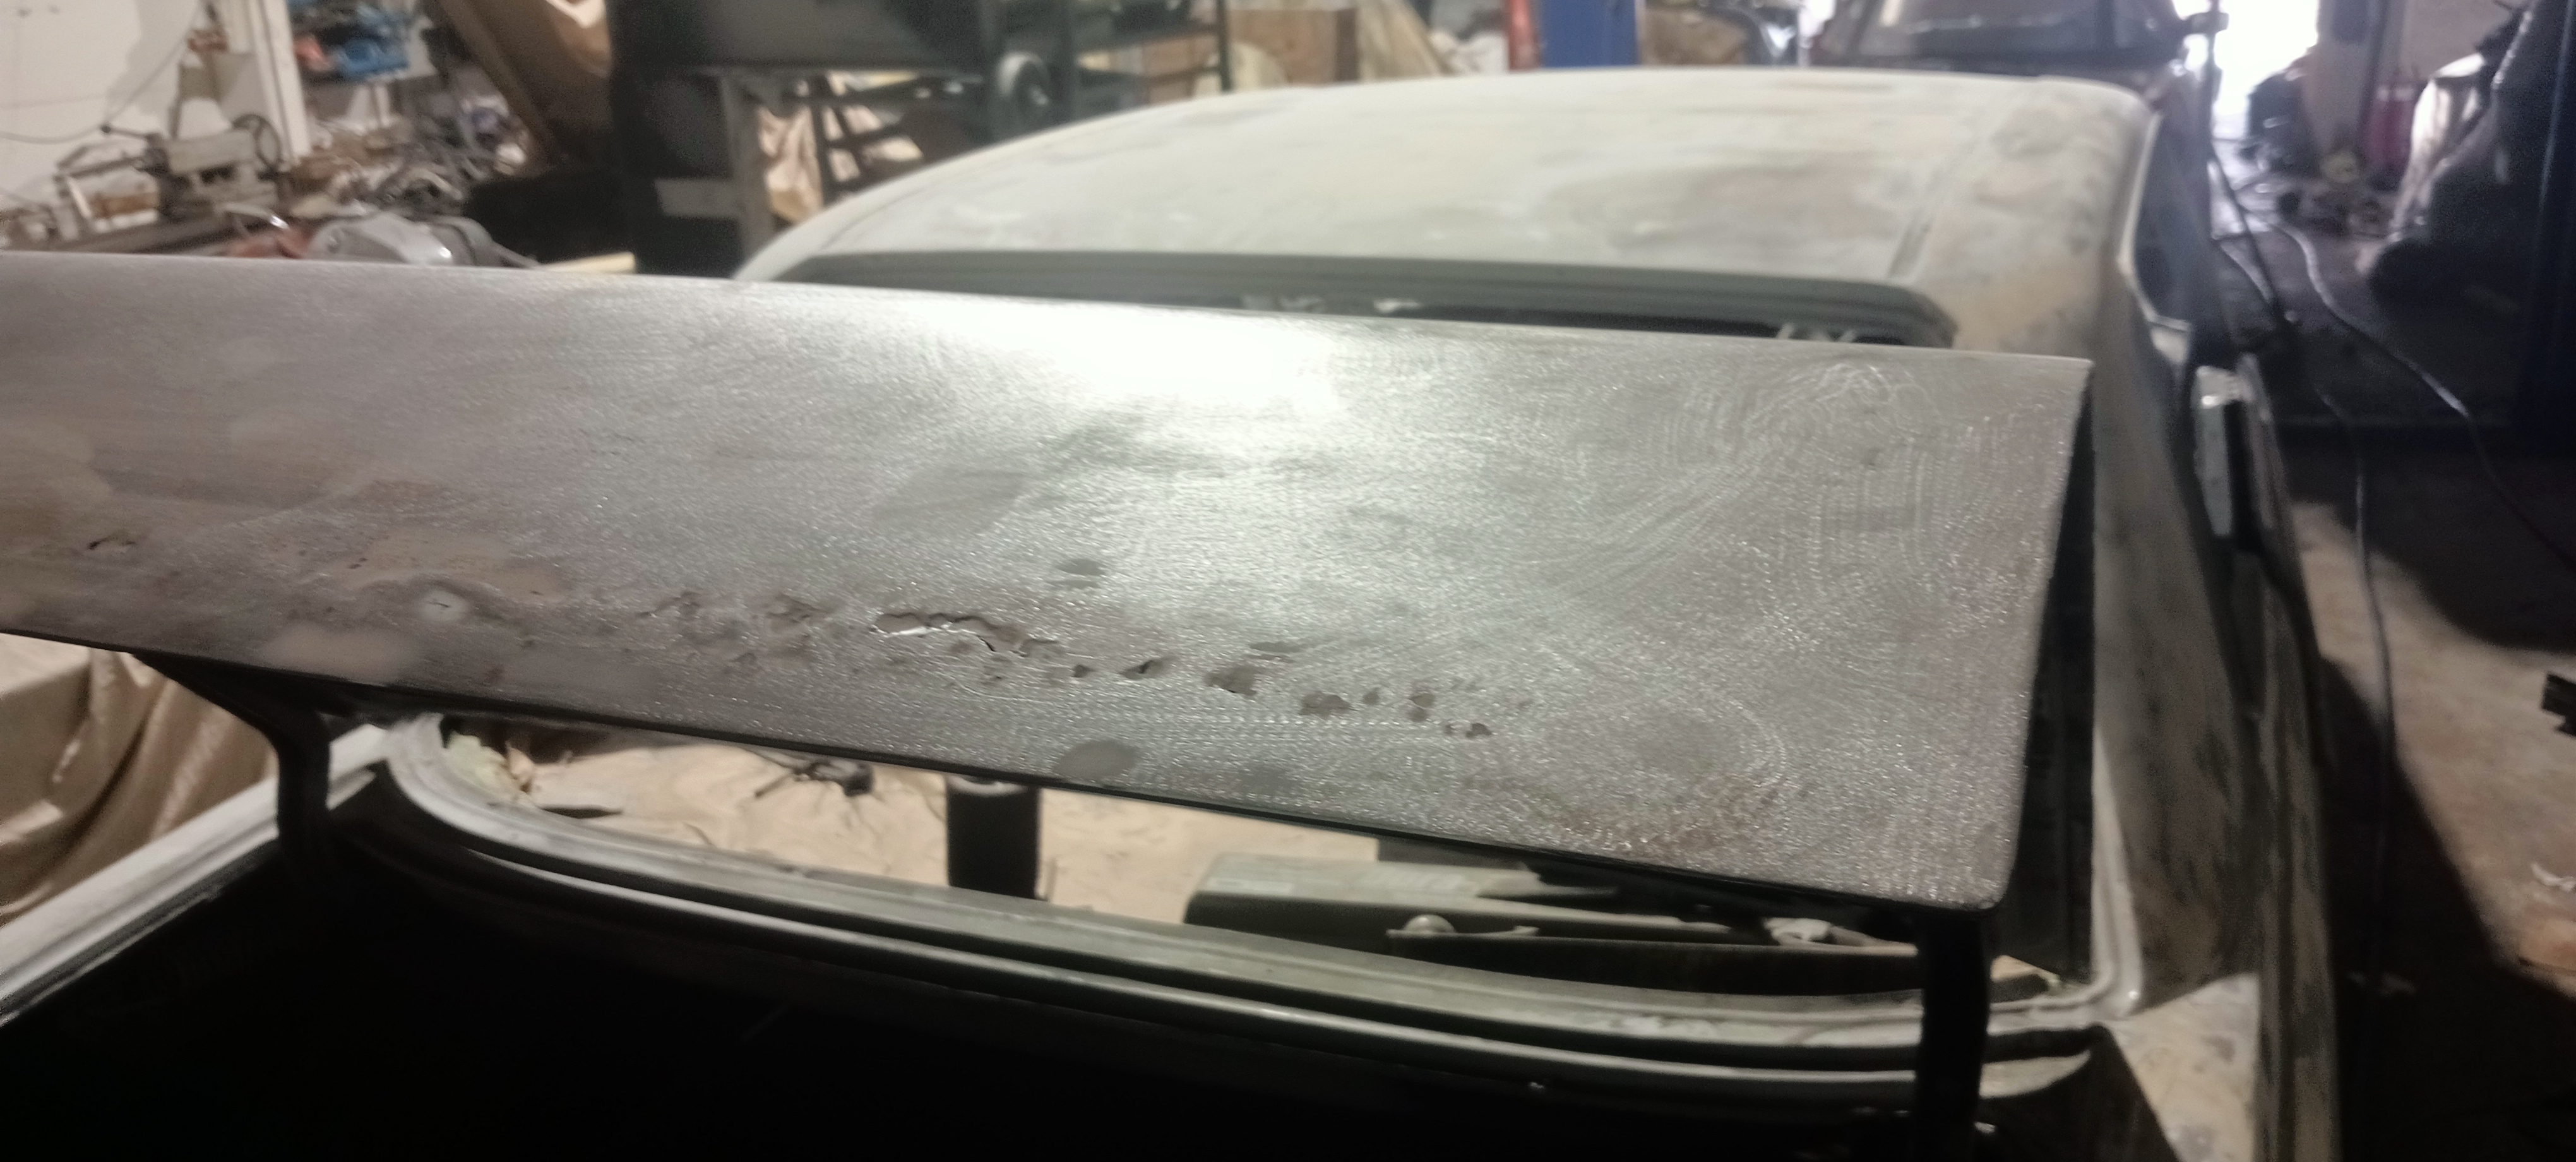
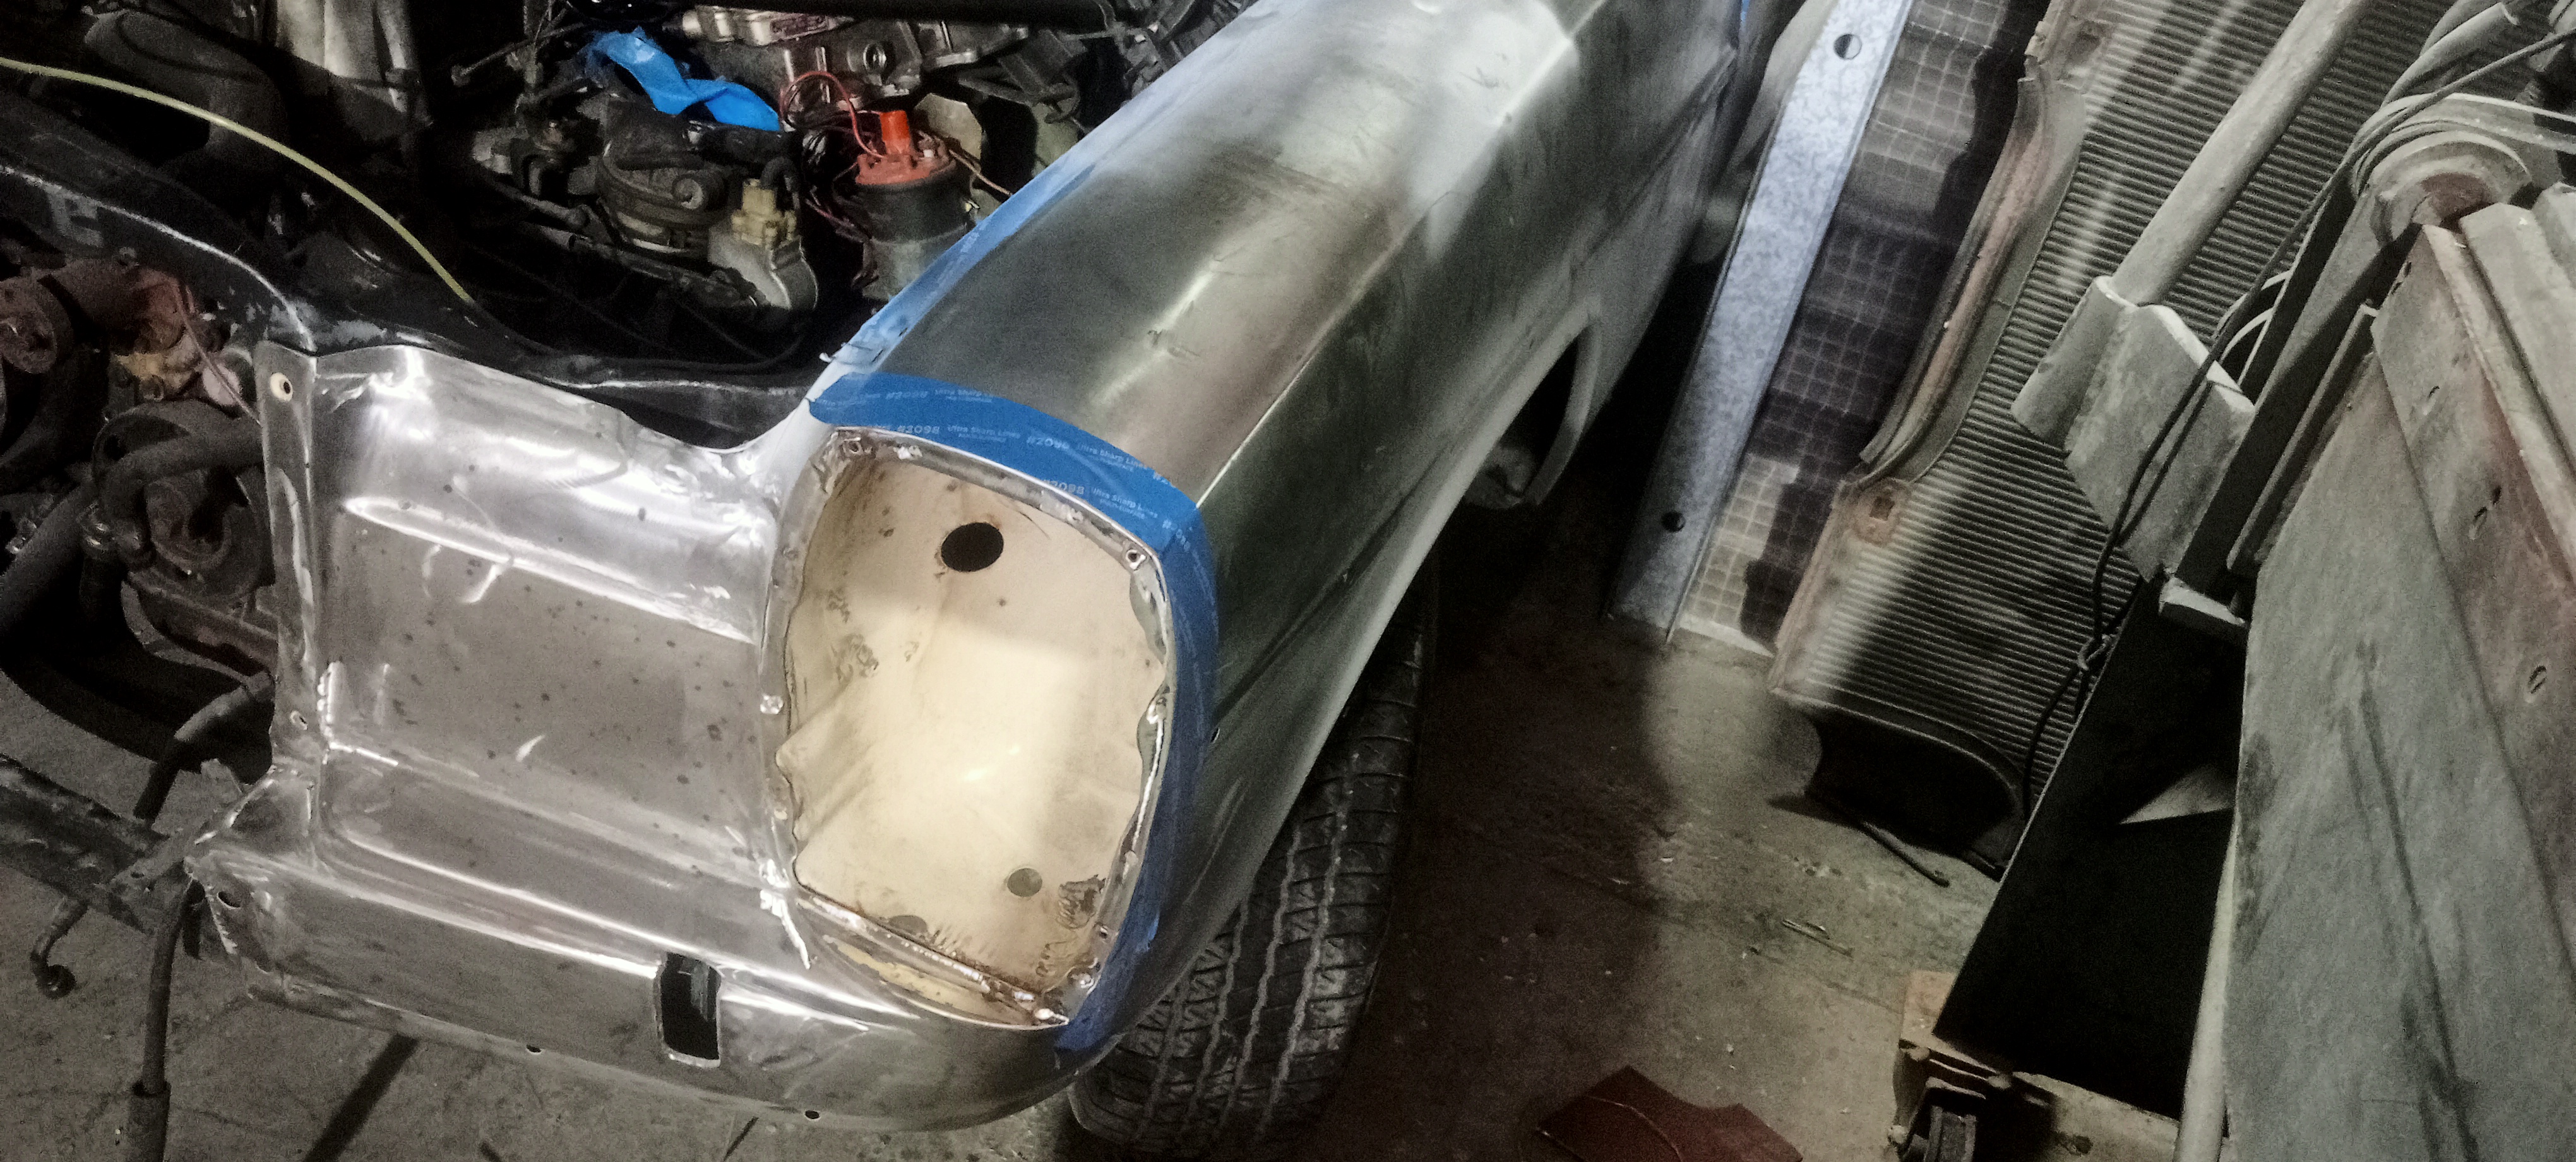
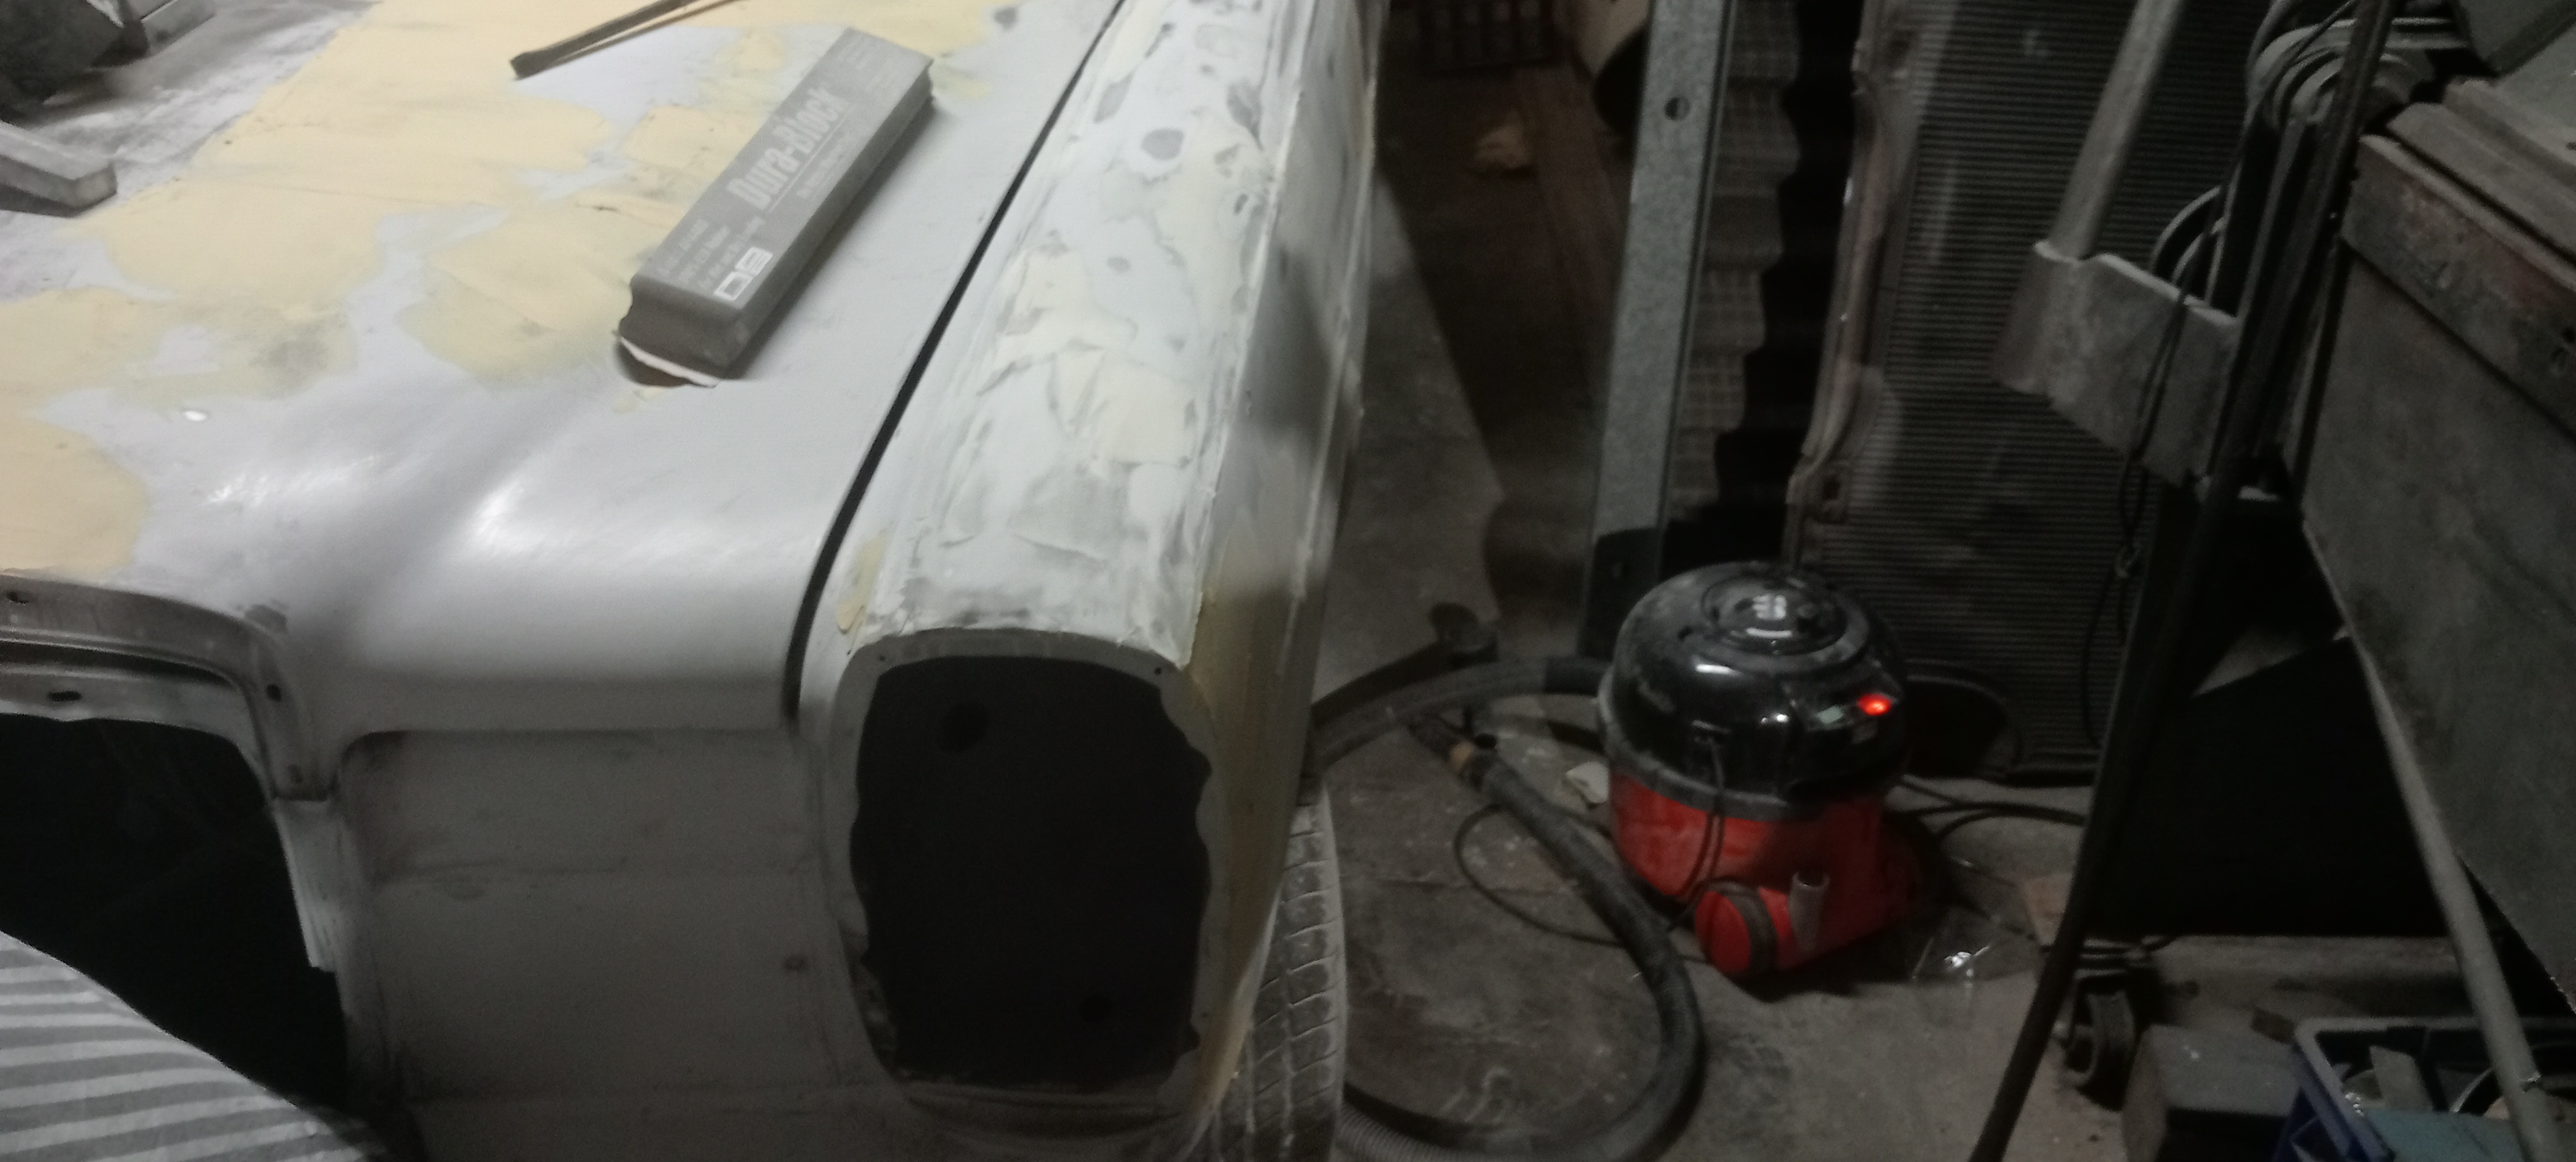
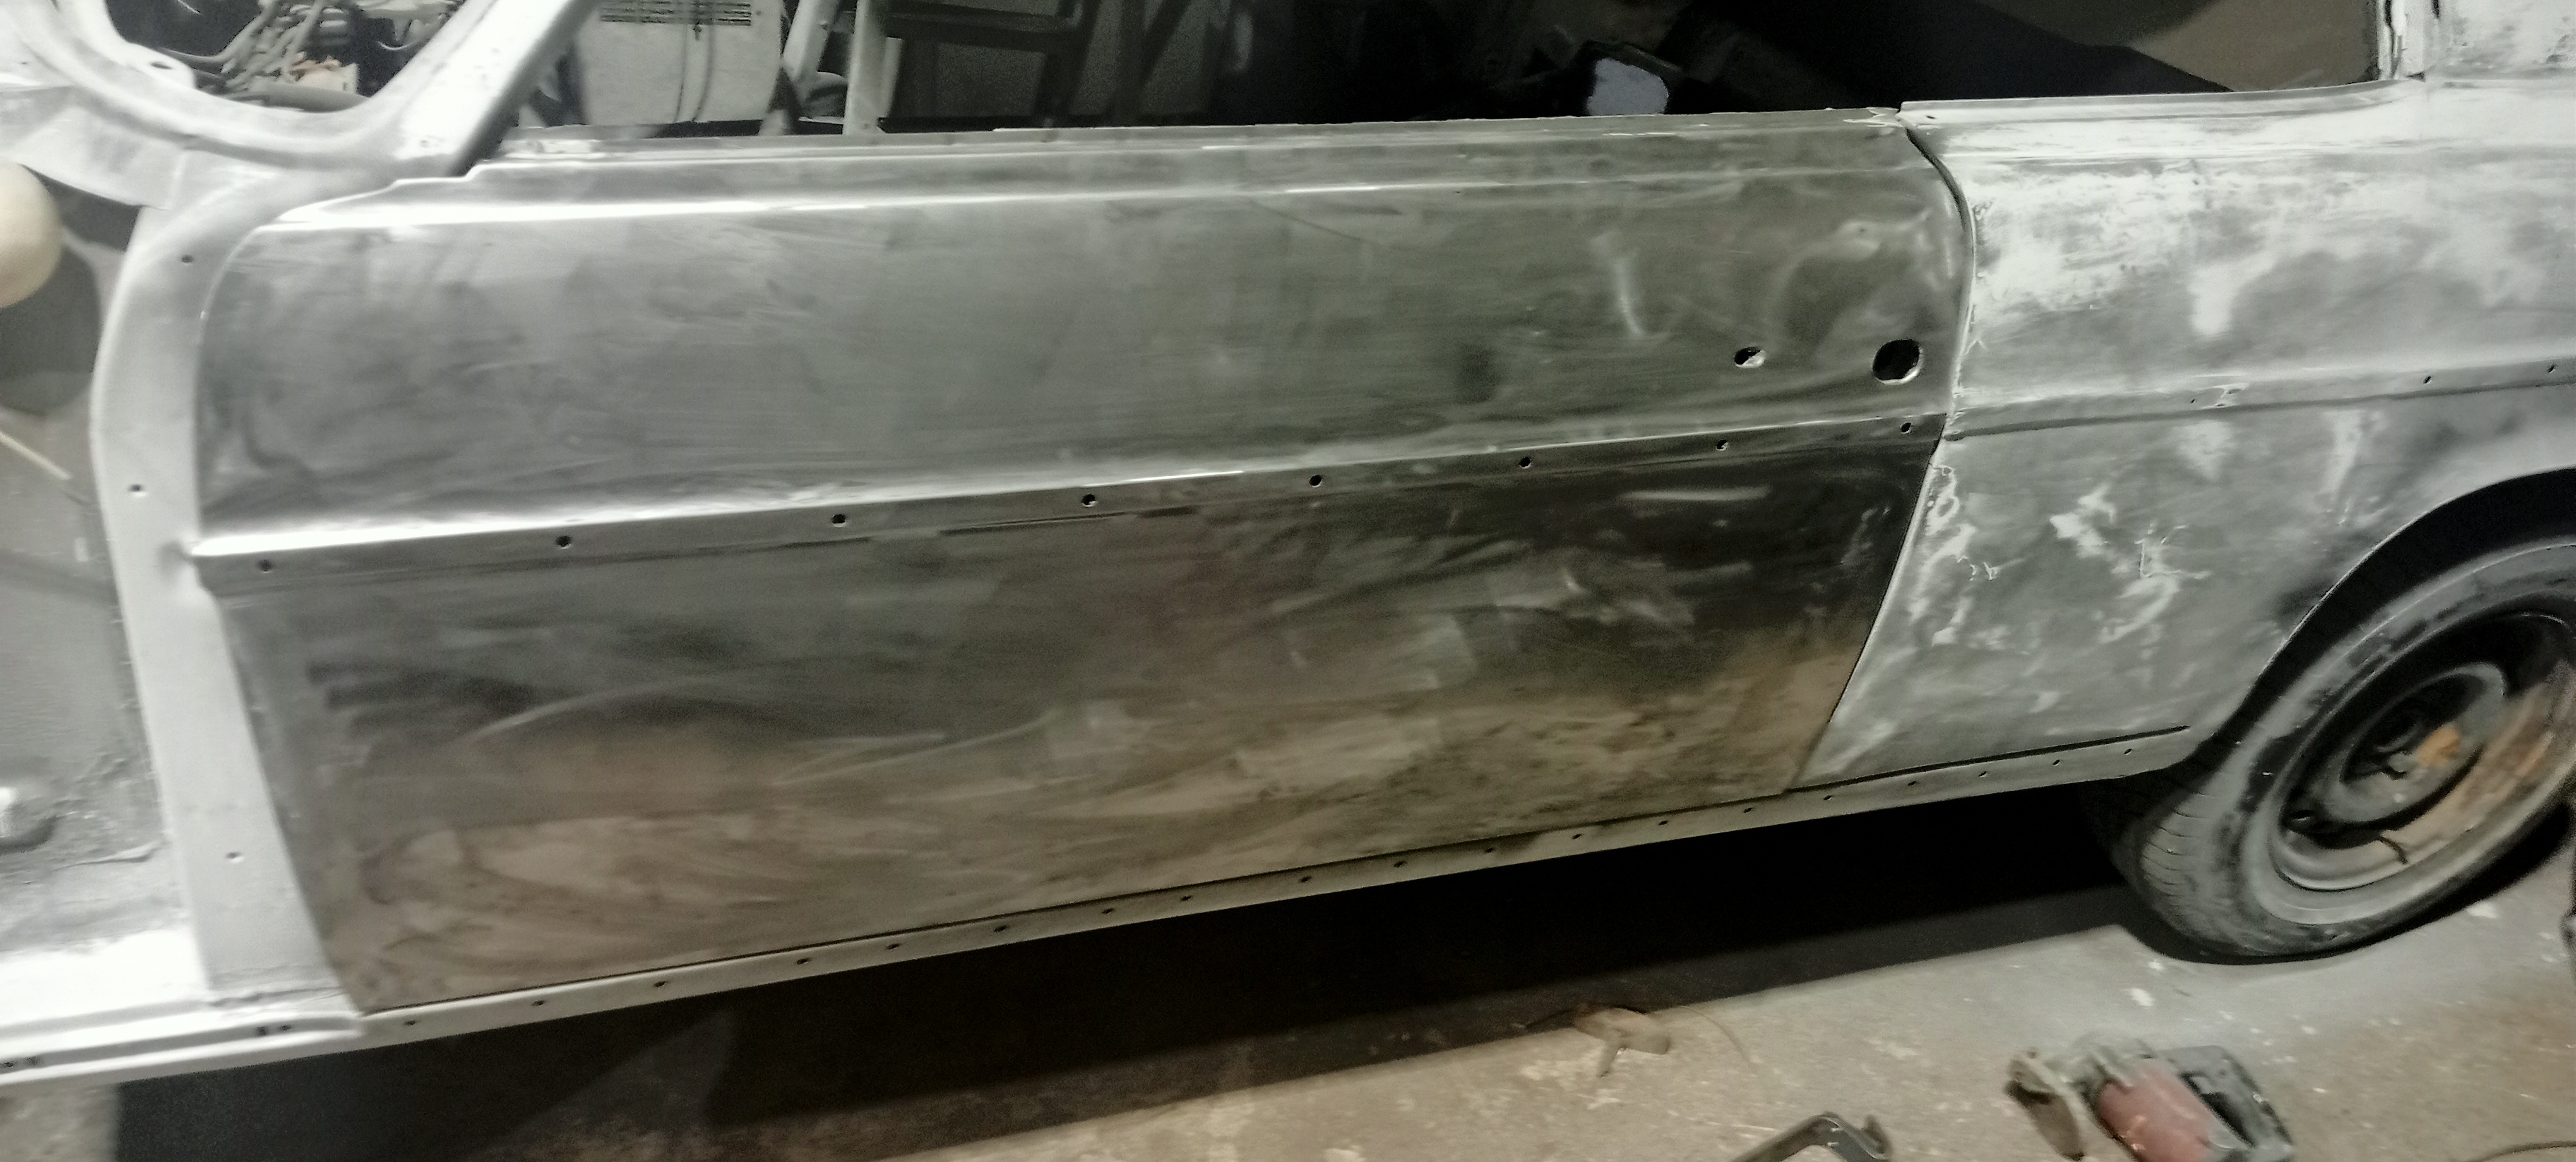
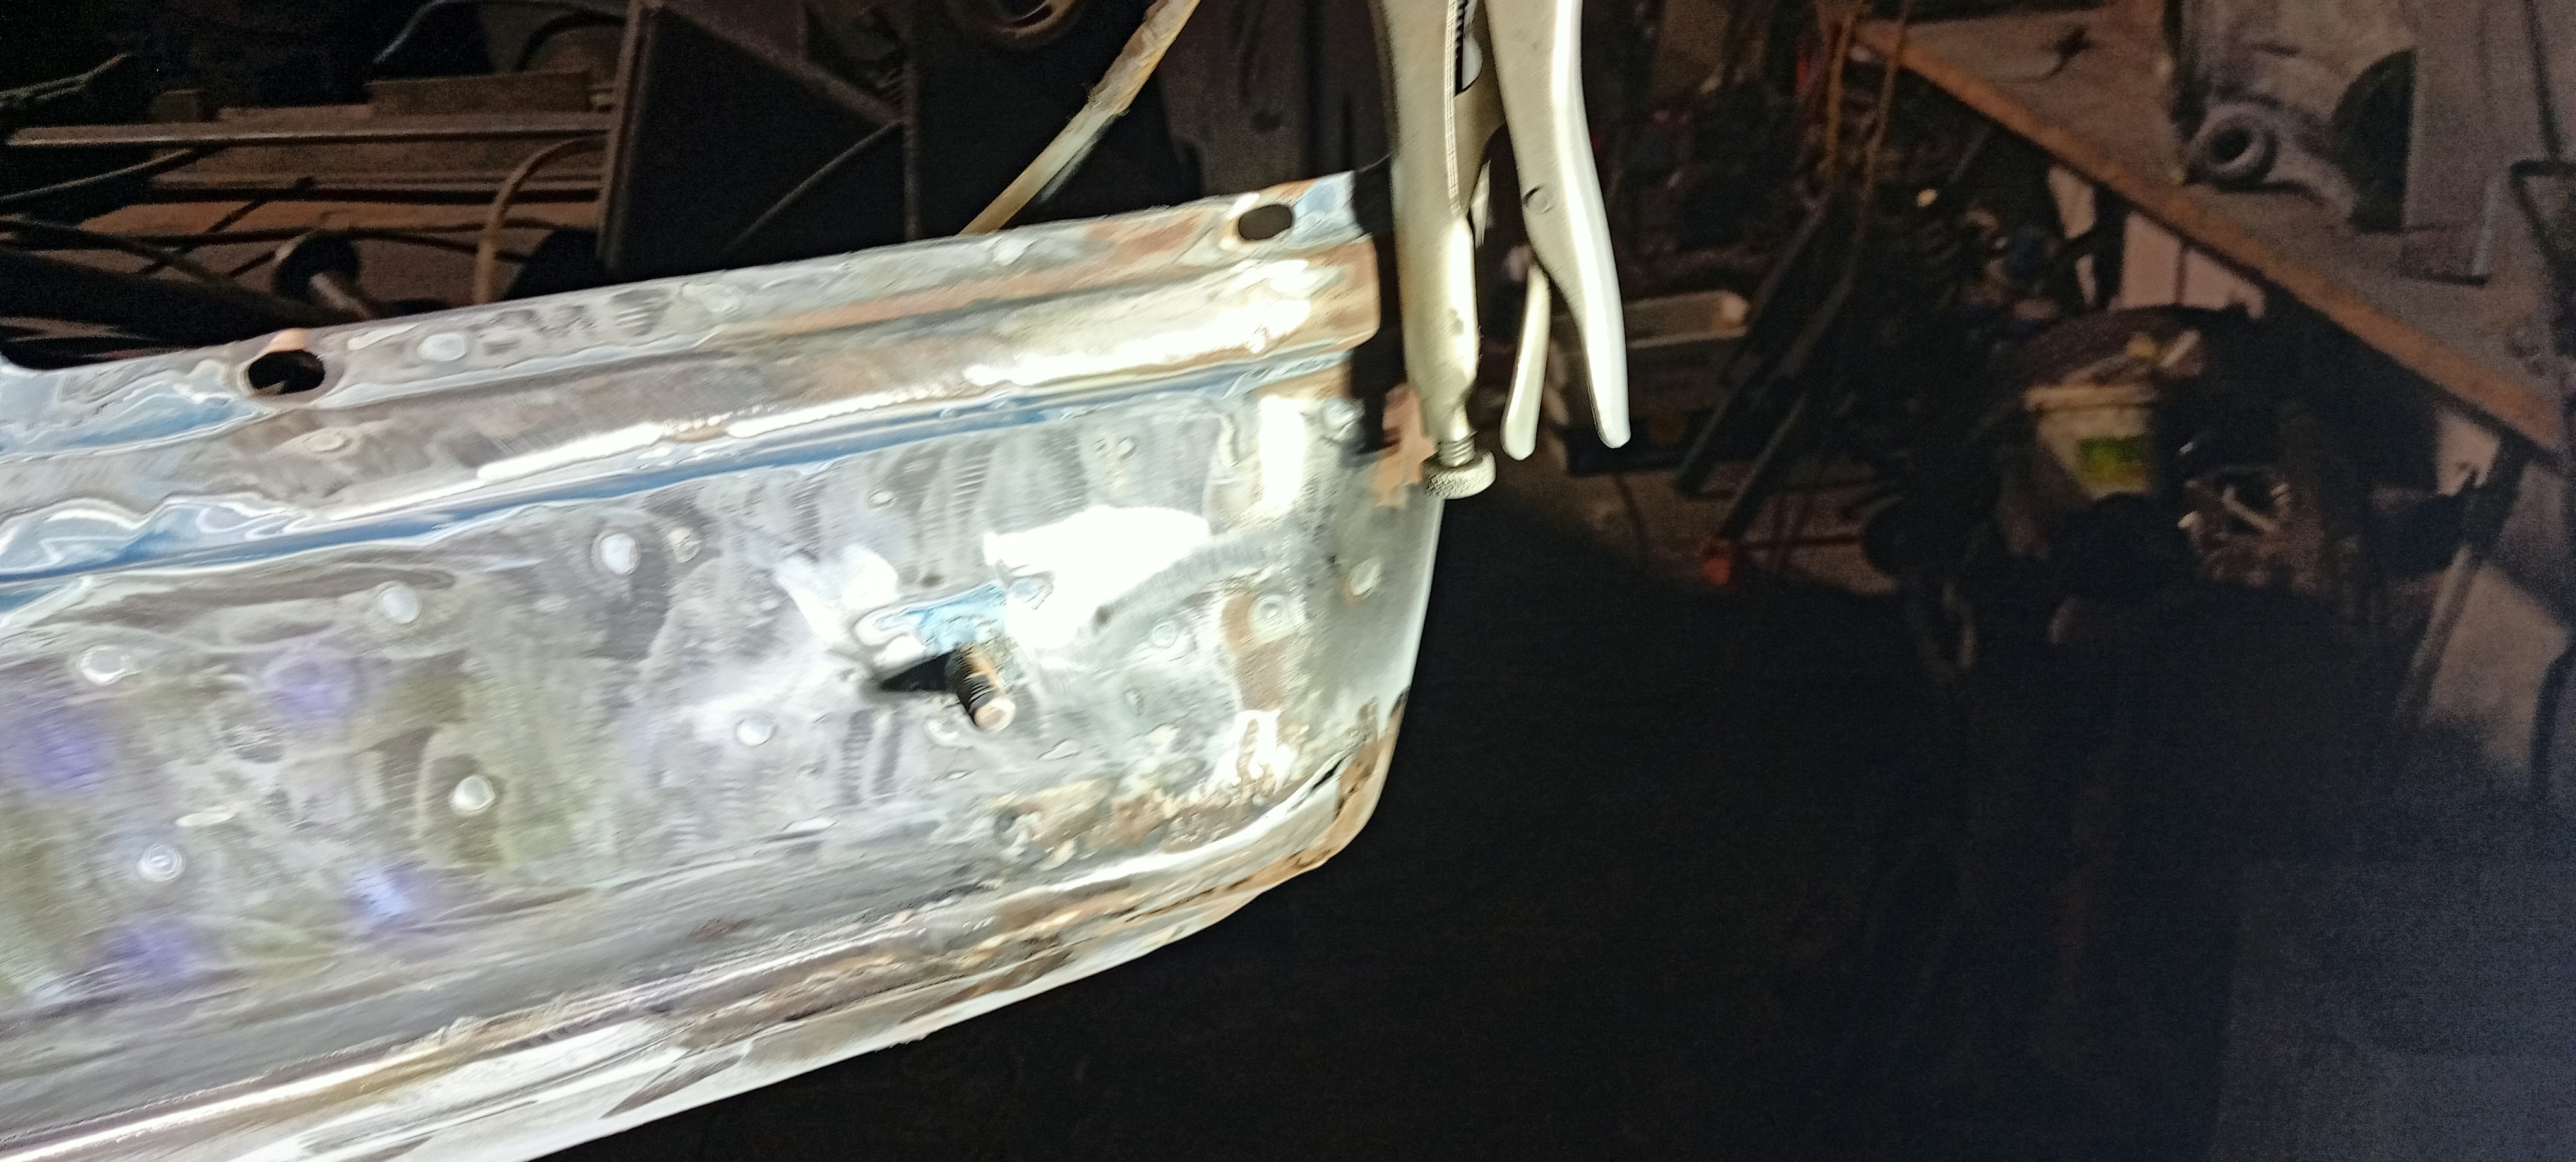
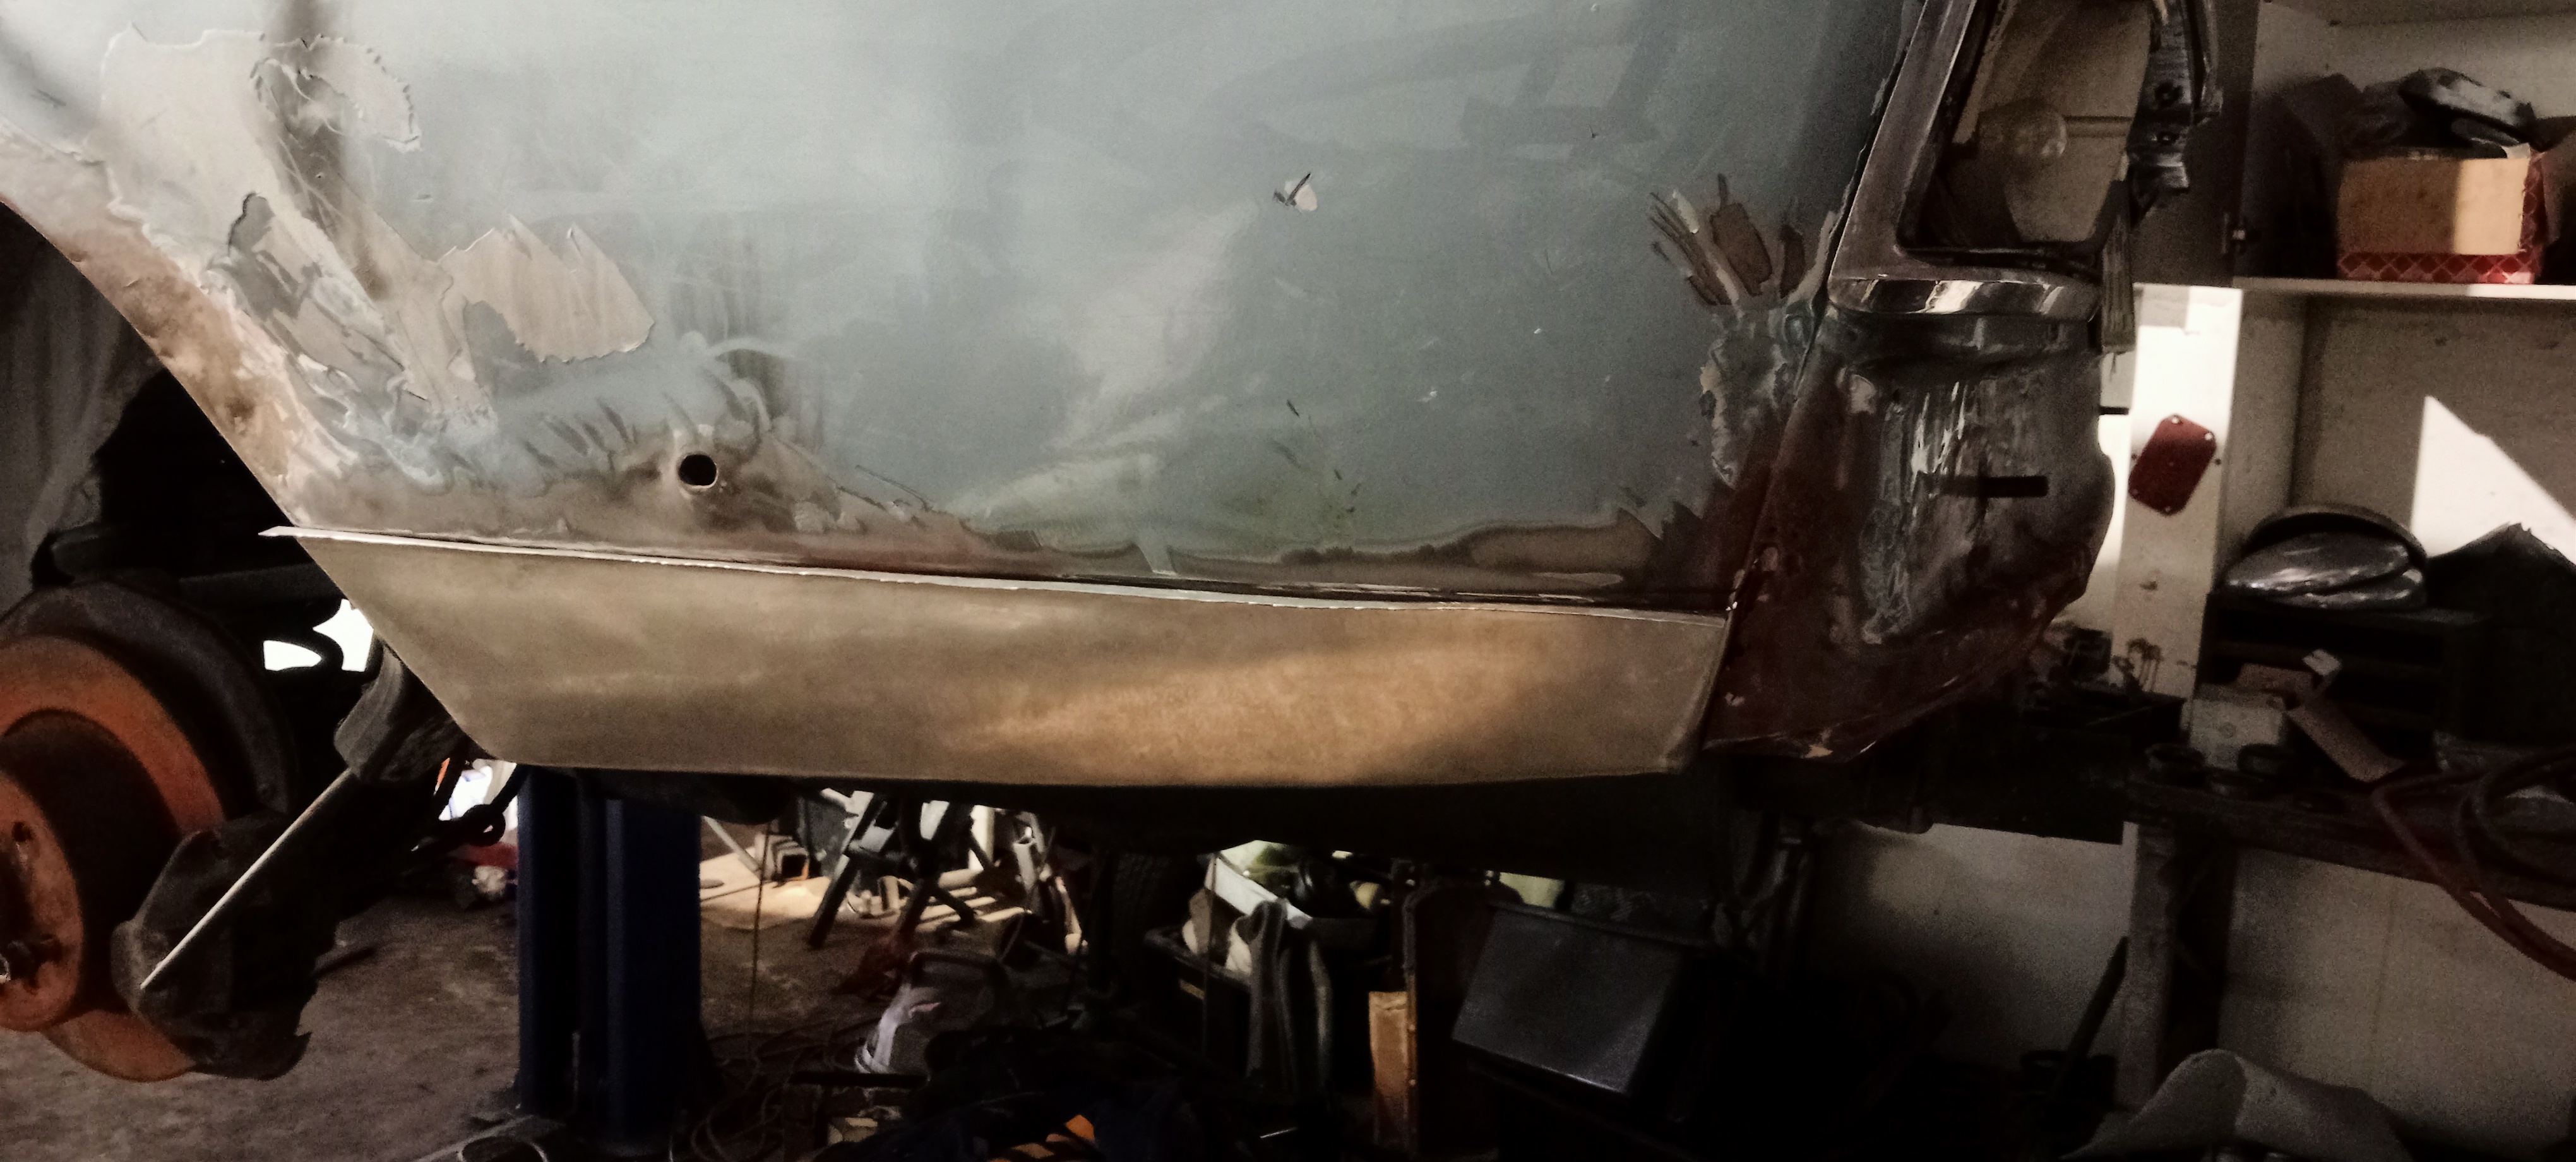
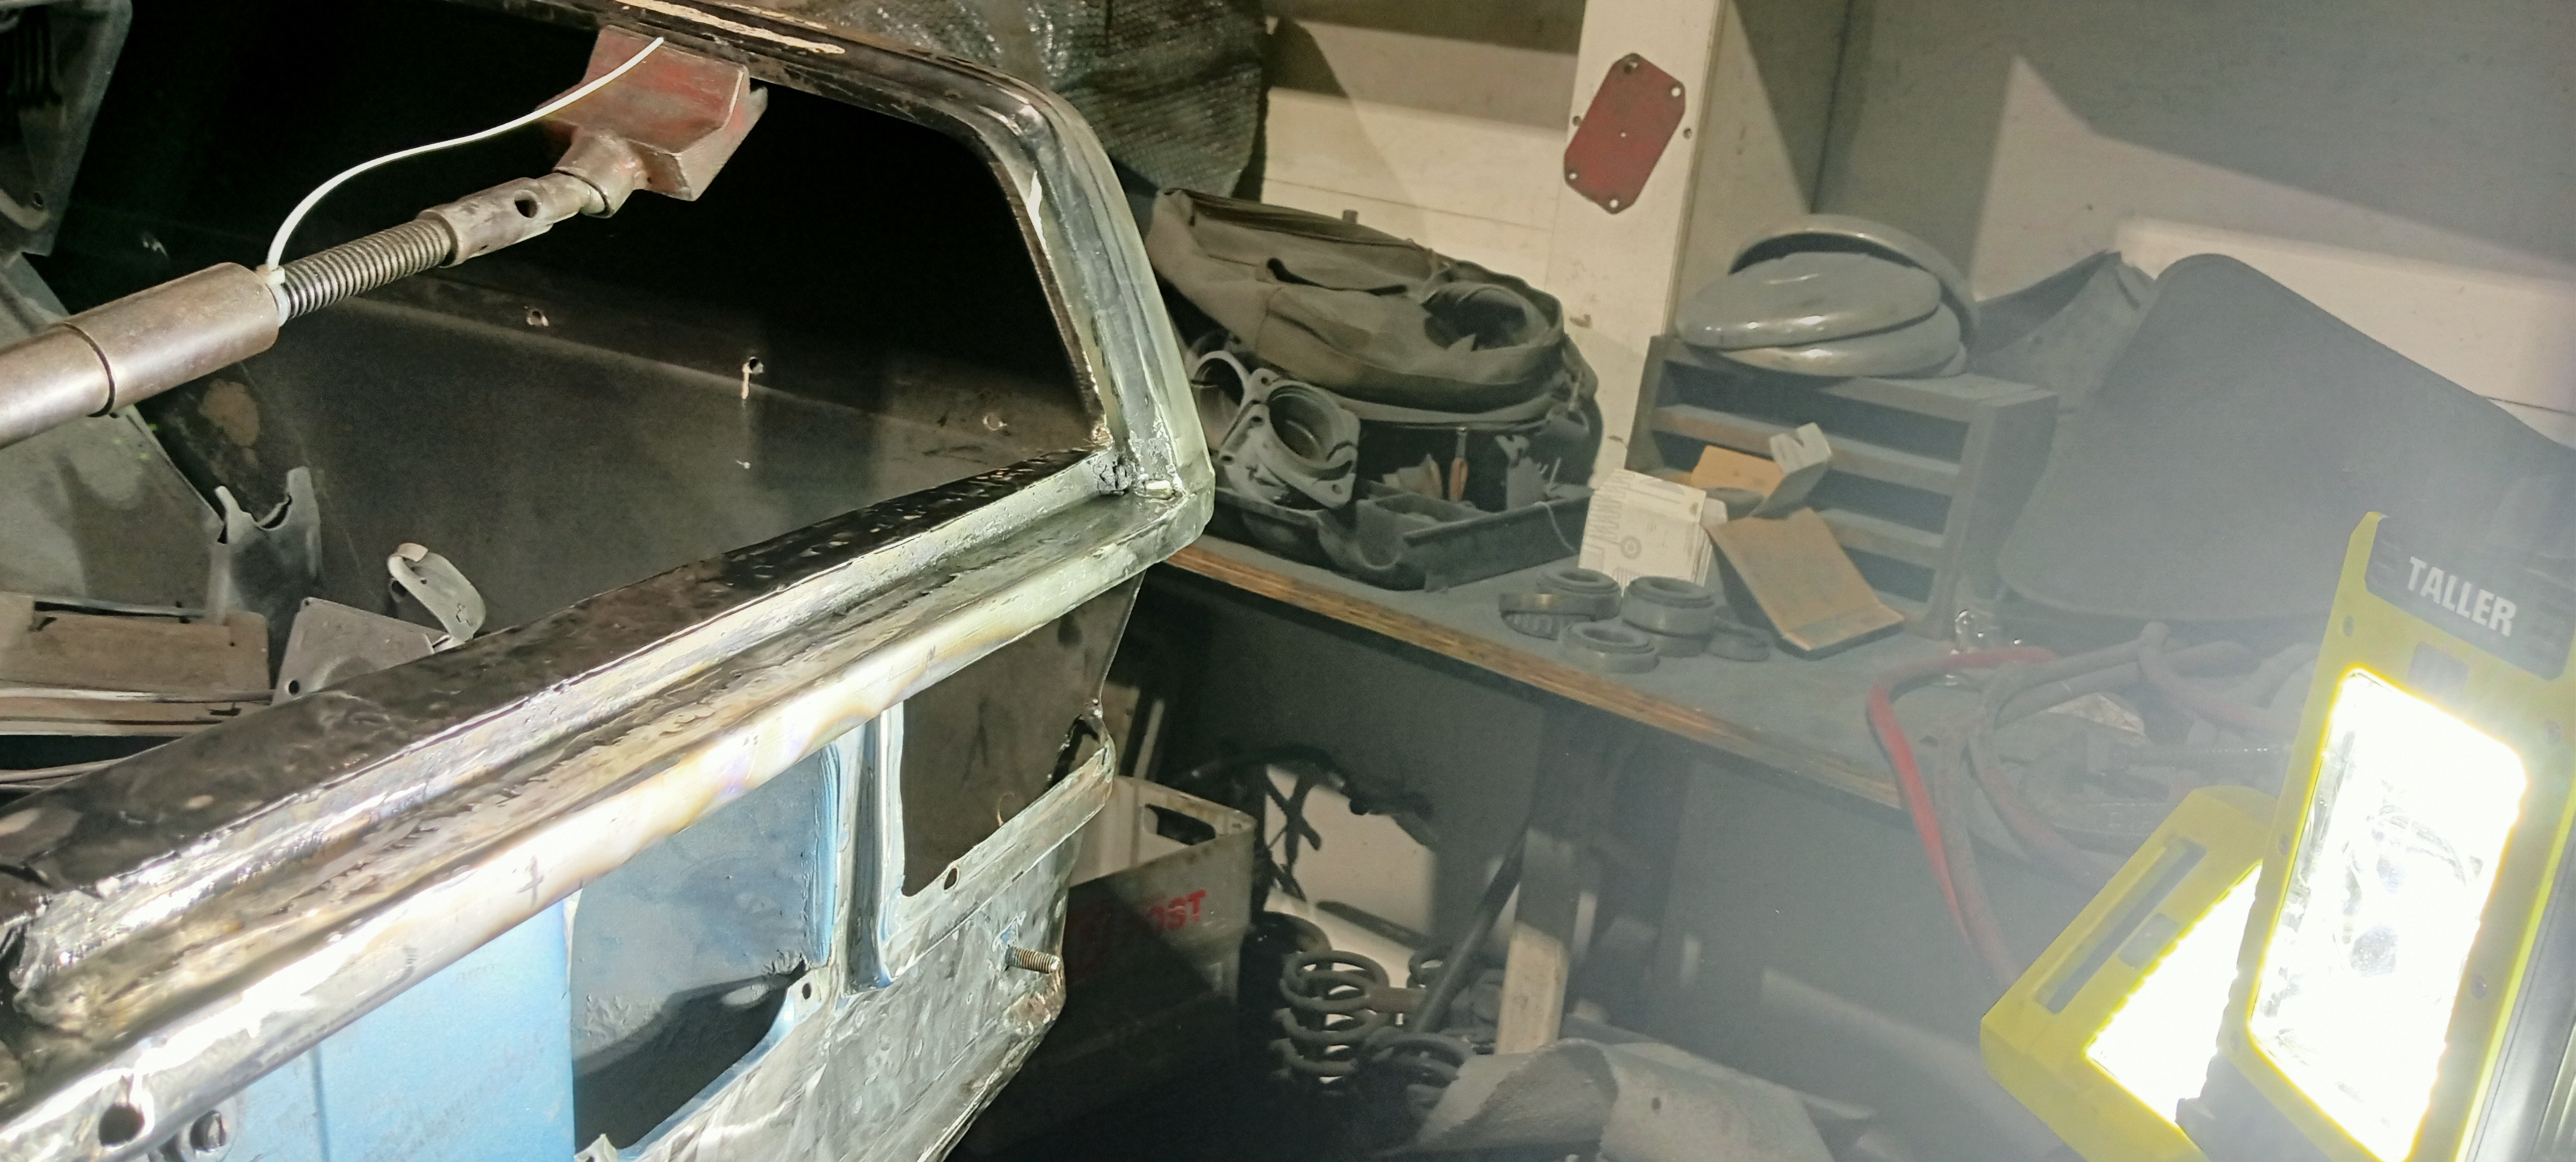
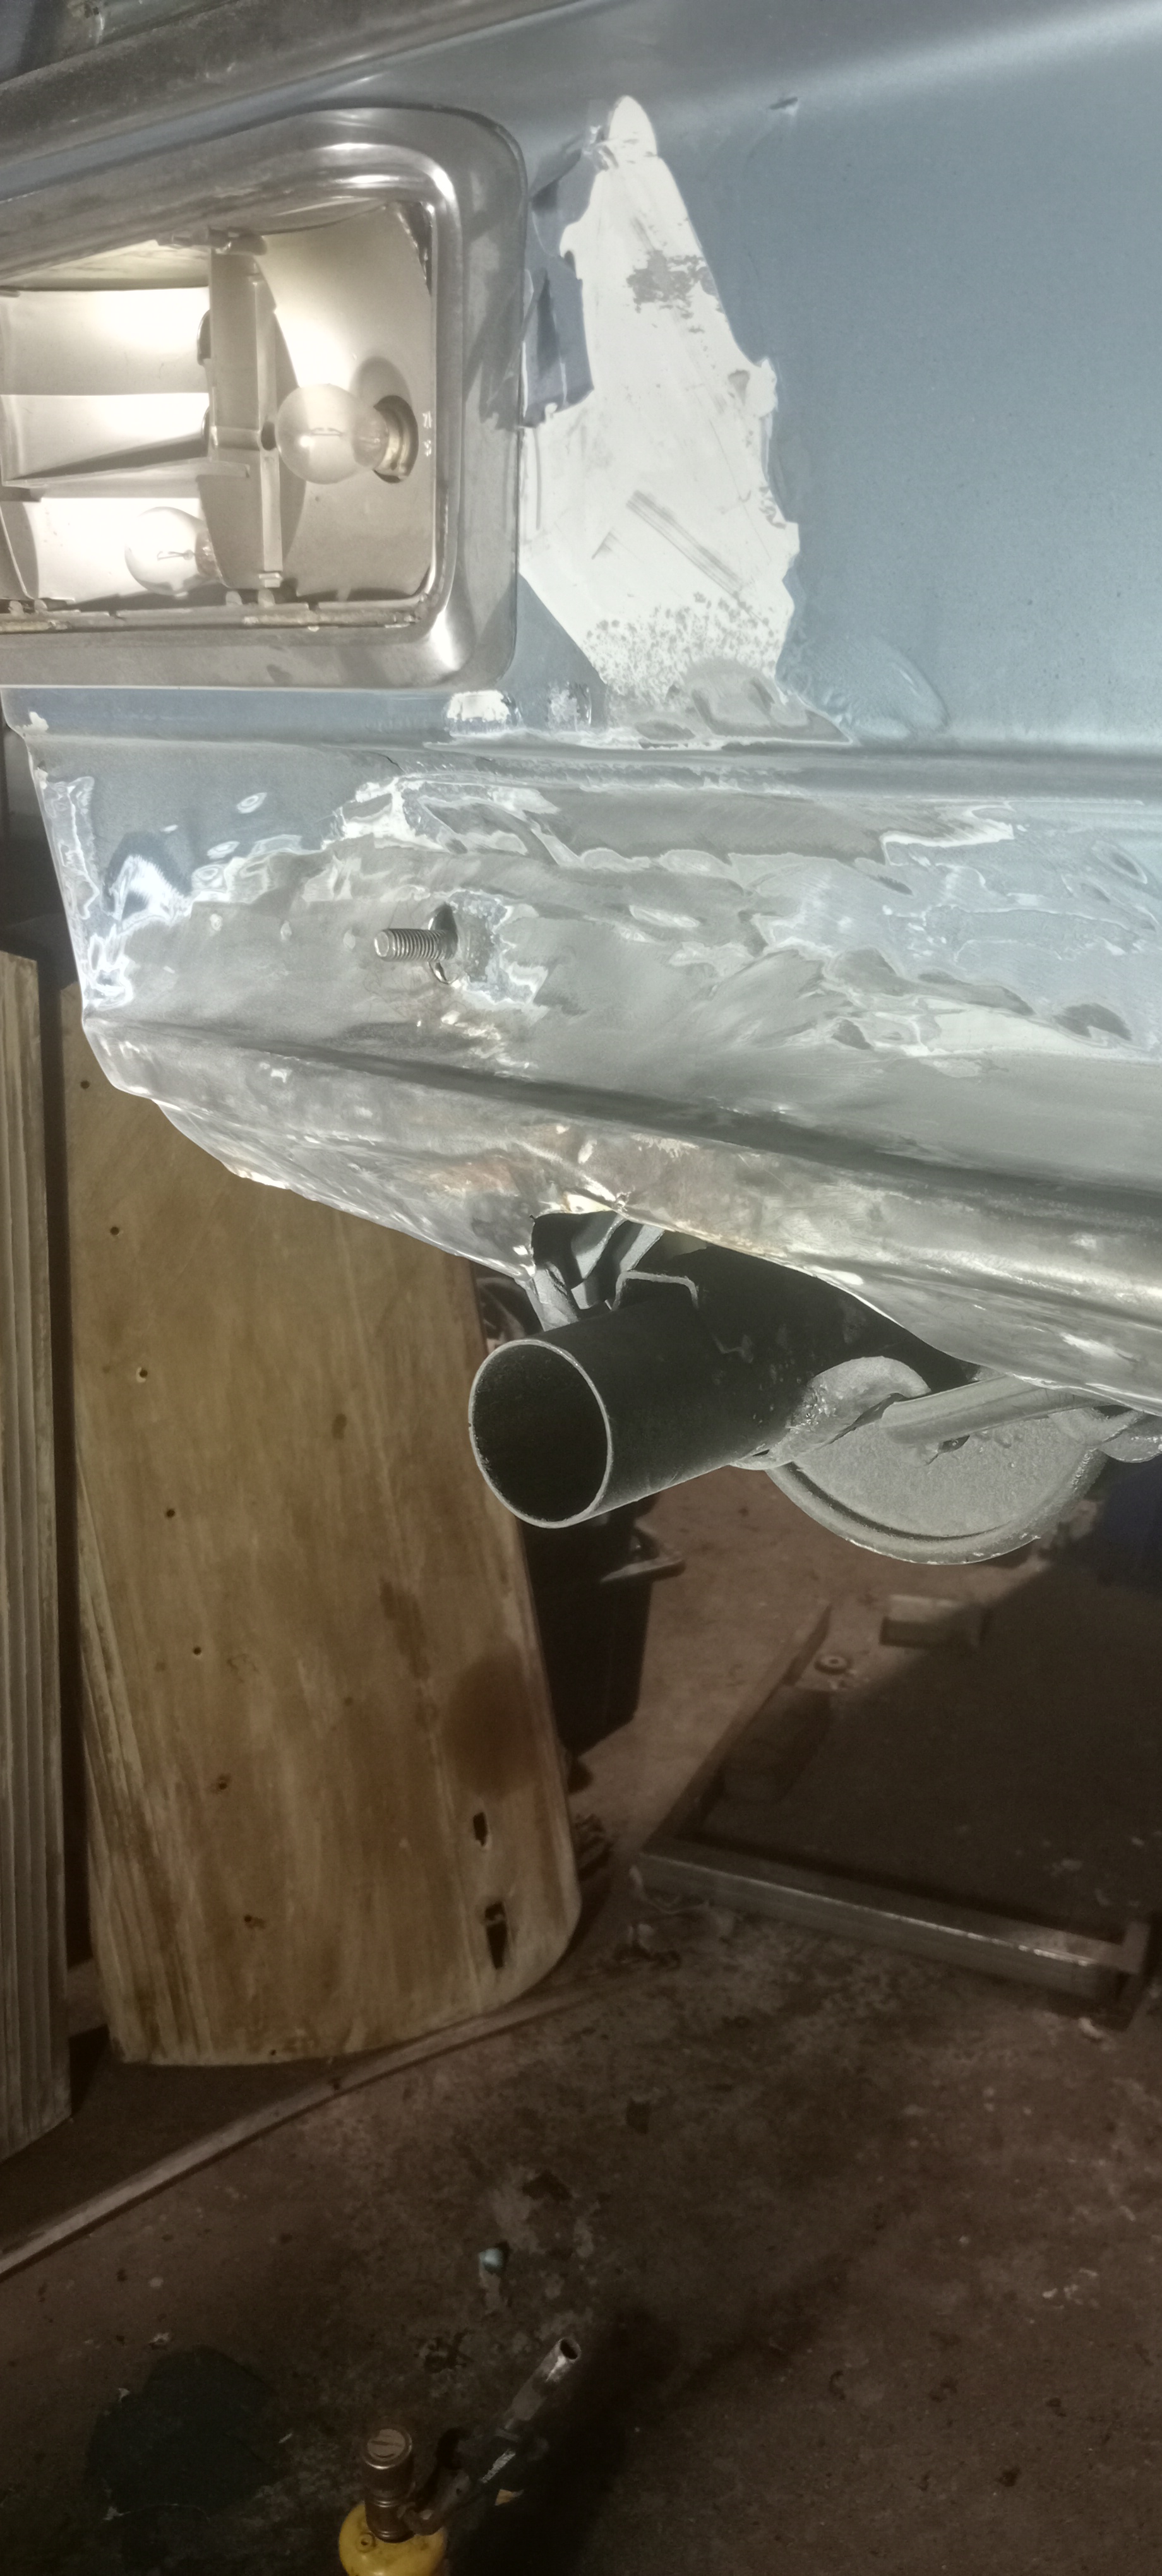
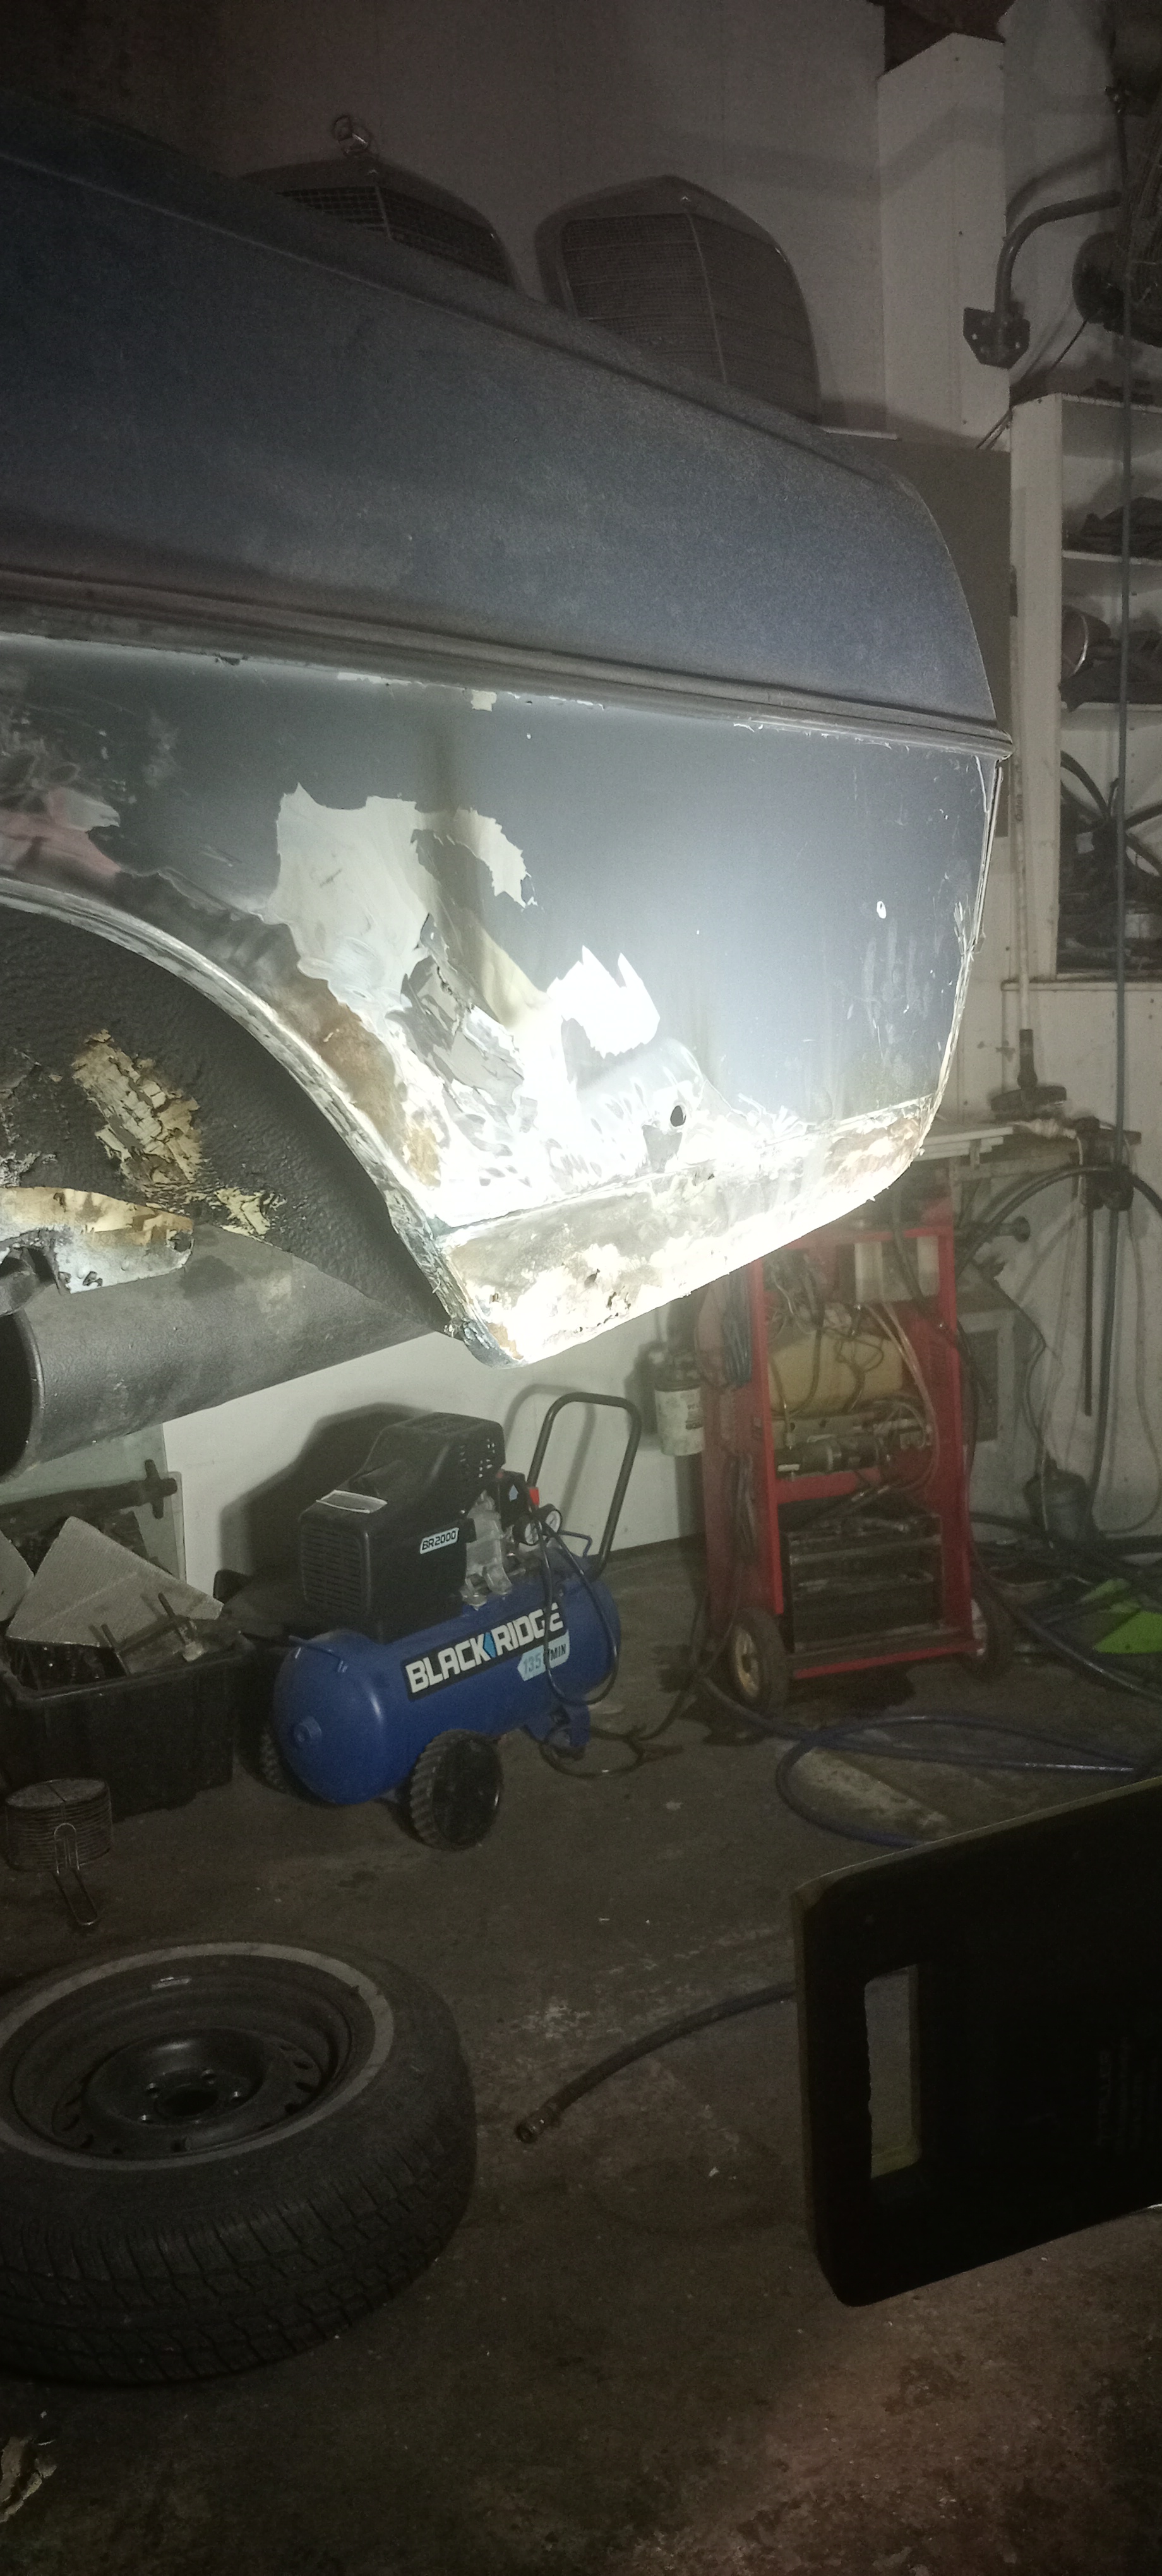
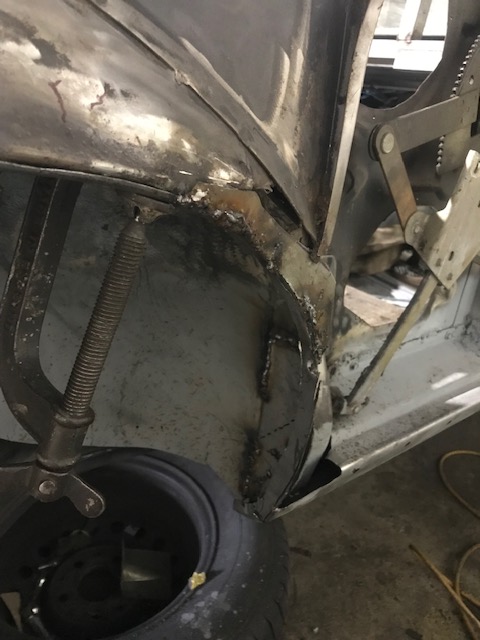
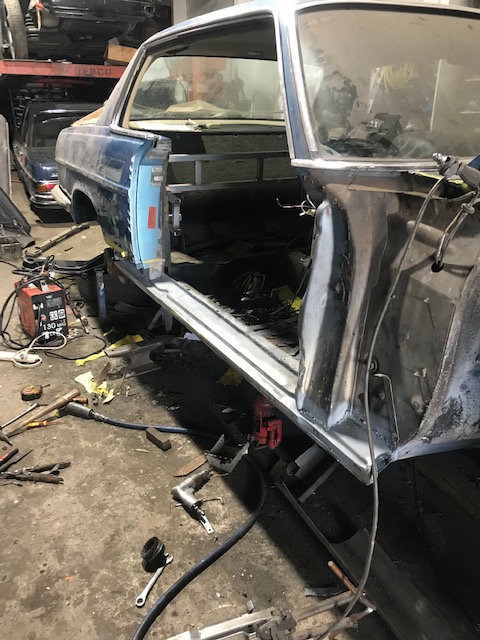
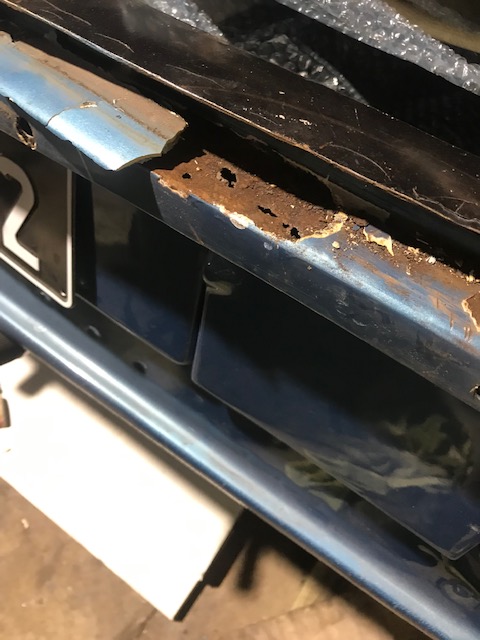
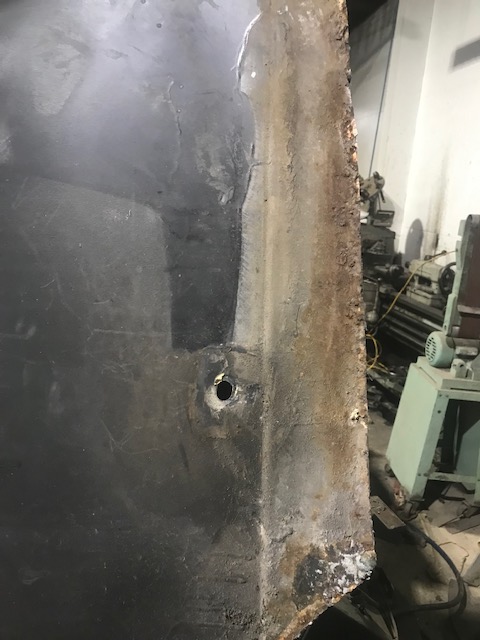
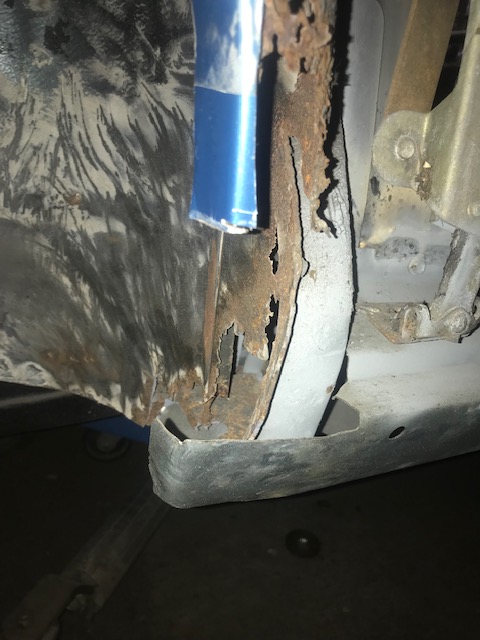
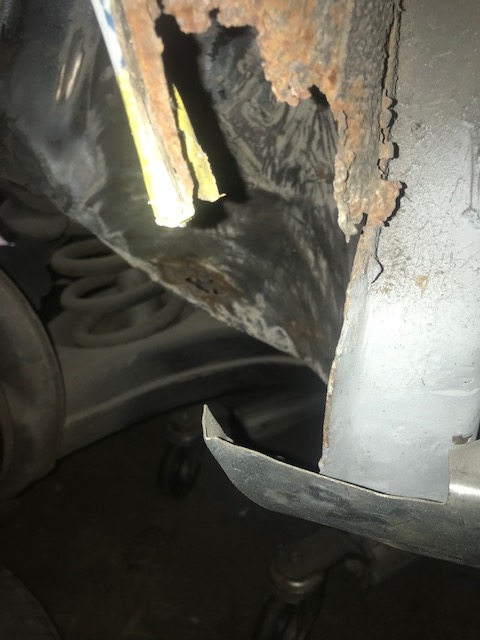
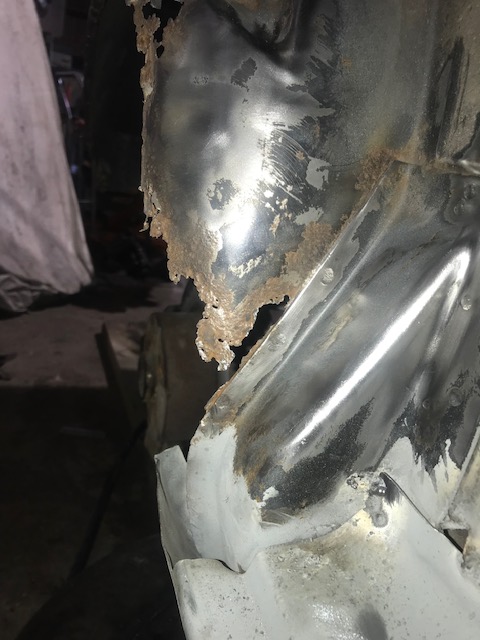
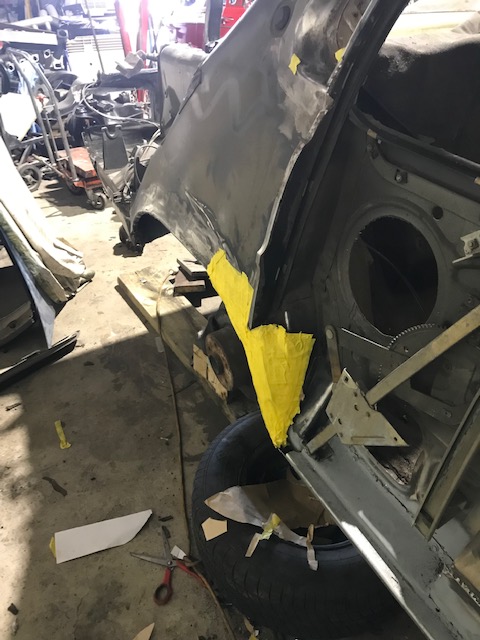
Front of left sill structure .This will have to bwe cut out and replaced,this is to check the inside of the sill to ensure theres no rust.
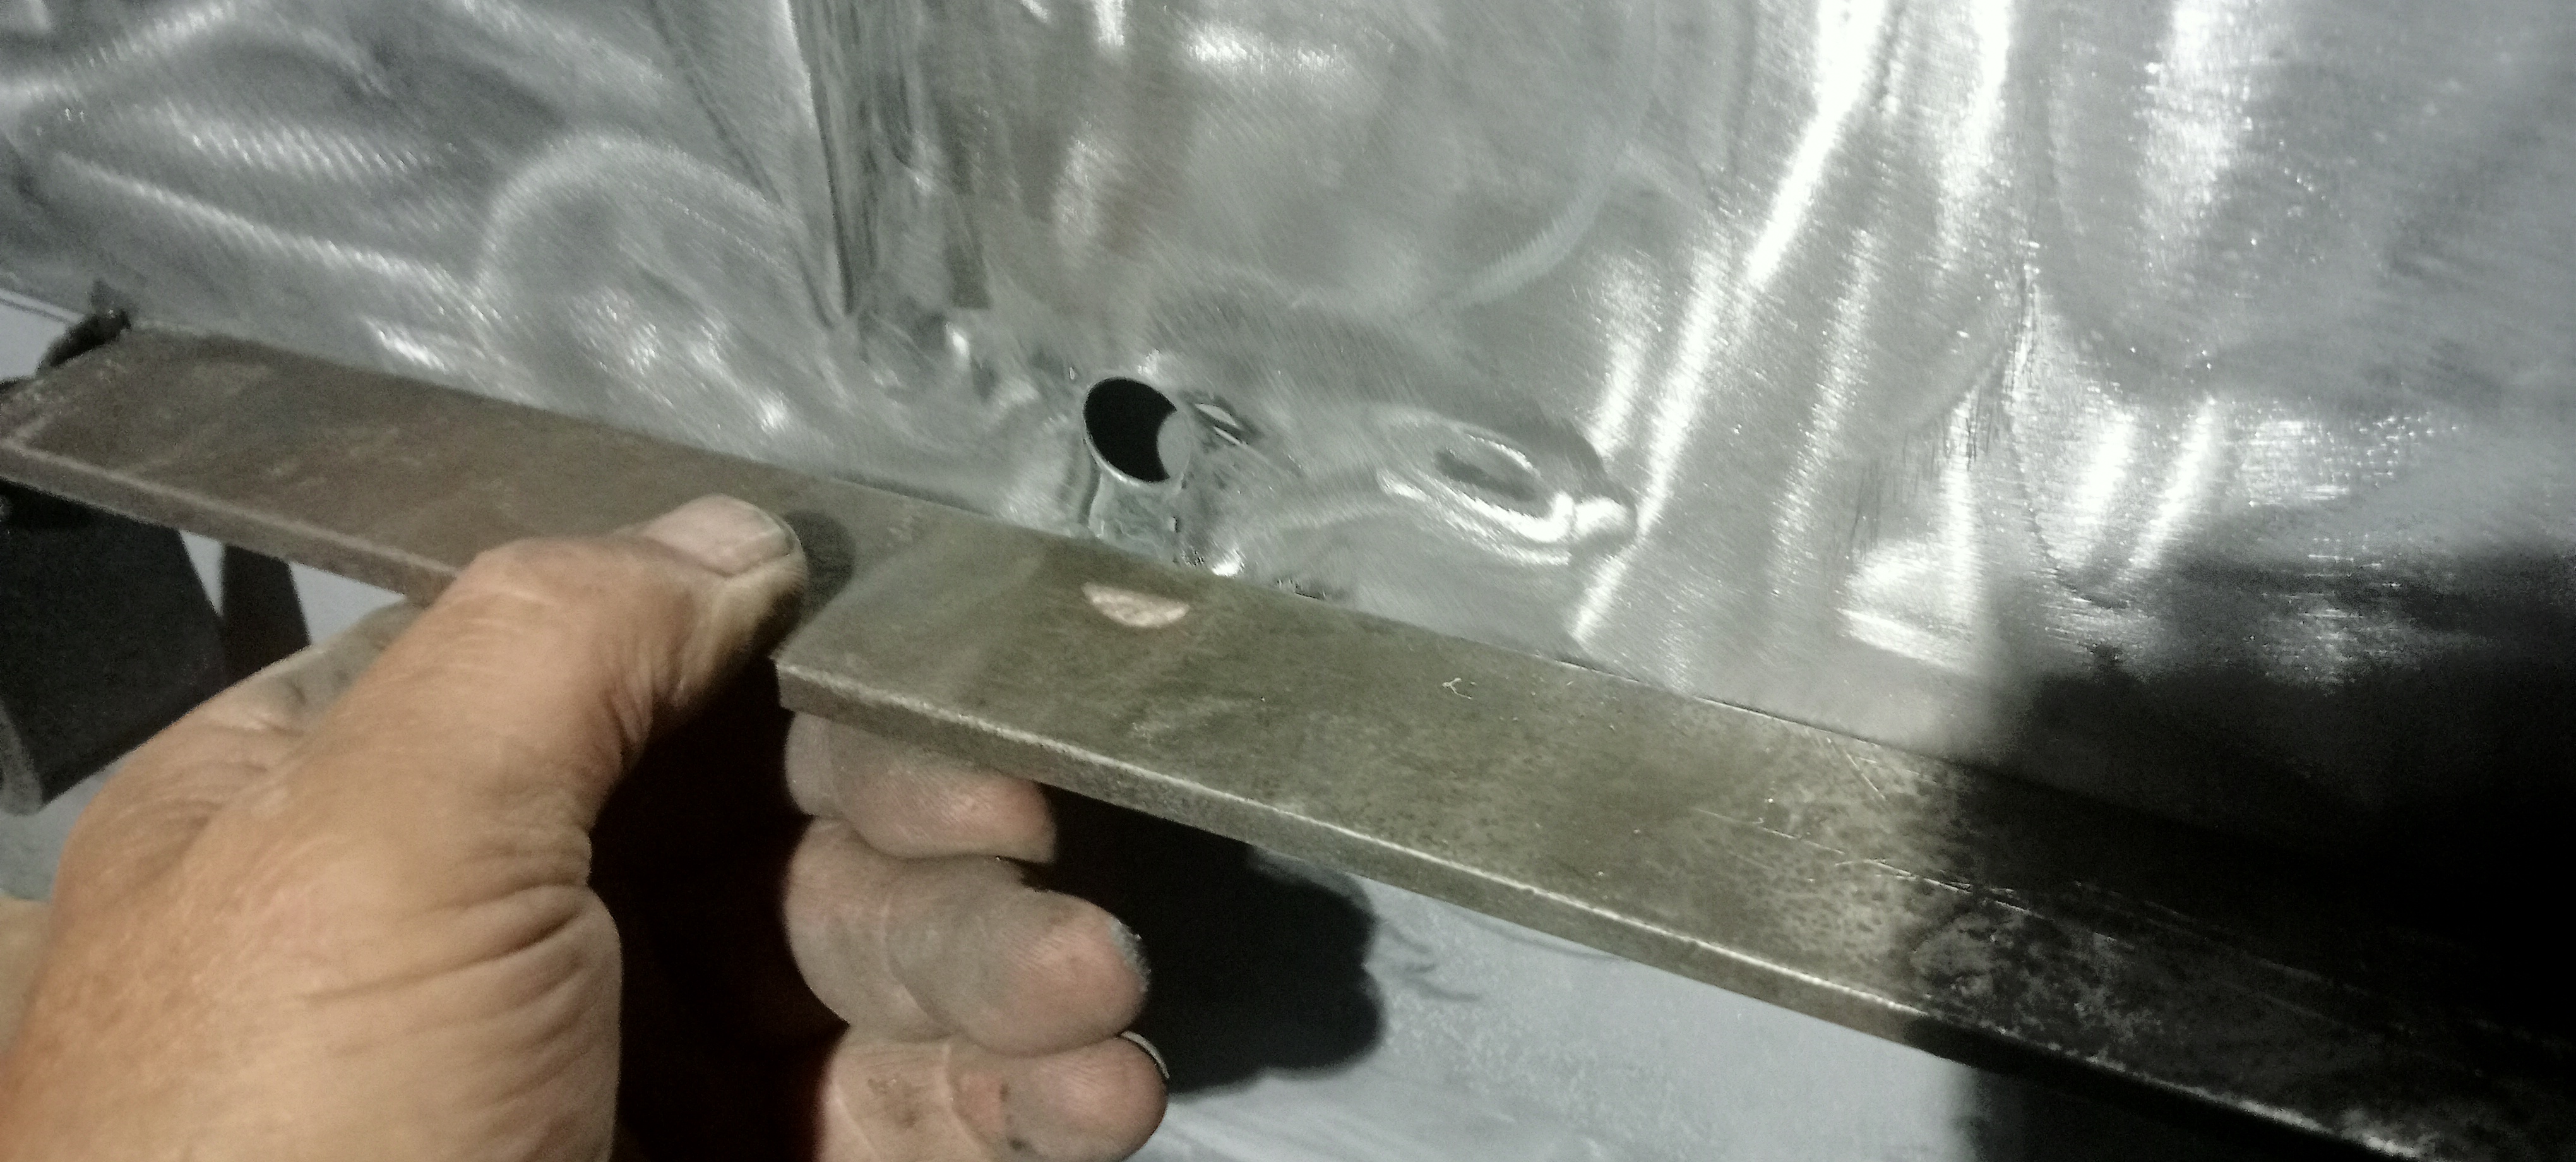
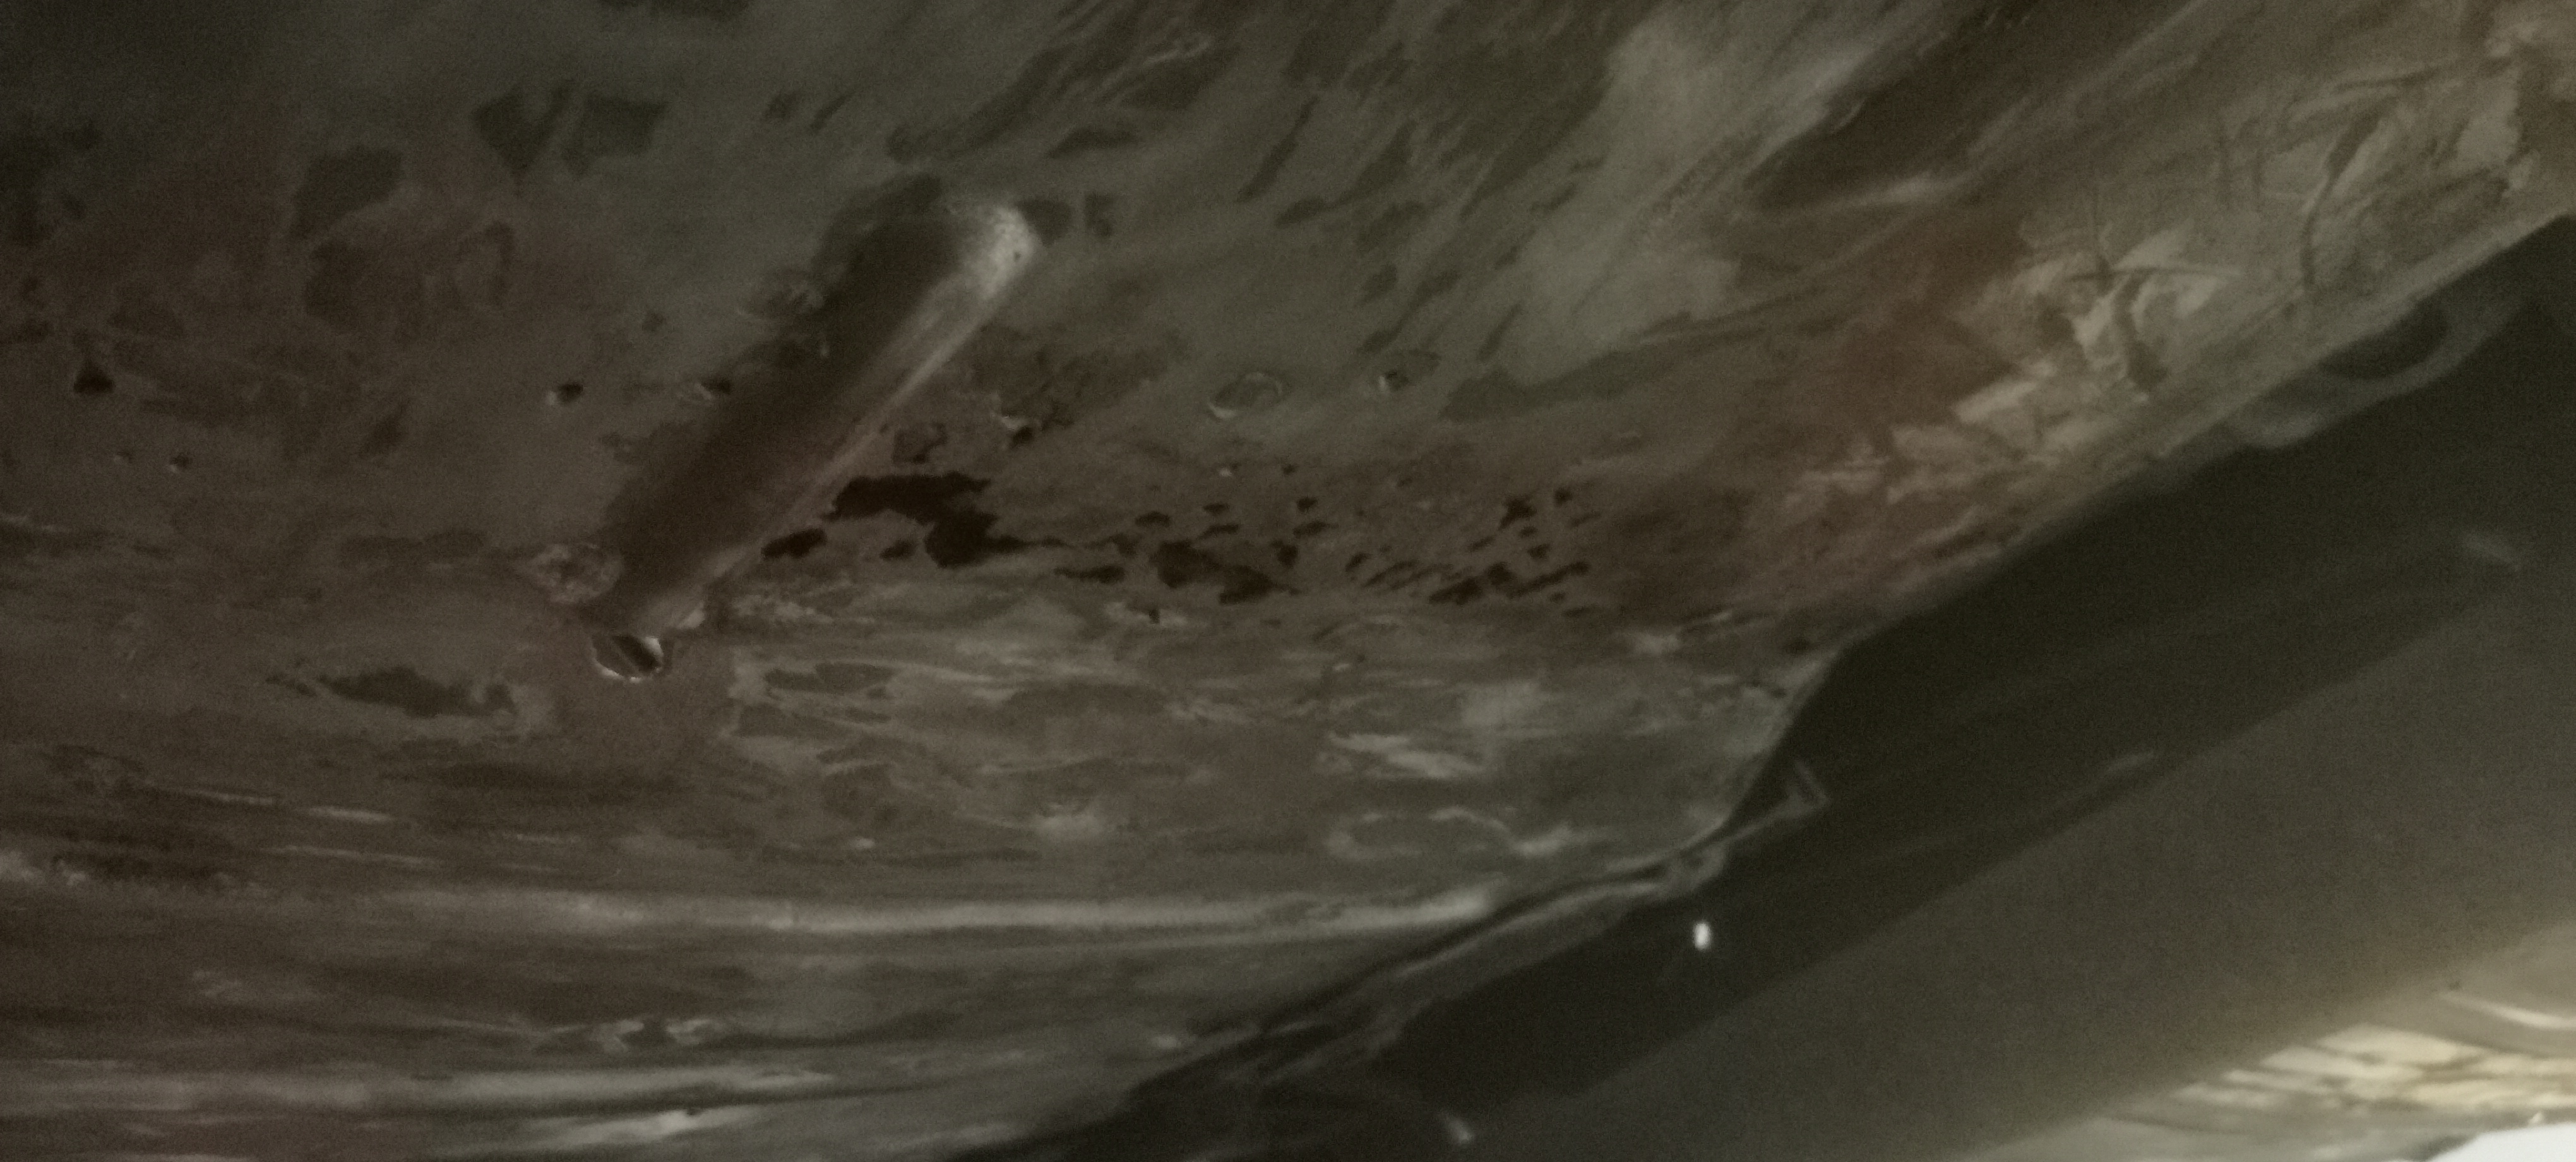
This is the underside of the left front floor section .The join is bent up wards .
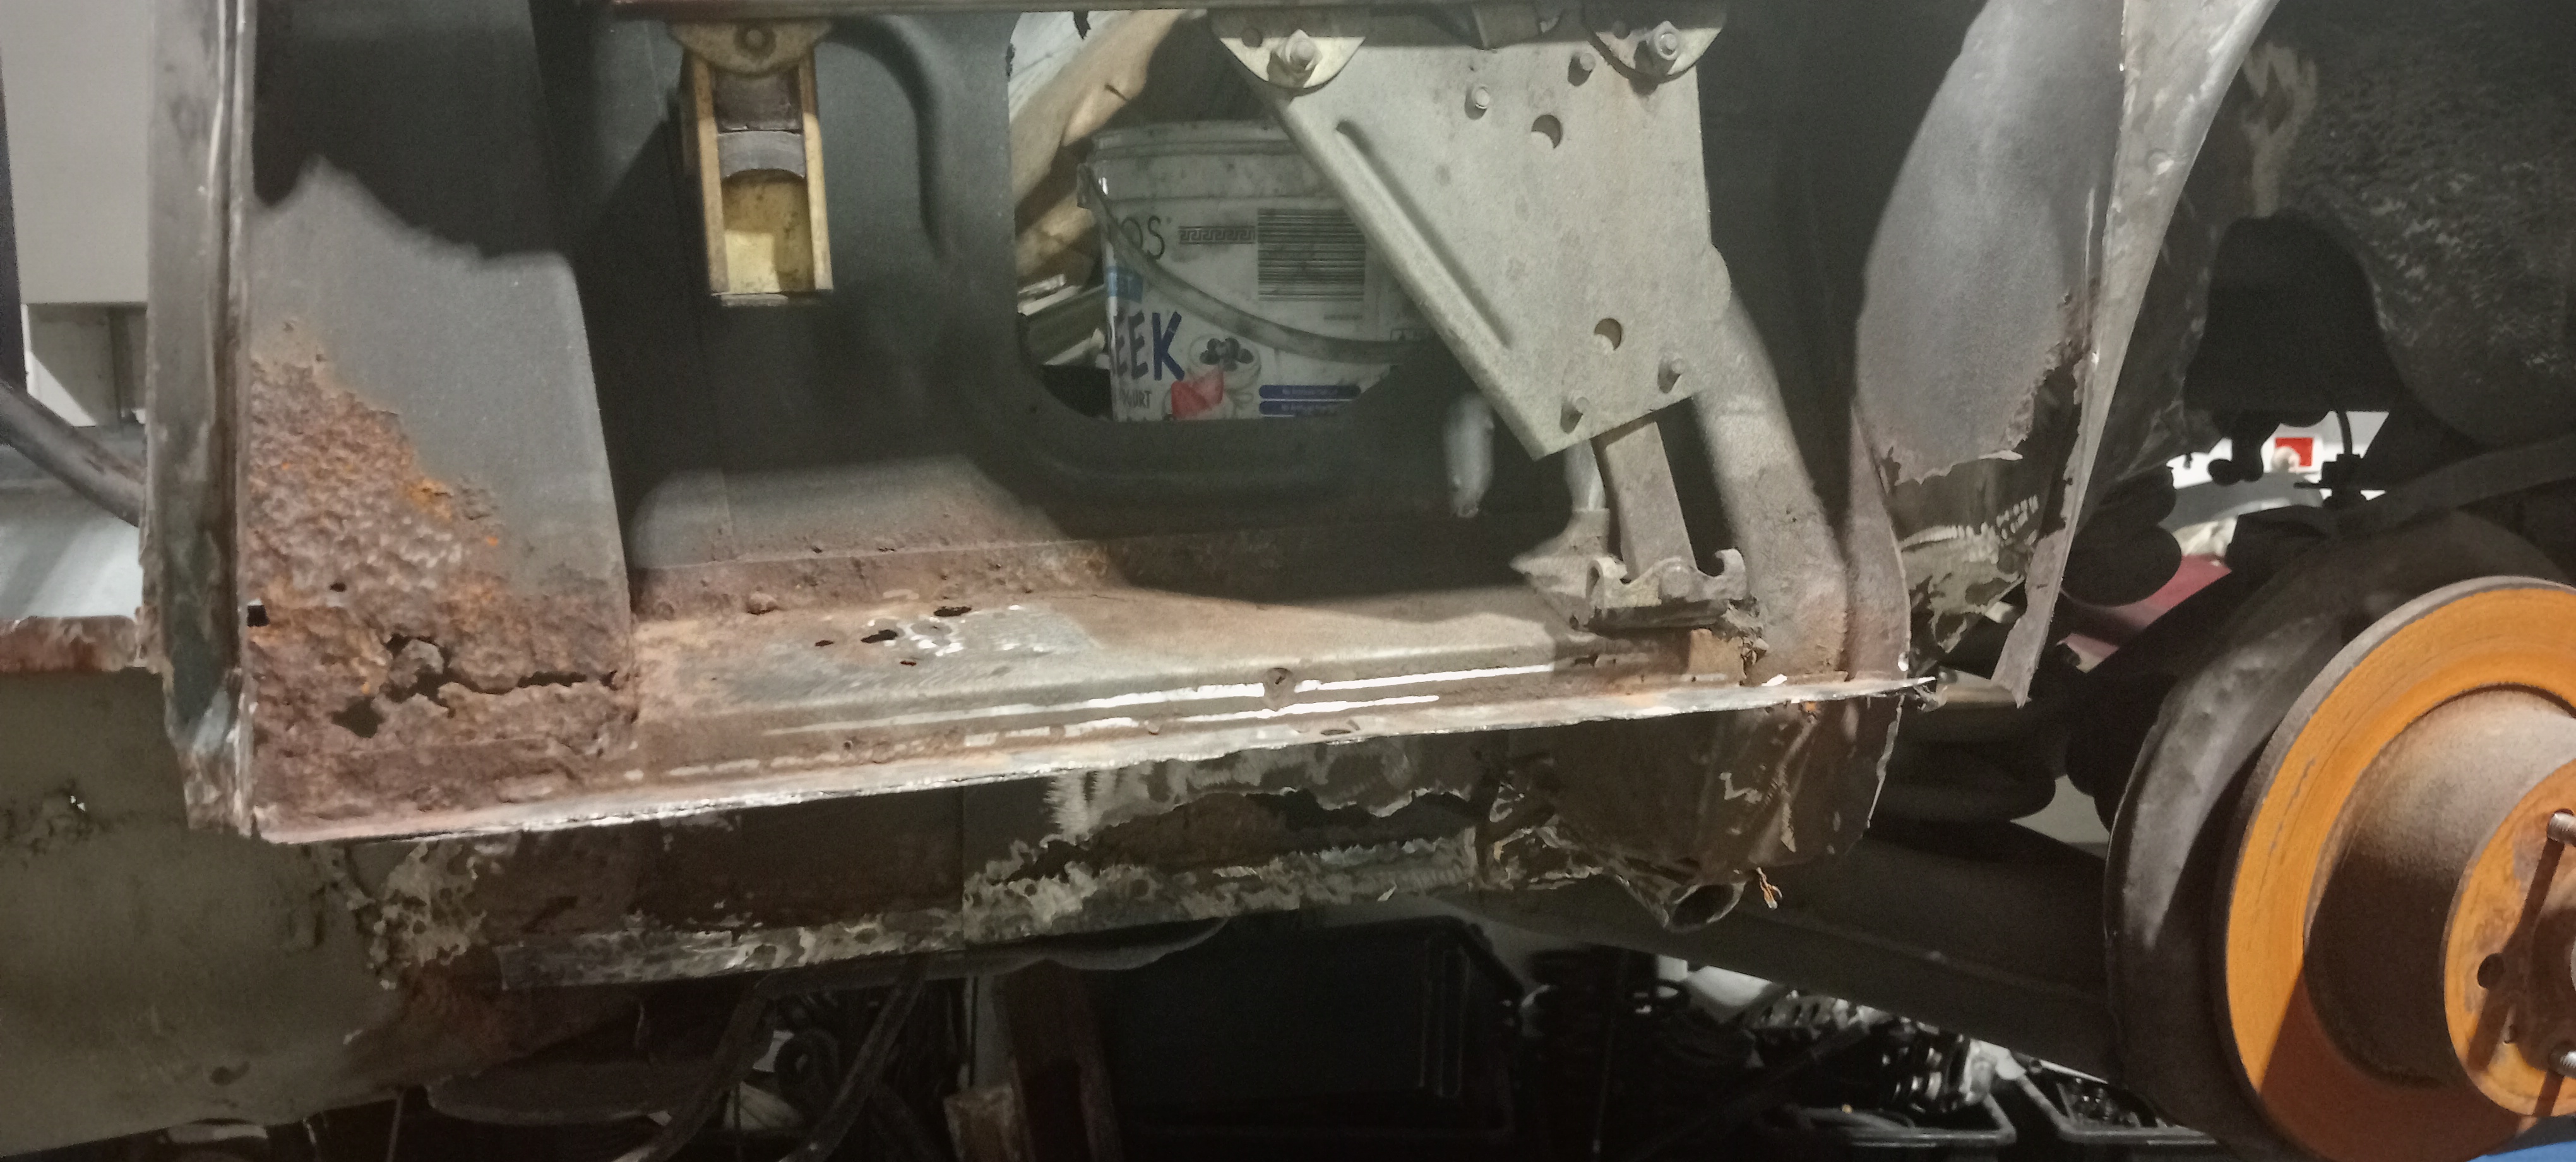
The box section under the seats,with the bottom panel removed. rust inside the box is revealed.
The Flooor behind the seat with the amp and sound deadening removed.
Right hand floor under the seat. floor is bent upwards.
Another veiw of the left floor behind the seat.part on the left lower is the rear seat mounting.
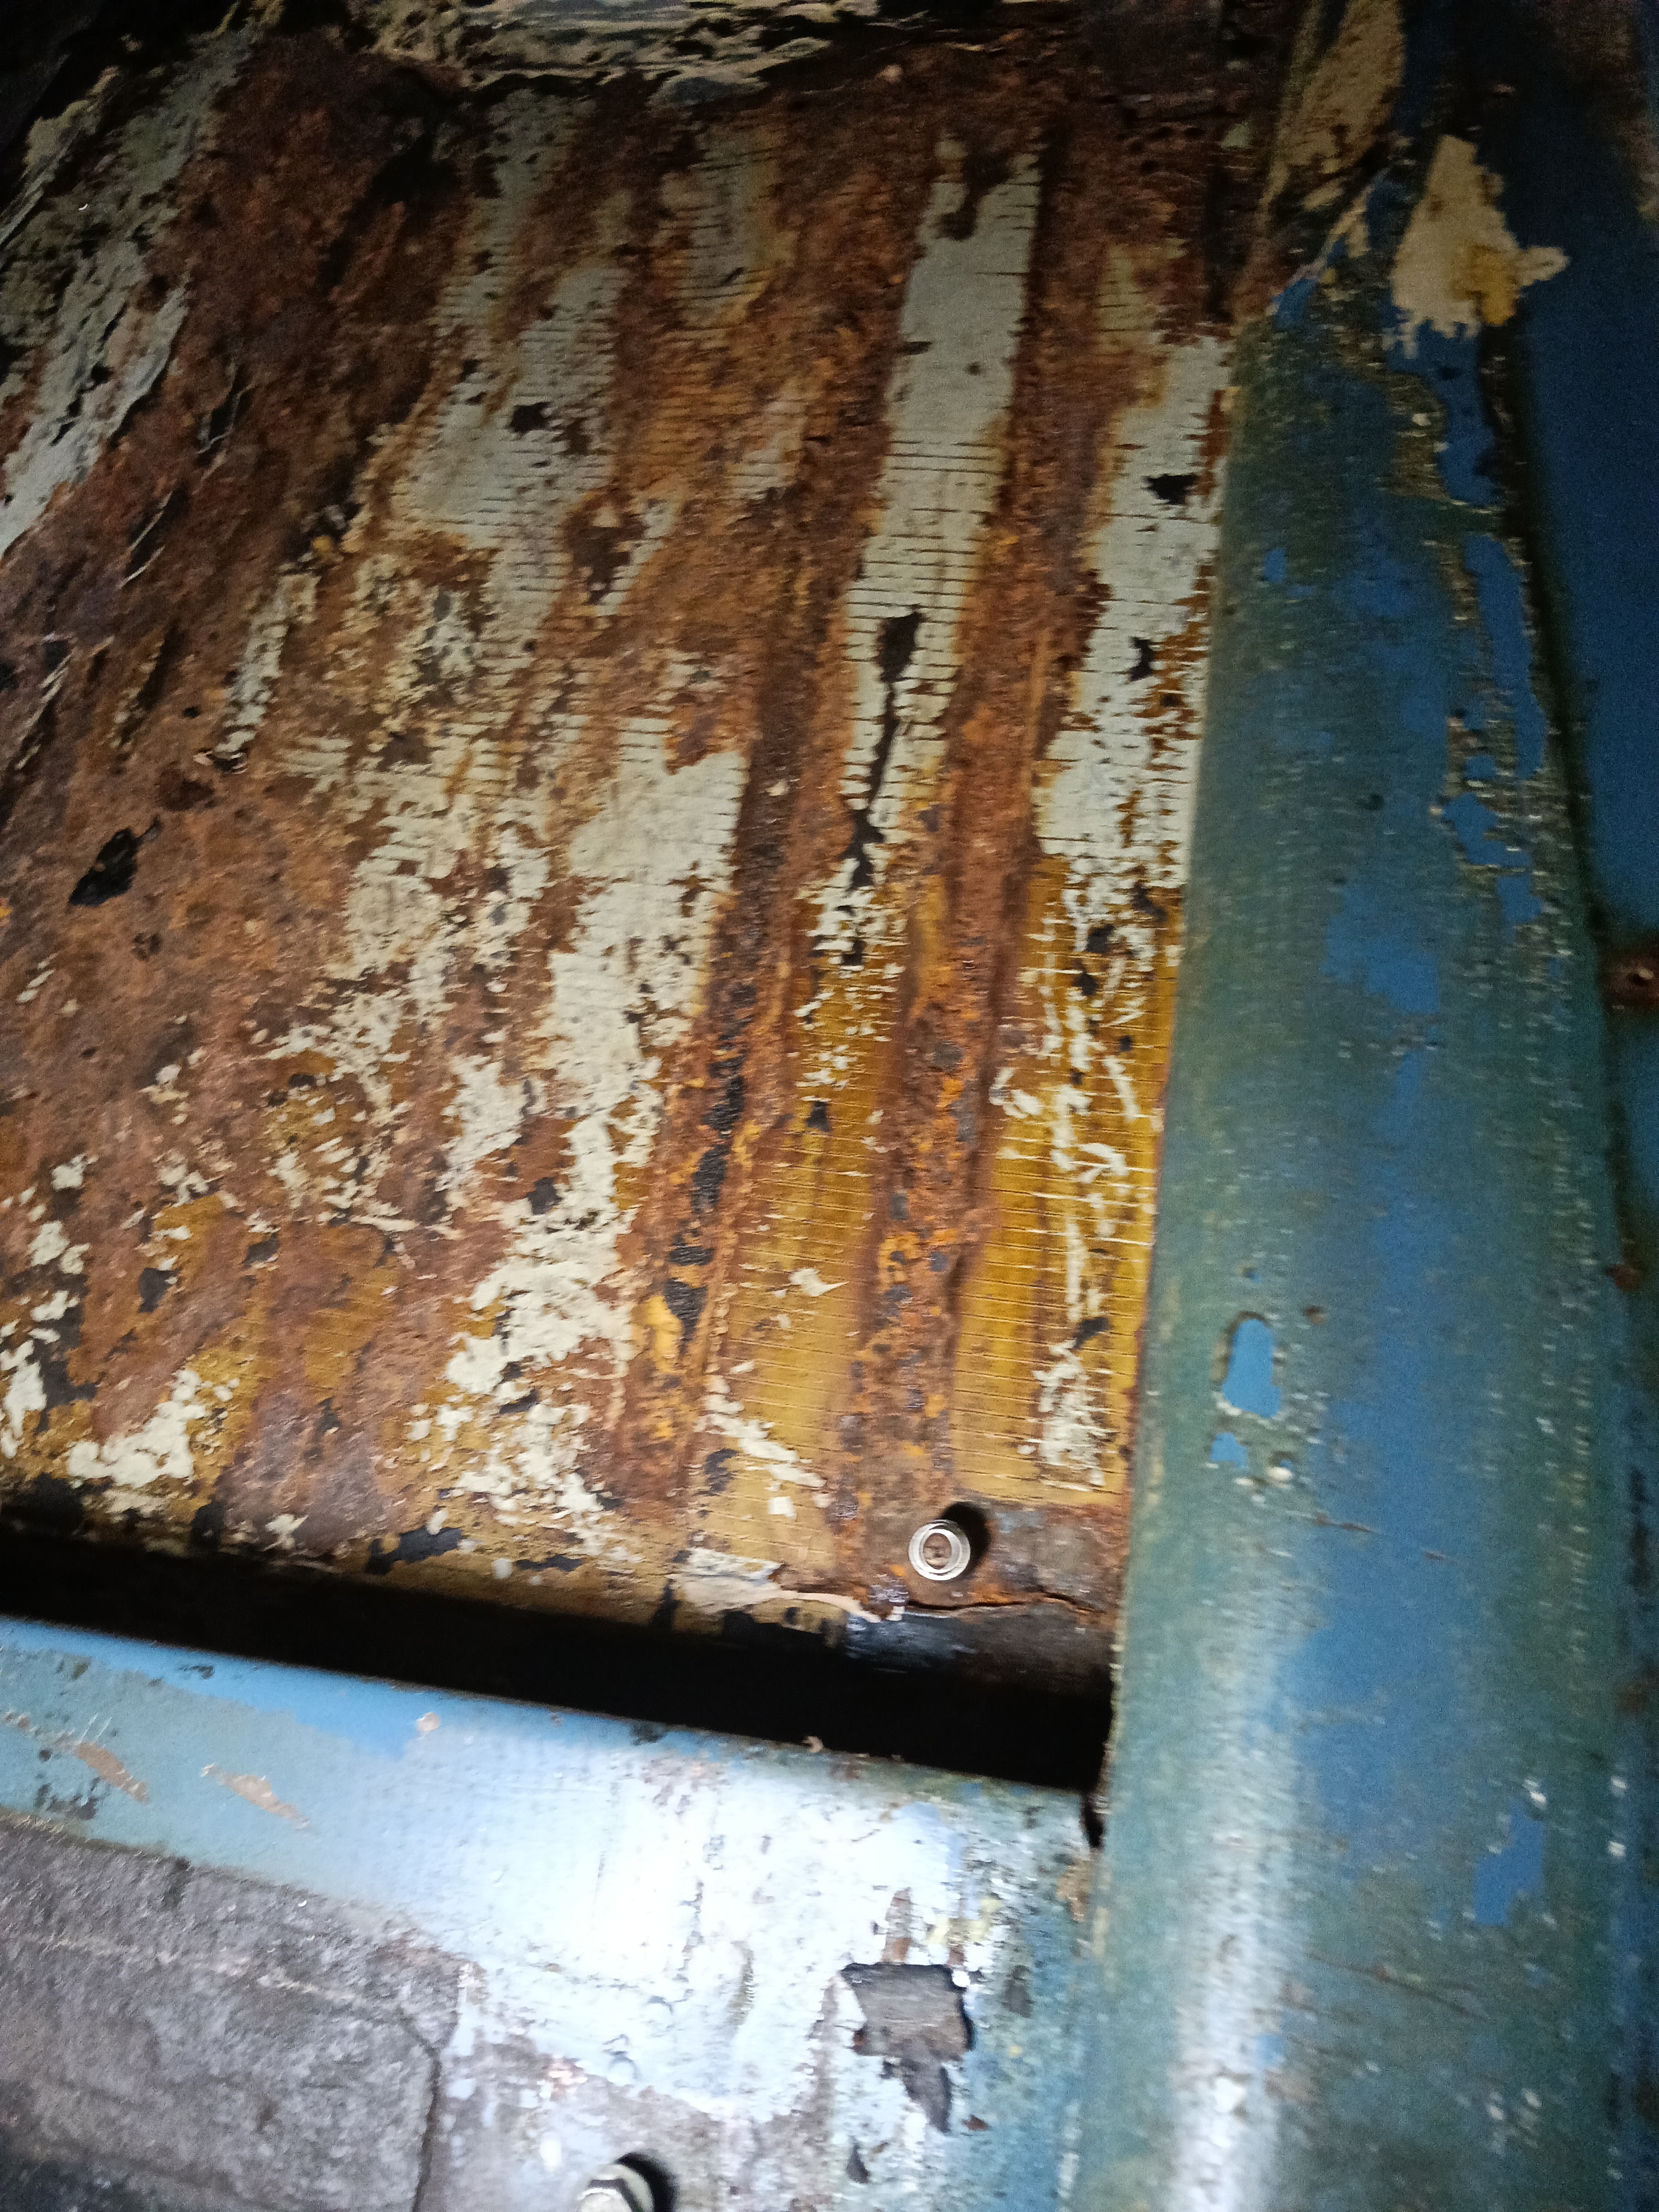
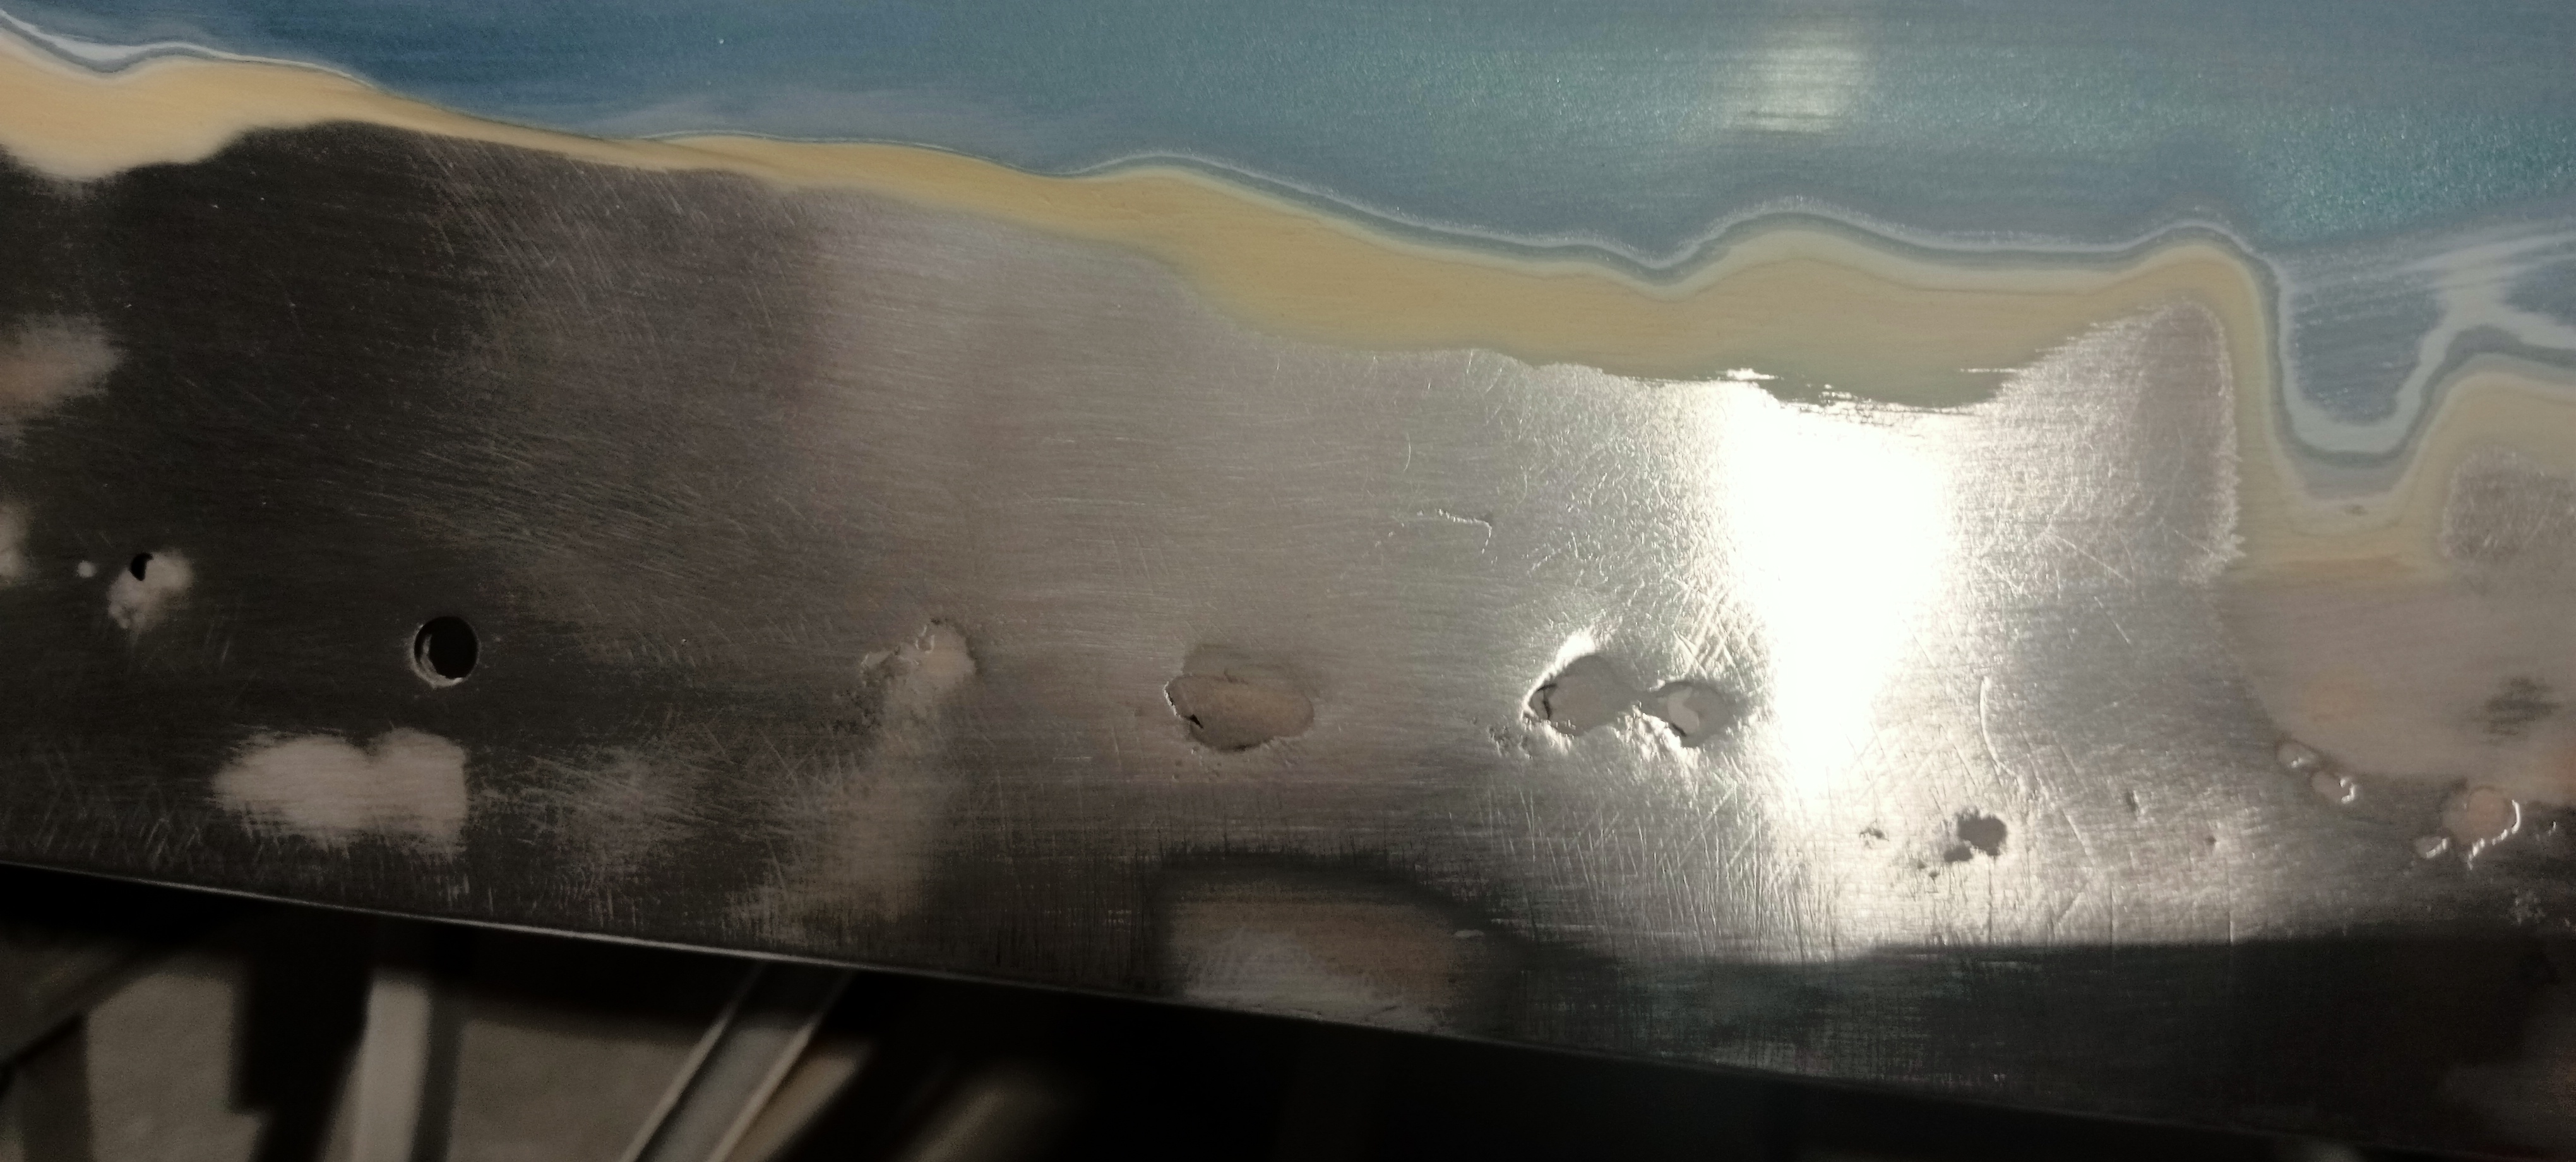
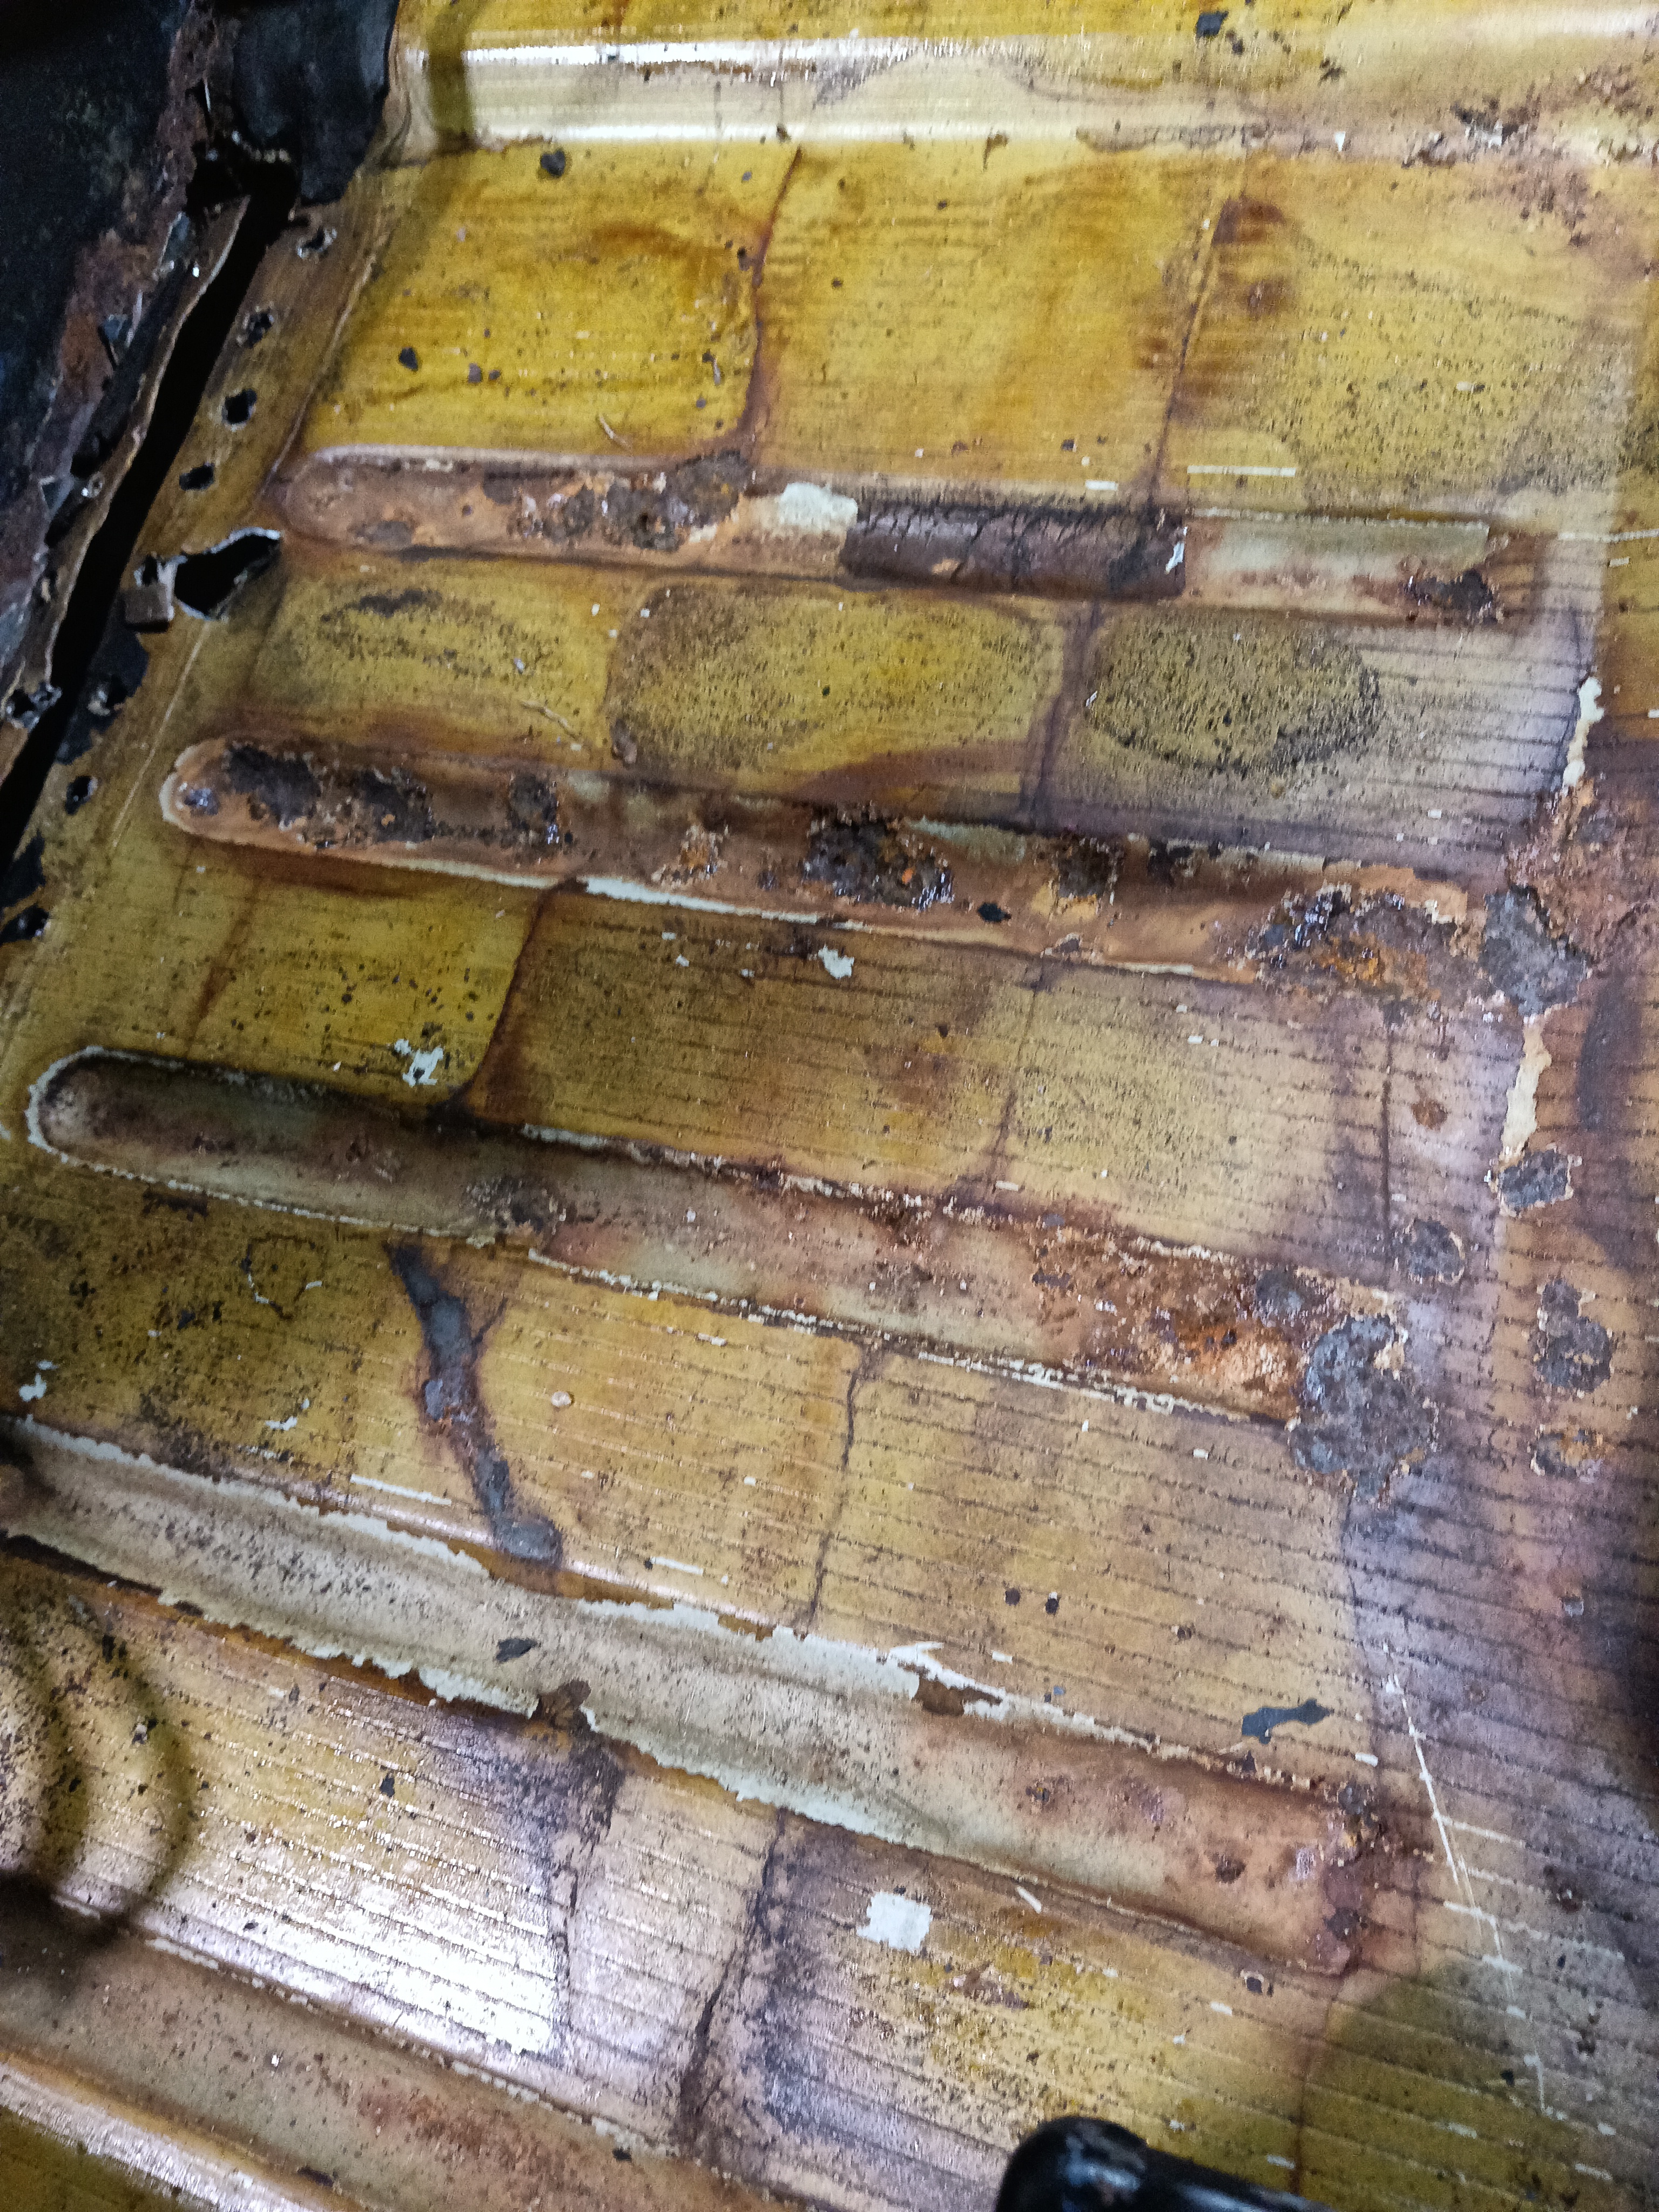
Right hand floor ,rusted in grooves.
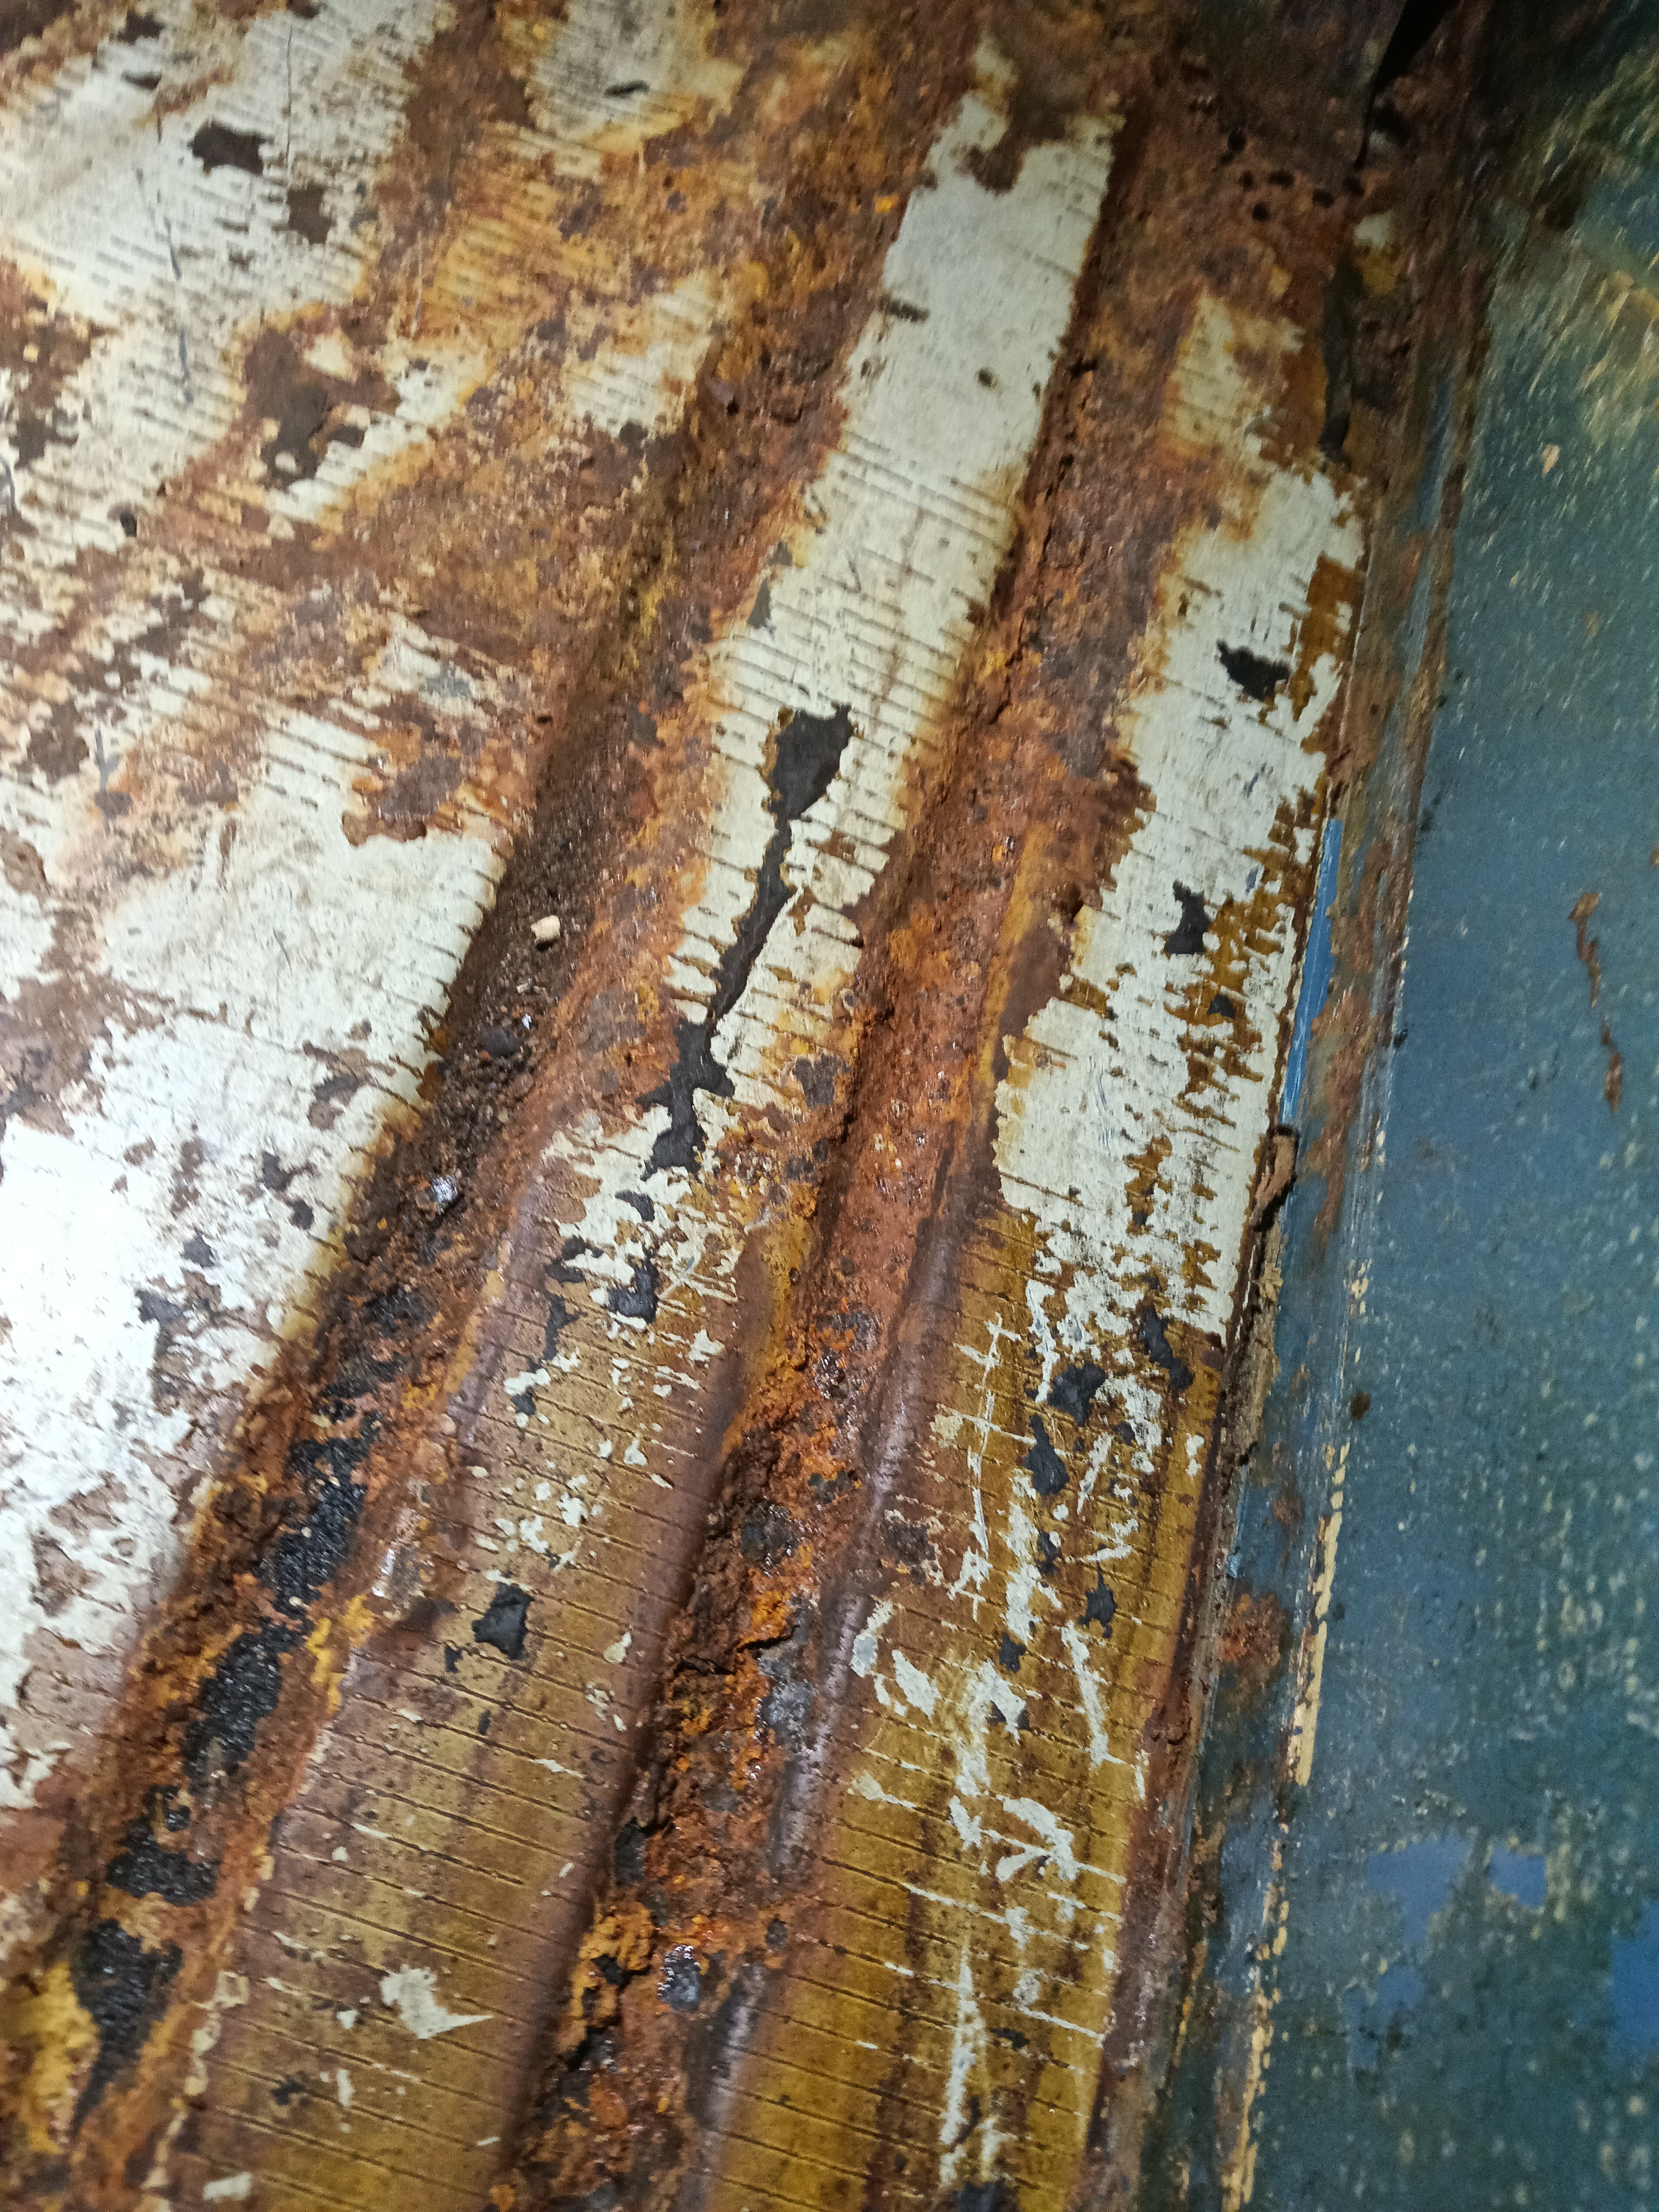
Right floor ,rusted in the grooves.
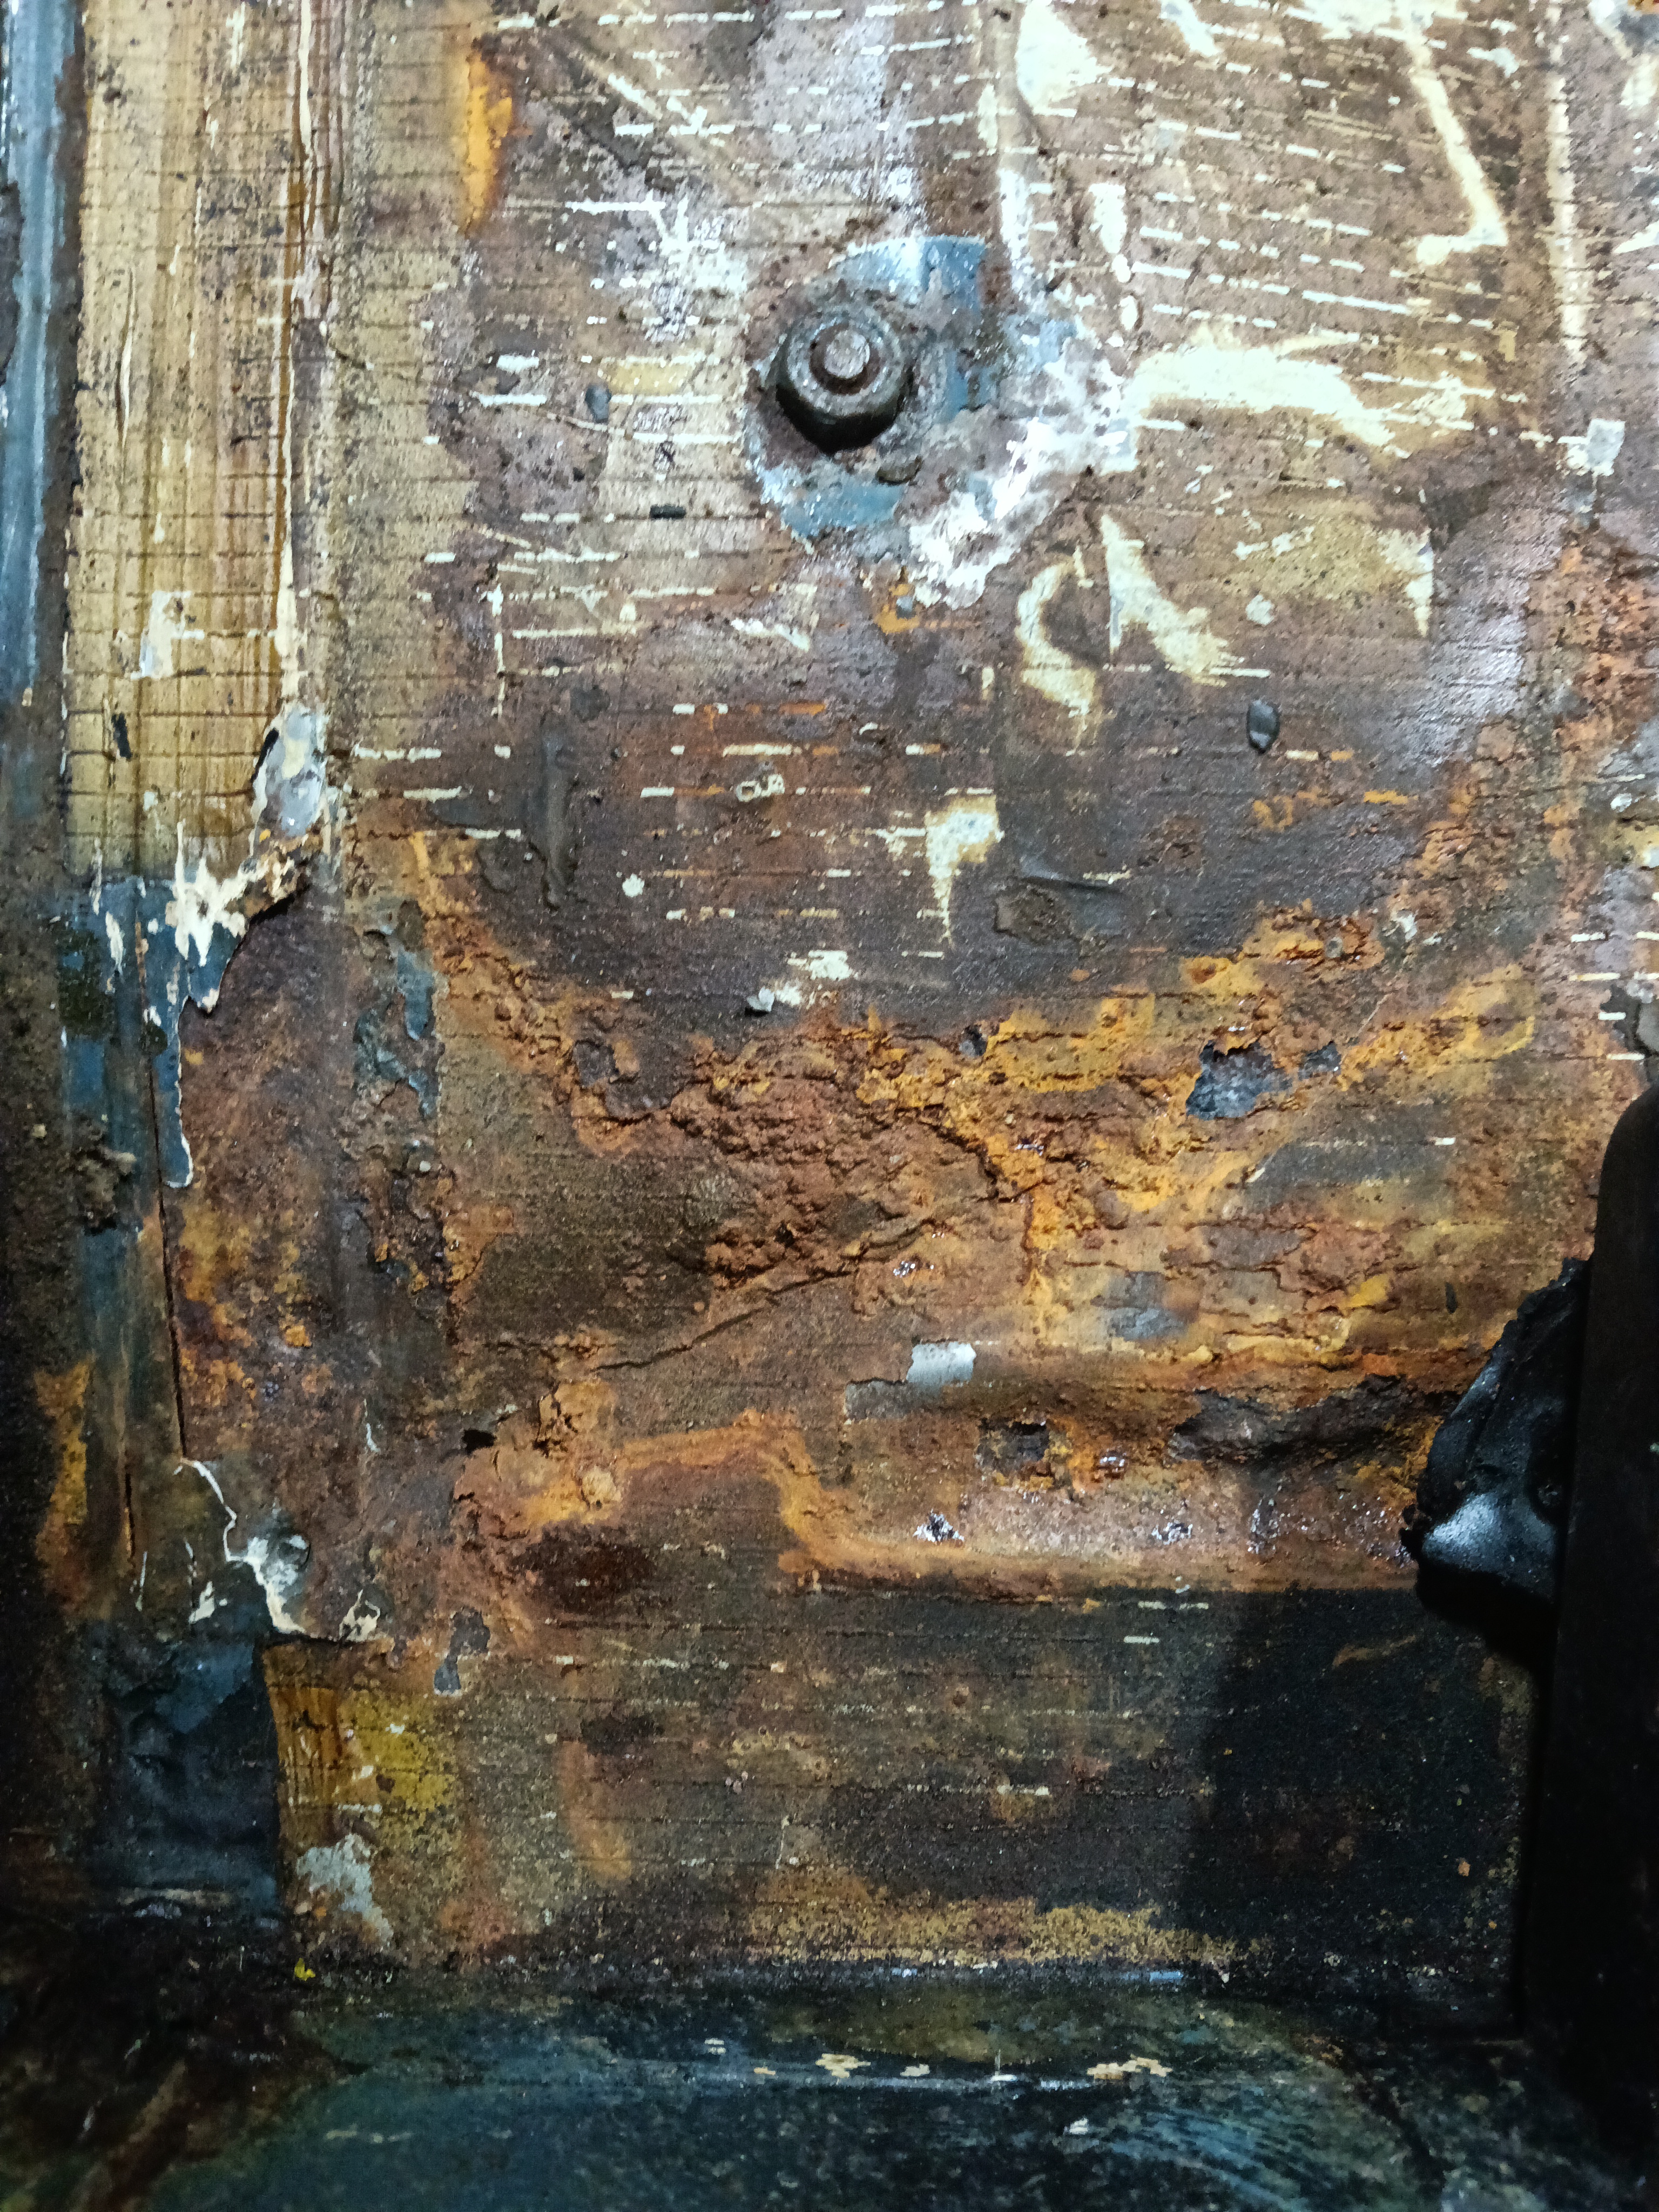
Accelerator pedal mount.