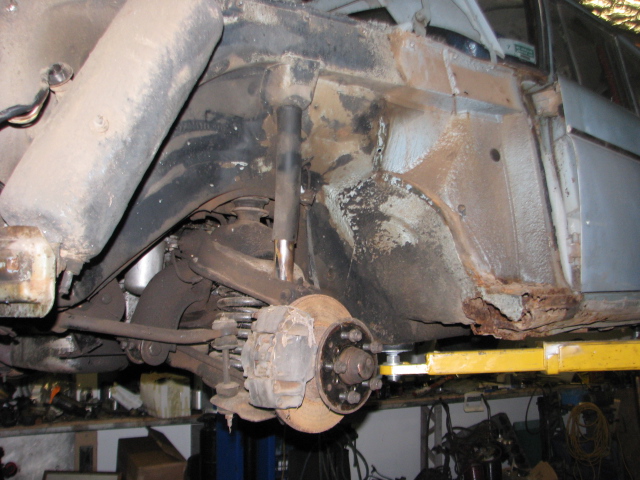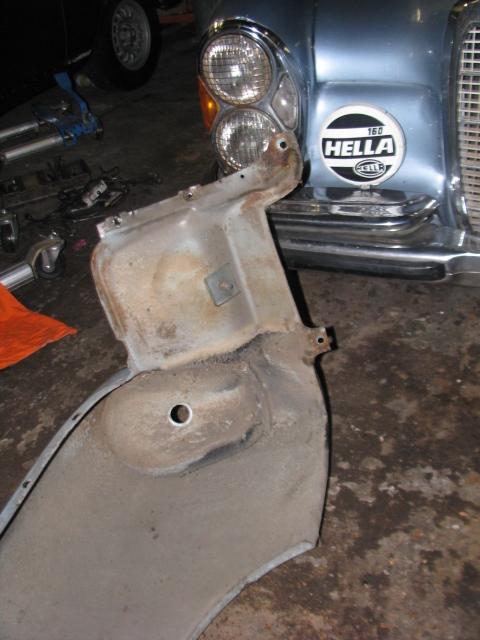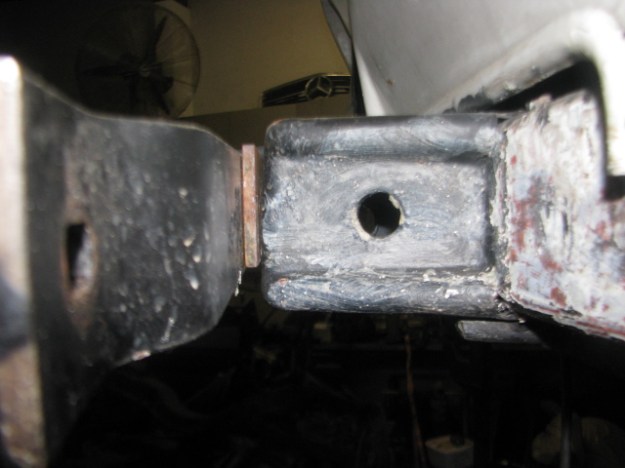
After Removing the Front bumpers , this tell tale was discovered, a spacer between the Chassis bumper mount and the bumper iron. Someone had done this to allow the front bumper to appear to sit evenly . A closer look under the car was necessary .
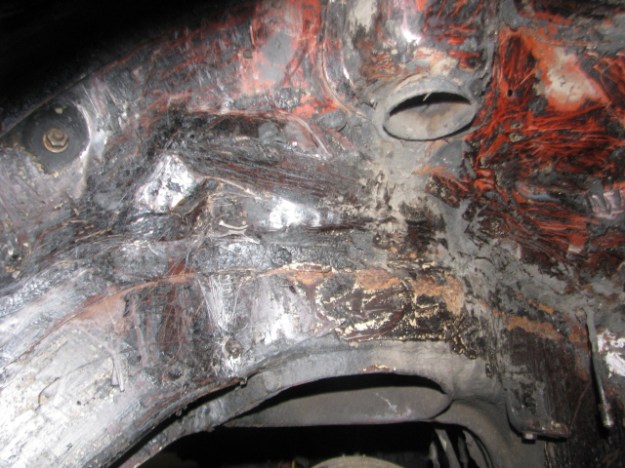
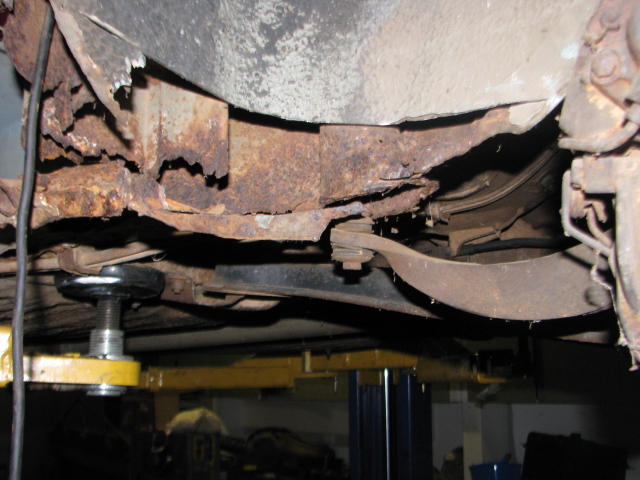
This picture shows a group of creases in the left front chassis leg
Because i intend to refinish the under side in the correct PVC undercoating I had begun to strip the bituminous underseal that had been applied in the past . This stuff causes rust rather than protect against it . The front of the left hand chassis leg is bent backwards with a large crease in it.
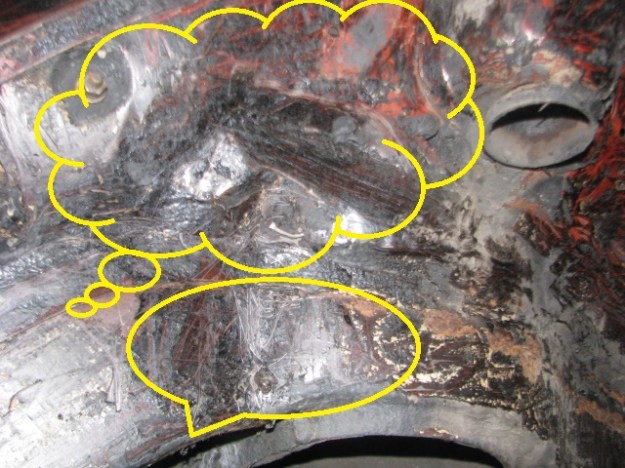
The Circles out line the easiest visible damage which had been covered with body filler to disguise it.
The Chassis leg will have to be replaced to repair the damage .
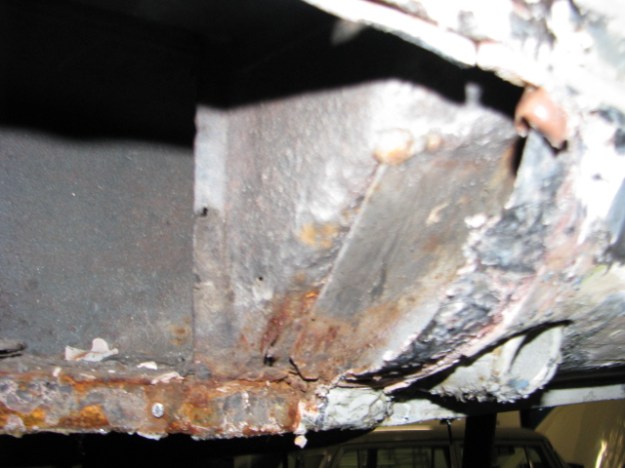
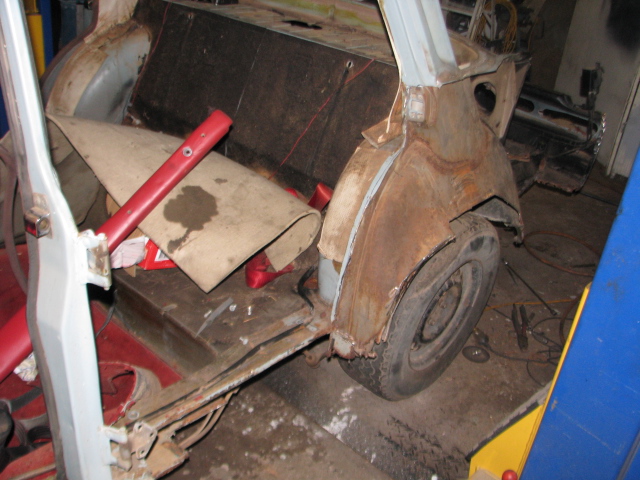
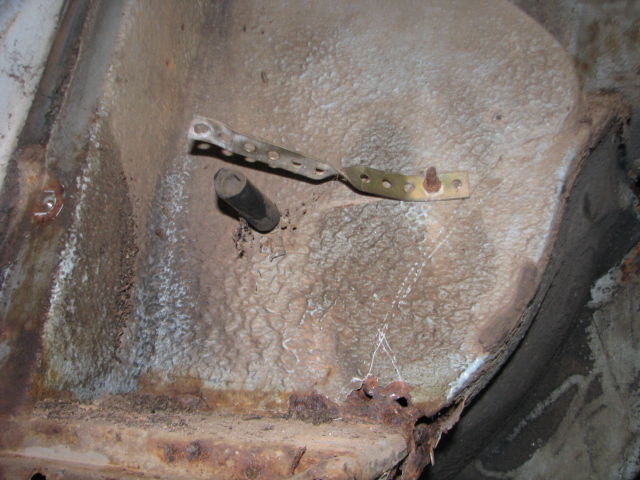
More damage and bad repairs have been discovered in the sill sections . where the remnants of one the jacking points has been discovered albeit with some bad patches and would have been too dangerous to use.
The sills on either side have been patched several times over the decades to hide rust, the one above was removed and discovered to have been held on with contact glue…..
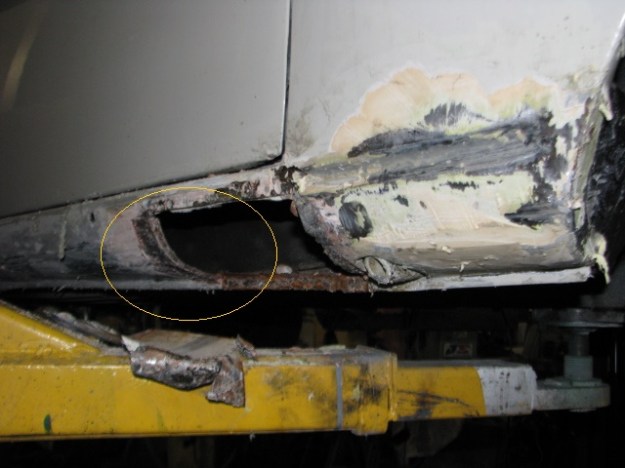
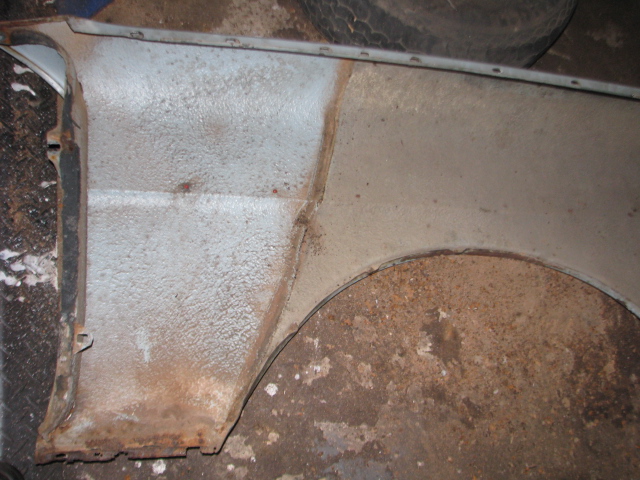
The Circle indicates an area where the sill is 4 (four) layers thick of rusted metal and body filler with patches applied with contact adhesive.


Close up of one of the patches which looks to have been cut from the side of an old fridge.