Category Archives: Mercedes m130 rebuild

Mercedes 220SE Restoration

 The Bonnet has been stripped to the metal and primed several times and is at last getting smooth enough . KONICA MINOLTA DIGITAL CAMERA

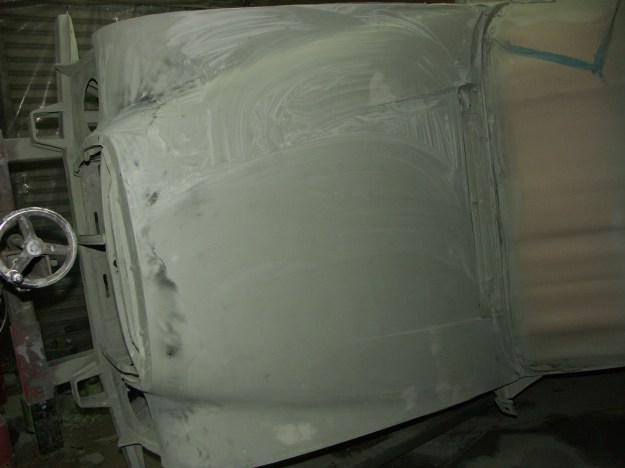
The Roof however is a different matter. It has sever damage all over it some of which i hammered out and metal finished but some is too badly damaged to completely remove so it has been leaded . The darker spots are Low spots and the lighter spots are high spots revealed in the first primer and guide coats. It’s as if someone had gone over the roof with a ball pien hammer KONICA MINOLTA DIGITAL CAMERA

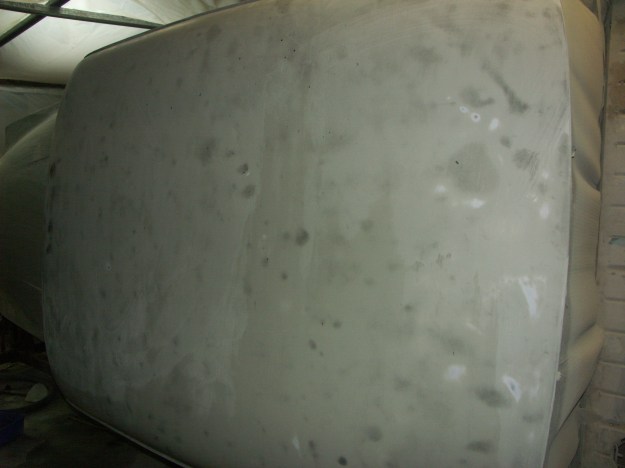
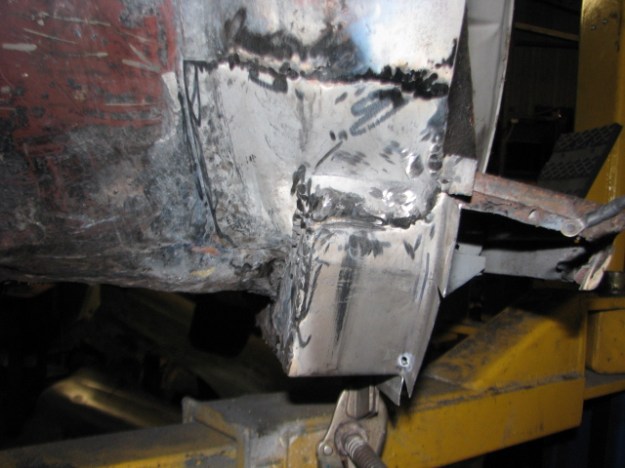
The boot Lid is similar but not as bad as high spots made by things being carried in the have hit the skin . In the meantime other panels are also getting the primer ,sand,Primer,Sand,Primer routine too..

Mercedes 220SE restoration part11

The flex joint bellows on the rear axle have been replaced with a new genuine part. The homokinetic  was examined and found to be in good condition . 

IMG_0129

This is the center rear axle pivot pin. the bushes were examined and found to be in good condition .

IMG_0130

The pinion seal was replaced as a matter of course .

IMG_0131

After 60 years of use ,the pinion flange was showing significant ware …

IMG_0143

The wear is repaired by the use of a SKF ‘speedy sleeve’ which is loctited in place,giving another 60 years of working life. 

IMG_0137

Given that the pinion seal and flexboot were leaking badly, the oil had contaminated the center pivot bush so this was replaced with a new item .

IMG_0149

With the Axle and housing, center pivot and pinion flange refitted with a new nut etc , the axle will now be prepared for painting .IMG_0145

Front torque arm bushes will replacing  as will…

IMG_0148

…the rear torque arm bushes which are simply cracked and hardened from the ravages of old age. .


Mercedes 220SE restoration pt 6

img_0095-1

Body up on Rotisserie .

The body is now mounted on a rotisserie so repairs and painting underneath can be done .

img_0100

left Front of Floor rail repaired .


img_0099-1

img_0097-1


Left Chassis rail at rear has been patched in the past with piece of Steel Pop riveted in place.

img_0102-1

Patch Removed to reveal a large rust hole underneath . A new piece of steel will be welded into place to restore the strength to the chassis section. 

img_0103-1

New Steel welded into the Chassis section . 


Mercedes Benz W108 250 S recommissioning

A few dodgy things have been uncovered on this car ,such as the gear shift wired together …..

IMG_0013

And a plastic hose wired on for the pressure line to the fuel filter…..

IMG_0014

250SE recommissioning

Today (12/08/15) A new job arrived. A really early W108 250 SE . It wouldn’t start although it would turn over.The First job when ever starting a Mercedes that has sat for several years is drain  the tank…

IMG_0469

IMG_0471

this 4 liters of rotten fuel in a 25 liter bucket… what a rotten stink! I hate this stuff!. The filter was pretty well blocked up. Thank fully a look inside the tank revealed it to be very clean despite sitting for several years.

IMG_0470

So that is replaced.

Next job,replace ALL of the rotten rubber fuel lines. IMG_0477 IMG_0478 IMG_0479

Followed by replacing the fuel filter..

IMG_0472 IMG_0473 IMG_0474 IMG_0475

I’m glad the filter was bravely trying to do it’s job 🙂 .

Once this is out of the way,the tappets have been adjusted but the timing chain needs replacing .All compressions are equal at 150PSi, so far so good….. But the spark plugs,although they look new are all carboned up. Not a good look on a Mfi engine . The Air cleaner needs to be cleaned out and i doubt very much that the oil bath unit has been apart for many many years.

In the meantime a quick look under neath reveals more of the usual things,worn diff bushes everywhere ,spring mount rubbers flogged out and a very leaky diff.

IMG_0480 IMG_0482 IMG_0483

Note the rotten exhaust…nothing like a damp storage area to rot a steel muffler..

280SE engine build part 2

Today was spent assembling the piston and con rod assemblies,fitting the new rings after checking them in the bores to ensure the ring gasp is correct . Then fitting the crank followed by  fitting the crank seal . a little task which can up to an hour to get right so the crank doesn’t leak.

280SE manual trans  M130 008 280SE manual trans  M130 009 280SE manual trans  M130 010 280SE manual trans  M130 011

The block was repainted to an original type of black finish

280SE manual trans  M130 012

280SE manual trans  M130 014

With new side plates and fasteners the short block is beginning to look like an engine again.