Category Archives: Wet Blasting in Brisbane Queensland

220SE Restoration pt.5

img_0096-3

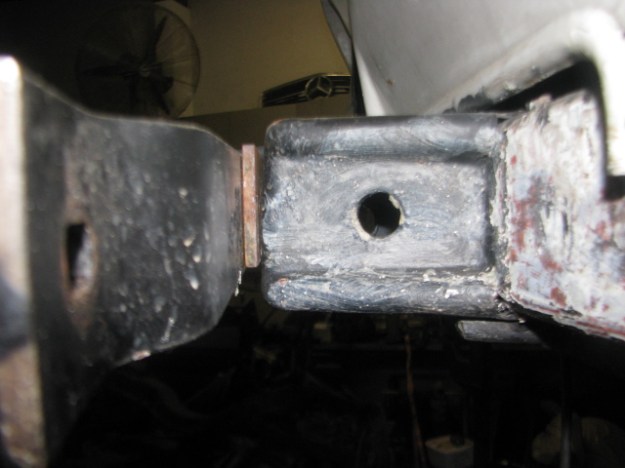
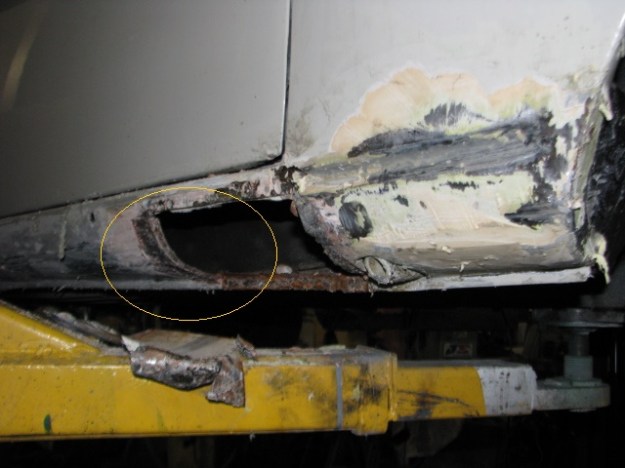
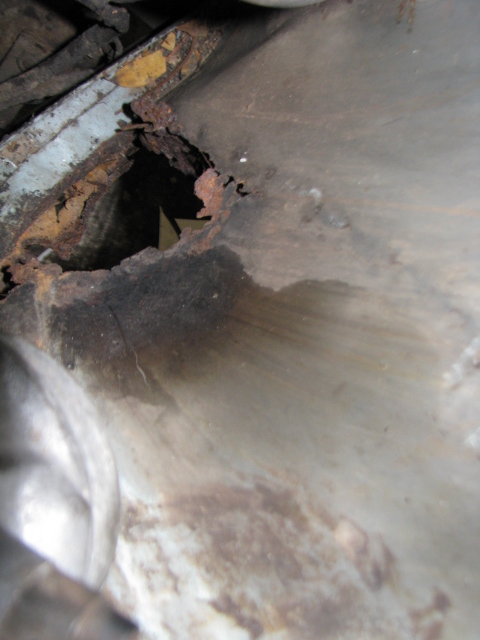
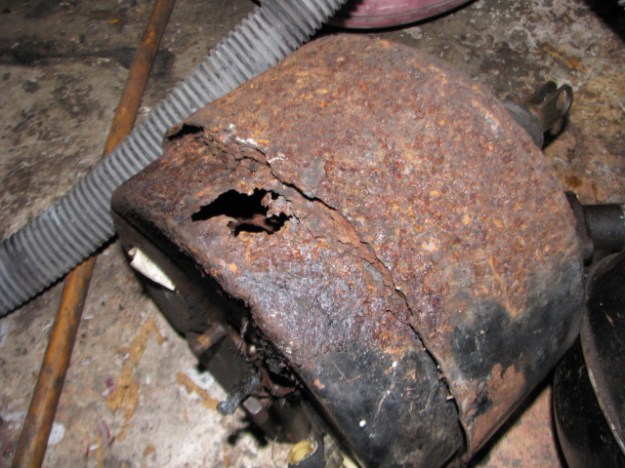
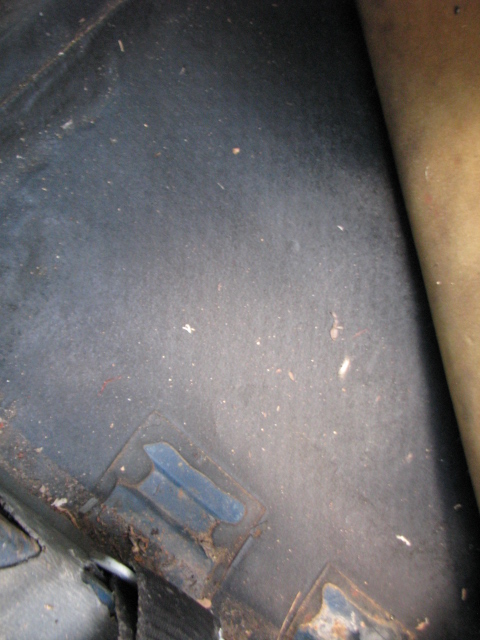
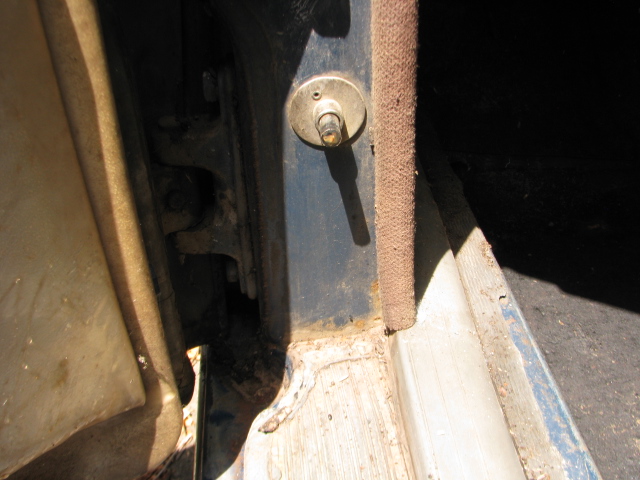
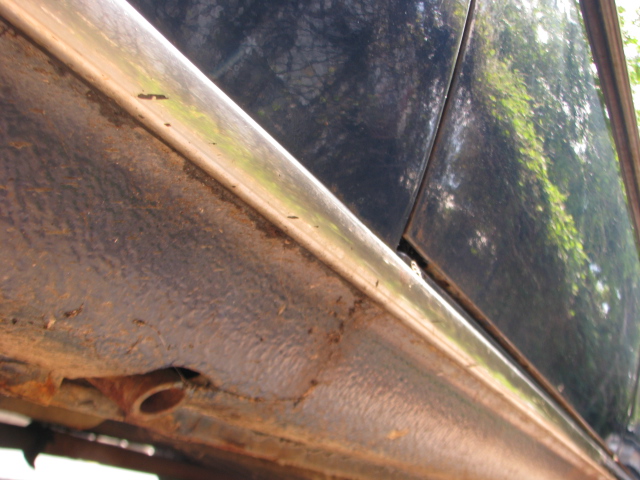
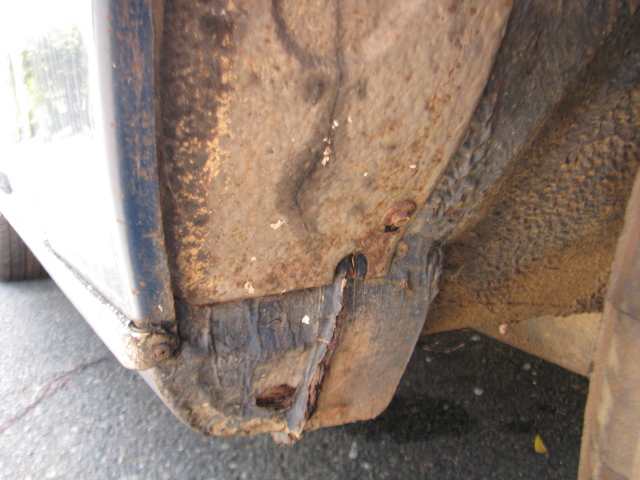
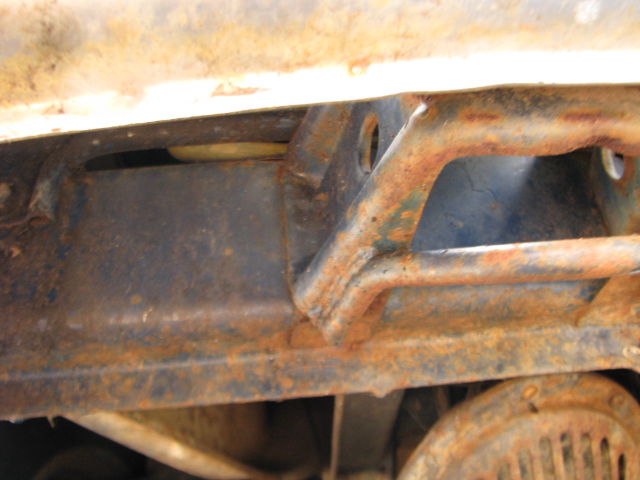
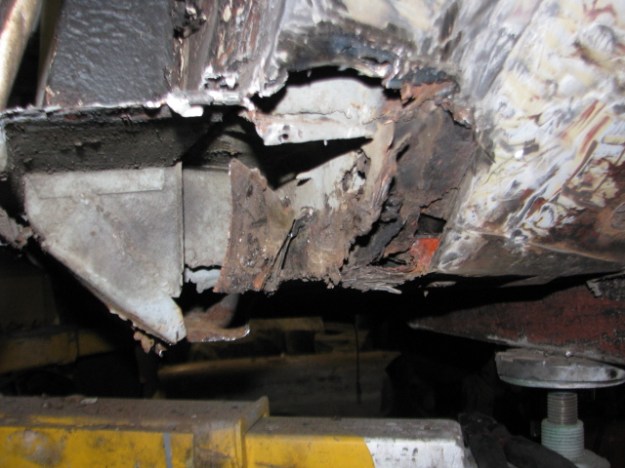
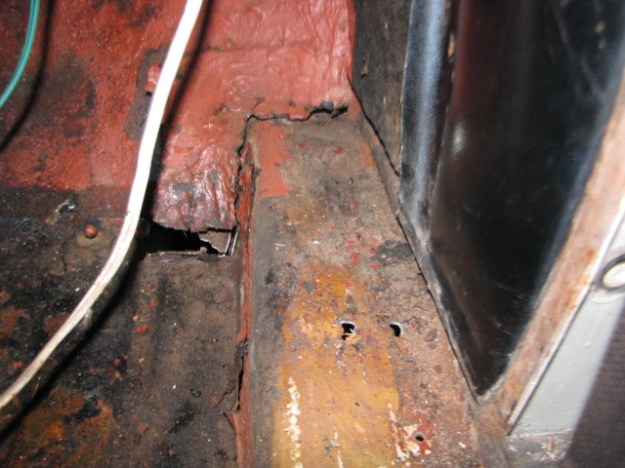
Drivers Side sill section at the Front .

this was hidden under patches and water was leaking in through holes causing more rust .

img_0095-4

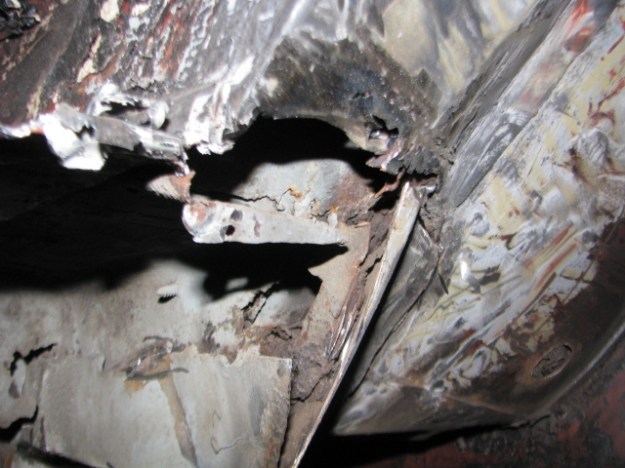
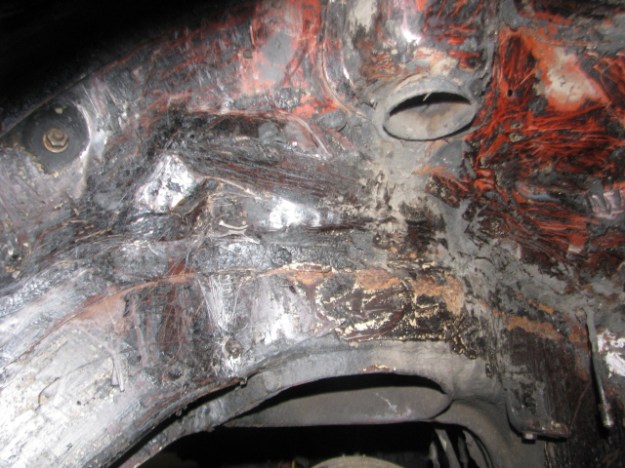
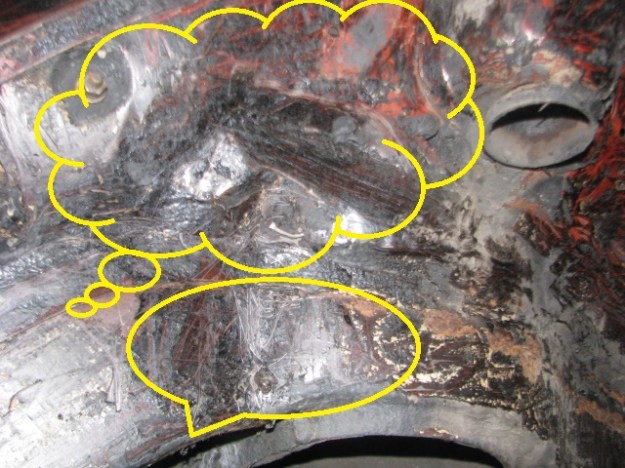
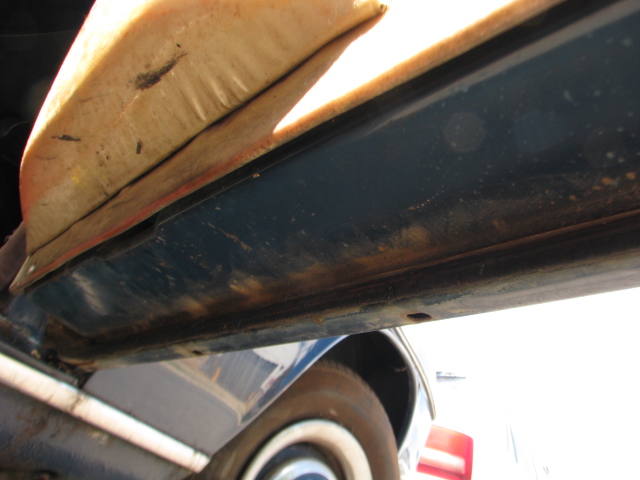
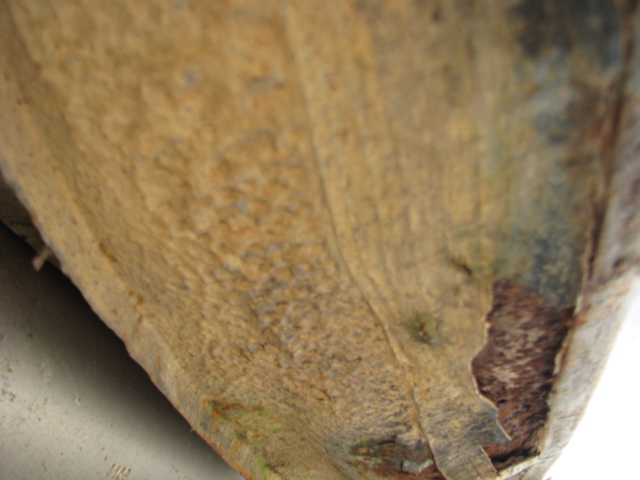
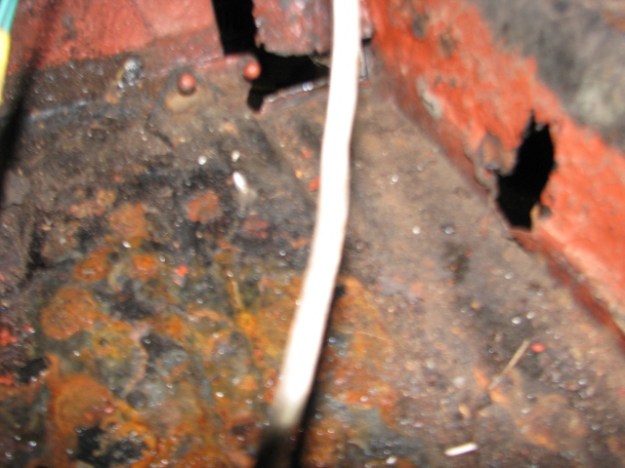
A closer veiw Showing patches hidden inside.

img_0103-1

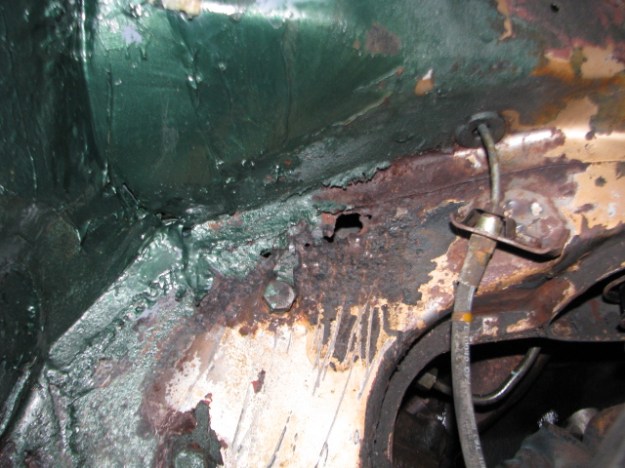
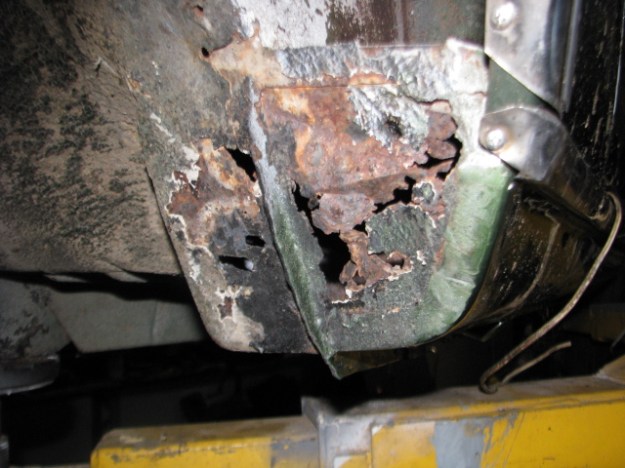
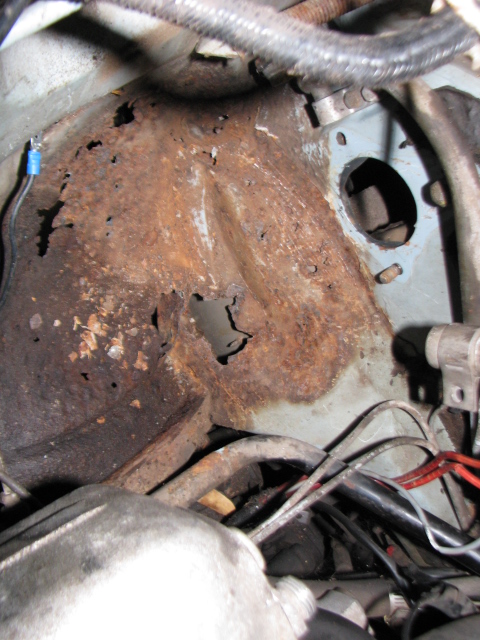
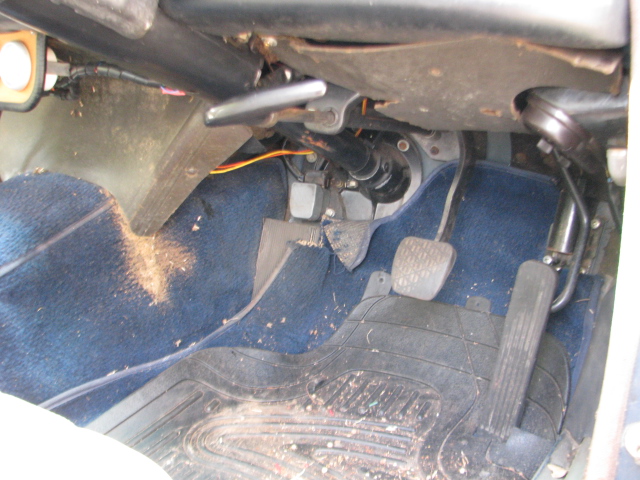
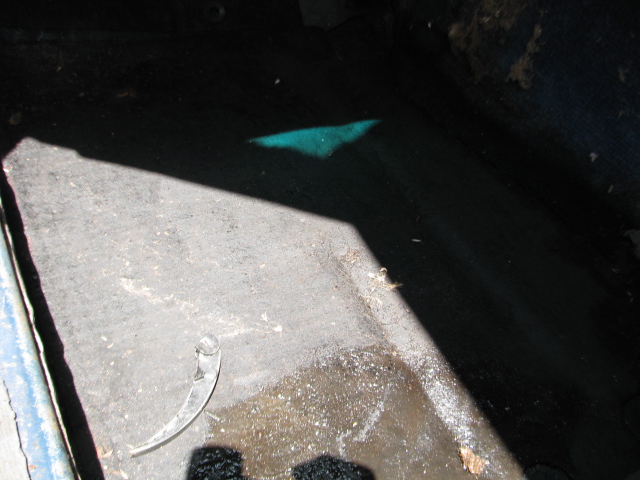
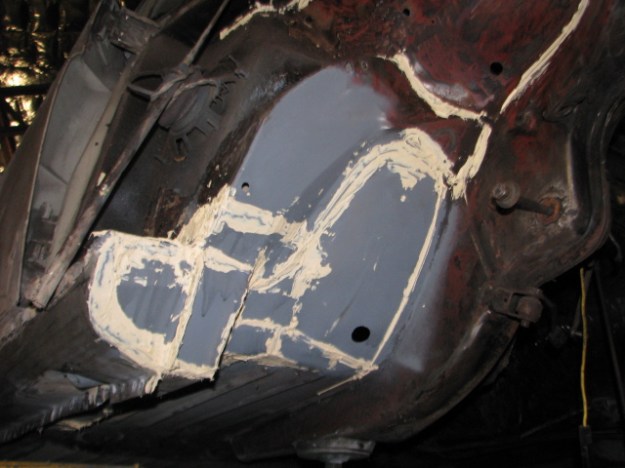
Drivers Footwell showing patches and rust holes.

img_0105-2

This cut out and replaced with a new part…

img_0101-3

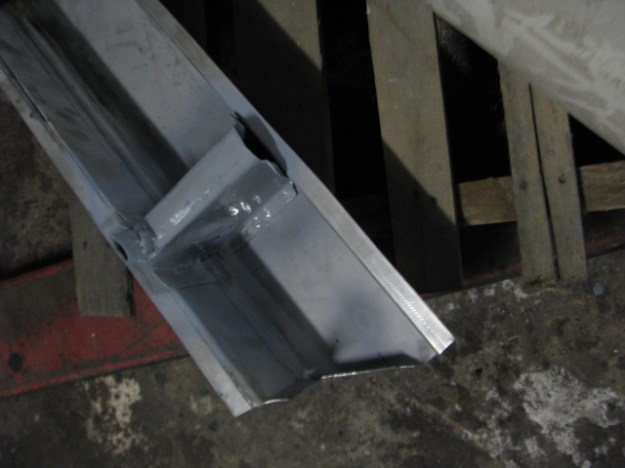
The part is zinc coated to prevent rust occurring in the future .

img_0096

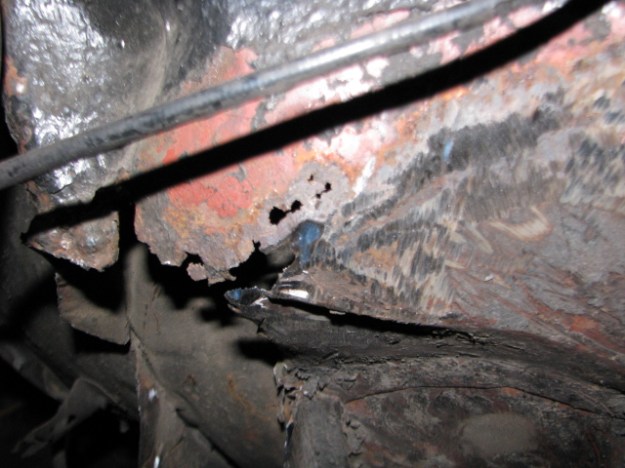
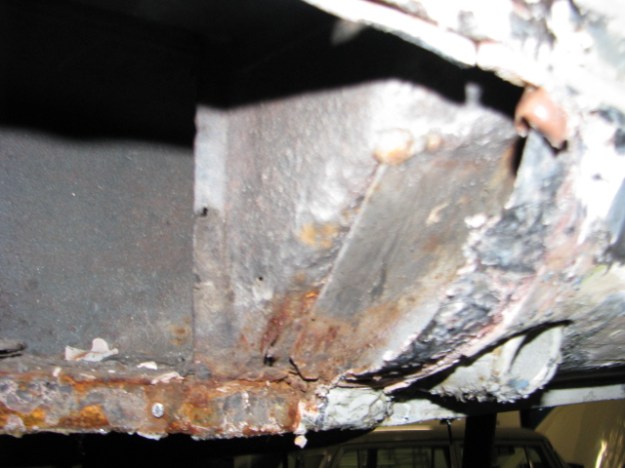
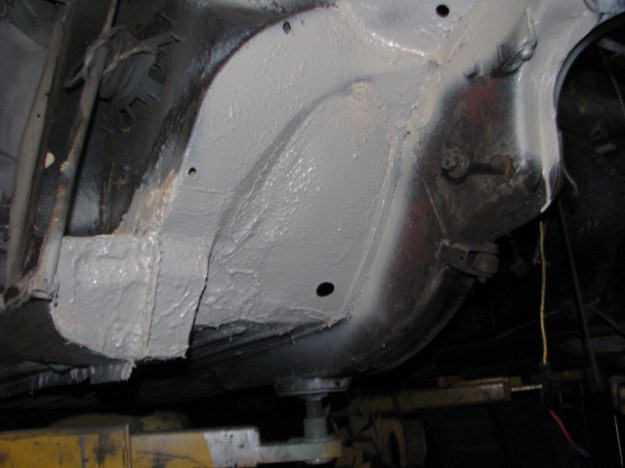
Firewall Section above the sill.

The rusted parts were all removed and new steel welded in.

img_0109

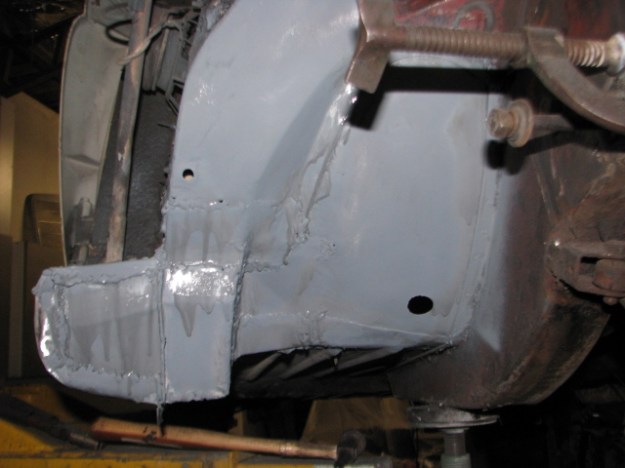
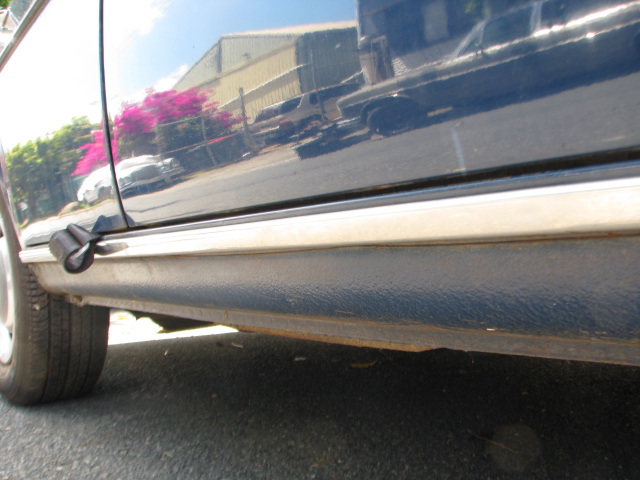
The drivers side outer sill has been fitted.

The Correct shape end caps are welded into place and the new steel painted with an etch primer.


img_0115

The welded seams are coated with seam sealer prior to the next coat of primer .

img_0093
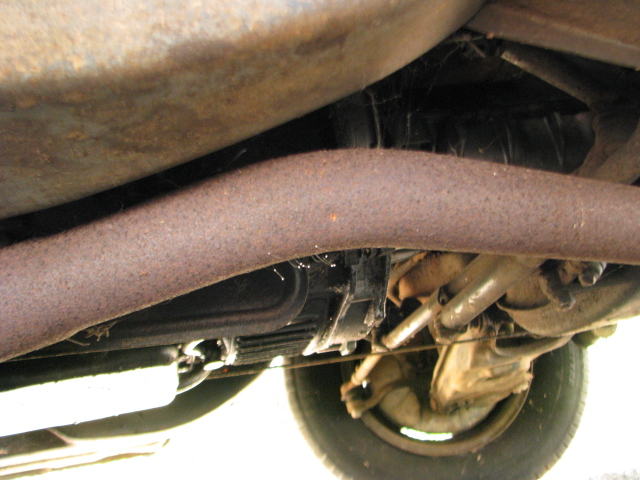
Body under protection applied 

Passenger Side patches removed .

img_0100

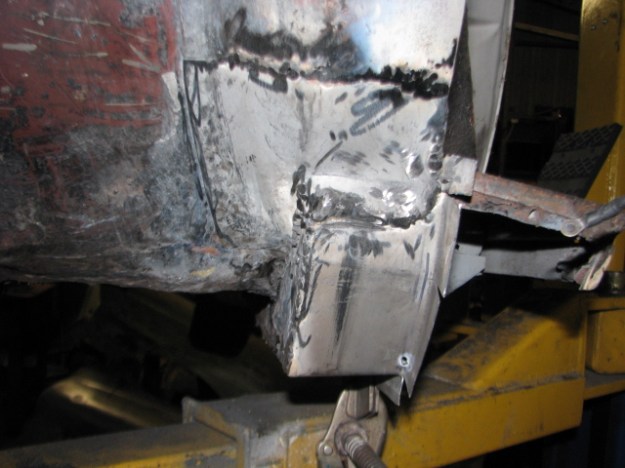
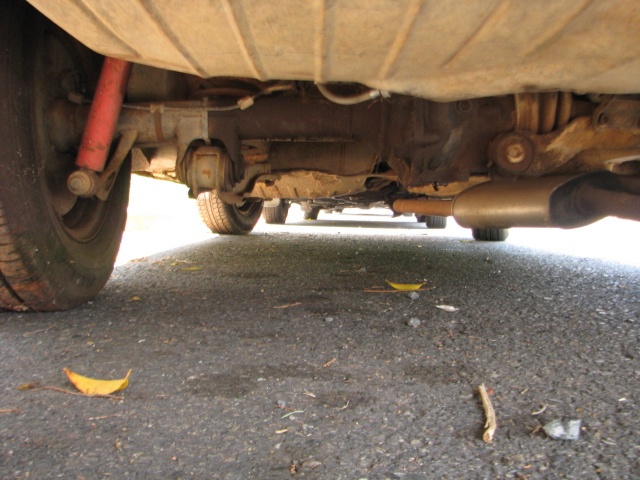
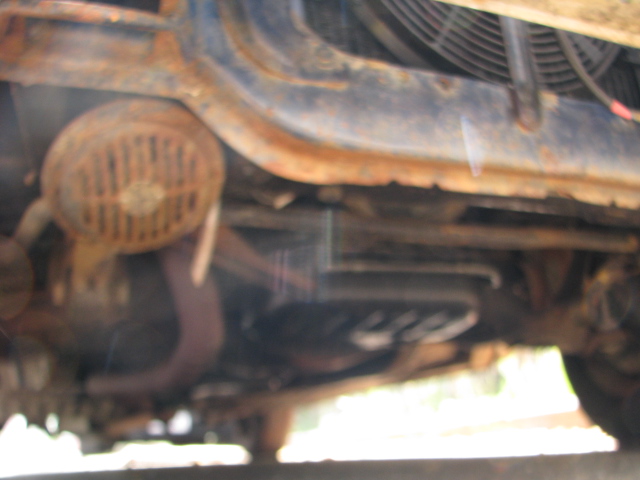
New Front end of chassis rail welded in .


220SE Restoration .pt 2

IMG_0115

After Removing the Front bumpers , this tell tale was discovered, a spacer between the Chassis bumper mount and the bumper iron.  Someone had done this to allow the front bumper to  appear to sit evenly . A closer look under the car was necessary .

IMG_0114

This picture shows a group of creases in the left front chassis leg

Because i intend to refinish the under side in the correct PVC undercoating I had begun to strip the bituminous underseal that had been applied in the past . This stuff causes rust rather than protect against it .  The front of the left hand chassis leg is bent backwards with a large crease in it.

IMG_0113

The Circles out line the easiest visible damage which had been covered with body filler to disguise it. 

The Chassis leg will have to be replaced to repair the damage .

IMG_0100

More damage and bad repairs have been discovered in the sill sections . where the remnants of one the jacking points has been discovered albeit with some bad patches and would have been too dangerous to use. 

The sills on either side have been patched several times over the decades to hide rust, the one above was removed and discovered to have been held on with contact glue…..

IMG_0098

The Circle indicates an area where the sill is 4 (four) layers thick of rusted metal and body filler with patches applied with contact adhesive. 

Close up of one of the patches which looks to have been cut from the side of an old fridge.


Mercedes Benz 220SE Restoration

A short movie showing the engine removal .

Mercedes Benz 280SE 3.5 ute

IMG_0021 (1)

25/06/16 Well…. here is a problem that no one foresaw , the drivers side chassis rail is rusted clear through ….and wait ,there is more.:-(

IMG_0022

Front ends of Sill boxes are rusted out

IMG_0023

Passenger side rusted out , all will have to repaired .

IMG_0024 (1)

Front cross member behind bumper has been replaced at sometime in the past but never welded to secure it in place ….Not a good idea as it is just floating there.

IMG_0026 (1)

New exhausts installed to replace the rusted out originals which had lasted since 1972!.

Drive shaft has new flex disc and trans has new shift rod bushes.


Mercedes 220SE Cabrio engine Rebuild assembly

IMG_0024

New Pistons installed ,side covers and sump fitted ,note: the deck has been machined to ensure it’s flat and true.

IMG_0026

Head is reassembled with all new Valves. The valve heads were pitted from corrosion and machining them would have made the valve head margins too thin.

IMG_0028

Cylinder head, water pump, and distributor drive fitted .Timing chain was replaced with a superior Iwis Chain,the one in the pic was just used to help install the new chain.

IMG_0016

Accessories added and nearly ready to install in the car.
IMG_0017

Mercedes Benz 280SE 3.5 ute Engine swap.

The new engine and trans are installed with a new oil pan ,rear and front crank seals. New injectors with new intake manifold gaskets,timing chain and rails should see a nice reliable tow car for the owner 🙂 .New fuel hoses and clamps will connect the fuel system together .

Mercedes 300 SE W112 oil eak repair

IMG_0093

i rebuilt this engine 3 years ago but it was plagued with a leaky rear seal . It’s a 10 hour job to get it out of the car and the car isn’t driven much so it took a while to fit it into the schedule .


Mercedes 300SE Lang

The Front drivers side has a bit more rust repair required esecailly under the brake booster. The booster had to removed because of a lack of brakes.IMG_0093

This is the section under the brake booster ,the round hole is where the booster is mounted to the car . this sort of corosion is caused by leaking brake fluid removing the paint .

IMG_0095

This the front inner part under the positon where the air cleaner is mounted . Rust has eaten the inside of the upper chassis section out .

IMG_0092

And… the underside of the booster . No wonder the car was idling fast and without brakes.

the new doors are in process of being derusted .:-)

Nest step will etch priming then priming in preparation for paint.

Mercedes Benz 250S for sale.

IMG_0053250 S in very straight condition. Been off the road since 2010 due to a minor fault. This is a project car and will require normal work to get registration etc . There is very little rust in the right front sill front and the rear boot box bottom,right hand side. IMG_0052

No rust in the doors or floors!! no dash cracks ,and the MBtex seats are still very good. Original boot mat is in very nice condition . IMG_0056IMG_0065 (1)IMG_0069IMG_0070IMG_0058 (1)IMG_0057IMG_0067 (1)IMG_0068 (1)IMG_0064 (1)IMG_0081IMG_0082IMG_0079IMG_0080IMG_0087IMG_0084IMG_0054IMG_0055IMG_0059 (1)IMG_0060 (1)IMG_0061 (1)IMG_0066 (1)IMG_0073IMG_0074IMG_0075IMG_0076IMG_0077IMG_0078IMG_0083IMG_0085IMG_0086IMG_0088IMG_0089IMG_0090IMG_0092IMG_0093IMG_0094IMG_0095IMG_0096IMG_0097IMG_0098IMG_0099IMG_0101IMG_0100IMG_0102IMG_0103IMG_0104IMG_0106IMG_0107IMG_0108IMG_0109IMG_0100IMG_0102IMG_0103IMG_0104IMG_0106IMG_0107IMG_0108IMG_0109IMG_0111IMG_0112IMG_0113IMG_0114IMG_0116IMG_0117IMG_0119IMG_0121

Mercedes 280 SE 3.5 ute conversion.

IMG_0331 IMG_0332

In these  pictures of the distributor, the inside is full of the damned bicarb which was used to strip the older paint of the cars body before painting.

The distributor will be stripped and overhauled because the bicarb will affect the fuel injection trigger points which are in the lower part of the distributor.

IMG_0333

IMG_0334In this picture it can be seen that the bicarb has infiltrated the igniton wiring.