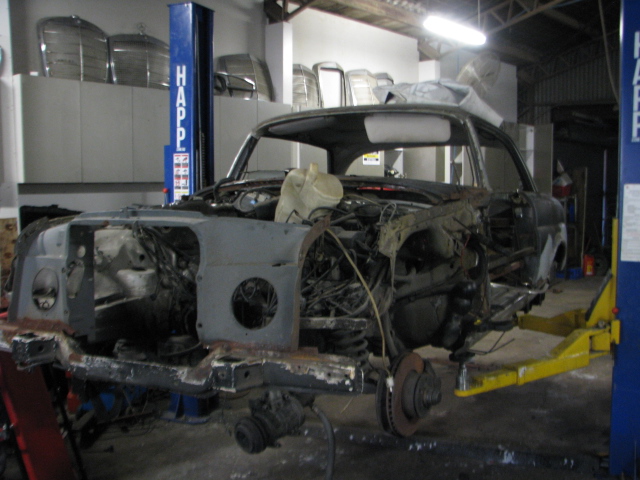
A little progress,the car was placed on it’s wheels for the first time.


Now i can start thinking about stitching it all together .

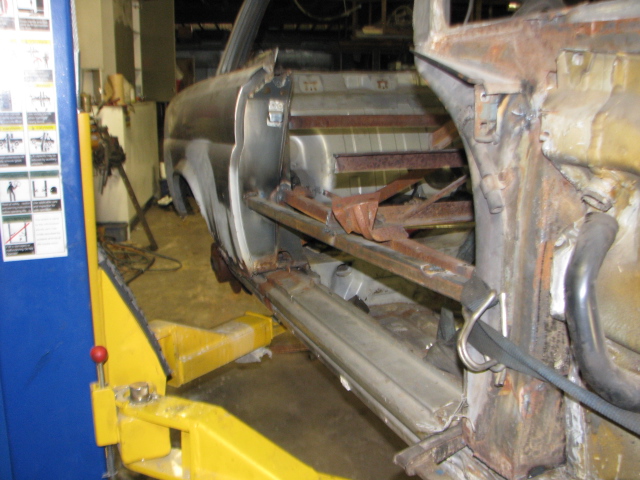
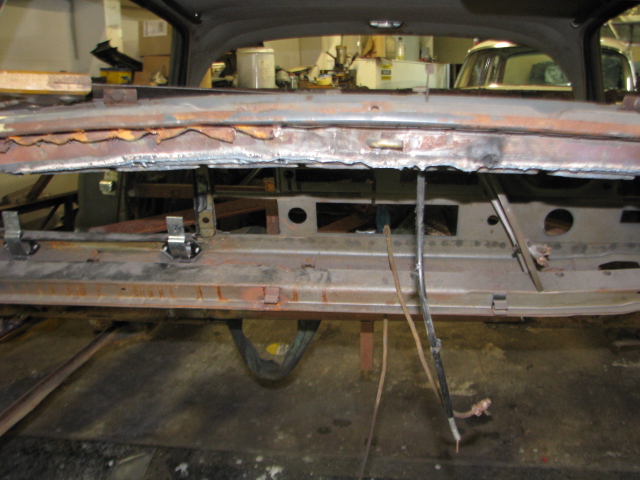
Bracing remains in the car until the “A” and “B” pillars are connected permanently


A little progress,the car was placed on it’s wheels for the first time.
Now i can start thinking about stitching it all together .
Bracing remains in the car until the “A” and “B” pillars are connected permanently

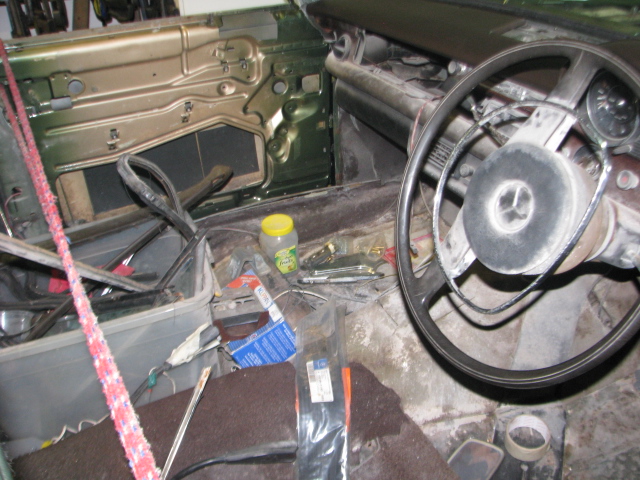
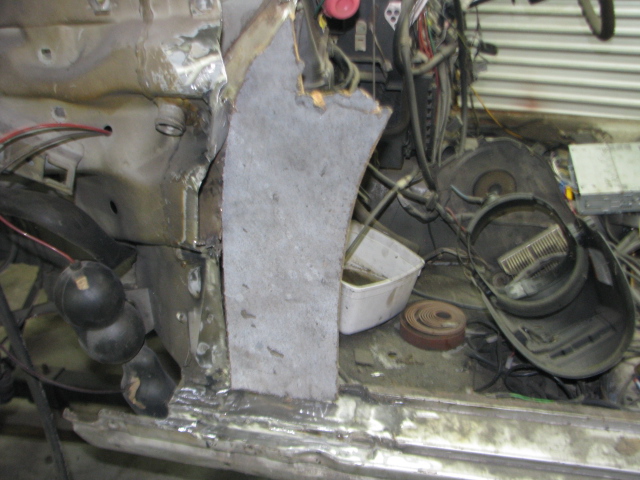
The wiring in this ute project has also suffered because of the bicarb getting into insulation and plugsAdd Media . i had to replace the entire fuse box because of corrosion.

A long job,entailing unscrewing each terminal,then cleaning as much of the bicarb out of the terminal end or replacing those too badly damaged and replacing the ring terminals with new ones.
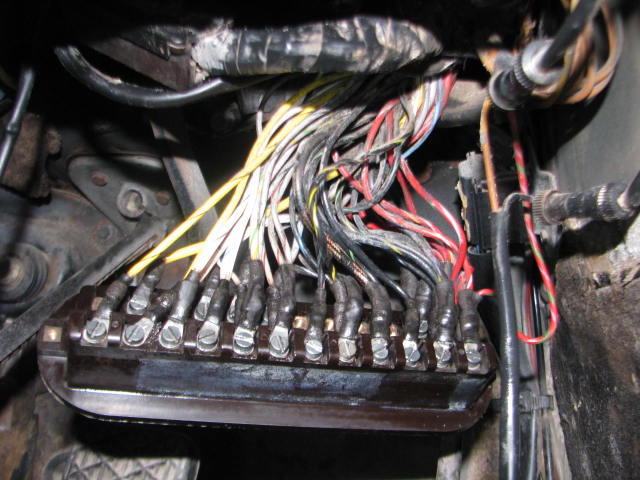
i still have to repaint the fuse box mount panel and repair the footwell light,but in the meantime,I will be removing the steering xcolumn to get the bicarb out of the column housing and checking the top bearing.and gearshift bushing..
But First, the heater must be installed.
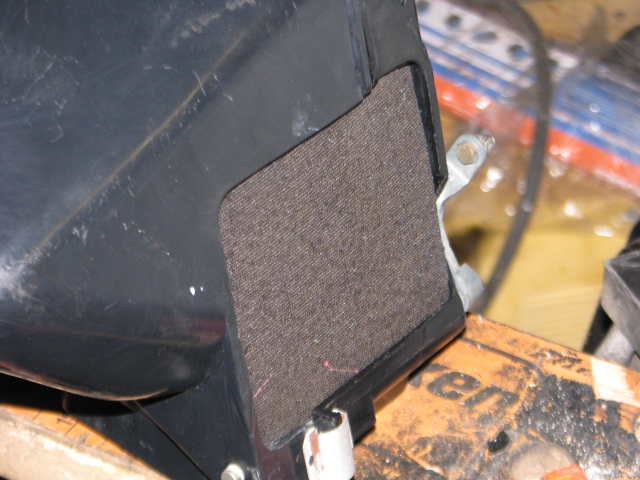
The screen demister ducts have been cleaned or replaced as necessary with new antisqueak felts.
 . The controls are fitted to heater before it is fitted into the car.
 all of the foam seals and matrix rubber mounts have been replaced in the heater.


These are a pretty tight fit,but the heater goes in first ,followed by the demister ducts.. The column must bwe removed and repaited too. The handbrake is off,to replace the cable and clean up the shaft that has reacted with the bicarb.
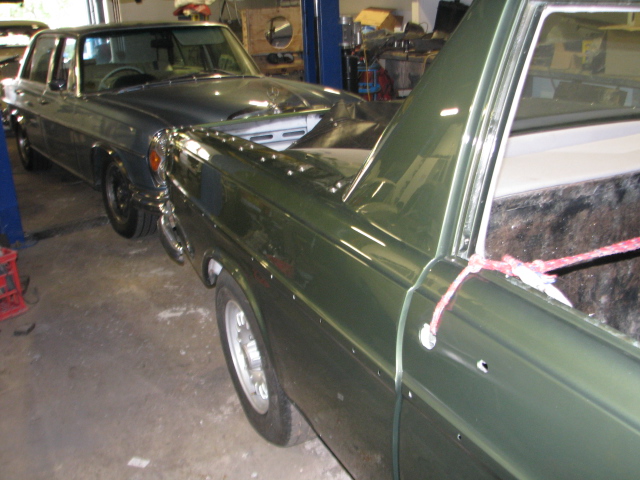
I First saw this Car some years ago when the owner wanted an opinion of it , before buying it. In the mean time it was stripped and repainted a gorgeous Moss green Metallic . The job ahead of me now is too reassemble it to show standard
.


The interior needs a lot of work as it appears to have been sitting at the painters for a very long time.
 The engine room is scruffy so that is going to be a big job sorting out a locked up engine and redoing all the plating and replacing all the rubber.

 and i thought i’d try a Borbet wheel for size on my coupe project.
 My template showed where to trim the cowl on the W126 Chassis ,I was pretty close all in all and not much more needed to come off.
 After a few hours trimming and adjusting the body is now sitting in place …..
 In this picture the coupes A pillar is now in the position on the chassis where the Original A pillar was .
 Drivers side A pillar .Note how the sill is in the right place.
 Thats a tie down strap pulling the shell further forward .
 B Pillar showing how much rust will need to be removed .Same on Drivers side.
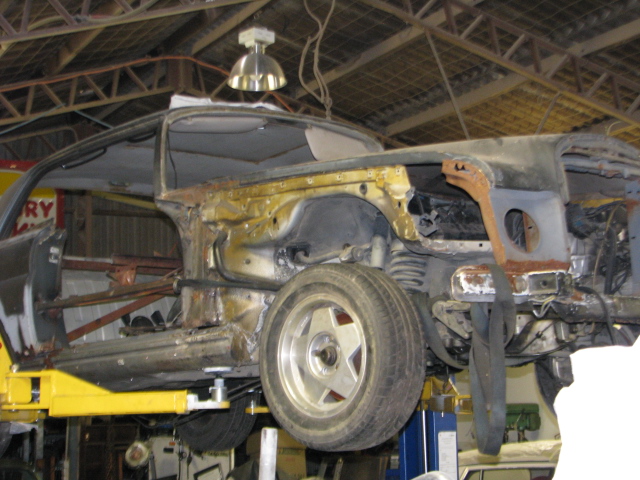
To fit the coupe shell on the W126 floor pan. I had to gauge how much room was available to drop the body down and how much was still to be removed.
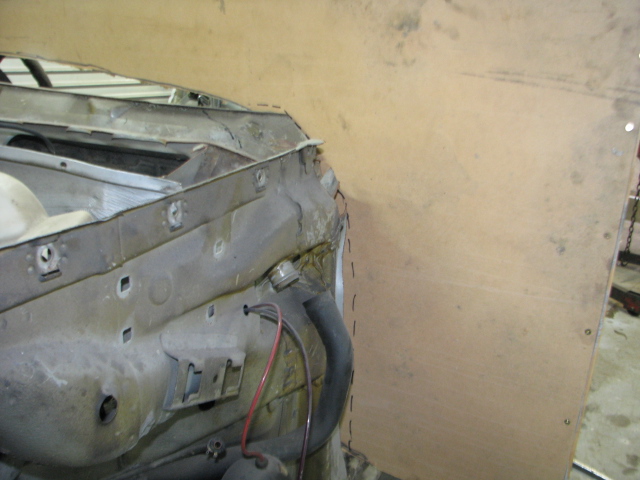
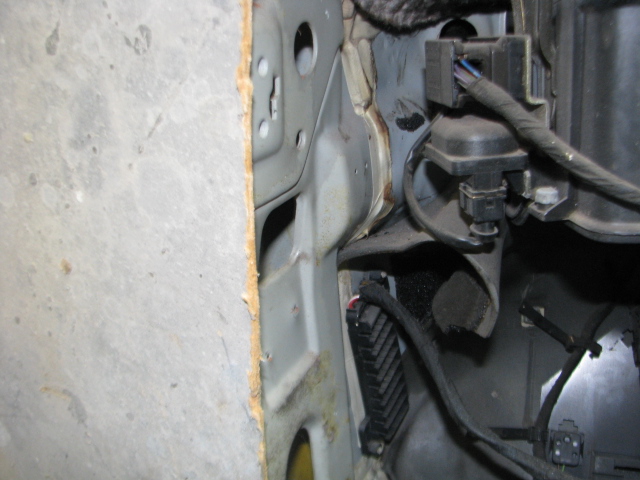
I had a piece of water damaged MDF board which I placed up against the coupe’s cowl. Using a sharpie marker I traced the shape of the inside .That will fit against the W126 cowl .
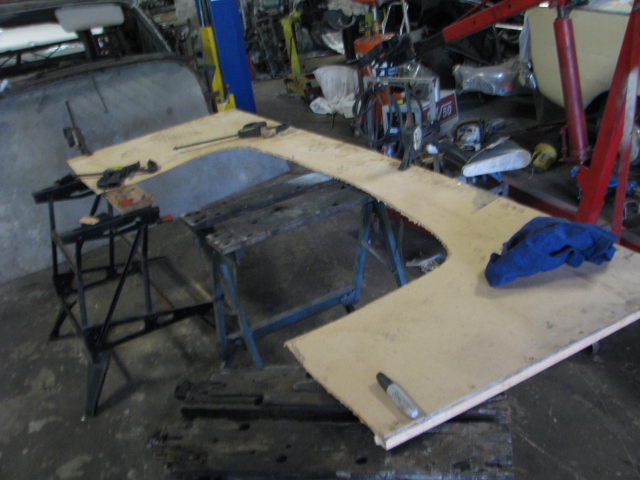
The peice i cut out of the middle fits perfectly in the hole. So…i got that bit right…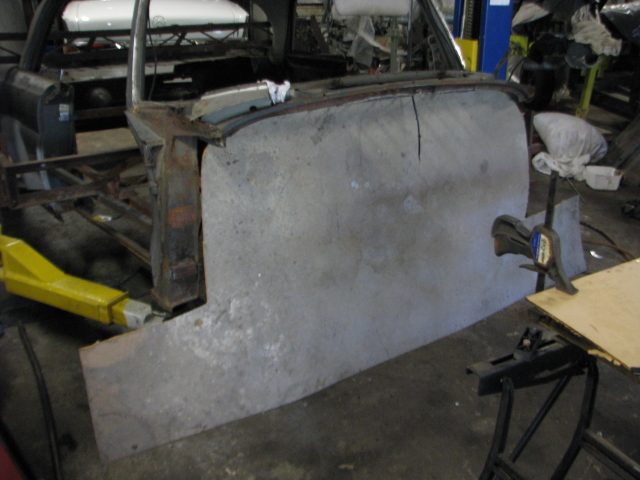
I glued and screwed a piece of 1×2 pine batten on the back of the template .I can now lift it up against the W126 firewall as I chop each piece off. initially i though ui would weld the W111 A pillar to the cut down W126 A pillar . In the end to fit the template I removed the entire A pillar.
 At the start of this process, I put the template against the A pillar .
 Now, there are two dimensions to this,the left to right profile and the Fore and aft Profile .
 I took a profile off the W111 A pillar .As seen on the left,after the surgical removal of the W126 A pillar
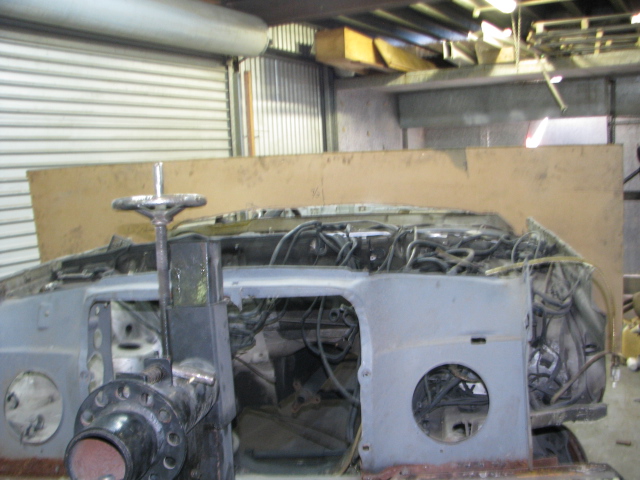
. This is the coupes cowl after I plasma cut the remnants of the heater box out . That’s the rear of dash,which will need to be removed anyway because it’s on the wrong side .
Next Job…cut the W126 rear wheel houses to fit into the coupe shell.

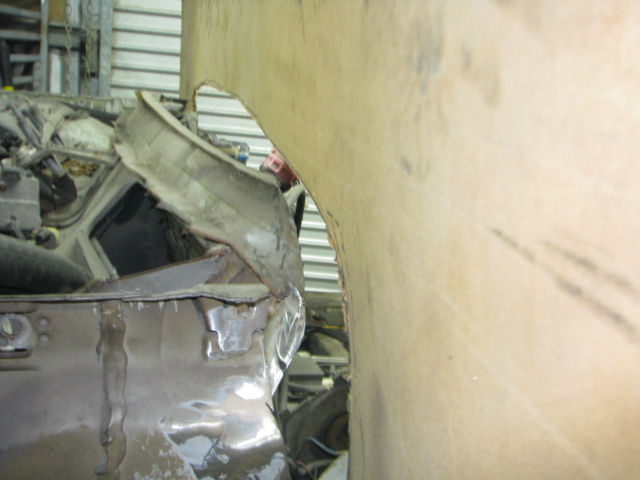
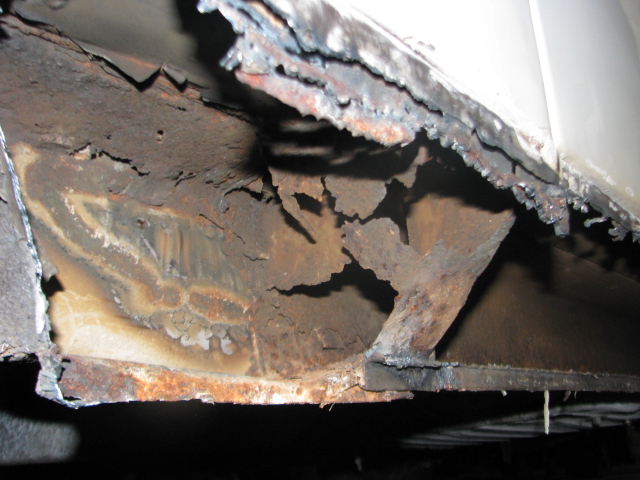
today,Australia Day ,was spent cutting the passenger side sill cover off. It was pretty rough on the outside but under neath it was even worse . Two layers of rusty metal covered in a thick layer of filler…all very ugly The above pic shows what was under the filler, pataches welded and pop riveted into place..
Front of the sill covered in pataches, silicone bathroom calking and black bituminous under seal. All guaranteed to look ugly and dodgy. Note: No jack point…or even a hole for one!!!

Cutting open the pathes with the plasma cutter was slow because of all the layers of rust hidden underneath.

The inside of the sill revealed it to be the outside of another panel from another car. Someone had cut a curved piece from a wreck and stuck it over the rust
Above is picture taken from ground level pointing upwards. As can be seen the bottom of the A pillar has dissapeared completely along with jack point . On the left of the pic is another patech welded over rust but on the inside of the chassis rail. This has been removed and new chassis rail section made to replace the missing section of chassis.
Below, the double layers of metal 1/2 way through removal.

Below, this is remants of the front of the chassis after the patches on the floor were removed.

 Nothing beats driving a vintage Benz on a long trip.
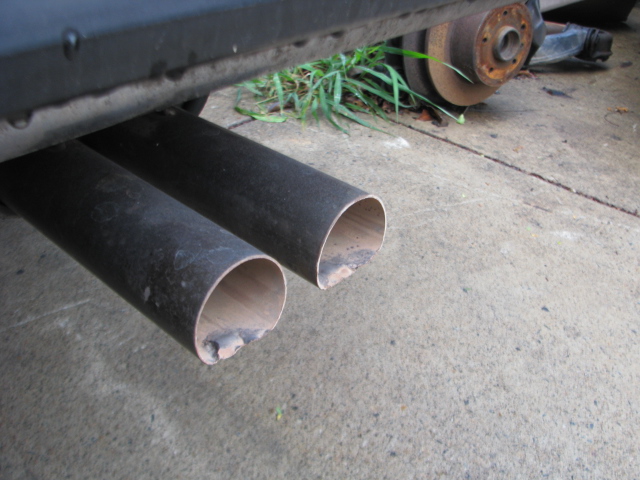
This year was no exception and I took my 300SEL 6.3 to Gladstone to stay at a relatives and enjoy a bit of seasonal cheer. The car ran great ( except for a blown fuel line which wasted $100 worth of fuel on the road) but I suspect the injection pump ,which I had rebuilt some years ago at great expense ,is running far too lean. how long since exhaust pipes were this color? or are they slipping lead back into high octane fuel?
That’s my 6.3 at Rockhampton where we spent a few hours looking for an RV for a relative.
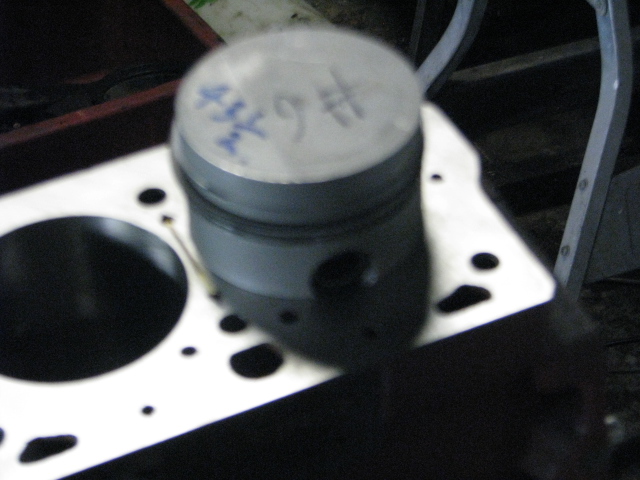
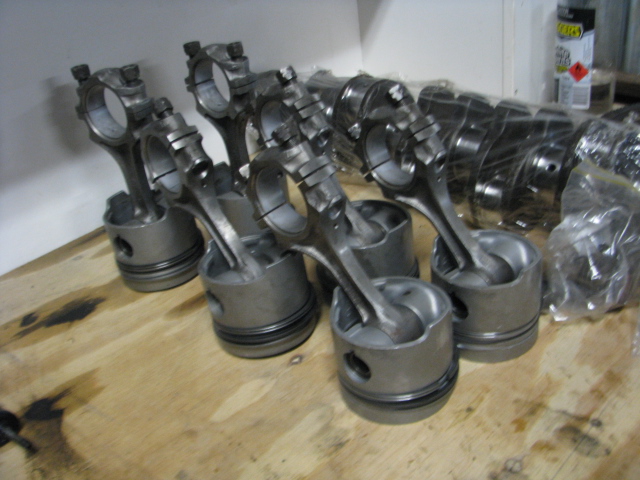
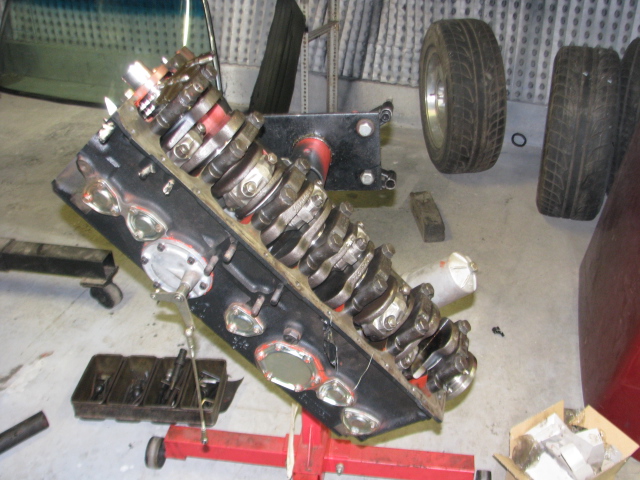
Today was spent assembling the piston and con rod assemblies,fitting the new rings after checking them in the bores to ensure the ring gasp is correct . Then fitting the crank followed by fitting the crank seal . a little task which can up to an hour to get right so the crank doesn’t leak.
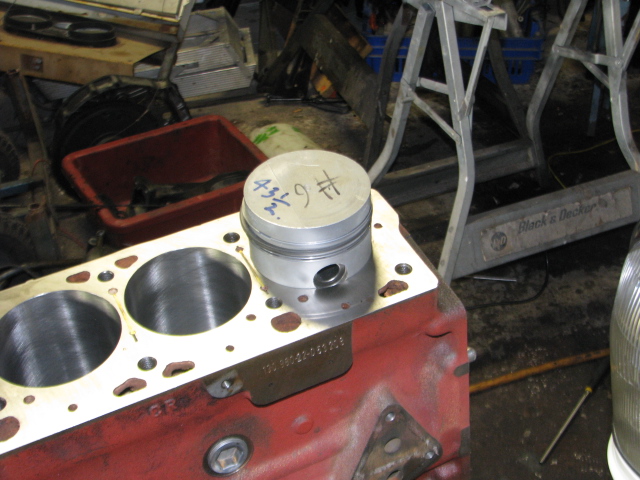
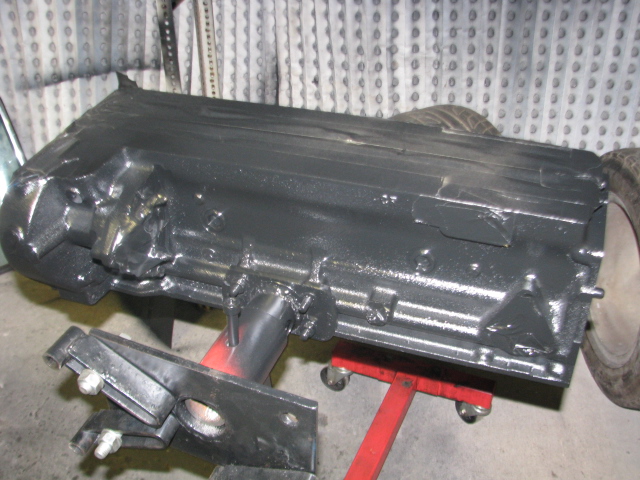
The block was repainted to an original type of black finish
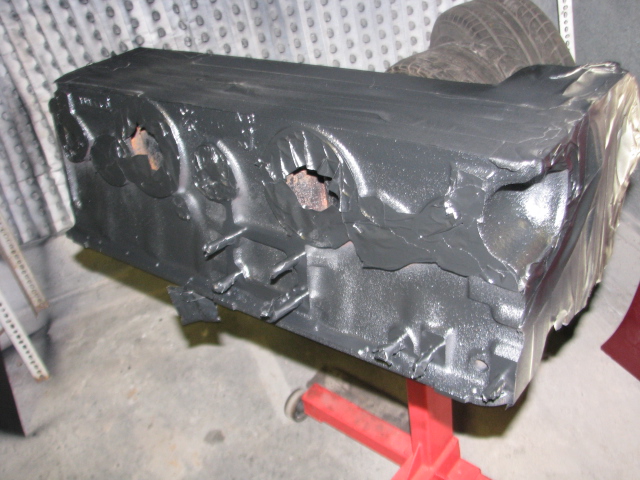
With new side plates and fasteners the short block is beginning to look like an engine again.
 To convert an automatic trans engine to a Manual requires a bit of work
Pictured on the left is the original 220SE flywheel with segmants removed to match the rotating balnce of the drive plate on the right. .A lot of material had to be removed . The reason the 250SE engine vibrated itself to death was because this simple job had not been carried out.
 it’s a bit hard to see here but the gear lever is that little thing between the seats.

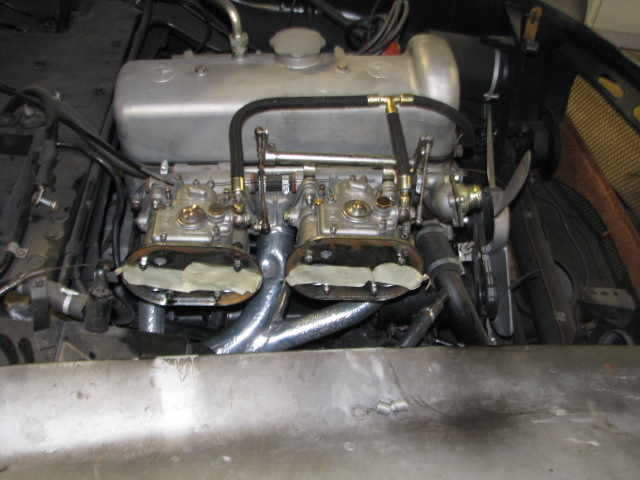
I’ve been restoring a 190SL for an owner and part of the task involves rebuilding it’s non standard DCOE carbs. A lot of W121’s were fitted with these over years to get around the problems thrown up by the awful Solex side draft carbs originally fitted.
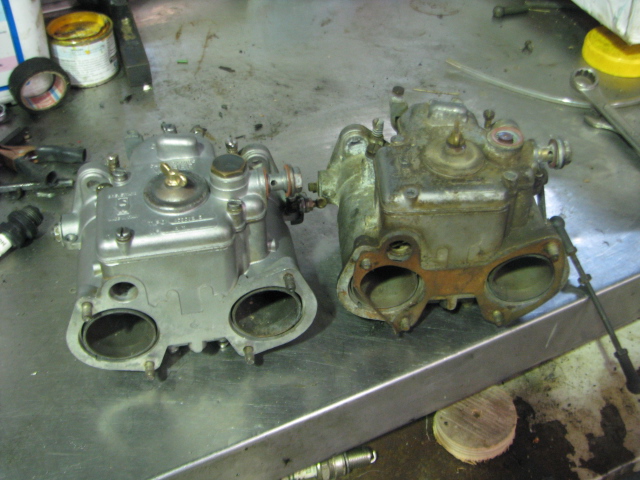 Carb on the left has been rebuilt
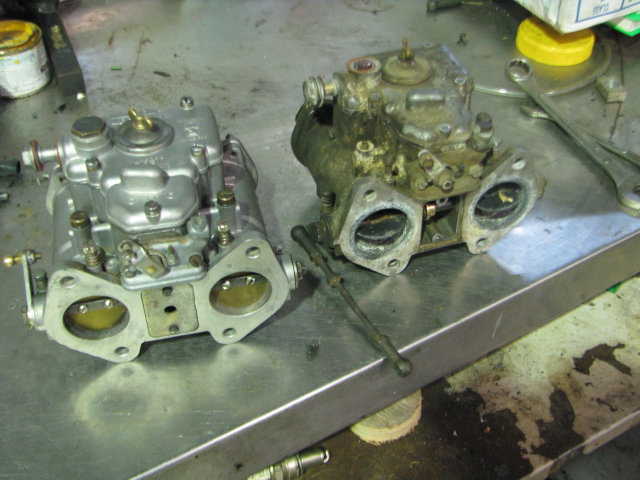 Carb on the right is in as is condition with blocked jets and water damge

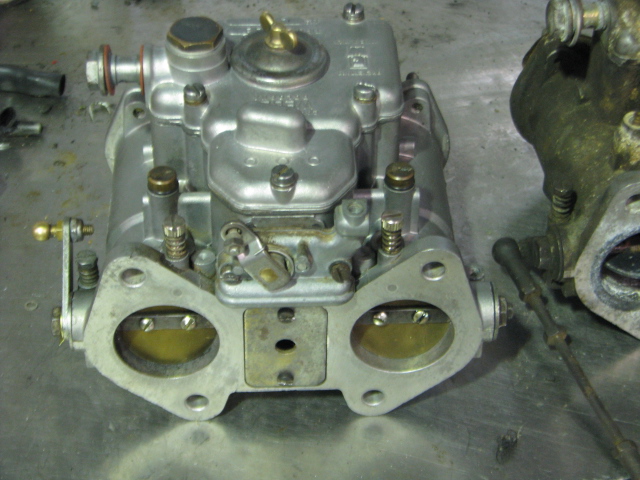
As can be seen in the left photo the chokes have signs of water from the fuel supply.Carb on the right after stripping ,wet blasting and rebuilding.
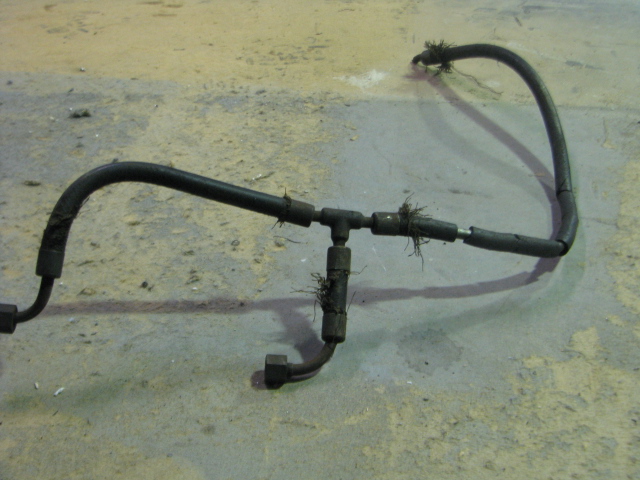
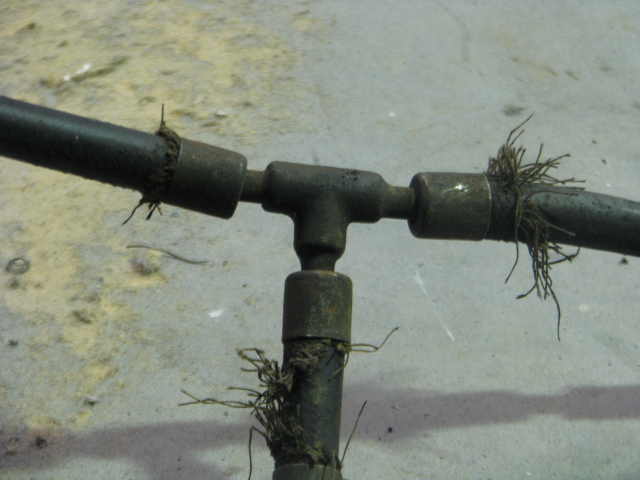
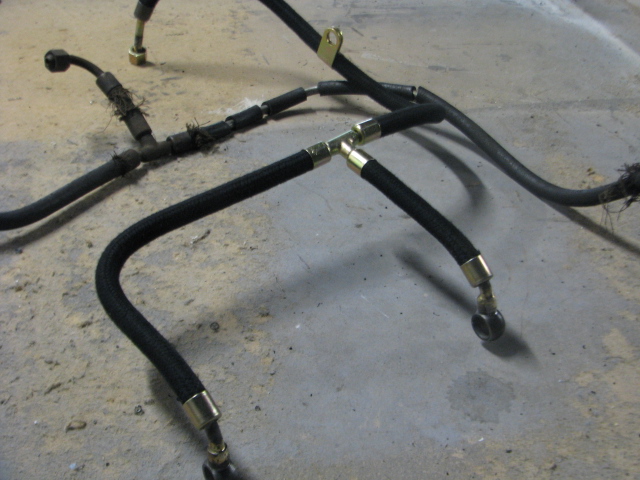
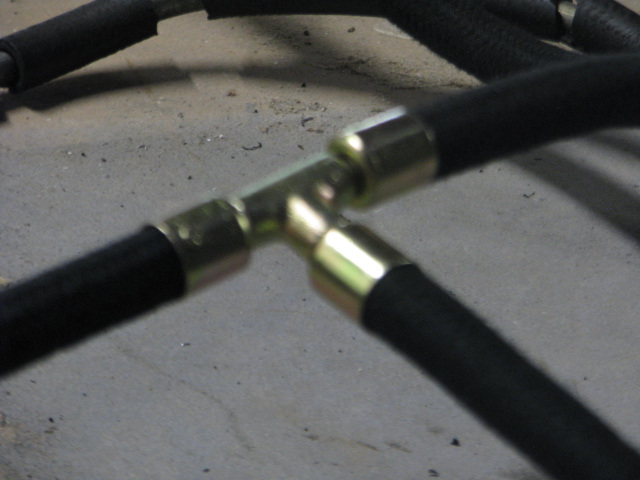
Below is how the original fuel pipe looked before restoration .
Below the original pipe after replating the pipe and ferules with the ends resoldered back in place.
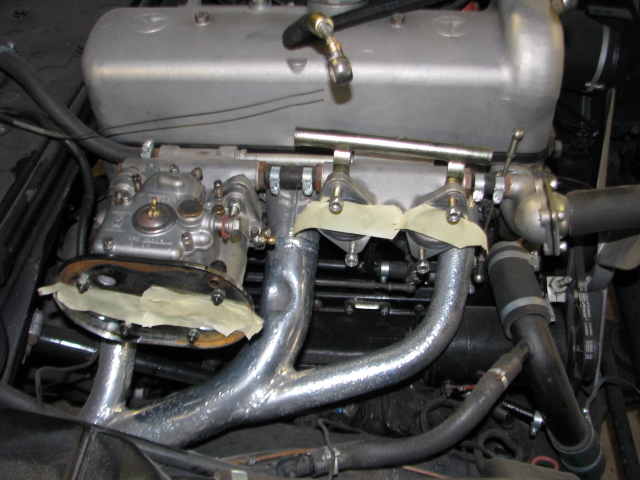
Temporary mock up of the rear carb in place.