Author Archives: briskiwiron

Unknown's avatar

About briskiwiron

i care for,maintain and restore Mercedes Benz Vehicles built before 1980 .

300 SE Lang W112 Rust repair progress

rear panel rust repair .

The rear panel on this car has had a few hits over the last 51 years and suffered from some pretty bad repair work. To straighten the dents and remove the rust ,caused by leaking tail light gasket i made a patch and cut out the rust with a hole saw.

With access through the hole , I could poke a dolly in and shrink out all the small dents .Last step was to repair the hole where the lights fit .It was pretty tough getting the dings out because the metal had been ground pretty hard in the past when someone has tried to fix the panel in the past.

Mercedes C107 Restoration and repair progress.

IMG_0109

Right Front wheel house and tow hook fabricated and welded into place . now the proper shape with strength restored  to the chassis 


IMG_0110

Rear of wheel houses are now the correct shape and finish .

IMG_0112


Wiper shaft washers have been replaced with new nut caps to prevent water running down them .


IMG_0111IMG_0114

Bonnet Has been adjusted so gaps are now correct .

BIMG_0115

Mercedes W112 Rust repair ,More progress.

Rear panel repairs.

The rear panel looked straight to begin with but there was tell tail signs of body filler which was falling out. After stripping it back to the bare steel ,it could be seen tht the panel wasn’t too badly damaged ,


The white stuff is old body filler which will be removed.

IMG_0101

A few small rust outs have been welded up the ring shows more filler which has been parti ally removed.

IMG_0102

On the right side there is a rust hole which will be repaired with a patch.

IMG_0107

On both sides of the fuel door i had to shrink out a pair of dents which had been filled. Hard to see here but it’s now very smooth .

These are the two dents i removed


Mercedes W112 Rust repair

IMG_0093

The area under the brake booster on this car was completely rotten so the only way out was to remove all the rust and repair it .

IMG_0085

Most of the rotten parts are removed .And new peices fabricated to replace them.

IMG_0085 (1)

This shaped like this to allow the larger T51 ATe Brake booster to fit.

IMG_0085


The front part of the inner fender section was also rotted out ,Possibly because the lower drain holes had blocked with leaves.

IMG_0082 (1)

With the Rotten parts removed ,a new piece is welded in  on the inner part in the air cleaner section . the curve is too fit the air cleaner housing in place.

IMG_0083 (1)

Once welded in place the new peice is etch primed and wax shot up into the frame section to protect it against rust in future.

IMG_0087 (1)

The next part of this is the cover panel. This is welded in place but has been painted inside too .IMG_0089 (1)

A coat of etch primer to protect the past until paint is applied .

Mercedes 300 SE W112 oil eak repair

IMG_0093

i rebuilt this engine 3 years ago but it was plagued with a leaky rear seal . It’s a 10 hour job to get it out of the car and the car isn’t driven much so it took a while to fit it into the schedule .


Mercedes 450SLC C107

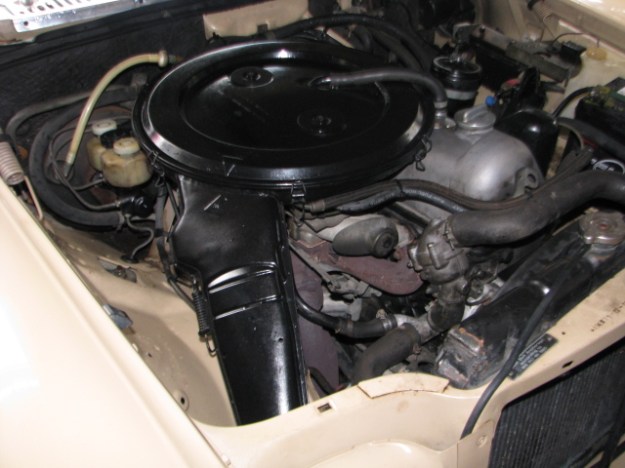
I have been asked to give this a bit of a tune up ,mainly a new timing chain , tensioner and rails . The Chain was badly worn but the rails were brown but OK, even though they are dated 1977 !!. IMG_0082

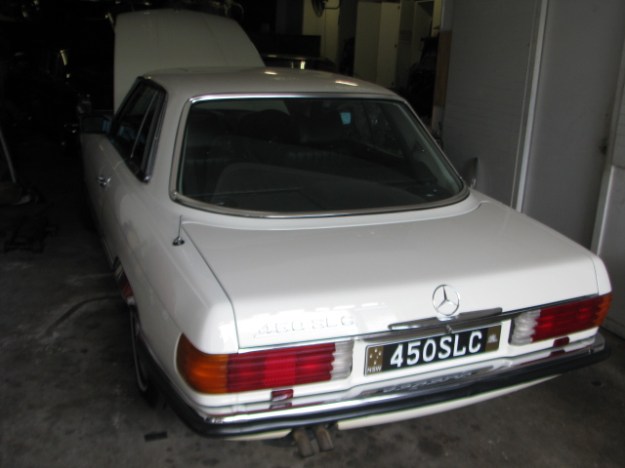
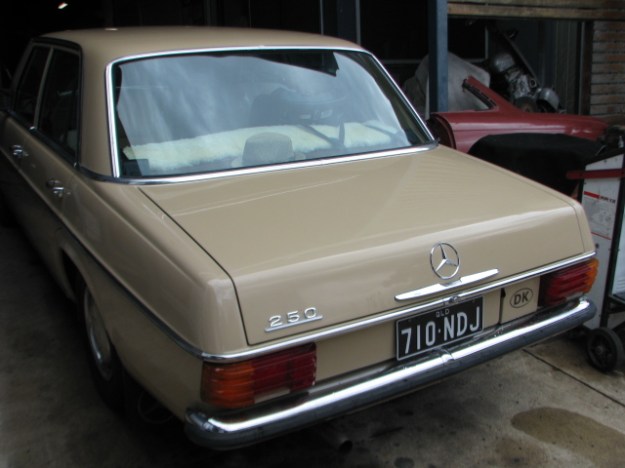
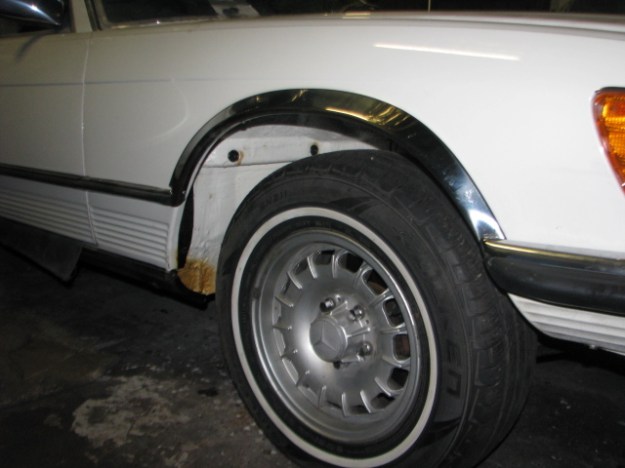
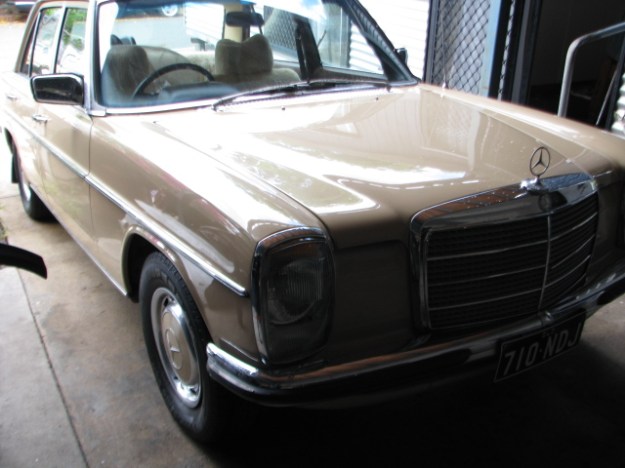
The car has only 120,000 KM’s on the clock and everything seems to point to this being original . Note: it has reflectors on the back, this marks it as being a South African car.

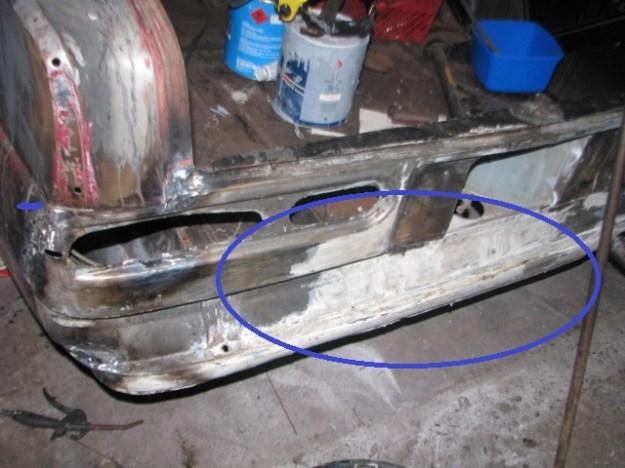
While it is here it will undergo a few repairs ,namely a new floor and redoing of repairs done by a well known vehicle restoration shop which can only be described as horrendous.

IMG_0088

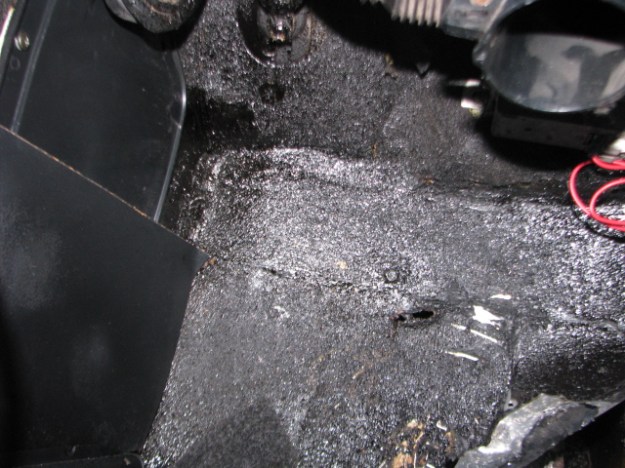
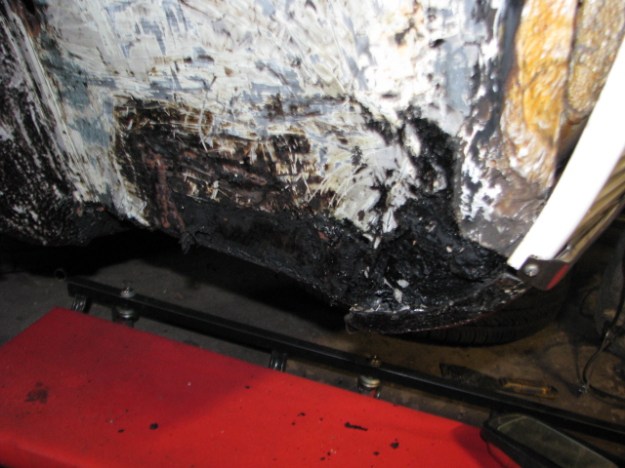
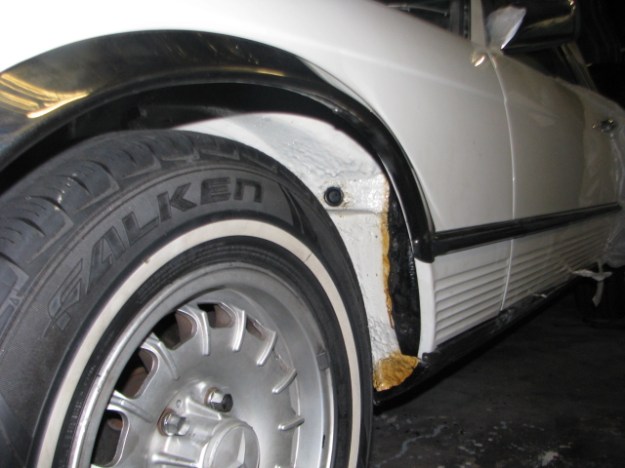
This is typical of the other shops disastrous work, dodgy ill spaded repairs covered in black bituminous underseal.

IMG_0089

under this black stuff is a lot of bent and deformed metal which will have to straightened out and repainted properly. .IMG_0083 (2)

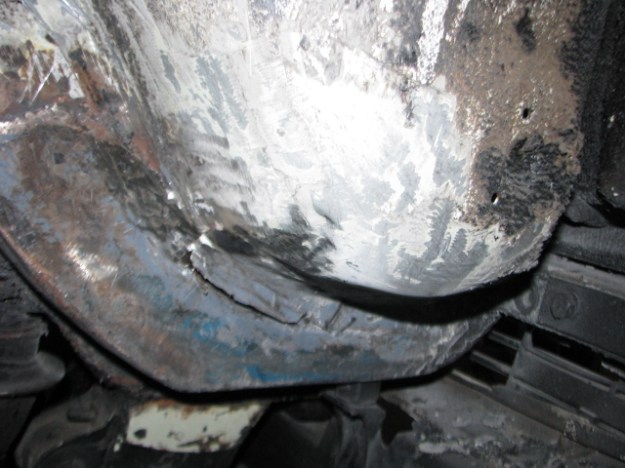
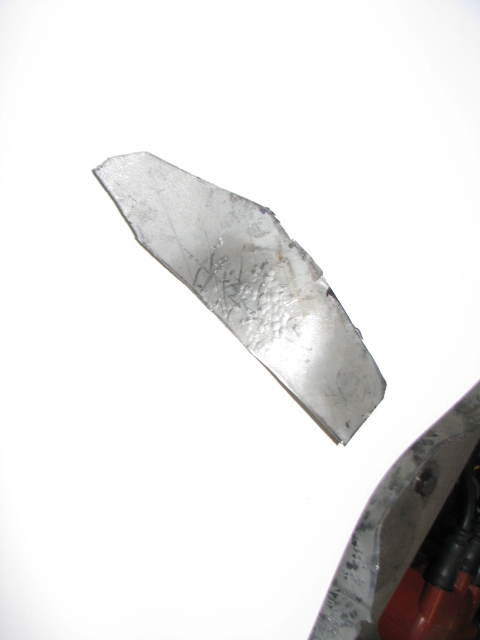
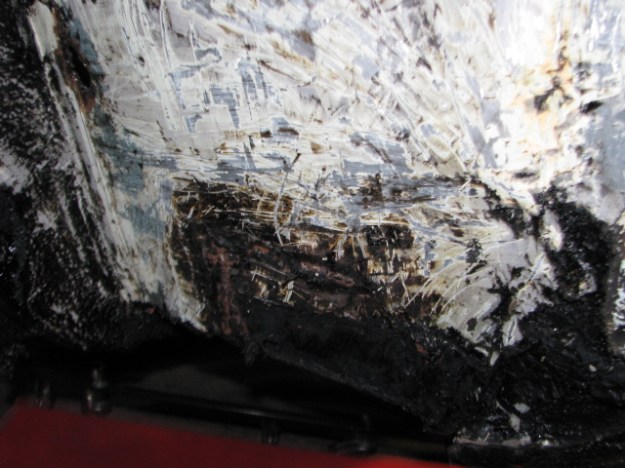
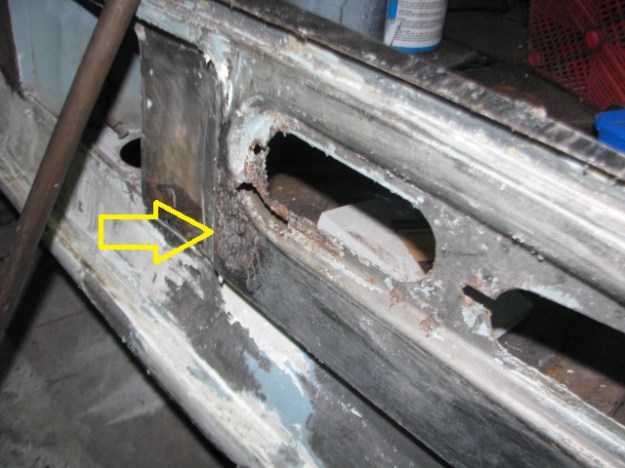
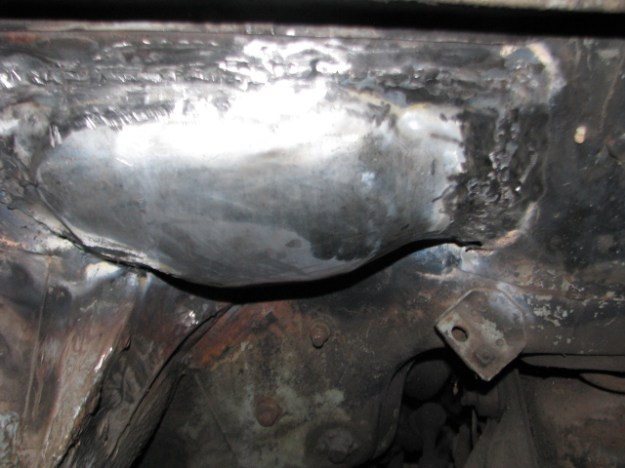
With the bitumen removed I could see what need fixing . The patch welded in recently was actually suck to chassis with sikaflex.

IMG_0082 (2)

IMG_0089 (2)

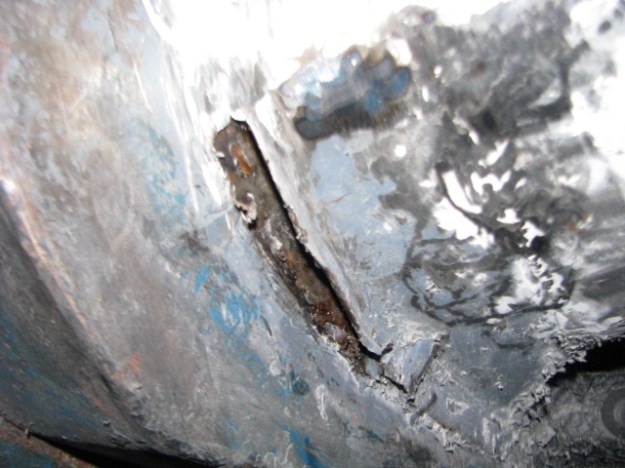
the patch was removed …

IMG_0086 (2)

a long with lots of filler.

IMG_0090 (2)
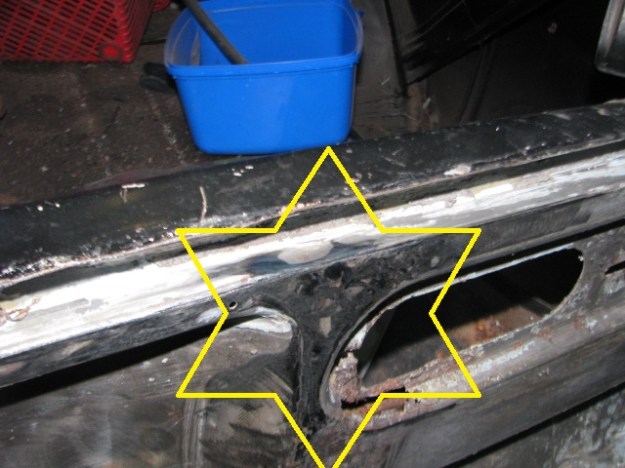
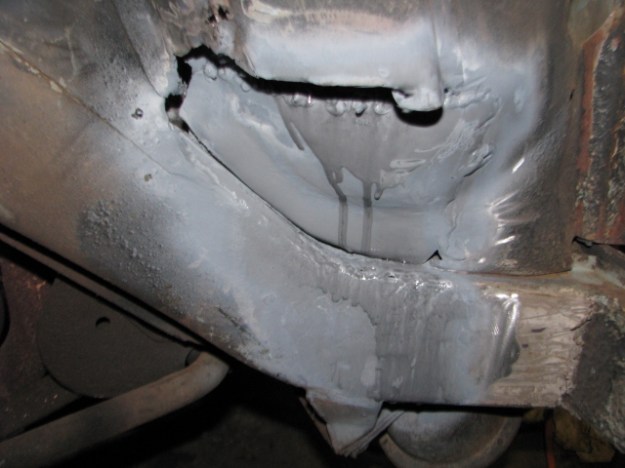
A new piece of the correct shape was made and welded in.

IMG_0091 (1)IMG_0092 (1)

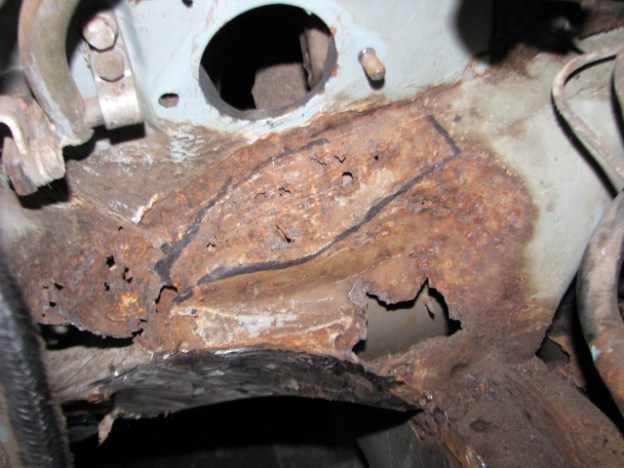
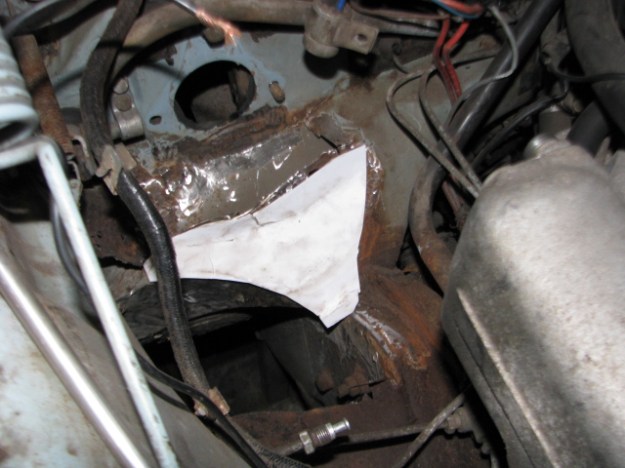
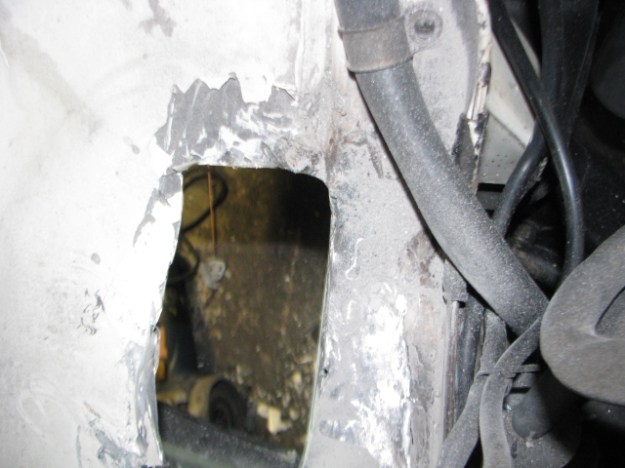
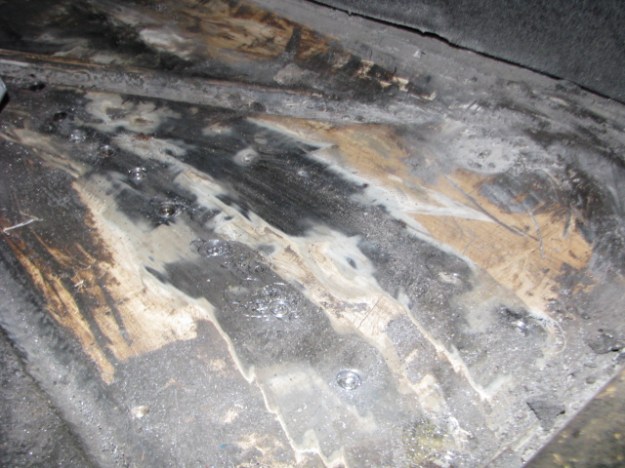
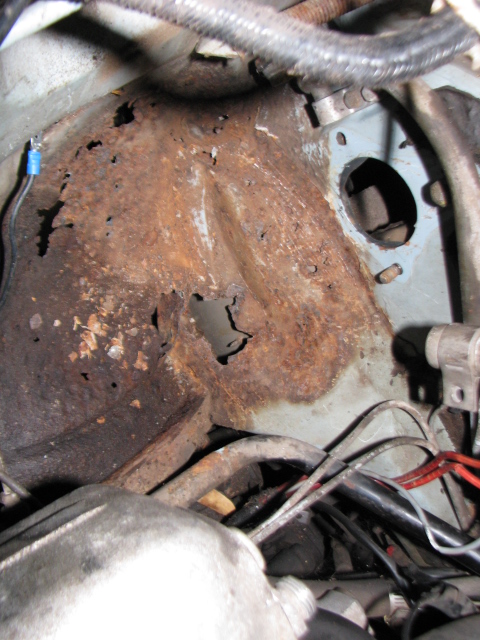
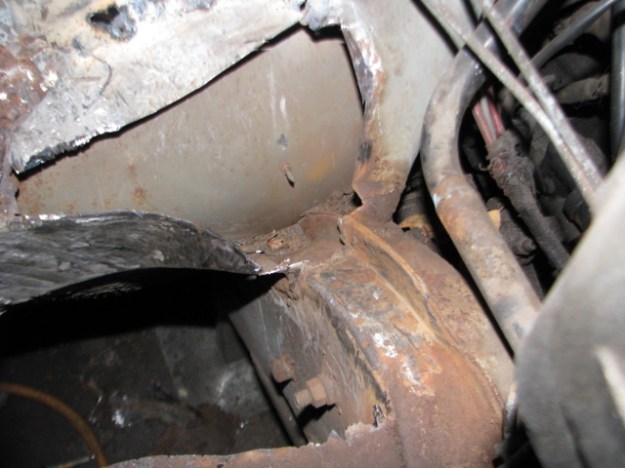
Inside the passenger side footwell some serious rust has been previously covered with patches ,IMG_0093 (1)IMG_0094

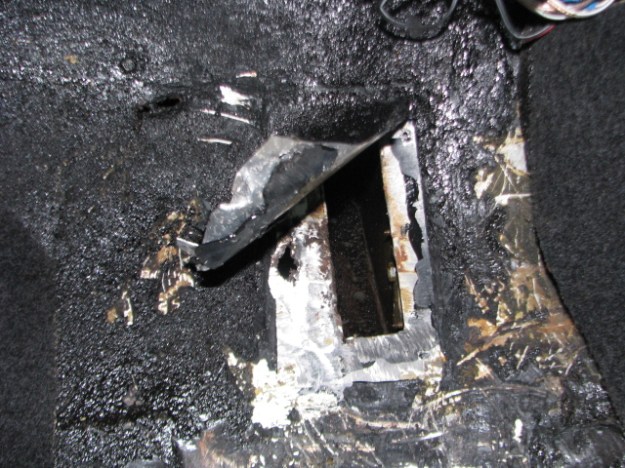
In this shot a hole right through to the left front wheel house can be seen .

IMG_0097

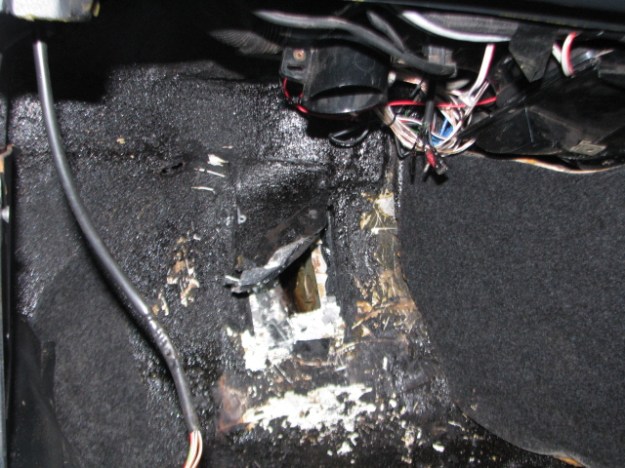
The hole the patch covers is the main front chassis leg mount…. ! this will havwe to be repaired to regain the strength in the body shell.


IMG_0099

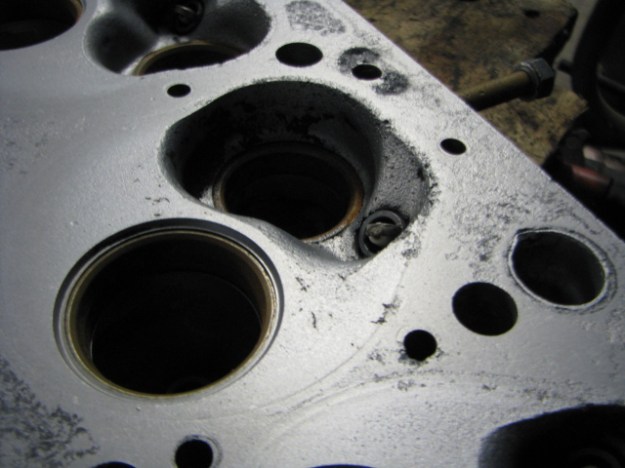
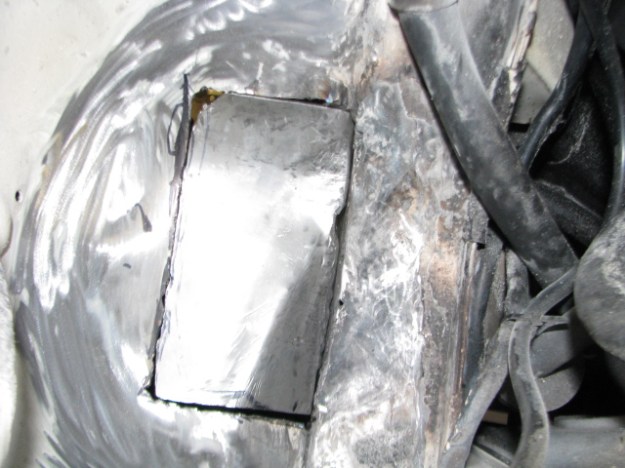
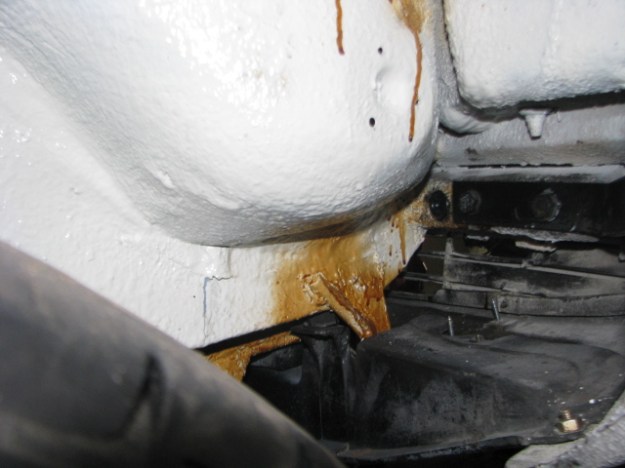
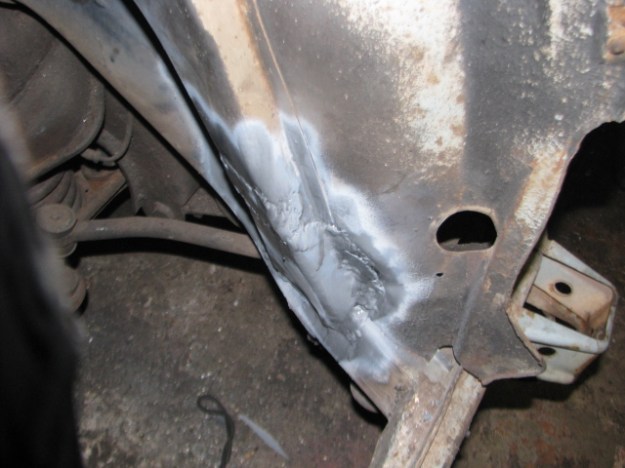
In the Wheel house with the underseal removed , another couple of patches on the floor have been revealed .

IMG_0101

Inside the Floor will be removed ,here the spot welds on the chassis rail are being removed so the panel can be lifted out.
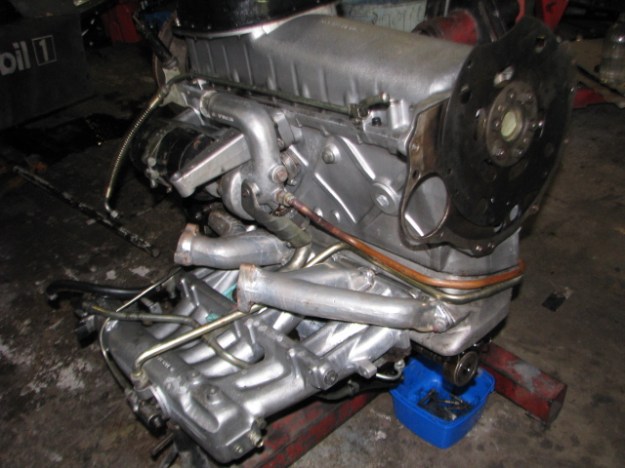
IMG_0107


Mercedes 300SEL 6.3 garden find.

6.3 #2206 has been removed from  my neighbours front yard to go off to her new owner to get the restoration she deserves.

W114 Service

IMG_0087Low mileage 250 .

Bought new from the factory in 1973 this lovely 250 was in recently for a valve stem seal replacement .Another required job was the replacement of the shifter bushes but under the car it was obvious that had only covered the 66,000 miles shown on odo. IMG_0086

IMG_0088IMG_0089

300SE W112 rust repair .

After Christmas 2016 and I’m slowly catching up with all of the work in the shop,first up is further rust repair on the W112  300SE lang. under the booster it had rusted, not badly ,just ugly …

IMG_0085.JPGYears of spilled brake fluid has burnt off the paint ,leaving the steel bare and open to rust.

The rusted parts have been removed and inside the crossmember cleaned and rust treat .

IMG_0083

New top piece has been cut out of Zinanneal 1mm  to match the existing panel,

IMG_0084

because of the complex shapes ,the replacements have to made in cardboard first to get all the shapes organised first.


Mercedes 220 E cabrio Engine rebuild

With the engine now stripped down and measured in preparation ,the head has been cleaned to reveal some corrosion IMG_0109

IMG_0083

The seats are worn but not pitted but the cylinders #5 & 6 show a lot of pitting indicating a leaky head gasket in the past . the head will be machined slightly to get rid of the pitting.

The valves will probalby replaced if grinding them removes too much of the valve sealing face.