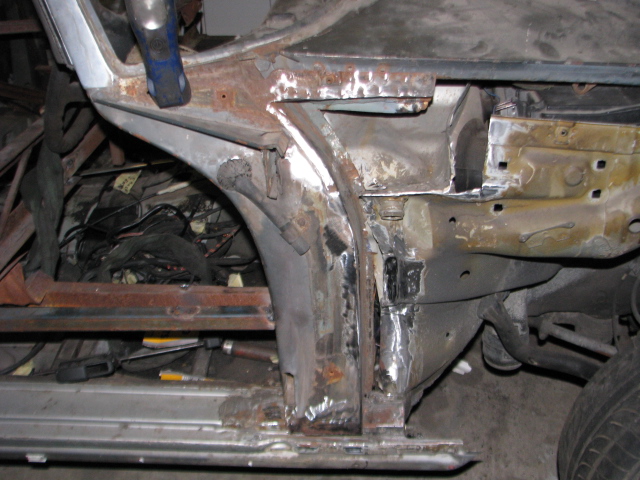
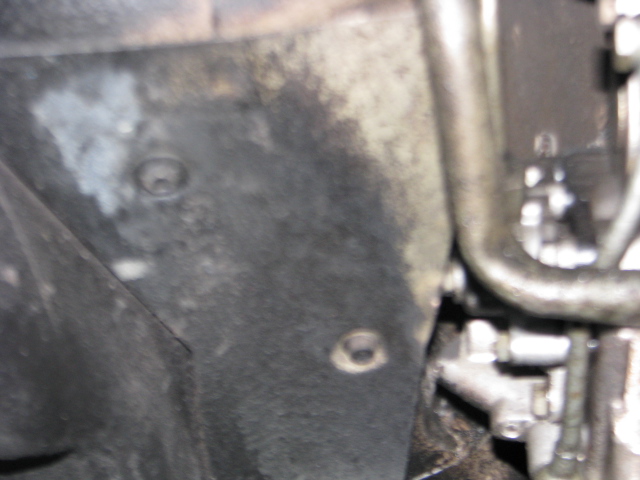
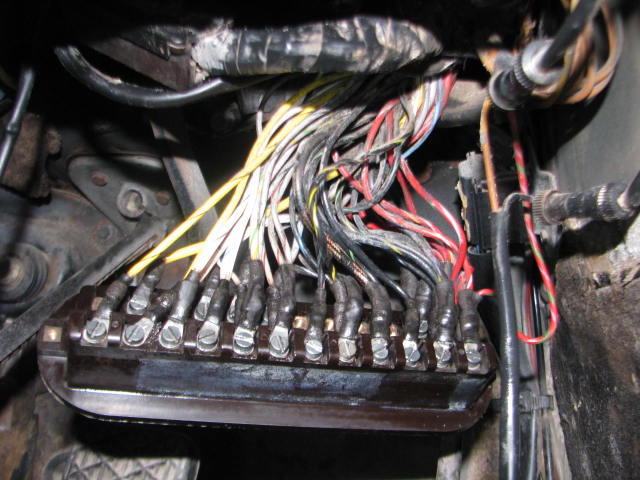
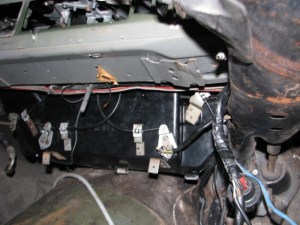
The wiring in this ute project has also suffered because of the bicarb getting into insulation and plugsAdd Media . i had to replace the entire fuse box because of corrosion.
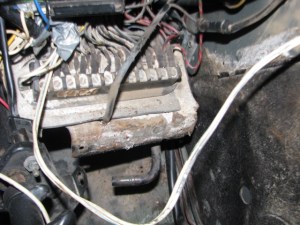
A long job,entailing unscrewing each terminal,then cleaning as much of the bicarb out of the terminal end or replacing those too badly damaged and replacing the ring terminals with new ones.

i still have to repaint the fuse box mount panel and repair the footwell light,but in the meantime,I will be removing the steering xcolumn to get the bicarb out of the column housing and checking the top bearing.and gearshift bushing..
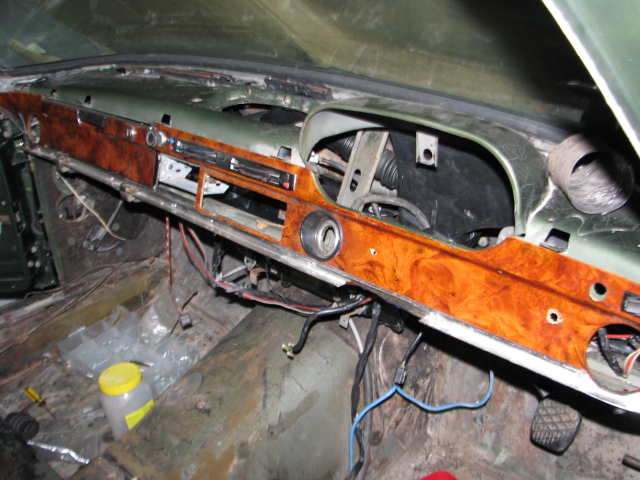
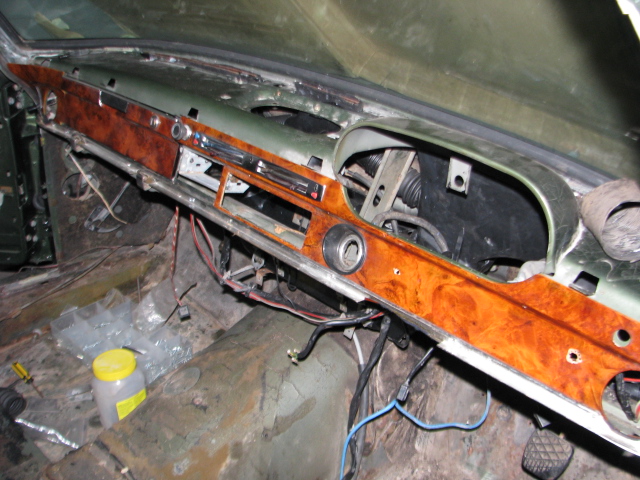
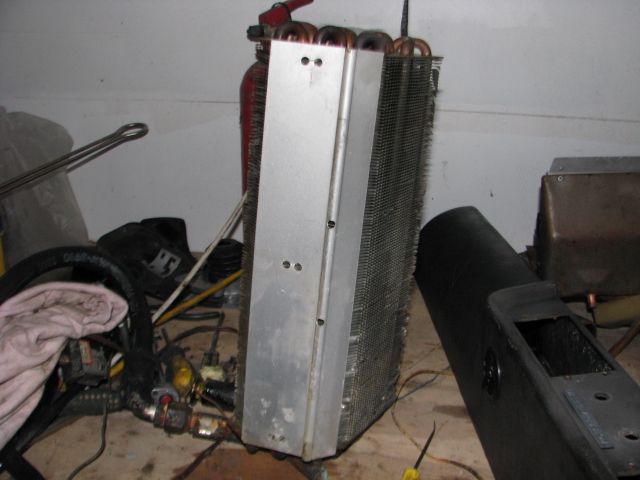
But First, the heater must be installed.
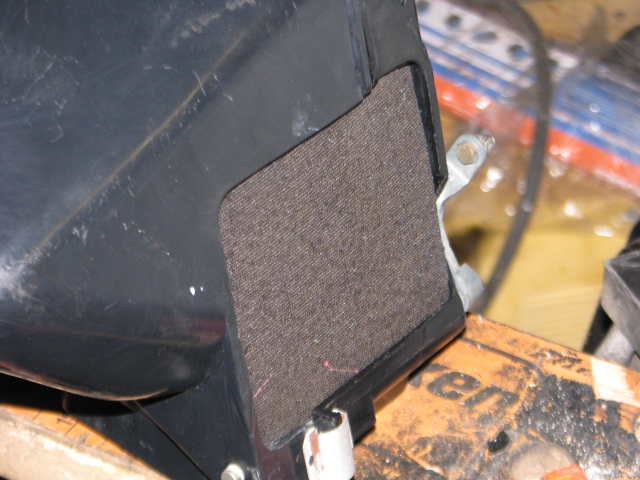
The screen demister ducts have been cleaned or replaced as necessary with new antisqueak felts.
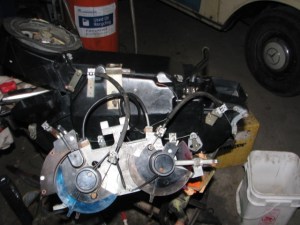 . The controls are fitted to heater before it is fitted into the car.
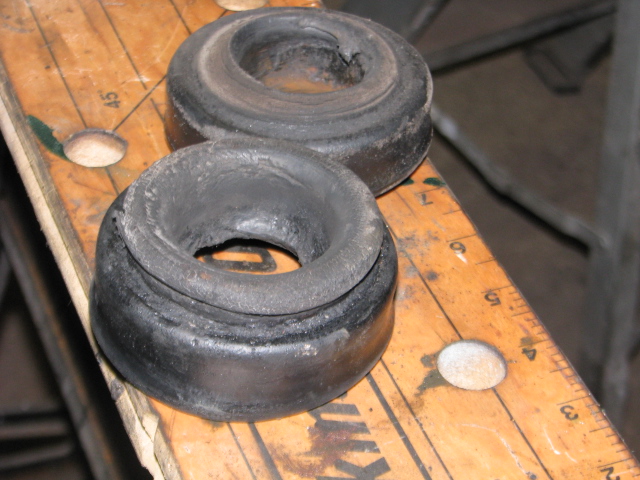
 all of the foam seals and matrix rubber mounts have been replaced in the heater.
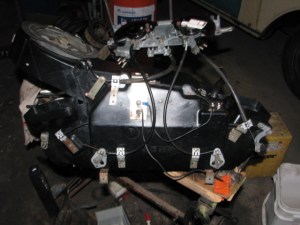
These are a pretty tight fit,but the heater goes in first ,followed by the demister ducts.. The column must bwe removed and repaited too. The handbrake is off,to replace the cable and clean up the shaft that has reacted with the bicarb.
-27.535604
152.998864

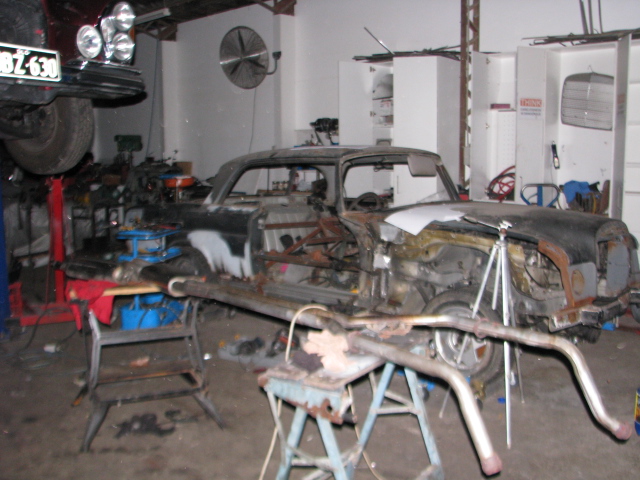
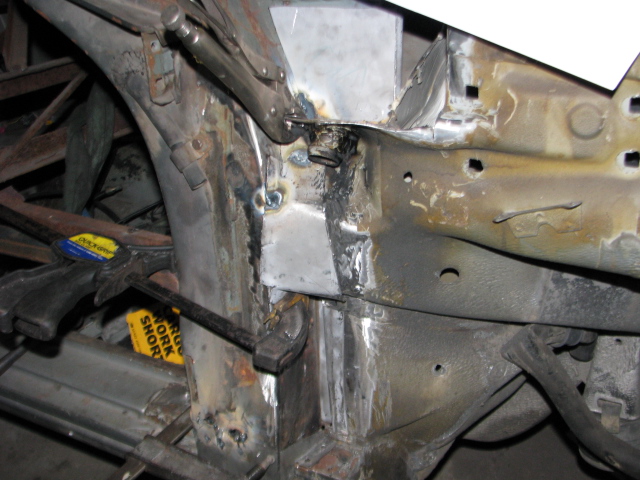
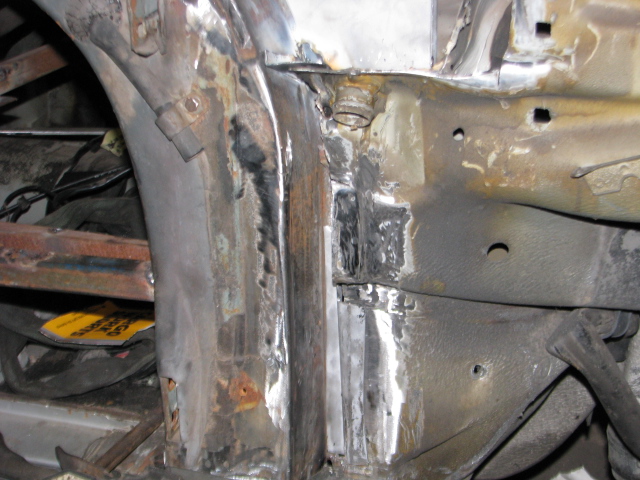
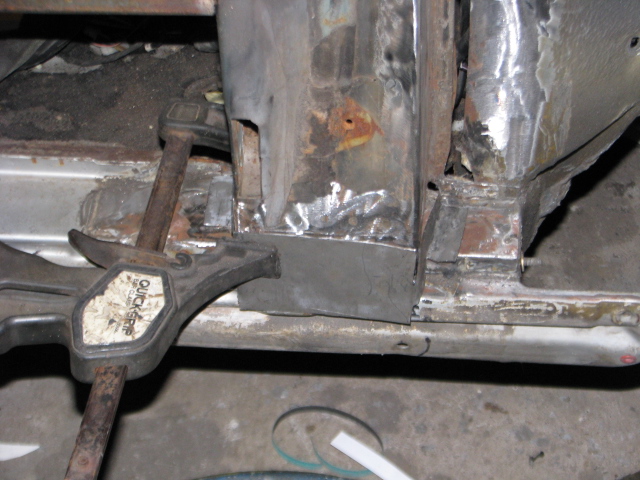
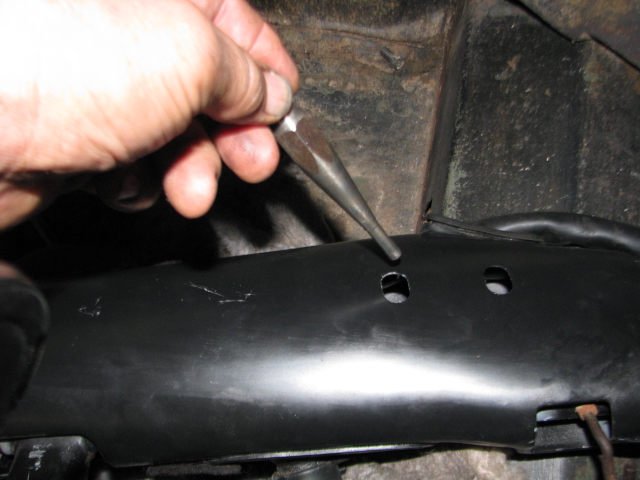
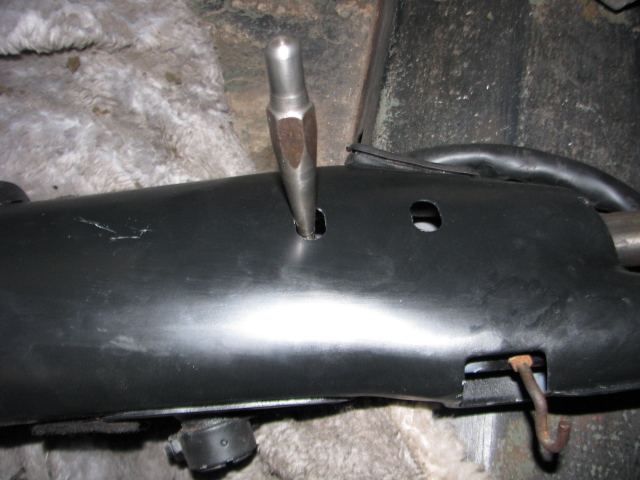
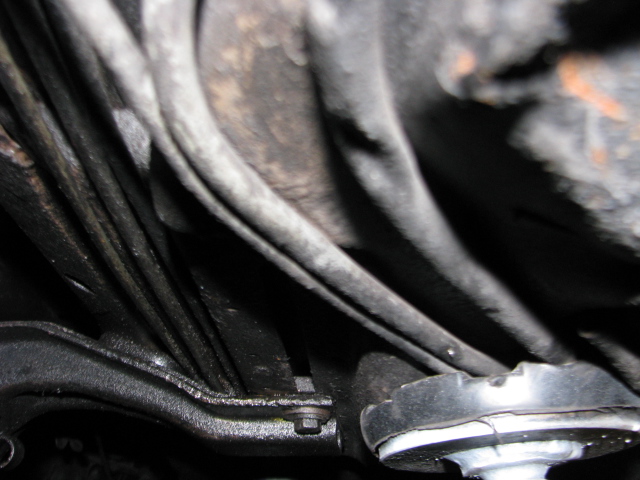
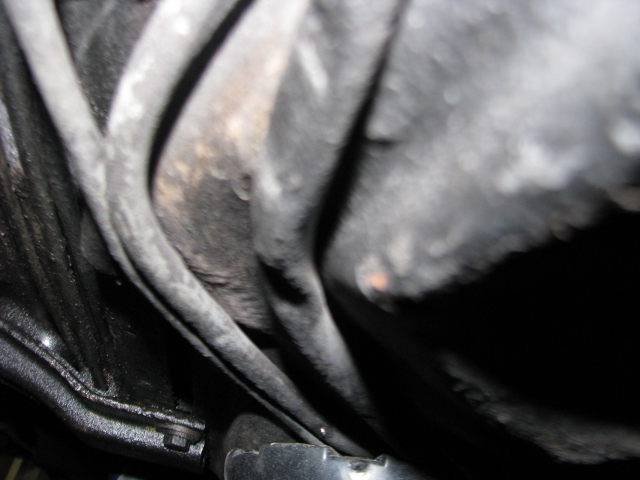
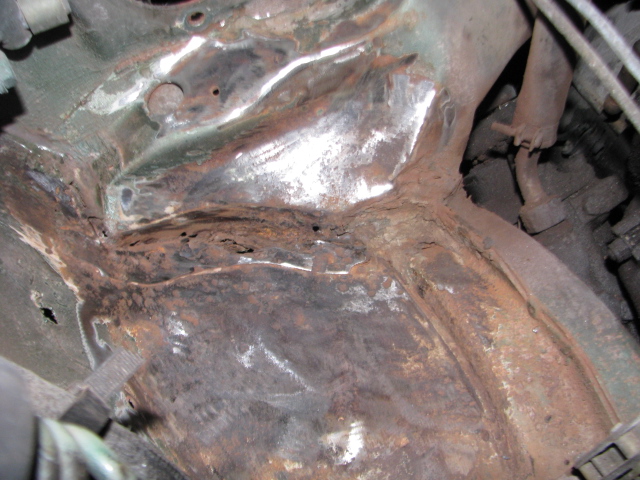
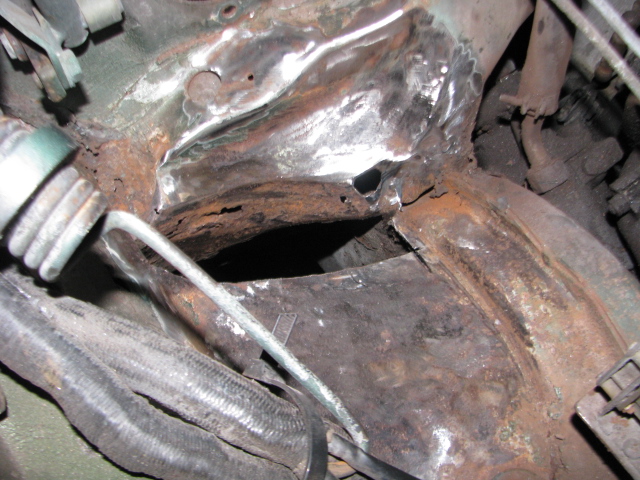
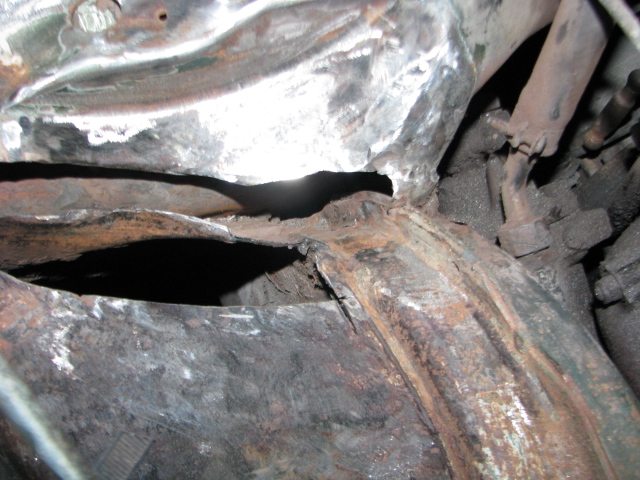
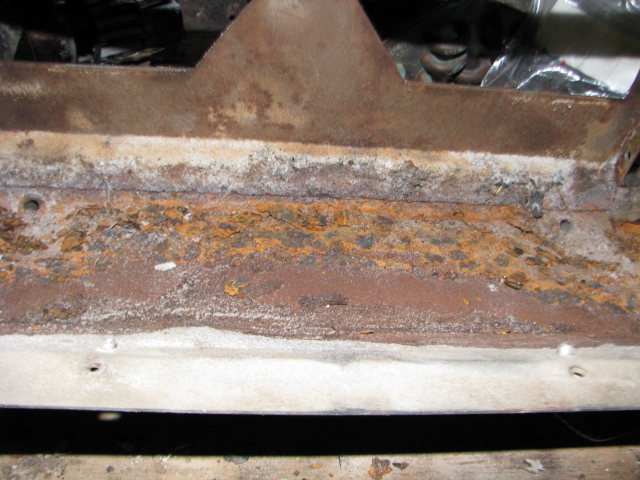
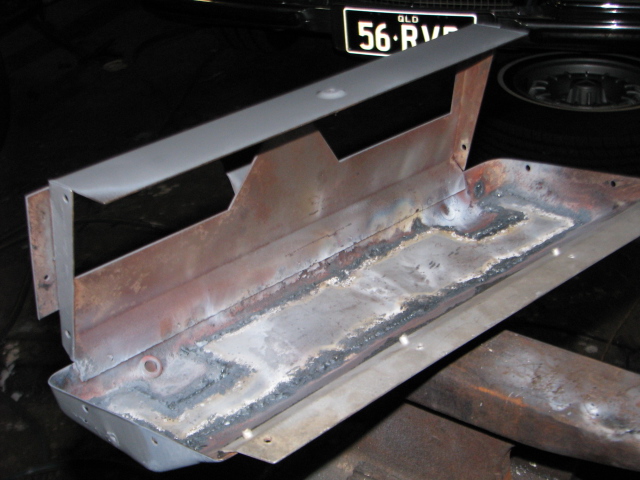
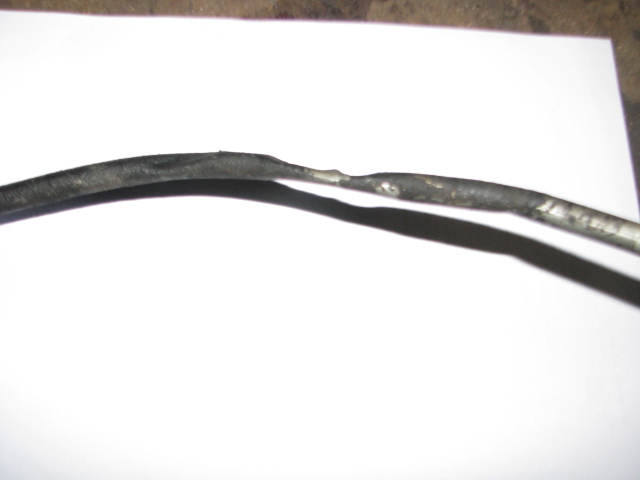 OK, ,more progress on the 6.3. The fuel is being replace and this pic shows why. Many years ago someone has crushed it by lifting the car incorrectly with a hoist ,jack or….forklift. In fact it was squashed in many places.
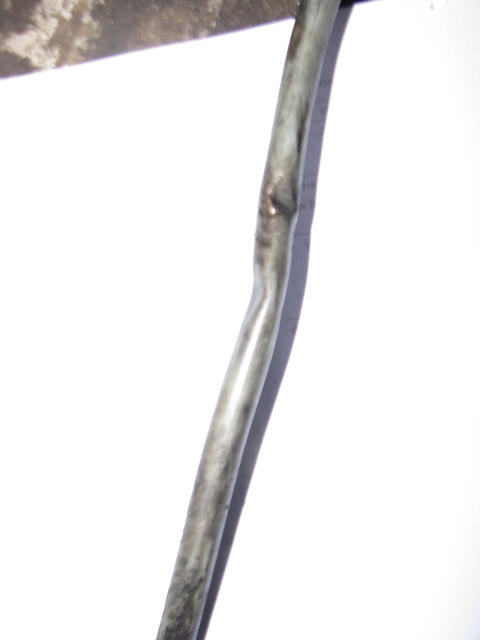
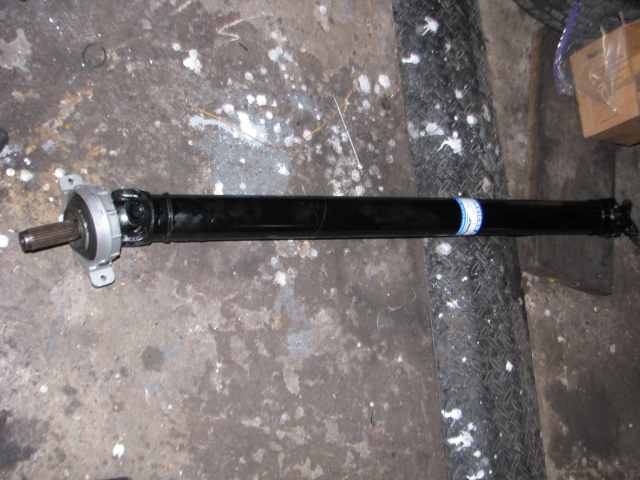
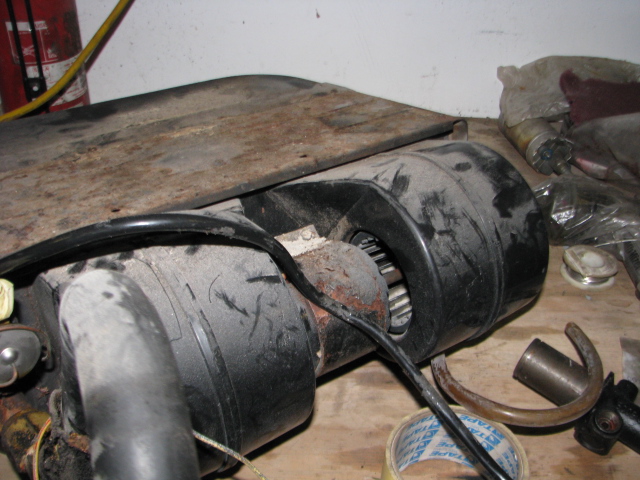
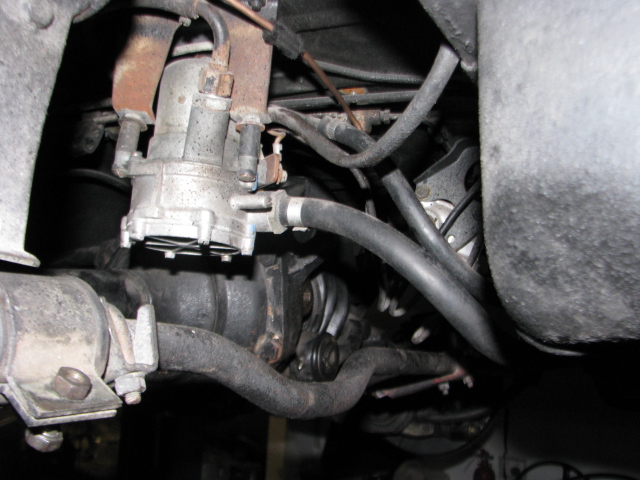 Next job is the Fuel lift pump.