Category Archives: Uncategorized

220SE Restoration pt 4

IMG_0111 (2)

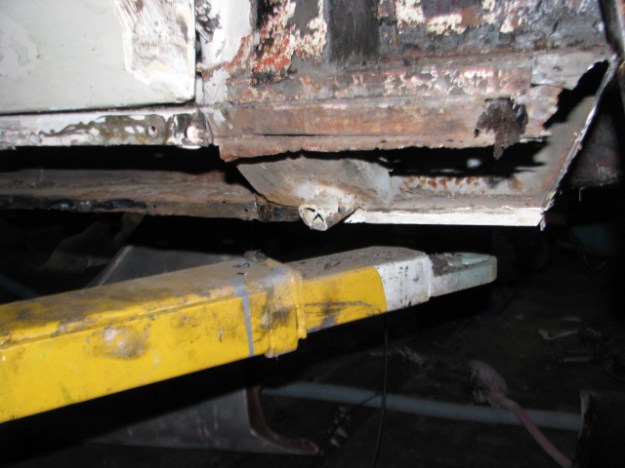
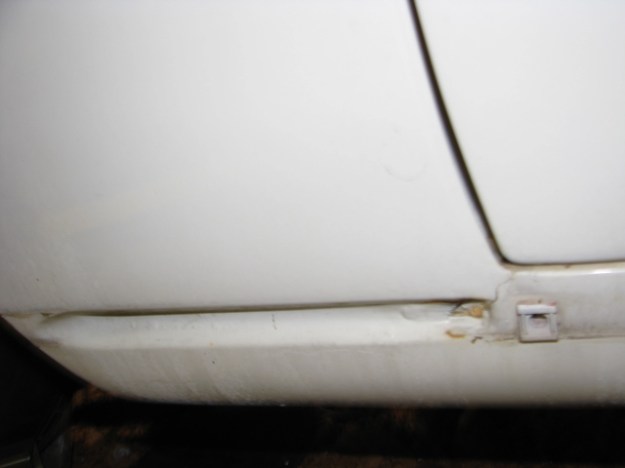
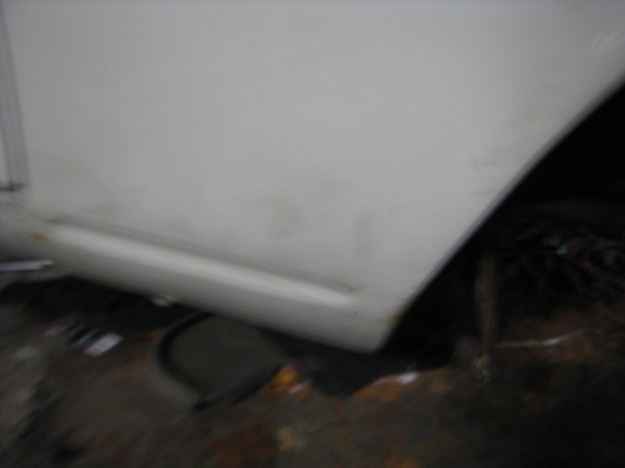
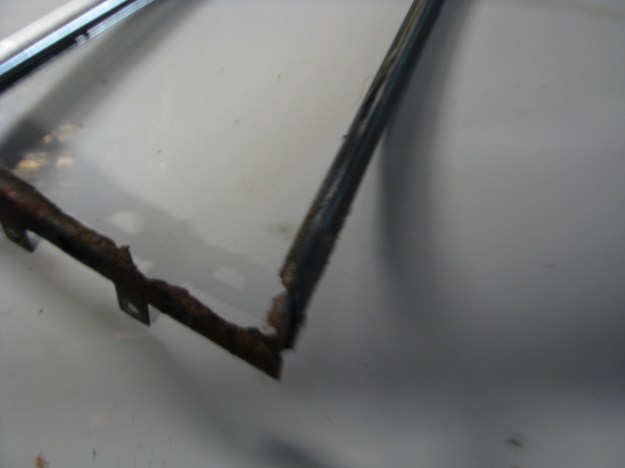
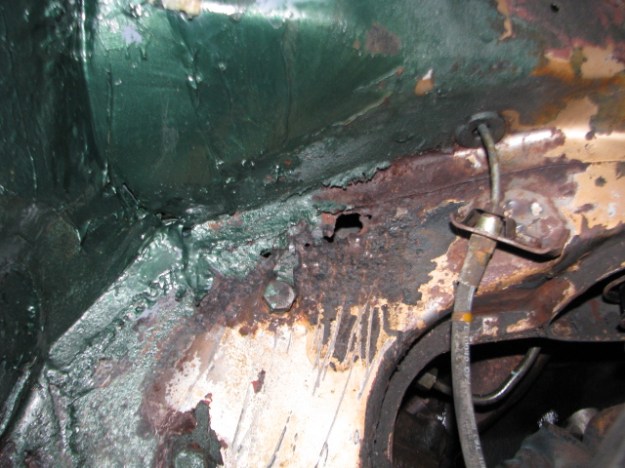
Right Front inner sill section .

This picture shows the inner sill section where it has been patched badly in the past . This will be removed and a proper panel fitted to replace it Object sticking down in the center of the picture is the jack point…!

IMG_0119 (1)

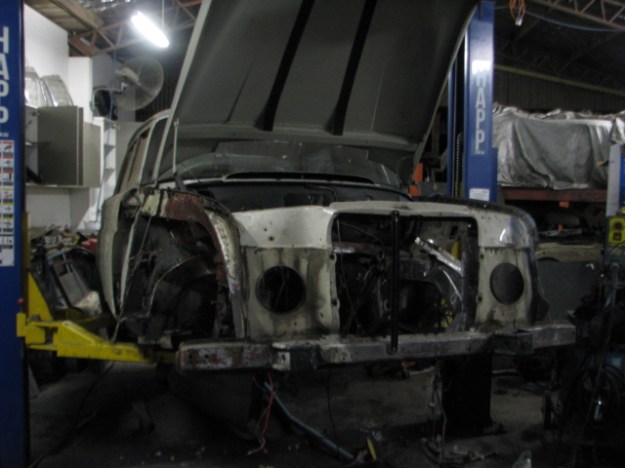
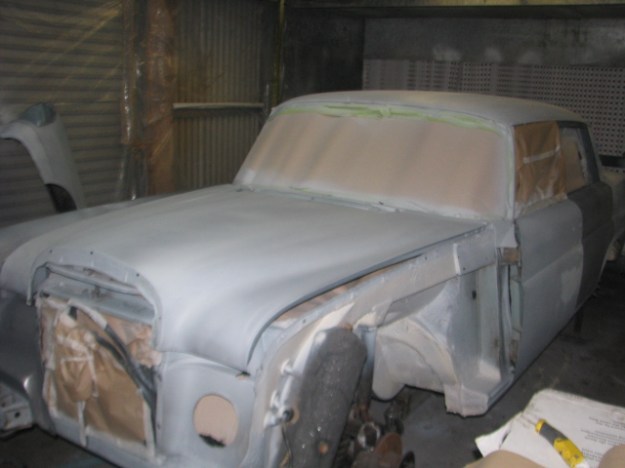
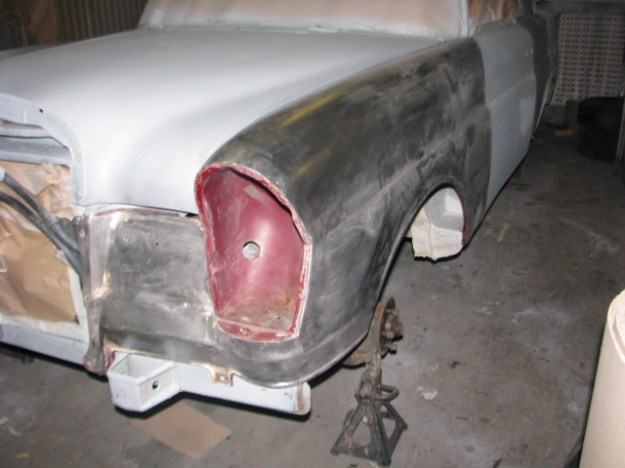
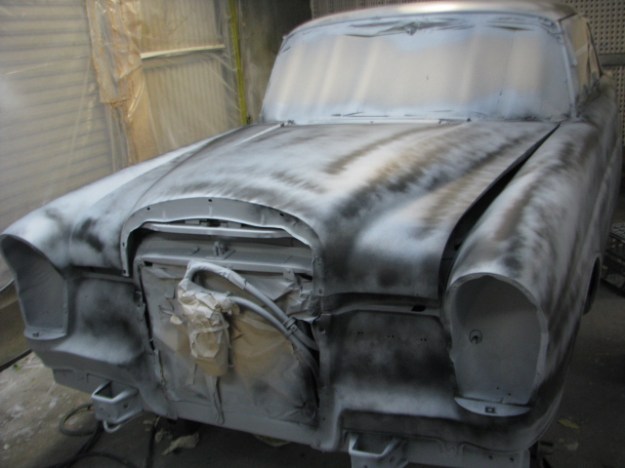
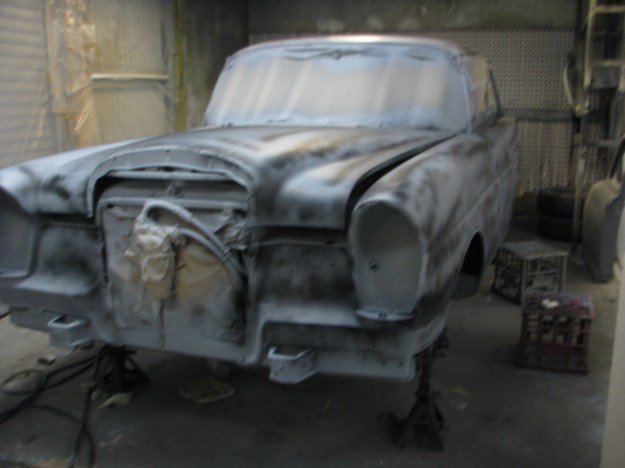
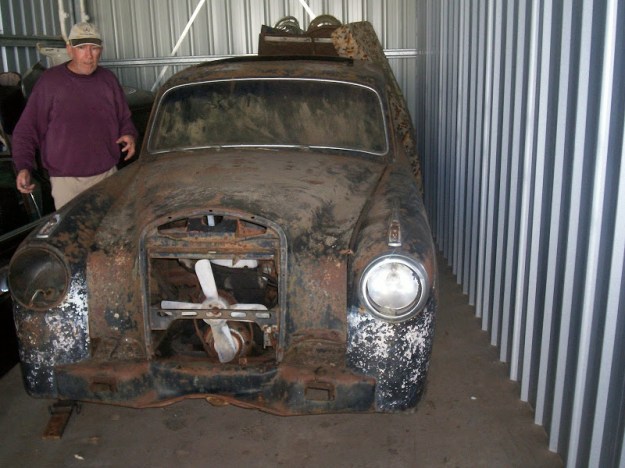
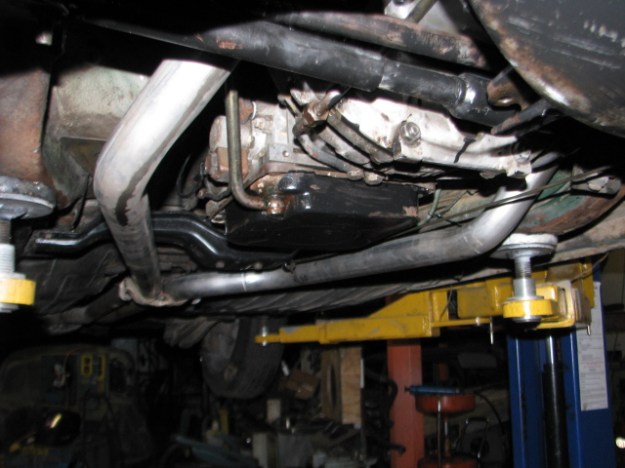
Front Guards have been removed 

The guards have to be removed to replace the sills and right front one which is full of body filler.

IMG_0120 (1)

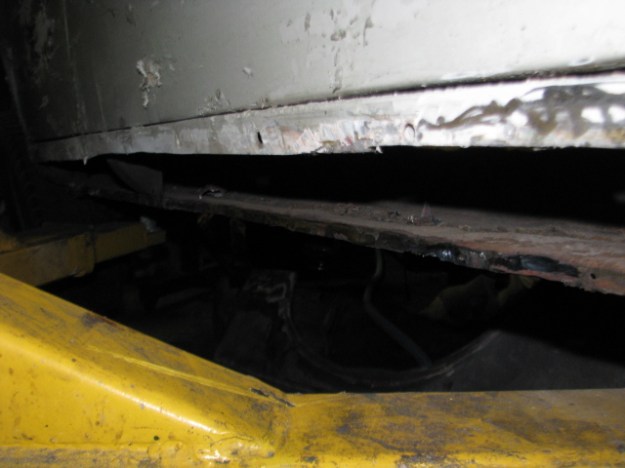
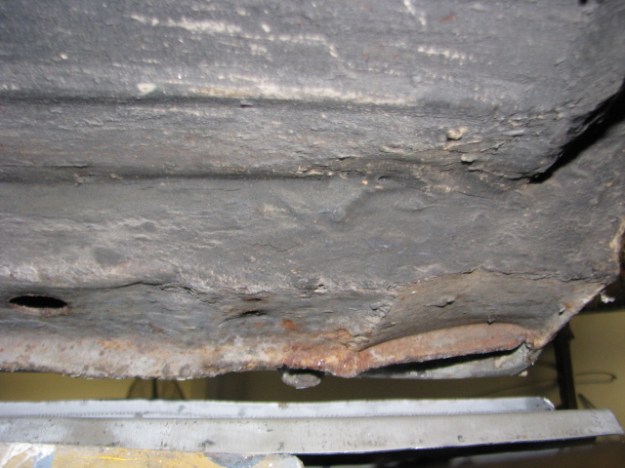
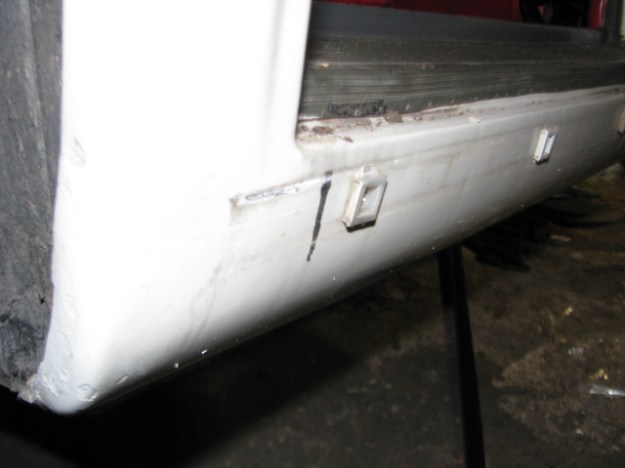
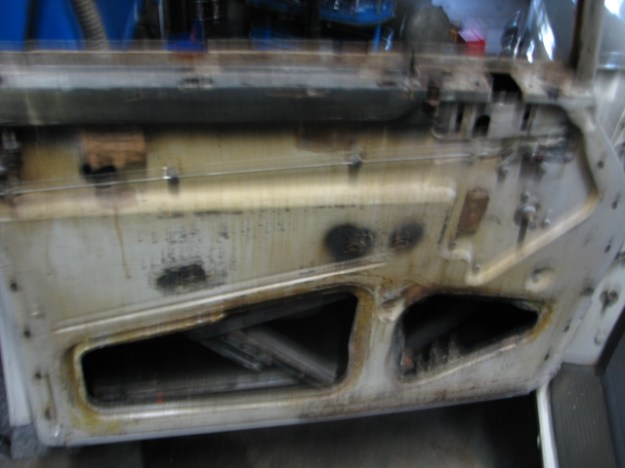
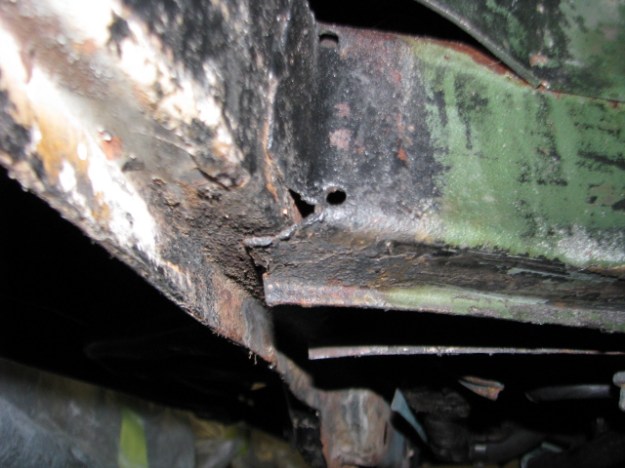
Sill Removed on Right Side .

REmoving this part required a lot of work as the sill was 4 layers thick in places including parts of the original sill . This has created pockets of rust which has to be removed. This is the right Front corner The front end is pointing upwards where it was fitted incorrectly. This has to be removed and replaced with a correct part.

IMG_0123 (1)

Top Part of Sill to be removed yet.

The Doors have to be removed next so the sills can trimmed off.

IMG_0125 (1)

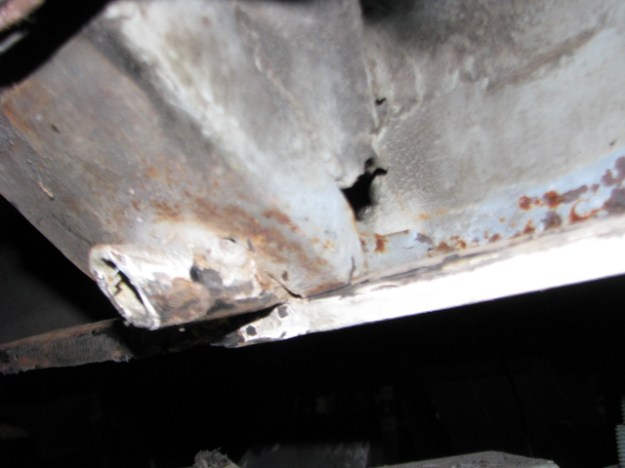
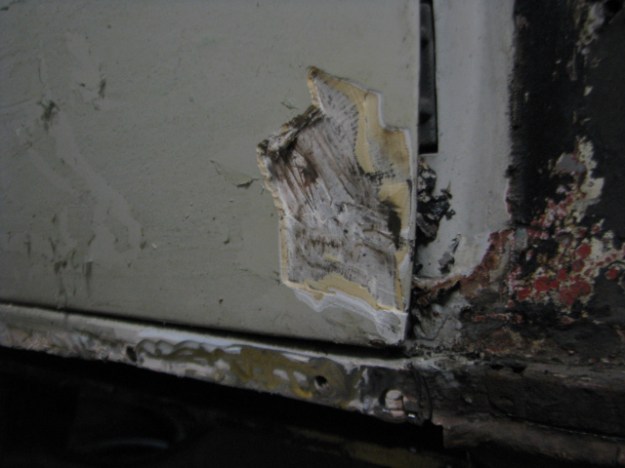
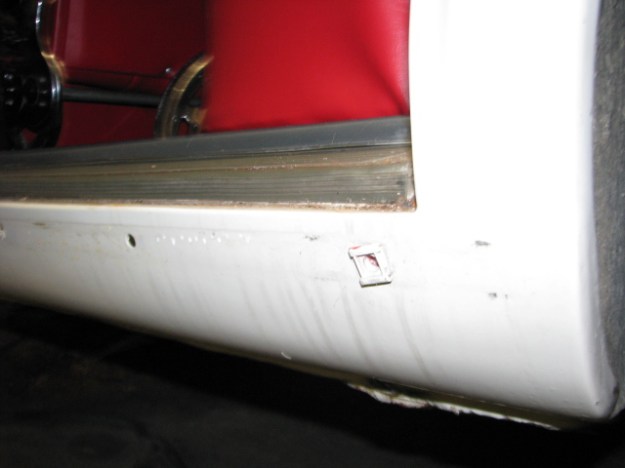
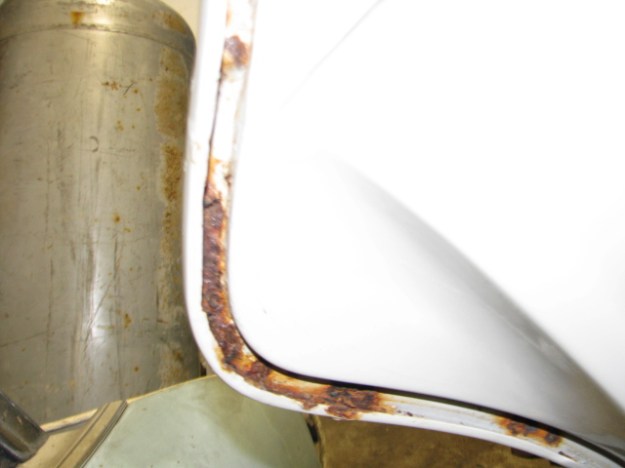
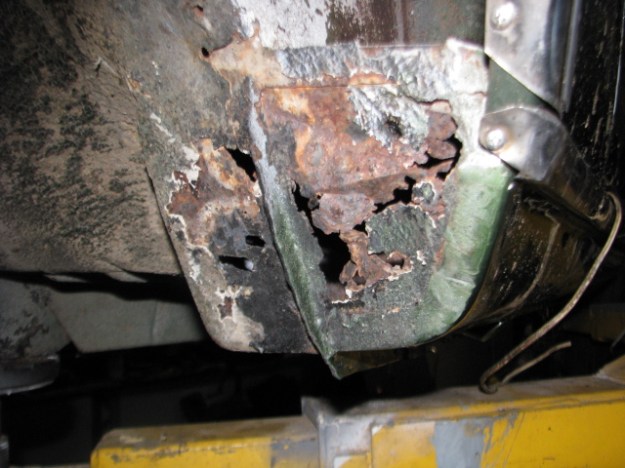
Close up right front jack point 

This the jack point which has also been badly patched. This is the bottom of the A pillar and has a patch on it ,again it has to be removed and repaired correctly .It’s not connected to the body at the rear ,which is a major safety issue as it can collapse if the car is lifted on the jack point.

IMG_0122 (1)

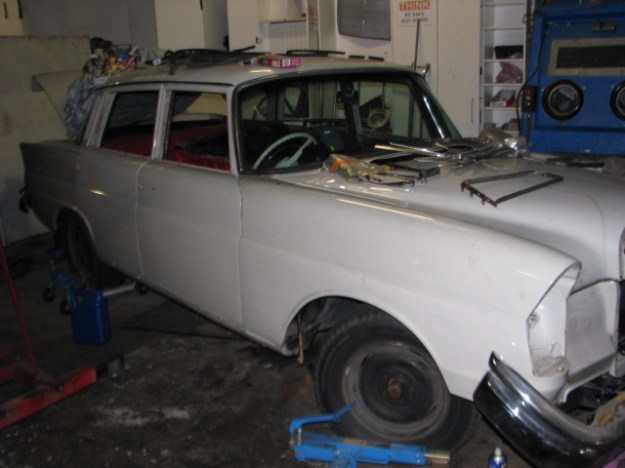
The Doors are going to be replaced…

Because they have large amounts of filler which would have to be removed,then replaced as the car is going to be repainted and there is the real risk that the rust underneath the filler will get worse.

IMG_0113 (2)

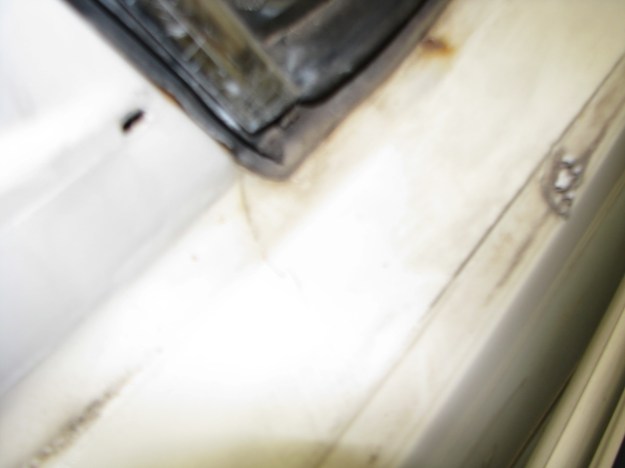
Left Front inner sill section.

Again another part which was patched badly in the past and again this will be removed and repaired correctly.


300SE Lang Rust repair continued Pt 3

IMG_0110

The first step towards actually painting ,a coat of etch primer on the bare steel

IMG_0111

The doors and one front mudguard have been fitted in preparation for the primer coats of paint

IMG_0093 (3)

New Left Front guard fitted up, this is now Etch primed prior to priming which takes place towards the end of this week. The holes for the trim have to drilled too.

At Long last the 1st primer coats are on and the guide coat applied, to aid in the 1st stges of block sanding.

img_0105

img_0104


300SE Lang Rust repair continued Part 2.

IMG_0124

Here, the bonnet is finally prepped for the next stage ,Etch priming and base priming .

The underside is primed and the undersealing coat has been restored to the colour and texture it had  when new. The body colour paint will cover this in areas where it can be seen easily /

220 SE Cabrio 1St engine start

 The Cabriolet gets it’s new engine and after a few minutes cranking ,bursts back into life!.

220SE Restoration .

IMG_0067

This is an early 220SE which has been sent in from overseas for a complete make over. .All of the bright trim is being removed followed by a strip back to bare metal .IMG_0072

Unfortunately some repairs in the past were not very well done and will need to be made right to remove rust which is just starting under the body filler.

Here, the front mudguards have been welded to the sill/rocker sections. These are unibody car and they flex a lot which cracks any joins which should not be welded up.

IMG_0077

Not a very clear picture but this is the Drivers side.

IMG_0082

This the rear end of the Sill section at the drivers side rear door. The seams have been filled,again this must be rectified.

IMG_0087

Passenger is side is the same with much work required to fix. As can be seen in both pictures, both jacking points are missing … 😦

IMG_0073

This the Seam at the top of the rear quarter which again has been badly filled and is cracking with rust showing through the paint .

IMG_0086

The bottoms of the doors are showing signs of rust where the door rubbers seat , this will have to cleaned out and treated to prevent further rust.

IMG_0084

Inside the door groove there is a little rust which has just been caught in turn.

IMG_0071

In the past the doors have been sprayed inside  with bituminous under coat, which unfortunately never works .This will be removed and a proper rust sealer applied.

IMG_0076

This is the drivers side 1/4 light frame which unfortunately is rusted away so the hunt begins for a new or better one.


The beginning...

The beginning…

Photos of 220a restoration. Ponton 1 003

I bought this 200a in 2005 with the intention of restoring it  …. many years later the body work is done and partially painted ,the doors still need some work and the bonnet and boot lid need a lot of work before painting . Engine gear box ,diff and brakes are done .new bumpers and various lights are there.  As for the car it self, it was imported into Australia by MERBENZ ,Melbourne and came with a steel sliding sunroof. it was ordered with a special interior, Dark maroon leather with cloth headliner .

Mercedes Benz 280SE 3.5 ute

IMG_0021 (1)

25/06/16 Well…. here is a problem that no one foresaw , the drivers side chassis rail is rusted clear through ….and wait ,there is more.:-(

IMG_0022

Front ends of Sill boxes are rusted out

IMG_0023

Passenger side rusted out , all will have to repaired .

IMG_0024 (1)

Front cross member behind bumper has been replaced at sometime in the past but never welded to secure it in place ….Not a good idea as it is just floating there.

IMG_0026 (1)

New exhausts installed to replace the rusted out originals which had lasted since 1972!.

Drive shaft has new flex disc and trans has new shift rod bushes.


Mercedes Benz 280SE 3.5 ute Engine swap .

Unfortunately the engine in the Moss green ute was damaged by who ever it was that did the soda blasting ( i hate that stuff….) .It looks as though the car was covered in the bicarb and then driven around their yard with the air cleaner off… or the air cleaner was clogged so they took it off and then proceeded to drive the car. Any how, the soda got into the engine and has ruined the rings and pistons . A combination which has destroyed any hope of compression and no compression equals no start. I stripped the m116 3.5 engine down and my worst fears were realised with massive bore wear IMG_0005IMG_0006IMG_0003IMG_0001

As usual the head studs were frozen in the heads and it was days work to remove the heads .The valve seats are pitted because of the biCarb soda .

After pricing the gaskets and rings etc the parts cost came close  to $6000 so after consulting the owner it was decided to fit a good 2nd hand engine . After a days hunting a M117 450SL engine was found and this is a Djet engine also so the engine bay will resemble a standard 280SE 3.5 .

IMG_0010 (2)

This has now been stripped and new seals fitted , the alloy parts have been wet blasted .The timing chain, sliding rails etc will be replaced and the injection system overhauled . The sump has been swapped from the SL short version to the 280SE 3.5 larger version .Water pump was replaced as it wasn’t known how long the engine was on the shelf.

The engine bay was pretty filthy so all of the dirt of 40 years was steam cleaned out in preparation for repair of the paint before the new engine goes in.

300SE Lang Rust repair continued

Paint stripping.

We are now at the stage where the old paint has to be removed and new paint applied since all of the rust has been repaired . The sheet metal is in very good condition under the paint which is nearly all original and never been repainted .