Category Archives: Mercedes Oldtimer Service

300 SEL 6.3 up and running

A short video showing the 6.3 up and running to check it’as C/O level at hot idle .

300SEL 6.3 progress…

IMG_0313

The engine is now together and just needs tuning , after the heads were checked an the tappets adjusted.

IMG_0314The shroud was derusted ,then painted with POR15 gloss black .

IMG_0321

Mercedes Benz 300 SEL 6.3 cylinder Head swap.

IMG_0253
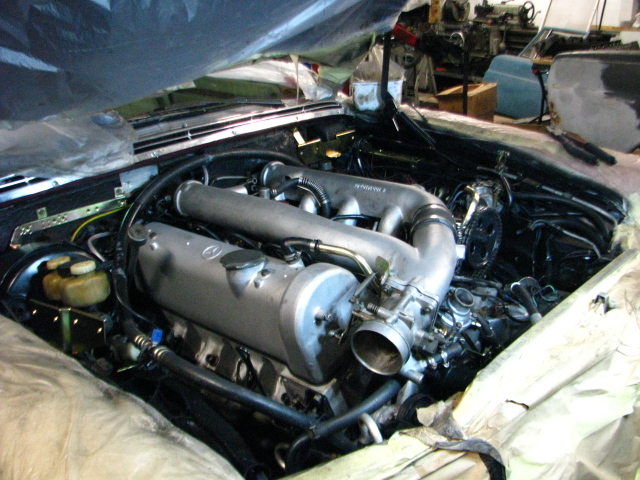
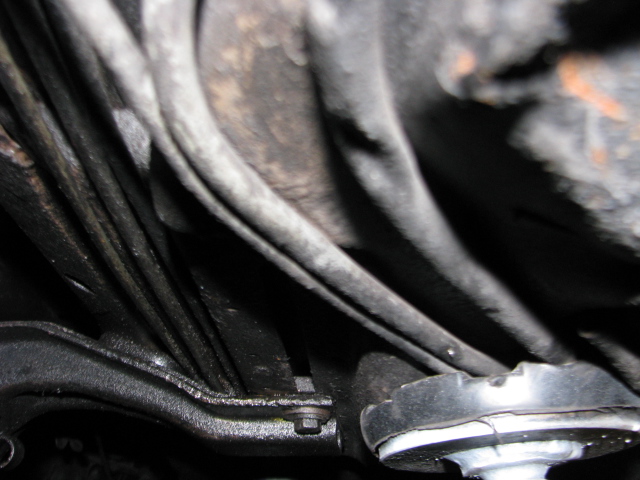
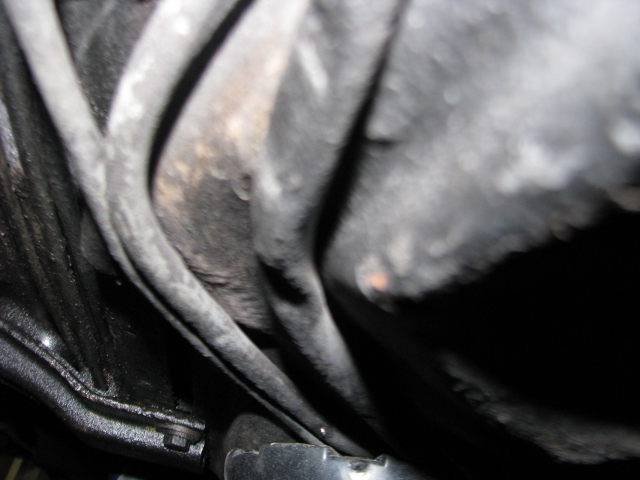
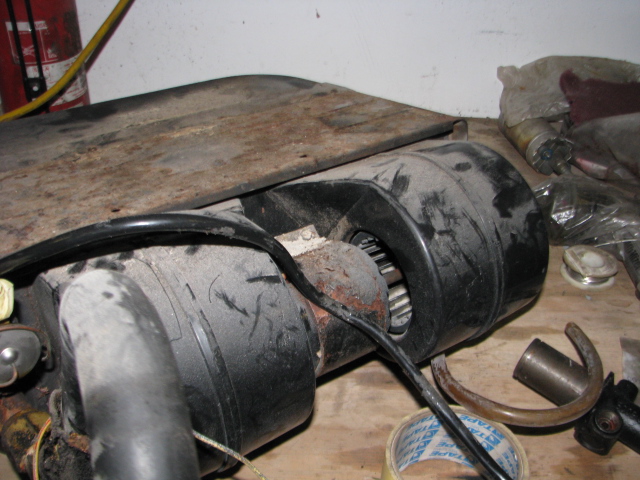
A new fuel line has been fitted using the original brackets etc which were in good condition after 40 years…!

IMG_0254 WIMG_0255 IMG_0256

The engine bay needed a clean and after a wash it was revealed to have a few places where the paint had disappeared  because of engine heat . IMG_0261

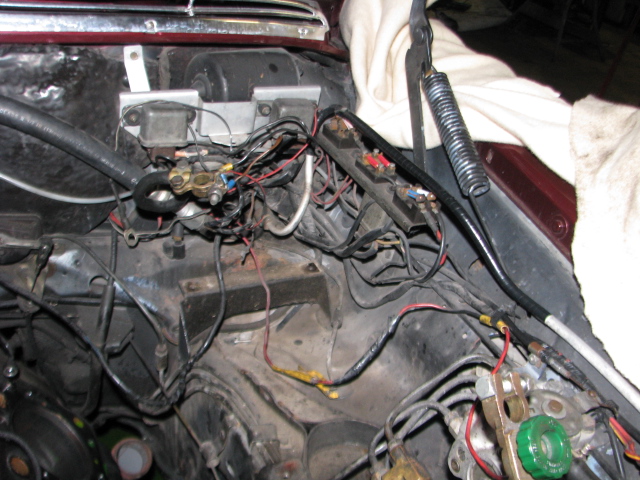
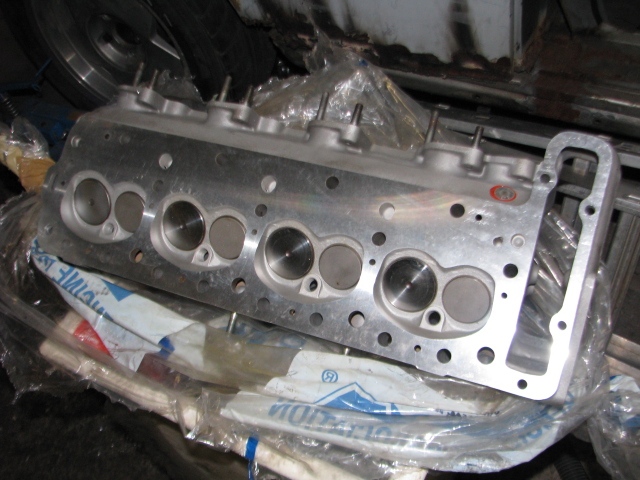
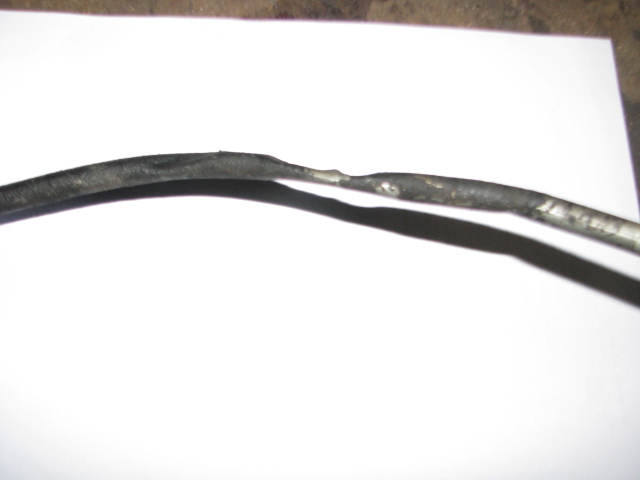
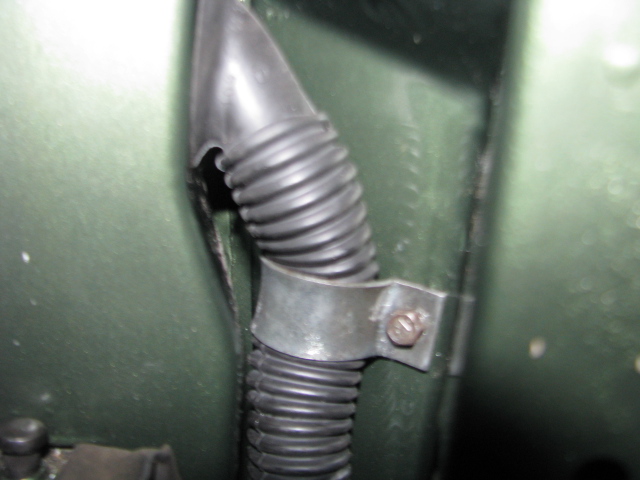
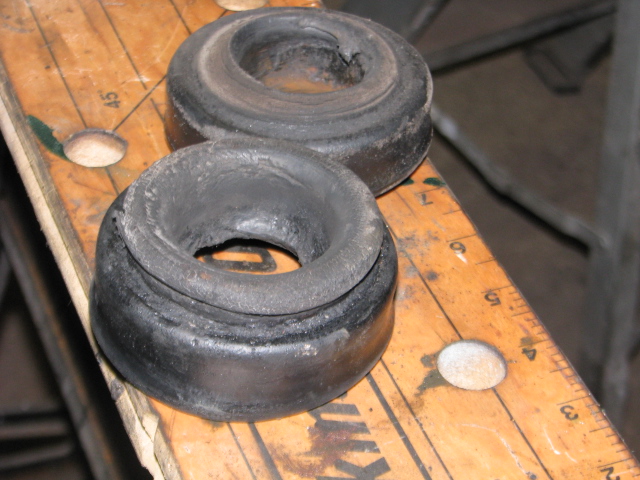
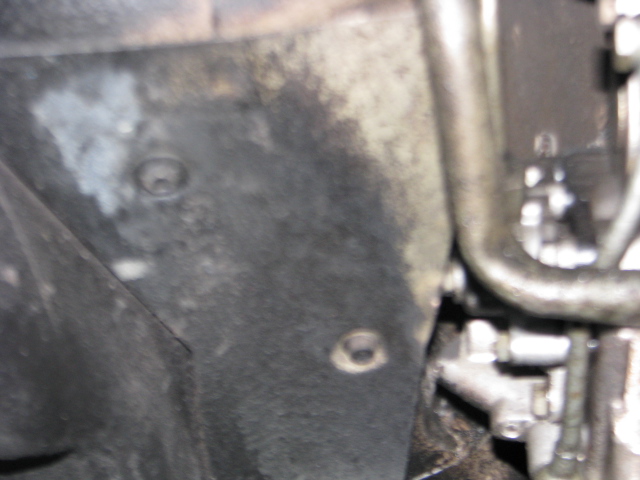
With the heads off ,a few little things became apparent such as this feed wire for one of the thermal time Switches. A couple of the firewall grommets needed replacing .Missing grommets allow noise,fumes etc into the cabin .

IMG_0263

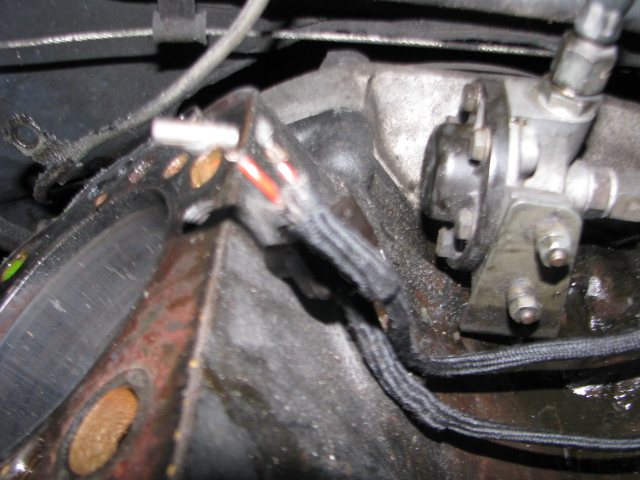
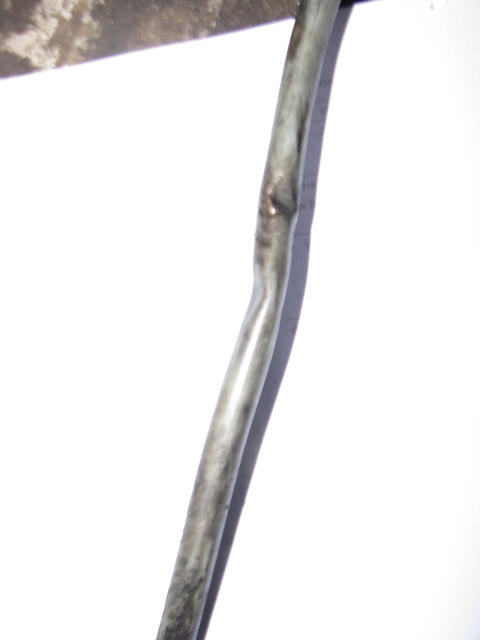
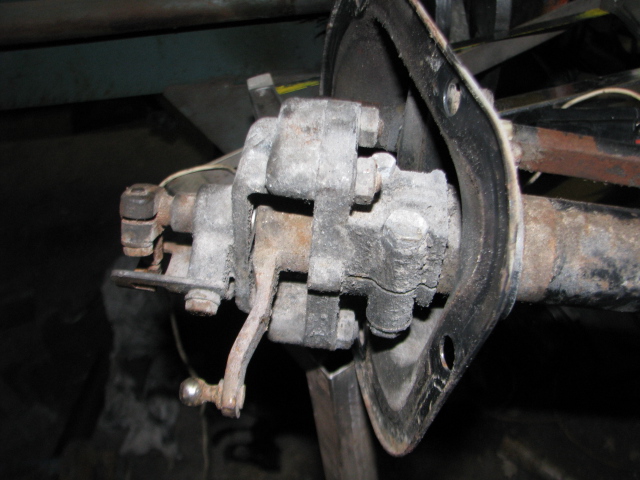
The Steering box was leaking through that round part on the top part of the

Steering box . A new seal had to made for this and the two copper washers were missing. the cover nut and lock nut were both loose. The oil return pipe on the steering box has also been damaged in the past when some one bent it.

IMG_0264

IMG_0271
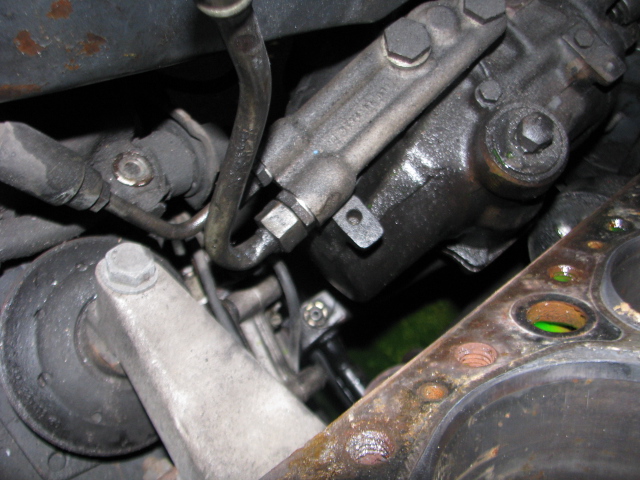
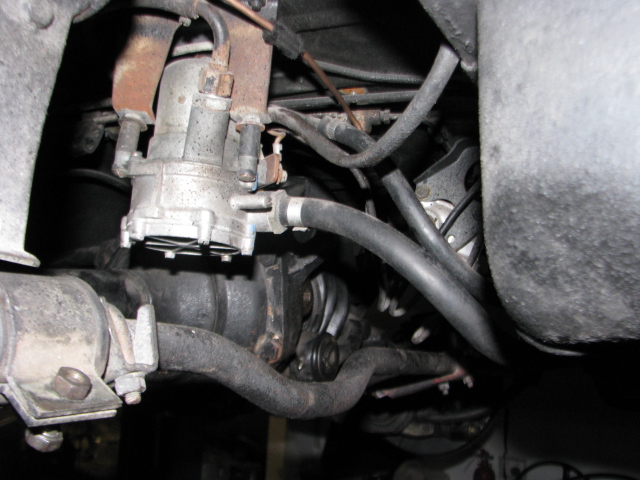
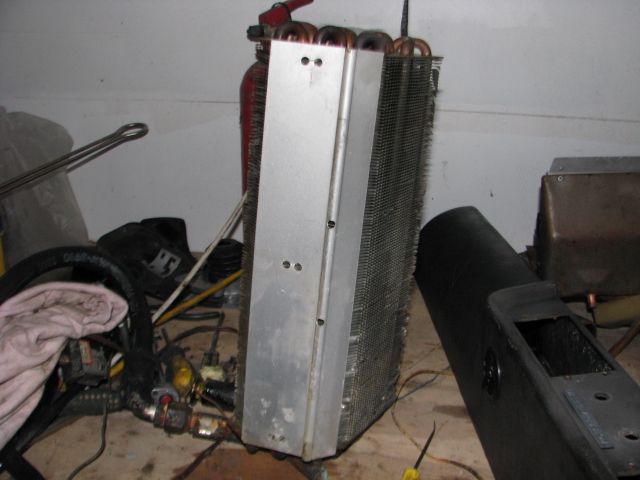
With the heads off and the engine due for a repaint ,the booster was removed and rust removed . it was then etch primed and primed. The other objects in the picture belong to the 280SE 3.5 ute project..

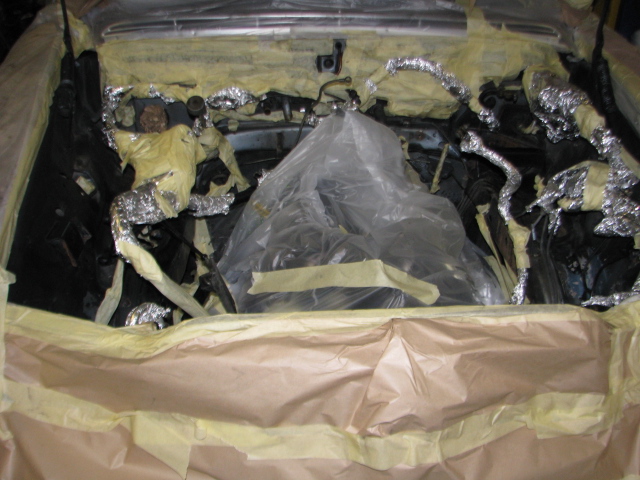
The car was completely masked up and the engine bay resprayed in the black satin as before.

BUT before the black could be applied and the engine bay was still in primer one or two other jobs need doing.

IMG_0275 IMG_0276

IMG_0278IMG_0280

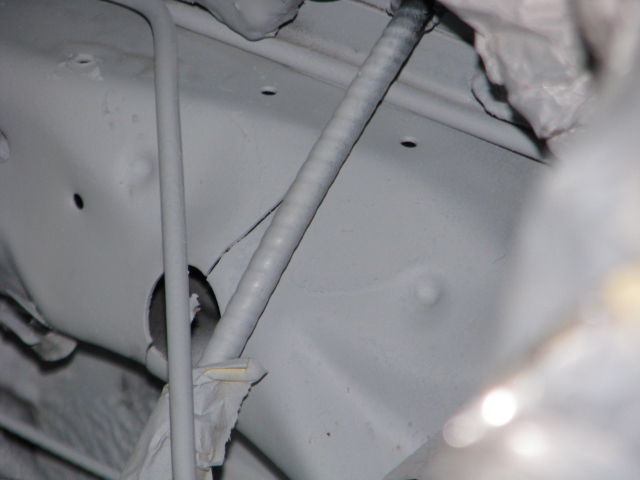
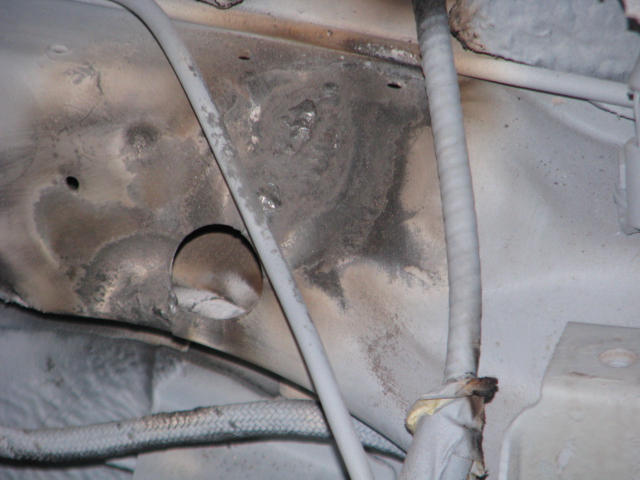
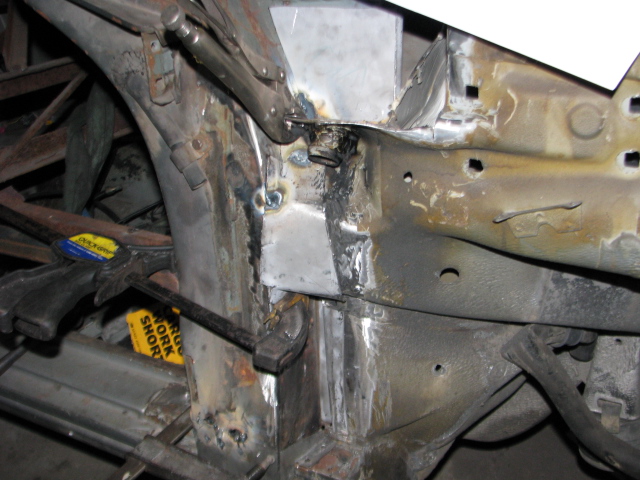
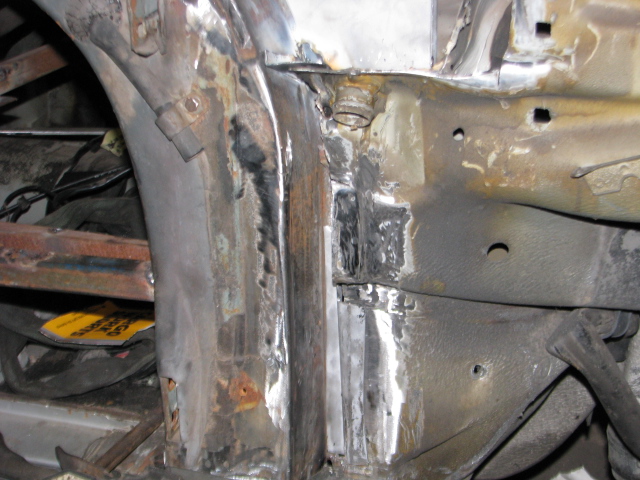
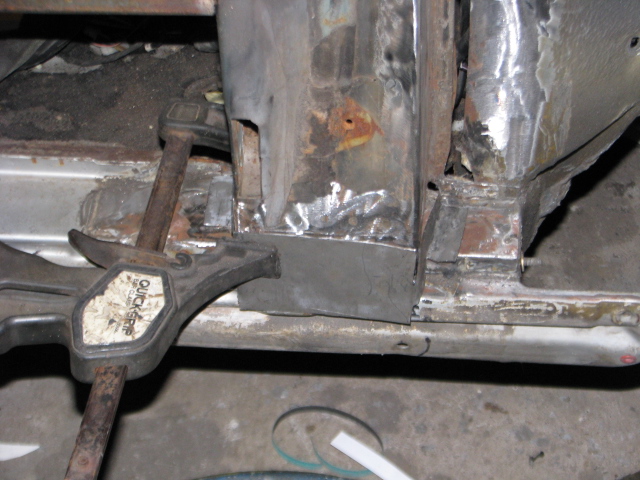
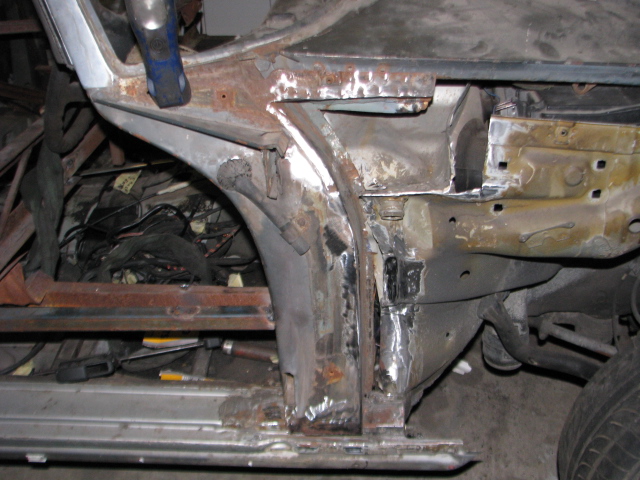
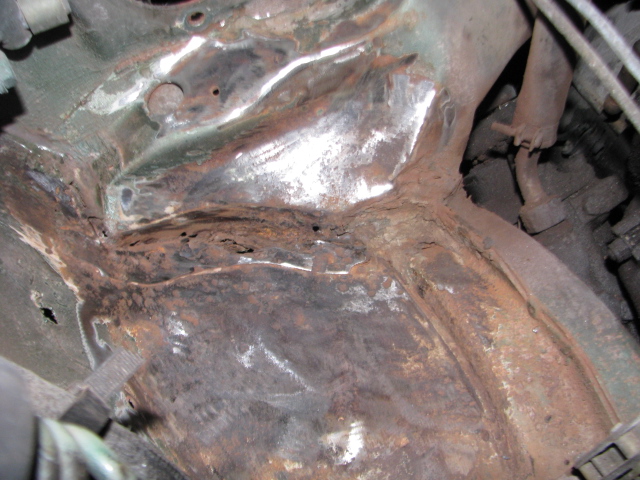
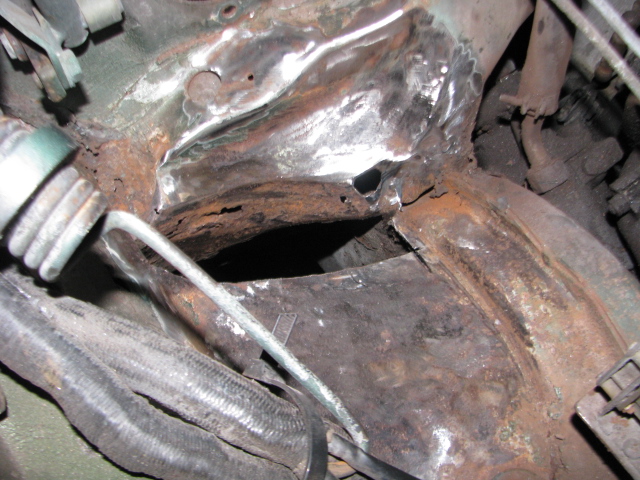
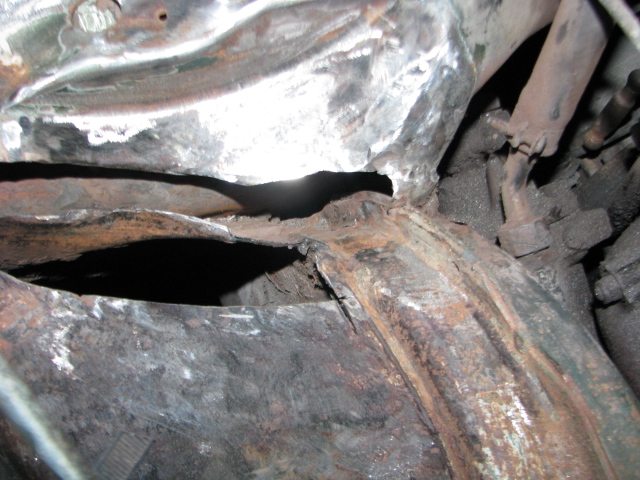
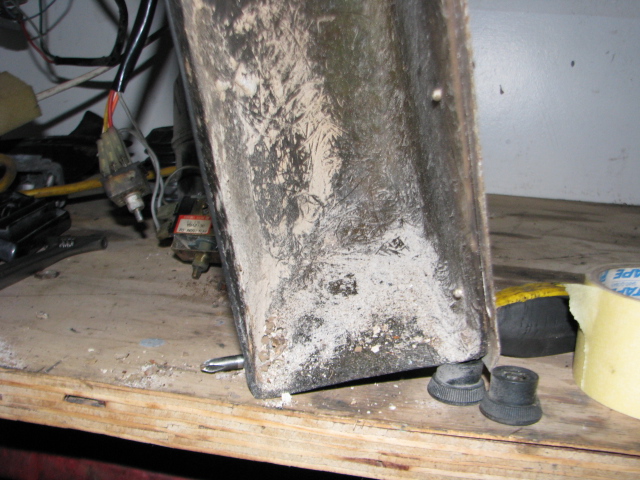
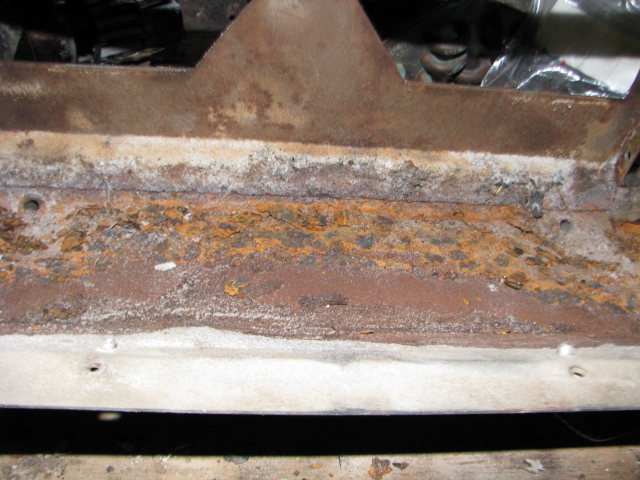
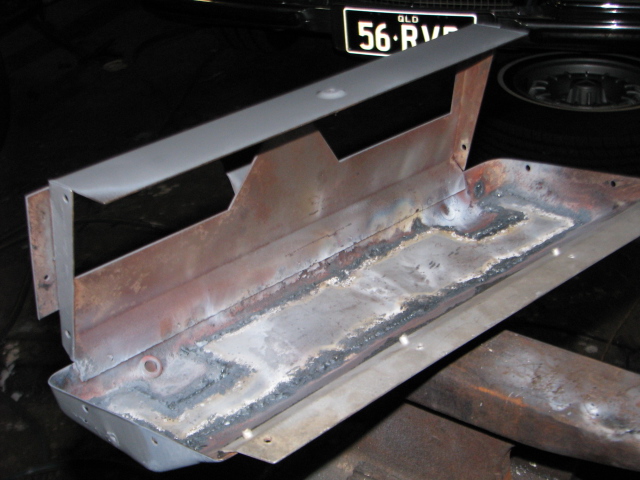
The firewall brace on the left hand side was cracked almost right around and had to be welded up.

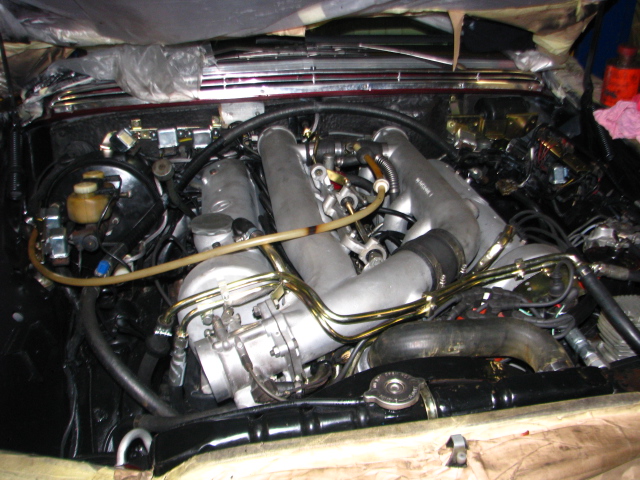
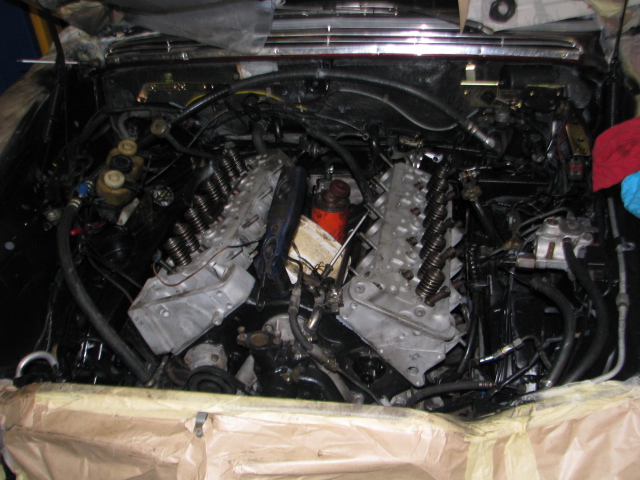
With the engine bay now painted the heads were fitted ,along with newly plated relay brackets . There is a lot less wiring now the original loom has been cleaned up and things such as a mobile phone loom removed .

IMG_0281 IMG_0282 IMG_0286 IMG_0287

New roof on the workshop!!

IMG_0247

Big Surprise today,Saturday 9/05/15. The roofers finally turned up to repair the damn roof. Because the old one was asbestos sheet,the whole shop had to sealed up while they removed every on top of the building. Amzingly it took only 8 hours to strip the old roof off and fit insulation ,then fit the new Zincalume roof.

IMG_0252

Brilliant light now!.

Mercedes Benz 300SEL 6.3 repairs

IMG_0239OK, ,more progress on the 6.3. The fuel is being replace and this pic shows why. Many years ago someone has crushed it by lifting the car incorrectly with a hoist ,jack or….forklift. In fact it was squashed in many places.

next pic shows one of the other crush points.

IMG_0241

IMG_0242Next job is the Fuel lift pump.

As can be seen in the pic,the pump was mounted solidly and is 150mm too high,meaning that once the fuel level drops to 1/3rd tank level the pump was starting to starve for fuel . These pumps are not a suction pump,but a pressure pump.

Mercedes Benz 220SE Coupe conversion

IMG_0230

progress has been held up while i rebuild my Mig welder . But in the meantime I have begun the task of anchoring the cowl to the coupe shell. It involves a lot of fabrication of the various small bits to be welded into the body .Starting with the right A pillar.

IMG_0229 more of the W126 A pillar was removed,back to where it was originally welded to the cowl. This will make a cleaner stronger joint.

IMG_0228IMG_0226

These will be plug welded then lap welded around the edges.

IMG_0225

IMG_0224

The last part will involve welded a second peie over the top of the top panel which will connect the inner guard (on the right) to the cowl.

280SE 3.5 Ute Dash board restoration

IMG_0221 IMG_0222

In the last week,progress has been made with the dash as the wooden trim is refitted. Next task will be to reit the steering column and complete the wiring restoration and repair  followed by the instruments ,steering lock etc.

6.3 300SEL Service

IMG_0214Little details..

This is the conduit where the vacuum lines for the central locking pass on the 280SE 3.5 Project… pretty neat and an example of the over engineering on Mercedes of the past.

The 6.3 was misfiring badly under acceleration. a big disappointment for the owner ,who had spent a lot of money getting the injection pump rebuilt and the ignition converted to electronic  . So, when working under thecar replacing worn rubber joints and worn drive shaft parts I spotted the squashed fuel line .The picture on the right shows a really bad dent in the main fuel line . The entire line will have to be replaced ,and i am thinking this is probably the cause of the misfire

IMG_0217 IMG_0218

IMG_0220

The Drive shaft with it’s new staked unijoints and rubber center support bracket .

6.3 major service

IMG_0199Up on the hoist, the steering box coupler has been replaced ,Other jobs required are a new flex disc ,drive shaft universal joints and center support bearings. The diff support pivot bush was worn out so the diff was removed.

IMG_0201

IMG_0202The brake hold down (or anti dive mechanism ) device was stripped and overhauled with new seals and bushes. The shafts were a bit stained from water getting in but otherwise OK.

IMG_0203 IMG_0204 IMG_0206\

The torque arm bushes will be replaced as these look to be the original do nuts and are as hard as rocks.

IMG_0207

IMG_0208a bit hard to see in this shot,but this is a heat sheild uder the drivers foot well,which will be removed and cleaned so it does it’s job properly.

Mercedes 280SE 3.5 ute, brakes and air con overhaul

The booster was a bit rusty looking so i t has been decided to strip it down. and clean it up .After pulling the master cylinder off,it could be seen that the booster was full of fluid….. IMG_0137 IMG_0139as can be seen ,the booster contained close to 3 liters of brake fluid.

tIMG_0141

The steering column was then pulled and examined,more BiCarb! ,and the paint had been attacked and needed redoing . IMG_0142 IMG_0143

IMG_0145 IMG_0146 IMG_0149This picture shows the extent of the biCarb inside the gearshift mechanism.

Under the booster,the firewall and the right front chassis rail join was rusted out . The rusted metal is removed and replaced with fresh metal.

IMG_0157 IMG_0158 IMG_0159 IMG_0160

Nest Job was to rebuild the Air con and once the housing was opened up,it could be seen that the evaporator was full of fluff and BiCarb.

IMG_0161 IMG_0162 IMG_0163 IMG_0164

IMG_0165IMG_0167

The bottom of the evaporator housing was rusted out so a new peice of Zinc anneal was welded into place to repair the bottom .Condensation won’t leak into the car now,.IMG_0168 IMG_0169the evaporator has been flushed and the fins cleaned and straigfhtened .Once the new bottom was welded in ,the housing and panels were zinc primered,then primed and fisnh coated in black .The foam liner was replaced and the unit reassembled and the fans tested .

IMG_0171 IMG_0172 IMG_0173 IMG_0174