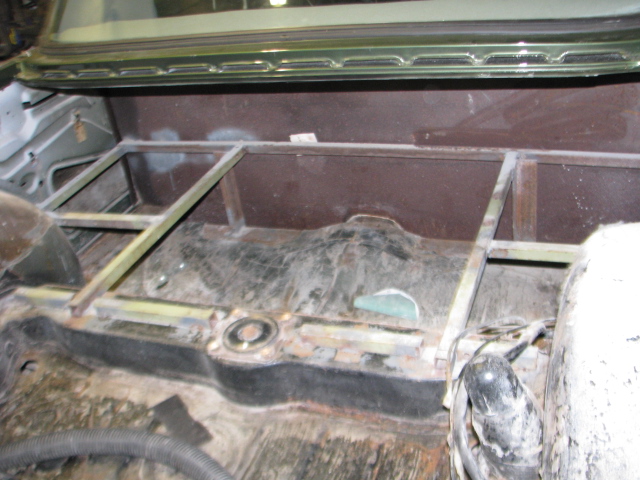
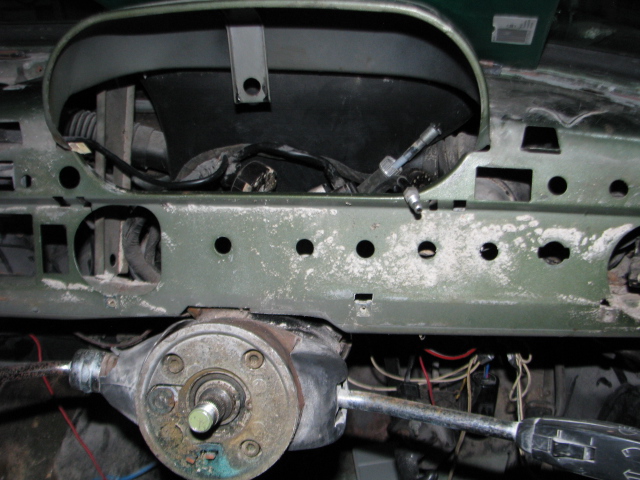
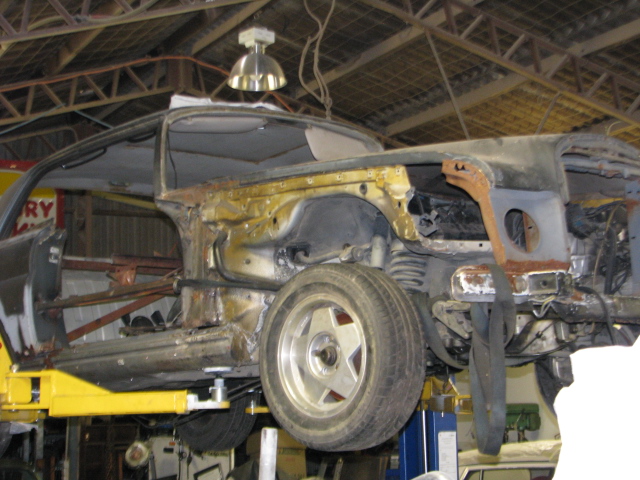
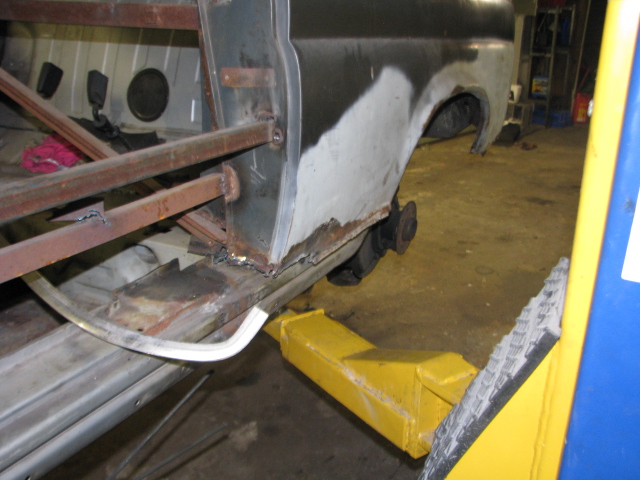
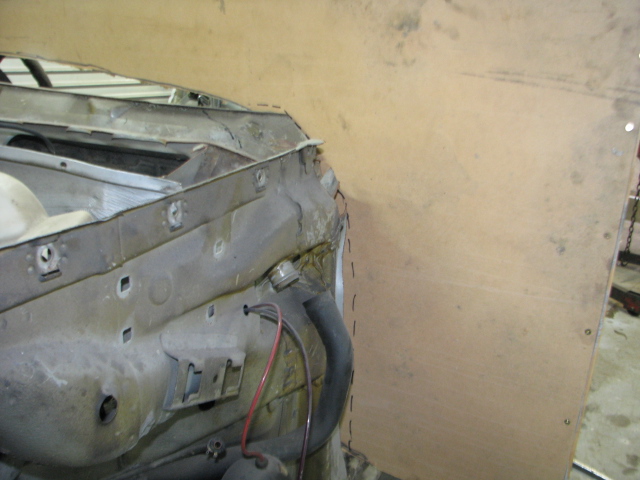
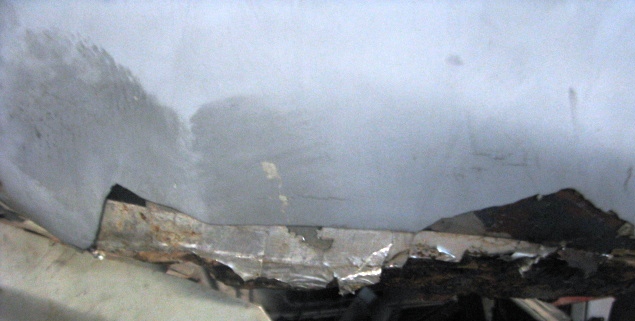
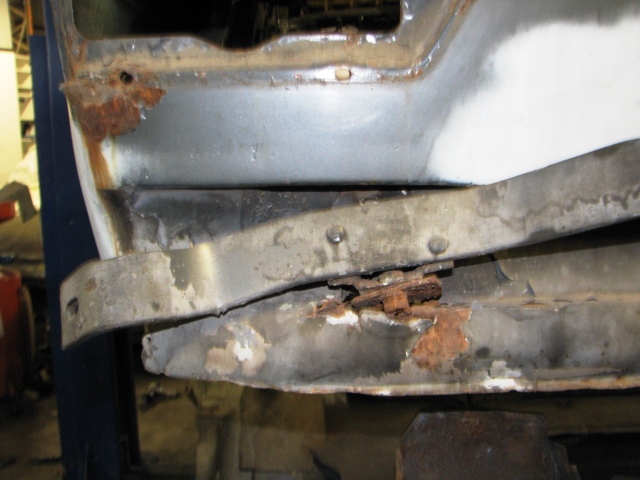
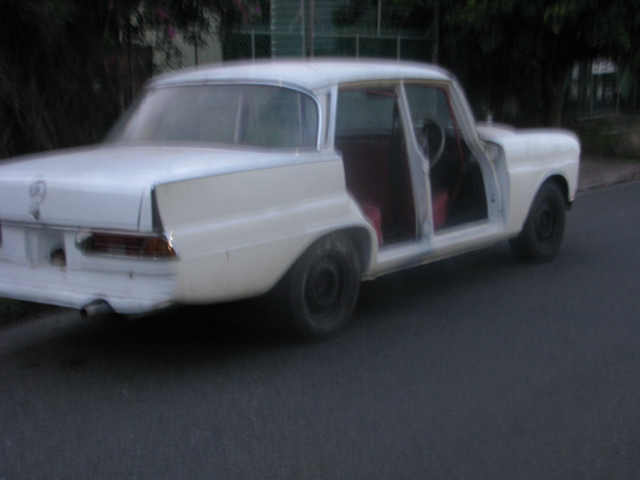
At first,I thought there was a lot of body filler dust in this car after it came from the paint shop. But it turned out to be a lot of bicarbonate of sod,used to blast the old paint off. This my 2nd least favourite method of paint stripping as it leaves residue in nooks and cranny’s .Another thing it does it corrodes the wiring inside the insulation . This is the 2nd Mercedes i have worked on with this problem . A humid day and the electrics of a car cease working as verdi gris builds up on the pins in the various plugs.  Inside the rear area after the first attempt at cleaning the BiCarb out .Note the unpainted rear panel
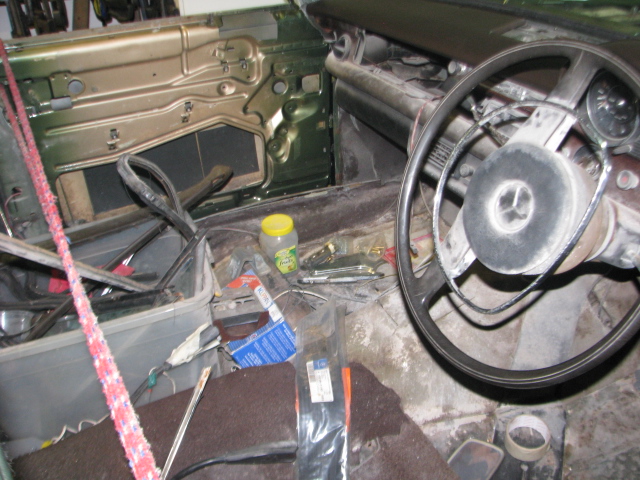
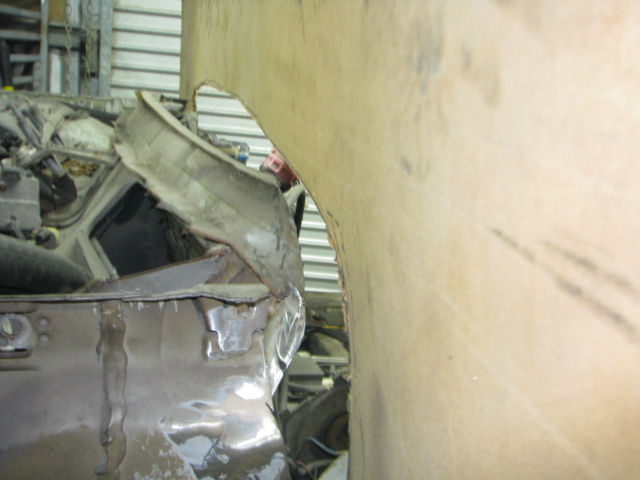
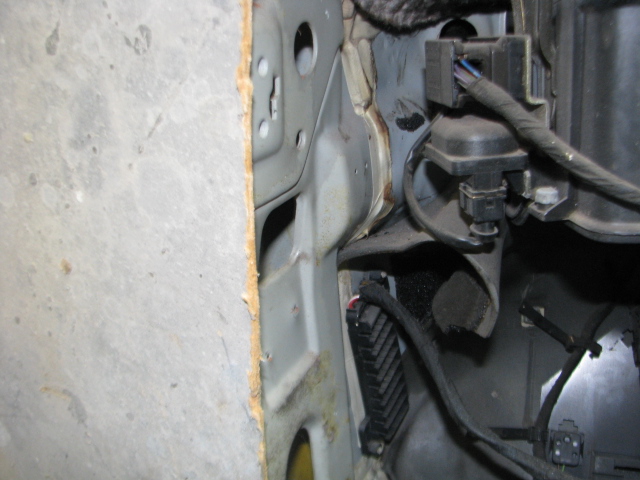
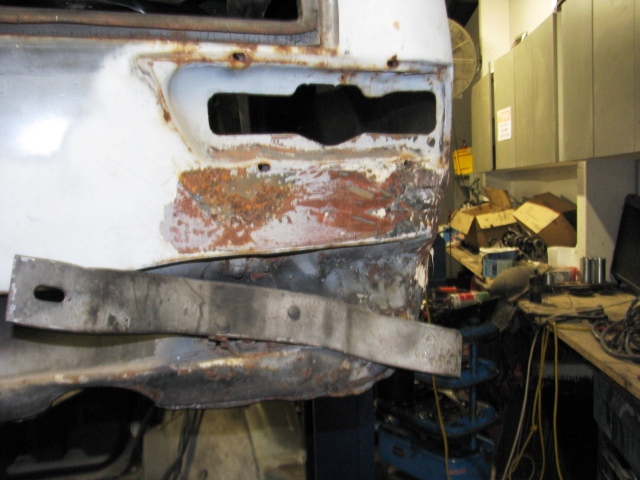
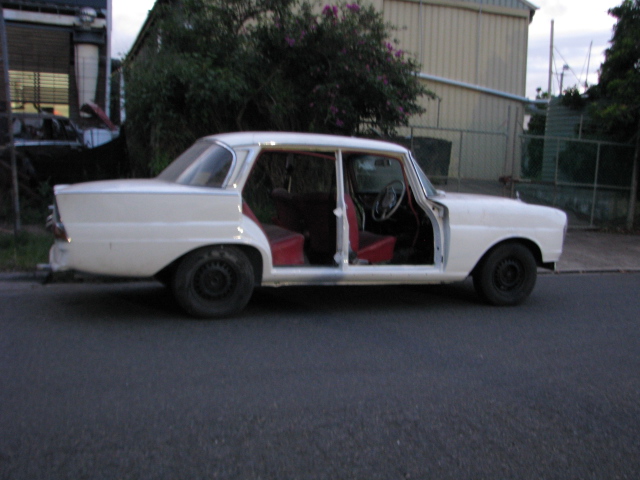
…..Making a start at cleaning up the interior,eventually it all has to come out to get rid of all traces of the damned BiCarb.

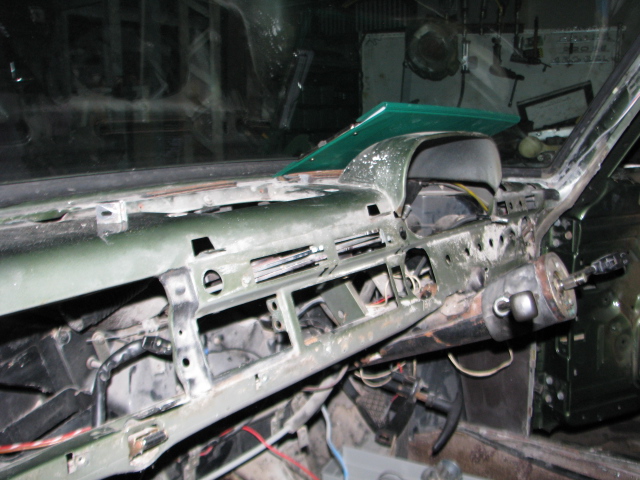
Note the condition of the wood dash now. it will all have to come out to be repaired.
 Close up of the dash ,rust on the steering wheel boss is caused by the soda . All stuff under the dash is going to be removed to clean up the rust.
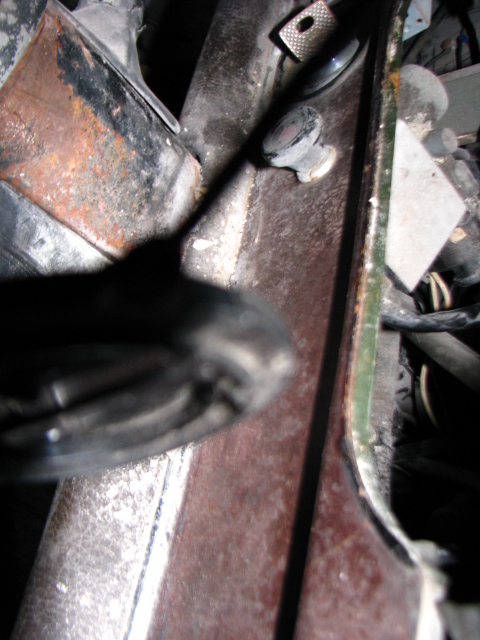
 With the wheel and instruments out the extent of the intrusion of this stuff can be seen more clearly.
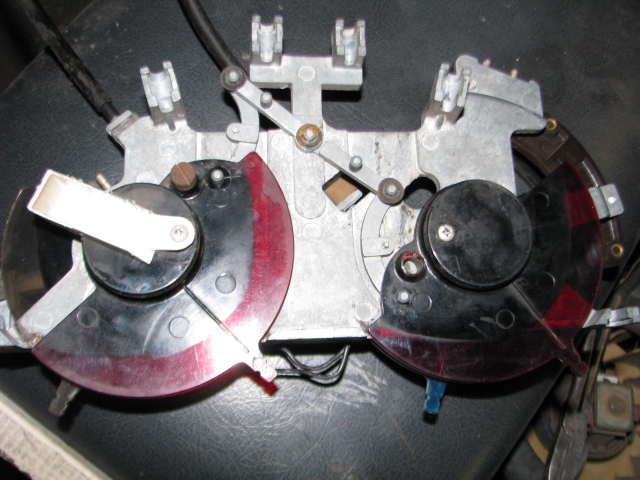
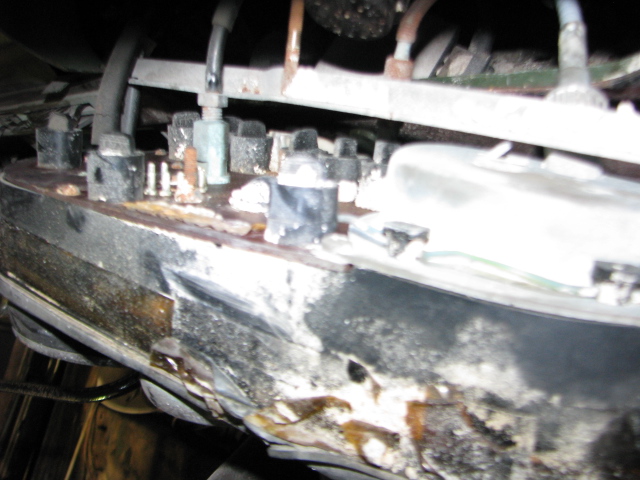
 Back of the instrument cluster . The whole cluster will need to come apart to get rid of the soda that has gotten inside .
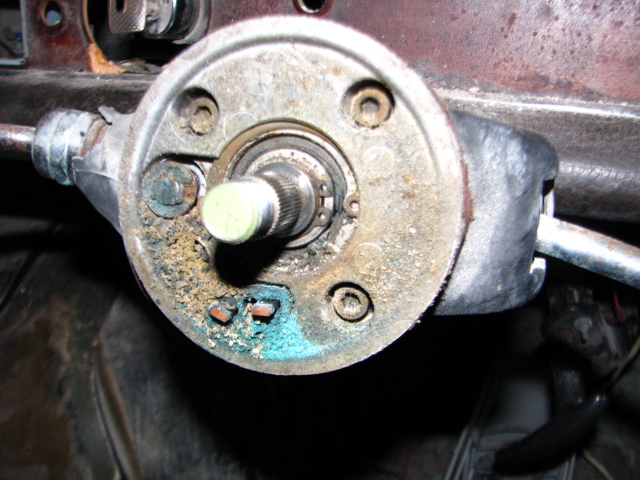
 it even got inside the steering column where it has eaten out the horn contacts..The gear lever and indicator stalk have gotten rusty too.
 This is the INSIDE of the crash ad on the lower part of the dash . it was full of Soda.

Imagine this stuff coming outr of the dash as the car was driving along!!.
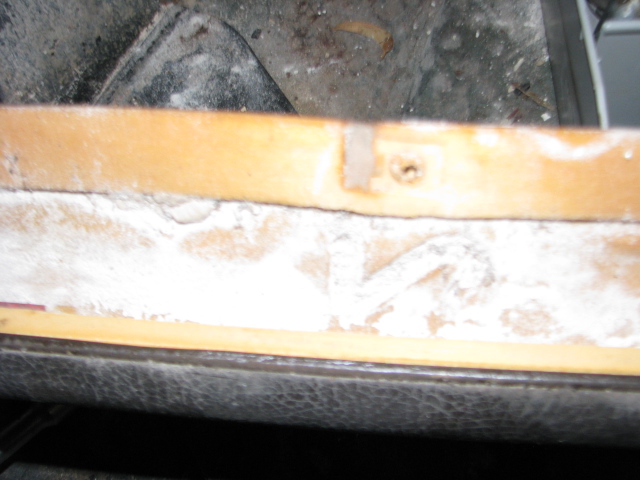
 With the damaged wood removed the soda was even bwetween the dash frame and the wood!.
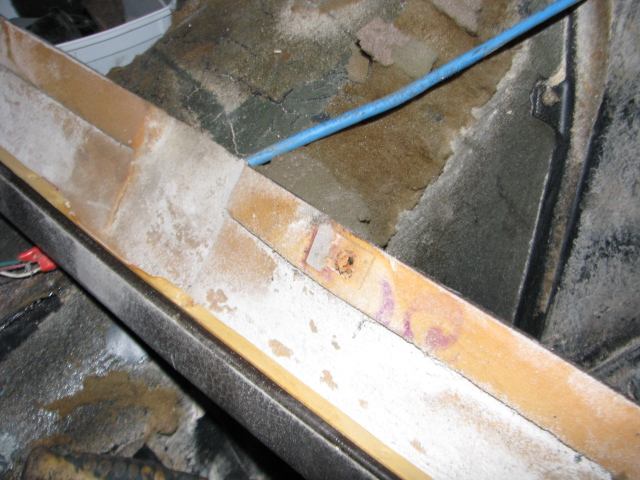
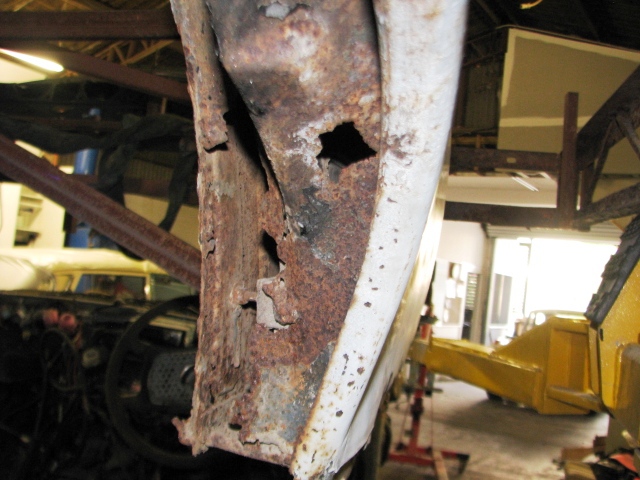
Look at all that shit everywhere under the covering!.

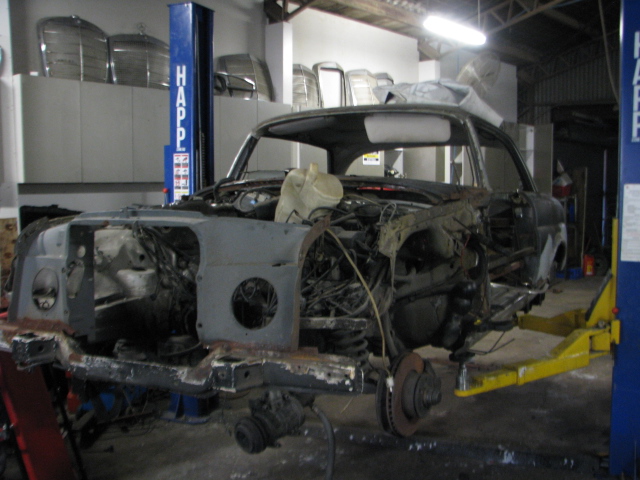
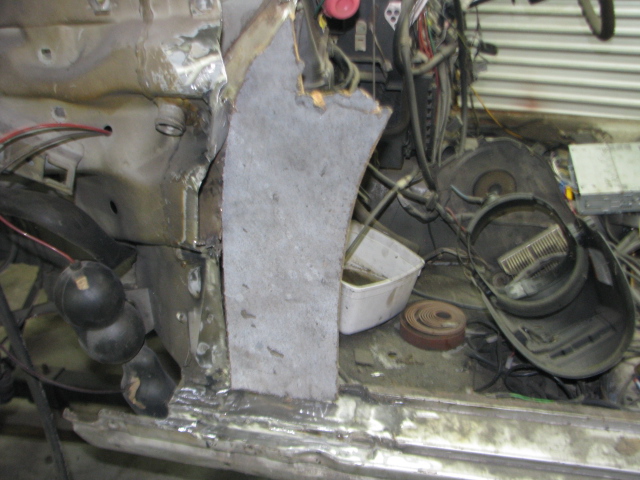
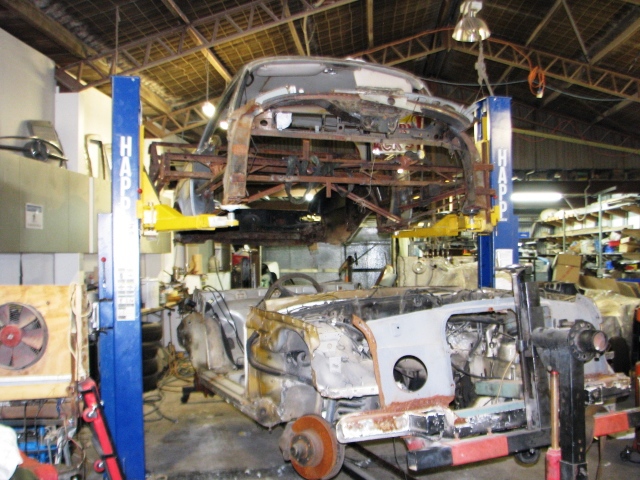
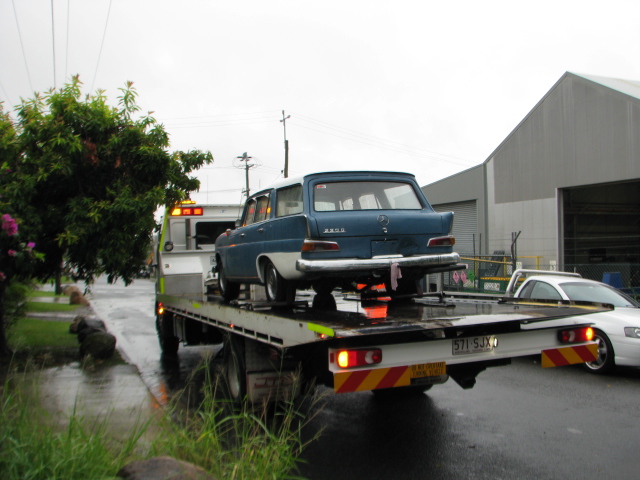
Now for the really serious stuff .
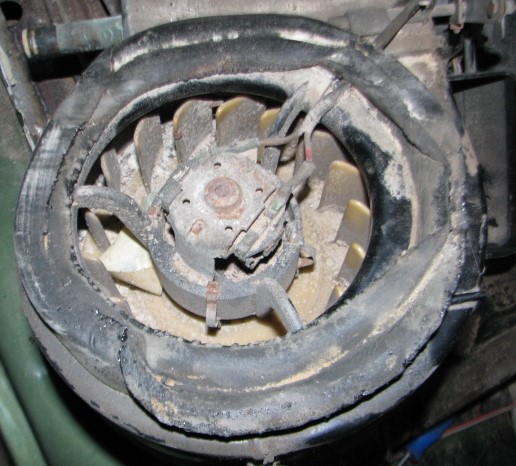
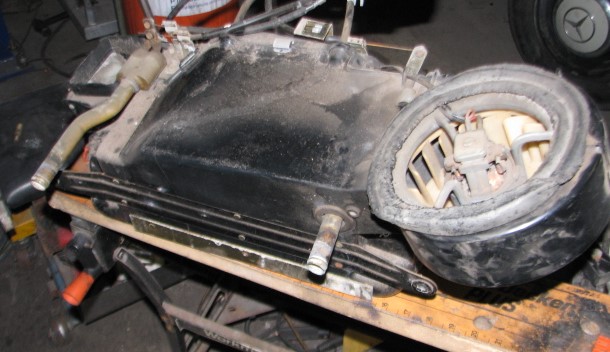
This is the heater motor, Locked solid and corroded inside because of the soda . The air con motor is in the same statre with soda all through the heater and it’s ducting.
All of the dash switches will have to come apart now to make sure they are going to work correctly


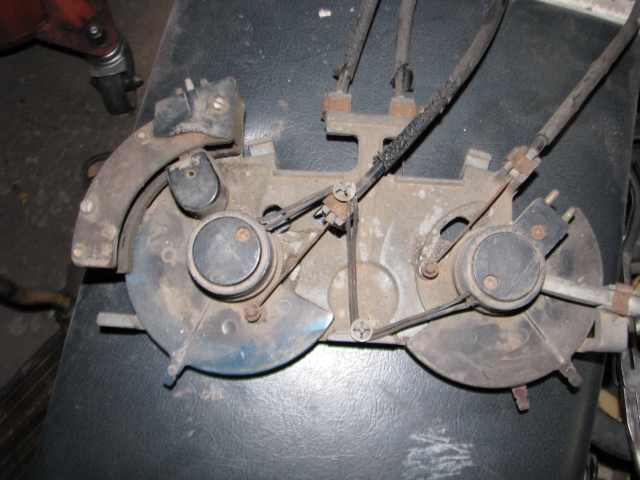 Control levers were [pretty dirty.
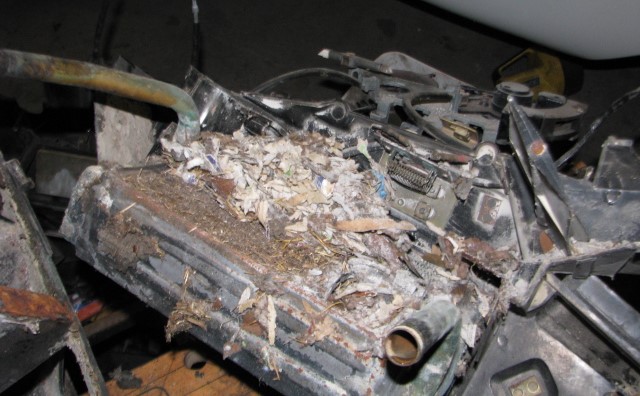
 Heater matrix has was blocked with more bi carb….
 Rubber seals were rotten too..
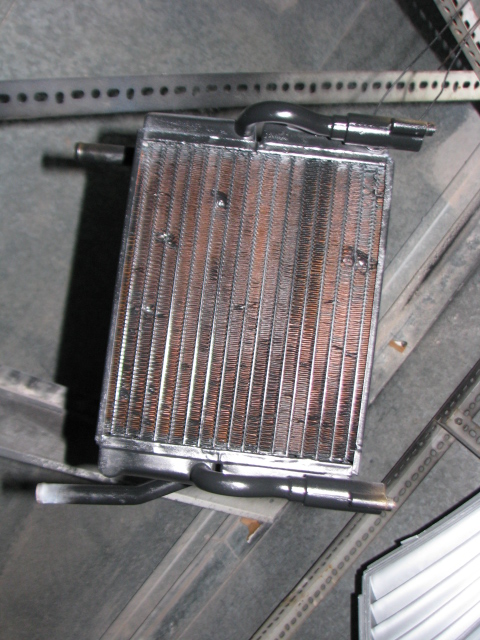
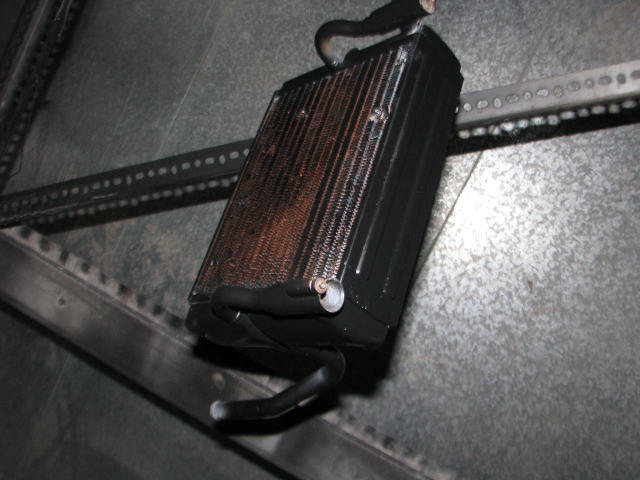
 black heater paint looks grey in these pictures.