For the last few weeks i have been making and welding into place the required repairs on this 280CE,but most of the work has been concentrated on the Right side front floor and sill structure.
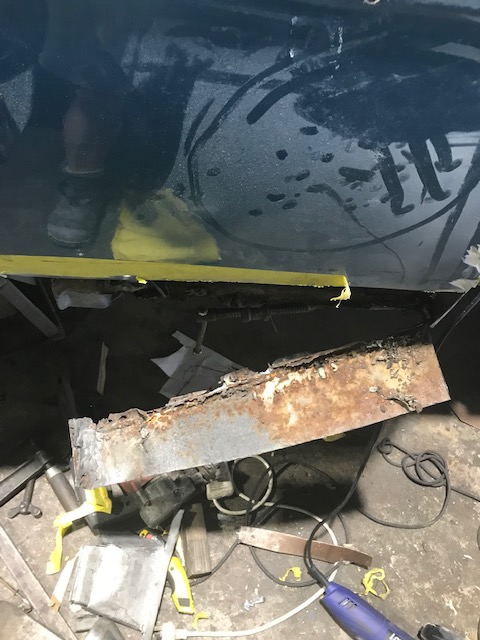
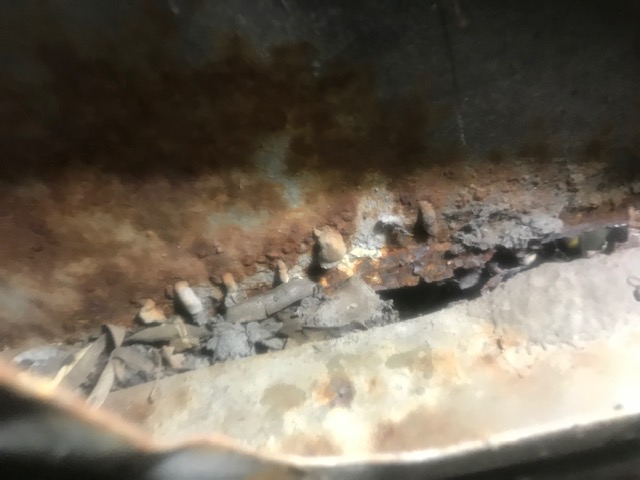
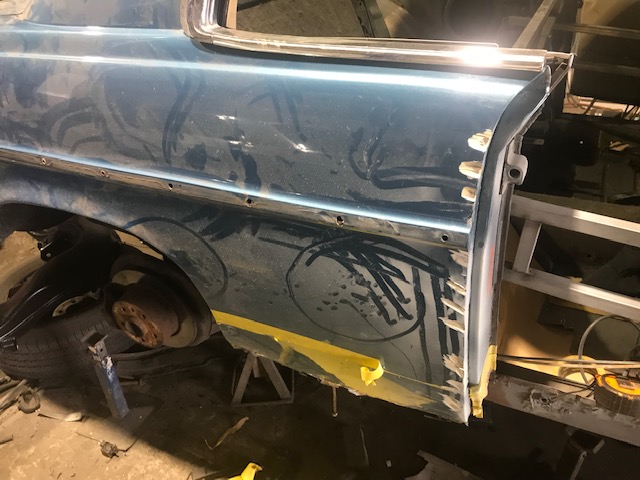
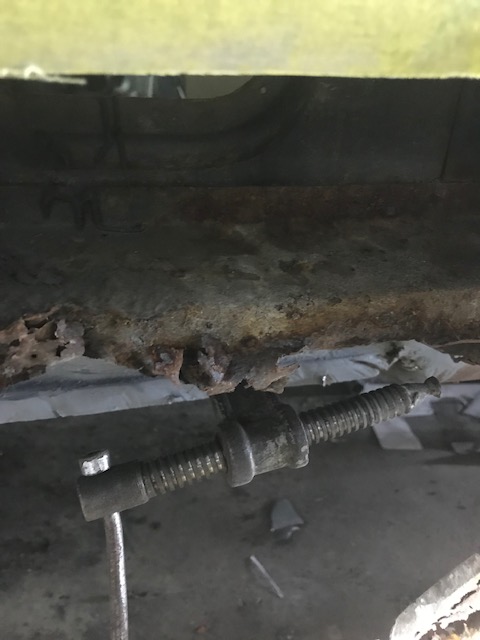
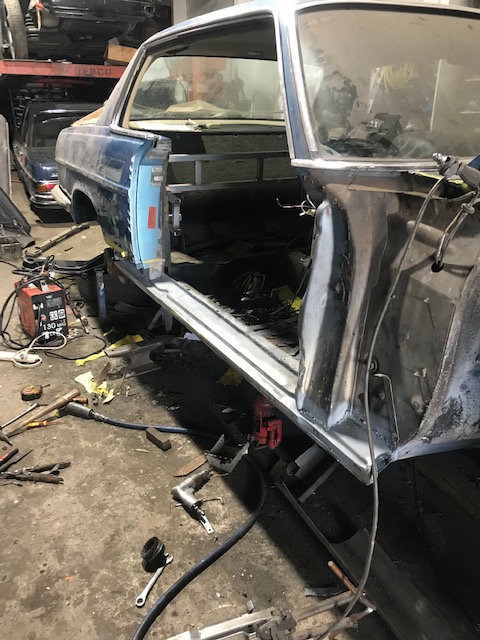
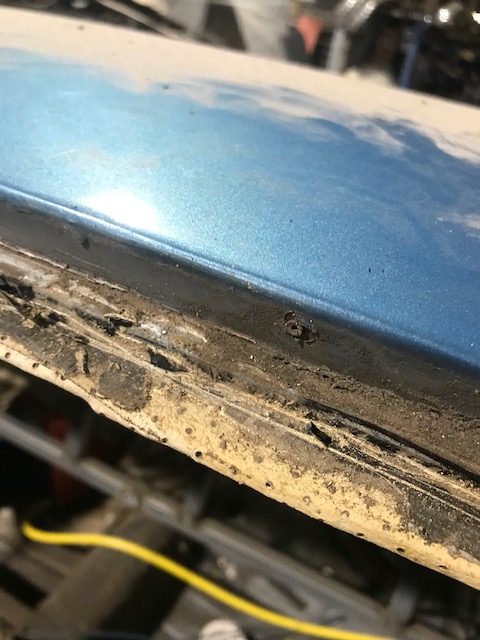
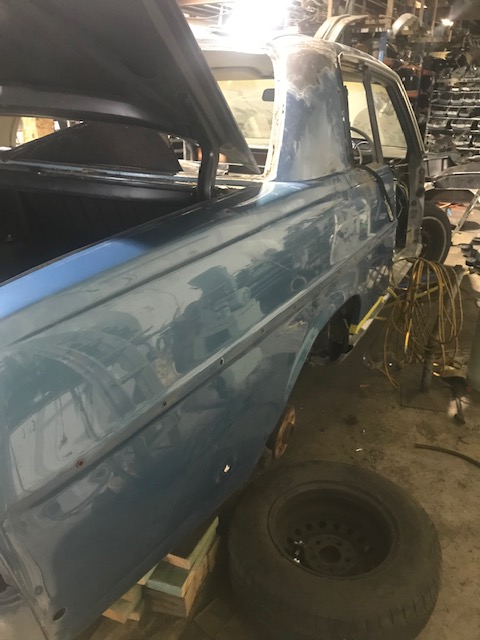
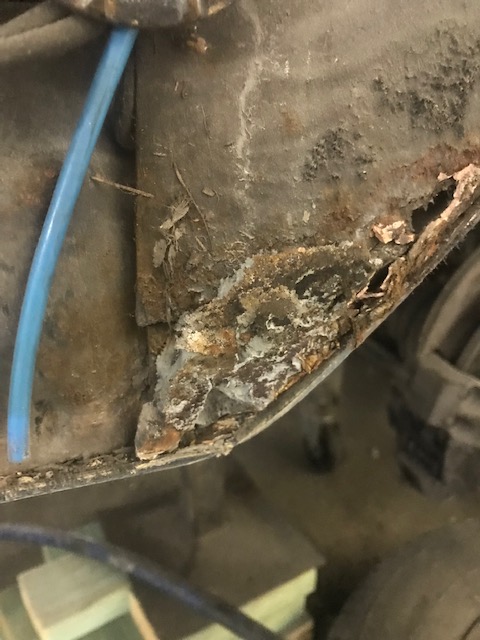
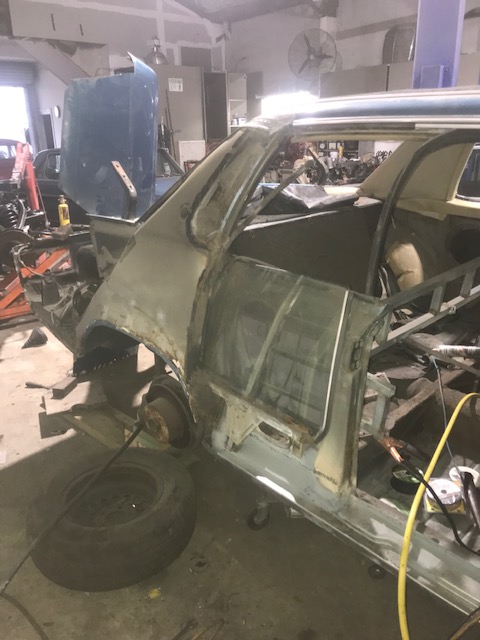
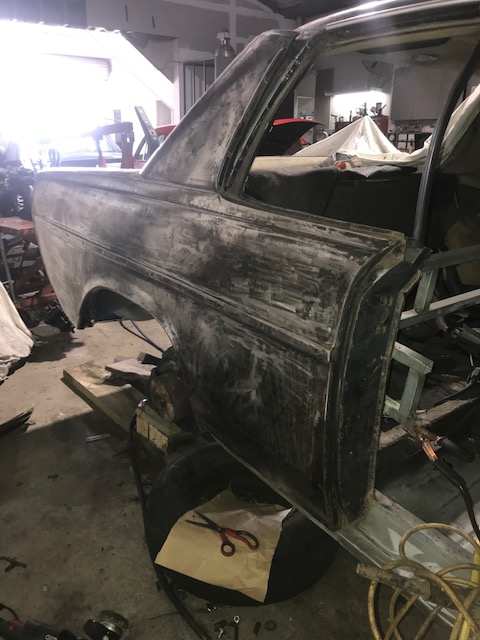
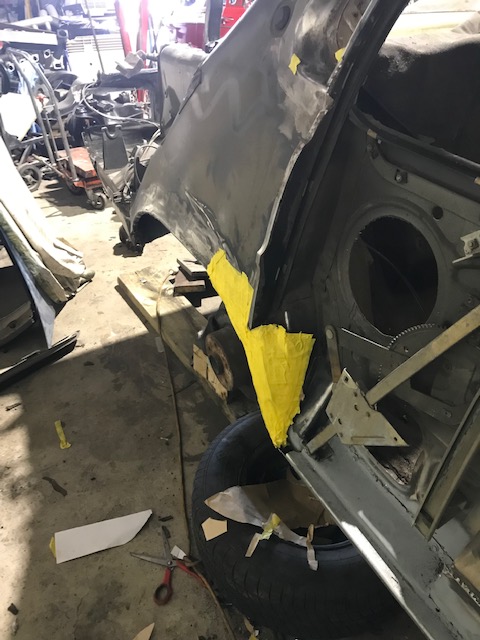
This the right side 1/4 panel > it was so full of rust and bad repair work I felt it was necessary to to cut it right out to get rid of the corrosion.This is the veiw of the bottom of the 1/4 panel before I cut it off. the bondo can be seen where it oozed through the rust hole. holes.Part of the problem is the old sponge shoved into the panel to stop leaks .The body filler is 5 mm thick. But in other places it’s even hicker and rust is pushing it off. The tape was going to be a pattern to make a new piece but the circle in the body filler dust above it is a massive dent in the side which was filled instead of straightened out . The ‘B’ Pillar was bent inwards ,with the lower part of the Pillar rusted away completely . This pillar will have to be removed . This is the top of the rear part of the sill/rocker remains .The zinc coated part is the flange where the new rocker attaches. The New Part is tried in place to determine fit .Welded into place ,the car is lot stiffer on this side now ,so the temp.Brace is removed.
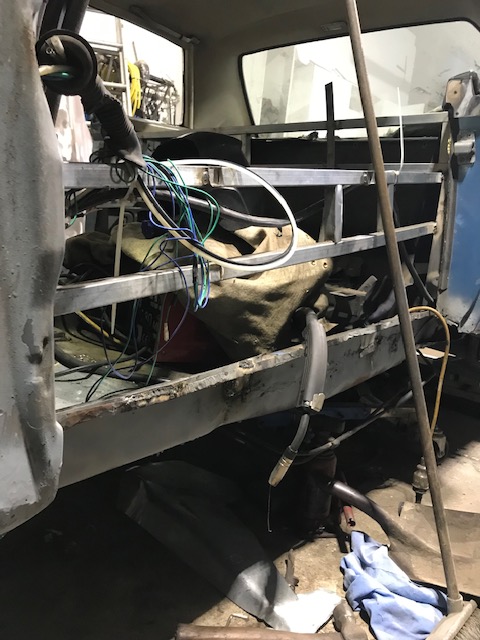
As more rust has been uncovered ,the rockers have to be fixed before any more rust removal can be addressed,once again to prevent the car collapsing.
This is the bottom of the left hand Front guard /fender.
Inside it is the usual story,lots of foreign ‘stuff’ used to hold things together .Fortunately there isn’t much rust in the rest of the panel.
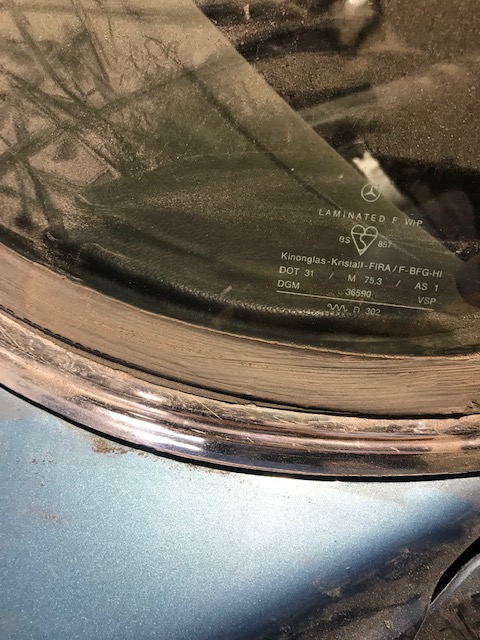
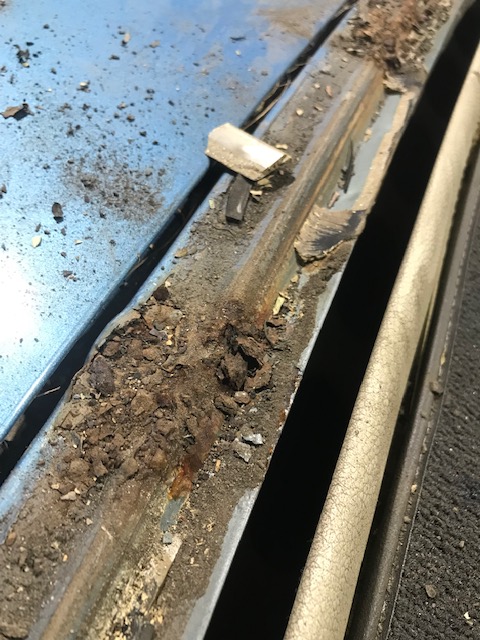
This is the top of the left front guard,below the windshield. The old seal was ‘painted’ with some sort of silicone which has made things worse,as water can easily get through the gaps. The left door has to come off so the A pillar could be aligned properly and make room.
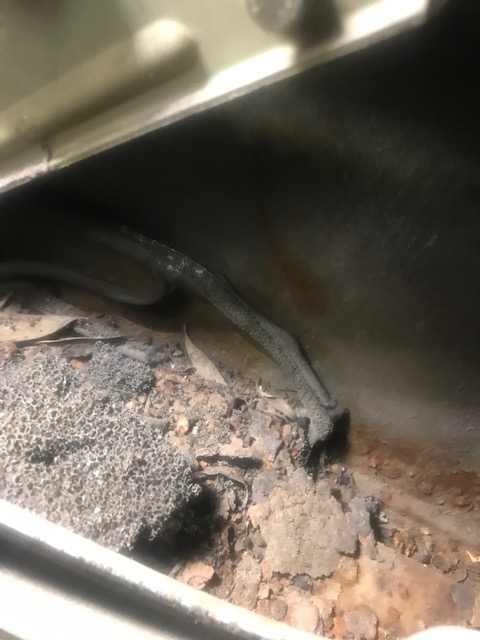
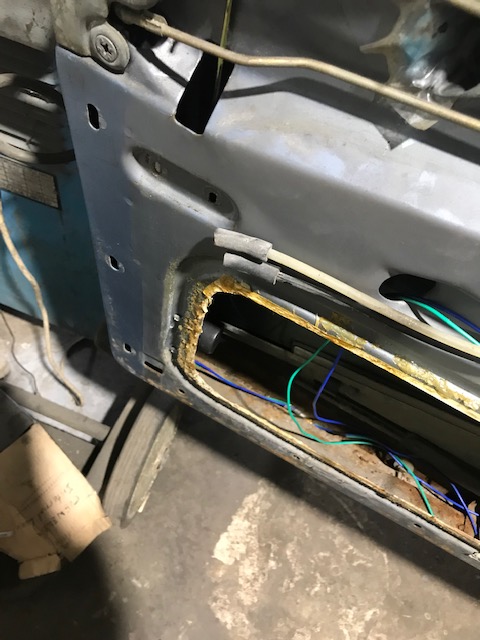
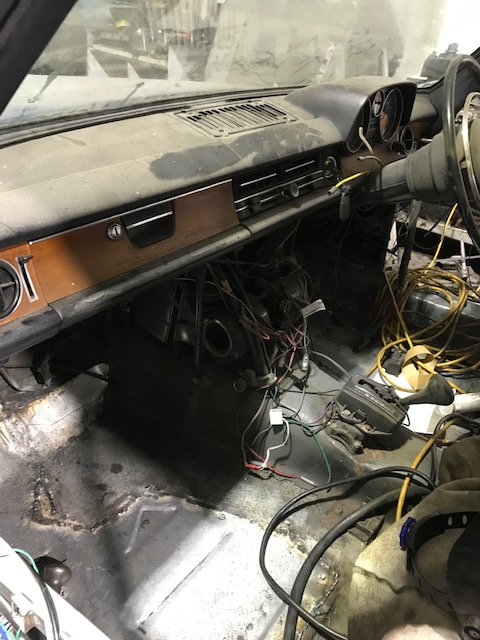
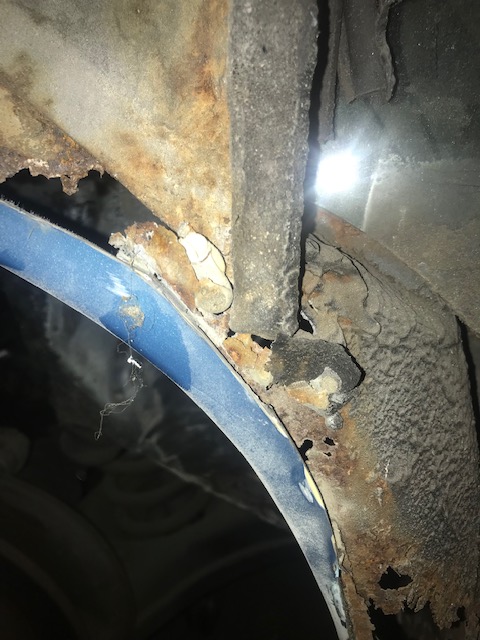
I found one reason why the car didn’t run very well . the two Lines in the pic,the white and Black ones,are vacuum lines for the central locking. the engine was sucking a lot of air at idle throwing the engine tune right out. An electric central locking had been fitted.
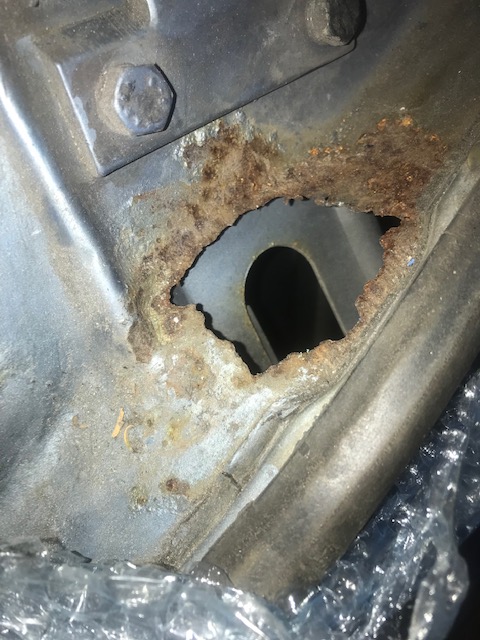
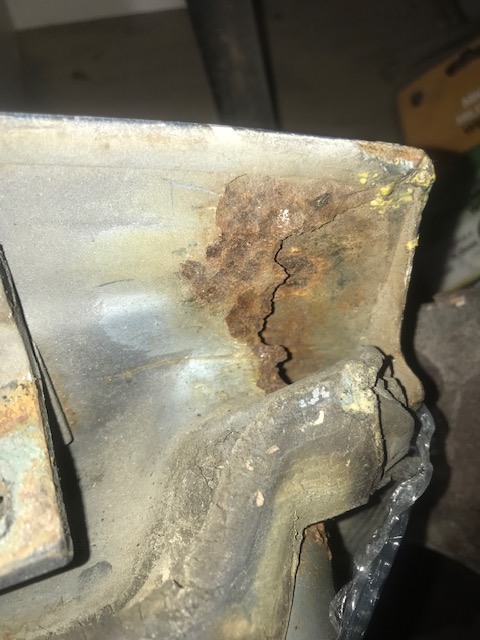
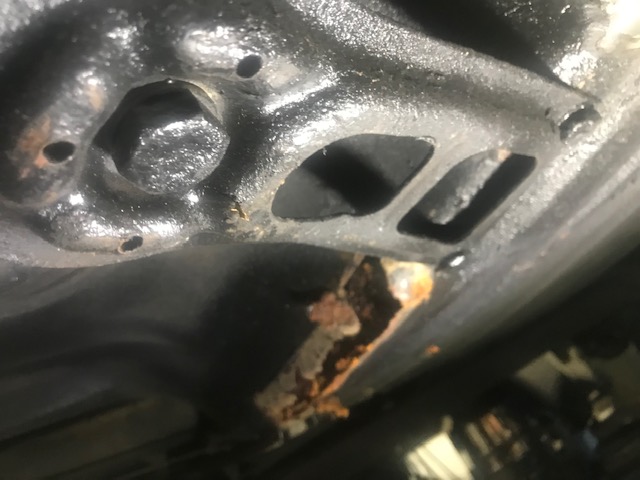
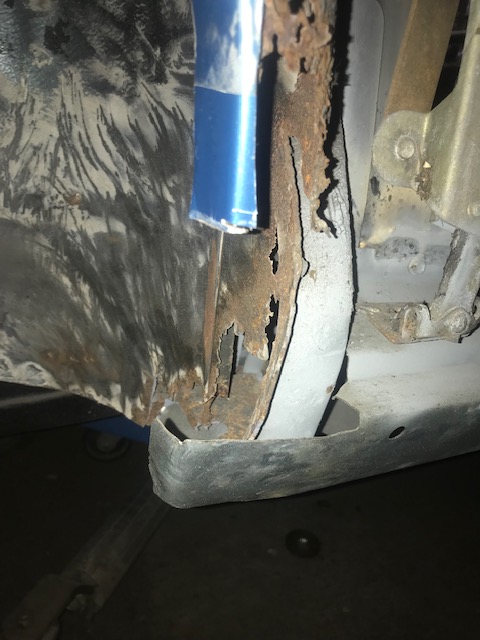
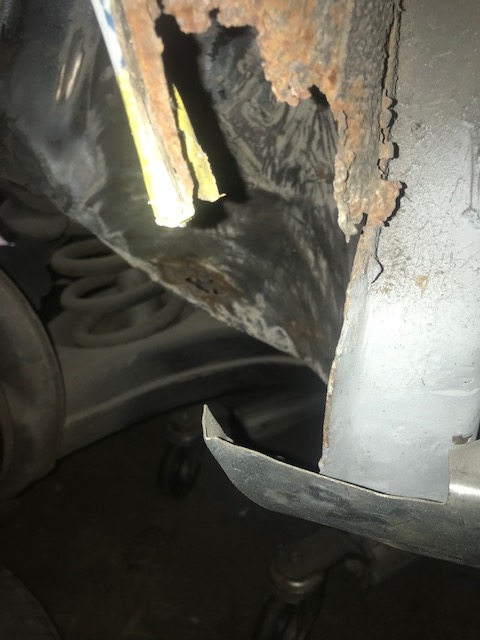
Top of left door,rusted around the Hinge mount,the two bolts and for the hinge.Bottom of the front corner of the left door. Water getting in the top hole has rusted a hole in the bottom . Again fortunately the door skin is OK. Inside I found another horror.
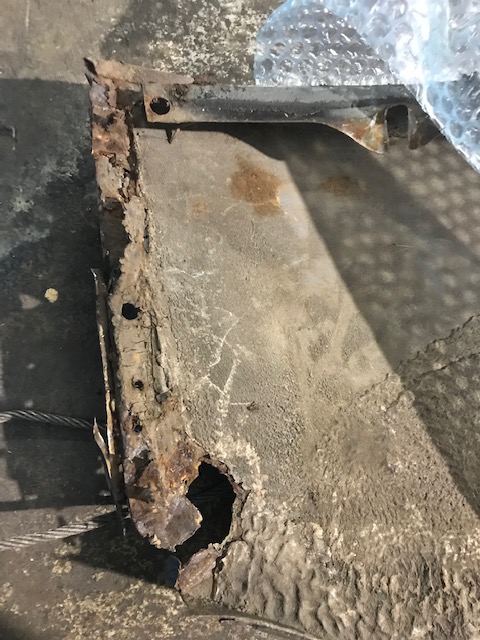
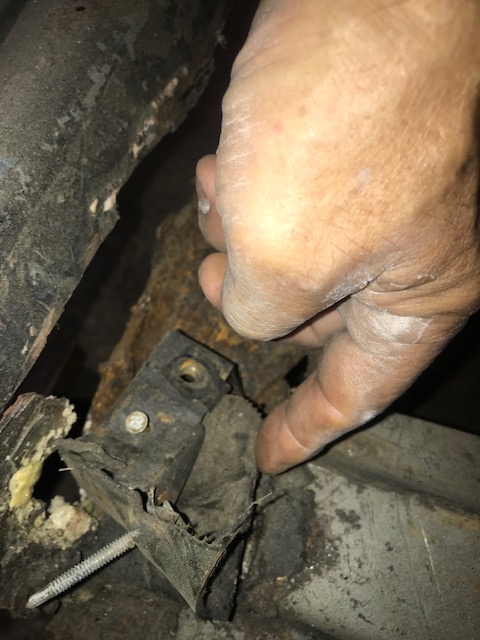
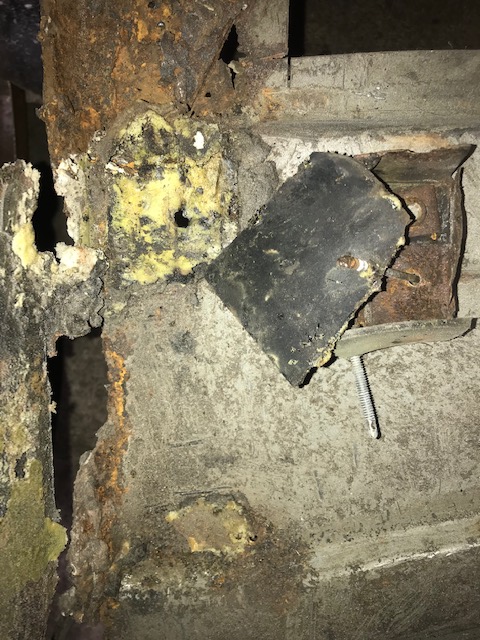
The Seat mount was held in place with a pair of roofing screws and two pieces of rubber which had been glued to the floor. One of the screws had missed and most of the floor and inner sill section was gone completely.
I picked the “seat mount” off very easily .
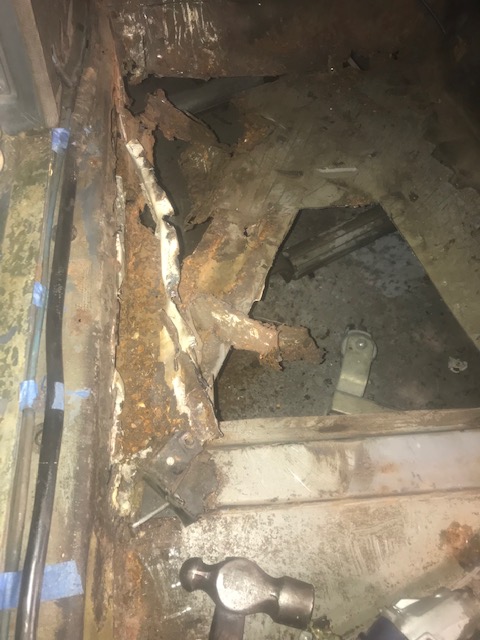
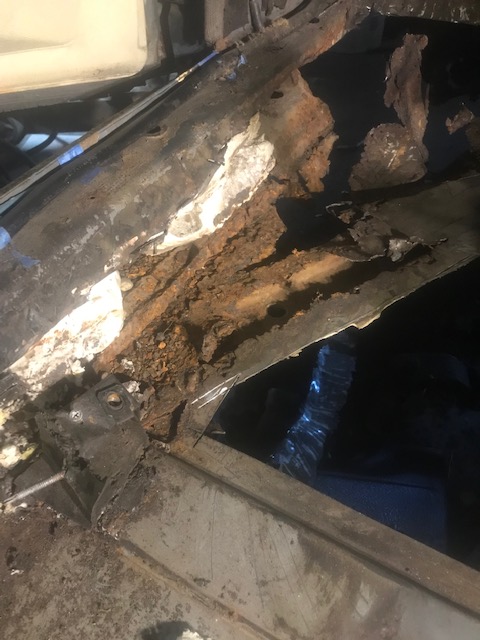
Most of the floor here was rusted away and once all the various substances stuck on it to prevent feet falling through were removed it became clear where the rust began and could be trimmed up.
Most of this had to be removed ,The ‘seat mount’ can be seen on the lower left. Here,the new inner Sill structure has been made and welded into place .The B Pillar needs to be repaired next.The left front floor is repaired now .So next job under the car will invlove removing the rear axle.
The rust in the low middle of the picture runs right across the car ,so the only option is to remove the diff so it can be reached easily.
Because there is insufficient places to support the car while the back end is removed,I have it sitting up on blocks of wood.
22/11/2021.
More rust uncovered….
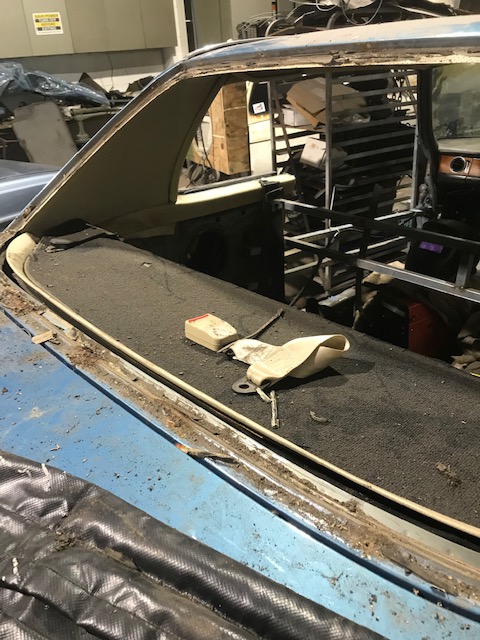
Rear window aperture has rusted badly with the trim Clips rusted away completely .
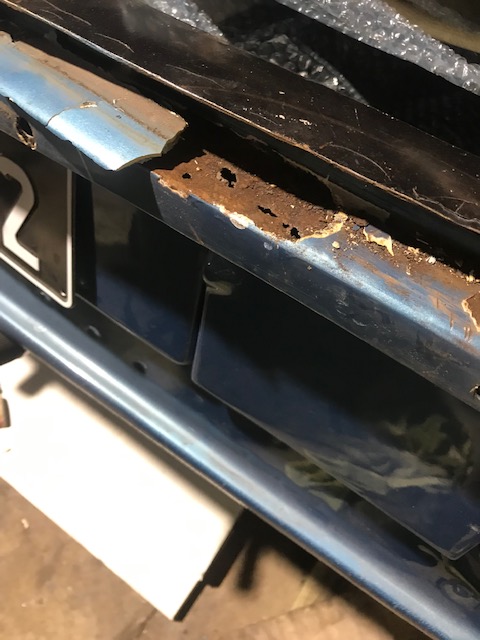
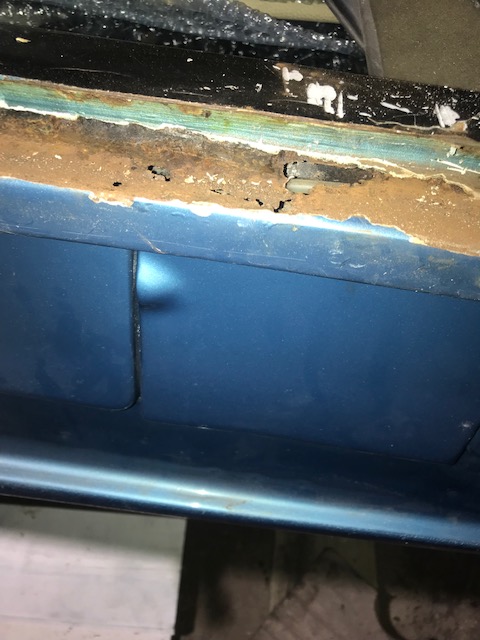
Further to this ,the boot seal was removed and the lower edge was rusted completely under some poorly applied filler.
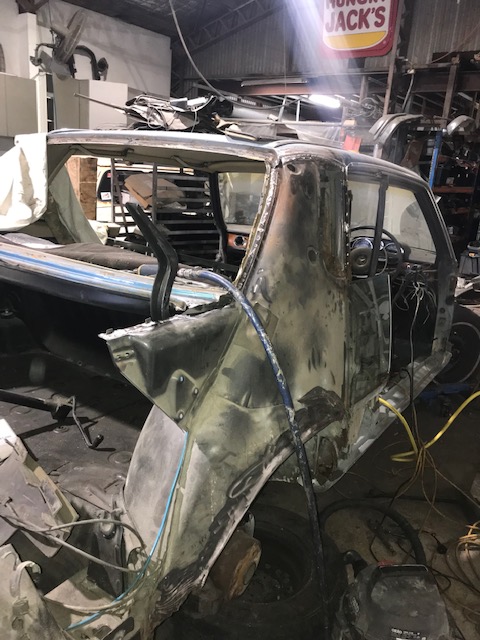
Trim clip missing….Lower edge rusted out.Lower boot edge with a piece of the filler which had fallen off. I’ve never seen a W114 rusted out here but there is always a First. Here the lead covering the roof join is removed to allow access to the welded joint.With the boot lid removed the body jig,to ensure correct alignment is fitted Next step,remove the 1/4 panel
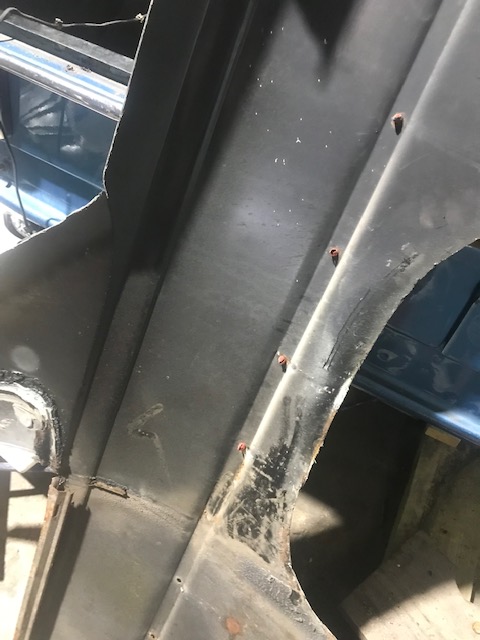
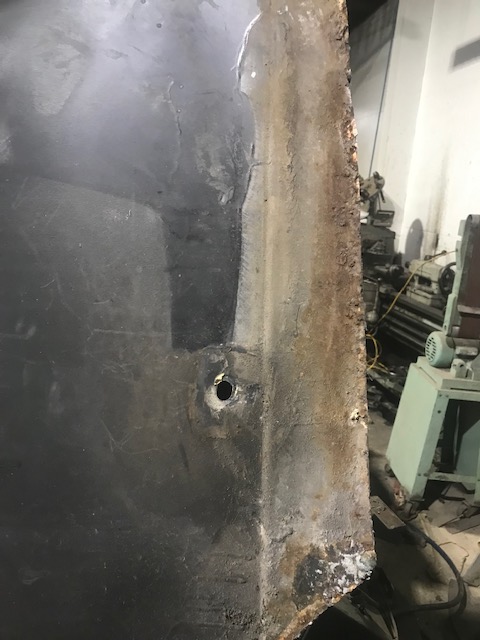
The spot welds holding the panel on are drilled out then the skin is removed. The Lower section (on the right of the picture was rusted and covered in filler to disguise the damage. The holwe is for the forward bumper bolt.
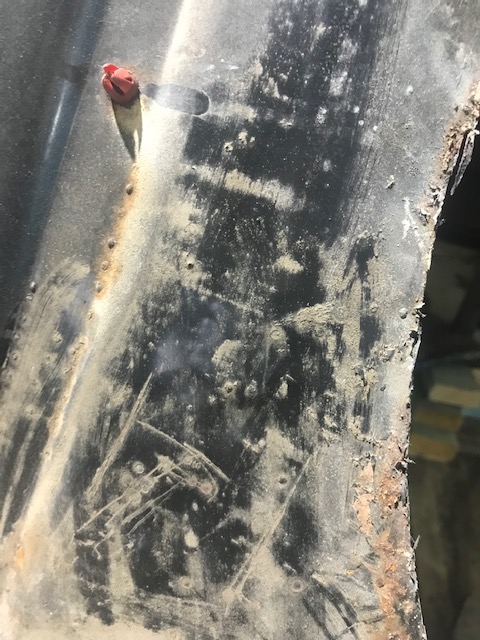
Center of the wheel opening on the inside of the 1/4 panel
Here ,besides lot of rust holes and attempts to disguise it with filler is a large dent ,the dark area. The filler is very thick here.
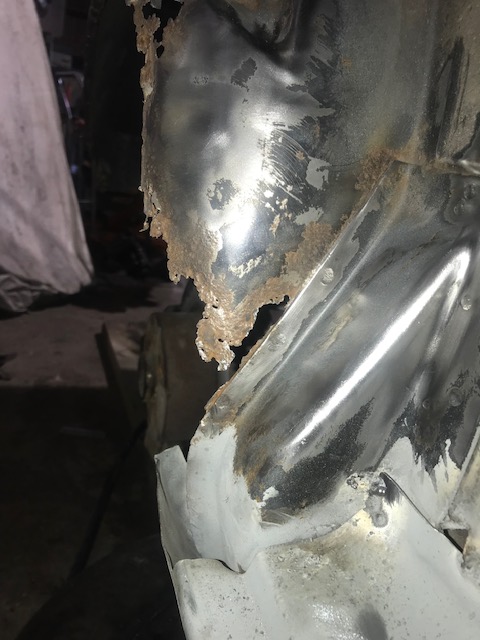
Rusted Rear of right hand wheel house at the rear Front curve of wheel house with remnants of wheel arch .
This is mostly Filler
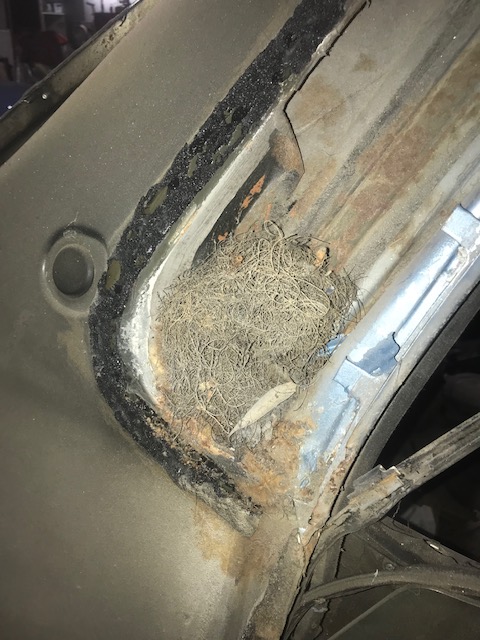
Front bottom corner Another veiw of the remains of the wheel house The inner frame of the Safety cell construction can be seen here.A mouse nest in the Air vent….! A view from the rear.A start of removing the rusted inner sections. More cleaning reveals more rust .Test fit of new panel .Making a 3D pattern to determine the shapes in the required part.


Genius. And brave AF !
LikeLike