Category Archives: Mercedes Oldtimer restorauration

250SE recommissioning

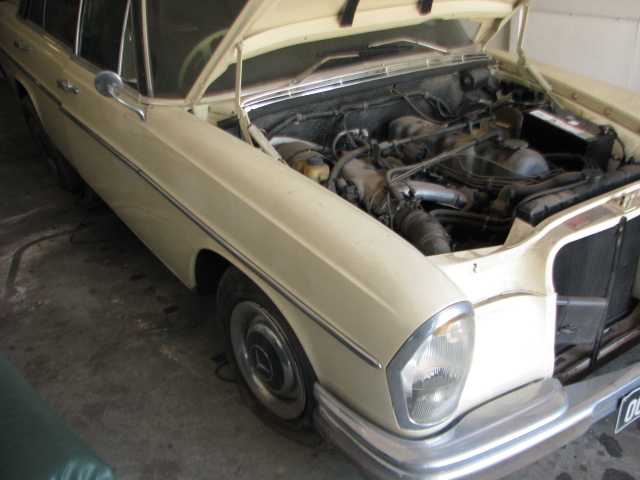
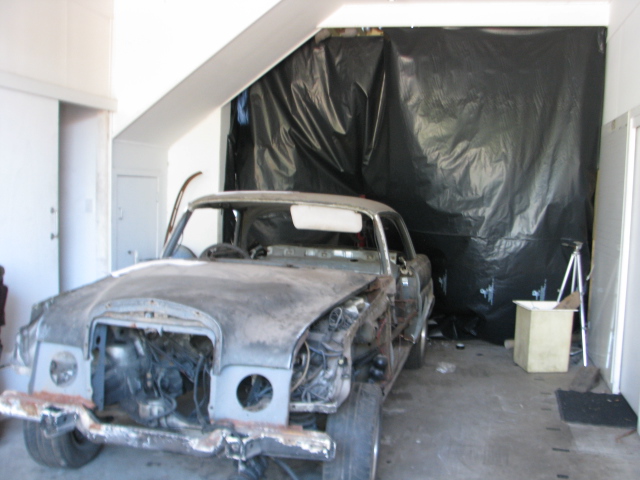
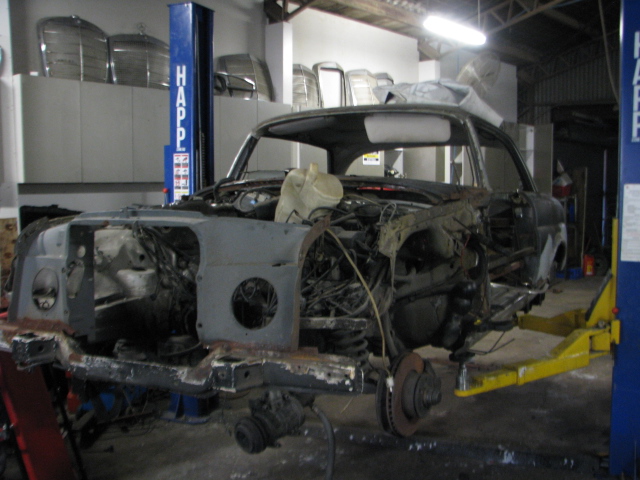
Today (12/08/15) A new job arrived. A really early W108 250 SE . It wouldn’t start although it would turn over.The First job when ever starting a Mercedes that has sat for several years is drain  the tank…

IMG_0469

IMG_0471

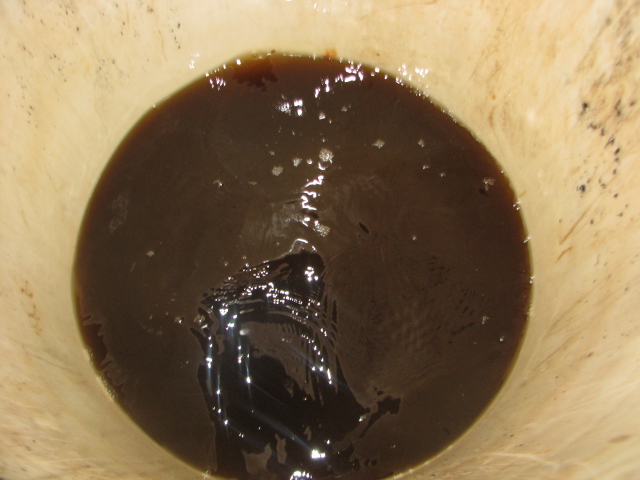
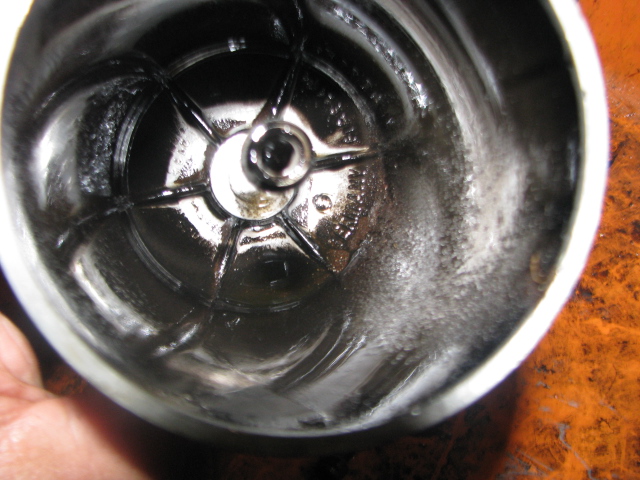
this 4 liters of rotten fuel in a 25 liter bucket… what a rotten stink! I hate this stuff!. The filter was pretty well blocked up. Thank fully a look inside the tank revealed it to be very clean despite sitting for several years.

IMG_0470

So that is replaced.

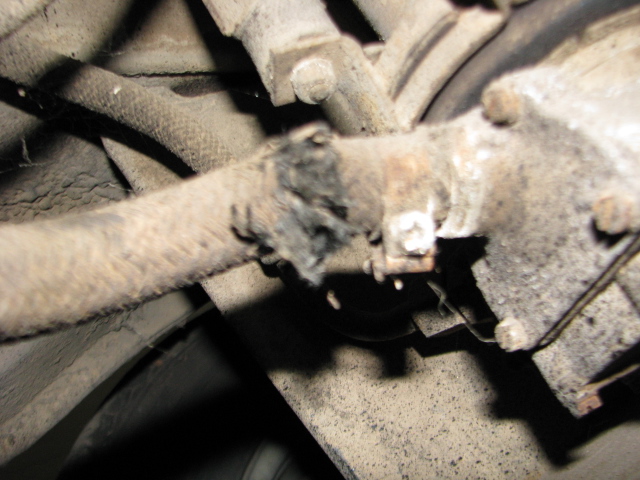
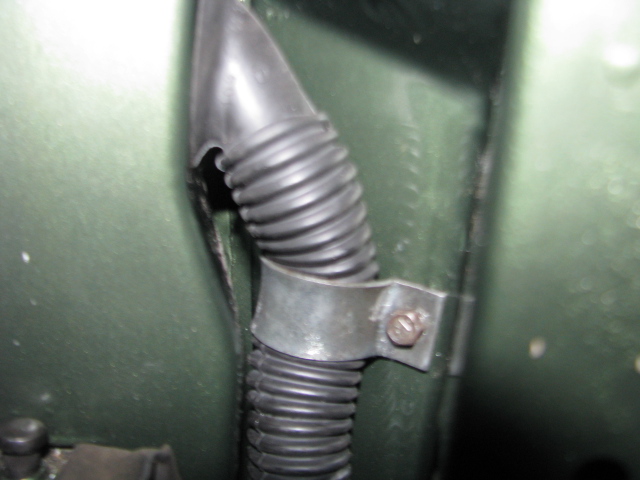
Next job,replace ALL of the rotten rubber fuel lines. IMG_0477 IMG_0478 IMG_0479

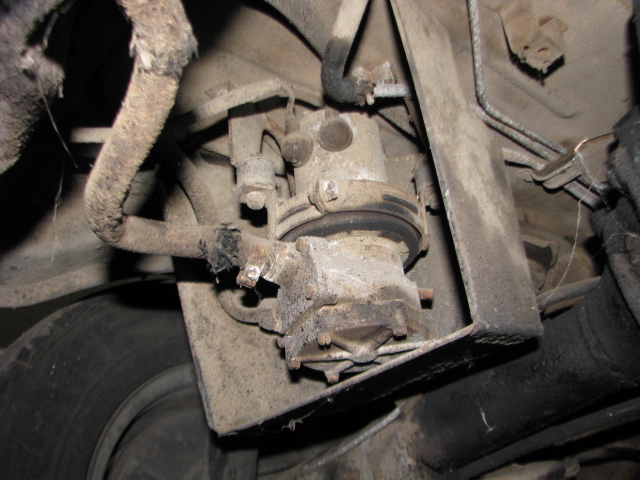
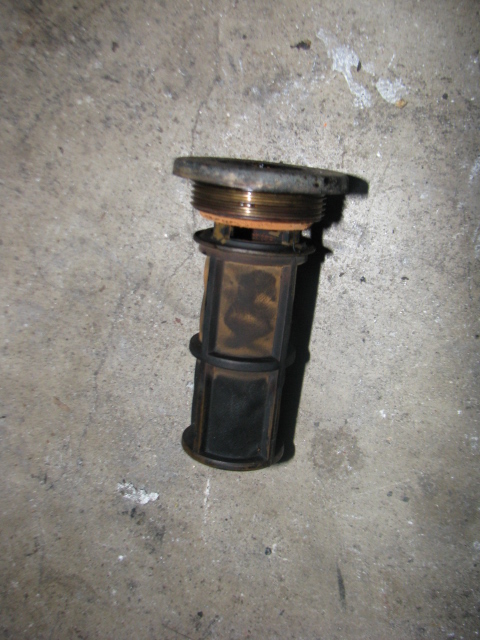
Followed by replacing the fuel filter..

IMG_0472 IMG_0473 IMG_0474 IMG_0475

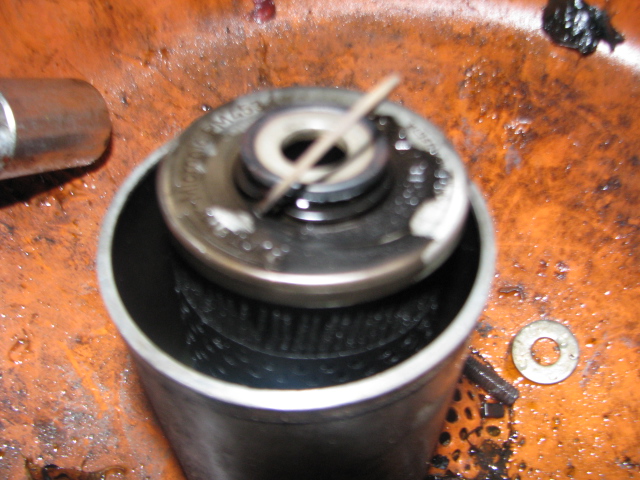
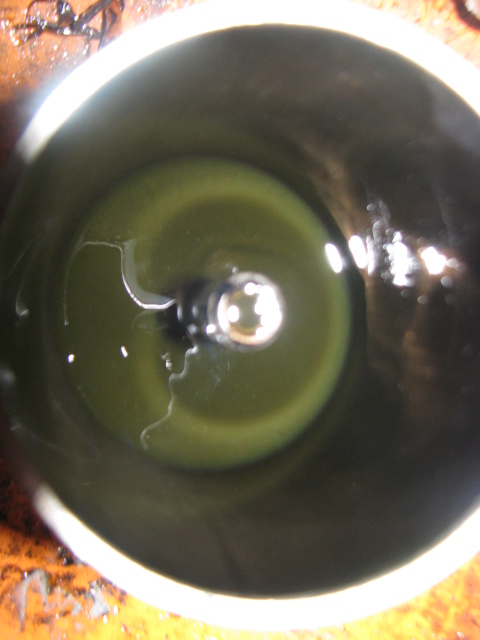
I’m glad the filter was bravely trying to do it’s job 🙂 .

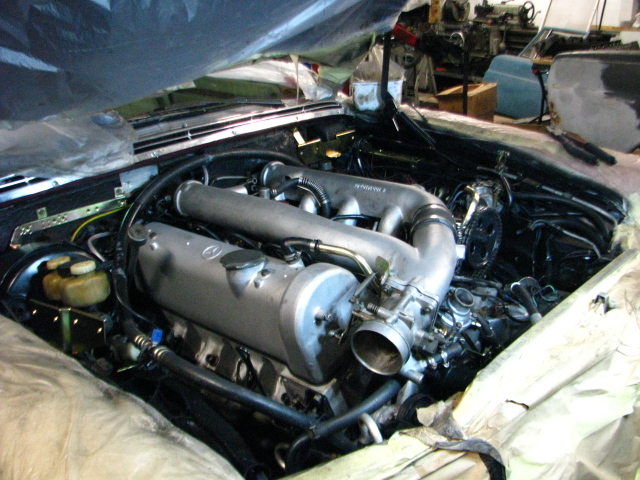
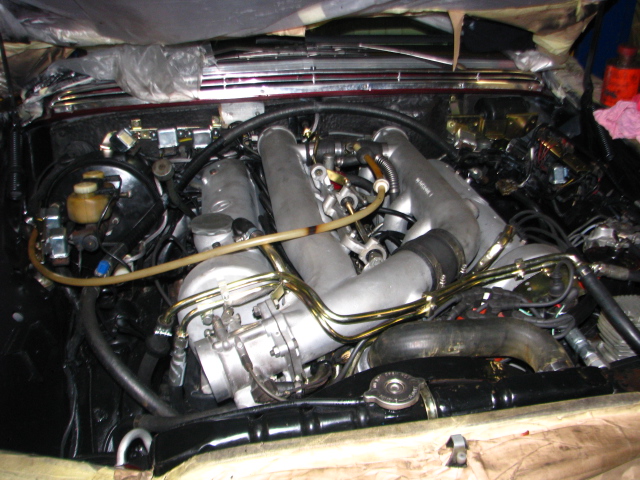
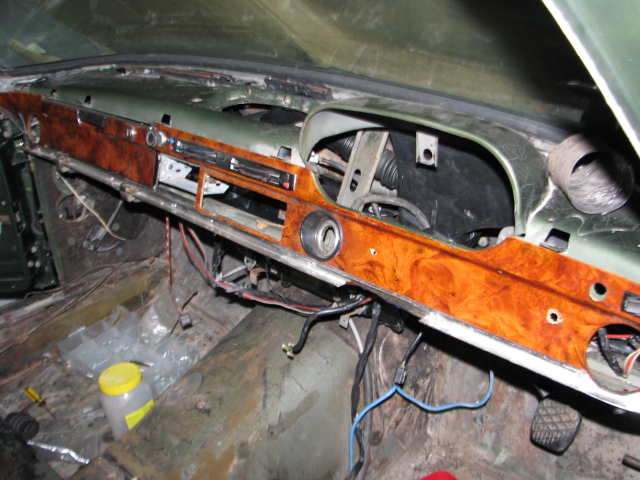
Once this is out of the way,the tappets have been adjusted but the timing chain needs replacing .All compressions are equal at 150PSi, so far so good….. But the spark plugs,although they look new are all carboned up. Not a good look on a Mfi engine . The Air cleaner needs to be cleaned out and i doubt very much that the oil bath unit has been apart for many many years.

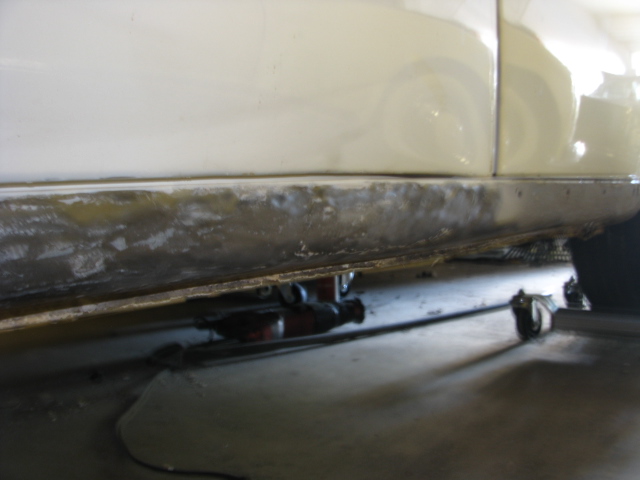
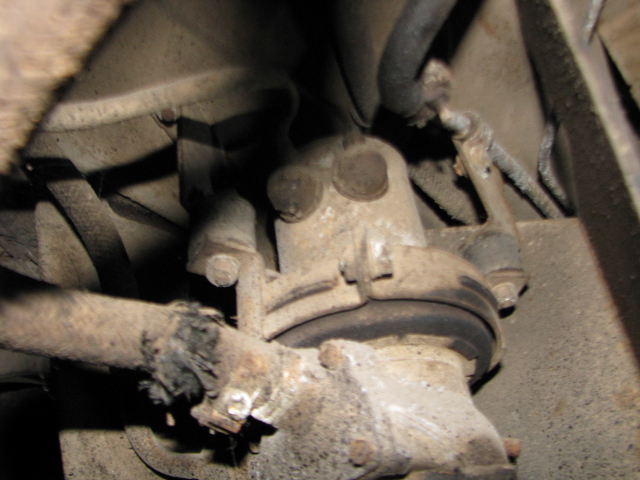
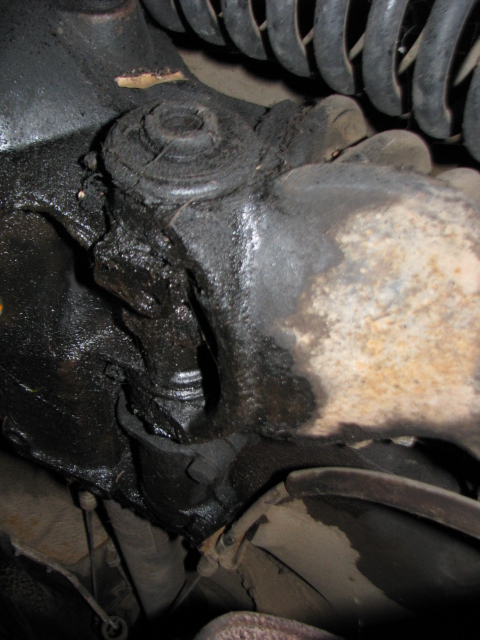
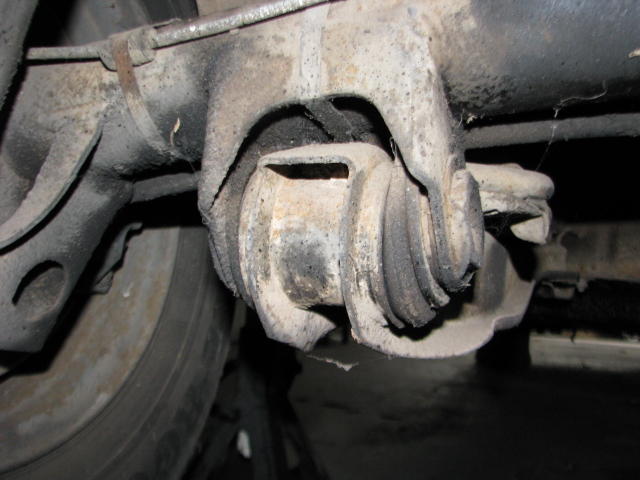
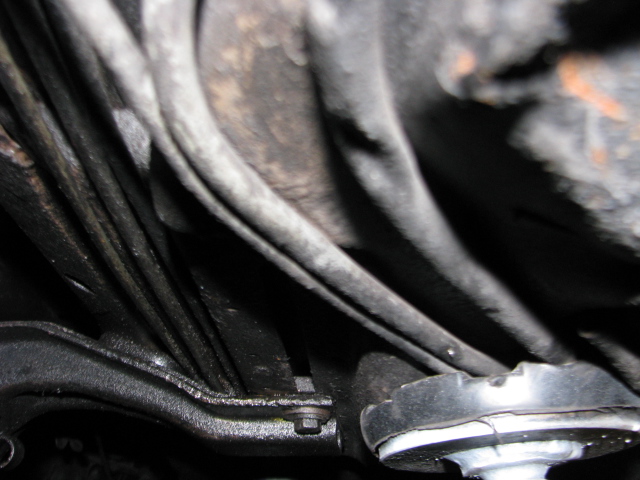
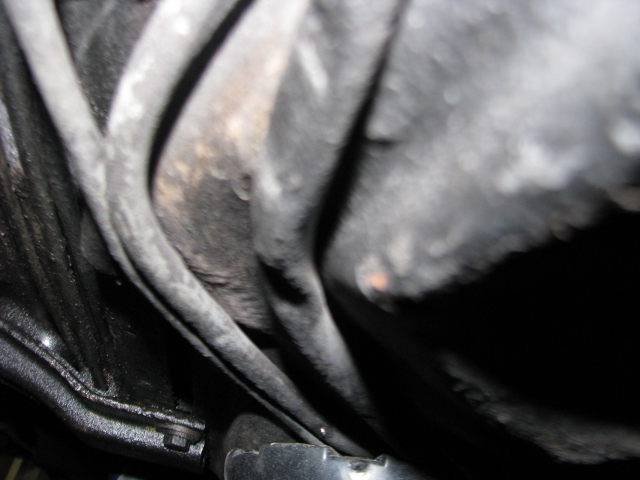
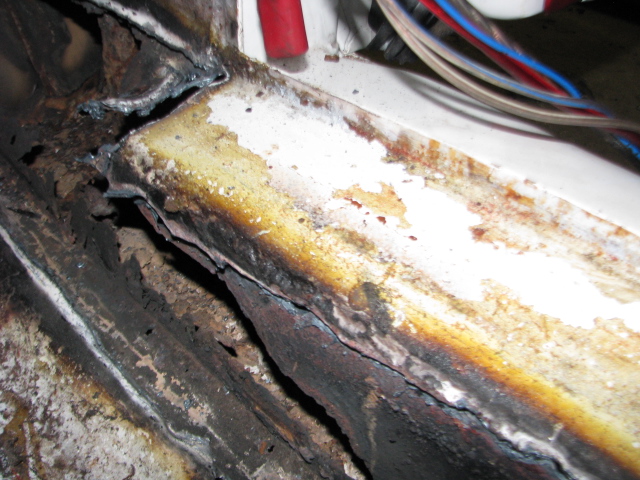
In the meantime a quick look under neath reveals more of the usual things,worn diff bushes everywhere ,spring mount rubbers flogged out and a very leaky diff.

IMG_0480 IMG_0482 IMG_0483

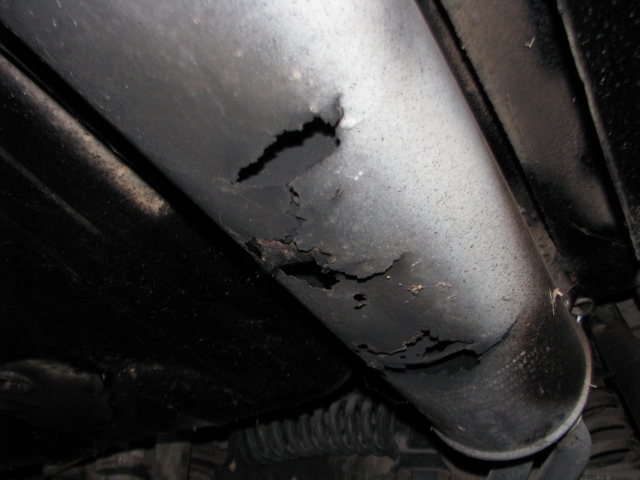
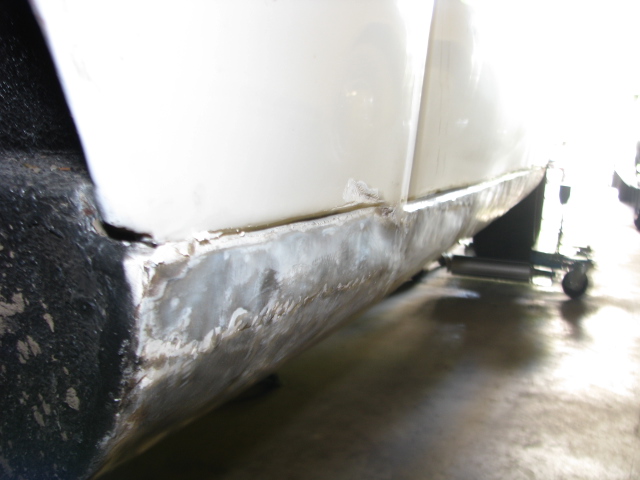
Note the rotten exhaust…nothing like a damp storage area to rot a steel muffler..
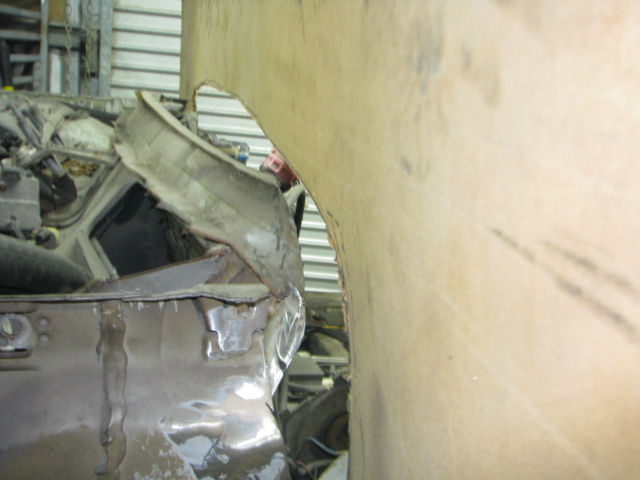
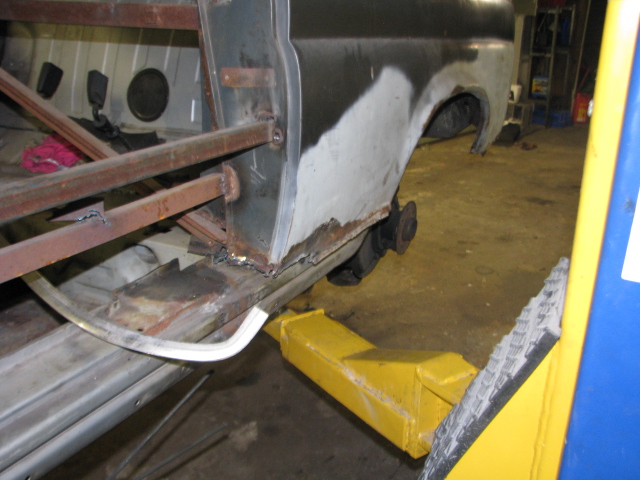
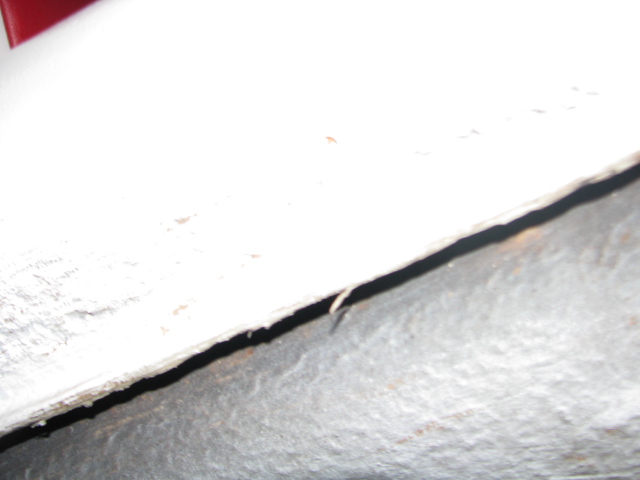
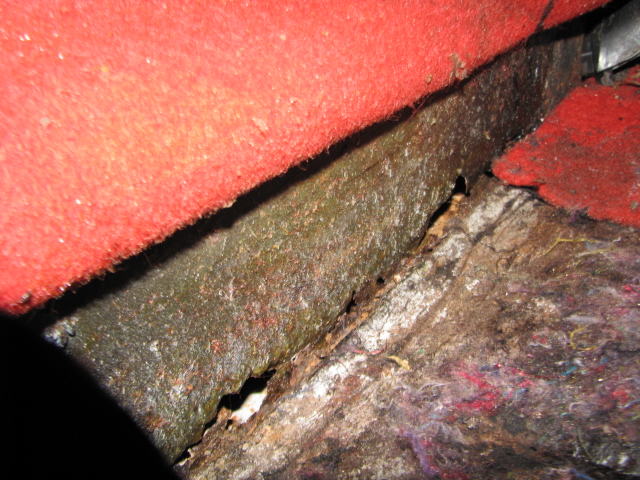
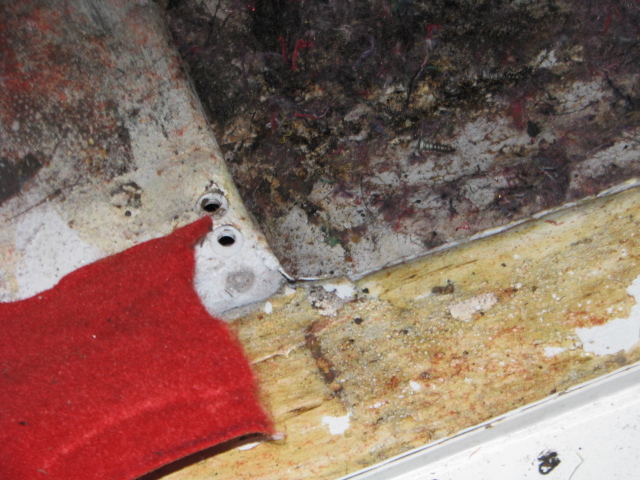
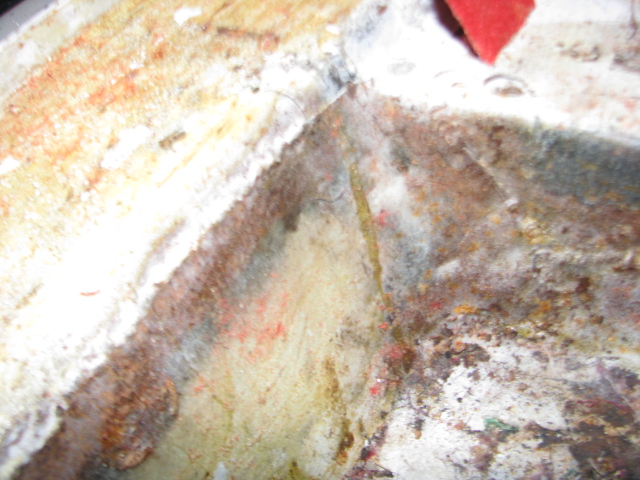
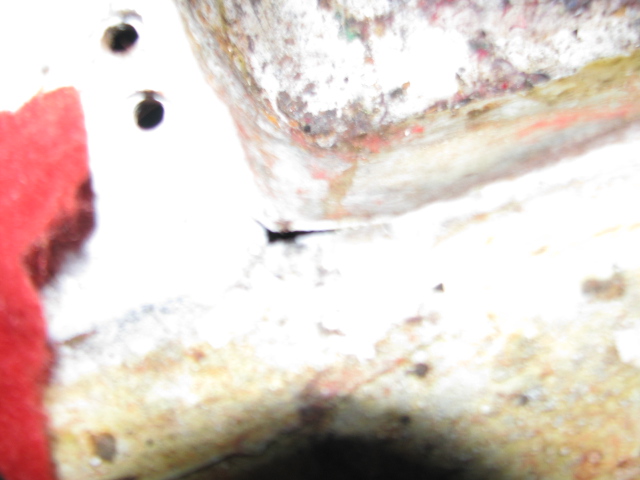
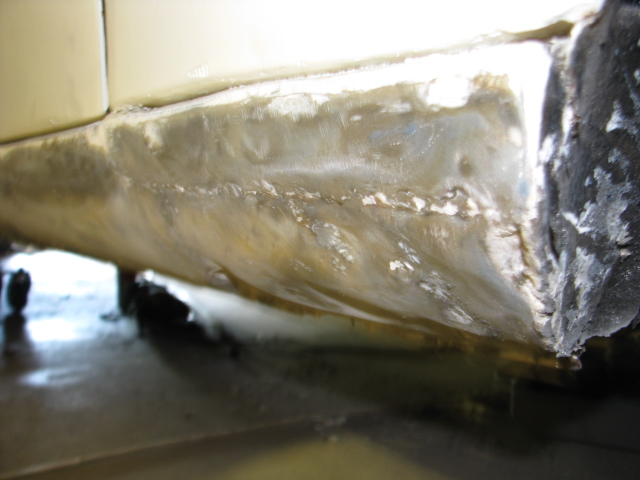
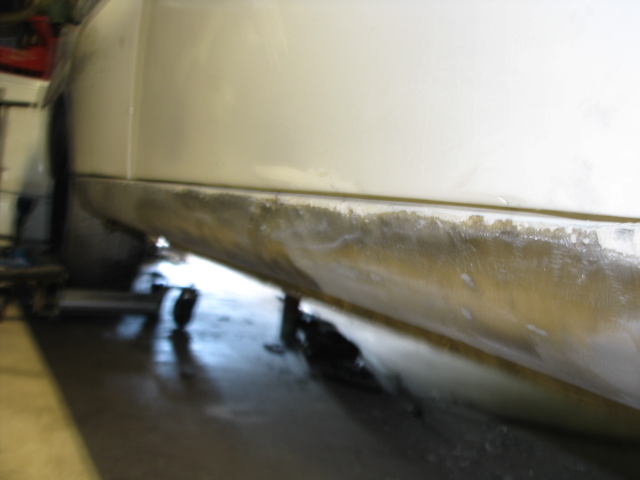
300SEL 6.3 progress…

IMG_0313

The engine is now together and just needs tuning , after the heads were checked an the tappets adjusted.

IMG_0314The shroud was derusted ,then painted with POR15 gloss black .

IMG_0321

New roof on the workshop!!

IMG_0247

Big Surprise today,Saturday 9/05/15. The roofers finally turned up to repair the damn roof. Because the old one was asbestos sheet,the whole shop had to sealed up while they removed every on top of the building. Amzingly it took only 8 hours to strip the old roof off and fit insulation ,then fit the new Zincalume roof.

IMG_0252

Brilliant light now!.

280SE 3.5 Ute Dash board restoration

IMG_0221 IMG_0222

In the last week,progress has been made with the dash as the wooden trim is refitted. Next task will be to reit the steering column and complete the wiring restoration and repair  followed by the instruments ,steering lock etc.

6.3 300SEL Service

IMG_0214Little details..

This is the conduit where the vacuum lines for the central locking pass on the 280SE 3.5 Project… pretty neat and an example of the over engineering on Mercedes of the past.

The 6.3 was misfiring badly under acceleration. a big disappointment for the owner ,who had spent a lot of money getting the injection pump rebuilt and the ignition converted to electronic  . So, when working under thecar replacing worn rubber joints and worn drive shaft parts I spotted the squashed fuel line .The picture on the right shows a really bad dent in the main fuel line . The entire line will have to be replaced ,and i am thinking this is probably the cause of the misfire

IMG_0217 IMG_0218

IMG_0220

The Drive shaft with it’s new staked unijoints and rubber center support bracket .

220SE coupe body placed on Chassis .

IMG_0034My template showed where to trim the cowl on the W126 Chassis ,I was pretty close all in all and not much more needed to come off.

IMG_0035After a few hours trimming and adjusting the body is now sitting in place …..

IMG_0037  In this picture the coupes A pillar is now in the position on the chassis where the Original A pillar was .

IMG_0039Drivers side A pillar .Note how the sill is in the right place.

IMG_0040Thats a tie down strap pulling the shell further forward .

IMG_0038B Pillar showing how much rust will need to be removed .Same on Drivers side.

220SE W118.5 project

Building a 220SE coupe for the 21st century . Photos <<< click on this to see the coupe i started with. MEGA rust … Chassis cross member rusted away completely. 220SE%2520coupe%2520020 Another coupe with an American V8 Photos

The body has been reduced to a shell in preparation of it’s new life on top of a W126 Chassis

220SE rust repair 009 220SE rust repair 010 220SE rust repair 011

220 SE rust repairs

This car looked OK at first glance ,but a quick look underneath revealed previous rust “repairs”. Repairs  is a word incorrectly used in this context though. Once I pulled the interior out it was obvious someone has simply welded loose parts of steel over the top of something…. That something was revealed once I used the plasma cutter to remove all the scrap that had been added.


deans W111 2015 001 deans W111 2015 002


deans W111 2015 003 deans W111 2015 004

Under the left front of the sill ,the fairly new paint is peeling off ,not a big problem as it’s all coming off.

The jack point is missing!.

deans W111 2015 005 deans W111 2015 006

The box under the front seat has rusted away from the floor.

deans W111 2015 007

deans W111 2015 008

Pic on the left shows the patches welded into the inside of the sill box ,Drivers side.

deans W111 2015 012

deans W111 2015 010 Underside of the floor when the bitumen crap was removed.

deans W111 2015 011 deans W111 2015 013 deans W111 2015 014 deans W111 2015 019 deans W111 2015 020 deans W111 2015 021Patch removed

The inner edge of the sill was revealed ,once the patch was removed . The ragged edge of the steel is actually rust .The jack point is also missing on this side . The car is lacking in strength now which must be rectified before the outside of the sills can be repaired. This will include a new floor .

Floor turned out to be two layers,one welded over the other !! all this had to removed. Pic shows the rotten section from the drivers side floor.

  deans W111 2015 023

patch  pop riveted over the jack point !!

deans W111 2015 027

crappy patches welded over the rust ,all misshapen ,so covered in 1/2″ of body filler. deans W111 2015 029

deans W111 2015 030 deans W111 2015 031 deans W111 2015 032 deans W111 2015 033 deans W111 2015 034 deans W111 2015 035

All this will be removed .