Category Archives: Conversions and modifications.

New roof on the workshop!!

IMG_0247

Big Surprise today,Saturday 9/05/15. The roofers finally turned up to repair the damn roof. Because the old one was asbestos sheet,the whole shop had to sealed up while they removed every on top of the building. Amzingly it took only 8 hours to strip the old roof off and fit insulation ,then fit the new Zincalume roof.

IMG_0252

Brilliant light now!.

lathe tool holder

IMG_0246IMG_0243

I was sick of placing the lathe chuck keys etc on top of the lathe ,although it has been happening since the machine was built in 1968.

IMG_0244

It’s a peice of 1″ thick plywood mounted on the upright from a small bench top drill press .the wooden circle is mounted to the shaft on a drive flange from a Mercedes diff. The little tray that the magnetic dial indicator holders are sitting (sticking too) on is the vice stand of the drill press.I can move it and lock it in any position. It’s bent to allow the wood part to be easily accessible…

Mercedes Benz 220SE Coupe conversion

IMG_0230

progress has been held up while i rebuild my Mig welder . But in the meantime I have begun the task of anchoring the cowl to the coupe shell. It involves a lot of fabrication of the various small bits to be welded into the body .Starting with the right A pillar.

IMG_0229 more of the W126 A pillar was removed,back to where it was originally welded to the cowl. This will make a cleaner stronger joint.

IMG_0228IMG_0226

These will be plug welded then lap welded around the edges.

IMG_0225

IMG_0224

The last part will involve welded a second peie over the top of the top panel which will connect the inner guard (on the right) to the cowl.

280SE 3.5 Ute Dash board restoration

IMG_0221 IMG_0222

In the last week,progress has been made with the dash as the wooden trim is refitted. Next task will be to reit the steering column and complete the wiring restoration and repair  followed by the instruments ,steering lock etc.

Mercedes 280SE 3.5 ute, brakes and air con overhaul

The booster was a bit rusty looking so i t has been decided to strip it down. and clean it up .After pulling the master cylinder off,it could be seen that the booster was full of fluid….. IMG_0137 IMG_0139as can be seen ,the booster contained close to 3 liters of brake fluid.

tIMG_0141

The steering column was then pulled and examined,more BiCarb! ,and the paint had been attacked and needed redoing . IMG_0142 IMG_0143

IMG_0145 IMG_0146 IMG_0149This picture shows the extent of the biCarb inside the gearshift mechanism.

Under the booster,the firewall and the right front chassis rail join was rusted out . The rusted metal is removed and replaced with fresh metal.

IMG_0157 IMG_0158 IMG_0159 IMG_0160

Nest Job was to rebuild the Air con and once the housing was opened up,it could be seen that the evaporator was full of fluff and BiCarb.

IMG_0161 IMG_0162 IMG_0163 IMG_0164

IMG_0165IMG_0167

The bottom of the evaporator housing was rusted out so a new peice of Zinc anneal was welded into place to repair the bottom .Condensation won’t leak into the car now,.IMG_0168 IMG_0169the evaporator has been flushed and the fins cleaned and straigfhtened .Once the new bottom was welded in ,the housing and panels were zinc primered,then primed and fisnh coated in black .The foam liner was replaced and the unit reassembled and the fans tested .

IMG_0171 IMG_0172 IMG_0173 IMG_0174

Mercedes W108 ute.. wiring repairs.

circuit_diagram

The wiring in this ute project has also suffered because of the bicarb getting into insulation and plugsAdd Media . i had to replace the entire fuse box because of corrosion.

IMG_0123

A long job,entailing unscrewing each terminal,then cleaning as much of the bicarb out of the terminal end or replacing those too badly damaged and replacing the ring terminals with new ones.

IMG_0126

i still have to repaint the fuse box mount panel and repair the footwell light,but in the meantime,I will be removing the steering xcolumn to get the bicarb out of the column housing and checking the top bearing.and gearshift bushing..

But First, the heater must be installed.

The screen demister ducts have been cleaned or replaced as necessary with new antisqueak felts.

IMG_0118 . The controls are fitted to heater before it is fitted into the car.

IMG_0121all of the foam seals and matrix rubber mounts have been replaced in the heater.

IMG_0119

IMG_0127

These are a pretty tight fit,but the heater goes in first ,followed by the demister ducts.. The column must bwe removed and repaited too. The handbrake is off,to replace the cable and clean up the shaft that has reacted with the bicarb.

Mercedes 280 SE 3.5 W108.057 with a difference!

I First saw this Car some years ago when the owner wanted an opinion of it , before buying it. In the mean time it was stripped and repainted a gorgeous Moss  green Metallic .  The job ahead of me now is too reassemble it to show standard

.IMG_0041 IMG_0042 IMG_0043

The interior needs a lot of work as it appears to have been sitting at the painters for a very long time.IMG_0044 IMG_0045 IMG_0046 The engine room is scruffy so that is going to be a big job sorting out a locked up engine and redoing all the plating and replacing all the rubber.

IMG_0047 IMG_0049 IMG_0051and i thought i’d try a Borbet wheel for size on my coupe project.

http://en.wikipedia.org/wiki/Mercedes-Benz_W108

220SE coupe body placed on Chassis .

IMG_0034My template showed where to trim the cowl on the W126 Chassis ,I was pretty close all in all and not much more needed to come off.

IMG_0035After a few hours trimming and adjusting the body is now sitting in place …..

IMG_0037  In this picture the coupes A pillar is now in the position on the chassis where the Original A pillar was .

IMG_0039Drivers side A pillar .Note how the sill is in the right place.

IMG_0040Thats a tie down strap pulling the shell further forward .

IMG_0038B Pillar showing how much rust will need to be removed .Same on Drivers side.

220SE coupe project update

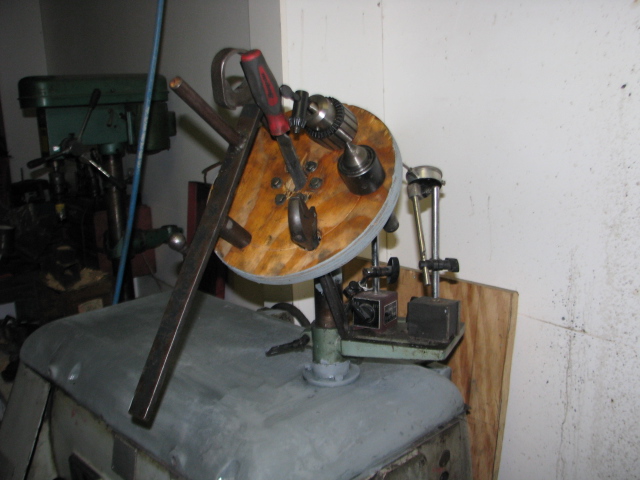
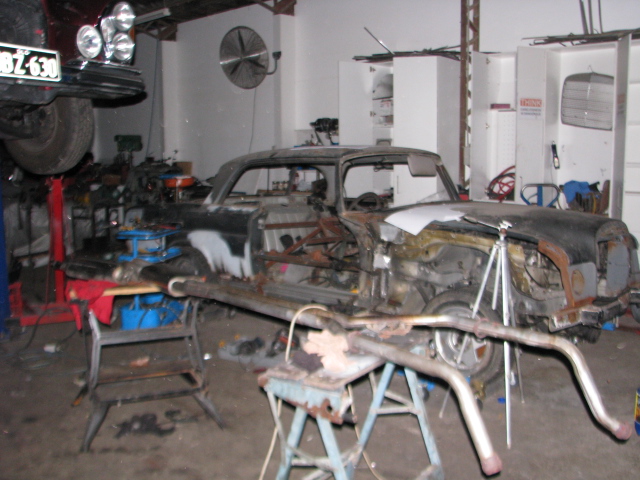
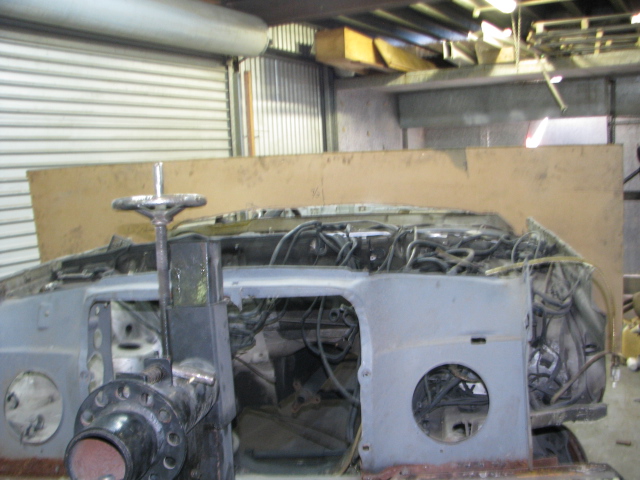
To fit the coupe shell on the W126 floor pan. I had to gauge how much room was available to drop the body down and how much was still to be removed.

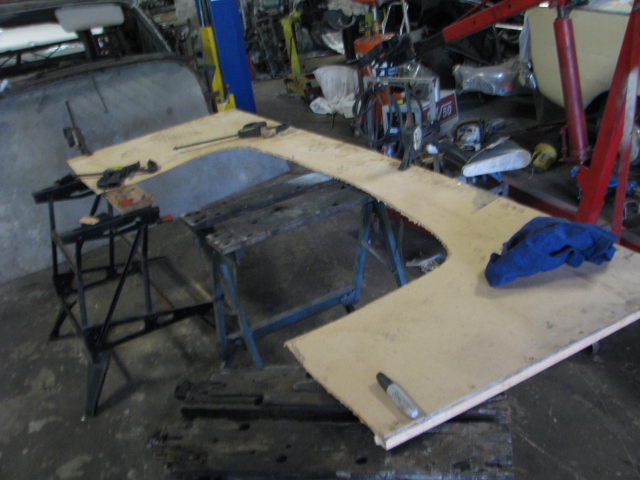
I had a piece of water damaged MDF board which I placed up against the coupe’s cowl. Using a sharpie marker I traced the shape of the inside .That will fit against the W126 cowl .

IMG_0024

The peice i cut out of the middle fits perfectly in the hole.  So…i got that bit right…IMG_0025

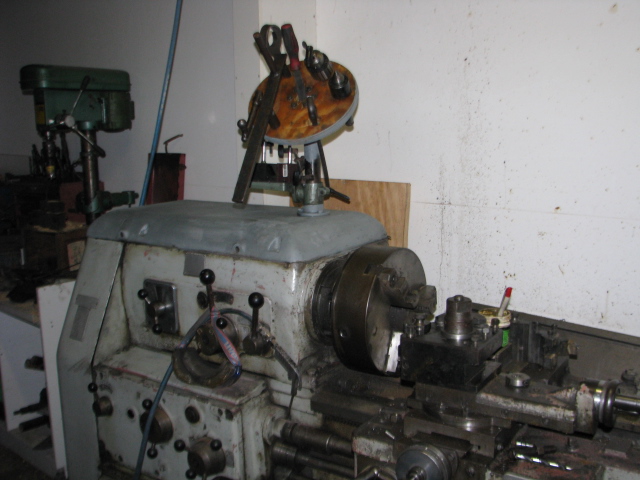
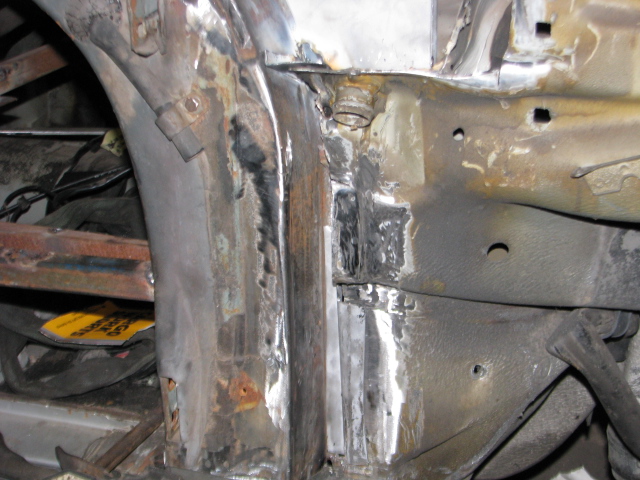
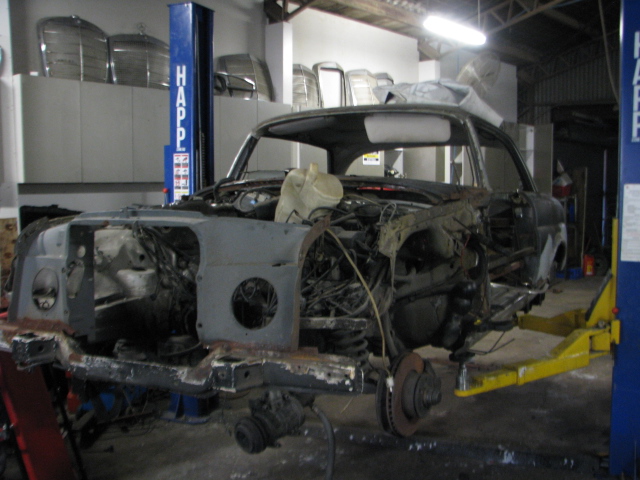
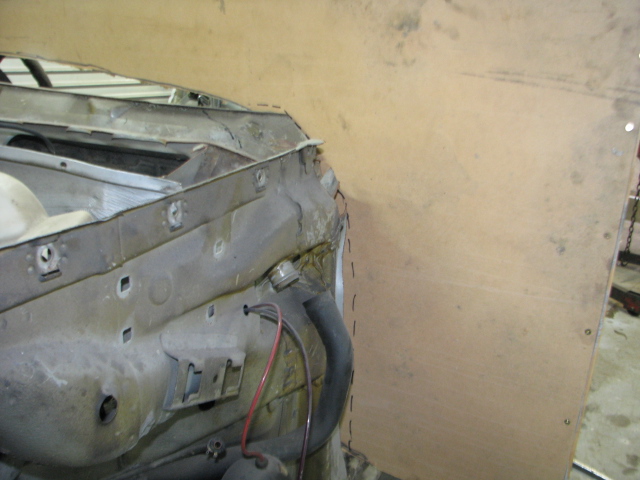
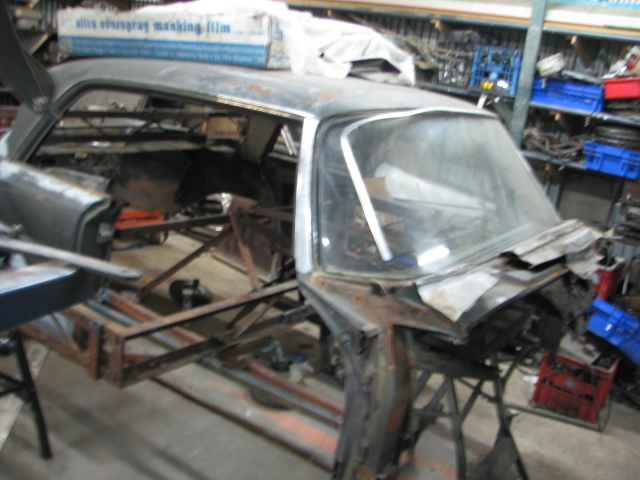
I glued and screwed a piece of 1×2 pine batten on  the back of the template .I can now lift it up against the W126 firewall as I chop each piece off. initially i though ui would weld the W111 A pillar to the cut down W126 A pillar . In the end to fit the template I removed the entire A pillar.

IMG_0028

IMG_0029
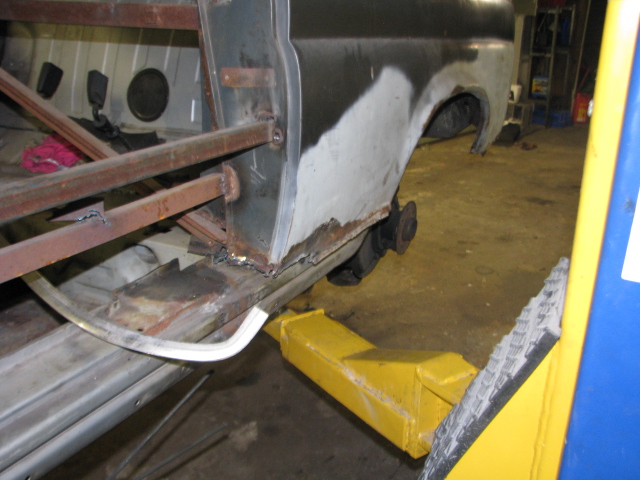
At the start of this process, I put the template against the A pillar .

IMG_0031
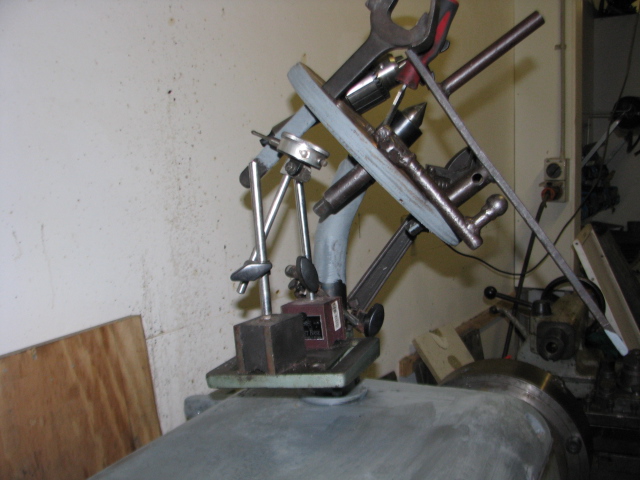
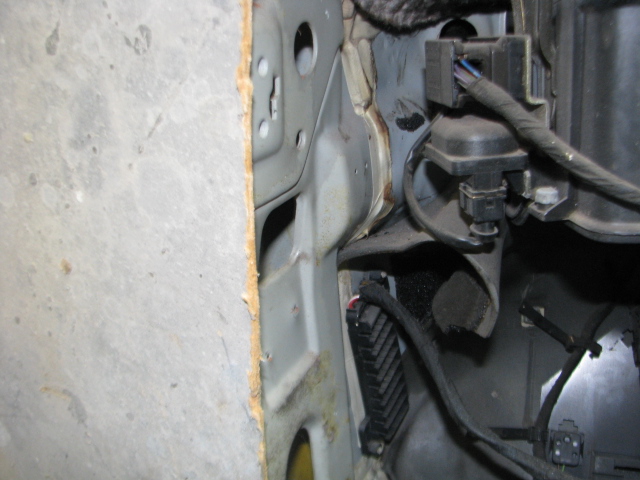
Now, there are two dimensions to this,the left to right profile and the Fore and aft Profile .

IMG_0033
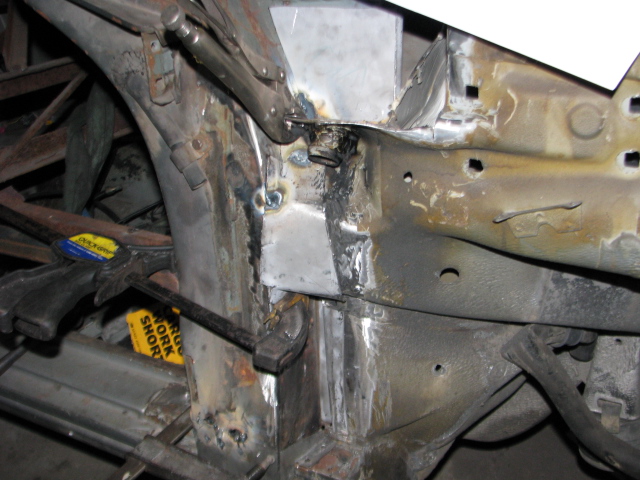
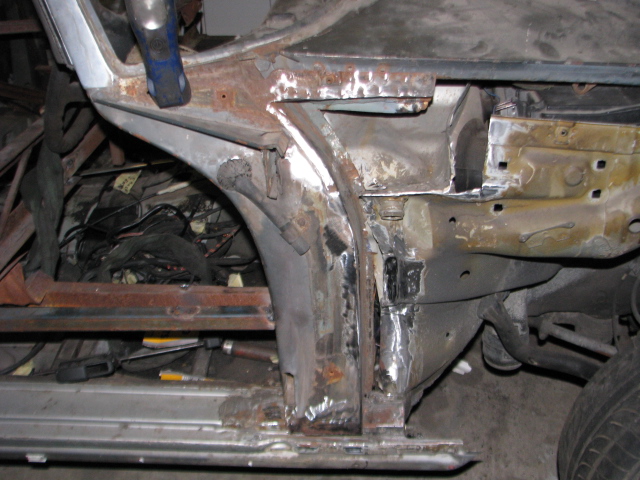
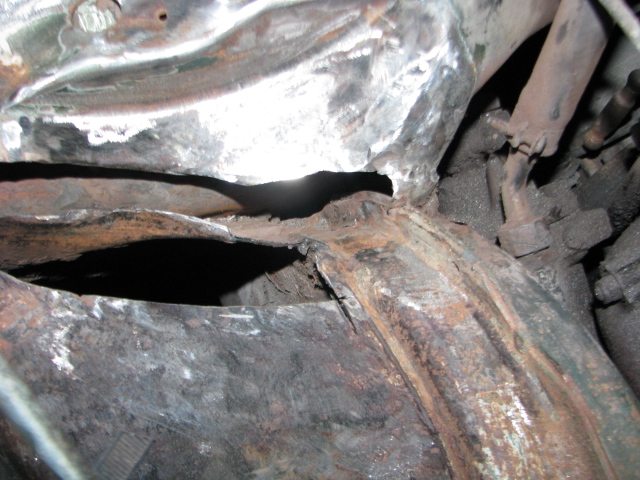
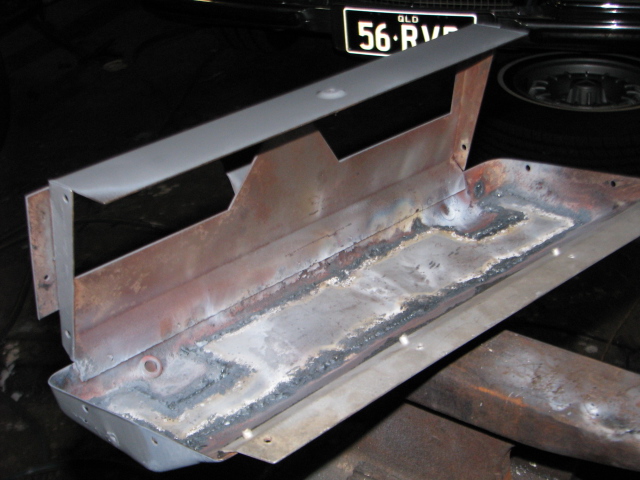
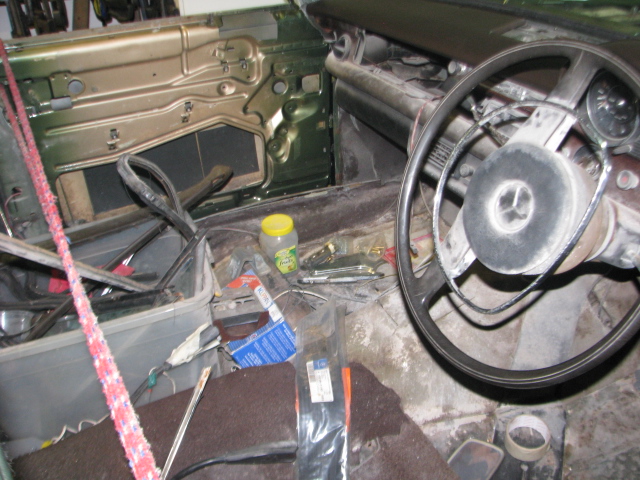
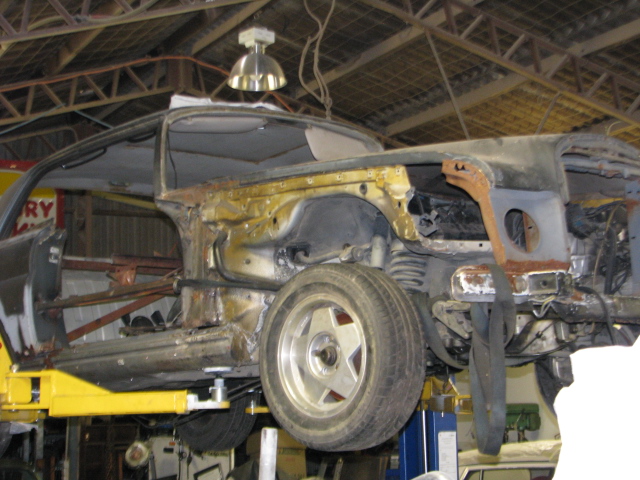
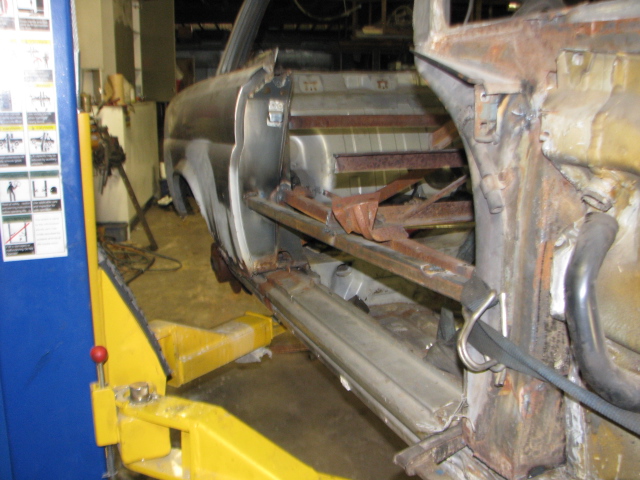
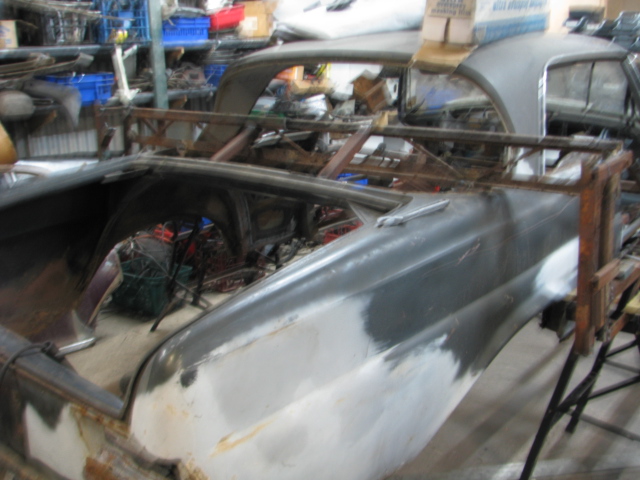
I took a profile off the W111 A pillar .As seen on the left,after the surgical removal of the W126 A pillar
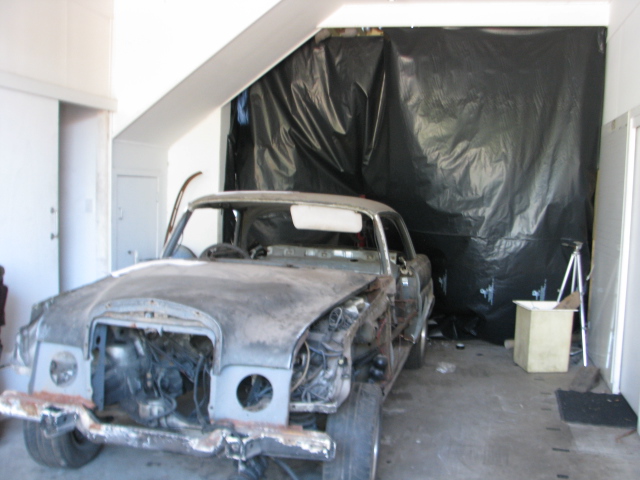
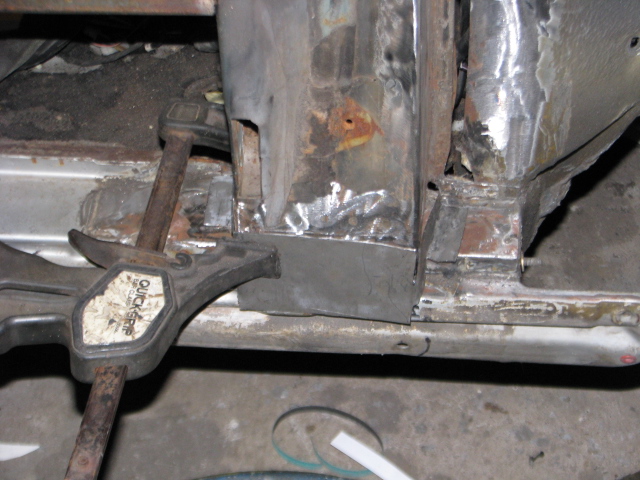
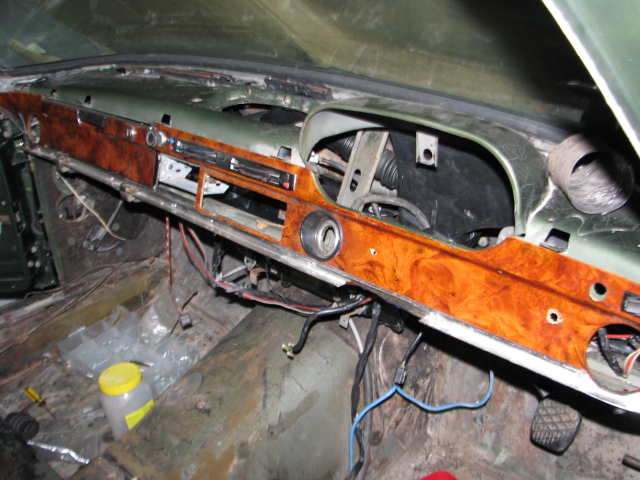
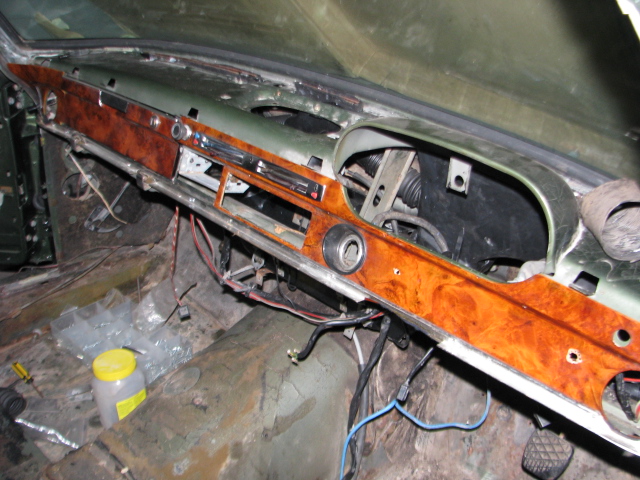
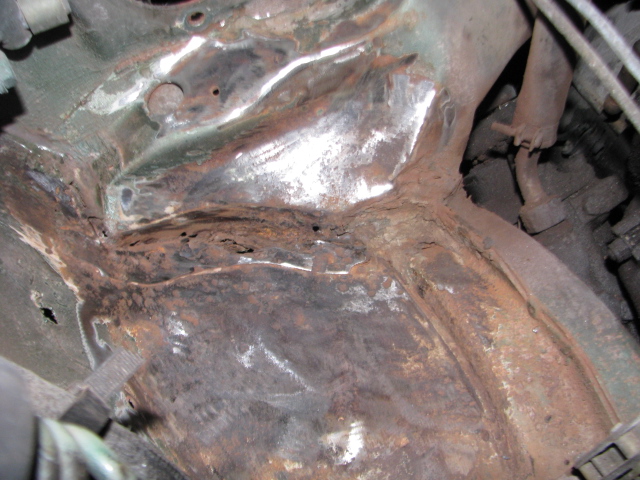
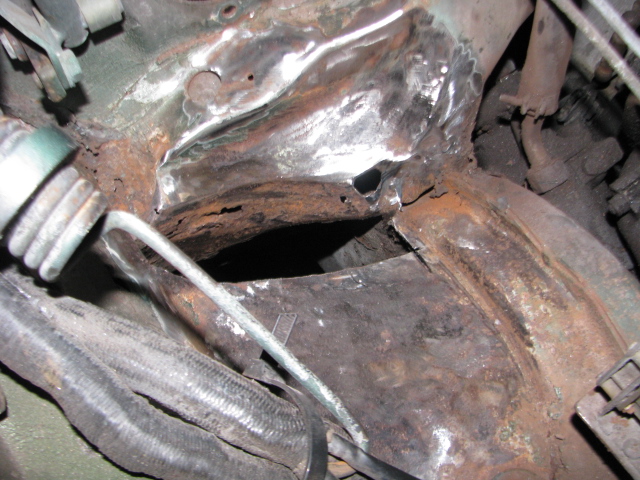
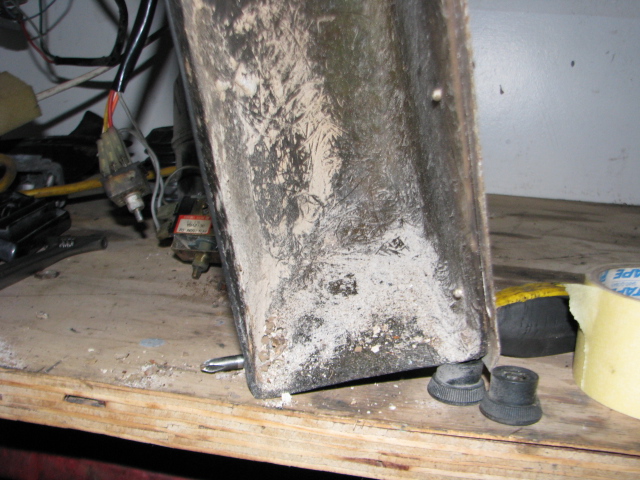
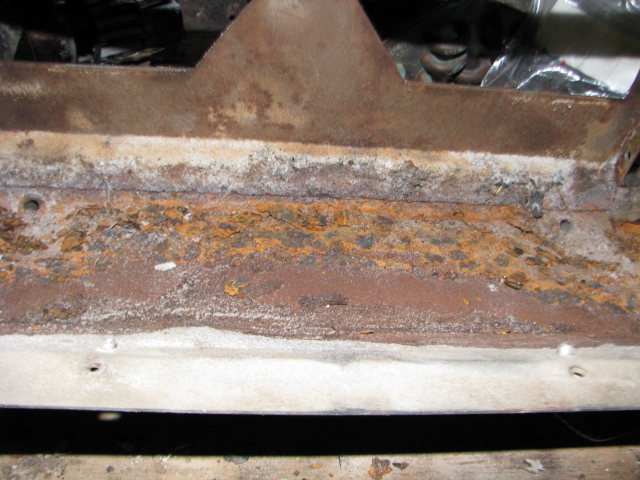
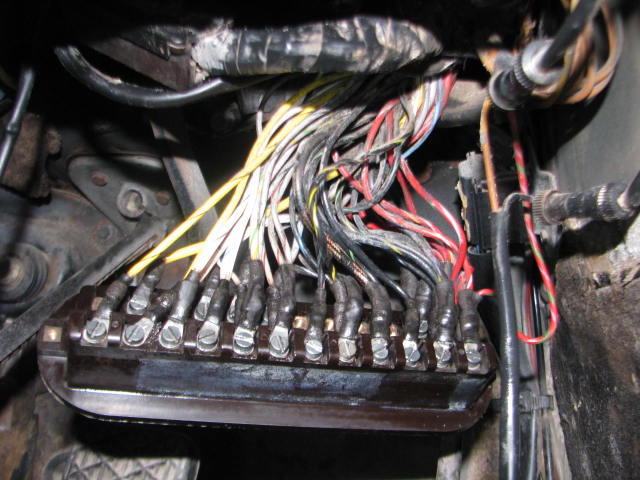
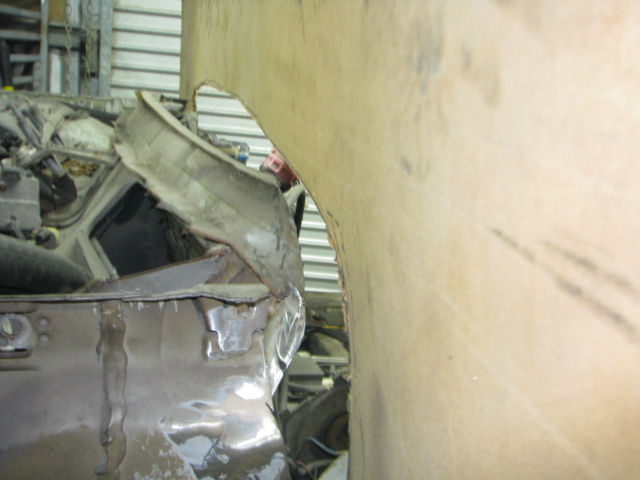
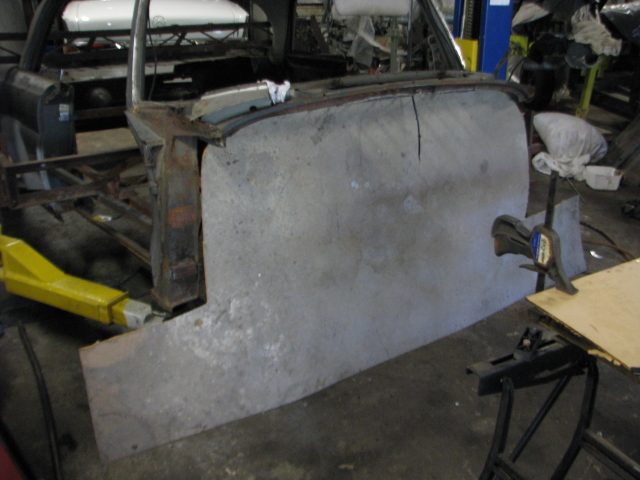
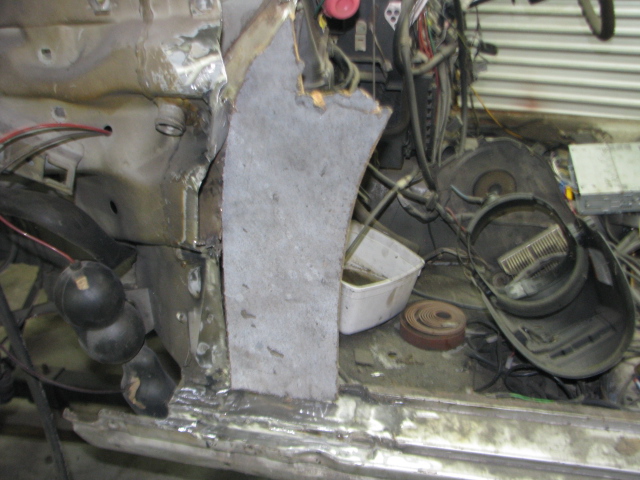
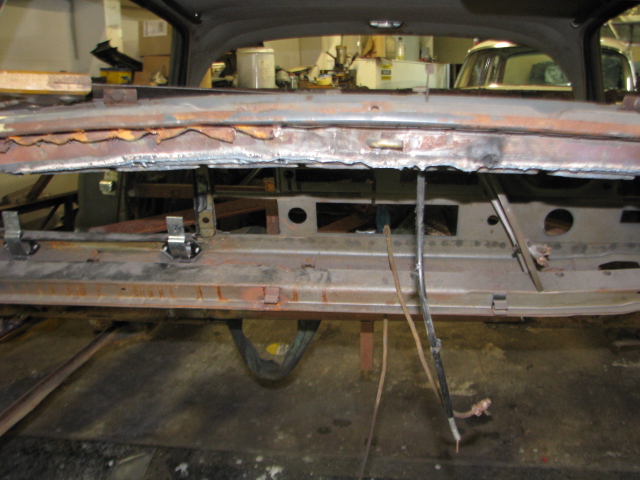
.IMG_0027This is  the coupes cowl after I plasma cut the remnants of the heater box out . That’s the rear of dash,which will need to be removed anyway because it’s on the wrong side .

Next Job…cut the W126 rear wheel houses to fit into the coupe shell.

220SE W118.5 project

Building a 220SE coupe for the 21st century . Photos <<< click on this to see the coupe i started with. MEGA rust … Chassis cross member rusted away completely. 220SE%2520coupe%2520020 Another coupe with an American V8 Photos

The body has been reduced to a shell in preparation of it’s new life on top of a W126 Chassis

220SE rust repair 009 220SE rust repair 010 220SE rust repair 011