I am parting out a M129 engine. Block and crankshaft are beyond repair but it was a running engine (didn’t run too well though…) Cylinder head etc seems to be OK. Email me with any requests for parts.


I am parting out a M129 engine. Block and crankshaft are beyond repair but it was a running engine (didn’t run too well though…) Cylinder head etc seems to be OK. Email me with any requests for parts.
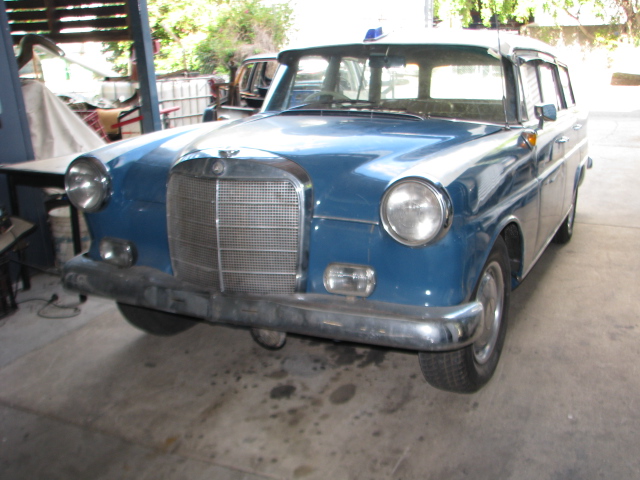
https://picasaweb.google.com/116046874571116258862/W110Wagon03?authuser=0&feat=directlink i have run out of space so this car has to go. Best offer gets it.
Off to Adelaide ,South Australia soon…

today,Australia Day ,was spent cutting the passenger side sill cover off. It was pretty rough on the outside but under neath it was even worse . Two layers of rusty metal covered in a thick layer of filler…all very ugly The above pic shows what was under the filler, pataches welded and pop riveted into place..
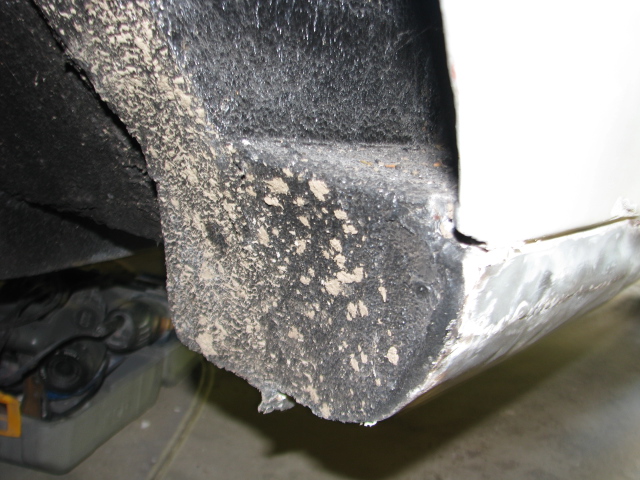
Front of the sill covered in pataches, silicone bathroom calking and black bituminous under seal. All guaranteed to look ugly and dodgy. Note: No jack point…or even a hole for one!!!

Cutting open the pathes with the plasma cutter was slow because of all the layers of rust hidden underneath.

The inside of the sill revealed it to be the outside of another panel from another car. Someone had cut a curved piece from a wreck and stuck it over the rust
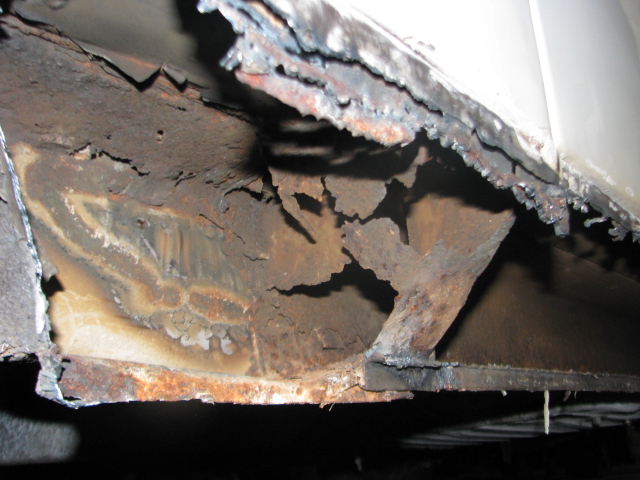
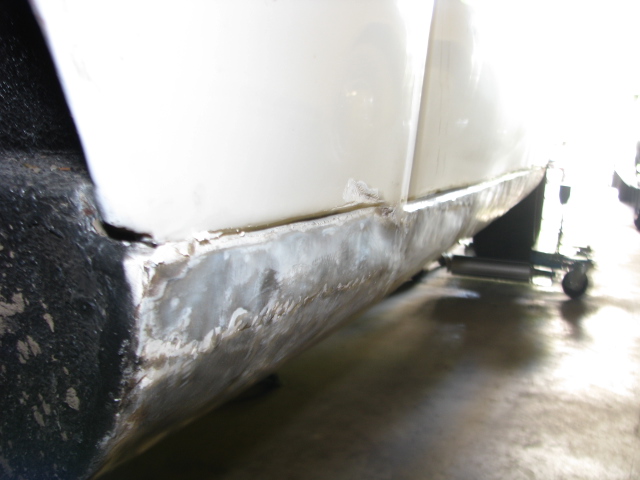
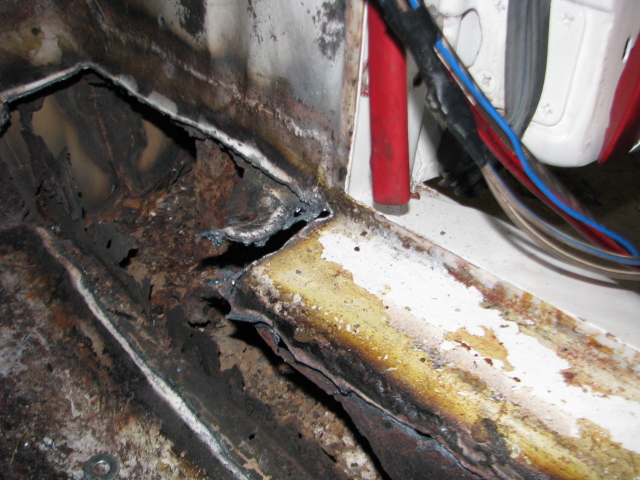
Above is picture taken from ground level pointing upwards. As can be seen the bottom of the A pillar has dissapeared completely along with jack point . On the left of the pic is another patech welded over rust but on the inside of the chassis rail. This has been removed and new chassis rail section made to replace the missing section of chassis.
Below, the double layers of metal 1/2 way through removal.

Below, this is remants of the front of the chassis after the patches on the floor were removed.

To celebrate the purchase of a new piece of equipment , 2.5 meter folding break, i got stuck in and made the two new outer sill panels. The originals are a mess of bashed in a rusted patches and have weakened the cars structure. The new onwes are made from 1.5mm Zincanneal steel and will last another 50 years without problems.

This ugly Monster is pretty big at 2 tons . The Drivers side sill is pictured clamped into the break . To give an indication of the size,the sill is 2 meters long .

This is my Temkplate for the section. From front to rear,the panel isn’t parrallel , it has a different profile from Front to rear . The right hand side of the template shown,is the rear of the sill panel and the left is the front.
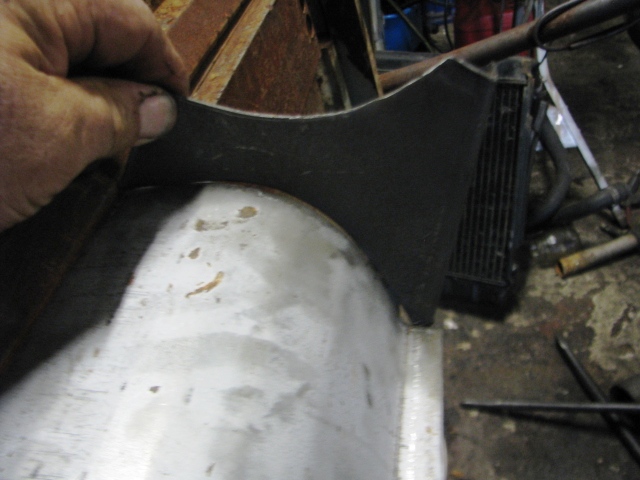
Front profile.

Rear profile.
After this car is done I’ll have to paint the break….ha ha .
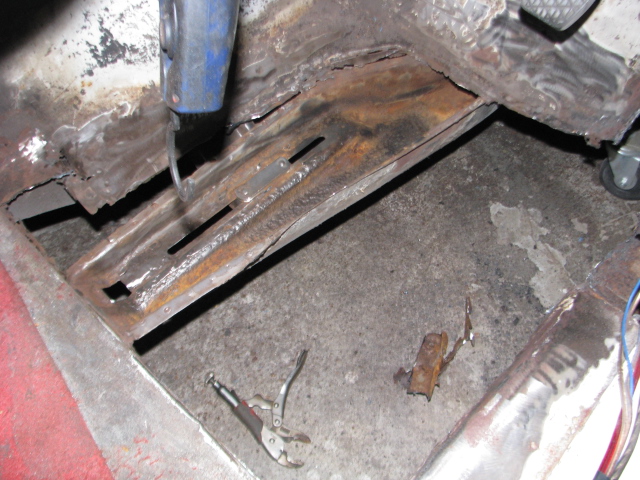
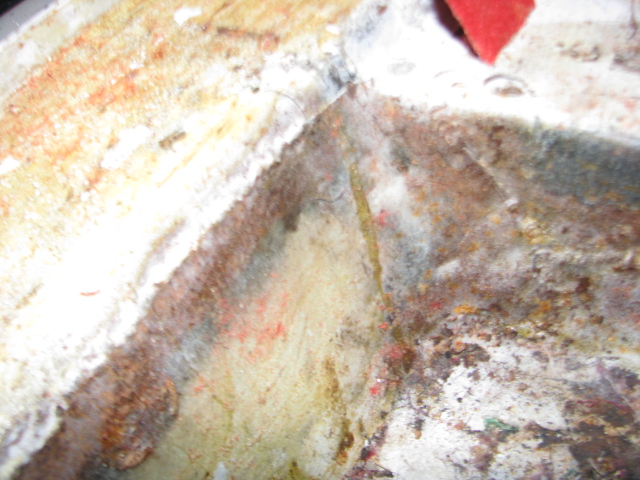
there is a cover which prevents the ingress of road dirt and water through the slot for the trans cross member bolts. this one had rusted right away and the rust was starting to eat away the inside of the chassis rail
….then treated with phos acid to convert the remaining rust.
..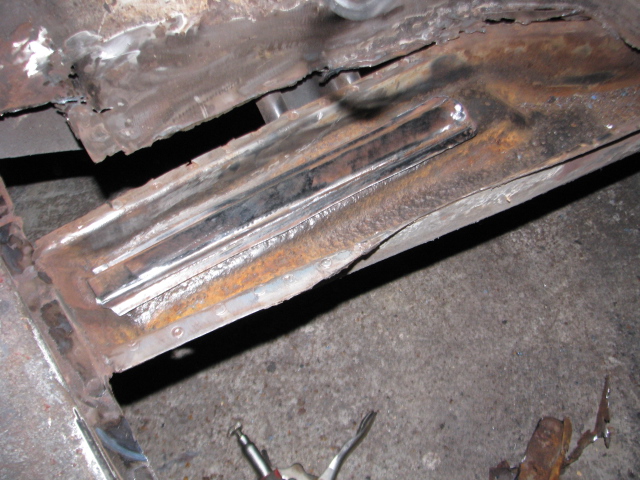 New cover made and welded in place
this will be painted with a Zinc rich paint and wax treated to prevent rust coming back.
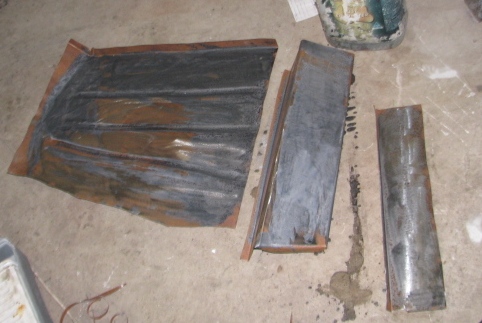

New floor,outer sill/chassis rail and seatr box panels roughed out to be welded into place when the new jack points are made . The jack points are welded into the sill box sections
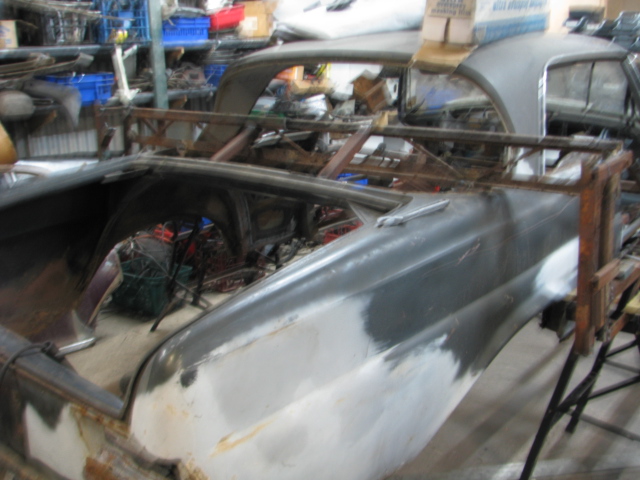
This car looked OK at first glance ,but a quick look underneath revealed previous rust “repairs”. Repairs is a word incorrectly used in this context though. Once I pulled the interior out it was obvious someone has simply welded loose parts of steel over the top of something…. That something was revealed once I used the plasma cutter to remove all the scrap that had been added.


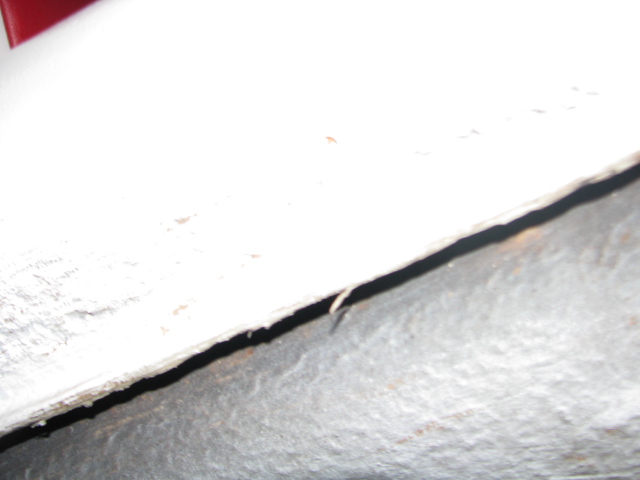
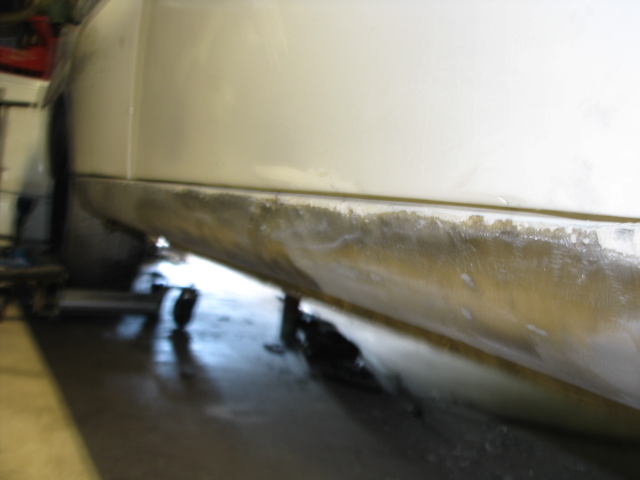
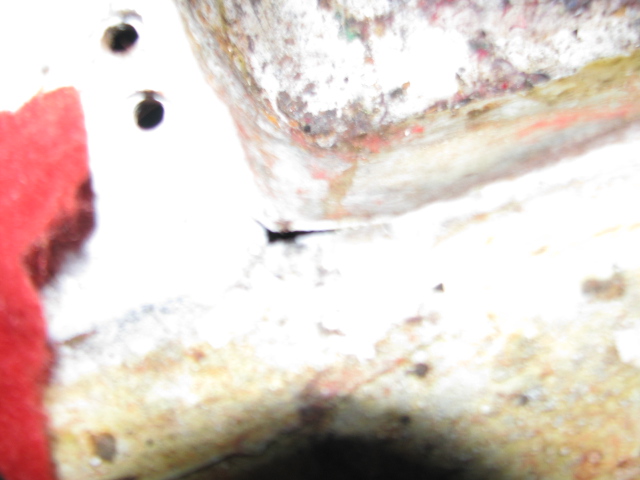
Under the left front of the sill ,the fairly new paint is peeling off ,not a big problem as it’s all coming off.
The jack point is missing!.


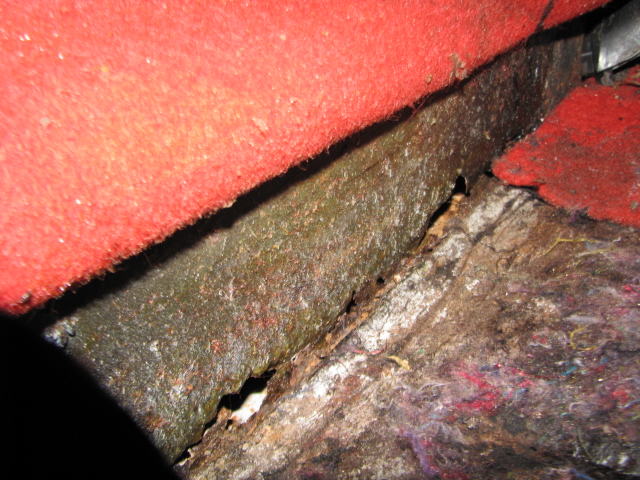
The box under the front seat has rusted away from the floor.

Pic on the left shows the patches welded into the inside of the sill box ,Drivers side.

 Underside of the floor when the bitumen crap was removed.
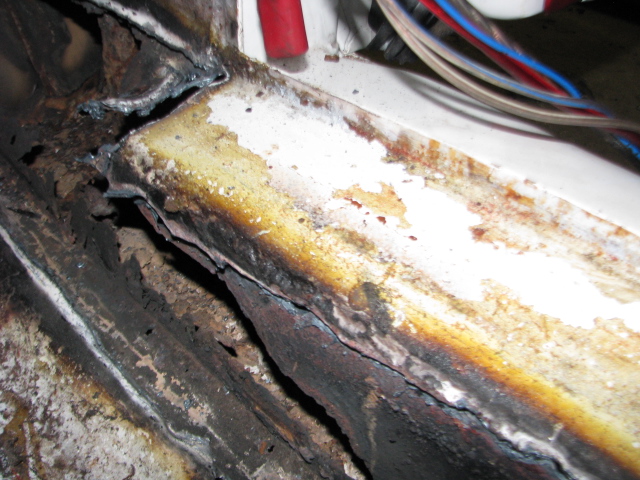
The inner edge of the sill was revealed ,once the patch was removed . The ragged edge of the steel is actually rust .The jack point is also missing on this side . The car is lacking in strength now which must be rectified before the outside of the sills can be repaired. This will include a new floor .
Floor turned out to be two layers,one welded over the other !! all this had to removed. Pic shows the rotten section from the drivers side floor.

patch pop riveted over the jack point !!
crappy patches welded over the rust ,all misshapen ,so covered in 1/2″ of body filler. 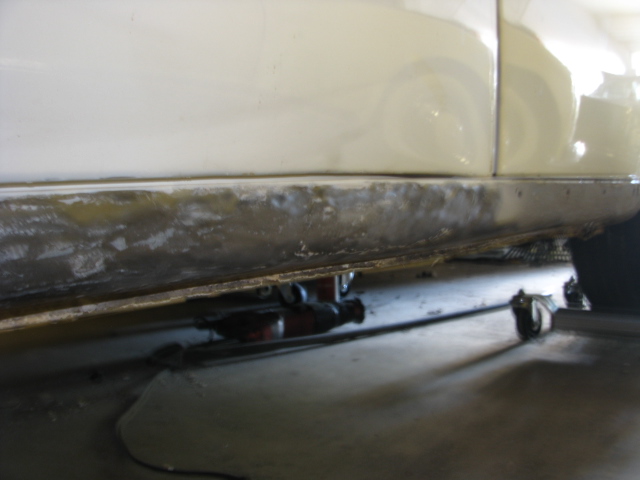

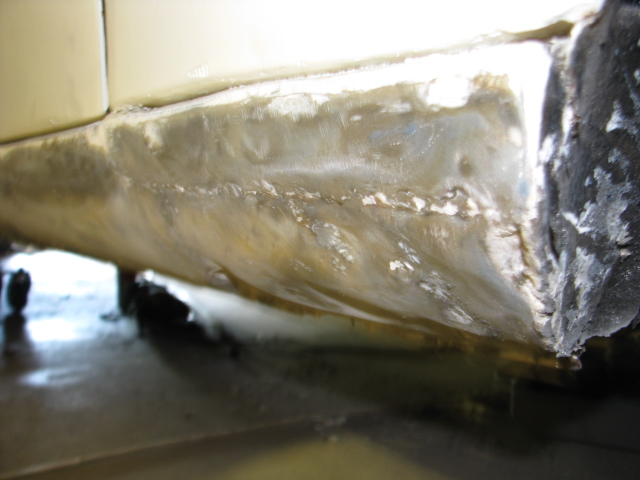

All this will be removed .
 Nothing beats driving a vintage Benz on a long trip.
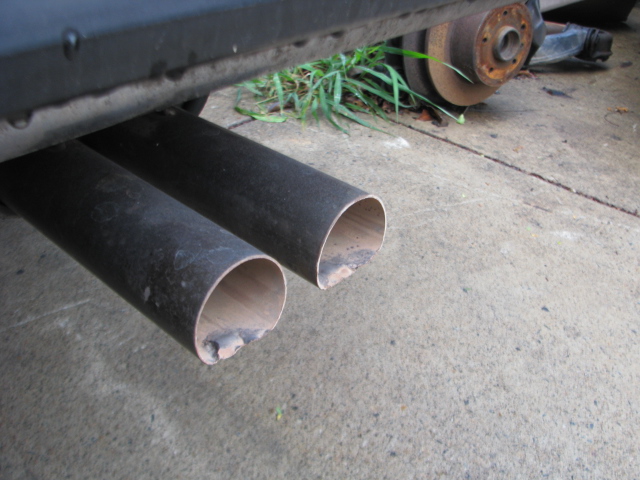
This year was no exception and I took my 300SEL 6.3 to Gladstone to stay at a relatives and enjoy a bit of seasonal cheer. The car ran great ( except for a blown fuel line which wasted $100 worth of fuel on the road) but I suspect the injection pump ,which I had rebuilt some years ago at great expense ,is running far too lean. how long since exhaust pipes were this color? or are they slipping lead back into high octane fuel?
That’s my 6.3 at Rockhampton where we spent a few hours looking for an RV for a relative.
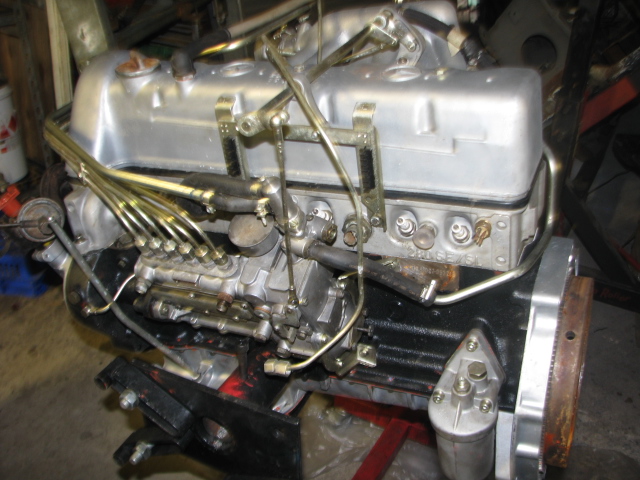
Finally after days of humidity and ducking the storm damage i have the 280SE engine up and running. it just needs a bit of tuning to the fuel injection and few runs to settle it in and it’s ready to get installed in it’s new home .
It doesn’t take long to reassemle an engine if everything is there and ready to go ,and everything was going well until the Storm arrived last thursday and really blew things about .I lost the roof on the rear of the building and the stack off the spray booth ,So no painting until that is fixed…in the future.


 Inside the chassis rail
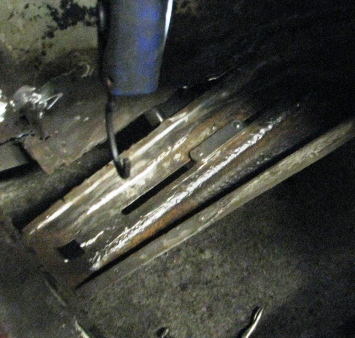 Cleaned up with a wire buff
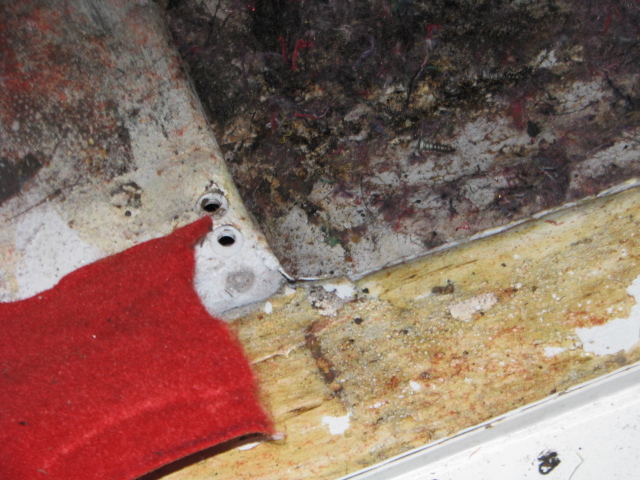

 Patch removed