Awaiting pick up .
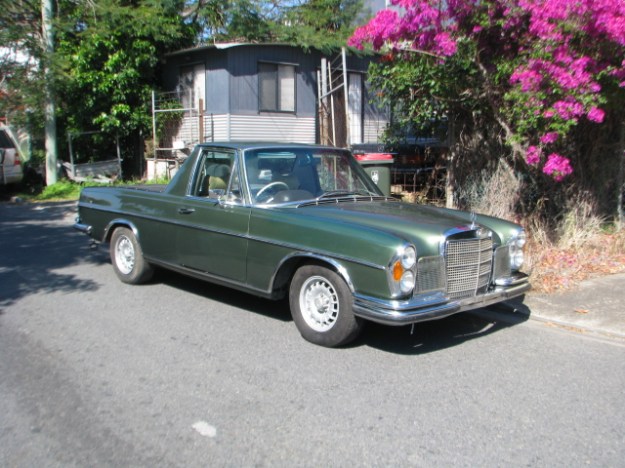
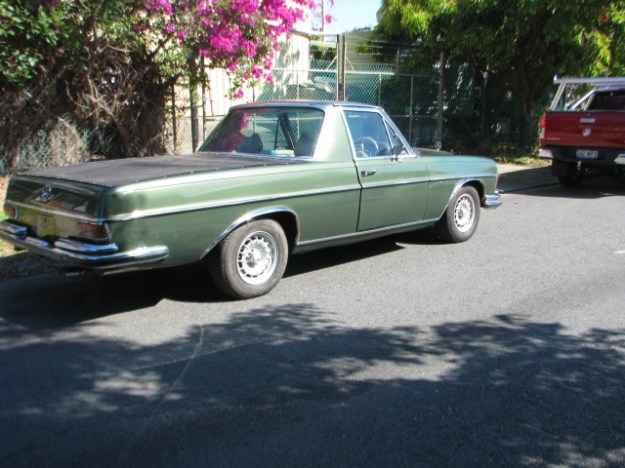
After many months of reassembly and repair work the 280SE 4.5 ute was finally able to driven and delivered back to her owner for minor finish work

After many months of reassembly and repair work the 280SE 4.5 ute was finally able to driven and delivered back to her owner for minor finish work

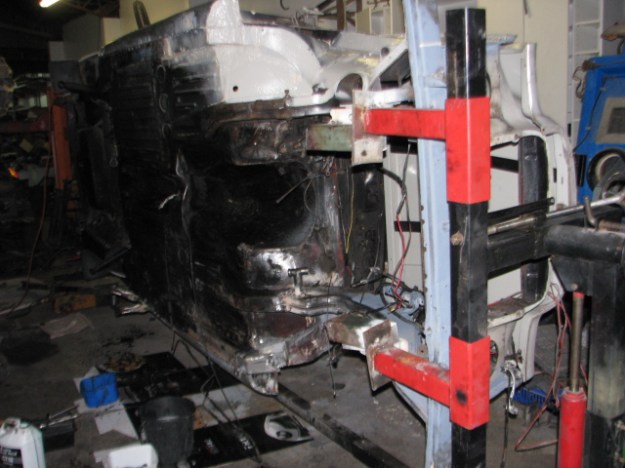
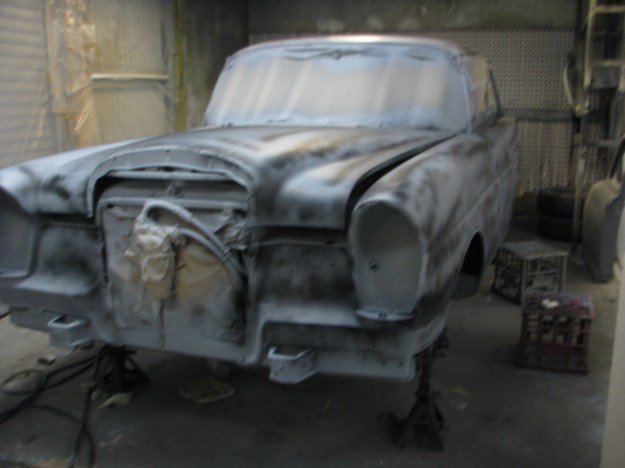
The body is now mounted on a rotisserie so repairs and painting underneath can be done .
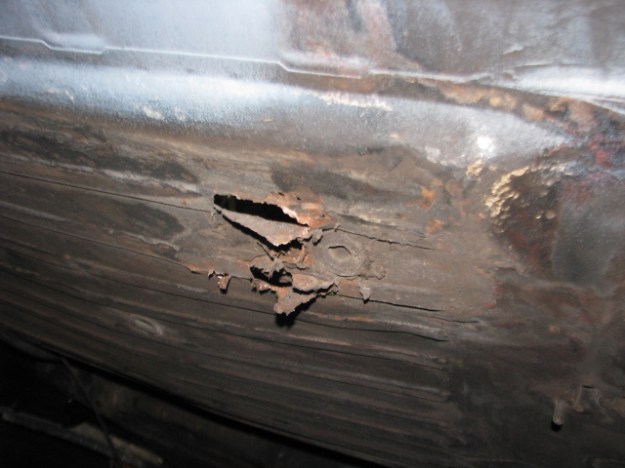
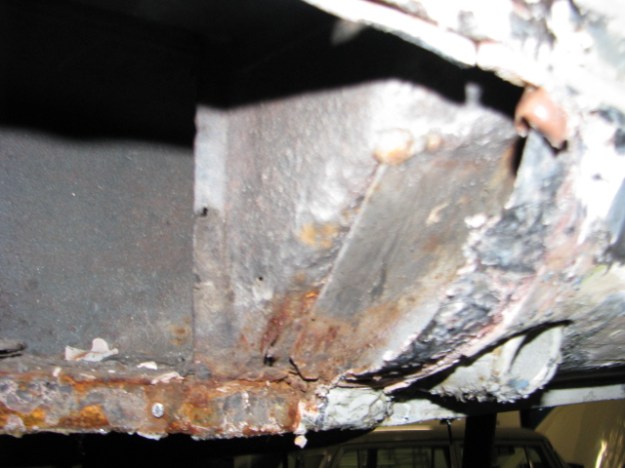
Left Chassis rail at rear has been patched in the past with piece of Steel Pop riveted in place.
Patch Removed to reveal a large rust hole underneath . A new piece of steel will be welded into place to restore the strength to the chassis section.

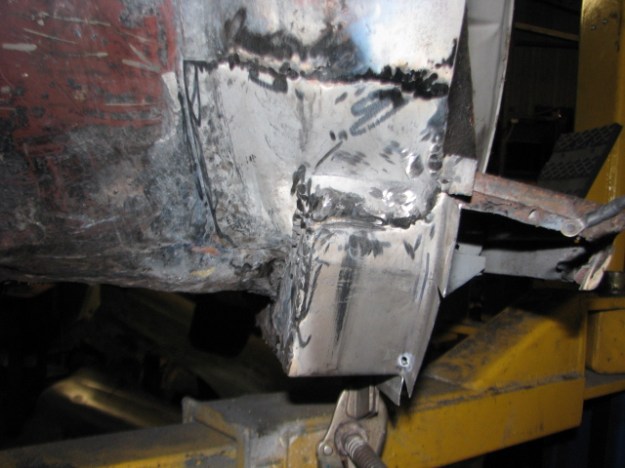
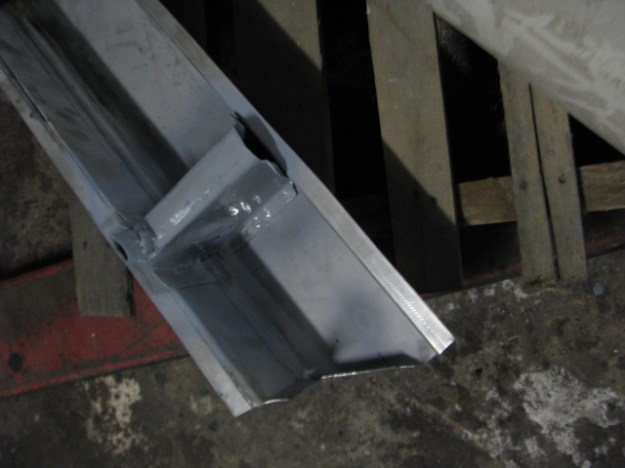
New Steel welded into the Chassis section .
Drivers Side sill section at the Front .
this was hidden under patches and water was leaking in through holes causing more rust .

The rusted parts were all removed and new steel welded in.
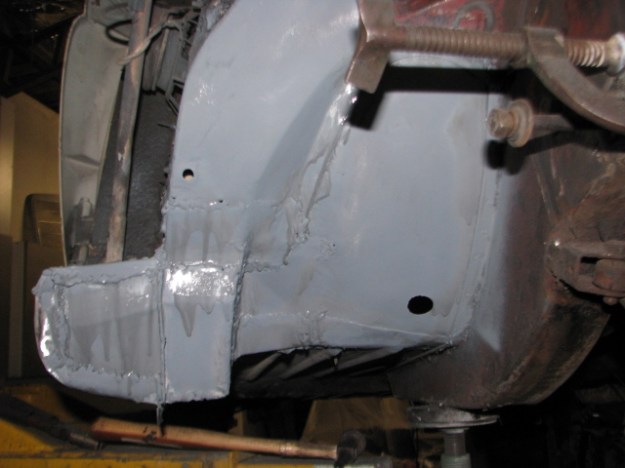
The Correct shape end caps are welded into place and the new steel painted with an etch primer.


Passenger Side patches removed .

New Front end of chassis rail welded in .

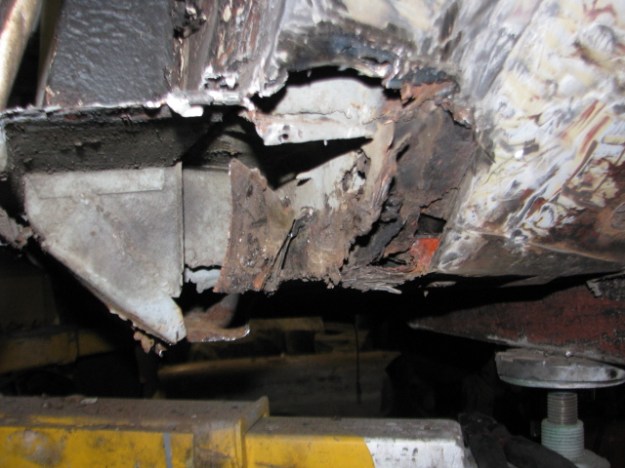
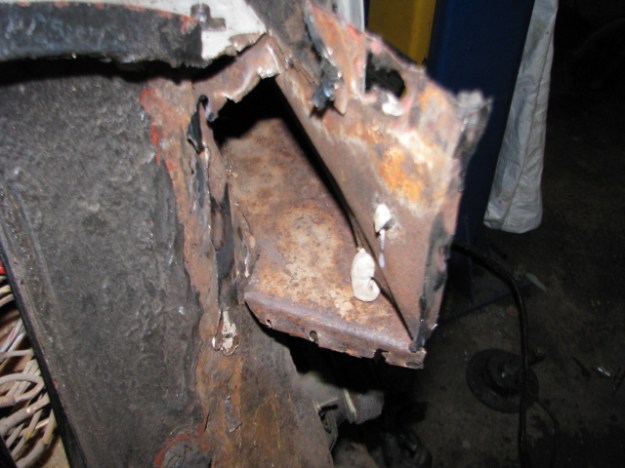
Right Front inner sill section .
This picture shows the inner sill section where it has been patched badly in the past . This will be removed and a proper panel fitted to replace it Object sticking down in the center of the picture is the jack point…!
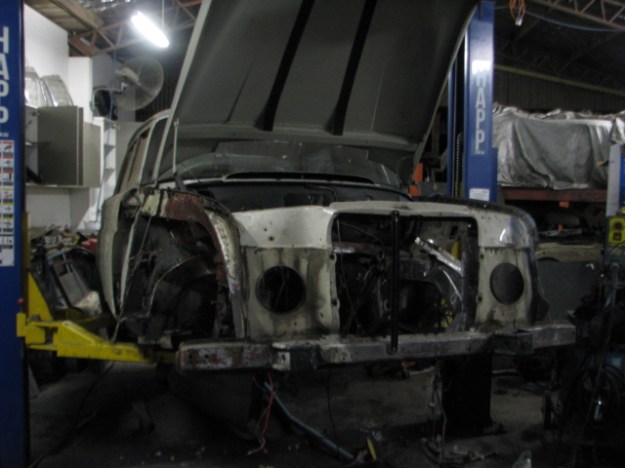
Front Guards have been removed
The guards have to be removed to replace the sills and right front one which is full of body filler.
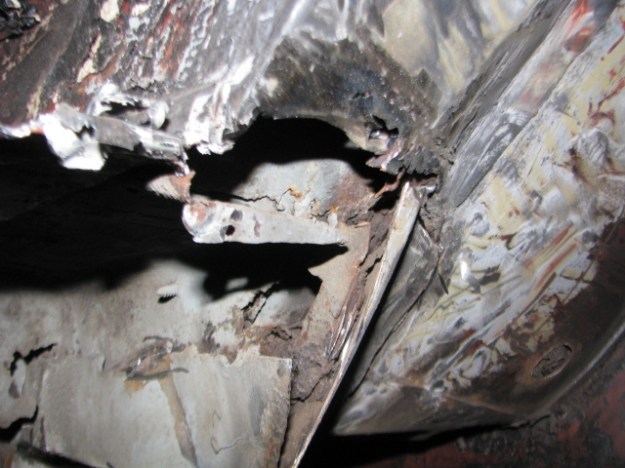
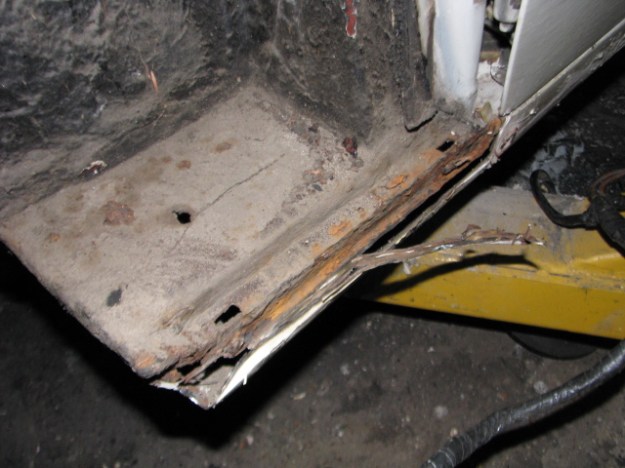
Sill Removed on Right Side .
REmoving this part required a lot of work as the sill was 4 layers thick in places including parts of the original sill . This has created pockets of rust which has to be removed. This is the right Front corner The front end is pointing upwards where it was fitted incorrectly. This has to be removed and replaced with a correct part.
Top Part of Sill to be removed yet.
The Doors have to be removed next so the sills can trimmed off.
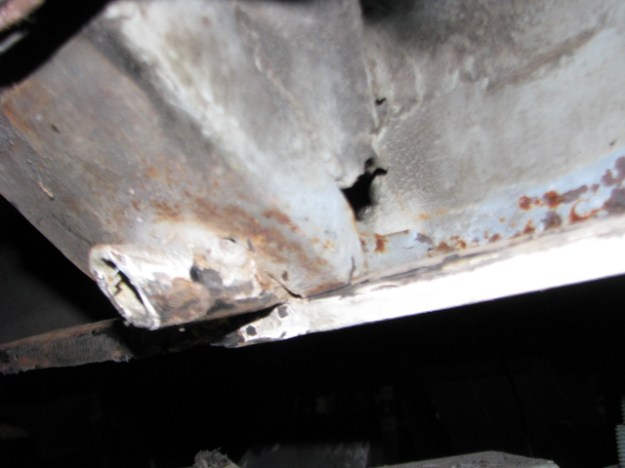
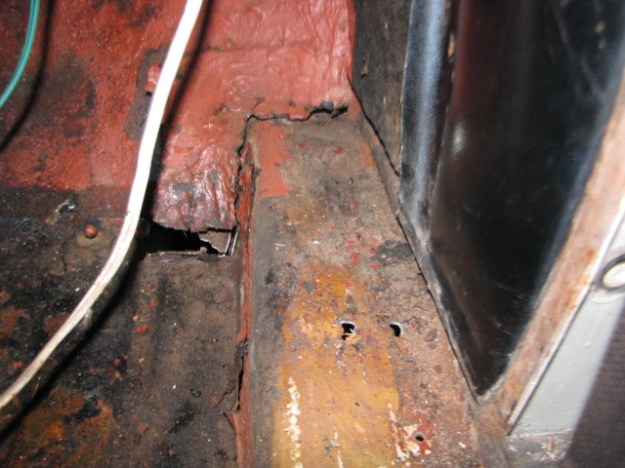
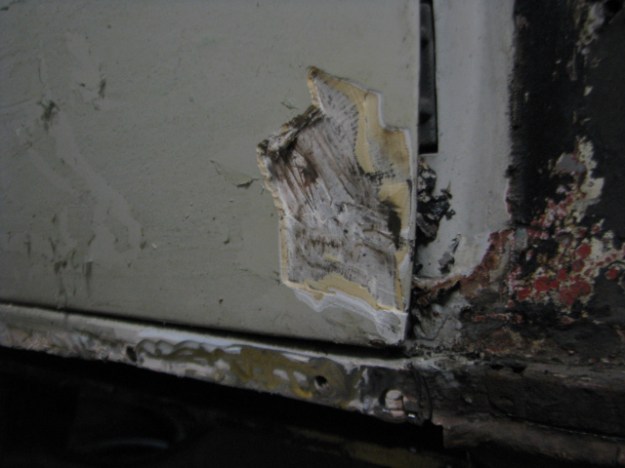
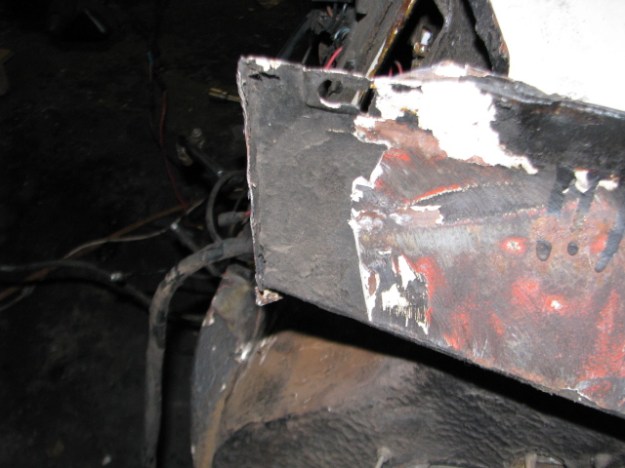
Close up right front jack point
This the jack point which has also been badly patched. This is the bottom of the A pillar and has a patch on it ,again it has to be removed and repaired correctly .It’s not connected to the body at the rear ,which is a major safety issue as it can collapse if the car is lifted on the jack point.
The Doors are going to be replaced…
Because they have large amounts of filler which would have to be removed,then replaced as the car is going to be repainted and there is the real risk that the rust underneath the filler will get worse.
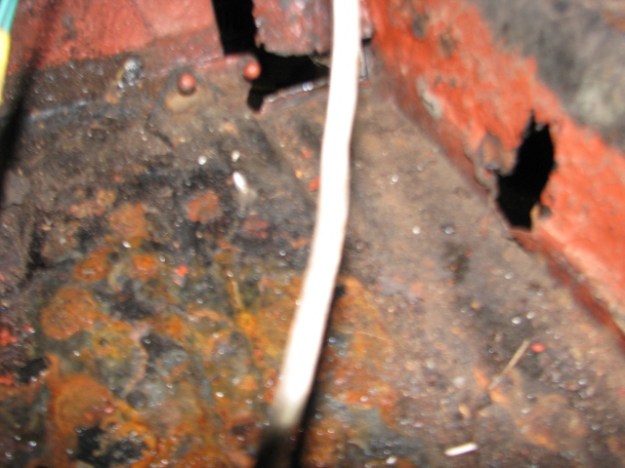
Left Front inner sill section.
Again another part which was patched badly in the past and again this will be removed and repaired correctly.
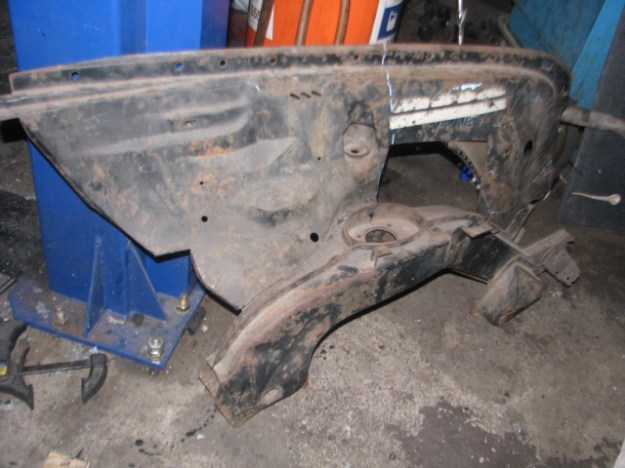
New old stock chassis member to replace the damaged part
Although it is a bit shelf soiled, this part is both rare and in very good condition ,a lucky find!!.
To fit the new Chassis rail, the old one has to be removed .
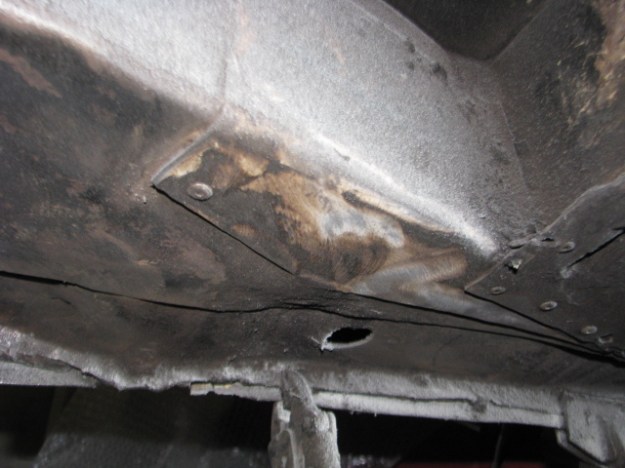
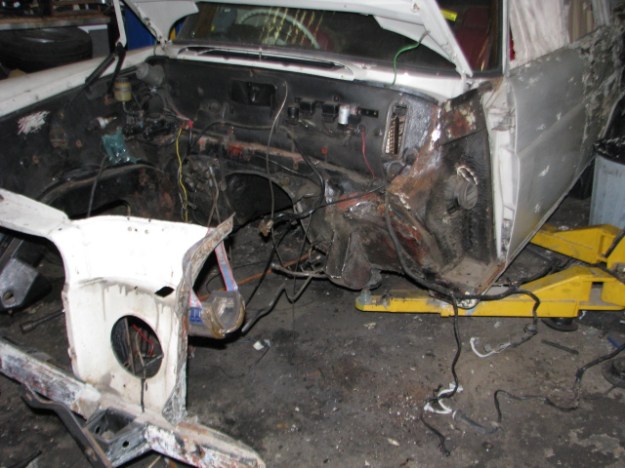
Some hidden damage that will be repaired, note the body filler used to hide rust holes.
The firewall has a few dents where the chassis rail pushed back against it. These will be repaired before the new part is fitted.
body filler over rust holes and distorted panel section.
Rusty damage in the firewall where the chassis rail butts up.
Rusted out section. Front guard had been welded on ….. not good!.
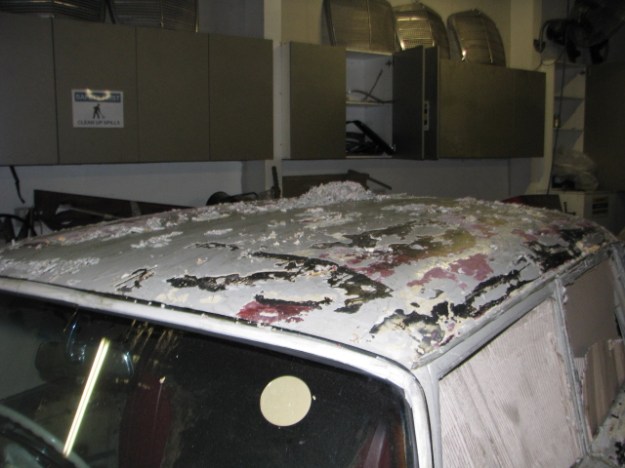
Paint removal has started.
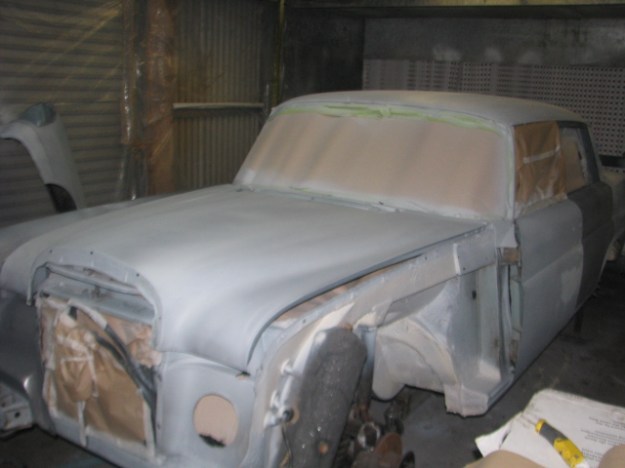
The first step towards actually painting ,a coat of etch primer on the bare steel

The doors and one front mudguard have been fitted in preparation for the primer coats of paint
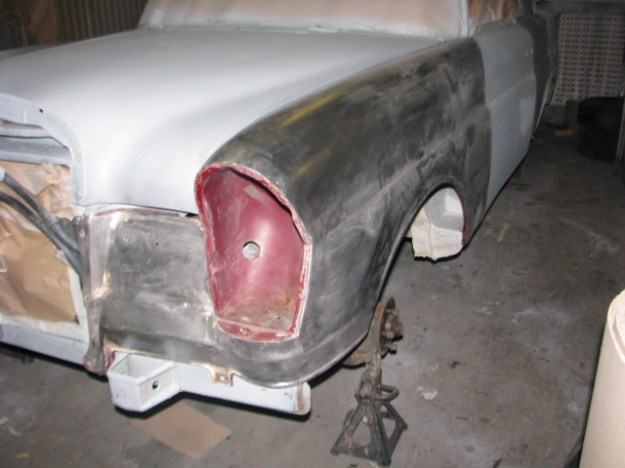
New Left Front guard fitted up, this is now Etch primed prior to priming which takes place towards the end of this week. The holes for the trim have to drilled too.
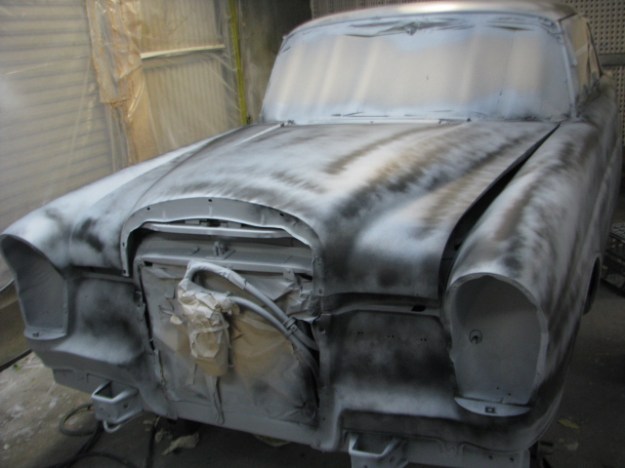
At Long last the 1st primer coats are on and the guide coat applied, to aid in the 1st stges of block sanding.
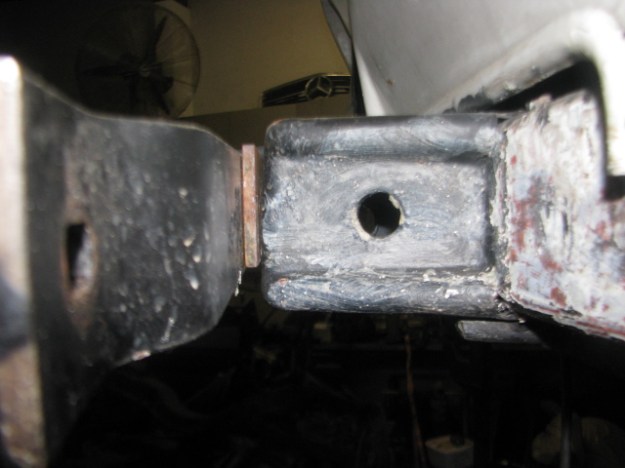
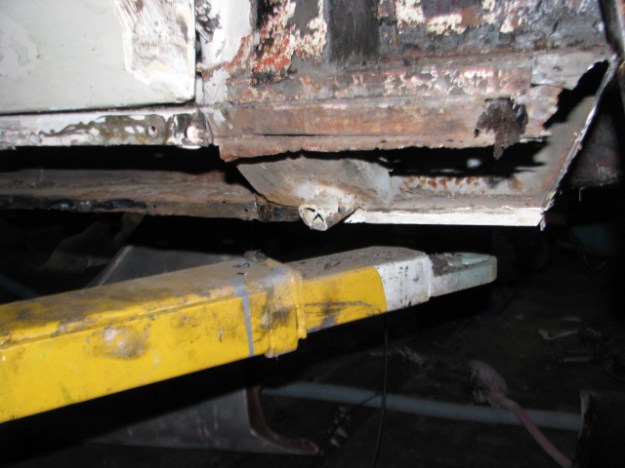
After Removing the Front bumpers , this tell tale was discovered, a spacer between the Chassis bumper mount and the bumper iron. Someone had done this to allow the front bumper to appear to sit evenly . A closer look under the car was necessary .
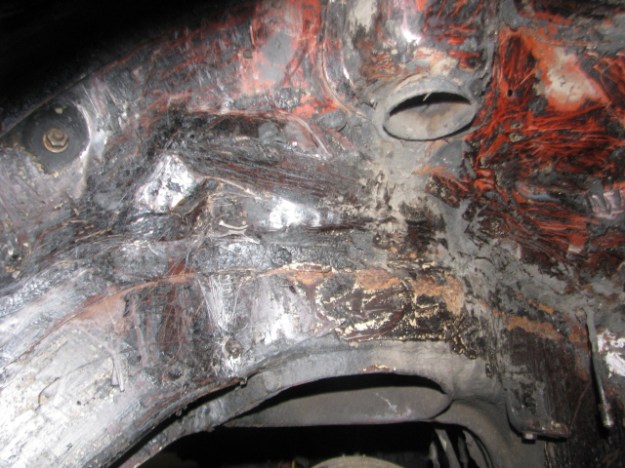
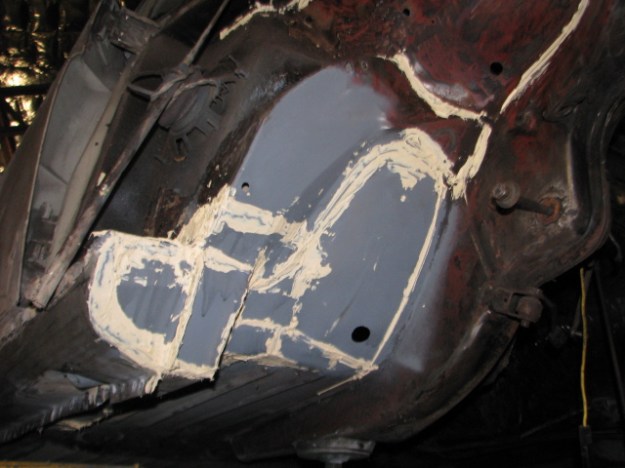
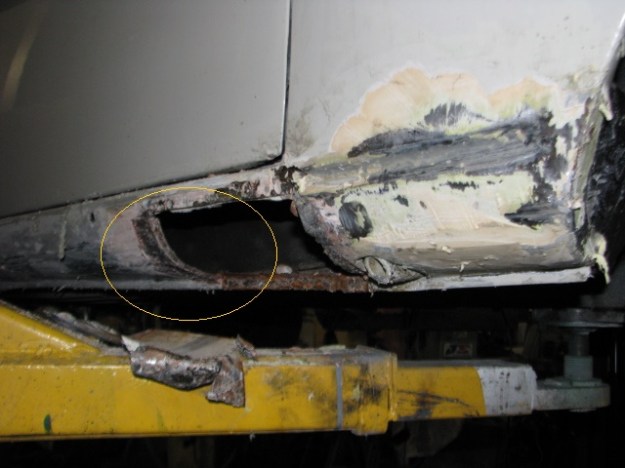
This picture shows a group of creases in the left front chassis leg
Because i intend to refinish the under side in the correct PVC undercoating I had begun to strip the bituminous underseal that had been applied in the past . This stuff causes rust rather than protect against it . The front of the left hand chassis leg is bent backwards with a large crease in it.
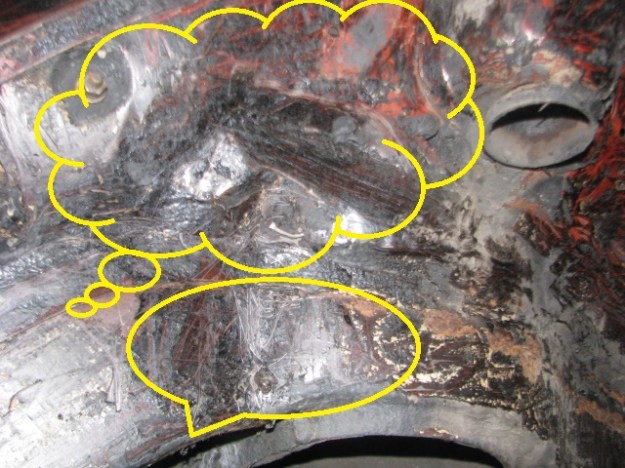
The Circles out line the easiest visible damage which had been covered with body filler to disguise it.
The Chassis leg will have to be replaced to repair the damage .
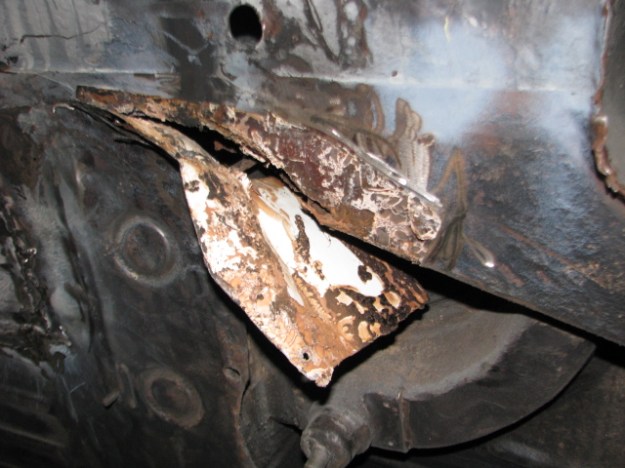
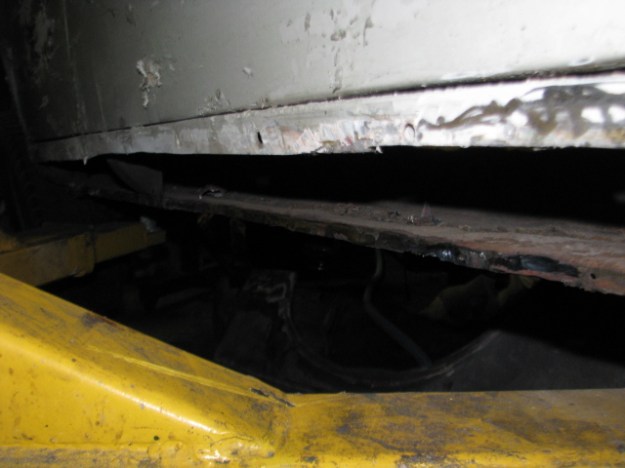
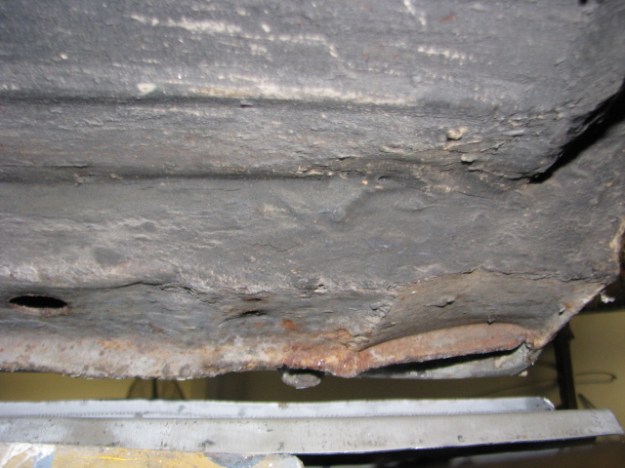
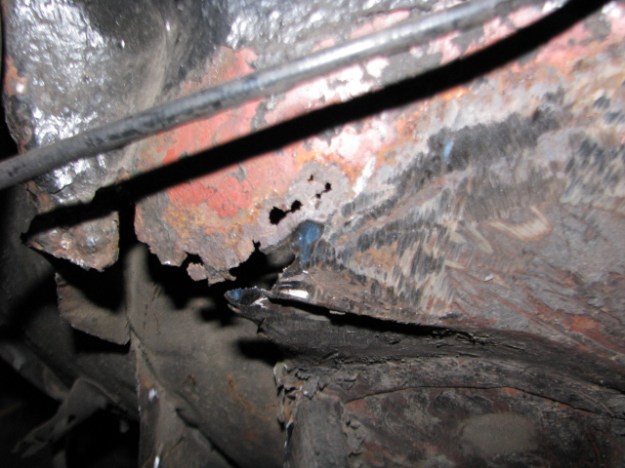
More damage and bad repairs have been discovered in the sill sections . where the remnants of one the jacking points has been discovered albeit with some bad patches and would have been too dangerous to use.
The sills on either side have been patched several times over the decades to hide rust, the one above was removed and discovered to have been held on with contact glue…..
The Circle indicates an area where the sill is 4 (four) layers thick of rusted metal and body filler with patches applied with contact adhesive.


Close up of one of the patches which looks to have been cut from the side of an old fridge.

Here, the bonnet is finally prepped for the next stage ,Etch priming and base priming .


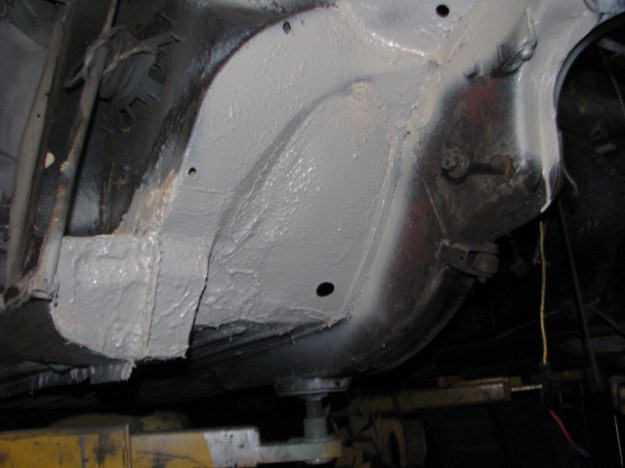
The underside is primed and the undersealing coat has been restored to the colour and texture it had when new. The body colour paint will cover this in areas where it can be seen easily /
