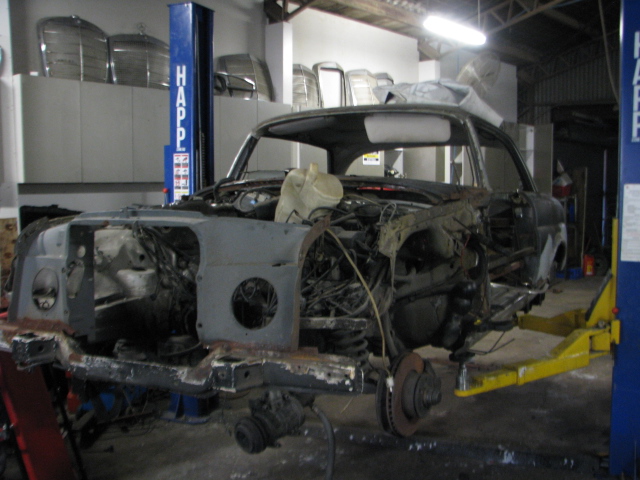
A little progress,the car was placed on it’s wheels for the first time.


Now i can start thinking about stitching it all together .

Bracing remains in the car until the “A” and “B” pillars are connected permanently


A little progress,the car was placed on it’s wheels for the first time.
Now i can start thinking about stitching it all together .
Bracing remains in the car until the “A” and “B” pillars are connected permanently
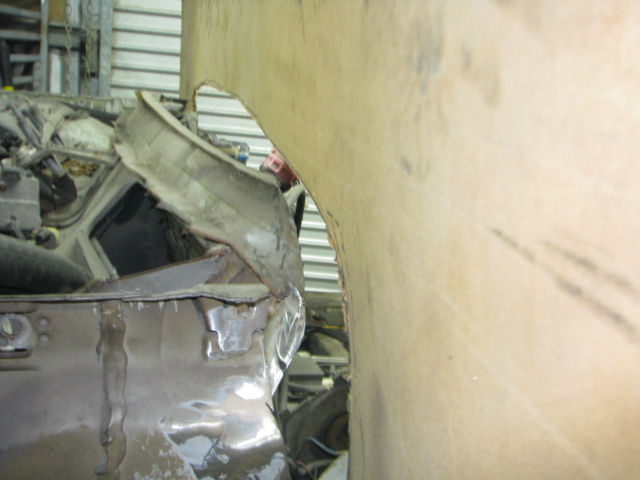 My template showed where to trim the cowl on the W126 Chassis ,I was pretty close all in all and not much more needed to come off.
 After a few hours trimming and adjusting the body is now sitting in place …..
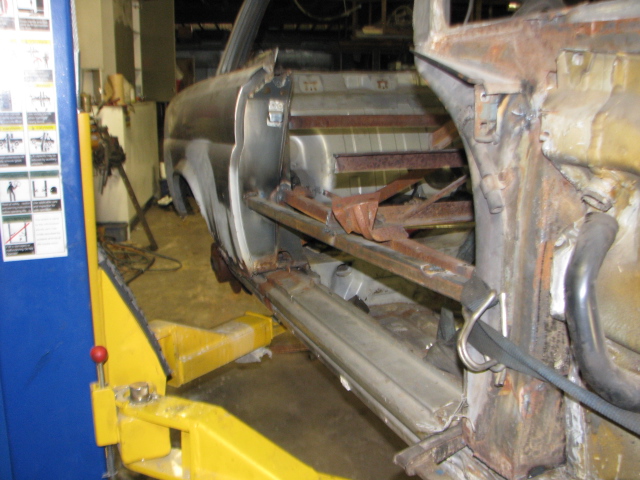
 In this picture the coupes A pillar is now in the position on the chassis where the Original A pillar was .
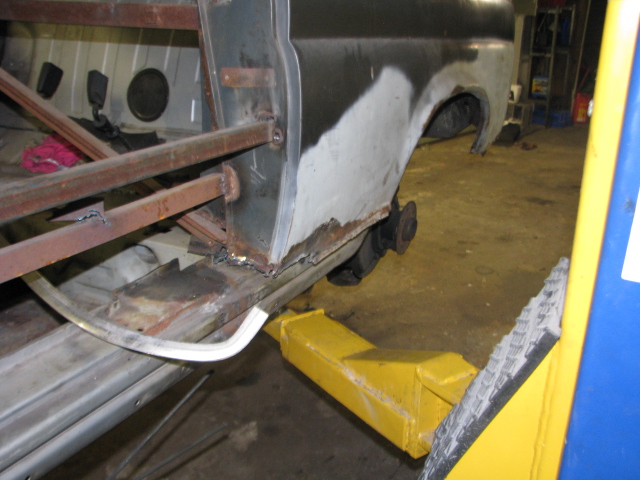
 Drivers side A pillar .Note how the sill is in the right place.
 Thats a tie down strap pulling the shell further forward .
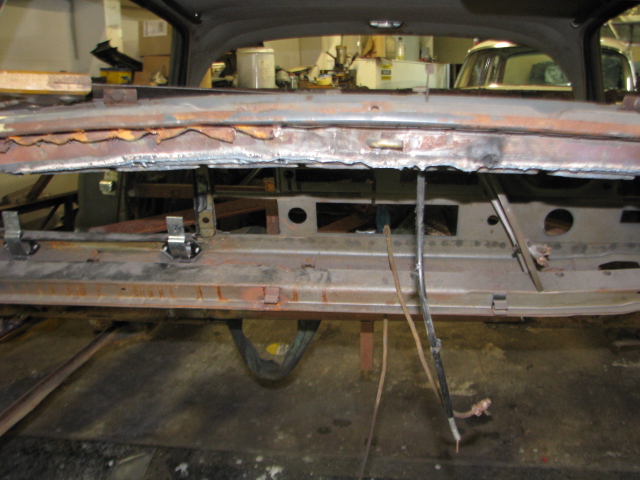
 B Pillar showing how much rust will need to be removed .Same on Drivers side.
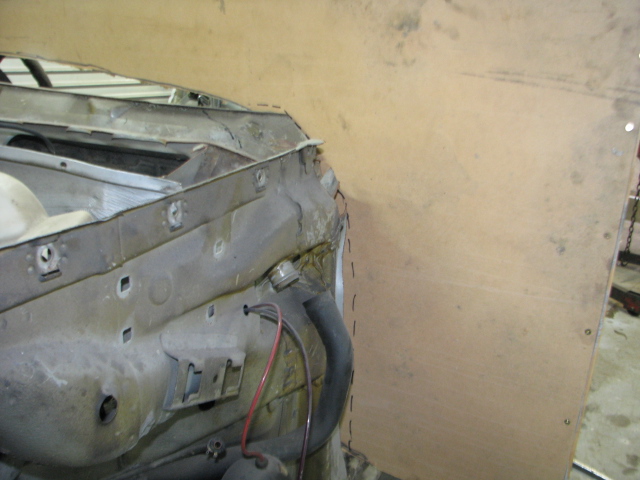
To fit the coupe shell on the W126 floor pan. I had to gauge how much room was available to drop the body down and how much was still to be removed.
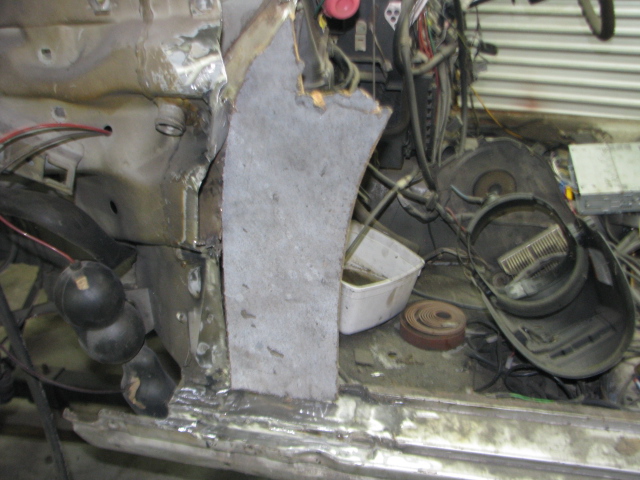
I had a piece of water damaged MDF board which I placed up against the coupe’s cowl. Using a sharpie marker I traced the shape of the inside .That will fit against the W126 cowl .
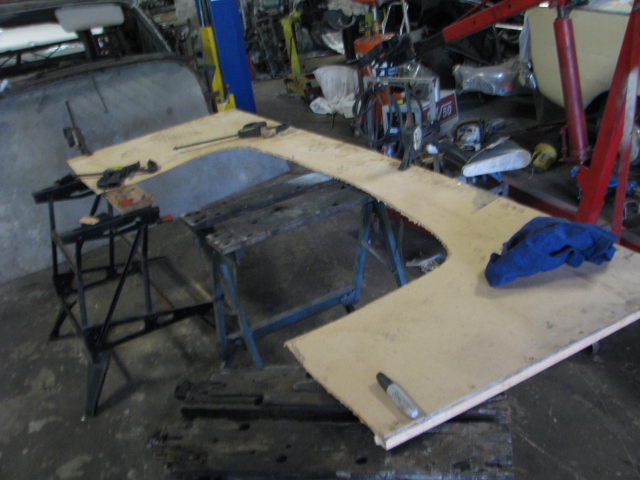
The peice i cut out of the middle fits perfectly in the hole. So…i got that bit right…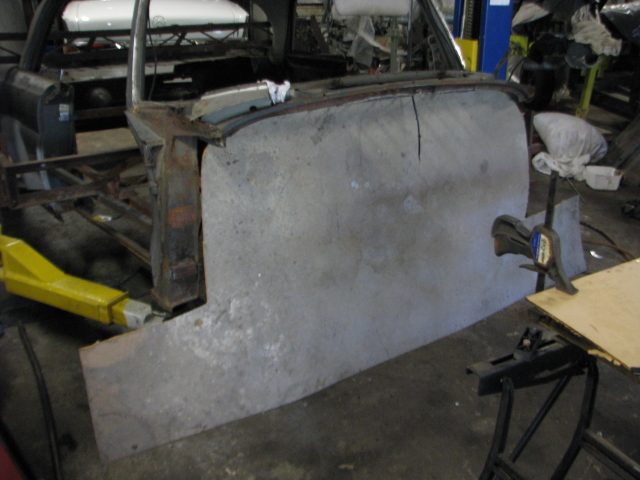
I glued and screwed a piece of 1×2 pine batten on the back of the template .I can now lift it up against the W126 firewall as I chop each piece off. initially i though ui would weld the W111 A pillar to the cut down W126 A pillar . In the end to fit the template I removed the entire A pillar.
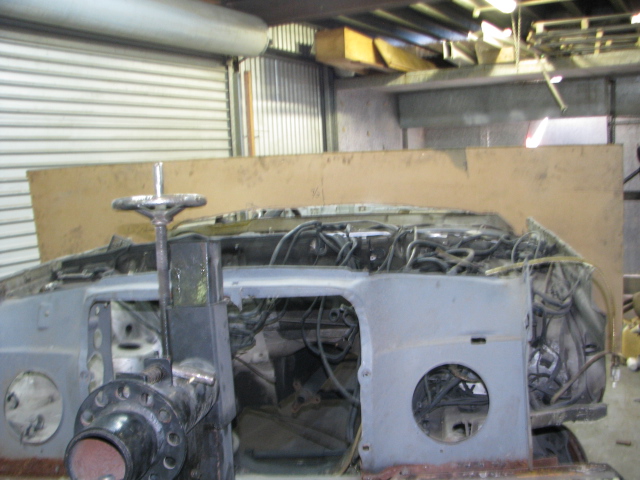
 At the start of this process, I put the template against the A pillar .
 Now, there are two dimensions to this,the left to right profile and the Fore and aft Profile .
 I took a profile off the W111 A pillar .As seen on the left,after the surgical removal of the W126 A pillar
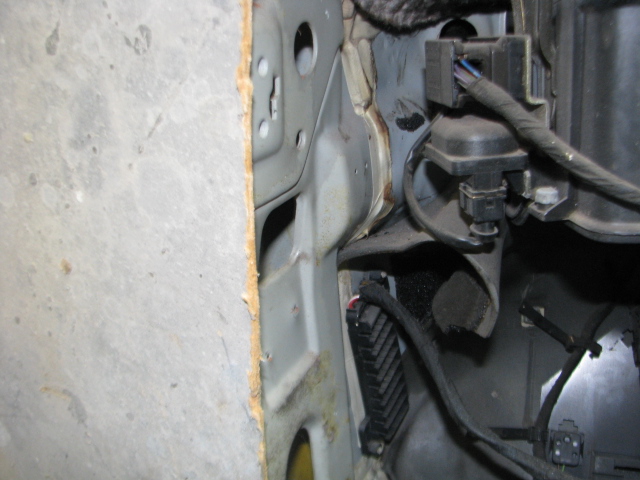
. This is the coupes cowl after I plasma cut the remnants of the heater box out . That’s the rear of dash,which will need to be removed anyway because it’s on the wrong side .
Next Job…cut the W126 rear wheel houses to fit into the coupe shell.
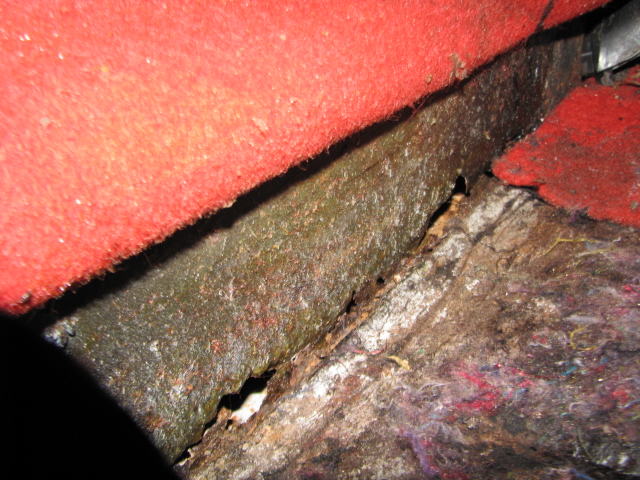
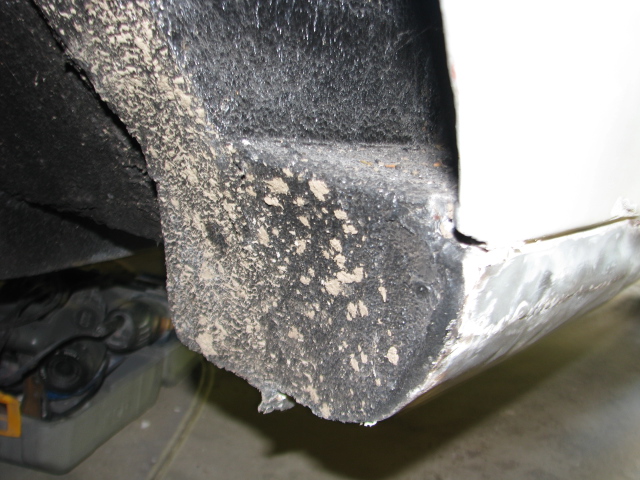
This car looked OK at first glance ,but a quick look underneath revealed previous rust “repairs”. Repairs is a word incorrectly used in this context though. Once I pulled the interior out it was obvious someone has simply welded loose parts of steel over the top of something…. That something was revealed once I used the plasma cutter to remove all the scrap that had been added.


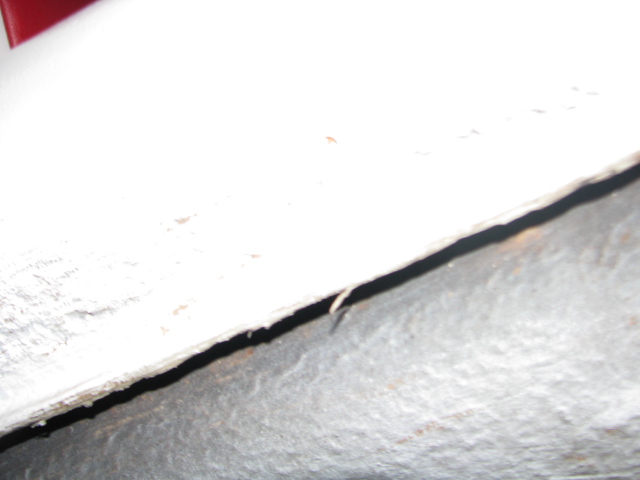
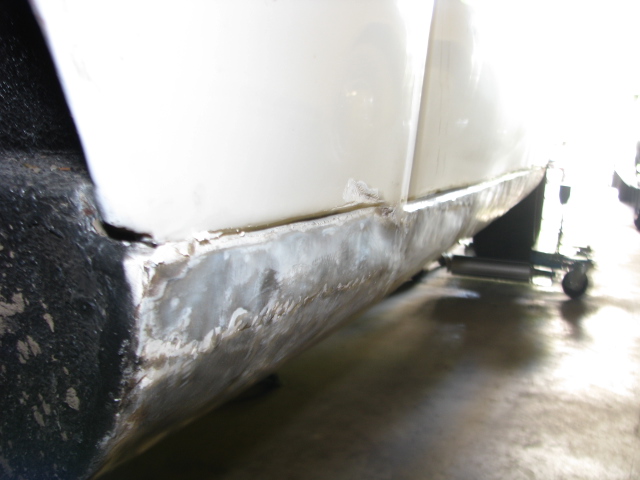
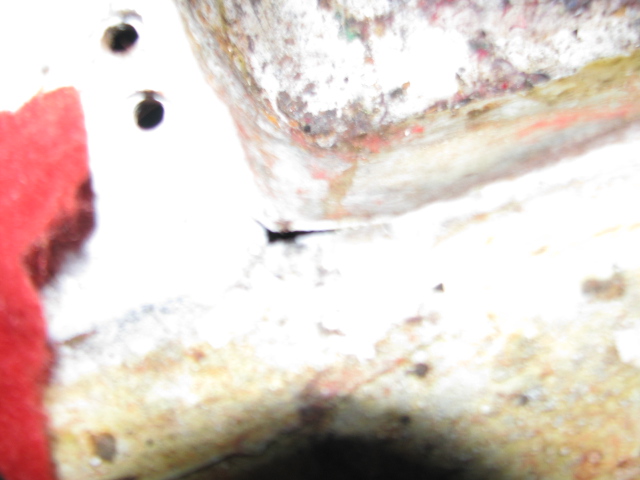
Under the left front of the sill ,the fairly new paint is peeling off ,not a big problem as it’s all coming off.
The jack point is missing!.


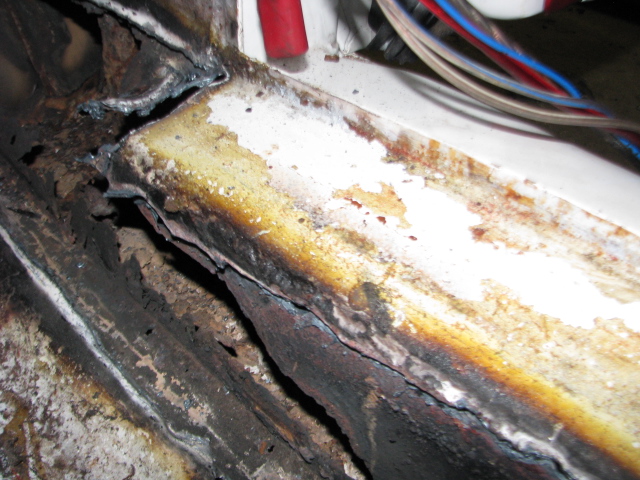
The box under the front seat has rusted away from the floor.

Pic on the left shows the patches welded into the inside of the sill box ,Drivers side.

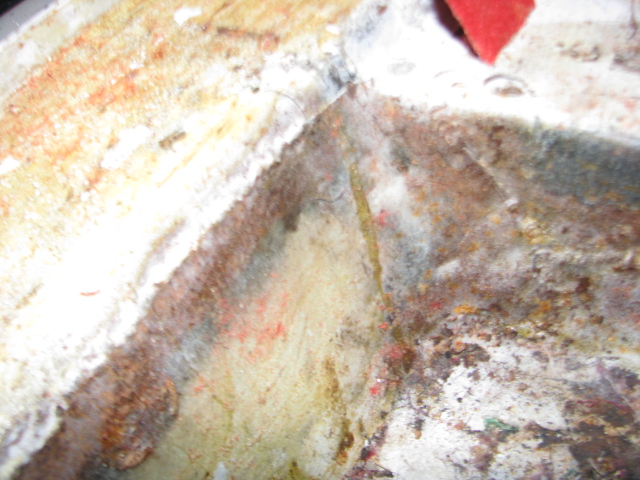
 Underside of the floor when the bitumen crap was removed.
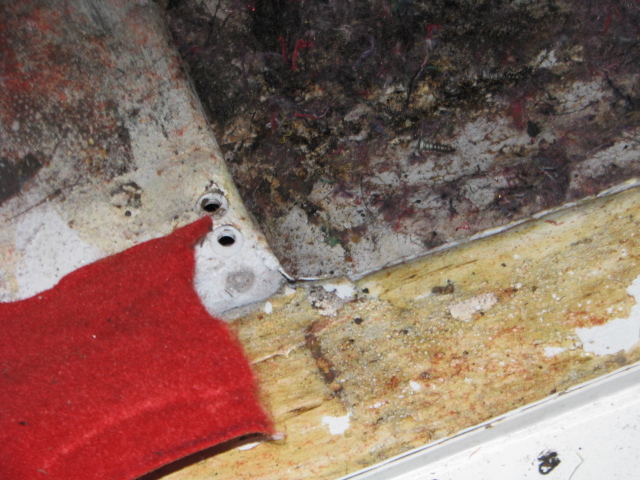
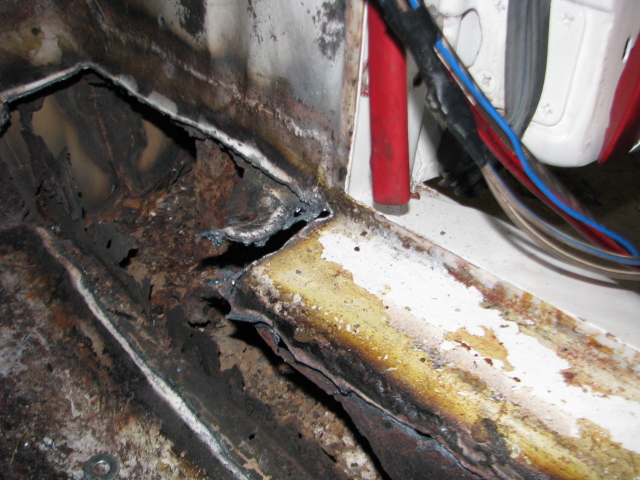
The inner edge of the sill was revealed ,once the patch was removed . The ragged edge of the steel is actually rust .The jack point is also missing on this side . The car is lacking in strength now which must be rectified before the outside of the sills can be repaired. This will include a new floor .
Floor turned out to be two layers,one welded over the other !! all this had to removed. Pic shows the rotten section from the drivers side floor.

patch pop riveted over the jack point !!

crappy patches welded over the rust ,all misshapen ,so covered in 1/2″ of body filler. 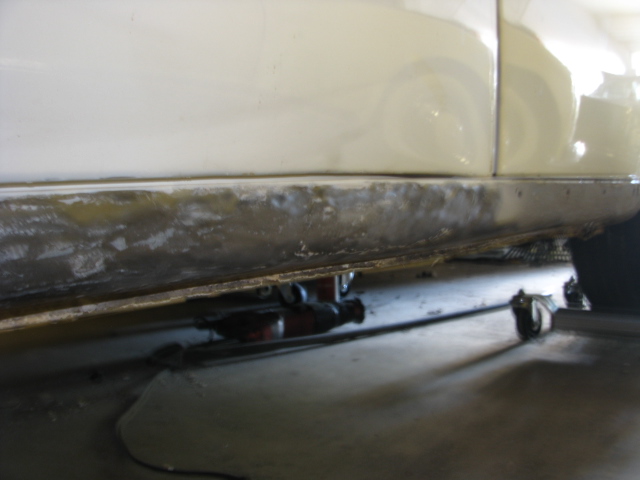

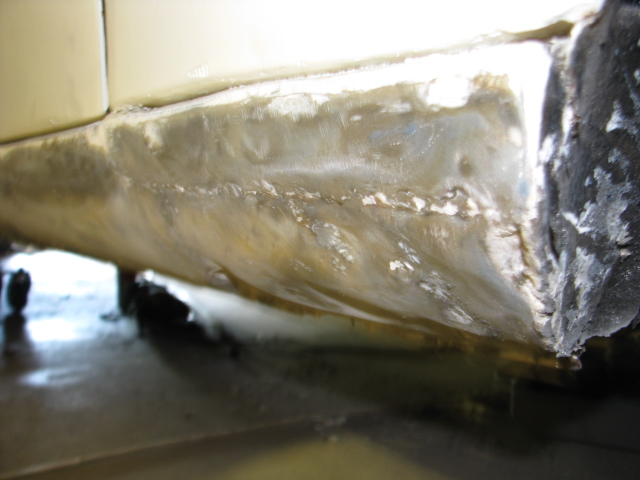

All this will be removed .

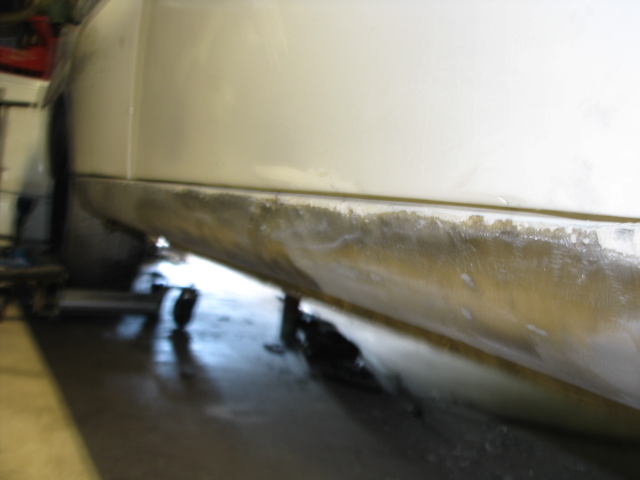
 Patch removed