Author Archives: briskiwiron

Unknown's avatar

About briskiwiron

i care for,maintain and restore Mercedes Benz Vehicles built before 1980 .

1954 Mercedes Benz M189 Engine repairs

IMG_0111

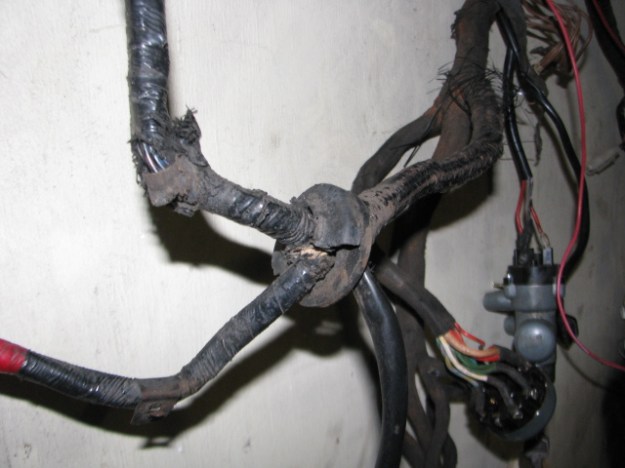
Some time ago I rebuilt this engine but during the running in process it had a rattle, which would only come at a particular rev range ,but was otherwise smooth. Once the sump was off ,the bottom of the oil pan was inspected and odd tiny peices of metal which looked like bearing metal . The rod caps were removed and the bearing,although not completely destroyed are scuffed really badly.  Why? 

IMG_0112

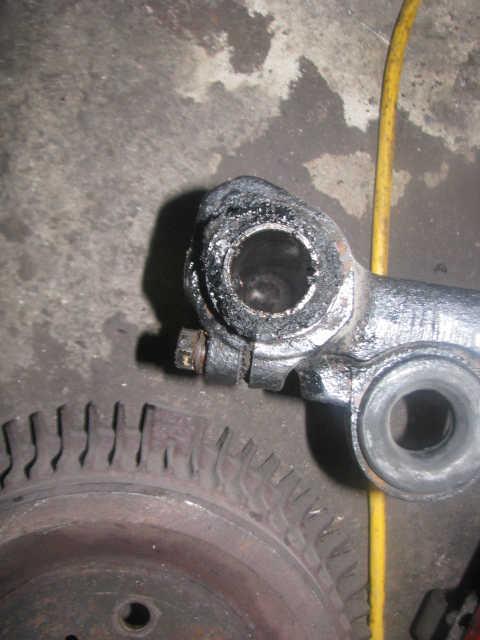
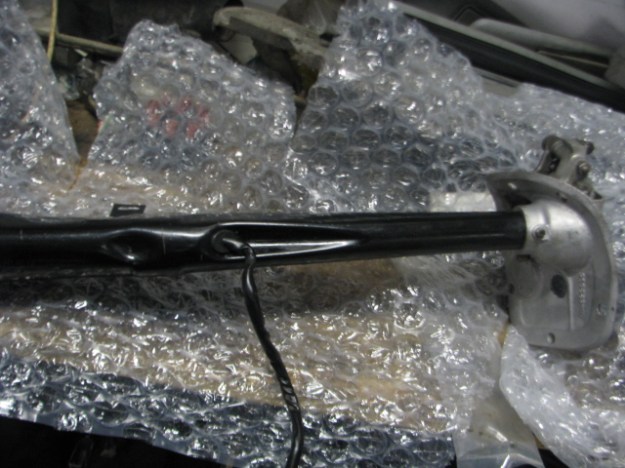
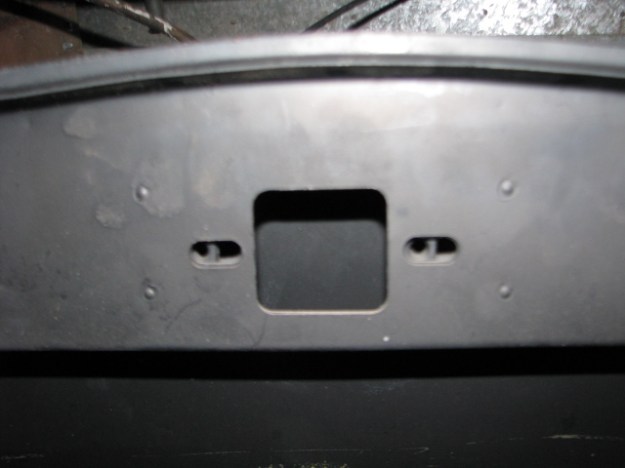
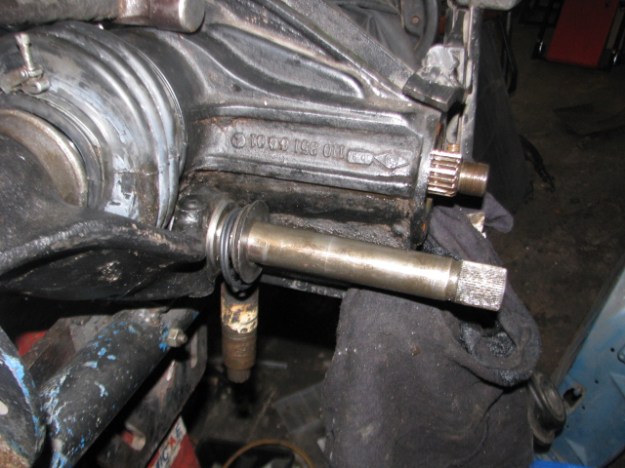
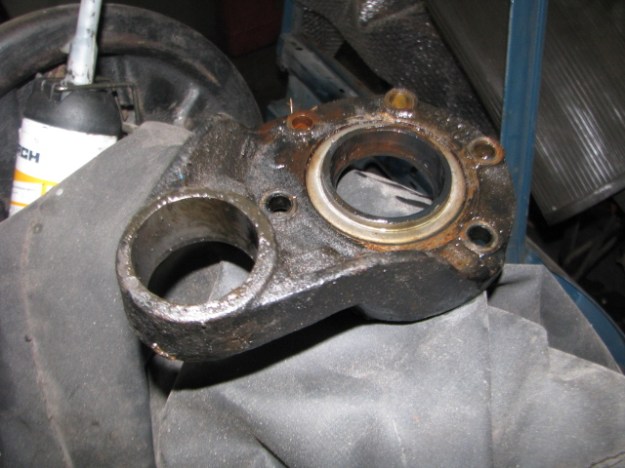
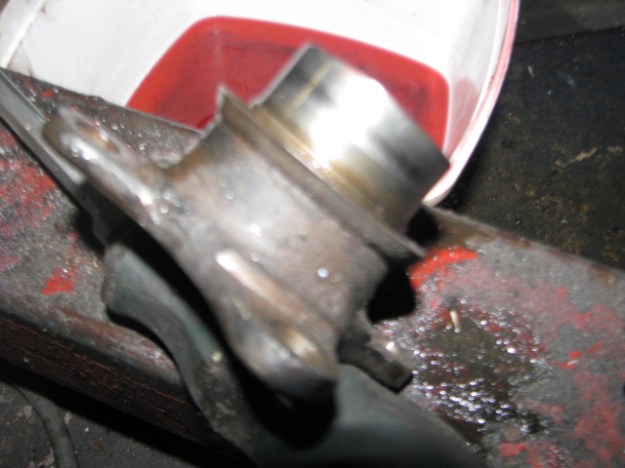
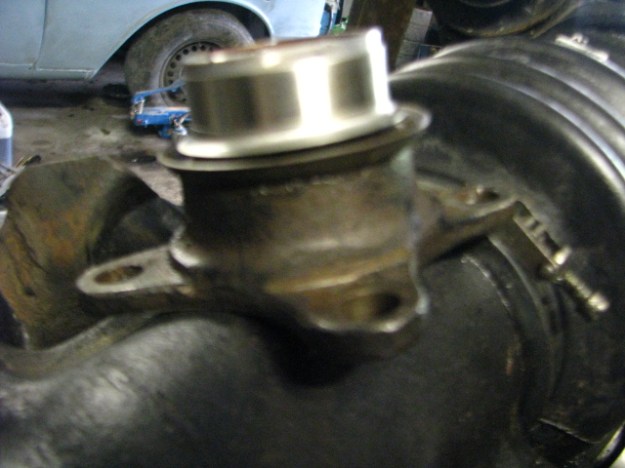
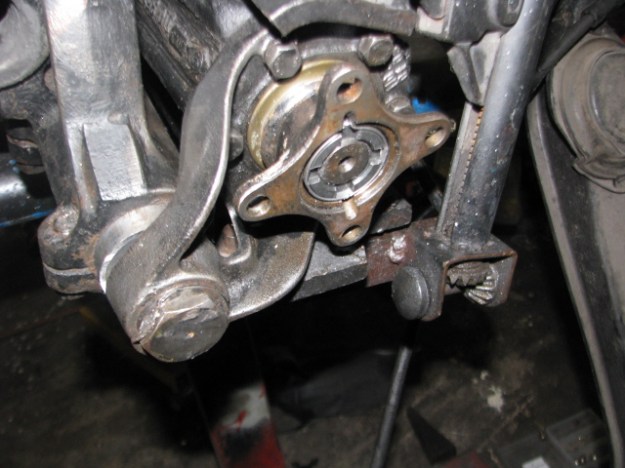
My initial thoughts were to pull the oil pump off as this is an obvious oil supply problem .Although the pump was inspected atc when the engine was rebuilt I decided to strip it right down and two things popped right out . First, the round wear mark in the pump shaft housing . and that square hole . It’s actually a fault in the pump housing as far as i can figure .It would appear that this hole has allowed the oil ,once hot to lose a fair amount of the pump vacuum as it sucks the oil up from the sump . So,once the car got up to temperature and at highway speeds the oil volume would fall away although the gauge would still be indicating full pressure at engine speeds above idle speed. 

Next step will be to replace the oil pump and bearings and inspect the oil pressure relief valve ,then reassemble the engine and install it back into the car.


Mercedes 220SE restoration part11

The flex joint bellows on the rear axle have been replaced with a new genuine part. The homokinetic  was examined and found to be in good condition . 

IMG_0129

This is the center rear axle pivot pin. the bushes were examined and found to be in good condition .

IMG_0130

The pinion seal was replaced as a matter of course .

IMG_0131

After 60 years of use ,the pinion flange was showing significant ware …

IMG_0143

The wear is repaired by the use of a SKF ‘speedy sleeve’ which is loctited in place,giving another 60 years of working life. 

IMG_0137

Given that the pinion seal and flexboot were leaking badly, the oil had contaminated the center pivot bush so this was replaced with a new item .

IMG_0149

With the Axle and housing, center pivot and pinion flange refitted with a new nut etc , the axle will now be prepared for painting .IMG_0145

Front torque arm bushes will replacing  as will…

IMG_0148

…the rear torque arm bushes which are simply cracked and hardened from the ravages of old age. .


mercedes 220SE restoration part 11

IMG_0112

Intake Manifold has been wet blasted and now looks like new .


Mercedes 220SE restoration part 10

6/03/2107 A weeks work has seen the whole body shell stripped to the bare metal , but yet more damage has been uncovered . the top pics illustrate the panel below the tail lights. instead of repairing these,i will make new ones and weld them in ,it’s easier than trying to fix some butchers efforts in the past.  The boot floor at the bottom has been cleaned properly and rust proofed. the front guards are stripped and the exposed damage is in the process of being repaired.  Shown in the bottom right pic they are being fitted to try for fit .


Mercedes 220SE restoration Part 9

img_0123
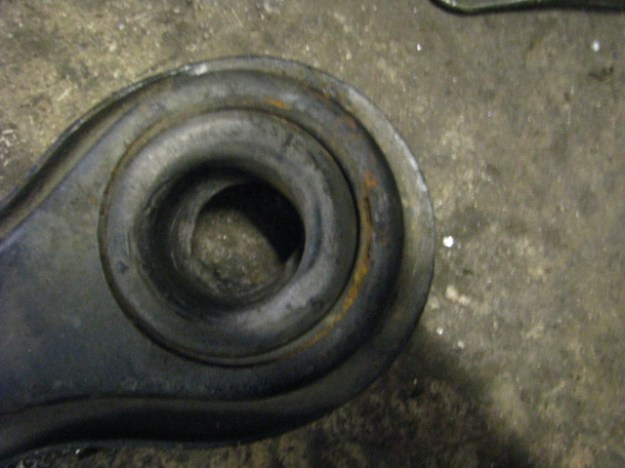
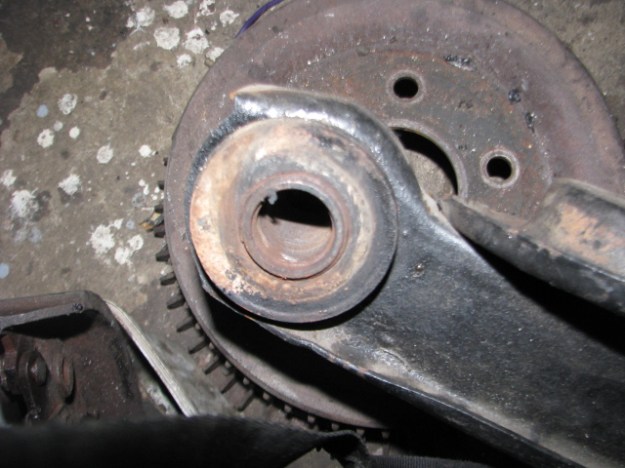
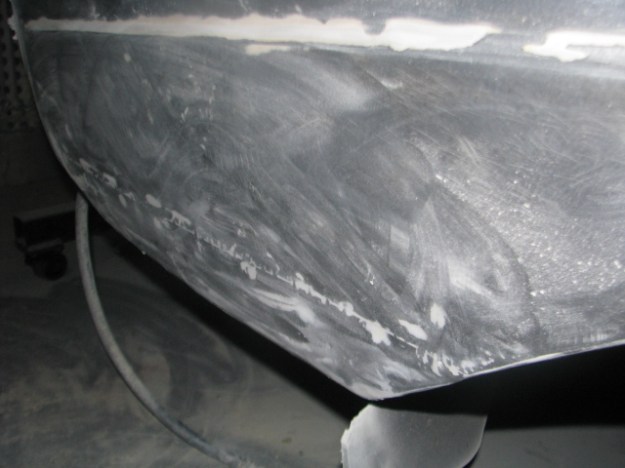
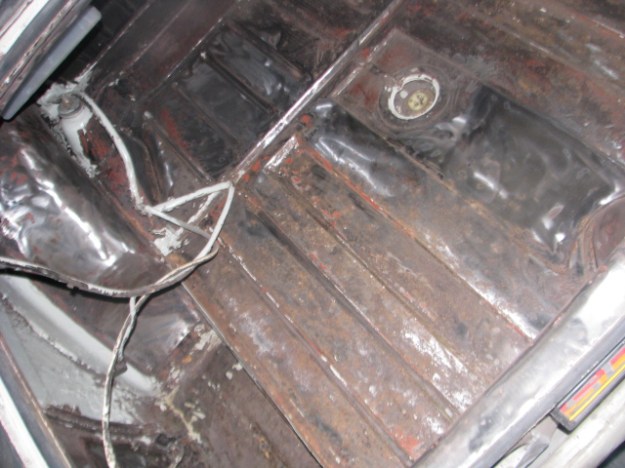
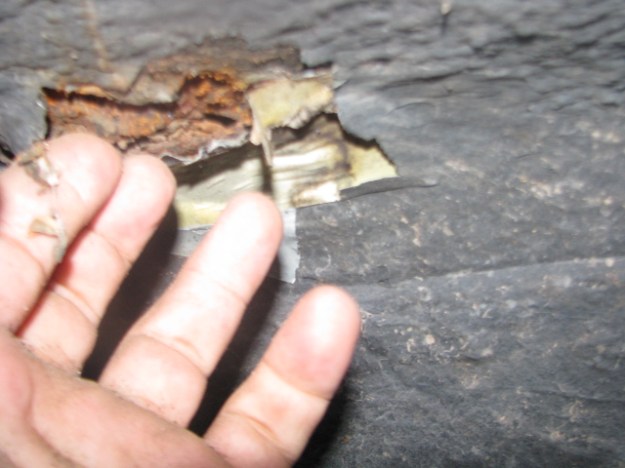
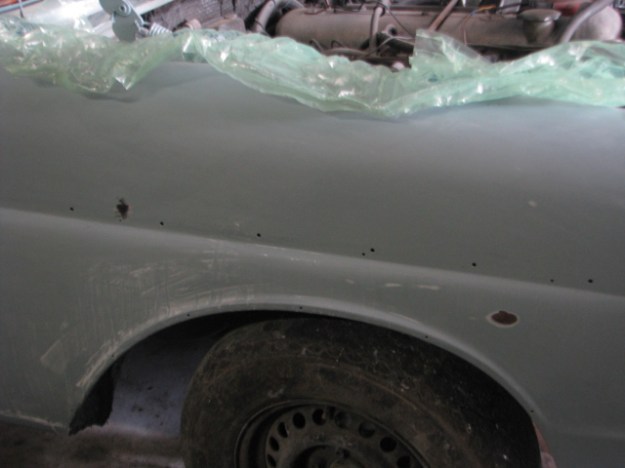
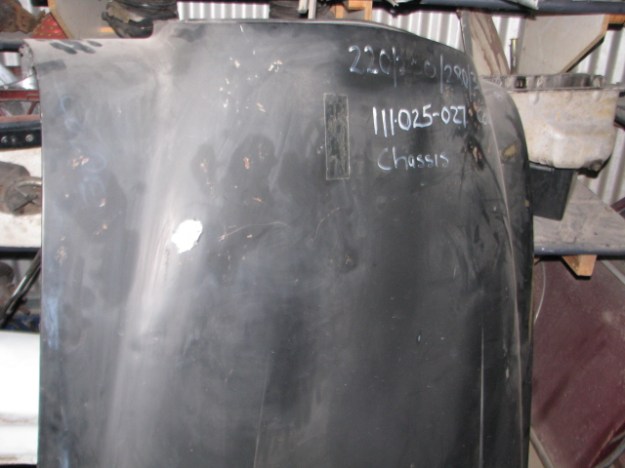
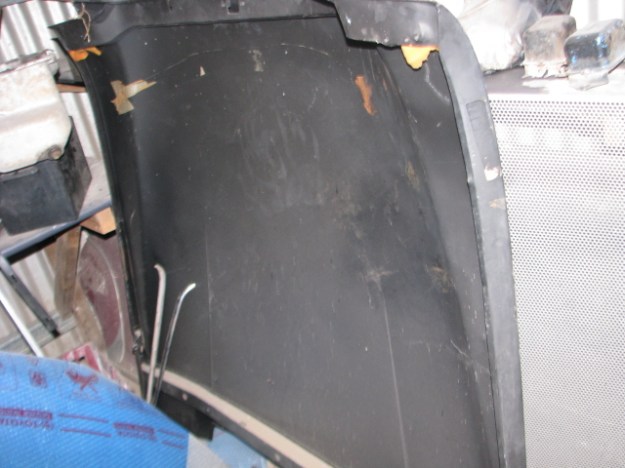
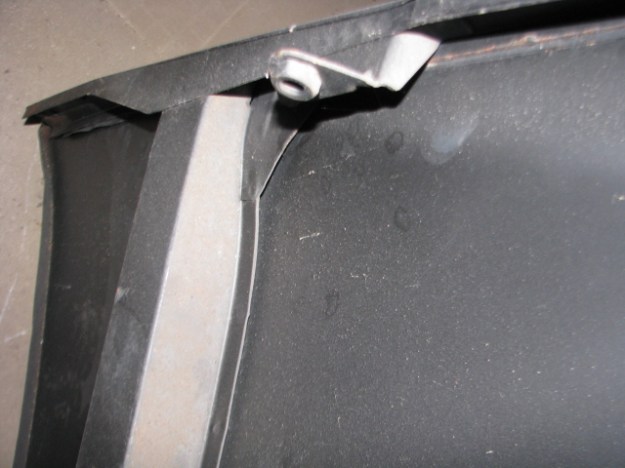
Right rear Fender After paint has been removed which has uncovered a lot of small dents from a previous bad repair . A bit hard to see here but the panel is pushed in 8mm and will have to be bumped back to shape.

img_0124img_0125

Bottom of right rear fender ,has had a patch roughly welded into place .Again this will have to be straightened out before painting. 

img_0117

15″ x 7″ rims for another Project…..

img_0114

Rear Axle was leaking so the boot was inspected ,and was found to be leaking because of this break . 

img_0115

Rear homokinetic Joint is in good condition .

img_0116

Pivot Bush is worn and will be replaced.

img_0126

Boot interior had been brush painted in body colour ,over a bitumous based underseal ,so was not very attractive at all.  All of this coating has been removed and will repainted in the correct Dark gray .Lots of surface rust was found under this coating and this will treated to prevent it coming back. Coatin

Cimg_0128

Inside the rear wheel houses ,I found the rear vent drains blocked with something…ominous. 

img_0129

Some one has taped over the rusted drains with masking tape and painted them…

img_0130

img_0122

Dents in the roof, hidden under 5mm of filler

The repair of the roof is on going ,mostly the removal of lots of hail dents but the latest discovery were a line of strange dents as if the roof had a bulge in it and some one has bashed it down .

300SE lang Rust repair Continued part 4

img_0117

The Primer Was sanded back and a lot of small dents were revealed . Several more coats of Primer were Applied and sanded back again .

img_0120

Some low spots were removed then the odd high spot shrunk back ..

Phil, the cars owner came over from Western Australia to lend a hand with the more tedious jobs. 

img_0121

Fresh out of the Spray booth in Horizon Blue . At this point I was not happy with overall smoothness of the clear coat so…

img_0117

I have Flatted it back with 2000 grit wet and dry ,to be followed with 3000 then polished.

img_0116

During this part of the process a few high spots were revealed …again so these have been shrunk back and will be repainted .


Mercedes 220SE restoration part 8

img_0118

Steering Column has been stripped, repainted with new bushes and top bearing.The cast alloy base plate has been wet blasted with the gearshift bushes replaced.img_0119

img_0120

Replated Gear shift Links.

img_0121

Air cleaner body has been straightened out and repainted. 

img_0122

The steering Wheel needs restoration as it is full of cracks. plus the plugs for the Center cap are broken. these will be replaced. 

img_0125


mercedes 220S convertible project

Mercedes 220S Convertible project .

Mercedes 220SE restoration pt 7

Wiring Loom Restoration begins :img_0103-2

The Loom is stretched out on a panel so all parts can be examined. So far the obvious problem area are where odd wiring has been added to accommodate a radio..

img_0102-2

The little silver box in the above picture is a pair of switches for an added on wash/wipe system. img_0108

Head light plugs and horn wires ,all covered in paint sometime in the past. img_0106img_0107

Firewall Plug , Loom covering has been removed and covered loosely in tape in the past .

img_0109

Firewall plug on Drivers side with ignition switch and light switch Again loom covering is badly damaged..

Mercedes W111 Bonnet/hood part#A1118805657 For sale.

New Old Stock Mercedes  low Grille Coupe Bonnet . NLA from Daimler AG. Marks in black coating from storage .No Rust. Offers invited.

img_0097img_0098img_0096img_0102img_0103img_0104