Category Archives: Uncategorized

Mercedes Benz 220SE restoration part 14

One of the really important parts of an SE is the Fuel tank and on this particular car it has a very unique fuel tank.   Inside the tank there is normal swirl pot, but instead of the plastic one found in these normally,it has a sheet metal one,and this is going to make cleaning this tank a bit more difficult than normal .  IMG_0147 (2)

The patches on top of the tank are pieces of belting someone has glued on in the past in lieu of the correct stuff.

Another difference on this tank is the way the fuel hoses are connected, being screwed into the tank instead of being slipped over nipples.

IMG_0141

in the bottom of the Swirl pot is one of these things, a fuel filter, these are available new ,which is good as they are often blocked up .

IMG_0146

A handy device is one of these to look inside the tank and check for bad rust before cutting it open .

IMG_0149

This car also has the early style large pump which lays on it’s side .Note the totally incorrect hose fitted. a fire waiting to happen!.

IMG_0150

The hose looks to be the original hose,almost 60 years old!!!! and ‘fixed’ by wrapping some insulation tape around it.


Mercedes W111, W112 .W109 and W108 Fuel Tank overhauls

IMG_0130

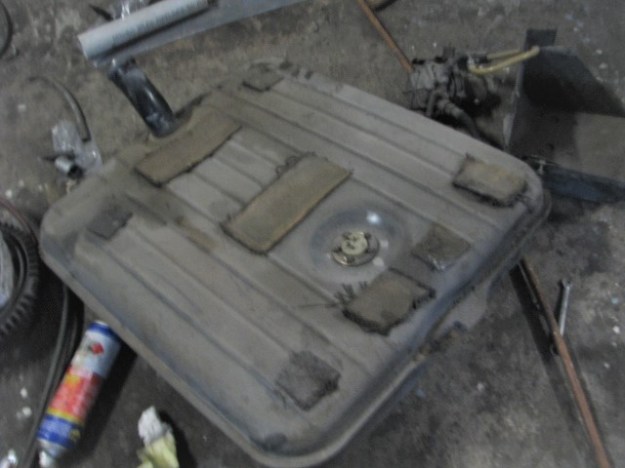
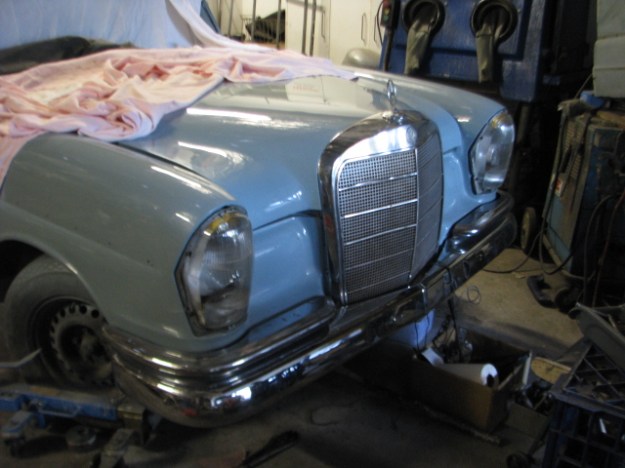
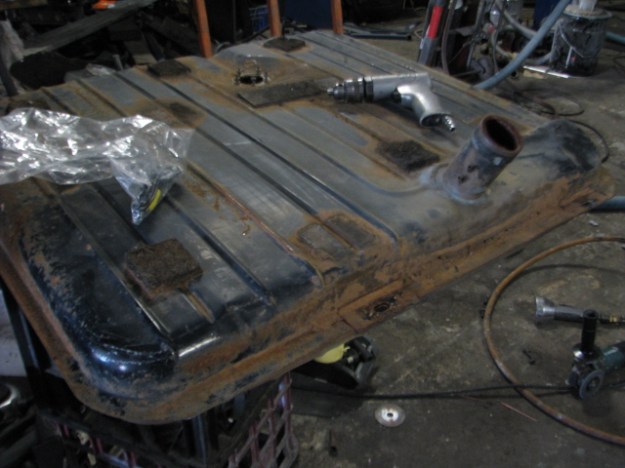
 All Cars coming to me have often been under used and as a result suffer from the effects of today’s fuel which not only attacks the old style fuel hose but also attracts moisture ,which in turn destroys the inside of the tank. Following is what it takes to get a tank back into service. This is a tank is a W108 item from a W112 300SE which ,because new ones are too expensive and good used ones are rare now ,will be cleaned .It has been sitting for over 20 years with the toxic remains of fuel in it . The basic tank is almost rust free, so the first step is too…

IMG_0135

…Cut an access hole above the internal swirl pot . 

IMG_0143

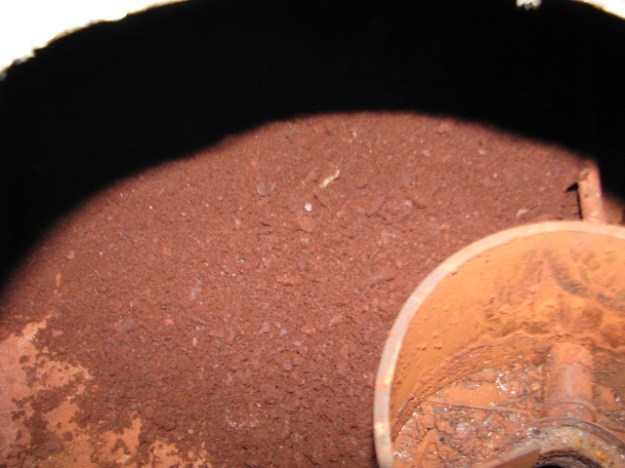
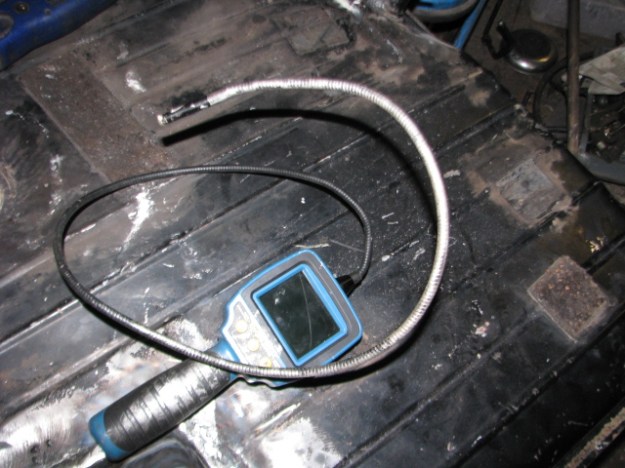
Looking inside ,a pile of the solidified remnants of the fuel. The smell alone is probably dangerous so every effort is made to avoid contacting this stuff.

IMG_0142

IMG_0140

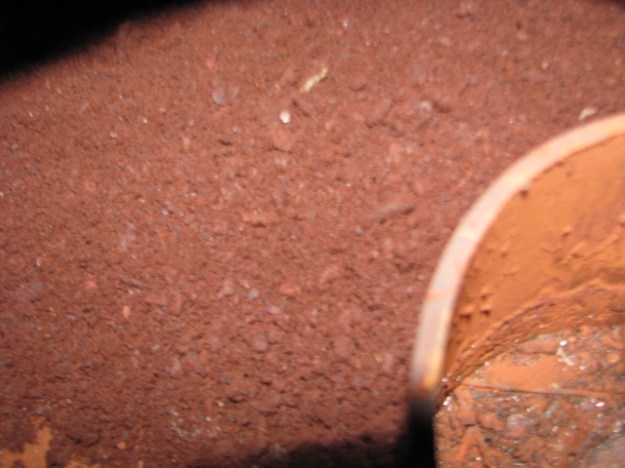
inside the Swirl pot ,it’s even worse where the stuff had collected .

IMG_0139

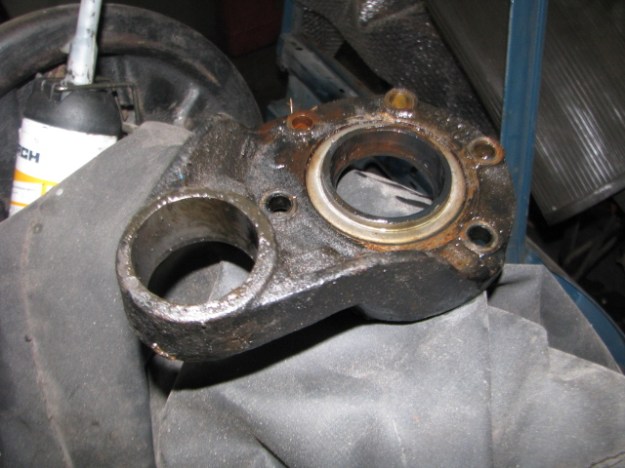
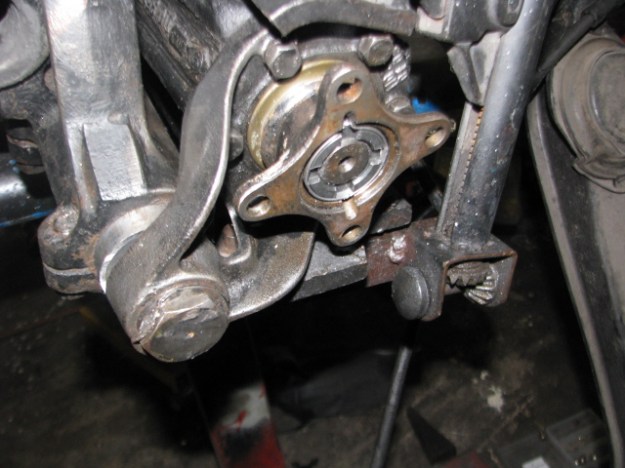
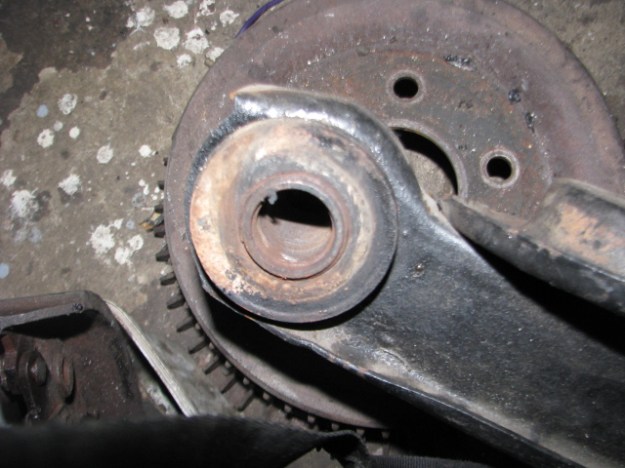
The Swirl pot is held in place by three metal tabs bent over .These are carefully bent up to release the swirl pot so it can be removed .

IMG_0145

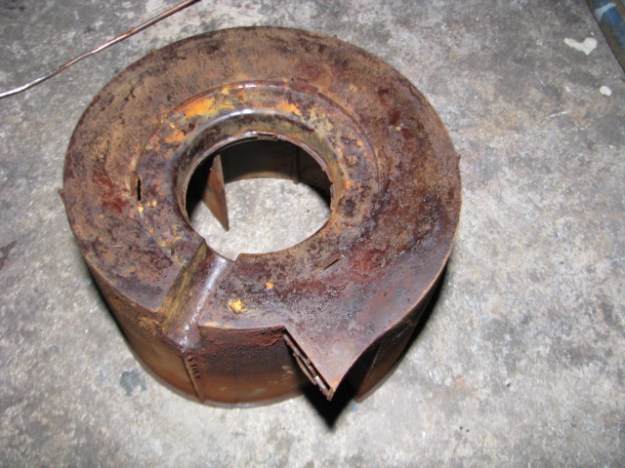
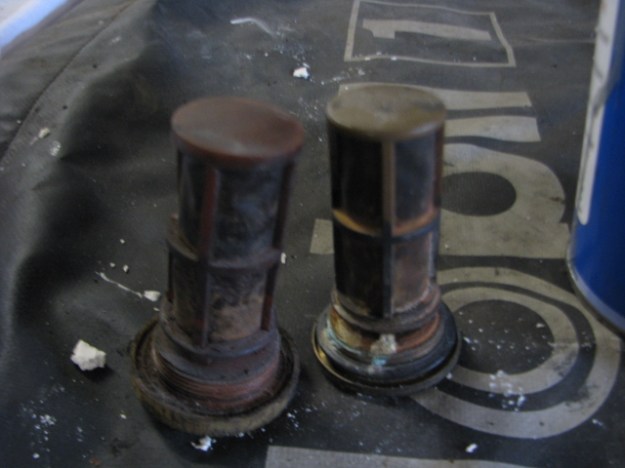
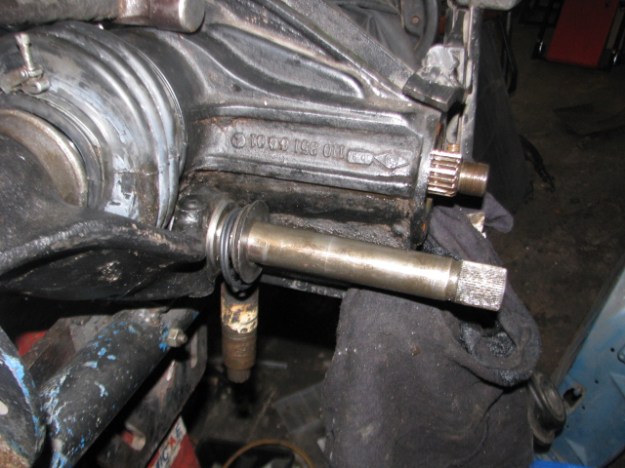
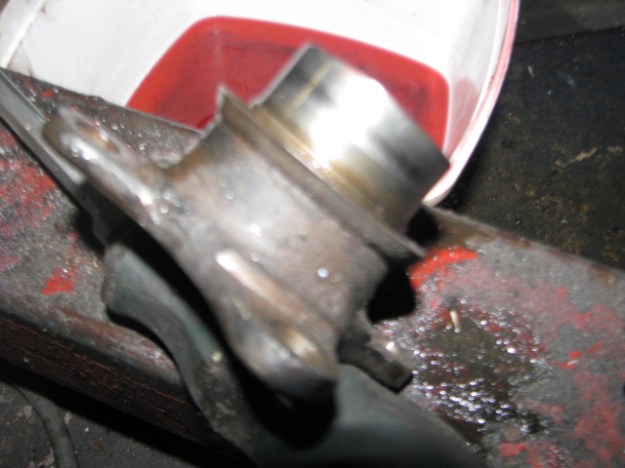
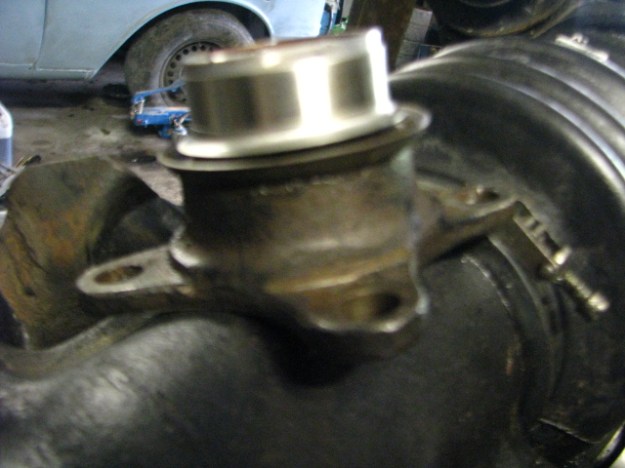
The swirl pots bottom looks like this. The piece on the lower part in picture is the venturi where fuel from the main cavity of the tank enters and is drawn in by hot fuel coming back from the engine.

IMG_0146

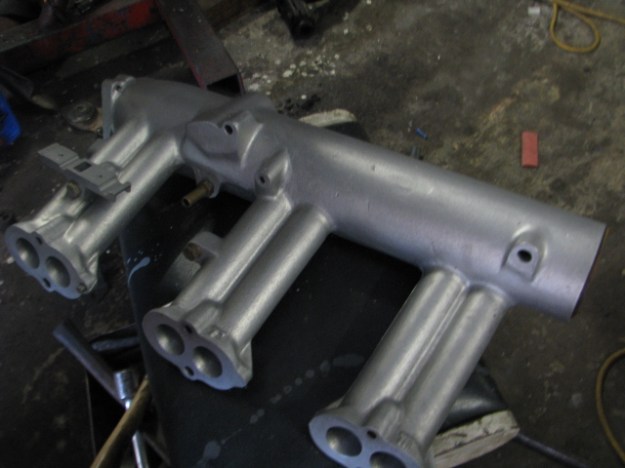
The swirl pot will be thoroughly cleaned in the wet blaster . Fuel is fed to the engine through a filter mounted in the center of the swirl pot . A large pipe is routed to the pump outside the tank. A smaller line feeds hot fuel from the engine to the swirl pot ,making it swirl around the outside diameter of the inside surface of the pot,eliminating bubbles of fuel gas and cooling the fuel.

IMG_0134

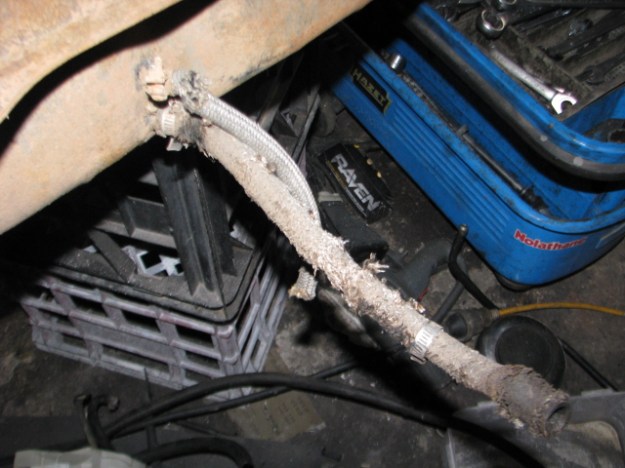
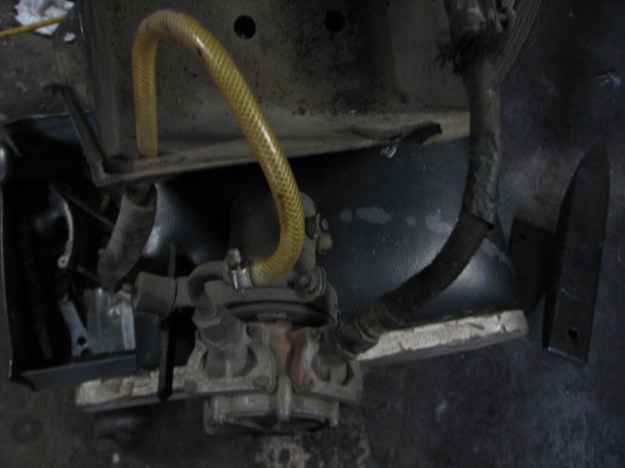
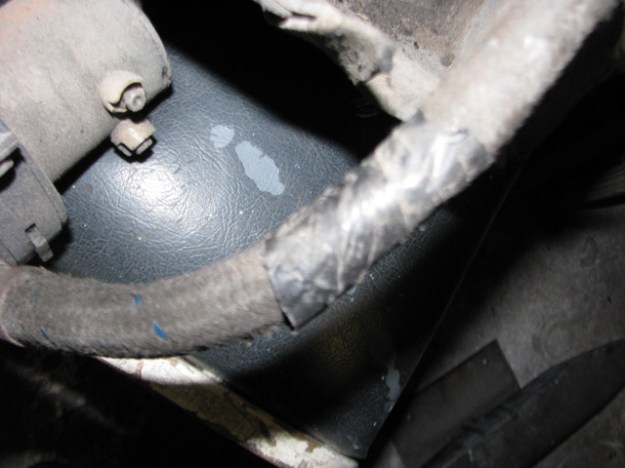
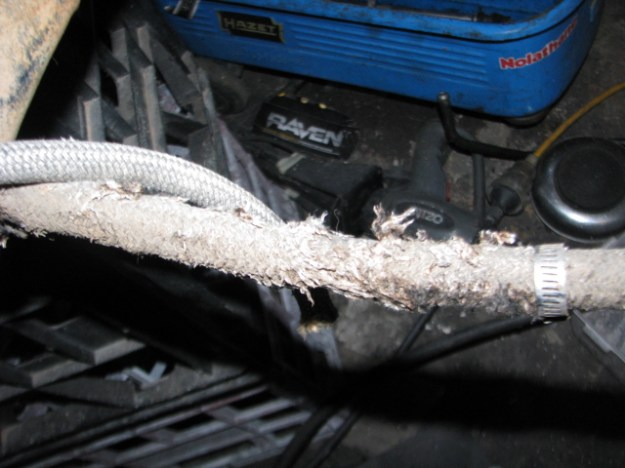
The original fuel lines on the tanks were of course rotten and it’s always a part of recommissioning these cars to replace these hoses.

IMG_0133

IMG_0148

This tank had the usual blocked pipes ,a common problem ,even on cars which are driven regularly .To prevent this, a dose of 1 liter of ATF (Dex III)  per 100 liters of fuel keeps these pipes in good condition and on MFi equipped engines,keeps the pumps and injectors in good condition.

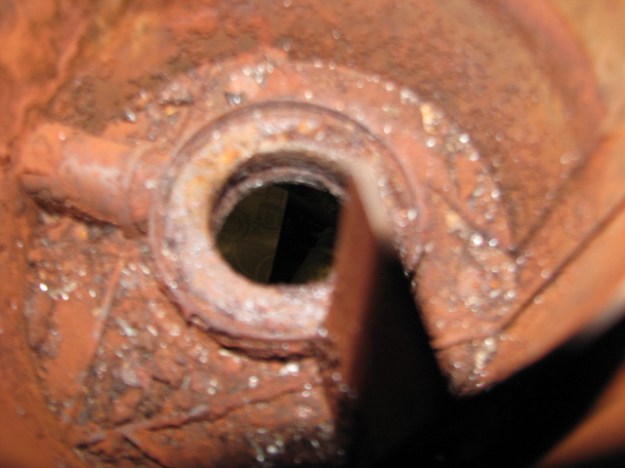
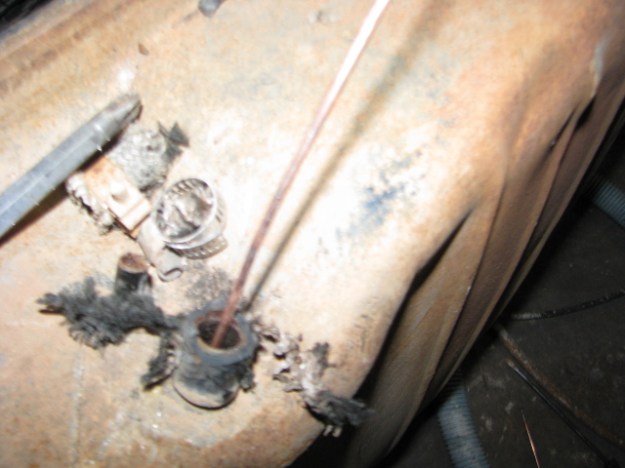
Here,I am poking a piece of TiG welding wire into the feed pipe to clear the congealed fuel residue out .

IMG_0151

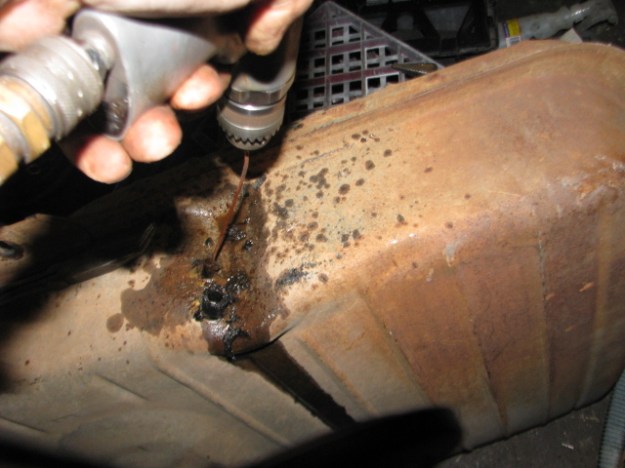
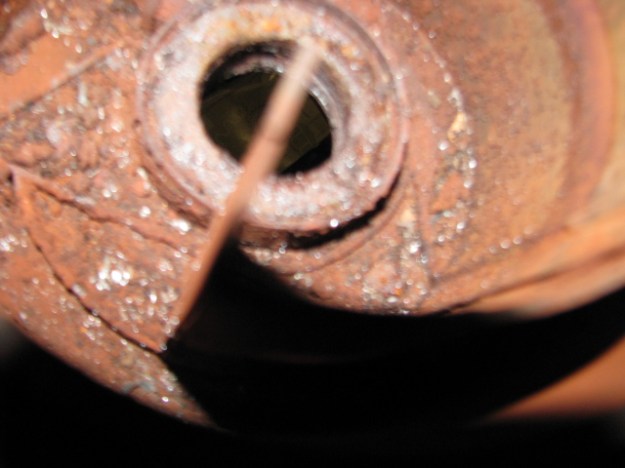
Sticking a piece of wire into the pipes to clear them will Not move the deposits So here I am using a Small Drill to twist the wire while feeding it into the pipe. This breaks the deposits up clearing the pipe which is then cleaned out with a wire brush .IMG_0150

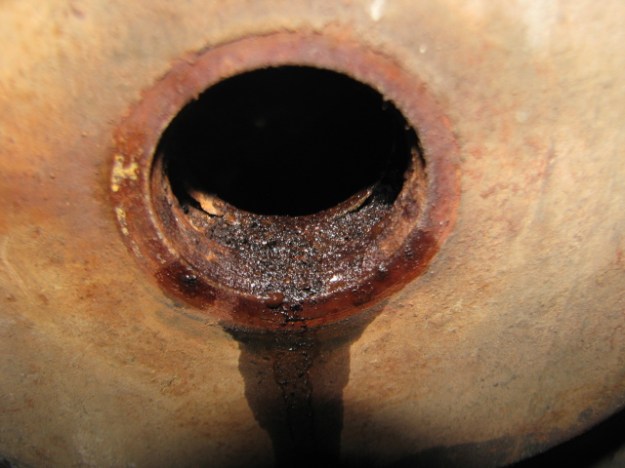
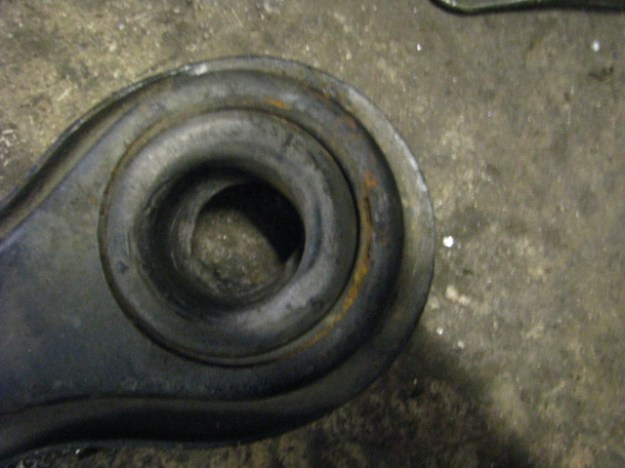
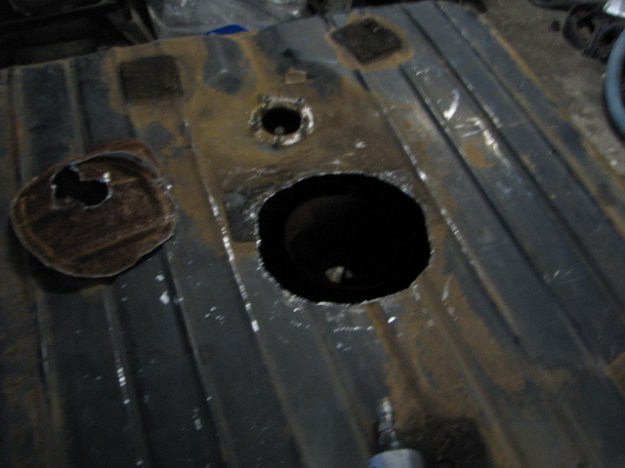
This is the Filter hole in the bottom of the tank showing just some of the deposits forced out of the main feed tube by the drill driven wire. i use a bit of 50/50 penetrating fluid (50% brake fluid,50% acetone) to lube the wire and assist it to get the stuff to move. 

Next move is to scrub the inside of the tank to remove all of the deposits stuck to the inside of the tank ,replace the cleaned Swirl pot and weld the hole back up. The tanks are then sealed with a tank sealer to prevent rust and protect the tank against today’s fuel .


To be continued…..


Mercedes Benz 220SE restoration part 13

IMG_0132

Speedo/instrument cluster completely restored with instruments calibrated , tested  and bezel rechromed .

Mercedes 300SE lang reassembly..

IMG_0135

Parts are being cleaned and refitted ,Original style headlights have been fitted after being stripped and made sure everything is working as it should be.

IMG_0133

Tailights are being overhauled and refitted along with the rear bumper

IMG_0130

IMG_0134

Boot has been repainted in Dark grey (looks black)   .

Mercedes 300SE Lang .

More progress over the last two weeks as the 300SE Lang is polished and a few flaws in the paint corrected .


Caarbs are connected now with the restored fuel lines and the linkages overhauled .

450EBAY 035

Mercedes 220 SE restoration part 12

IMG_0116

The rear Axle is now painted and ready for the Torque Arms which will be fitted with new bushes and torque arm bushes.

IMG_0117

The Steering Wheel is badly cracked so an attempt is being made to restore it using a patent epoxy type resin .As this is an early style rim there is no opportunity to replace it with a better one or even a new one .  

1954 Mercedes Benz M189 Engine repairs

IMG_0111

Some time ago I rebuilt this engine but during the running in process it had a rattle, which would only come at a particular rev range ,but was otherwise smooth. Once the sump was off ,the bottom of the oil pan was inspected and odd tiny peices of metal which looked like bearing metal . The rod caps were removed and the bearing,although not completely destroyed are scuffed really badly.  Why? 

IMG_0112

My initial thoughts were to pull the oil pump off as this is an obvious oil supply problem .Although the pump was inspected atc when the engine was rebuilt I decided to strip it right down and two things popped right out . First, the round wear mark in the pump shaft housing . and that square hole . It’s actually a fault in the pump housing as far as i can figure .It would appear that this hole has allowed the oil ,once hot to lose a fair amount of the pump vacuum as it sucks the oil up from the sump . So,once the car got up to temperature and at highway speeds the oil volume would fall away although the gauge would still be indicating full pressure at engine speeds above idle speed. 

Next step will be to replace the oil pump and bearings and inspect the oil pressure relief valve ,then reassemble the engine and install it back into the car.


Mercedes 220SE restoration part11

The flex joint bellows on the rear axle have been replaced with a new genuine part. The homokinetic  was examined and found to be in good condition . 

IMG_0129

This is the center rear axle pivot pin. the bushes were examined and found to be in good condition .

IMG_0130

The pinion seal was replaced as a matter of course .

IMG_0131

After 60 years of use ,the pinion flange was showing significant ware …

IMG_0143

The wear is repaired by the use of a SKF ‘speedy sleeve’ which is loctited in place,giving another 60 years of working life. 

IMG_0137

Given that the pinion seal and flexboot were leaking badly, the oil had contaminated the center pivot bush so this was replaced with a new item .

IMG_0149

With the Axle and housing, center pivot and pinion flange refitted with a new nut etc , the axle will now be prepared for painting .IMG_0145

Front torque arm bushes will replacing  as will…

IMG_0148

…the rear torque arm bushes which are simply cracked and hardened from the ravages of old age. .


mercedes 220SE restoration part 11

IMG_0112

Intake Manifold has been wet blasted and now looks like new .