A series of videos featuring an impressive restoration of a W100 Pullman .
600 Restoration
Leave a reply

A series of videos featuring an impressive restoration of a W100 Pullman .
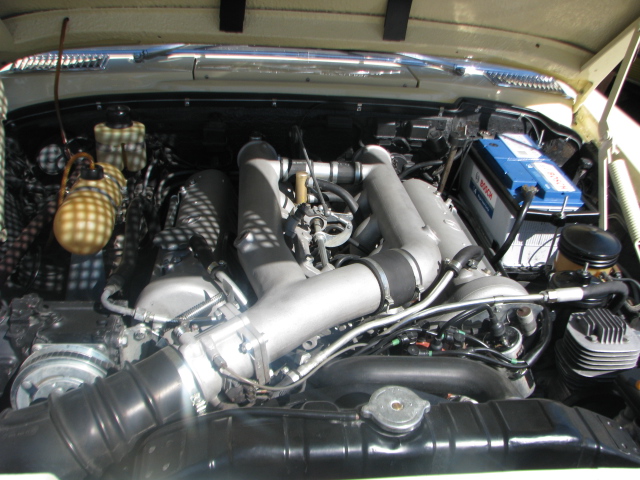
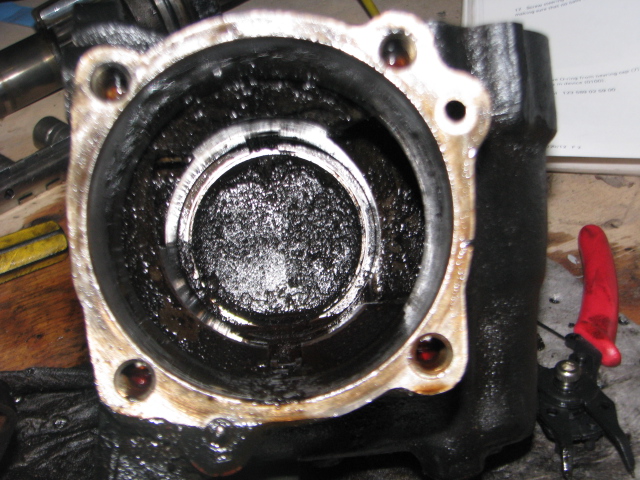
Although I’m not doing any actual work on this engine,I have been asked to give the cases a clean up.
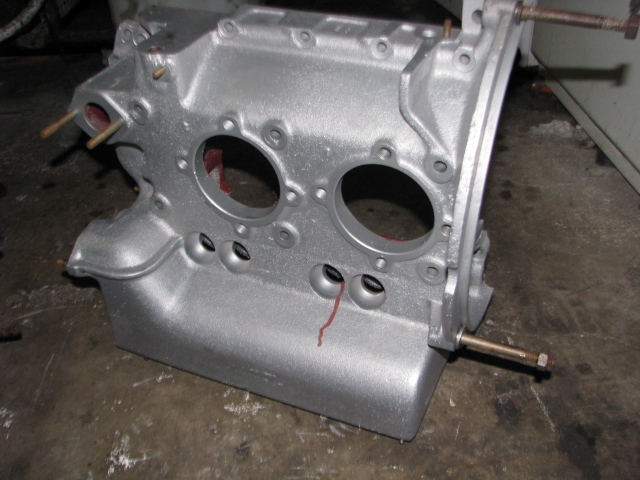
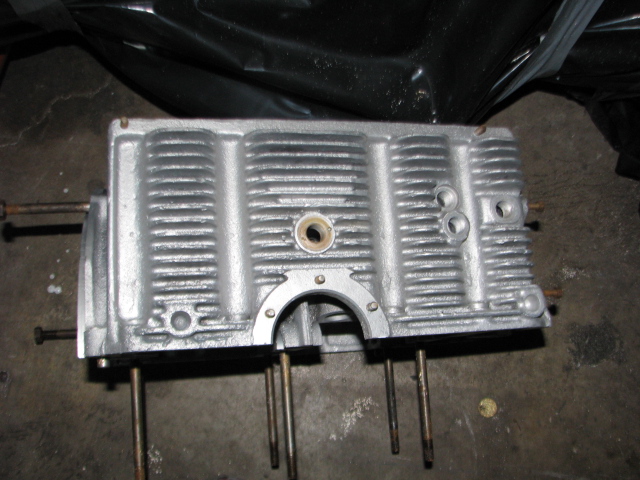
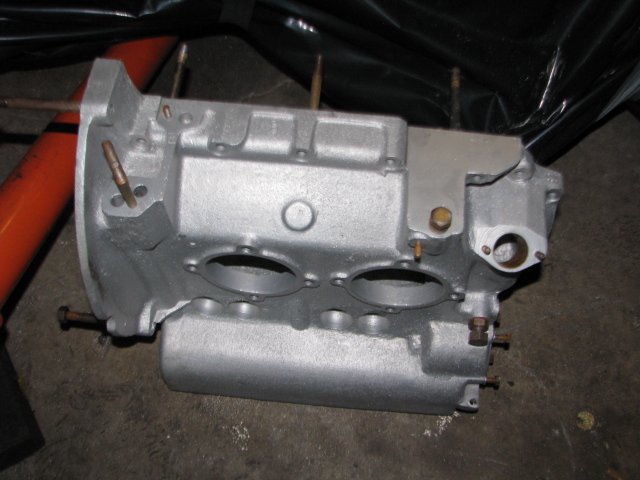
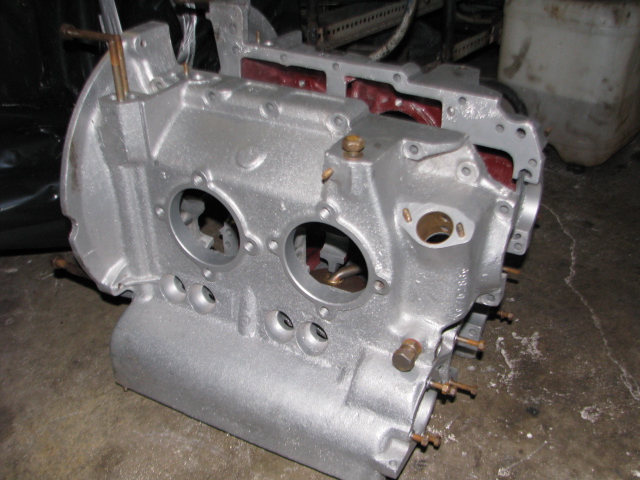
As can be seen ,it’s just like a Giant Volkswagon beetle engine. 🙂
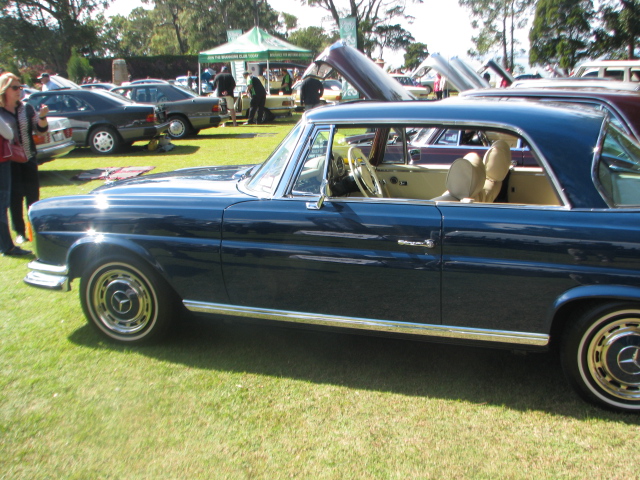
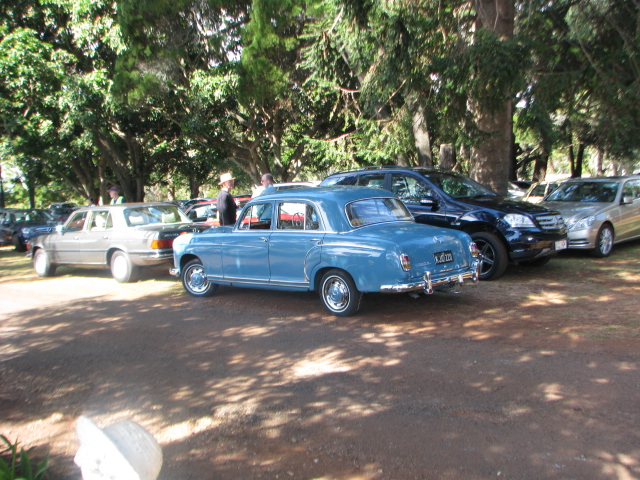
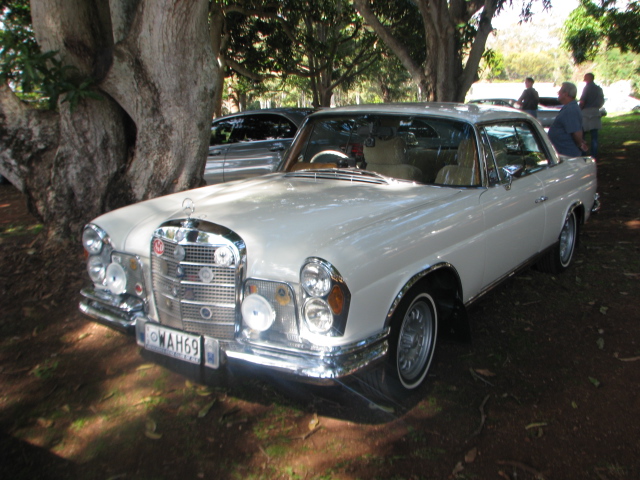
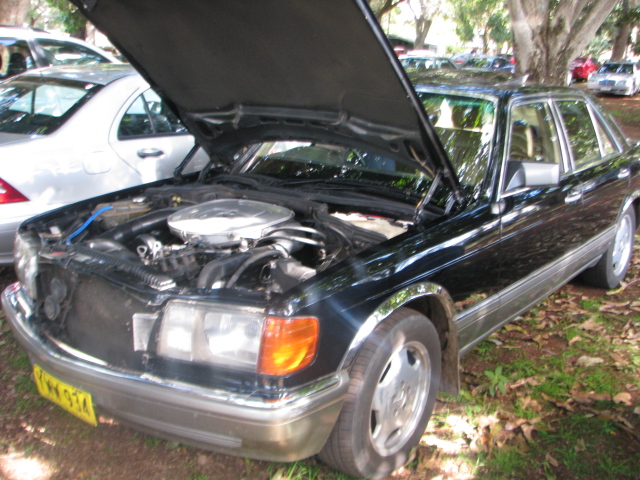
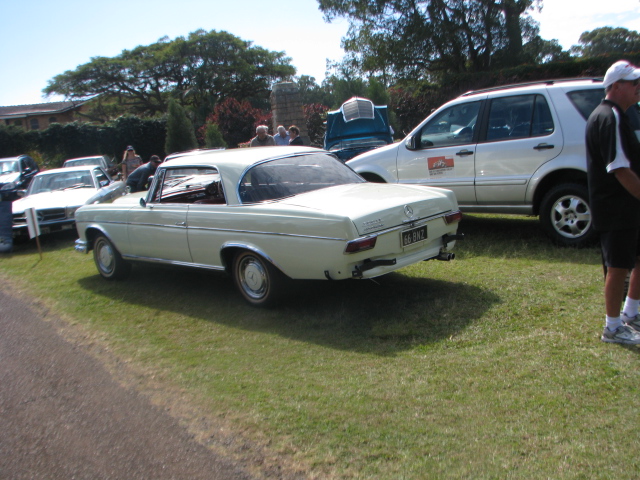
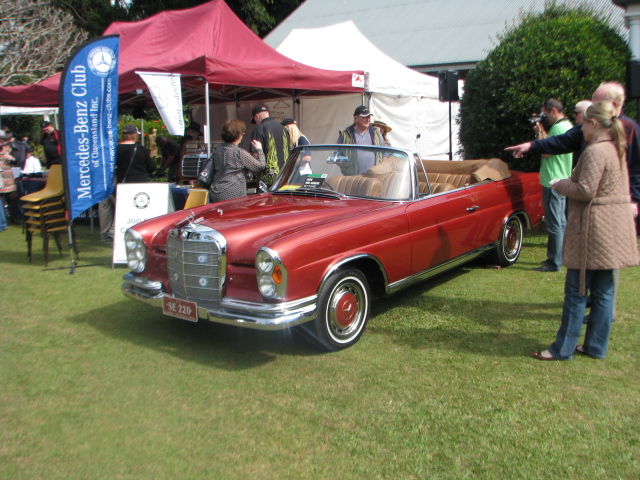
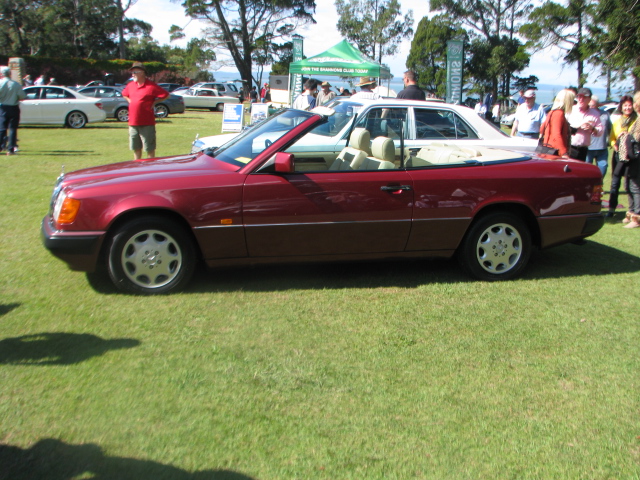
9th August 2015 at Ormiston House Wellington Point ,Queensland. Amazingly beautiful weather saw a large number of both entrants and visitors take in the sight of some of Queensland’s loveliest Mercedes paraded on the lawns of Historic Ormiston House.


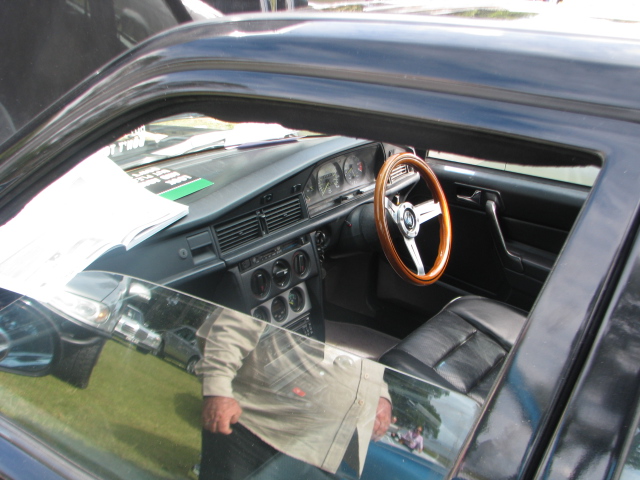


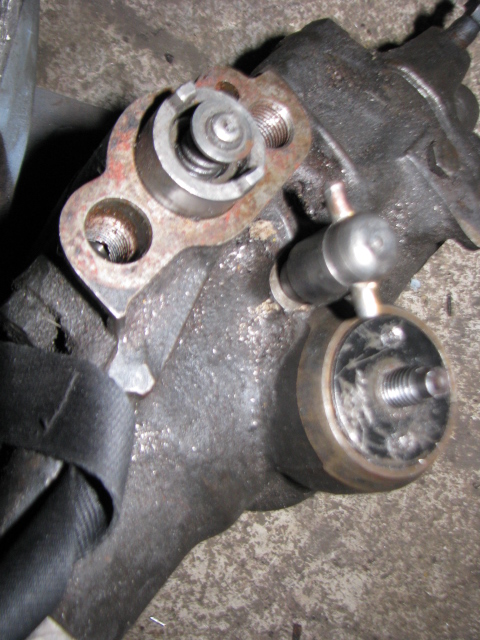
A customer has bought in his early 380SEC to replace all the front suspension joints and reseal the steering box.
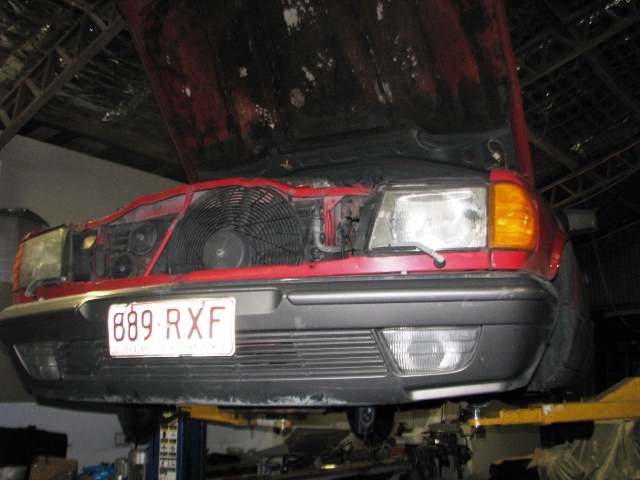
Replacing the rubber parts in the front end is very straight forward ,even the brake support mounts which get damaged by engine oil and steering box fluid dripping onto them
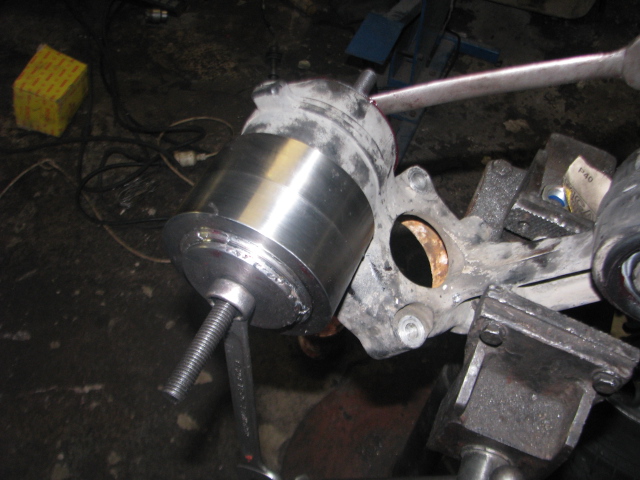
Above is the puller I used to extract the old rubber mount and then ,reversed to force the new bush into place. It takes about 5 minutes to remove the old one and fit the replacement .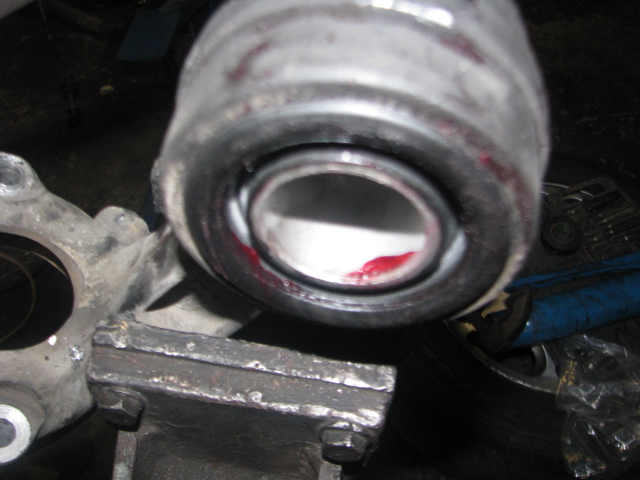


There are two different bushes on each side and they must be checked to ensure the metal piece is level with edge of the housing.


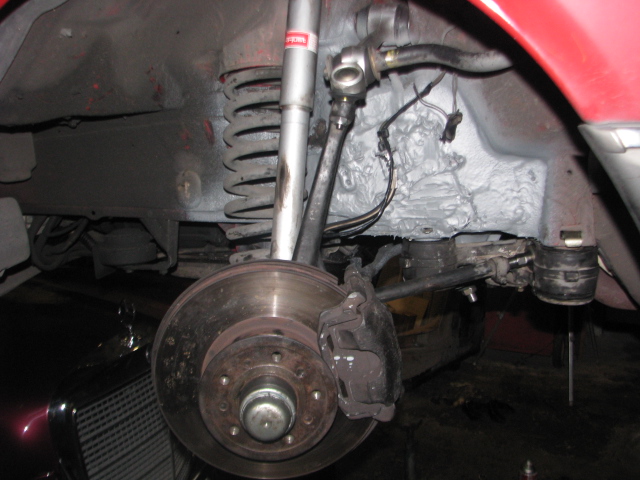
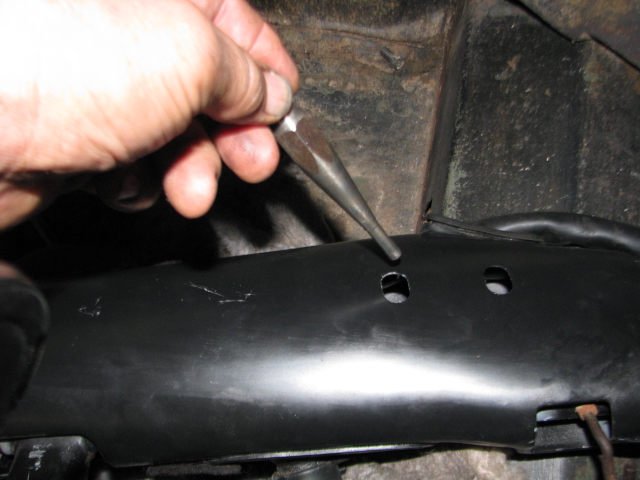
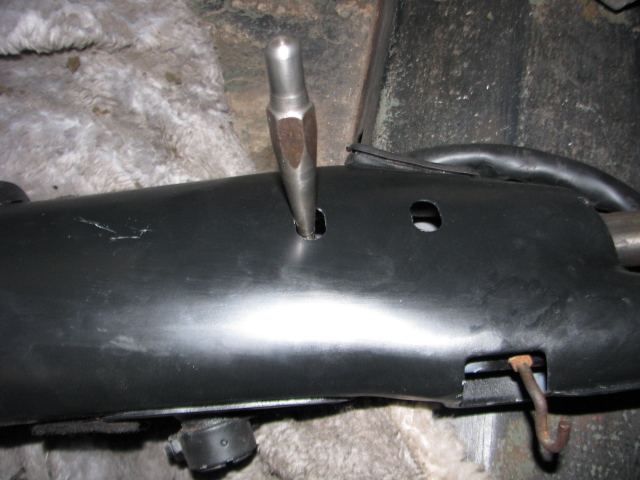
But when i went to change the passenger side components i noticed that the whole assembly seemed to move . The forward mounting had broken free from the chassis.


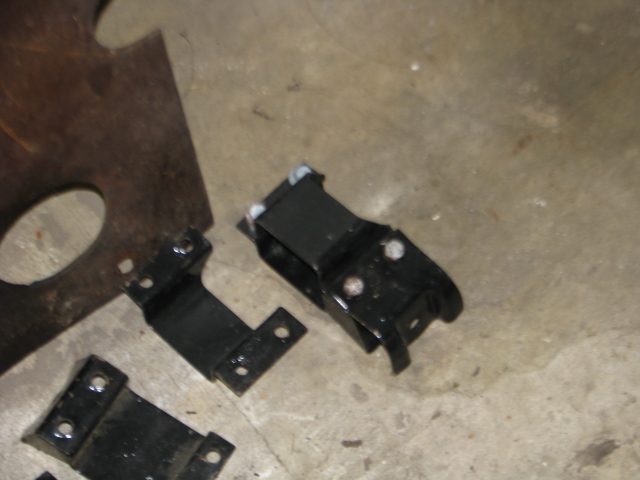
The part had to be cleaned up ,along with the chassis rail then welded back together again.
The PVC underseal was rmoved and then painted with Etch primer,primer and a finish coat .Followed by a coating of PVC undercoat to protect the paint.
Next job was to drop the steering box out and strip it down..

The inside of the steering box full,with what can only be described as Mud…. lots of black oily mud which can be seen in the left hand pic ,all that black stuff is dirt .. A good reason to flush the hoses,lines and steering pump before the steering box is refitted.
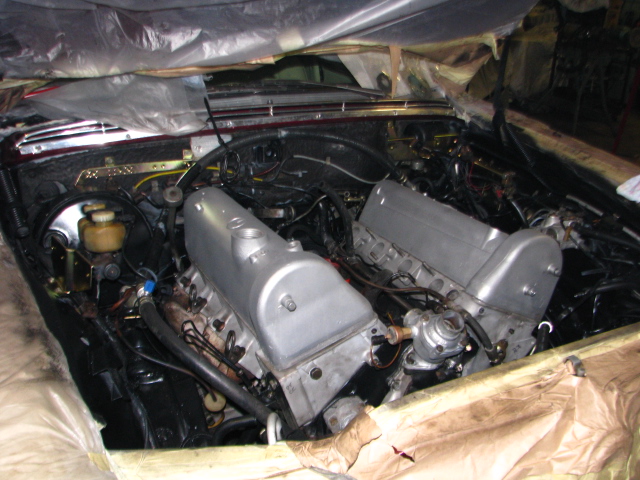
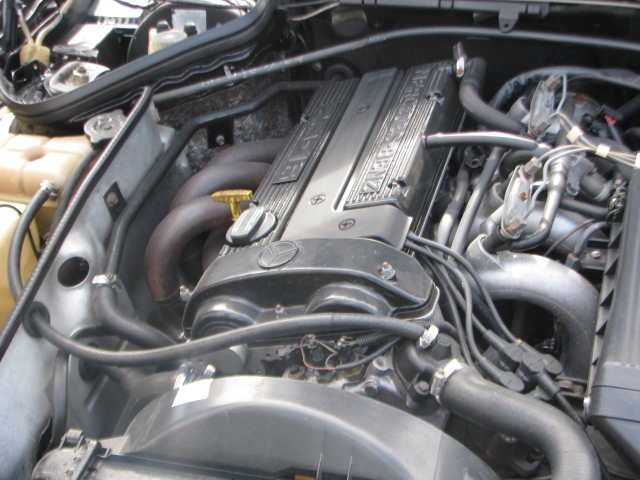
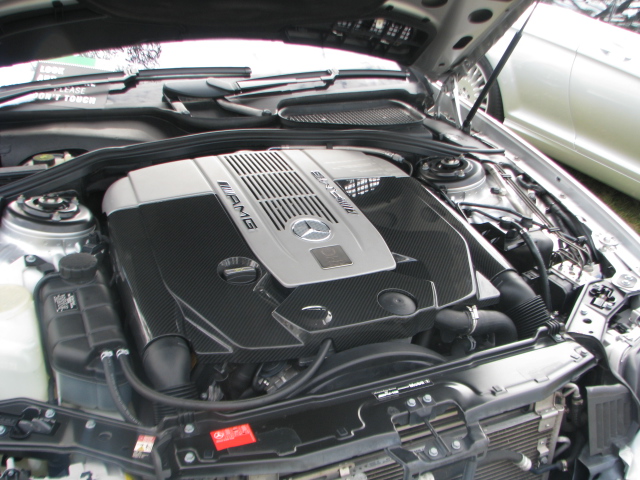
So far the oil cooler line has been repaired,the cam covers wet blasted ,the therrmo fitted and the right hand exhaust manifold fitted to the engine. The engine is now waiting ofr a new thermo time switches and the new left hand exhaust manifold to arrive. The original manifold was too badly damaged to repair owning to a gasket leak in the past. The repainted booster and the replated brackets are now in . The engine bay is filling up fast!.
 occasionally refitting the heavy steering box into a Mercedes W111,112,113,108 or 109 requires a lot of time wasting wrestling to get the box sitting correctly .And that means ensuring the steering box,the column and steering linkage is all in sync. if it’s not ,strange things happen. .The steering will feel light and vague,the indicators will either turn off too soon or not at all and so on.
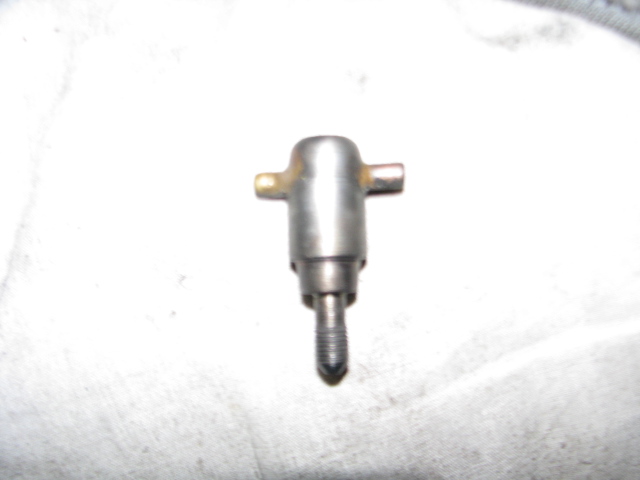
So,this brings me to the little tool i made today . it screws into a special hole in the power steering box and holds it in the dead ahead position. 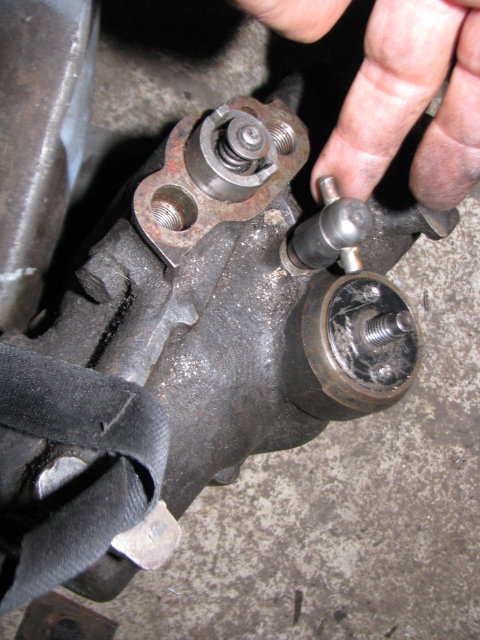 Turning a M8x1 thread in a 400mm swing lathe is an odd exercise….
That’s only part of it. The column must be locked too,to enable the column to also sync properly with the steering box ,again so the indicators turn off at the correct time.
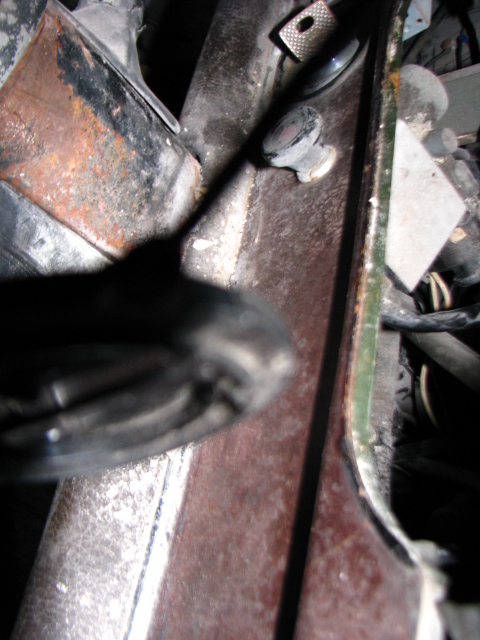
This is a steering column (upside down) .The thing I am holding is a lock pin which fits into a special hole in the steering shaft and prevents it moving while it is being installed.
Every now and then I find stuff I never knew I had so I have and one example is a sump protection plate. for any W111 Chassis Mercedes. .
 i even have the front brackets which are damn rare.
And…It may be sold already.
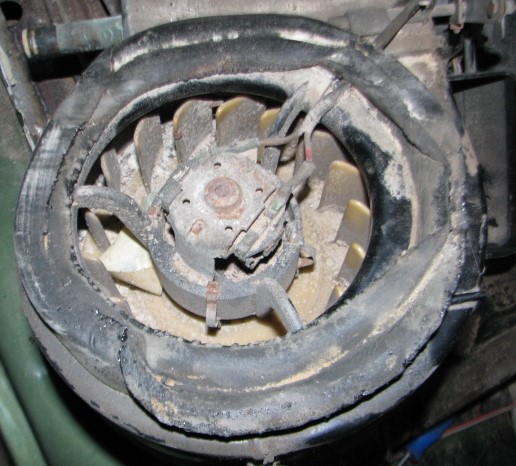

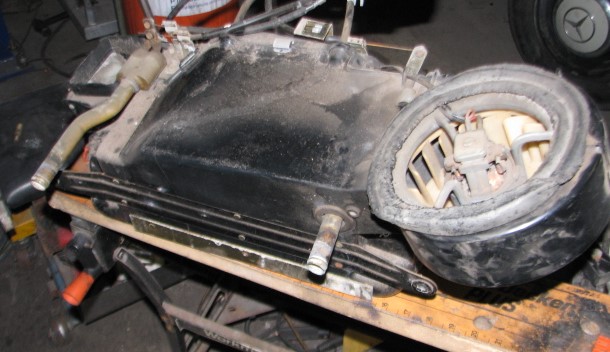

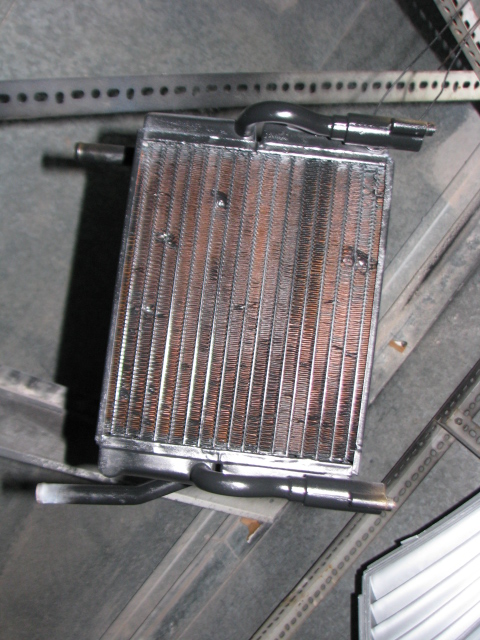
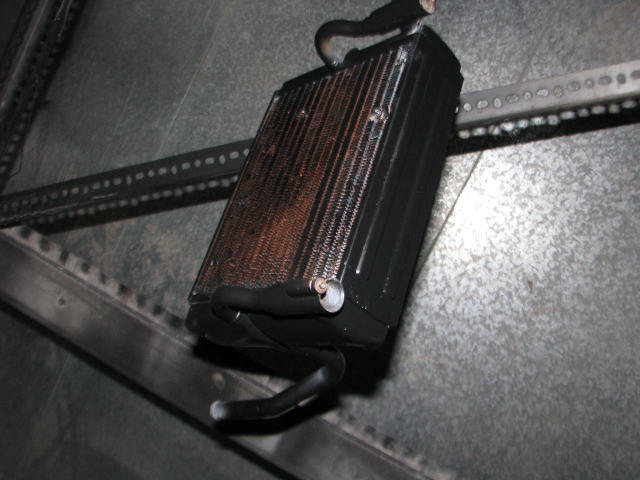
The heater’s motor was seized up from a dose of BiCarb of soda so the only option was to tear it apart and rebuild it. Even the gasket betwen the heater and the body was perished but as can be seen and i have seen this on all heaters,the gasket was never fitted properly,resulting in a turned down lip.
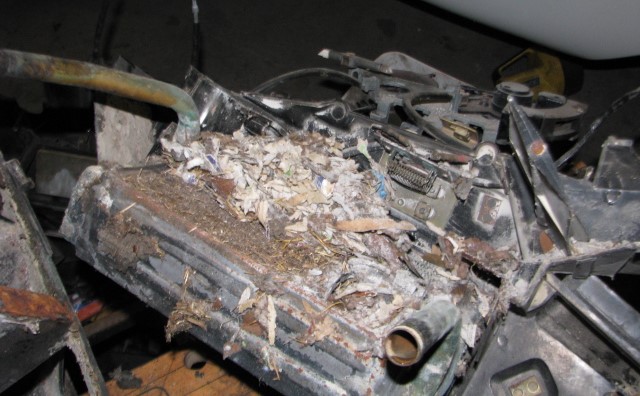
The rat nest didn’t help air circulation
.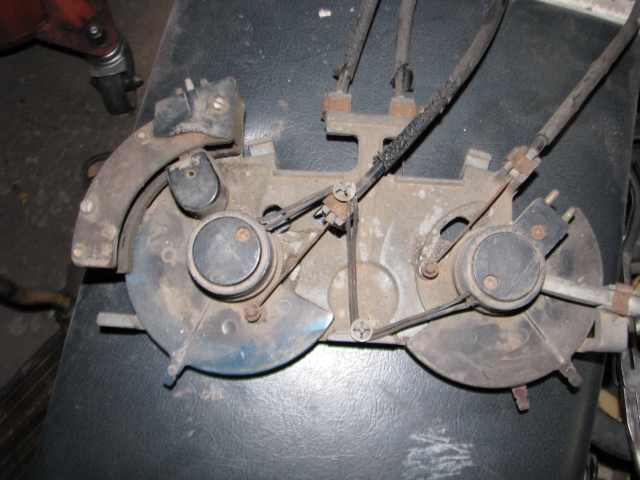 Control levers were [pretty dirty.

 Heater matrix has was blocked with more bi carb….
 Rubber seals were rotten too..
 black heater paint looks grey in these pictures.
Controls were stripped , bulbs changed, everything cleaned and reassembled. Should look nice in the dash, eventually.
b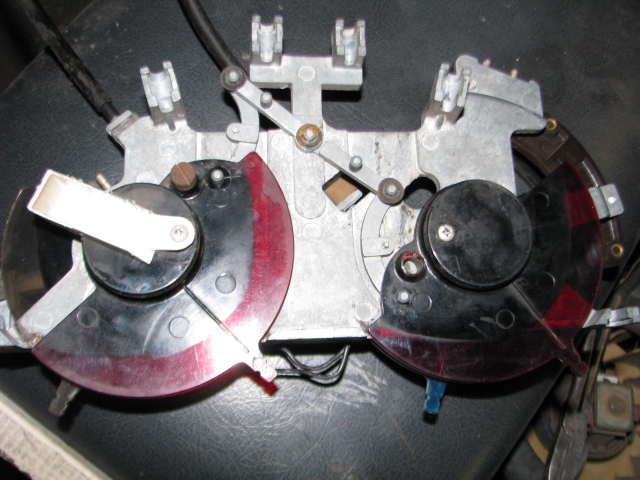

At first,I thought there was a lot of body filler dust in this car after it came from the paint shop. But it turned out to be a lot of bicarbonate of sod,used to blast the old paint off. This my 2nd least favourite method of paint stripping as it leaves residue in nooks and cranny’s .Another thing it does it corrodes the wiring inside the insulation . This is the 2nd Mercedes i have worked on with this problem . A humid day and the electrics of a car cease working as verdi gris builds up on the pins in the various plugs. 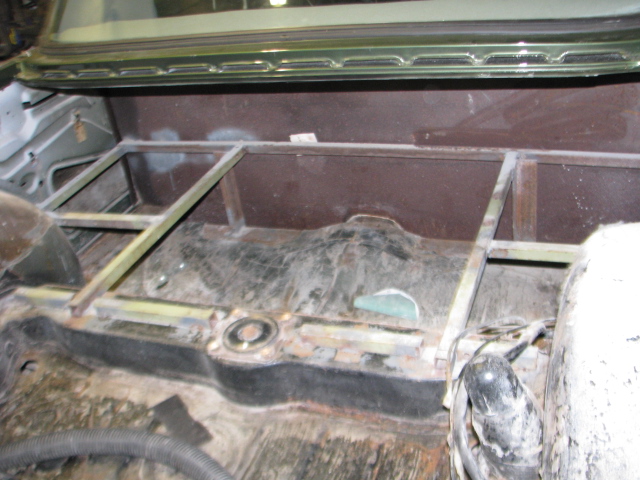 Inside the rear area after the first attempt at cleaning the BiCarb out .Note the unpainted rear panel
…..Making a start at cleaning up the interior,eventually it all has to come out to get rid of all traces of the damned BiCarb.

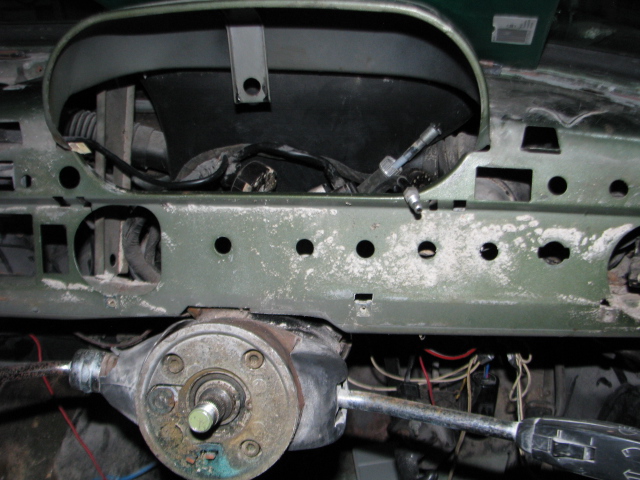
Note the condition of the wood dash now. it will all have to come out to be repaired.
 Close up of the dash ,rust on the steering wheel boss is caused by the soda . All stuff under the dash is going to be removed to clean up the rust.
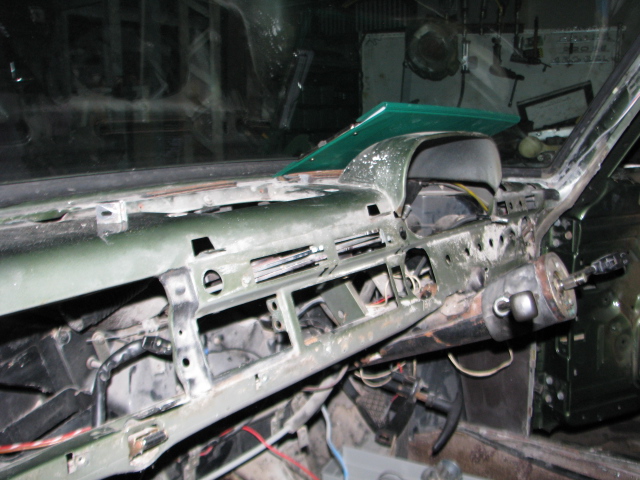 With the wheel and instruments out the extent of the intrusion of this stuff can be seen more clearly.
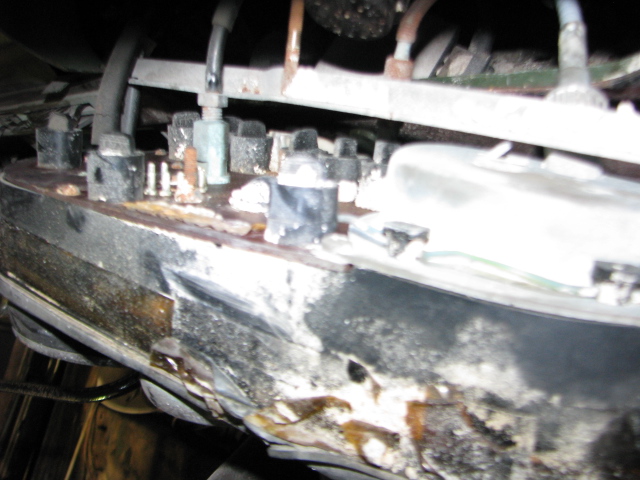 Back of the instrument cluster . The whole cluster will need to come apart to get rid of the soda that has gotten inside .
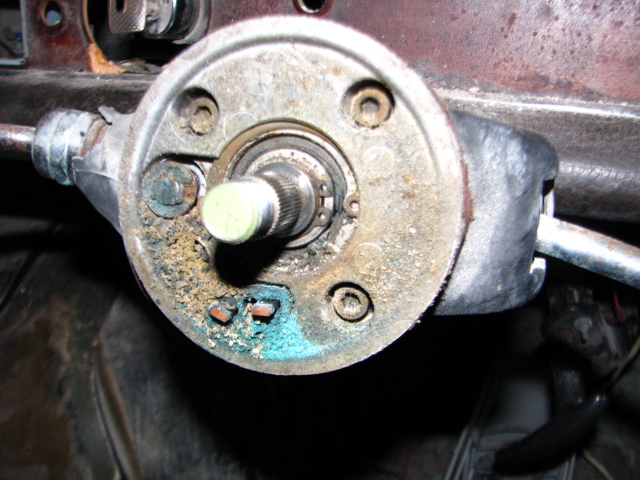 it even got inside the steering column where it has eaten out the horn contacts..The gear lever and indicator stalk have gotten rusty too.
 This is the INSIDE of the crash ad on the lower part of the dash . it was full of Soda.
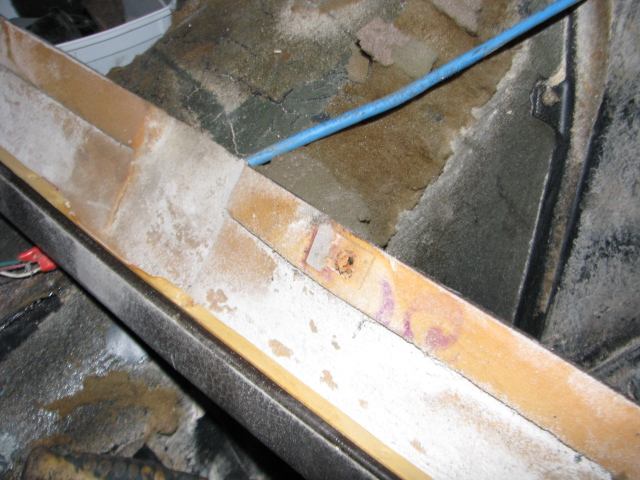
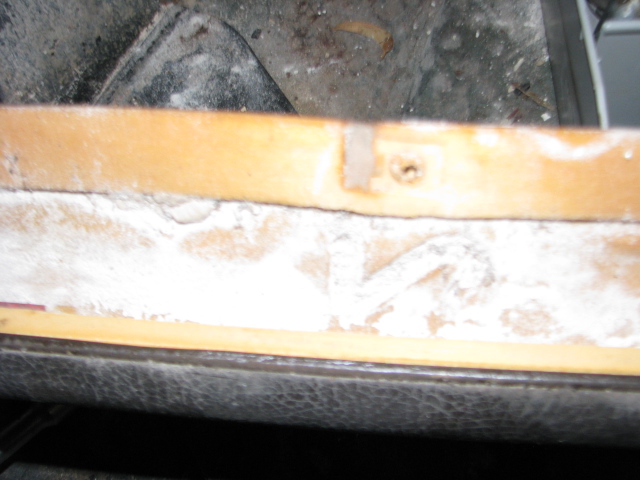
Imagine this stuff coming outr of the dash as the car was driving along!!.
 With the damaged wood removed the soda was even bwetween the dash frame and the wood!.
Look at all that shit everywhere under the covering!.
Now for the really serious stuff .
This is the heater motor, Locked solid and corroded inside because of the soda . The air con motor is in the same statre with soda all through the heater and it’s ducting.
All of the dash switches will have to come apart now to make sure they are going to work correctly
