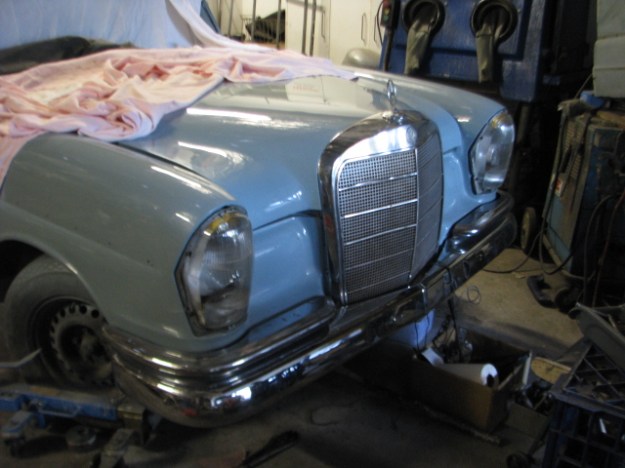
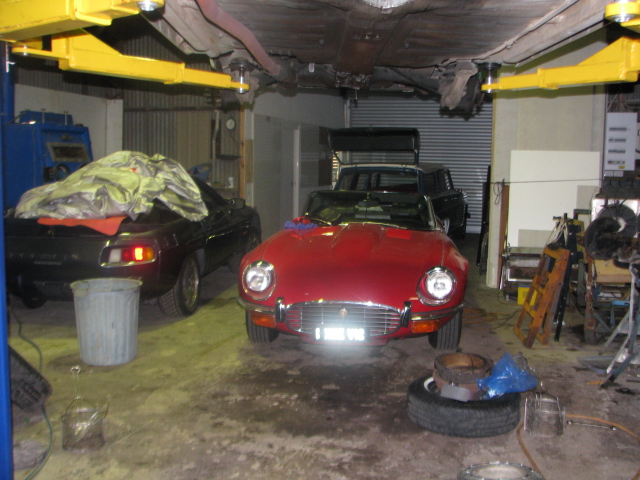
i have had this red beauty in the shop for a few weeks now after it was delivered as a non runner.
Although in very nice condition it was a dead as a door knob .
First job was to charge the battery,then turn on the ignition and see what was what…
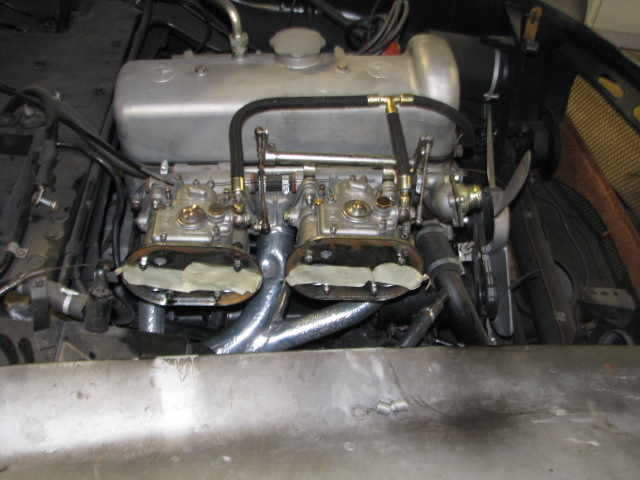
OK,petrol was pumping…sort of …but the carbs,all six of them were pouring petrol into the valley. Into the valley where the distributor in all it’s sparky glory lives..
I took a punt to see if it would turn over and possibly start ( I will not use the words”fire up”) .
Nope…nothing
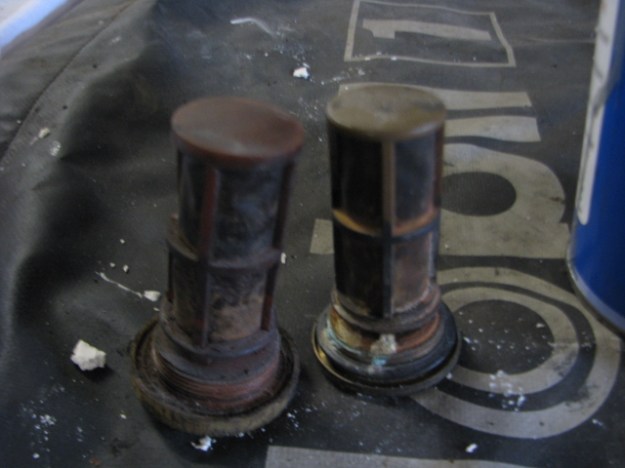
so out came the plugs. NGK BP5’s …very hot but very fouled up too.
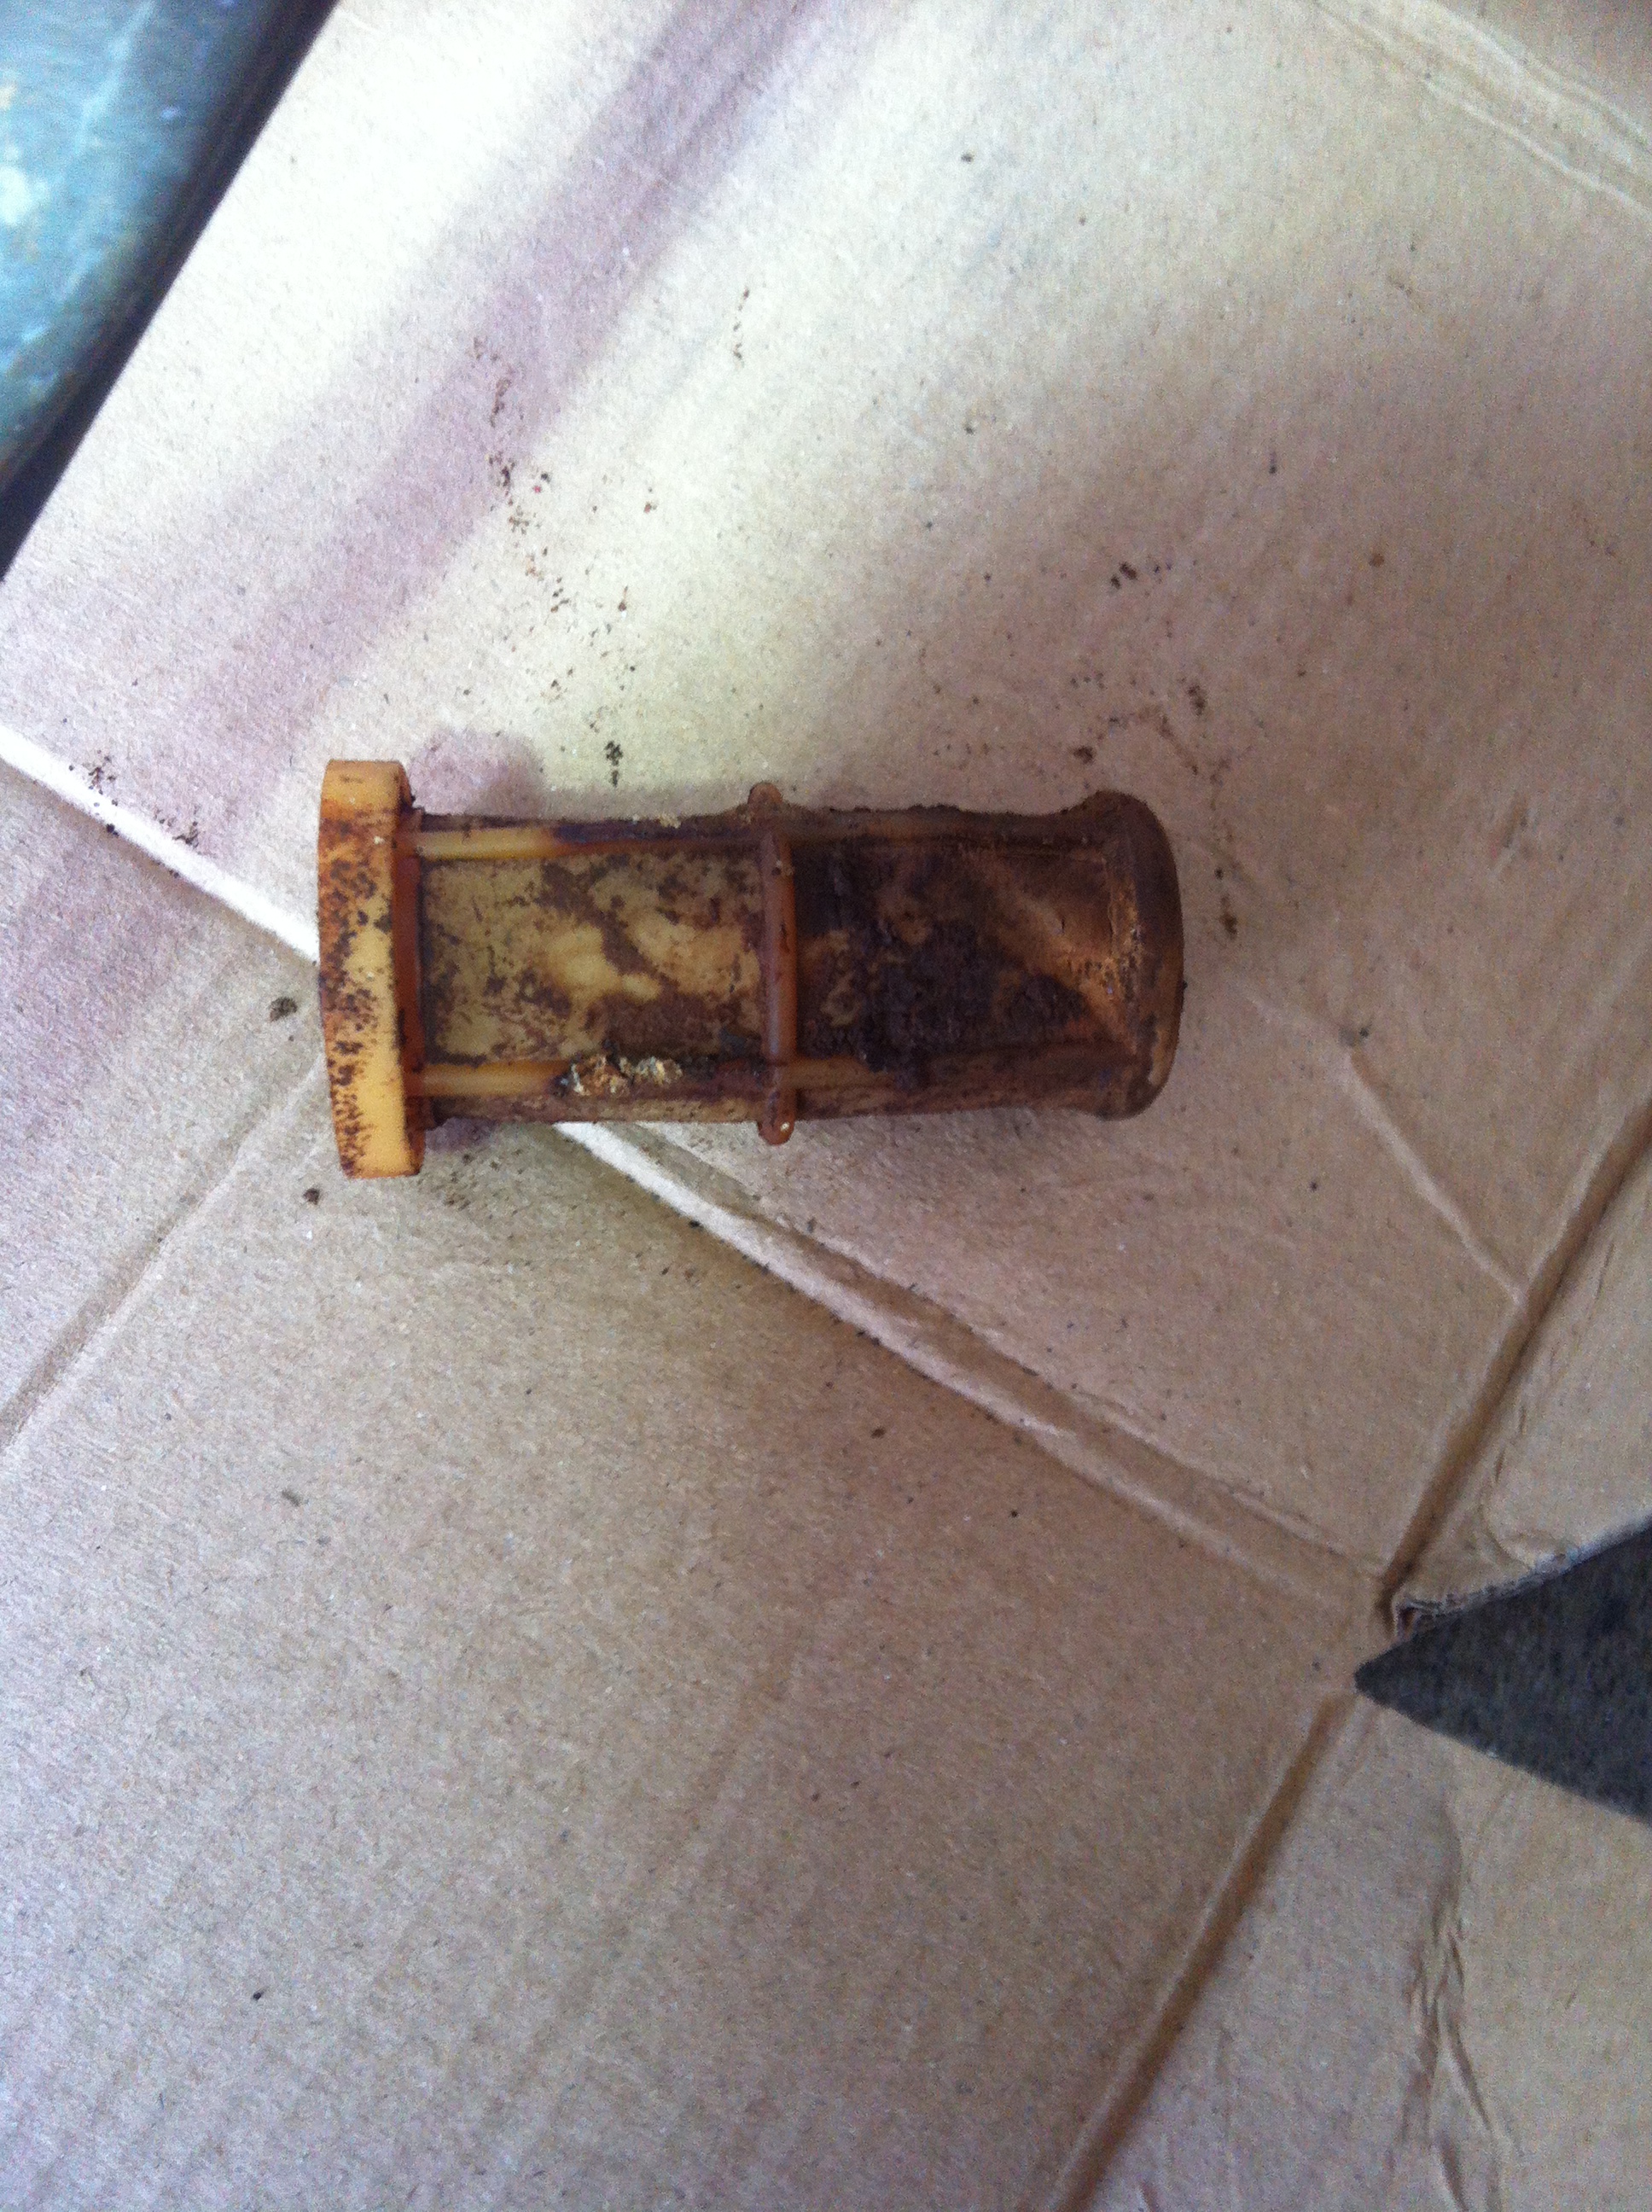
Cleaned those and it almost fired so I checked the pump and found thev filter was choked with green and yellow (!!) stuff.
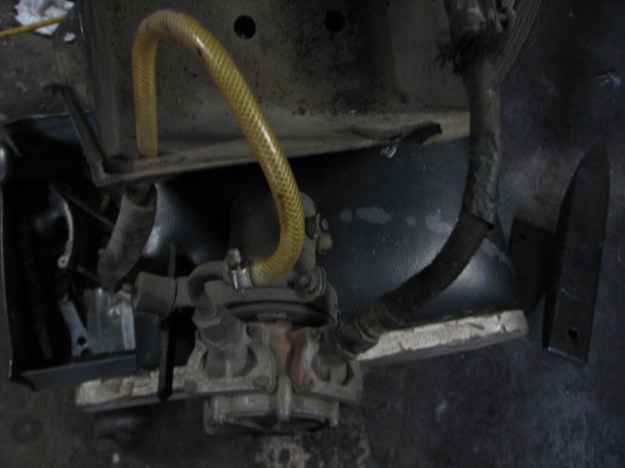
Putting a new filter inline got the fuel pressure up at the engine so the carbs were stripped down and rebuilt with new seals
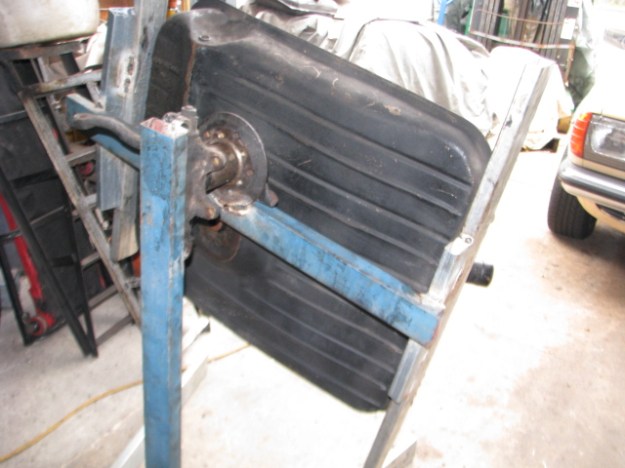
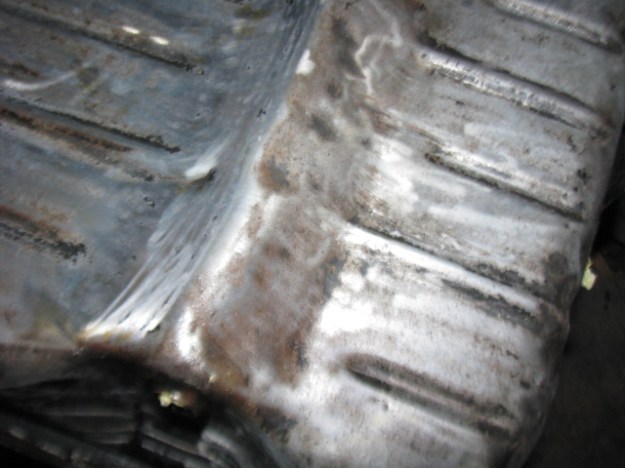
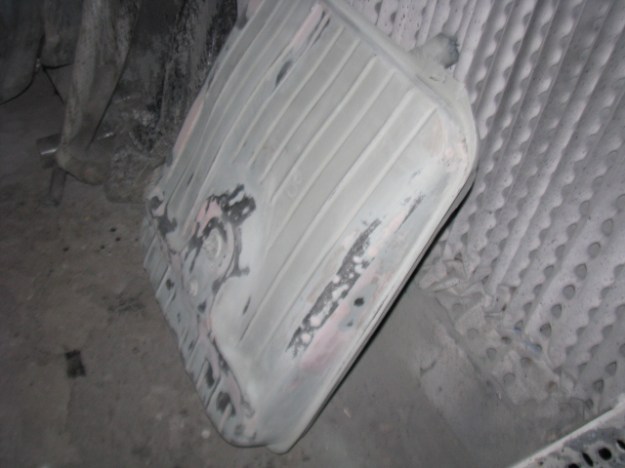
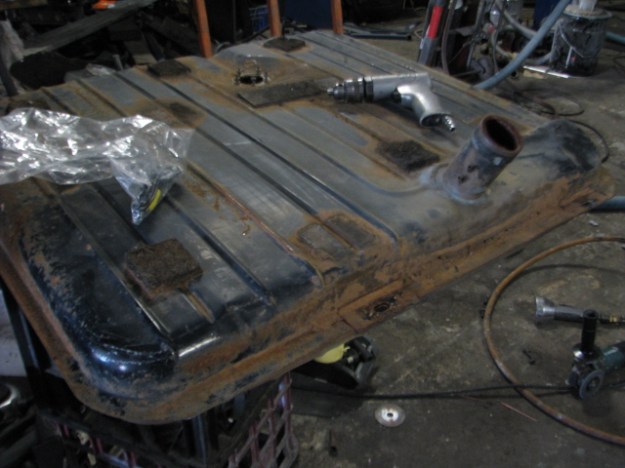
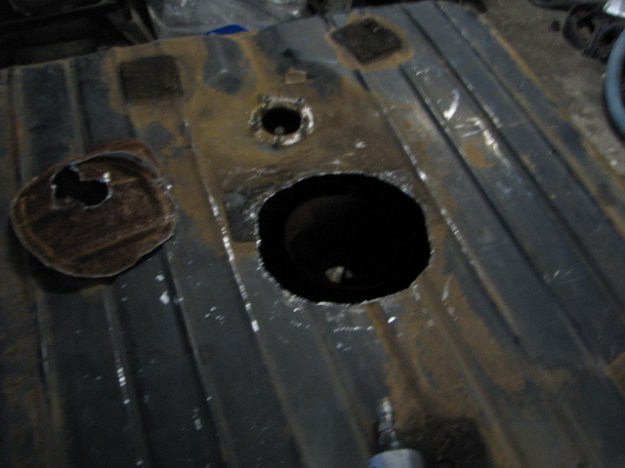
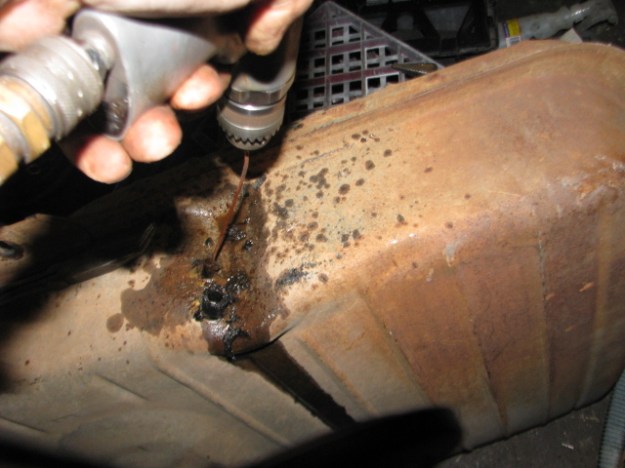
With a reasonably secure fuel system i decided i had better clean out the tank,all that crap had to come from somewhere.
Although nicely painted on the outside,the inside was different matter with loads of rust and loose dirt . So with some fuel in the tank the engine was fired up and…not so good.
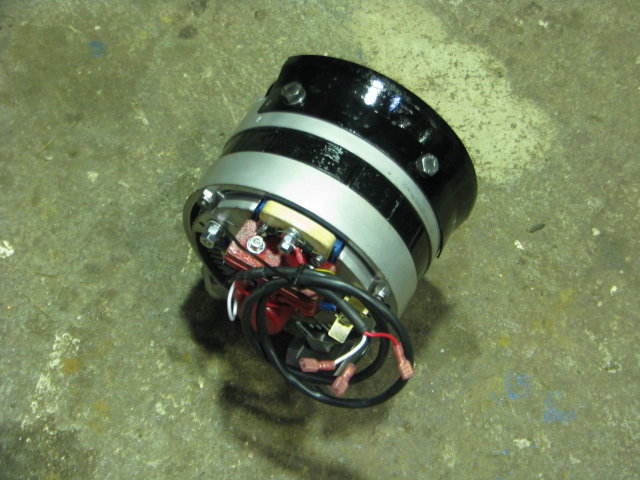
The oscillosope showed a strange reading the coil ,not enough volts. The alternator was not woring so a couiple of hours work to get it out,I tested the unit to find the windings were completely open circuited. This required a new set of fields,diodes,bearings and some paint to make itr look nice. A pair of new vee blets and it was ready to go again.
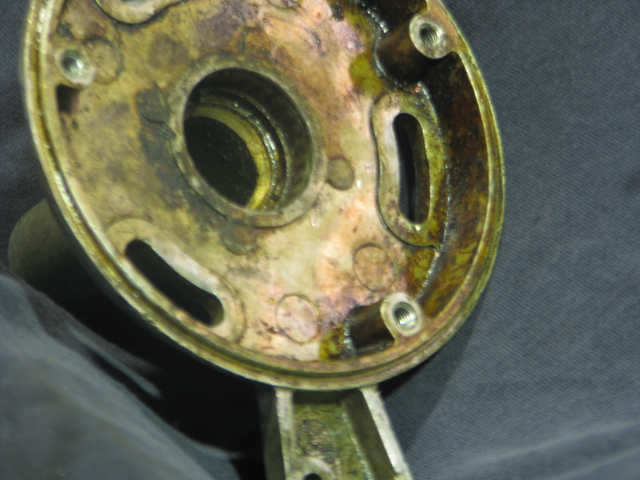
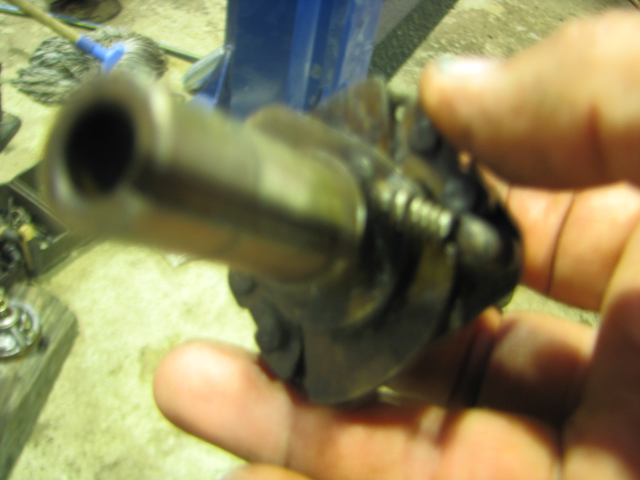
This time I noticed the engine refused to rev above 4500 RPM… the scope showed a breakdown in the ignition. A check of the leads showed it was leaking sparks everywhere…ha ha. Well not so funny because a couple of leads were shorting against the carbs.. I had checked the timing and the advance was sticking..or so it seemed so I pulled the distributor out .
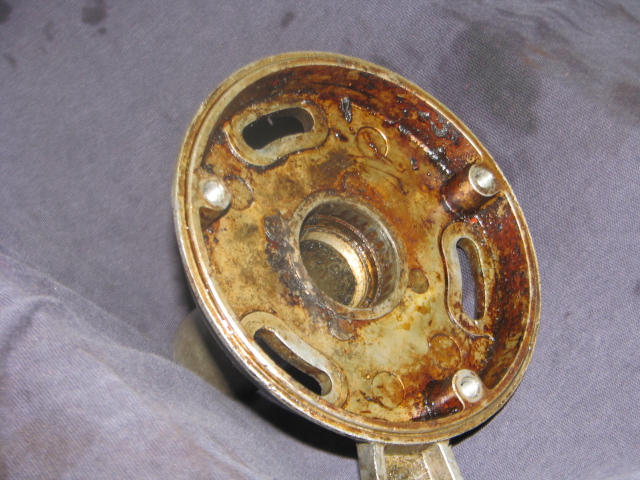
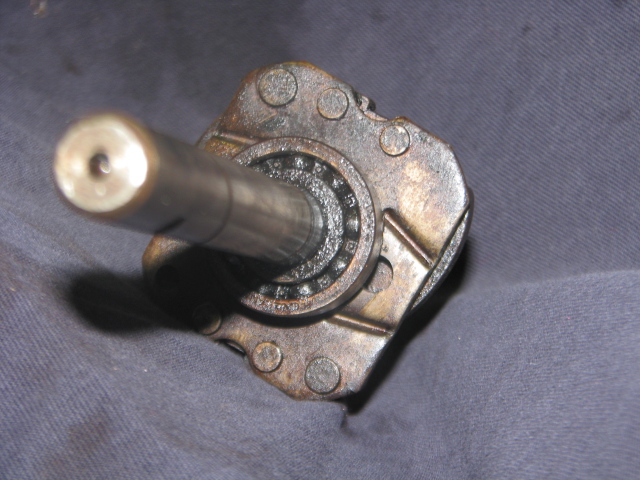
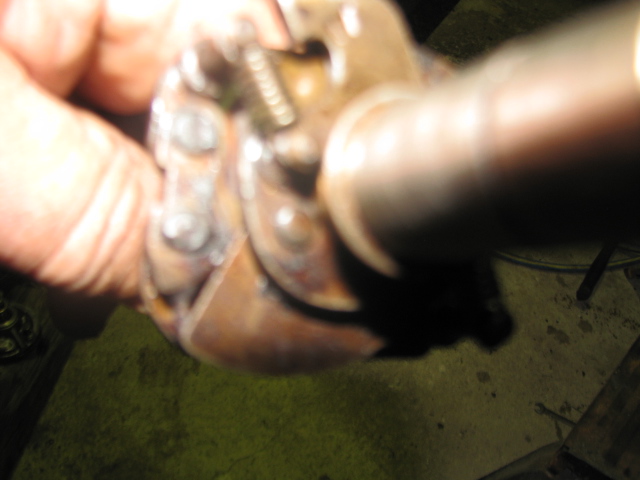
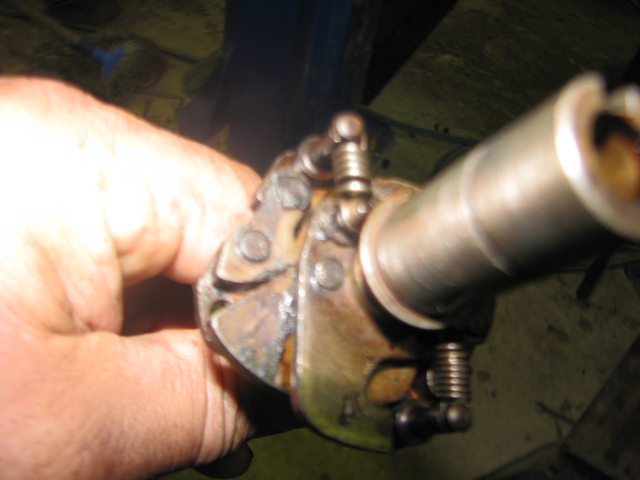
This revealed a few mechanical faults and some electrical problems . The distributor has an upper ball bearing. This appeared to rusted but it had also flogged out the top of the distributor body. I machined out the housing to take a larger sealed bearing. There should be a seal underneath but I couldn’t find anything locally which could do the same job. the seal in the bearing will so the same job,probably better. the advance mechanism was frozen sold but a bit of work and some oil got it free. The spring were also stretched so I replaced those. The OPUS ignition has seen better days,with the circuit board showing signs of dodgy repairs in the past. This was all replaced with a REOPUS igniition from New Zealand. http://www.reopusignition.com/
A final check showed the ballast resistor was both open circuited and a very high resistance, The coil was 1.8 ohms so this was replaced with a coil with .7 ohms ….so with the ignition sorted and the fuel starting to behave it only leaves a couple of little jobs to do and it might just be ready for the road.

blocked up tank filter

stripped down distributor

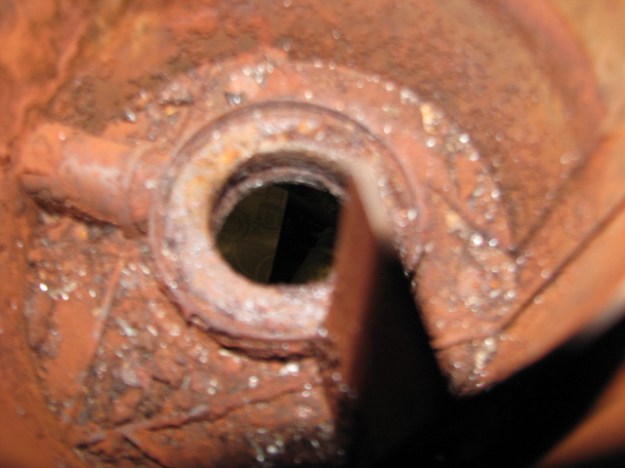
Worn bearing housing


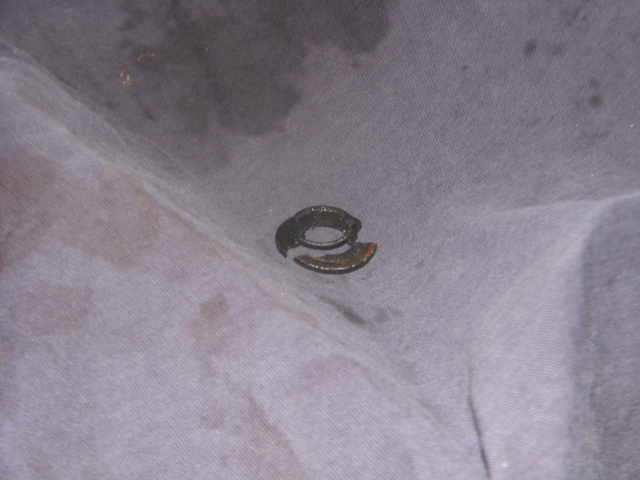
worn out bearing

advance weights seized


stretched spring

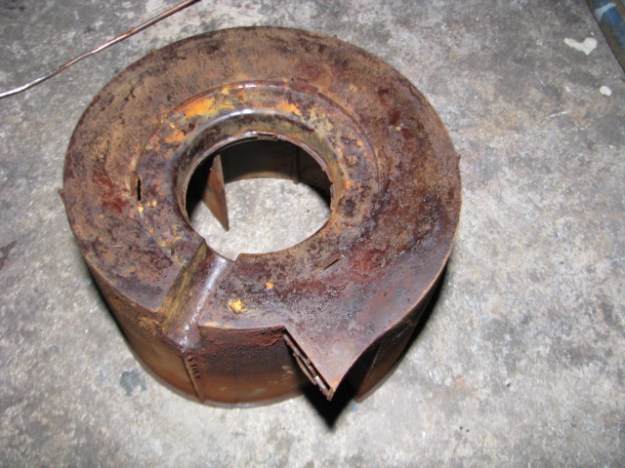
housing cleaned and new bearing fitted

Restored Alternator

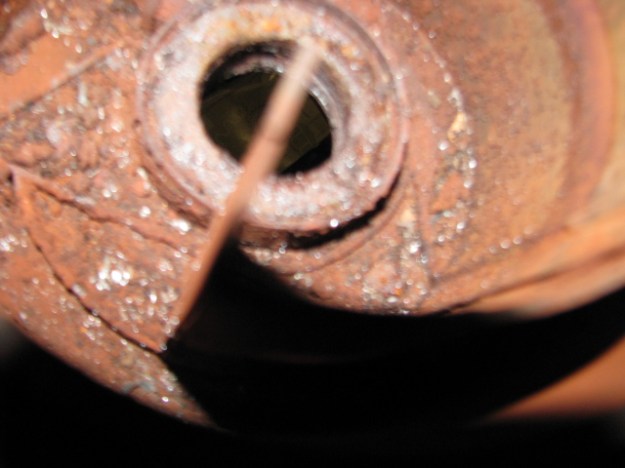
Worn bearing in cleaned housing

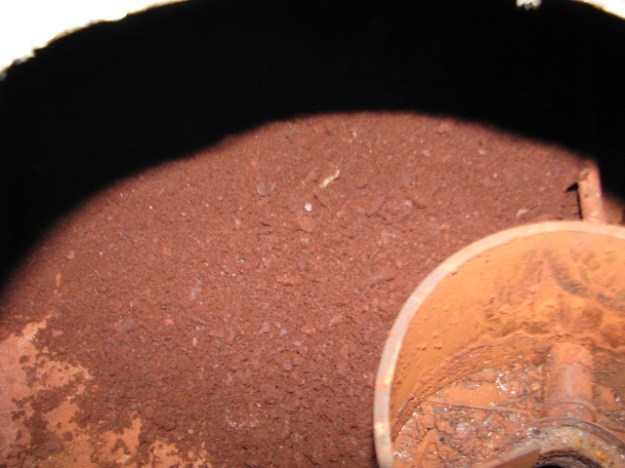
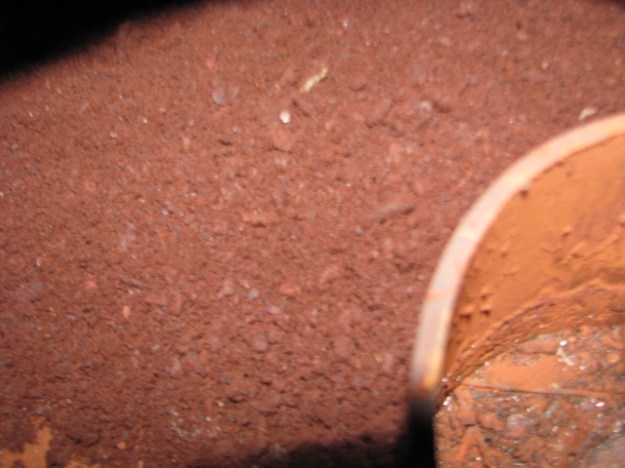
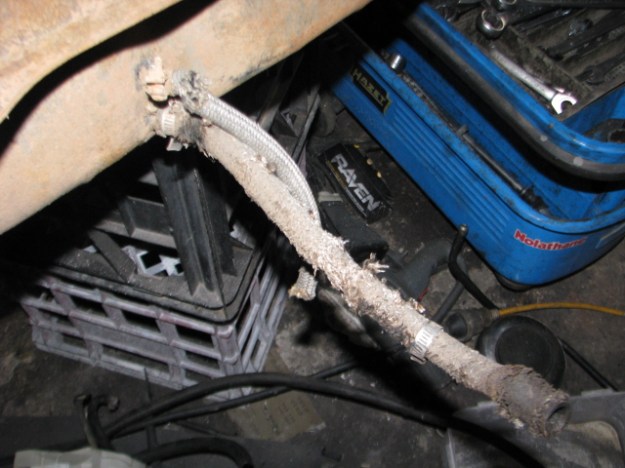
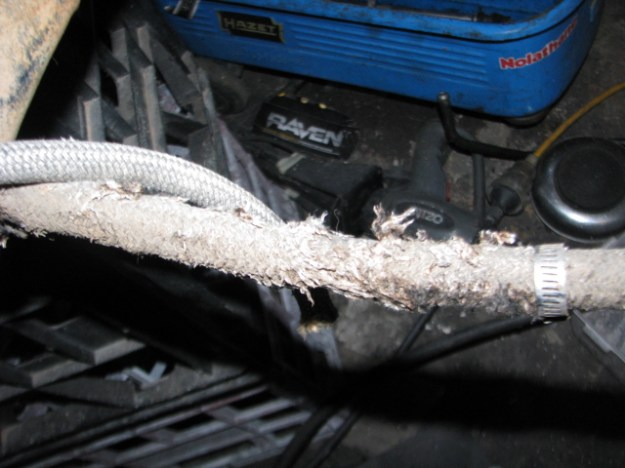
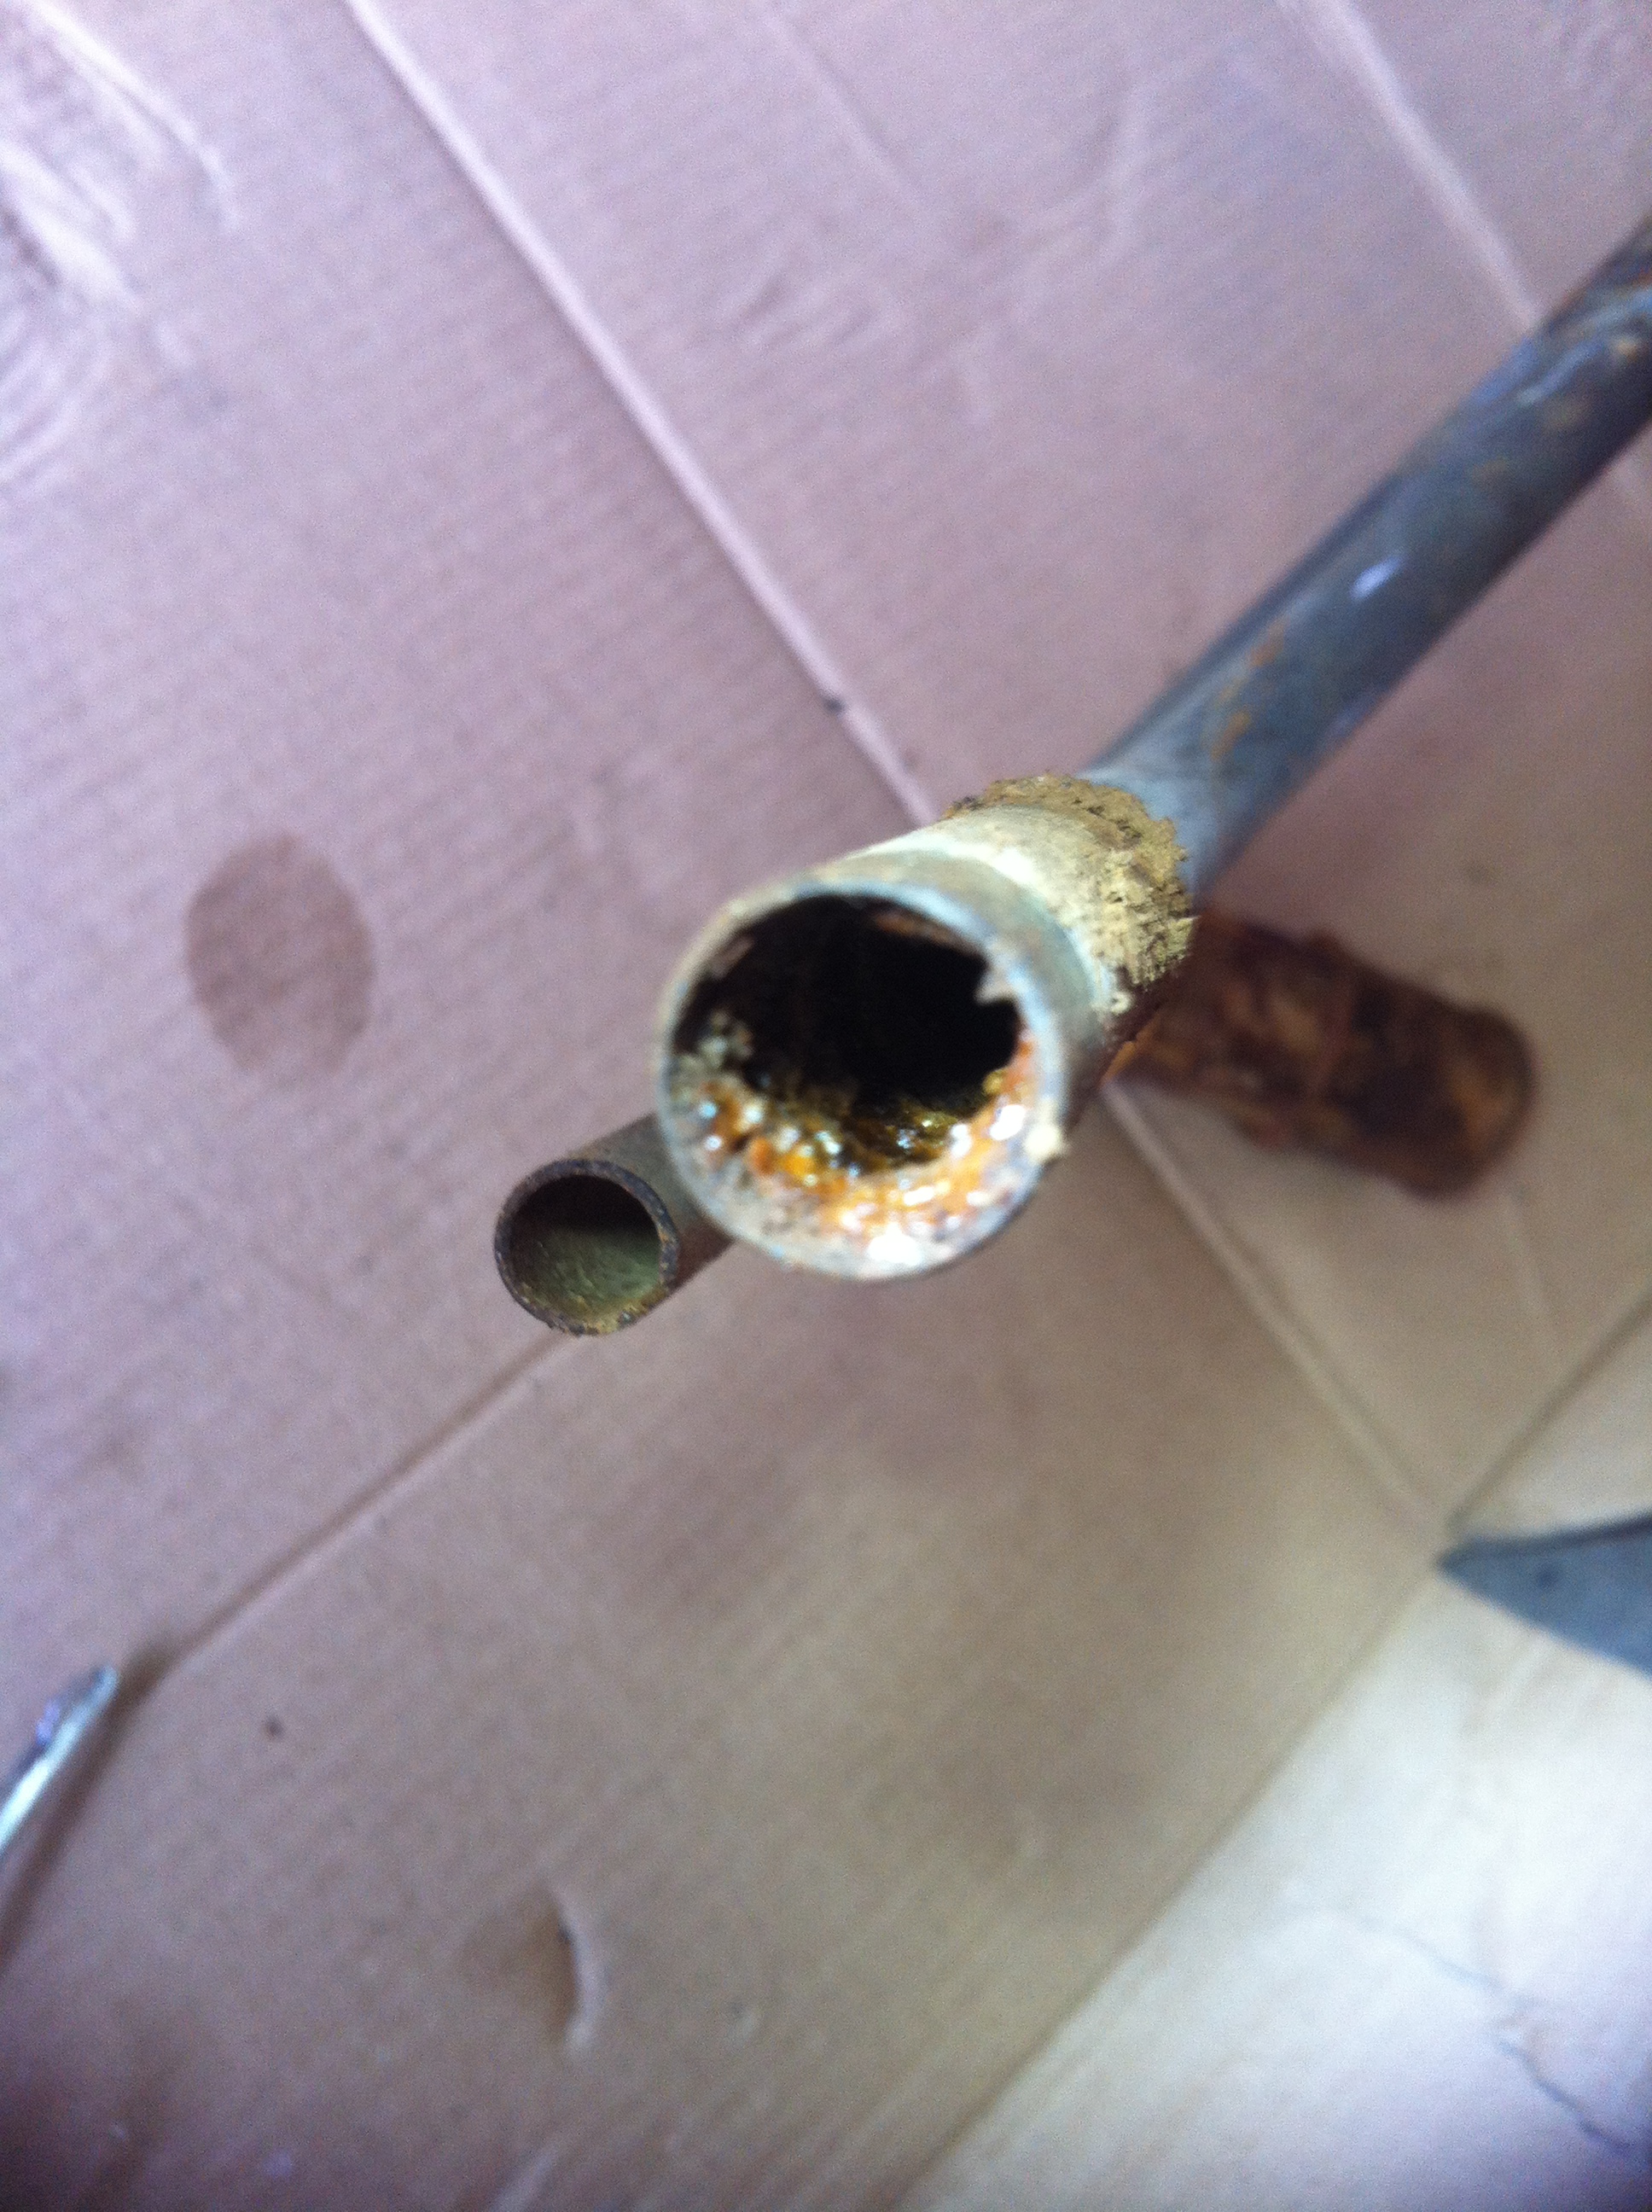
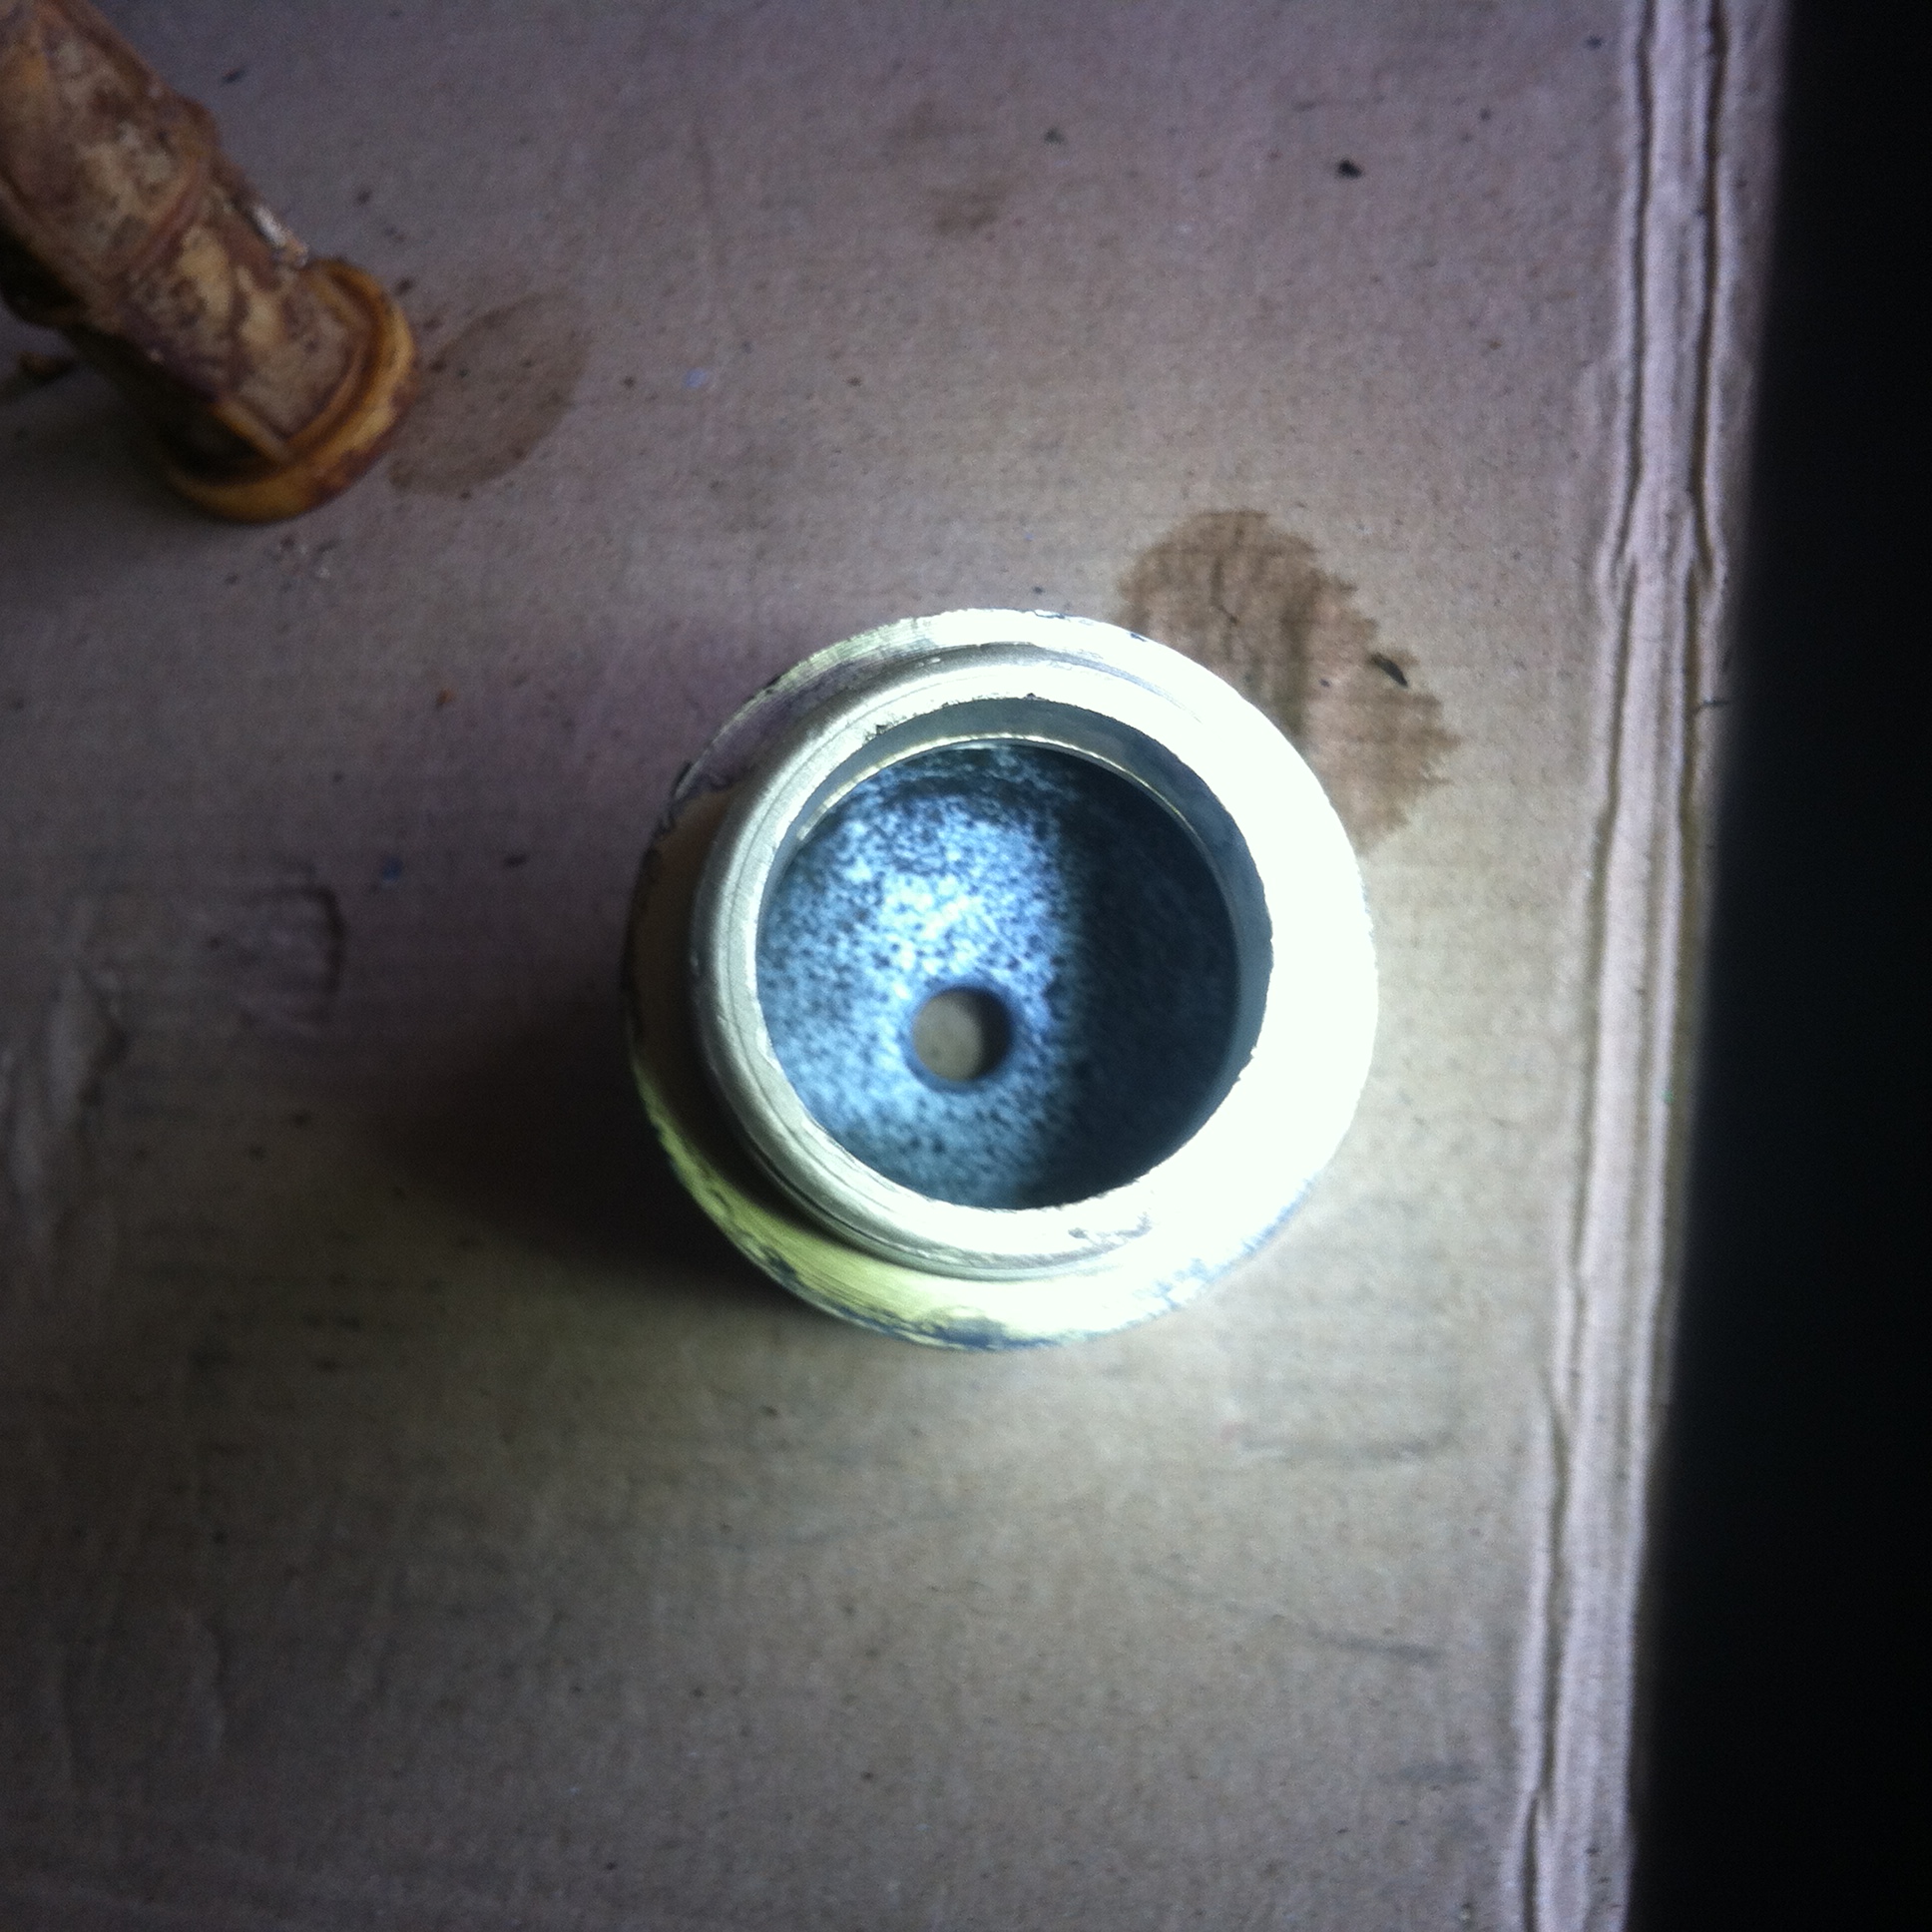
blocked suction pipe

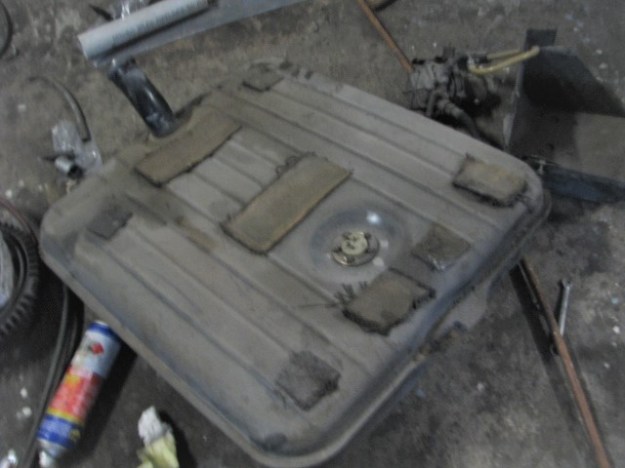
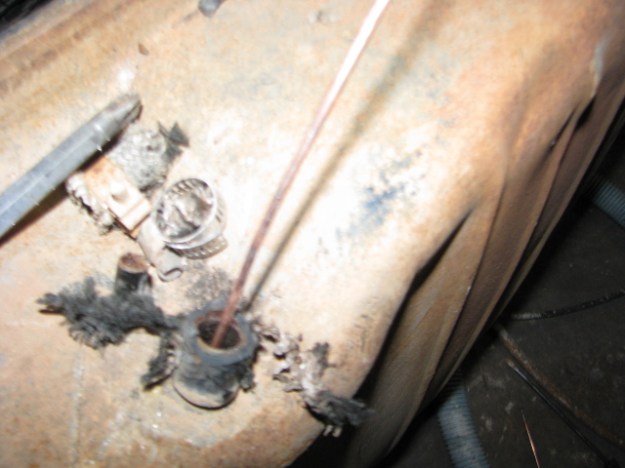
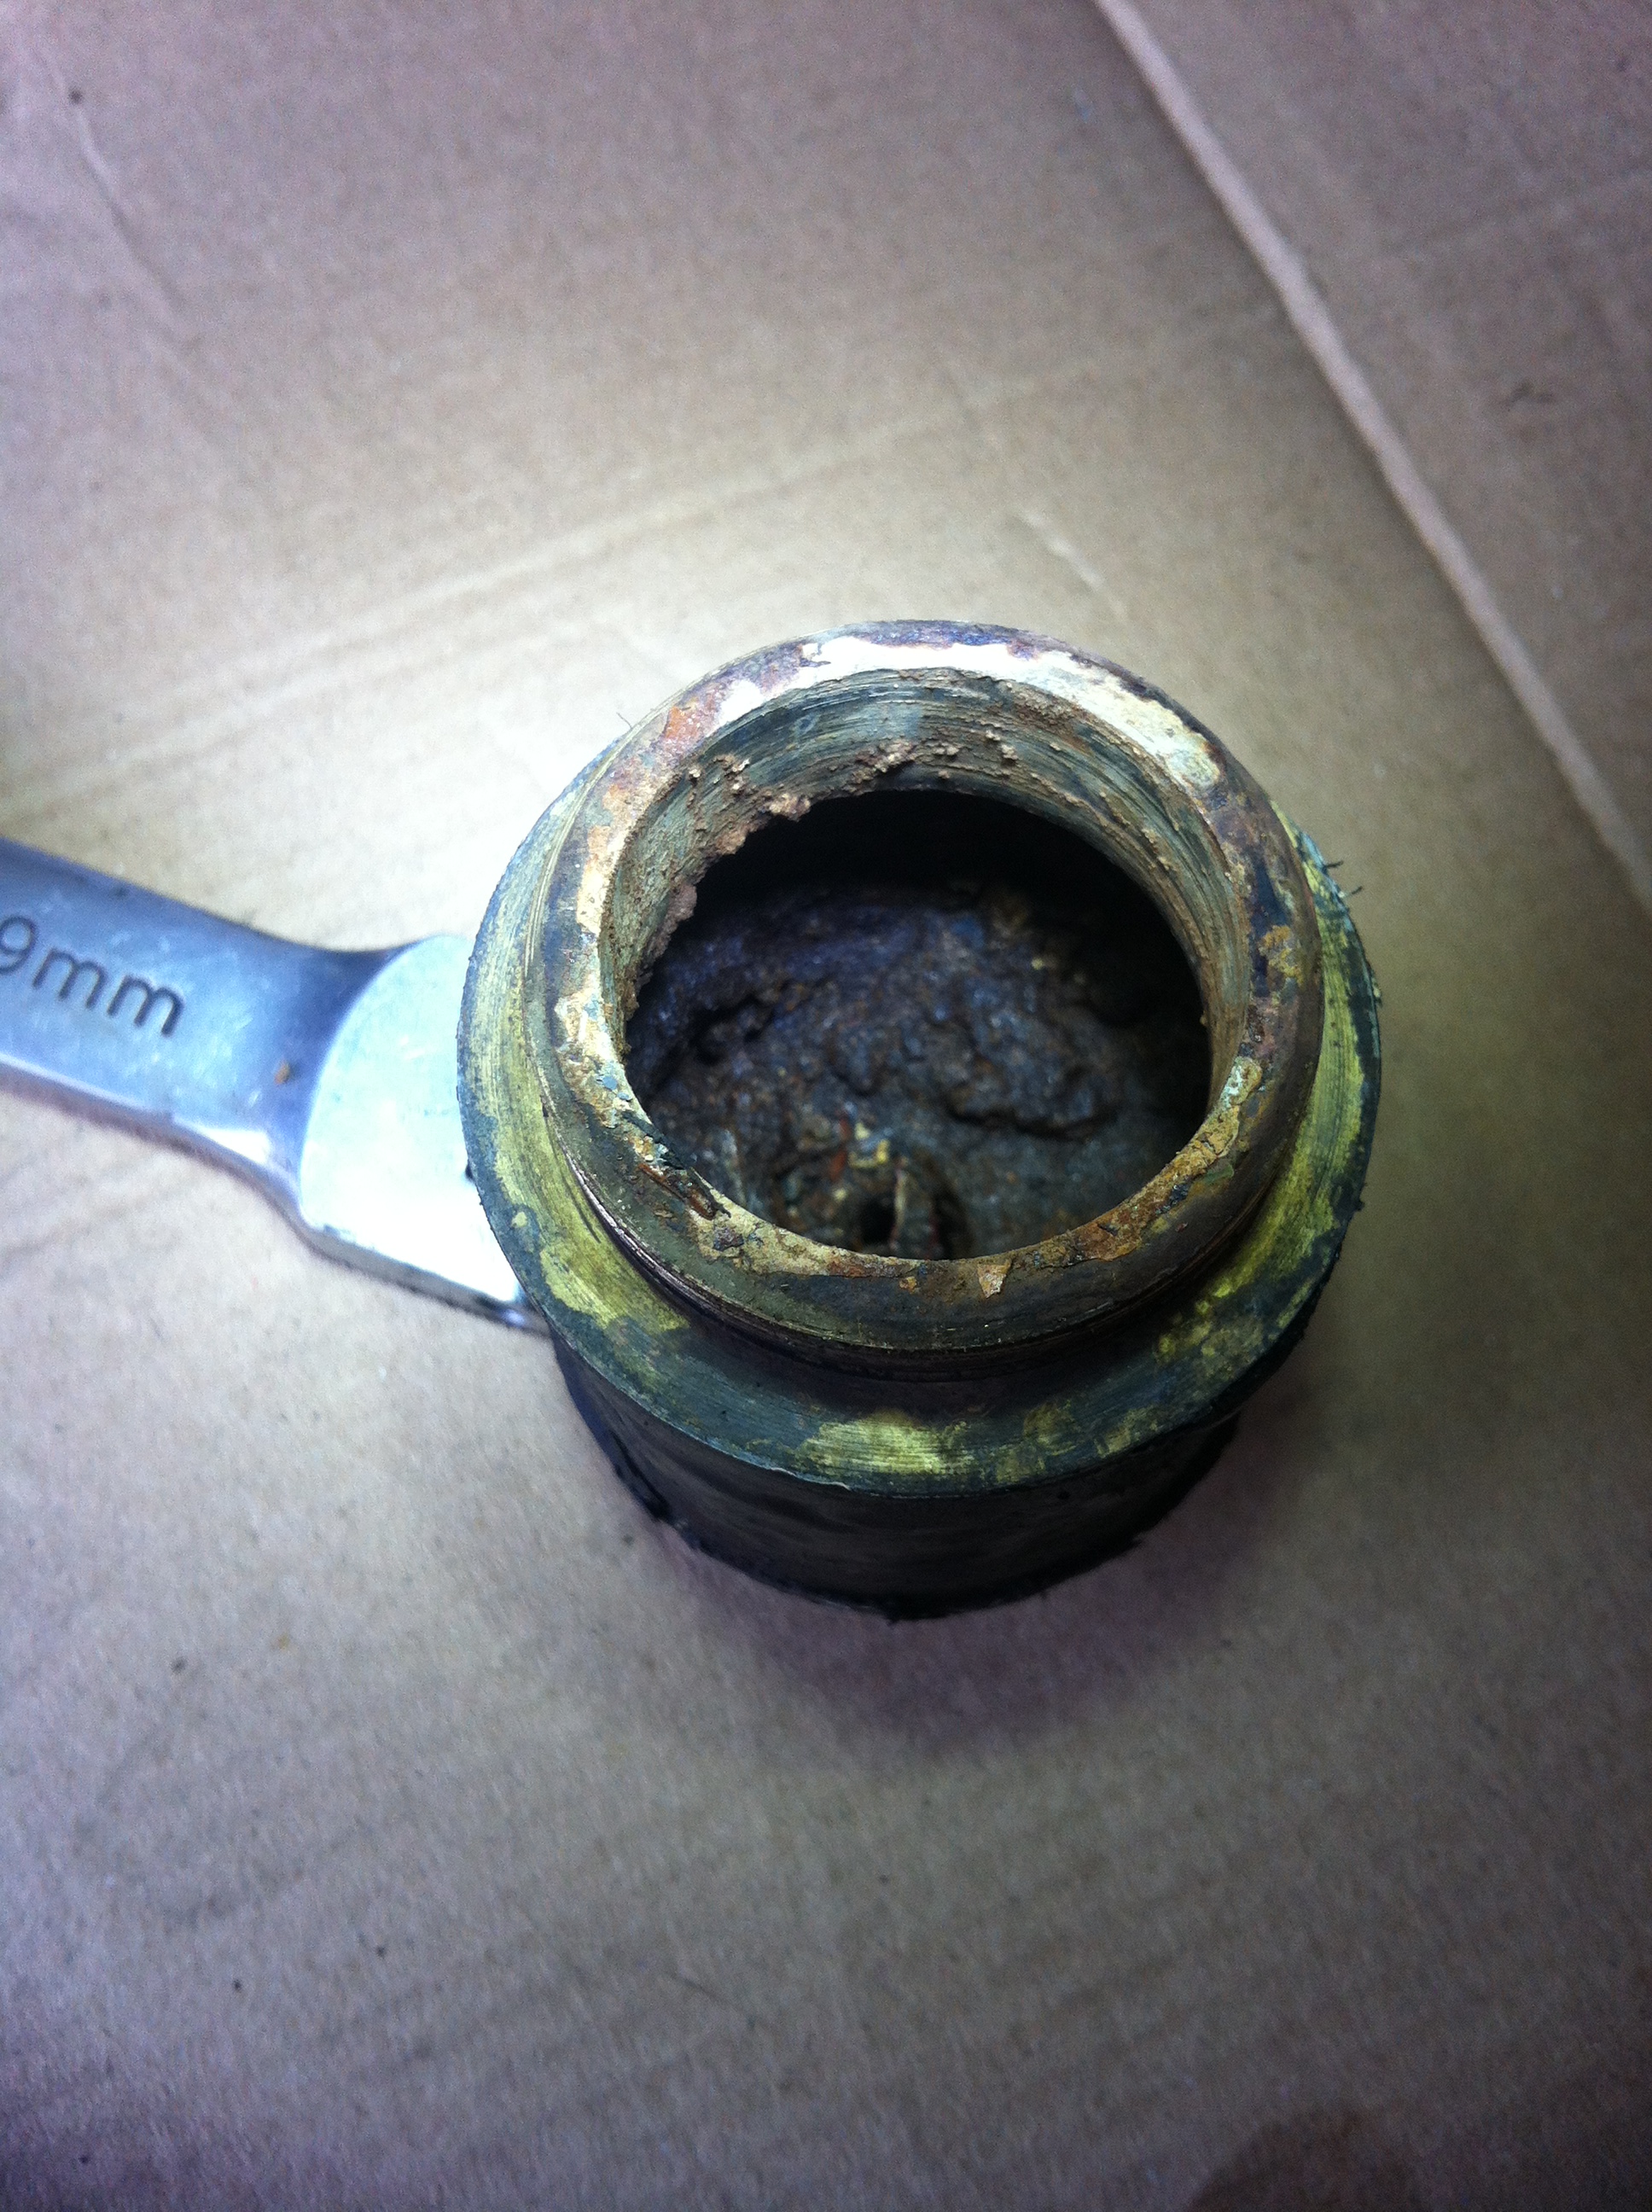
Fuel tank sump

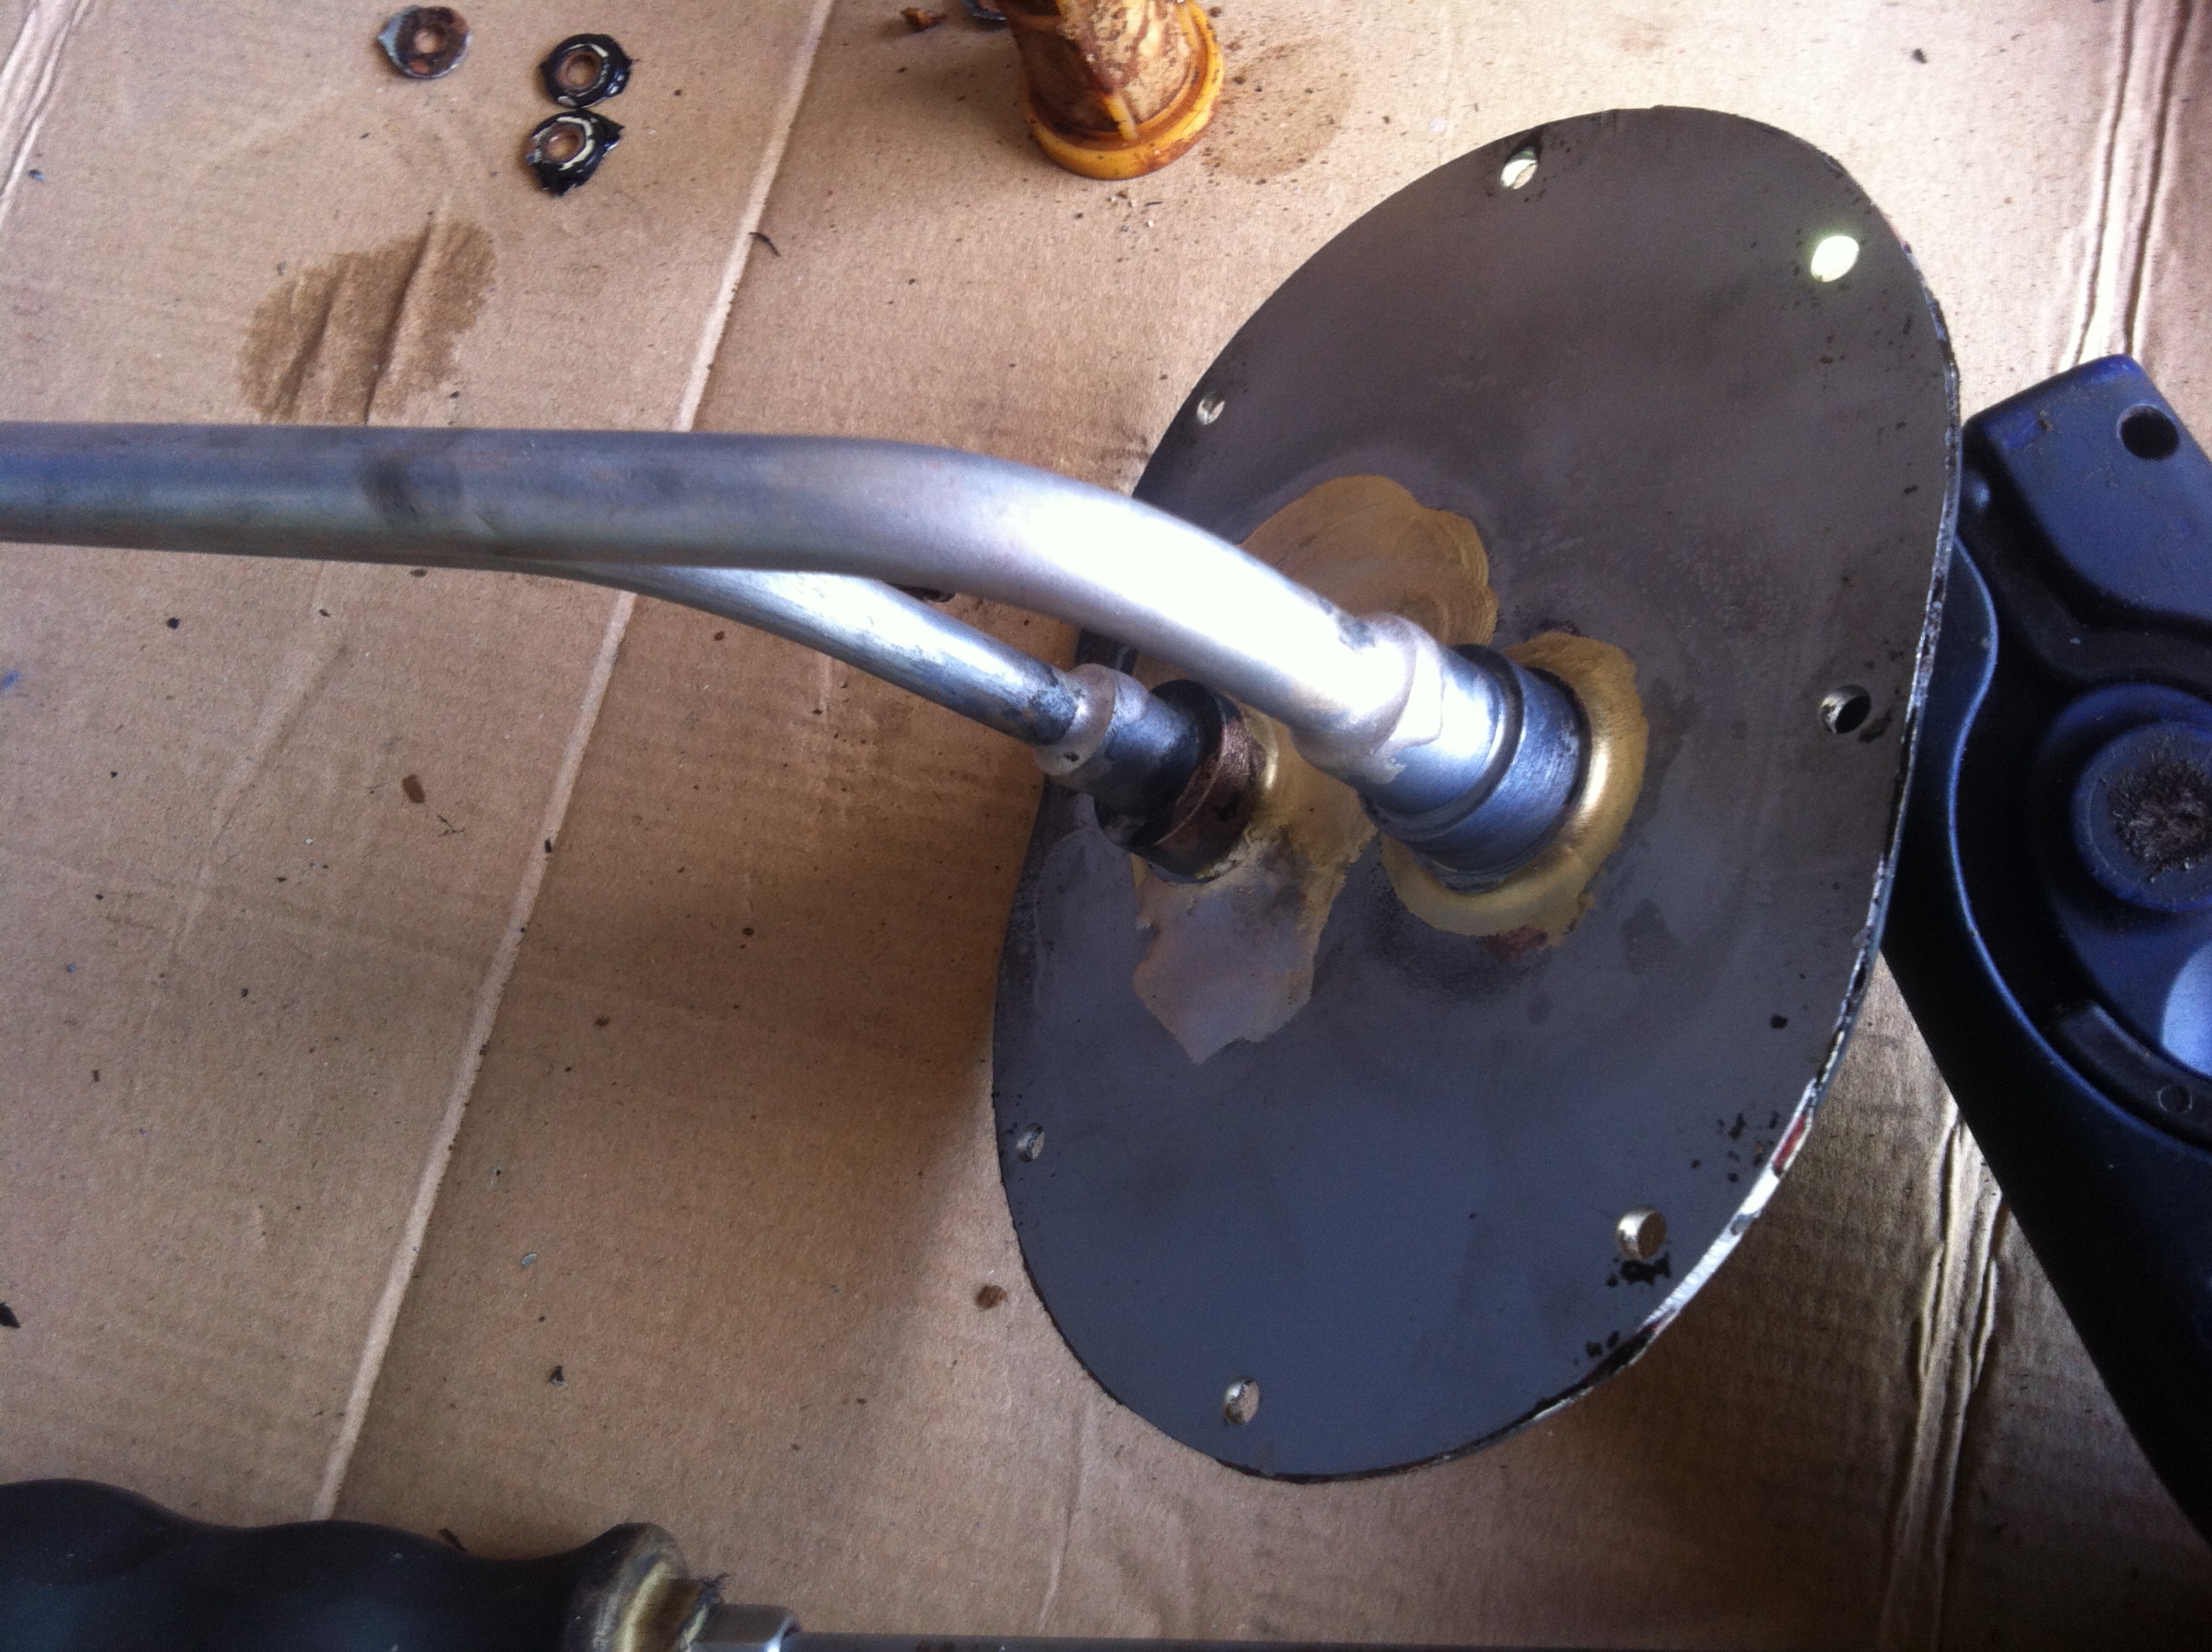
Pick up cleaned

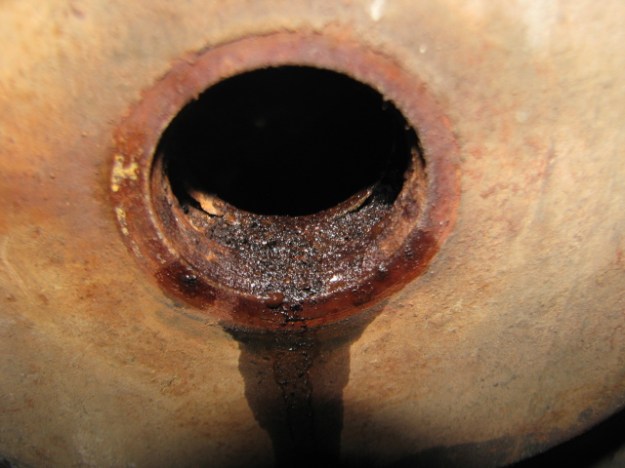
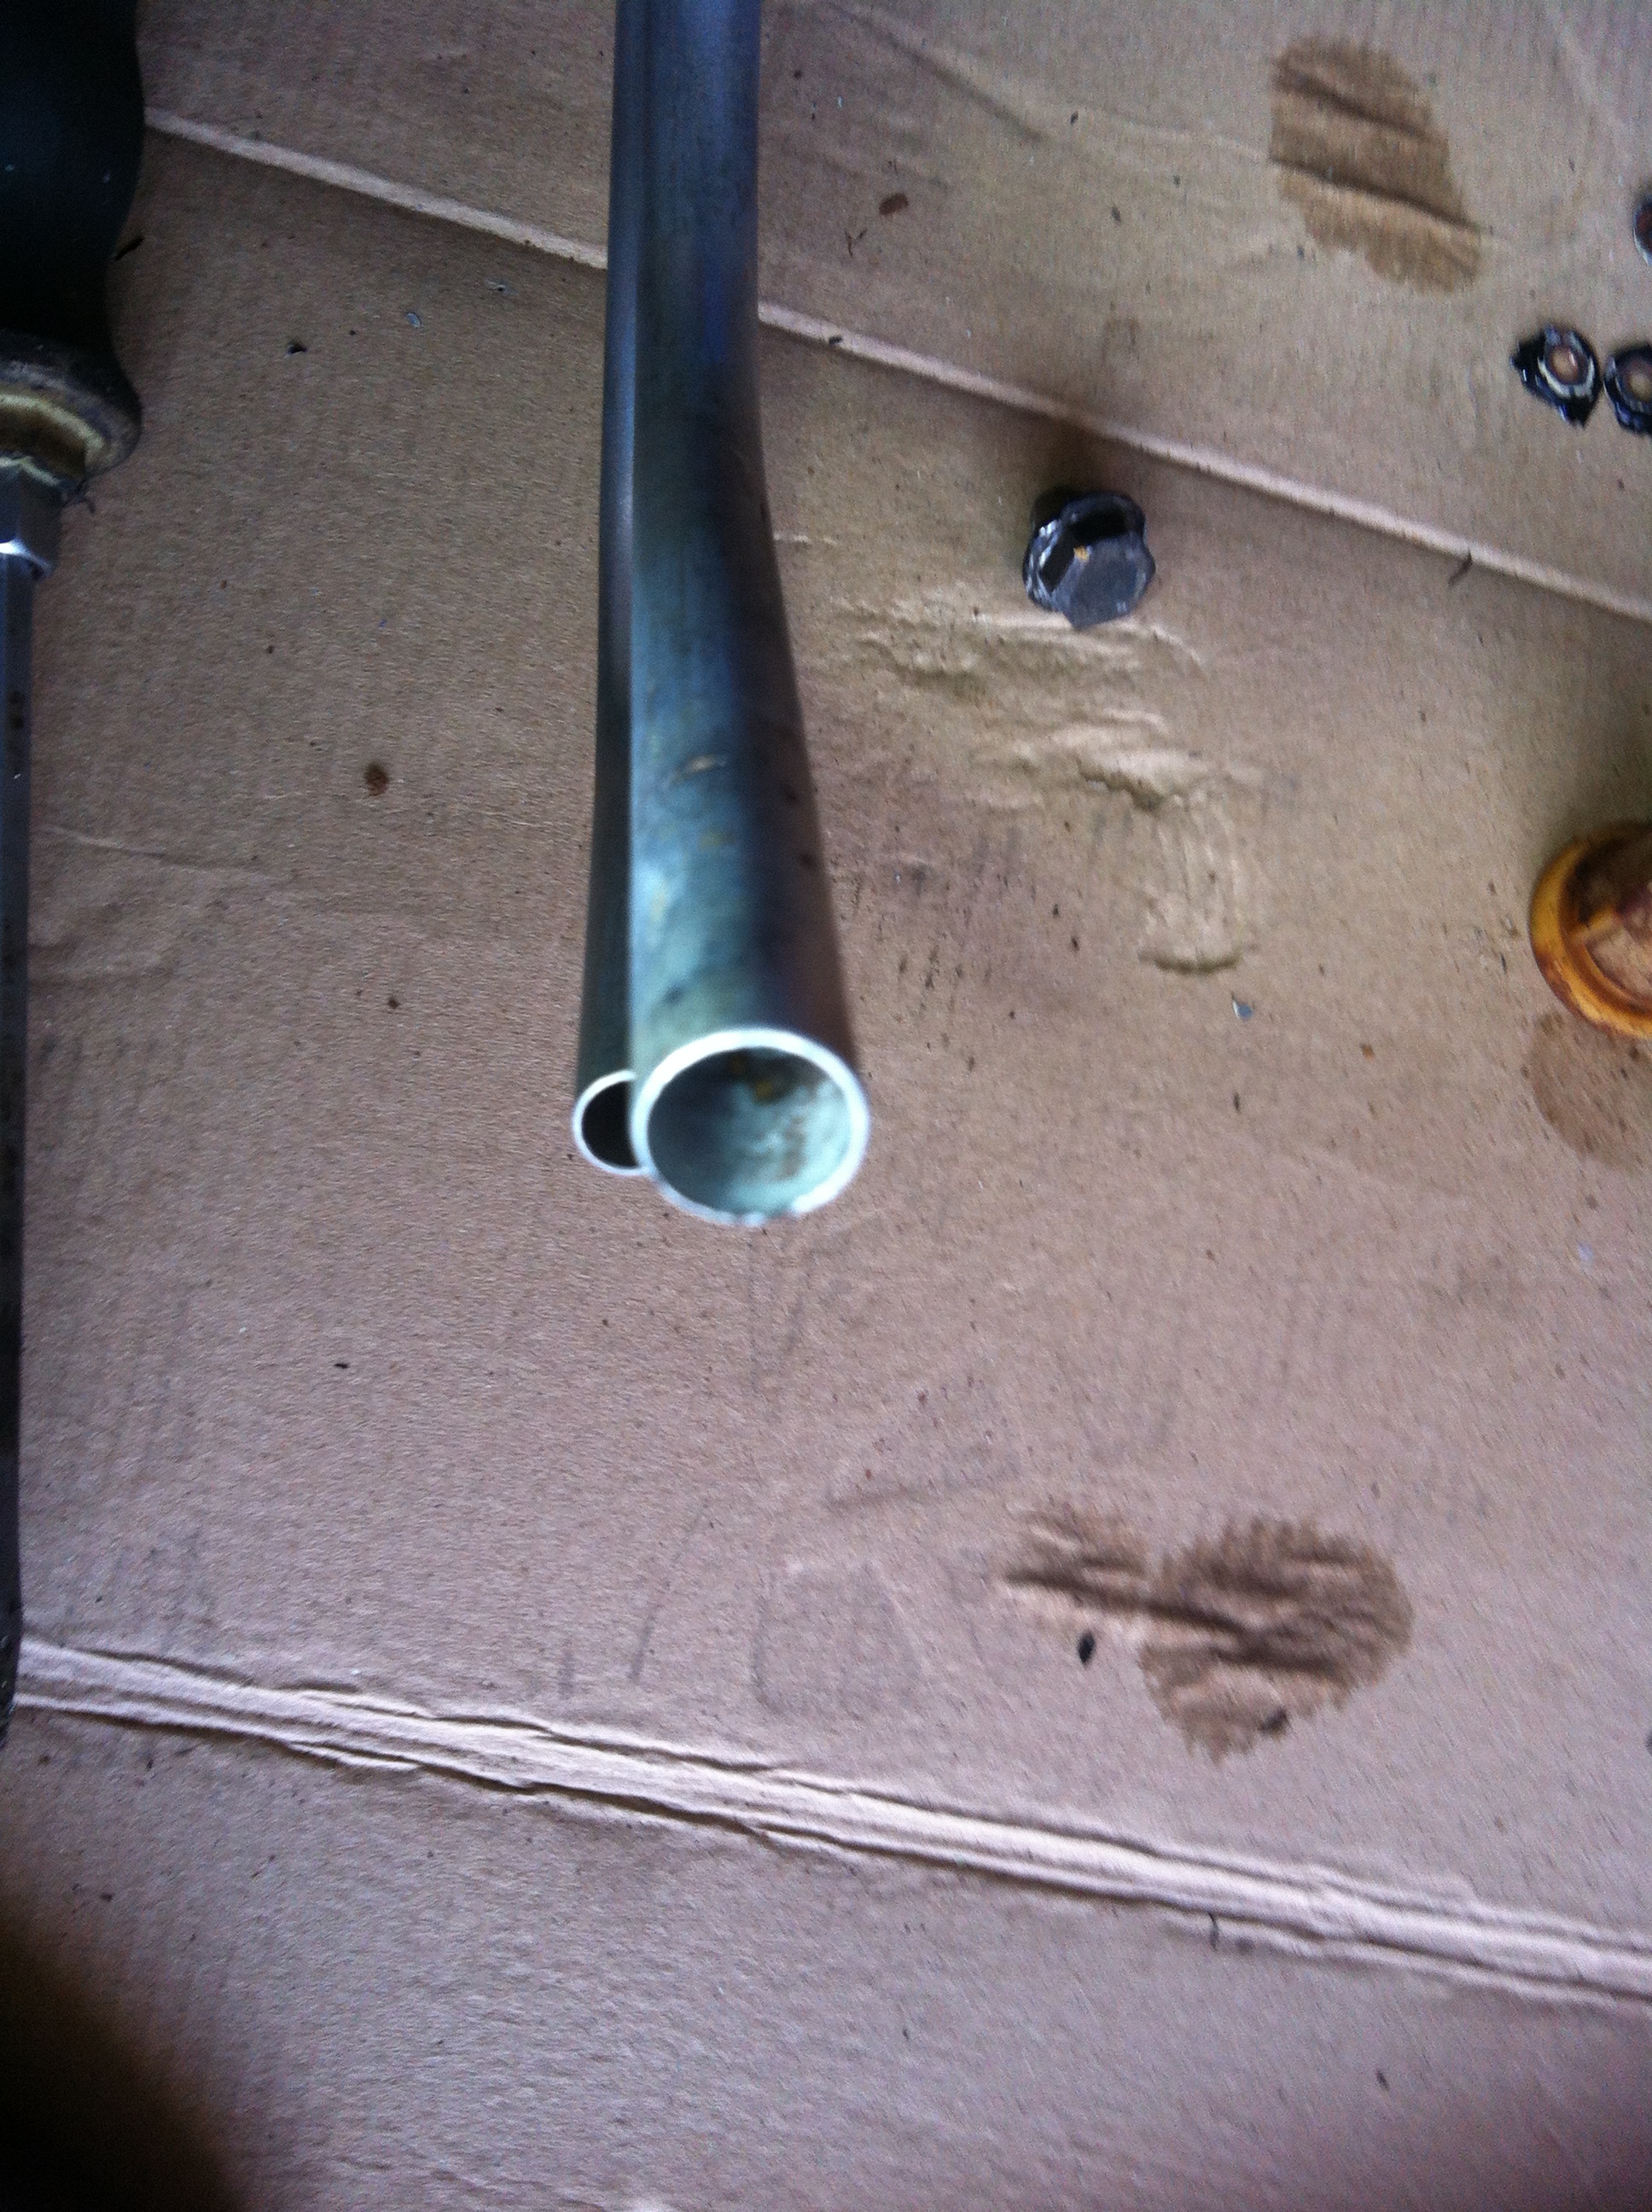
Cleaned suction pipe

Sump cleaned


Shop full…