
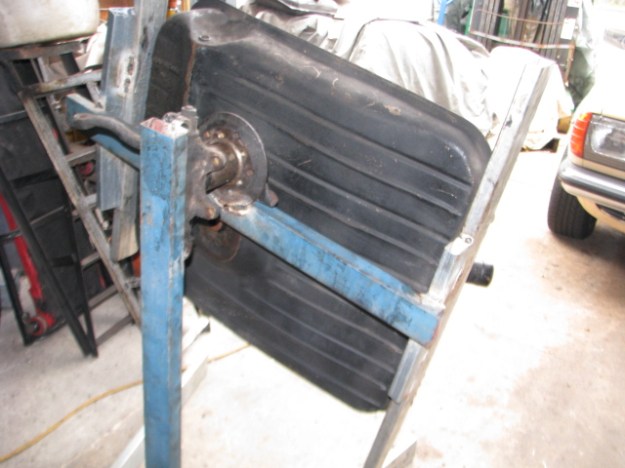
I mount the fuel tanks to be repaired onto this frame so the cleaning agent can reach all surfaces in the tank. Once the cleaning agent has done it’s work and been rinsed out the tank is then re tested for leaks .

This tank ,being an early type and very rare ,has this brass fuel filter which will be cleaned before being installed .
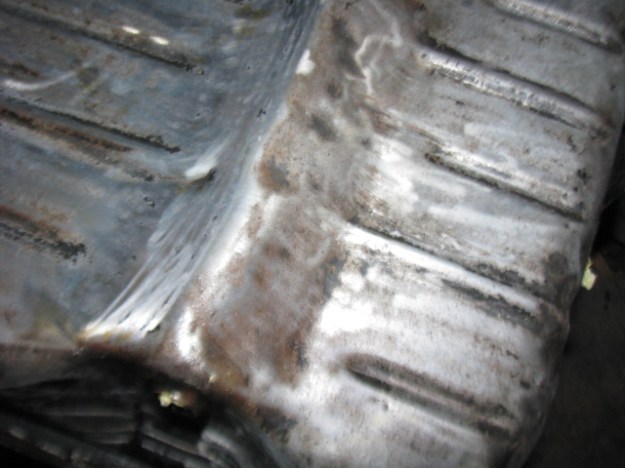
This tank has tested ok without leaks but is very badly dented from rocks hitting it,possibly on country roads.

Normally I would cut the tank open to clean it and straighten the dents out but i was able to reach them through the gauge port and gently raise the worst of them ,using a long rod and hammer.
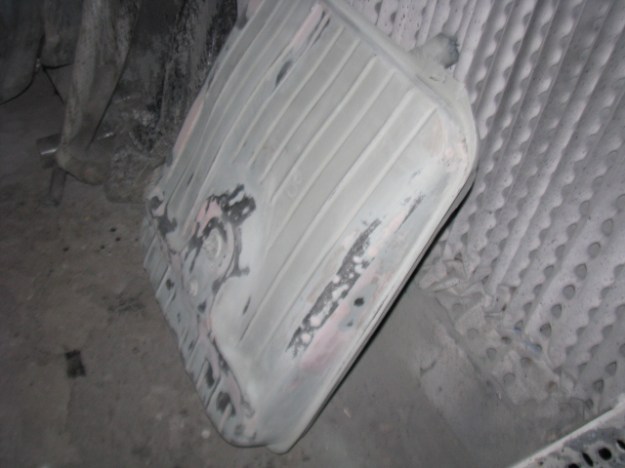
Tank Has now been etch primed and minor dents will be smoothed out before the final primer coats and finish coat of Satin black are applied . The interior of the tank has been sealed against further corrosion and fuel contamination with POR15’s tank sealer .

What did you use as “cleaning agent”? Some of those POR15 liquids or something else?
In my country POR15 tank coating is not available, unfortunately.
I am in the same process with my 220SEb right now – first had a bath with “citrys acid” (in hot water and now there is dish machine tablets (4) with boiling water in the tank…
LikeLike