280CE rust repairs part 2.

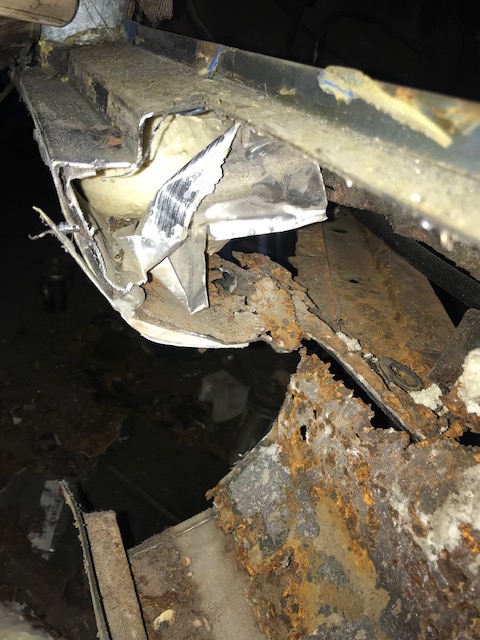
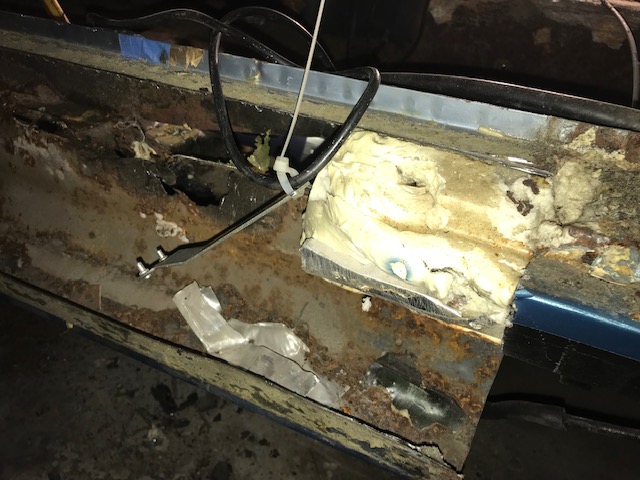
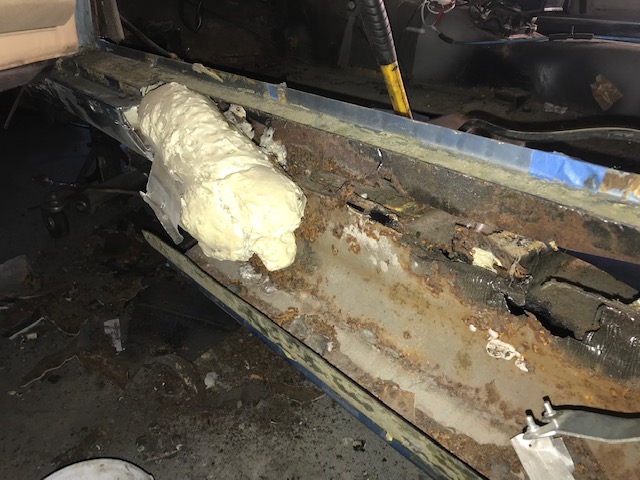
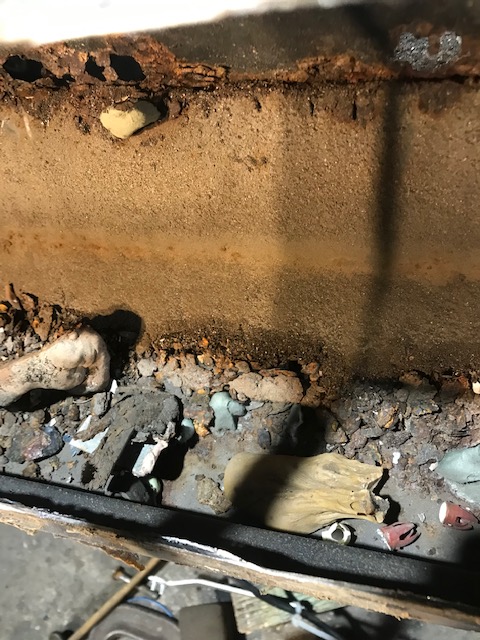
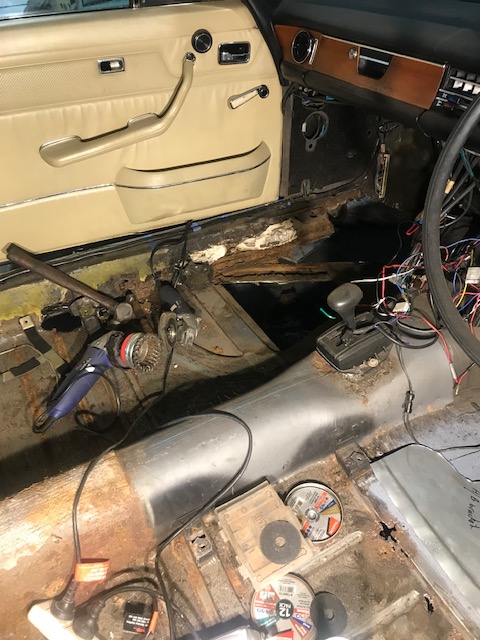
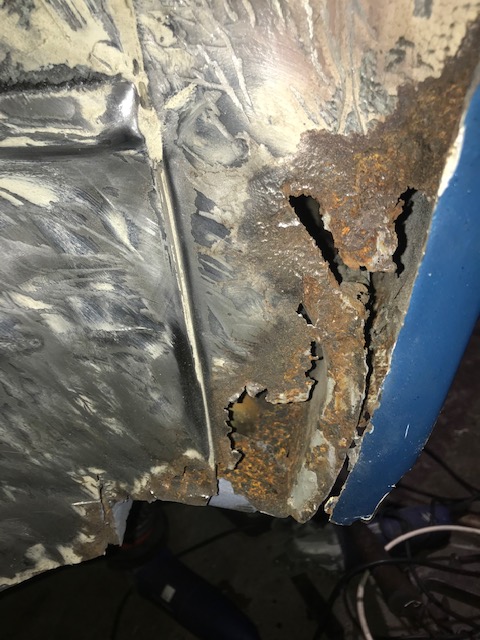
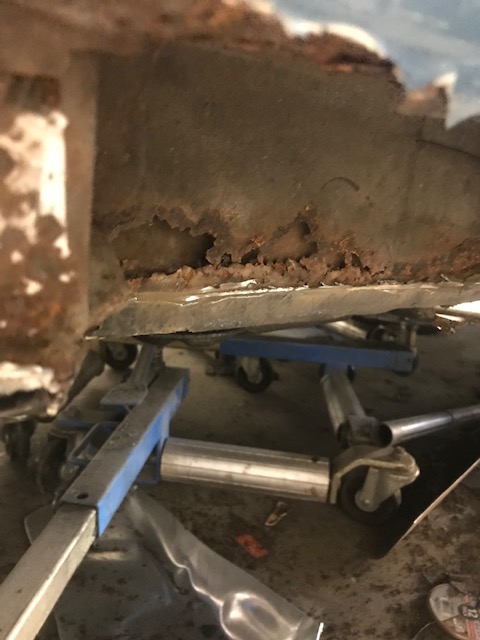
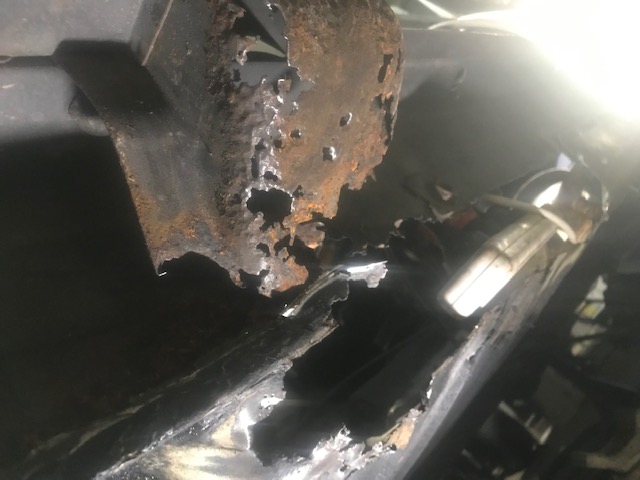
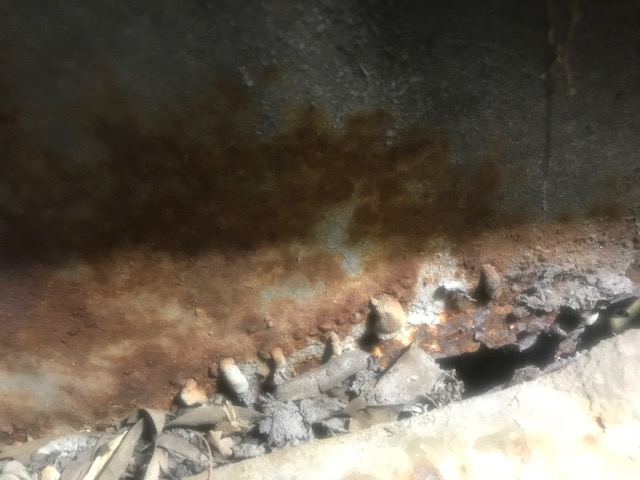
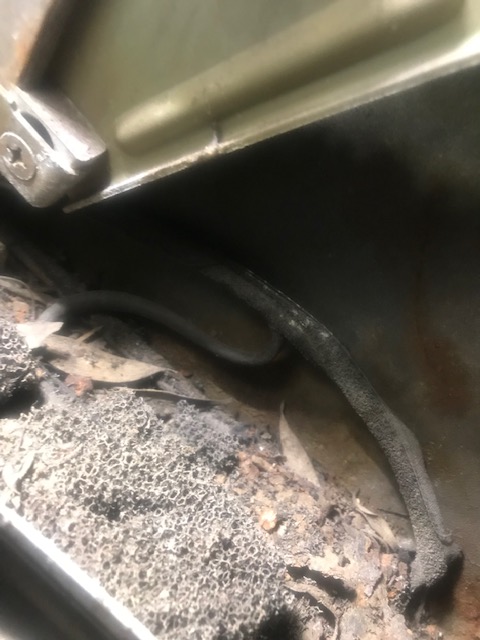
The floor sections are badly rusted but that is not as serious as the rust in the bottom of the B pillars which are now disconnected from the upper structure seriously weakening the cars body. All can be fixed but it appears this job is going to take longer than anticipated.

Further to the previous blog regarding this Blue 280CE W114 , this is the left hand rear wheel house showing what was visible before the black bitumen was removed.
Right hand side which had a patch made from calking compound and black tar.
The Right hand side after being partially cleaned tp expose the corrosion
Above the right rear jack point the inner part of the body structure has corroded away.
The paint is very shiny but the finger is pointing at rust bubbles appearing ,a sign the panel has hidden rust….
This the base of the B pillar post it is missing about 100 mm where it secures the rear floor and sill pan to the B pillar.
Inside the shiny panel above, filler has been applied in the past over rust and can be seen where it oozed through the panel. This has to be removed and new piece welded in.
Another view of the above , lots of filler . That’s the rear window mechanism .
The opposite side is just as bad with an old sponge laying there plus gum tree leaves which probably helped the rust form.
At present the car is held together with braces to prevent distortion as most of the rust removed involved removing a lot of the base structure.
I removed the door to prevent the A pillar from moving under the weight . The top of the sill is cut away and twisted down to expose the spot welds . The square thing in the sill is piece of Sandpaper someone had jammed inside to hold the filler they had applied and block some of the holes. The other stuff in there is pieces of filler and lumps of rust.
This is what was left of the left hand side,full of Spray foam and pieces
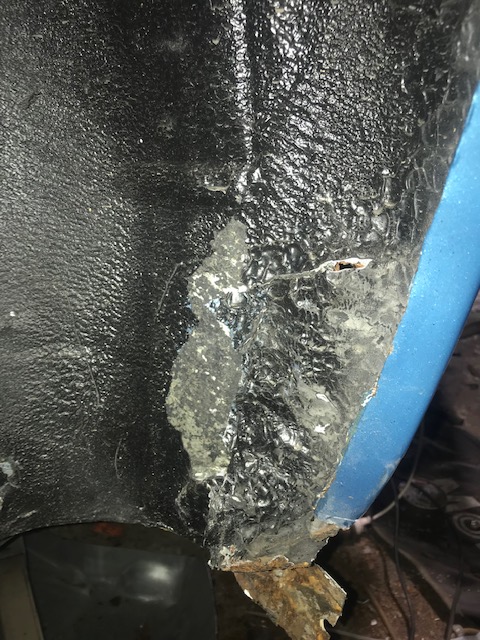
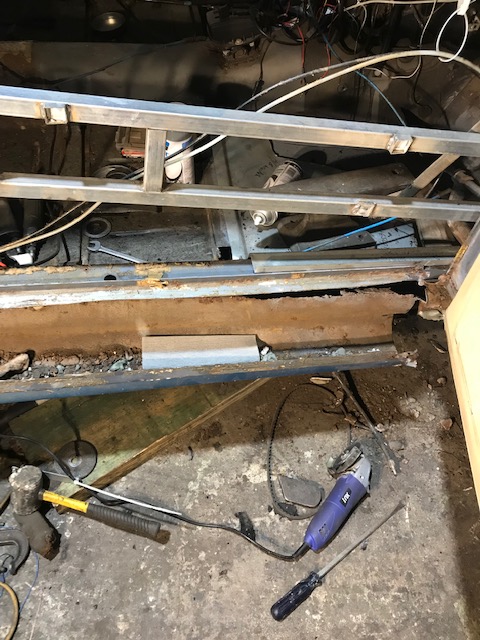
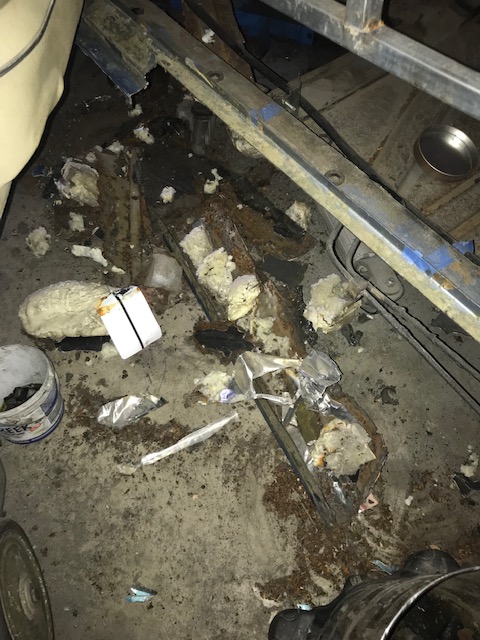
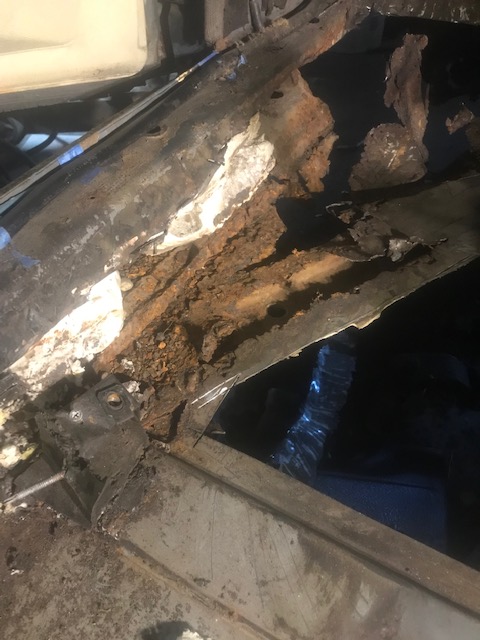
of alloy flashing used to hold the sill together. The white thing in upper left of the picture is a paint sample tag used to block holes in the sill.

Inside the left sill .The sills had rusted before and been covered with another sill panel which had also rusted out. The two layer can be seen in the upper part of the picture.
A big block of spray foam….
More Spray foam… I began to think a previous owner was a carpenter who didn’t know how to weld…
Lumps of filler in the right hand sill. It must rattled a bit..
The front of the left floor was removed to remove rusted parts and gauge the worst of the rust.
Yet more Spray foam . The under brace is OK and will be reused after the rust is removed . the inner sill will be replaced before the rest is removed. The seat mounts will have to be remade as they are rusted right off.
Under the rear floor there are some rust outs which need to be repaired the lighter part is a hole which covered with metal flashing.

Leave a Reply

Fill in your details below or click an icon to log in:

WordPress.com Logo

You are commenting using your WordPress.com account. Log Out /  Change )

Facebook photo

You are commenting using your Facebook account. Log Out /  Change )

Connecting to %s