
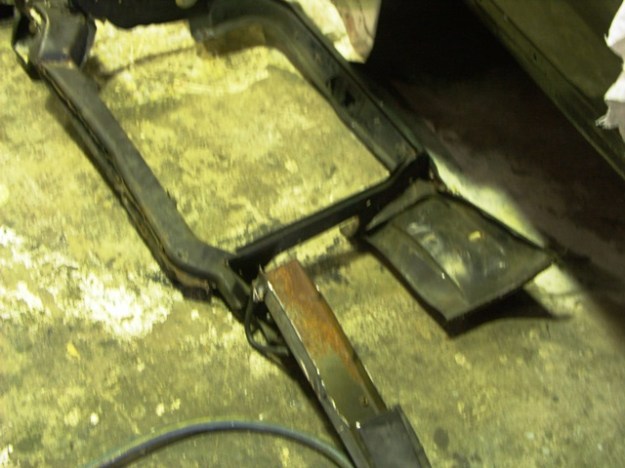
This is part of a 6.3 rebuild which began as a simple gear box swap,but while working underneath the car i noticed a lot of damage and some really badly repaired accident damage .Apart from rust in the usual places the front cross member was rusted out and the car was 50mm shorter on the left side.This pic shows the state of the left hand side bumper support cross members . Not only bent it was rusted through . To repair it in the past,someone had simply welded a patch over the top of the worst dent and welded the bumper bracket to that.


Here is the Left hand upper part of the fender to radiator support panel. It wasn’t welded together as it should have been.
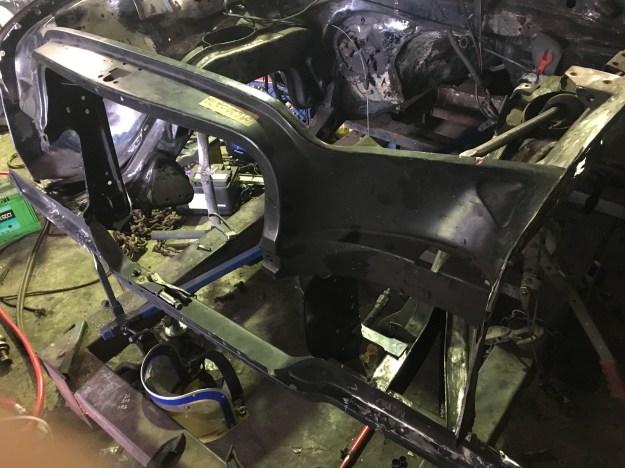
The entire front section had to be replaced. The rust in the bottom of the center section can be seen here . The panel was distorted completely out of shape .

The engine has to be removed to gain access to further damage hidden under the firewall and to check the chassis integrity.

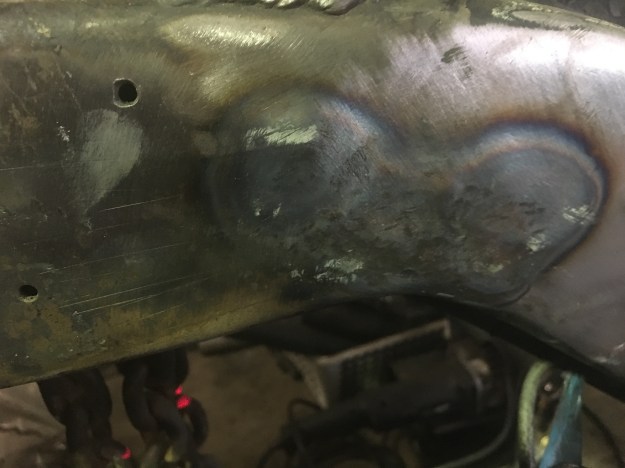
The circle indicates the bend in the left hand chassis rail . The front end of the rail was bent down 25mm .Above it there are creases which had to be worked out.
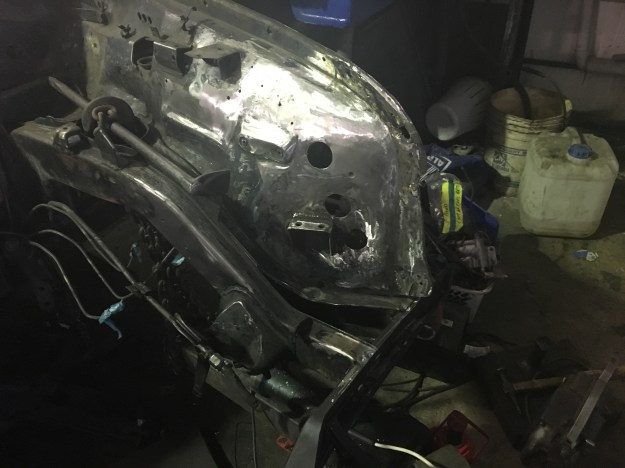
This is the upper part of the inner fender panel ,which was bent back.

The inner side of the rail was heated carefully and force applied to bend the leg back up again.
The outer part came straight with a lot of work.


I used a laser to make sure the both sides were even .

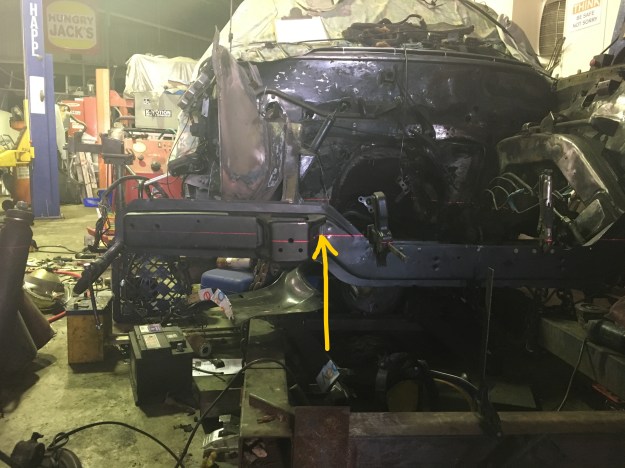
With the front parts removed ,the damage to the chassis extension can be seen clearly .The left hand extension piece(arrow) was actually bent to the left .Both pieces needed to bent straight.

The Right hand side was OK,not requiring any work.

The next step was to repair the damaged inner fender and weld up parts where it was torn from the radiator support panel .

As the panels are straightened out it was important to constantly check the chassis was still within specs.

This the left hand outer part of the footwell . It has been pulled back into shape as it was pushed back contributing to the shorter measurement on the left side.

The new parts are shown here temporarily clamped into place to ensure the car is coming back to shape.

Almost there!.

After a few hours work straightening.

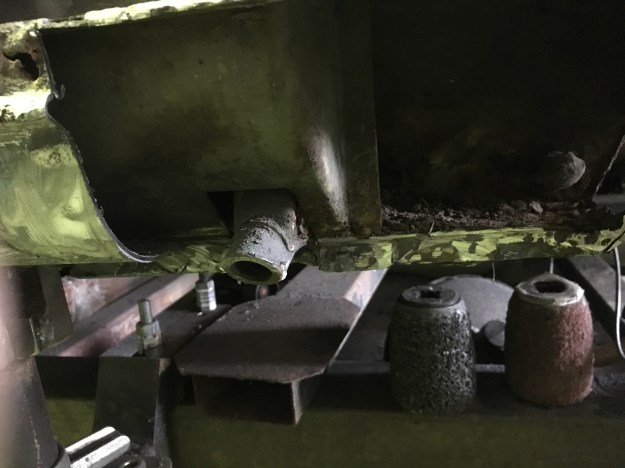
I use a trammel to measure from a set position under the chassis where there is a hole which takes one end,this is the other where a set measurement shows the crossmember here is correctly placed.

The yellow arrow points to the trammel rod and the red arrow shows the needle end in the chassis measurement aperture.
The Yellow arrow here points to the laser line where i am making sure the crossmember is fitting level .

As soon as i am 100% sure the crossmember is sitting in the correct place etc,I weld the rear part to the chassis extensions.

The radiator Support panel is now lined up and checked with the laser before clamping and welded into place.


The trans tunnel was very badly damaged in the past,probably from a frontal impact,and was 50mm shorter than it should have been.

in this picture the tell tale ripples in the trans tunnel . The engine had been pushed back in an accident in the past ,leaving the impression of two bell housing bolt heads in the firewall .

The hole in the tunnel on the right of this picture is the access for the starter motor bolts. There is little room in a 6.3 engine bay.
Inside the car ,various parts were damaged ,such as the heater case and this,the dash board brace where the bolts have been sheared off.


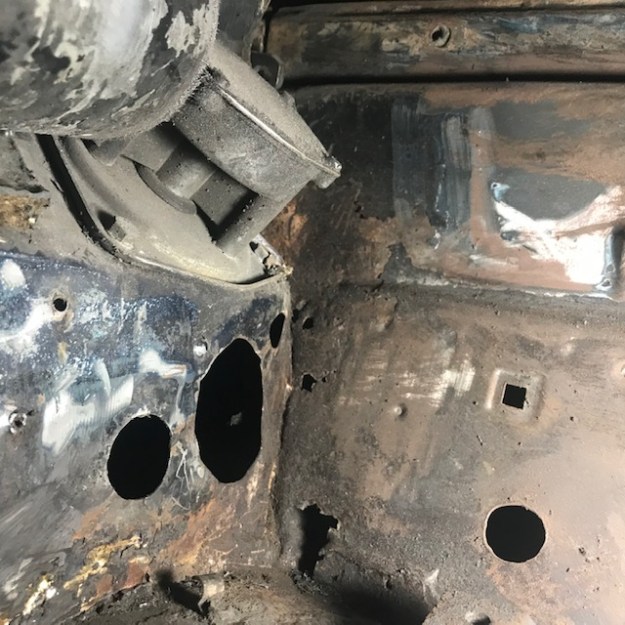
The firewall wasn’t only pushed back,but the welds for the tunnel have been torn away.

The inner fender to firewall end has rusted and where the parts were repalced in the distant past,they weren’t welded but simply brazed together.
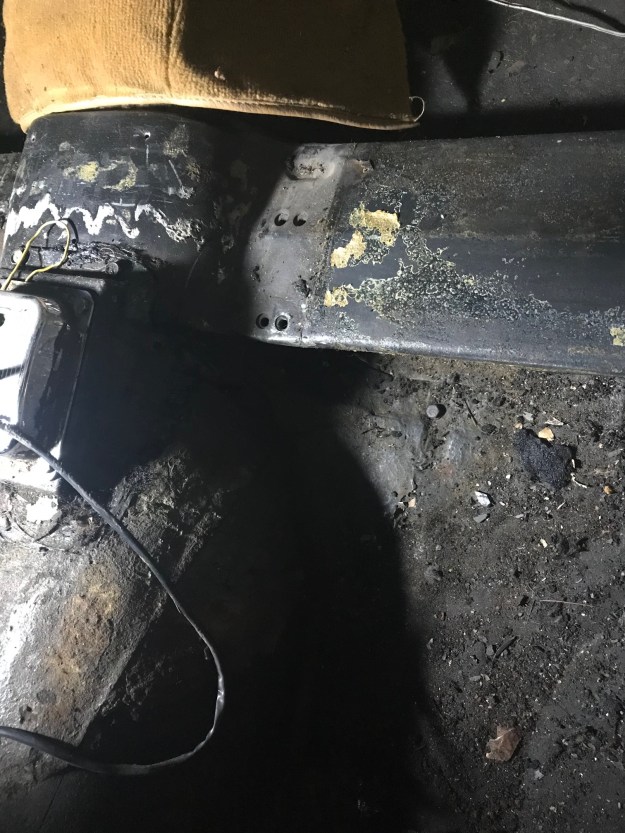
I removed the tunnel So I could straighten it out and pull the firewall back out again .

In the past someone had used heat to try and removed dents in the tunnel,where the black burn marks are.


The other interesting this was the method used to hold the gear shift in place.

The lever was stuck in place with Sika flex.


")


The sika flex was stripped off and the tunnel put back into shape the shifter base was also bent so that was repaired .

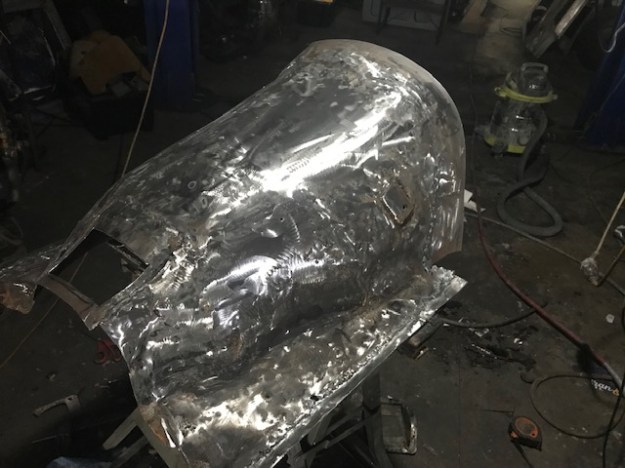
The side flanges where the car is spot welded to the car were replaced as was the front end where it is fuse welded to the firewall aperture .

Under the car,the cross member on the tunnel was bent,so that has been straightened also .

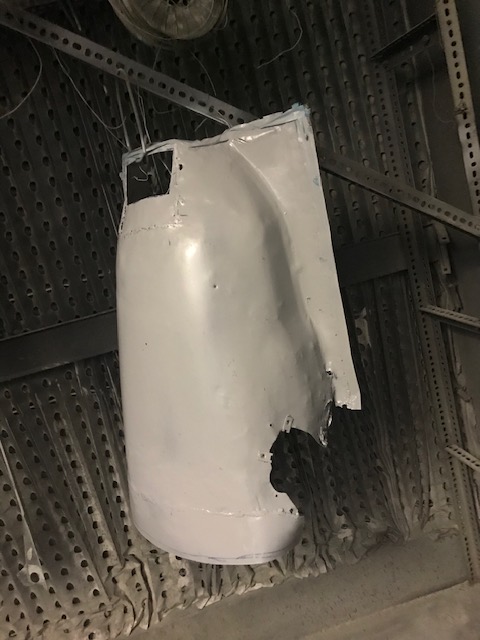
In the spray booth.
This the firewall on the passenger side (Right hand Drive) .The side panel was replaced in the past and Brazed into place. Rust has taken hold so this whole piece has to be removed and replaced.
There is rust in the Sill /Rocker section at the front to be repaired.
Front end of the right hand sill/rocker section.

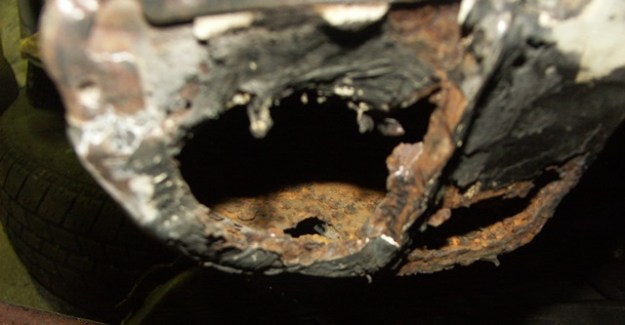
The hole in the upper edge of this picture is from rust forming behind the jack point on the right hand side.

The mess revealed under the coats of bituminous underseal.

I cut the outer skin off and as can be seen it’s was pretty rough inside.
Cleaned up in preparation for new steel to welded into it.


With the new peice welded in place, a spare guard is bolted in place to check fit .
Next: welding the tunnel into place and repairing the remainder of the rust .
