
It’s been some time since I posted anything up for this car, so here is an Update of all the effort so far.
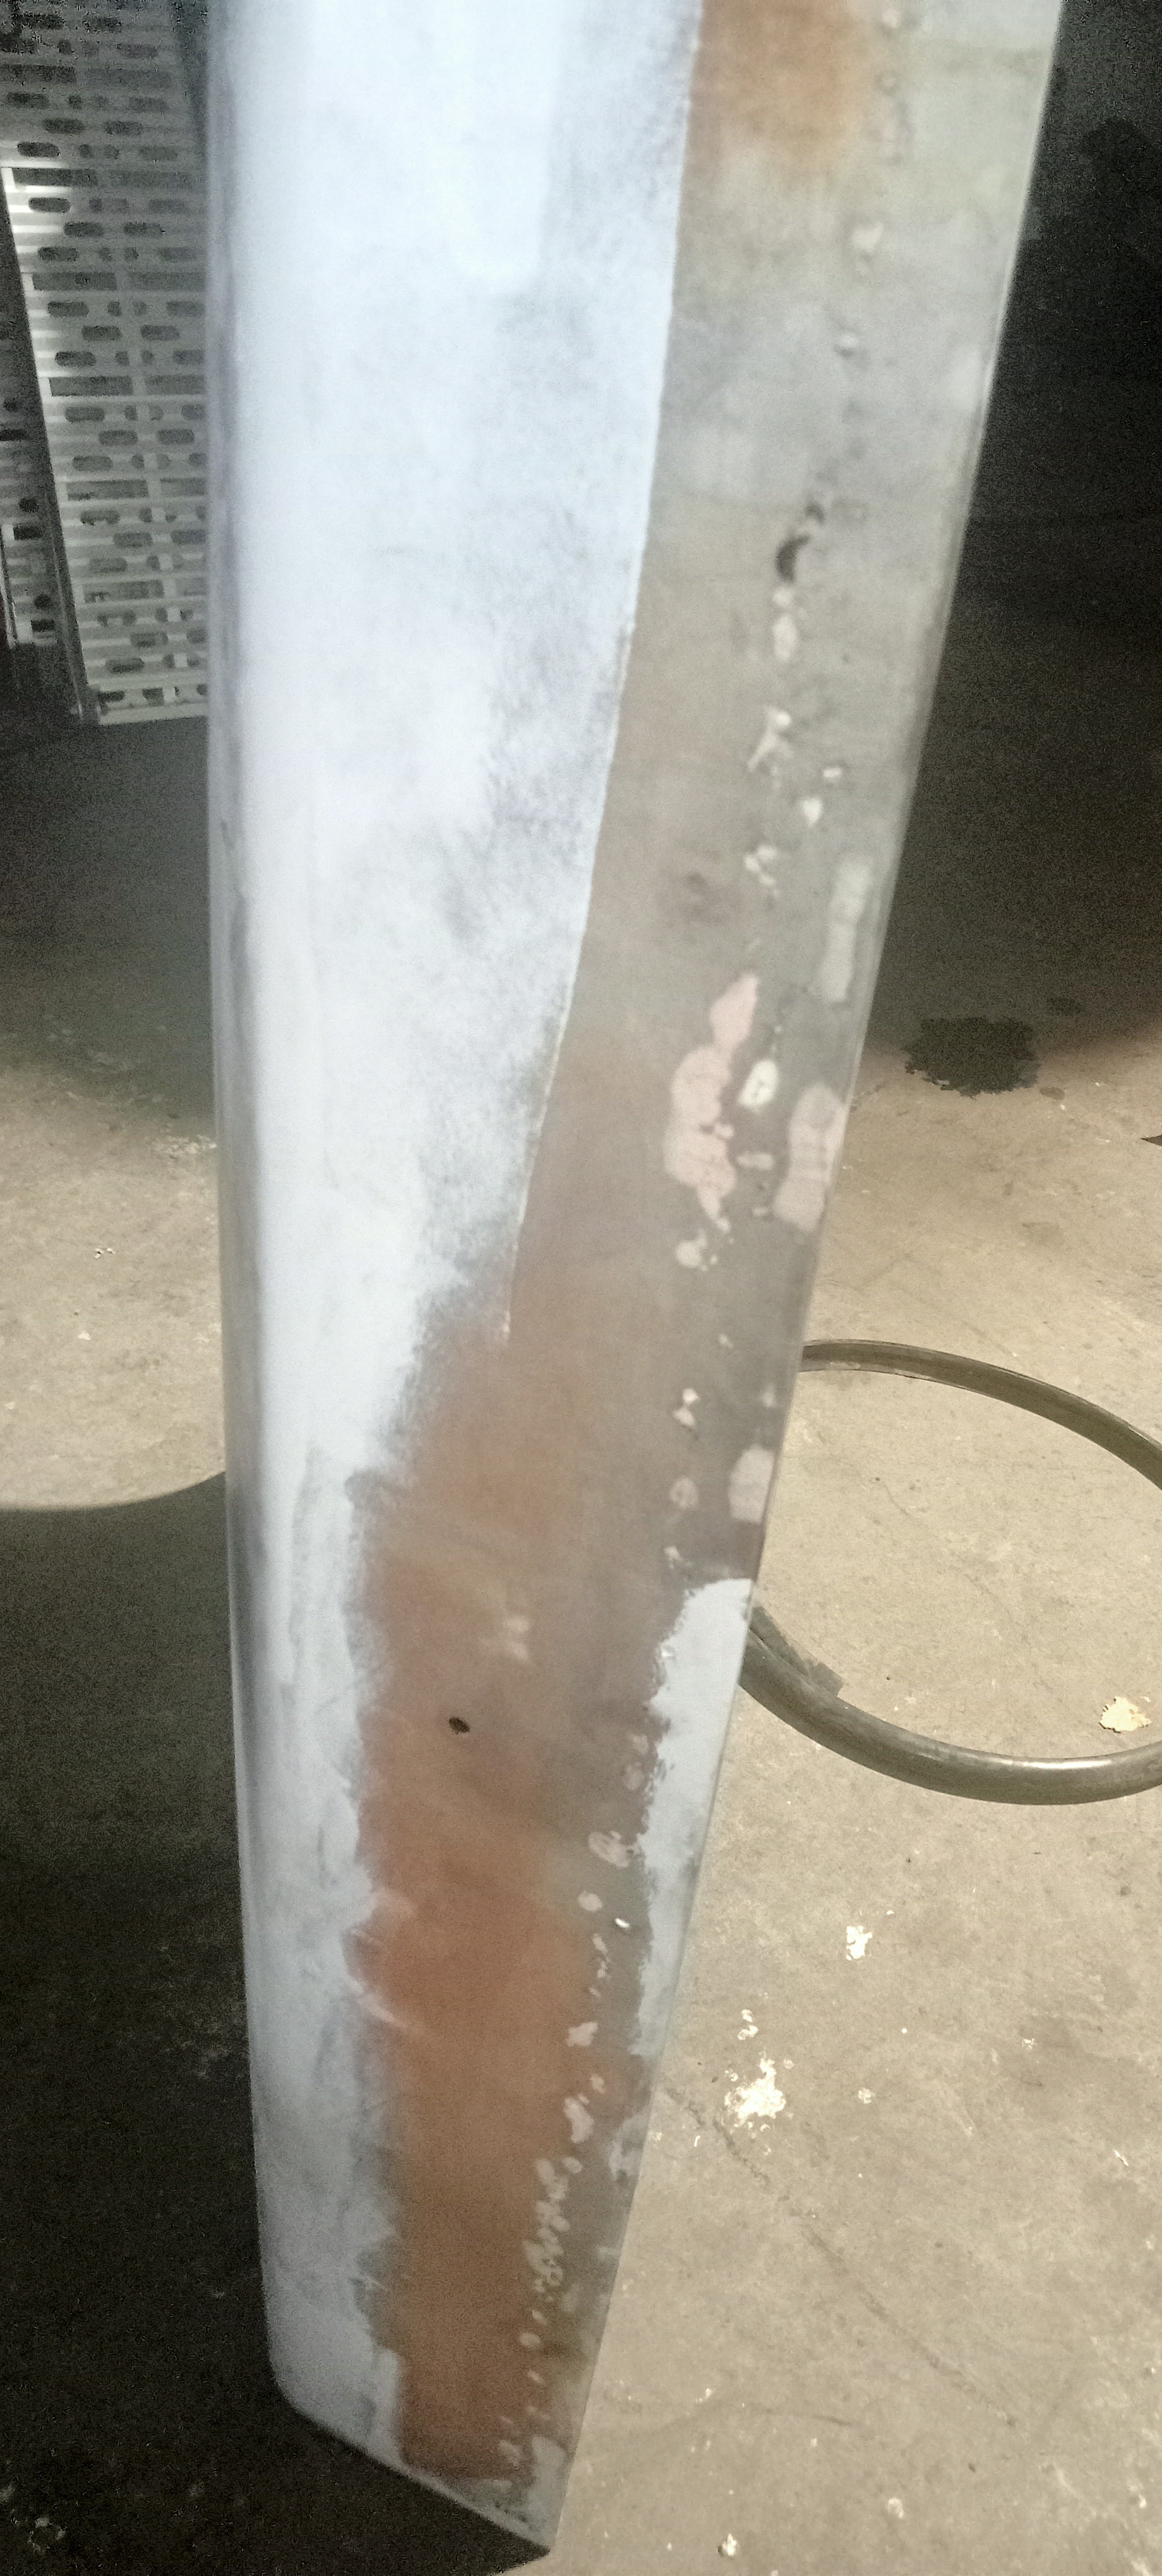
This was the bootlid once the paint was taken off to check the extent of the rust damage.The white marks are holes which were filled with bondo.
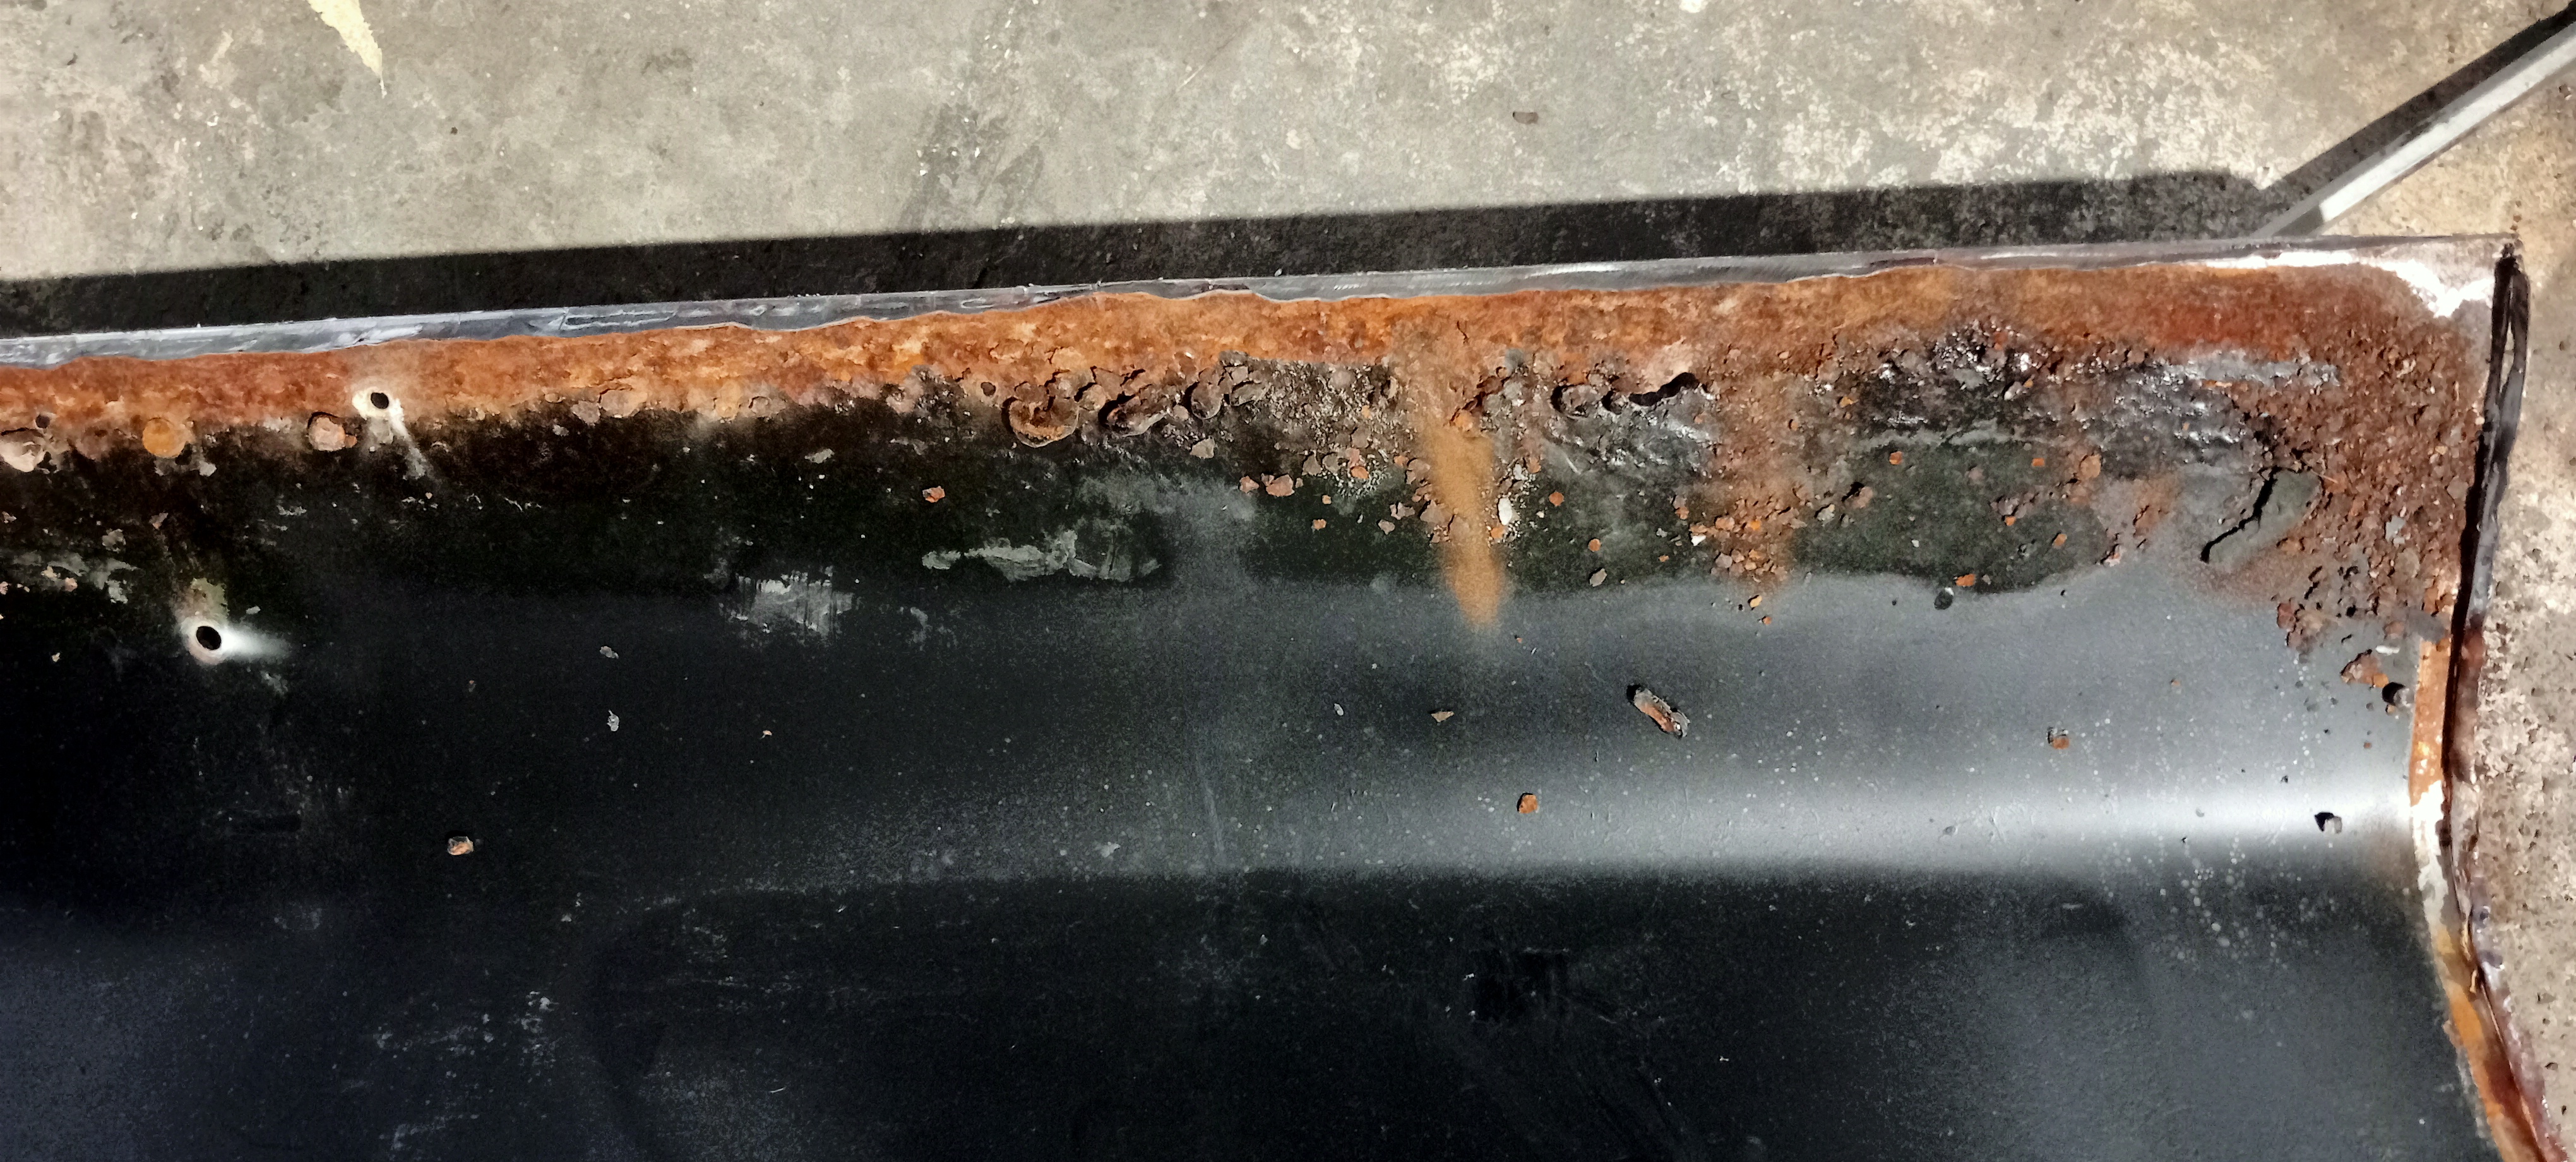
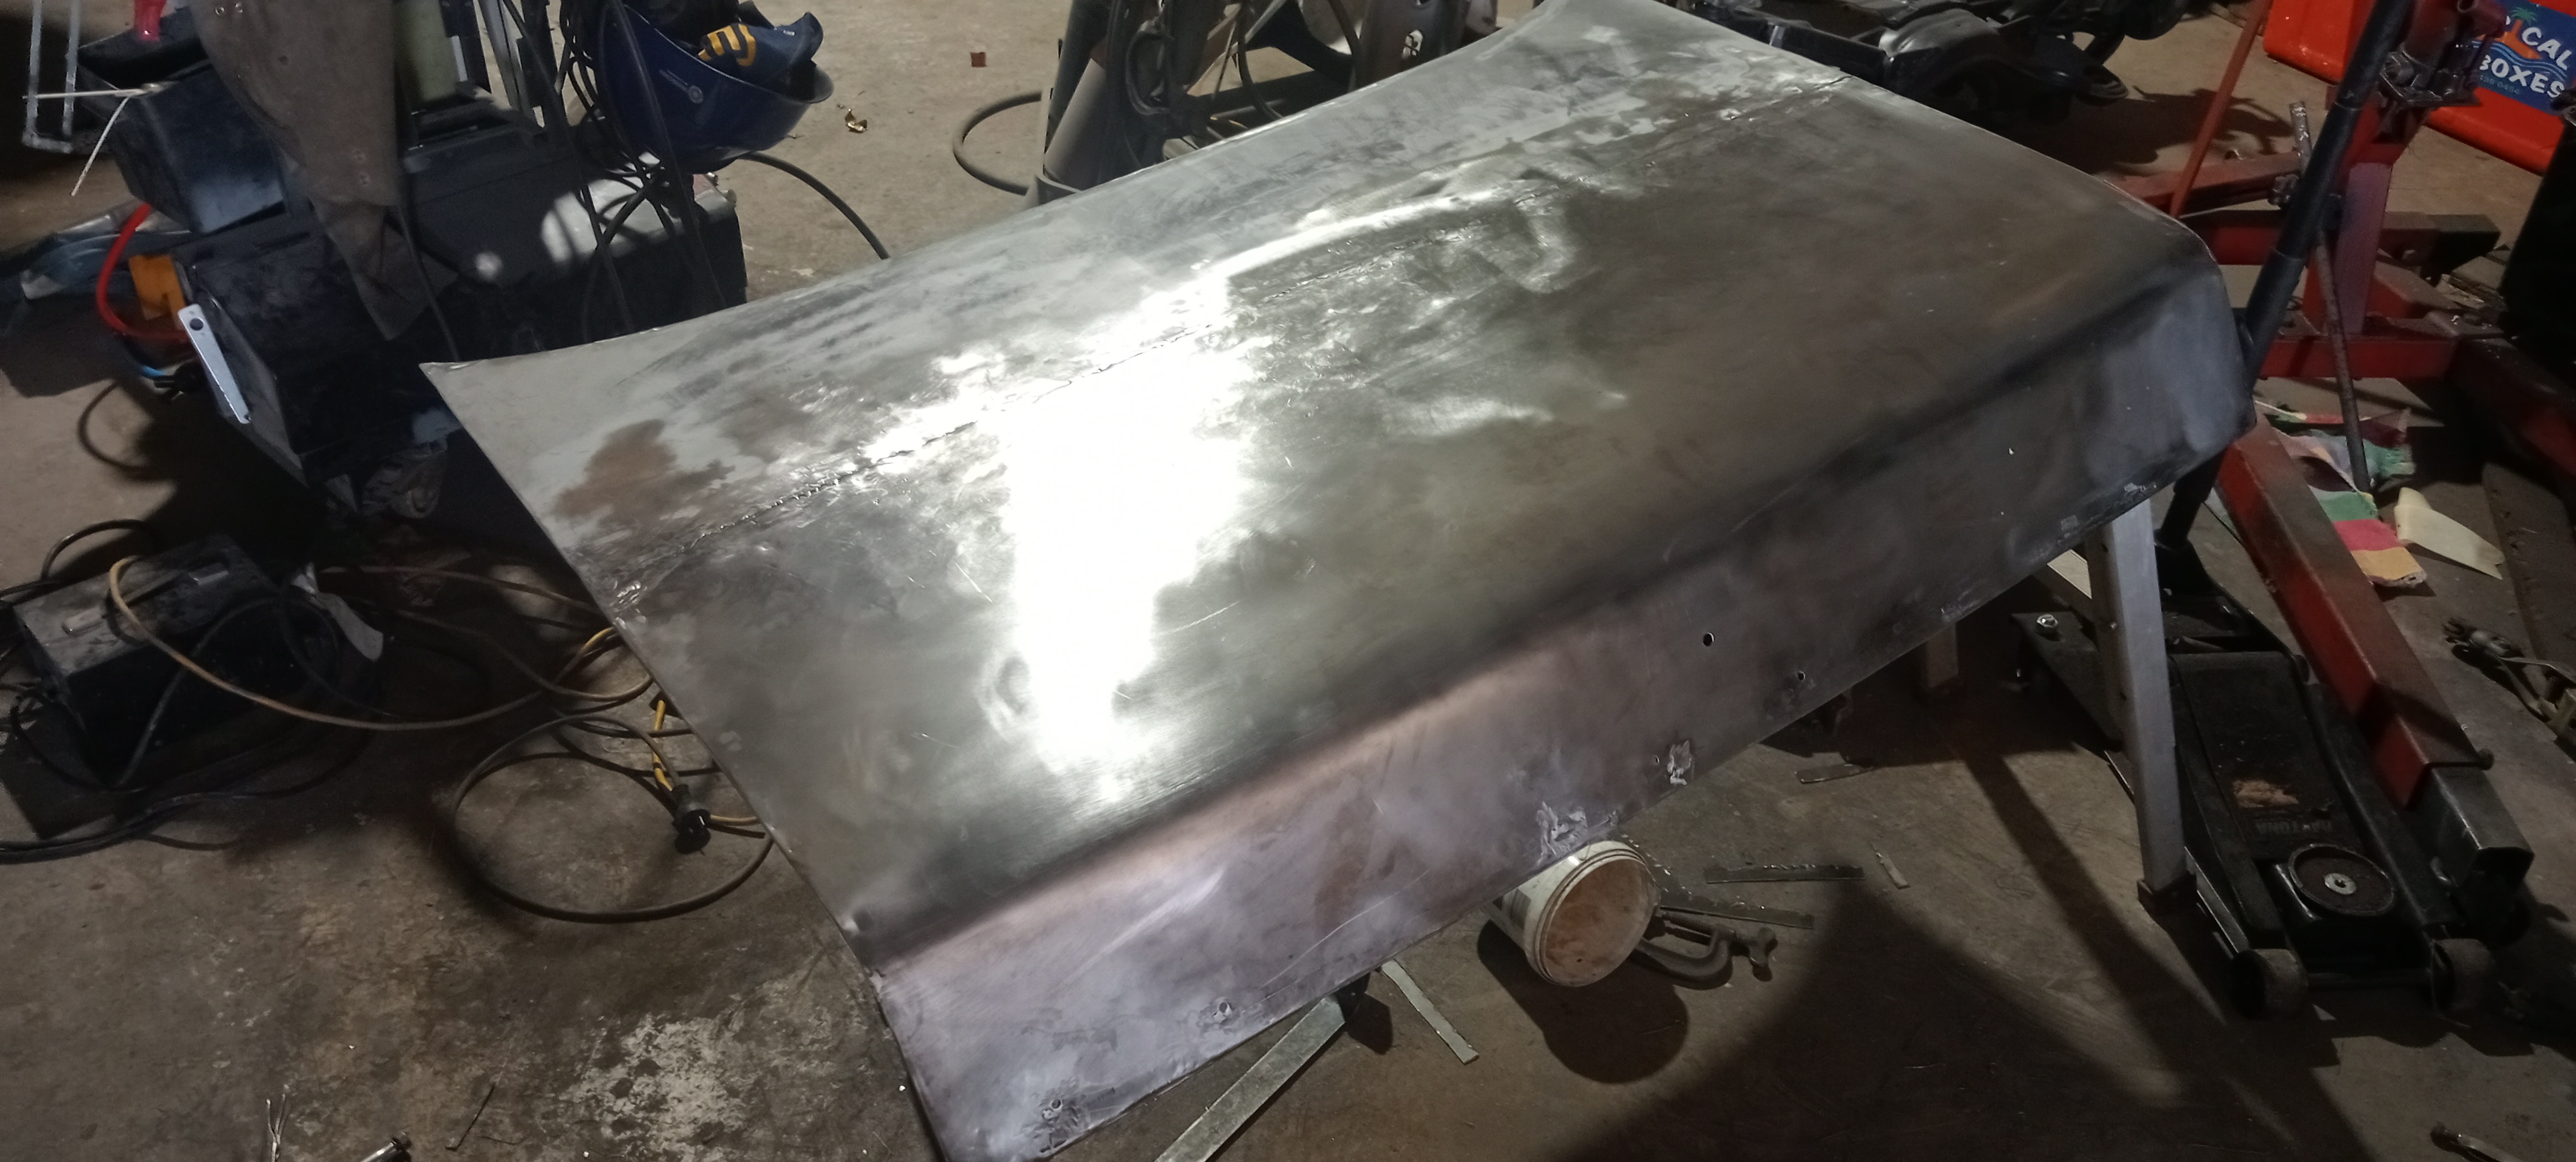
The skin of the bootlid was removed and underneath it was beyond repair.
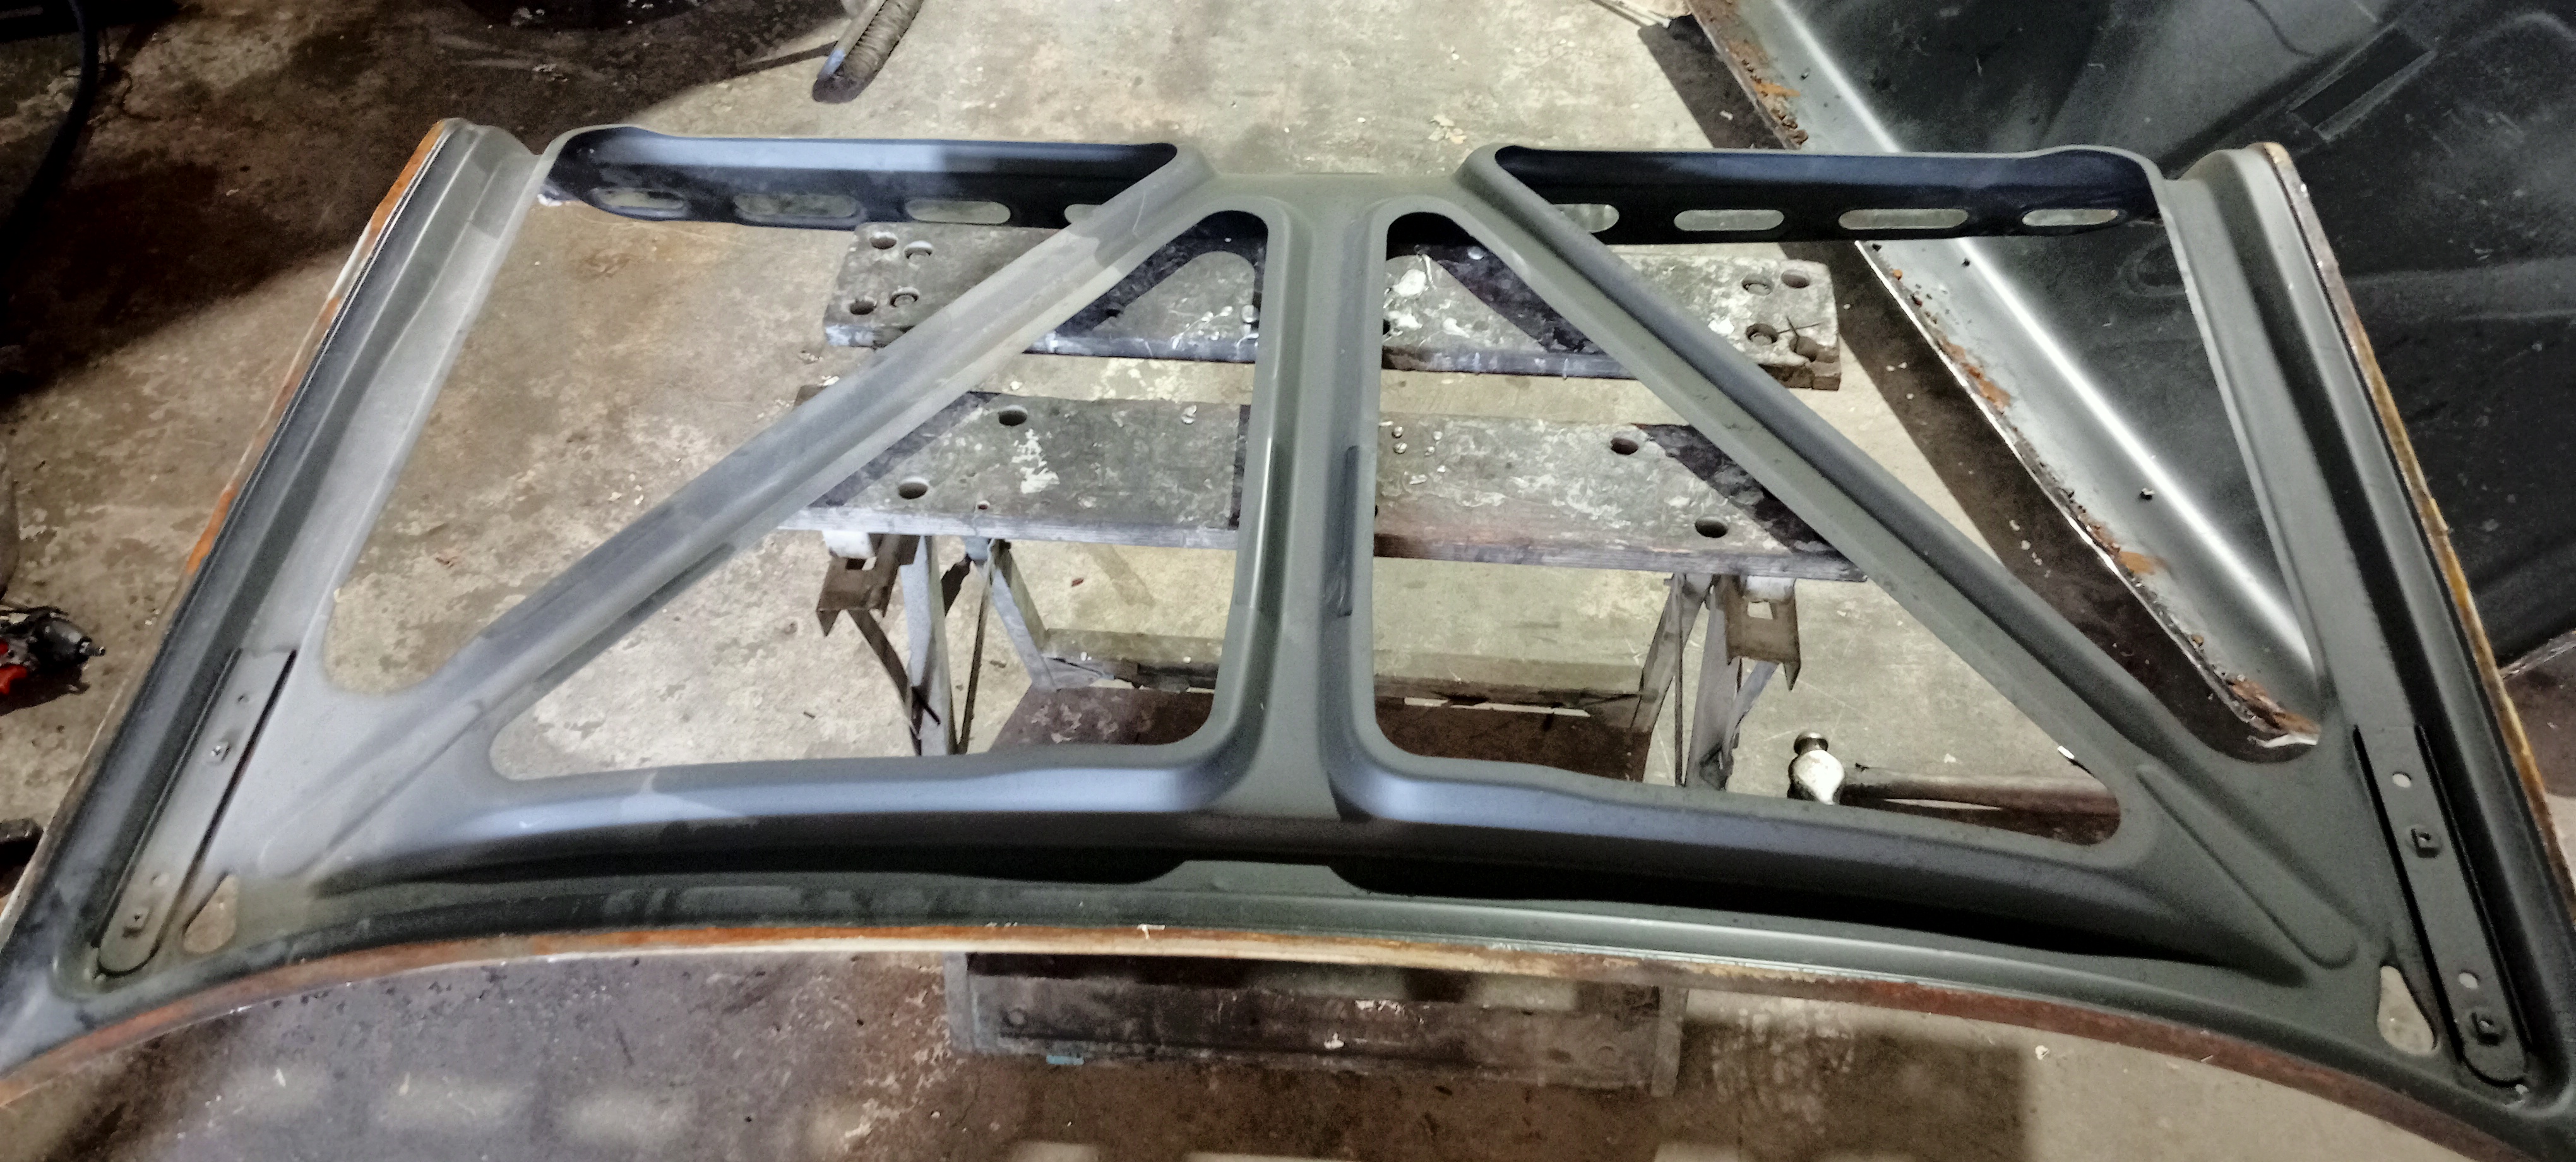
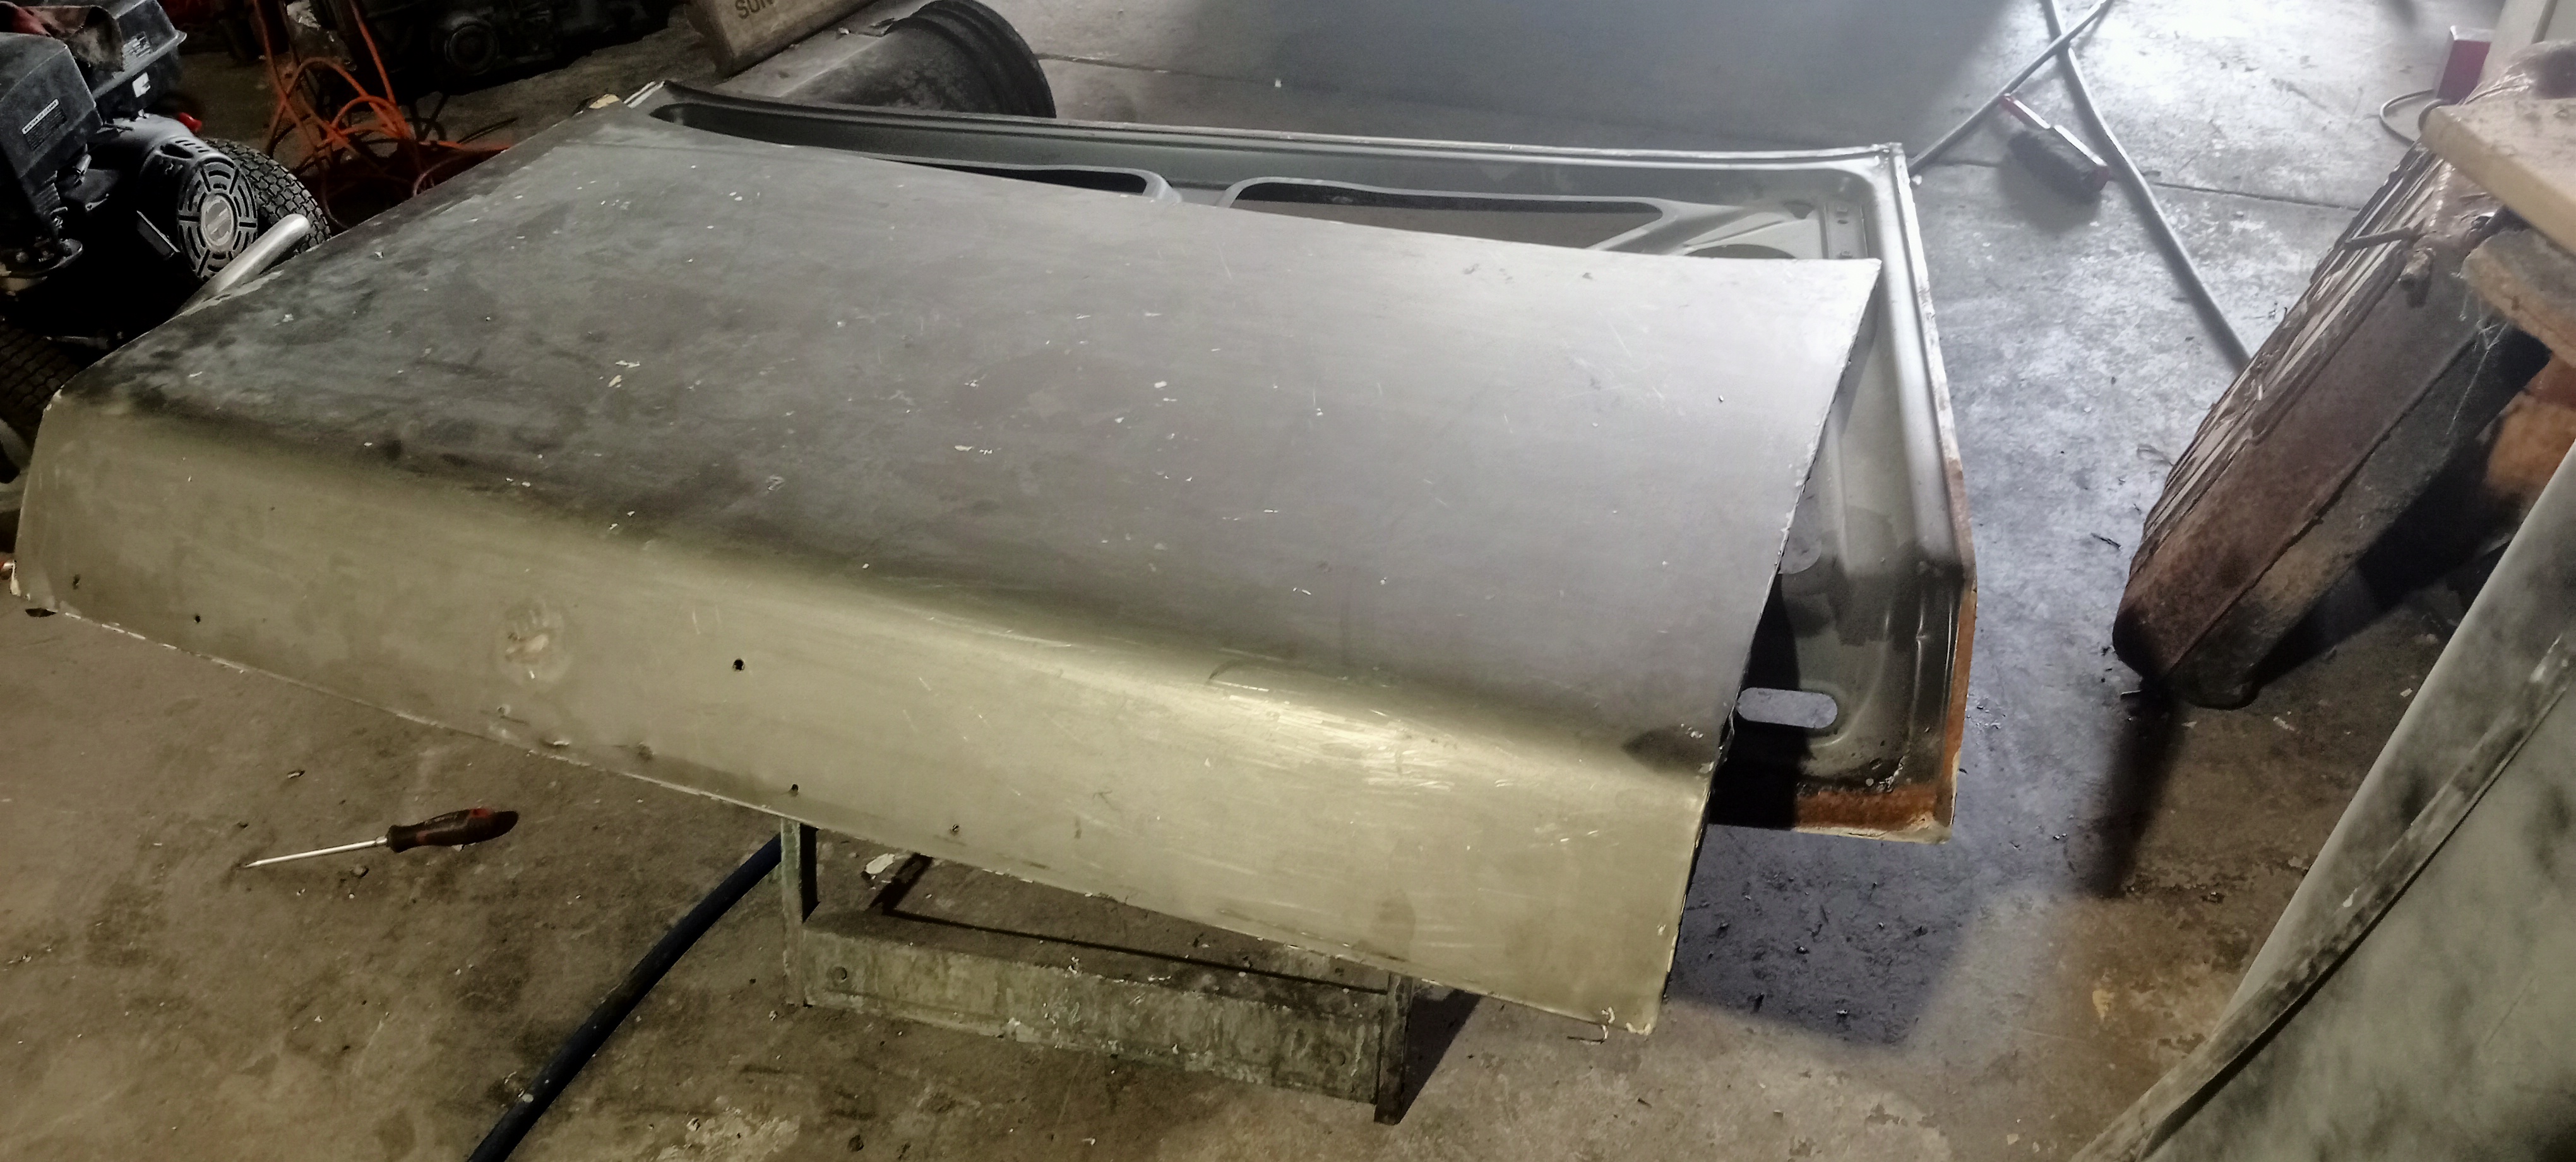
This is the frame for the boot lid which was still repairable.
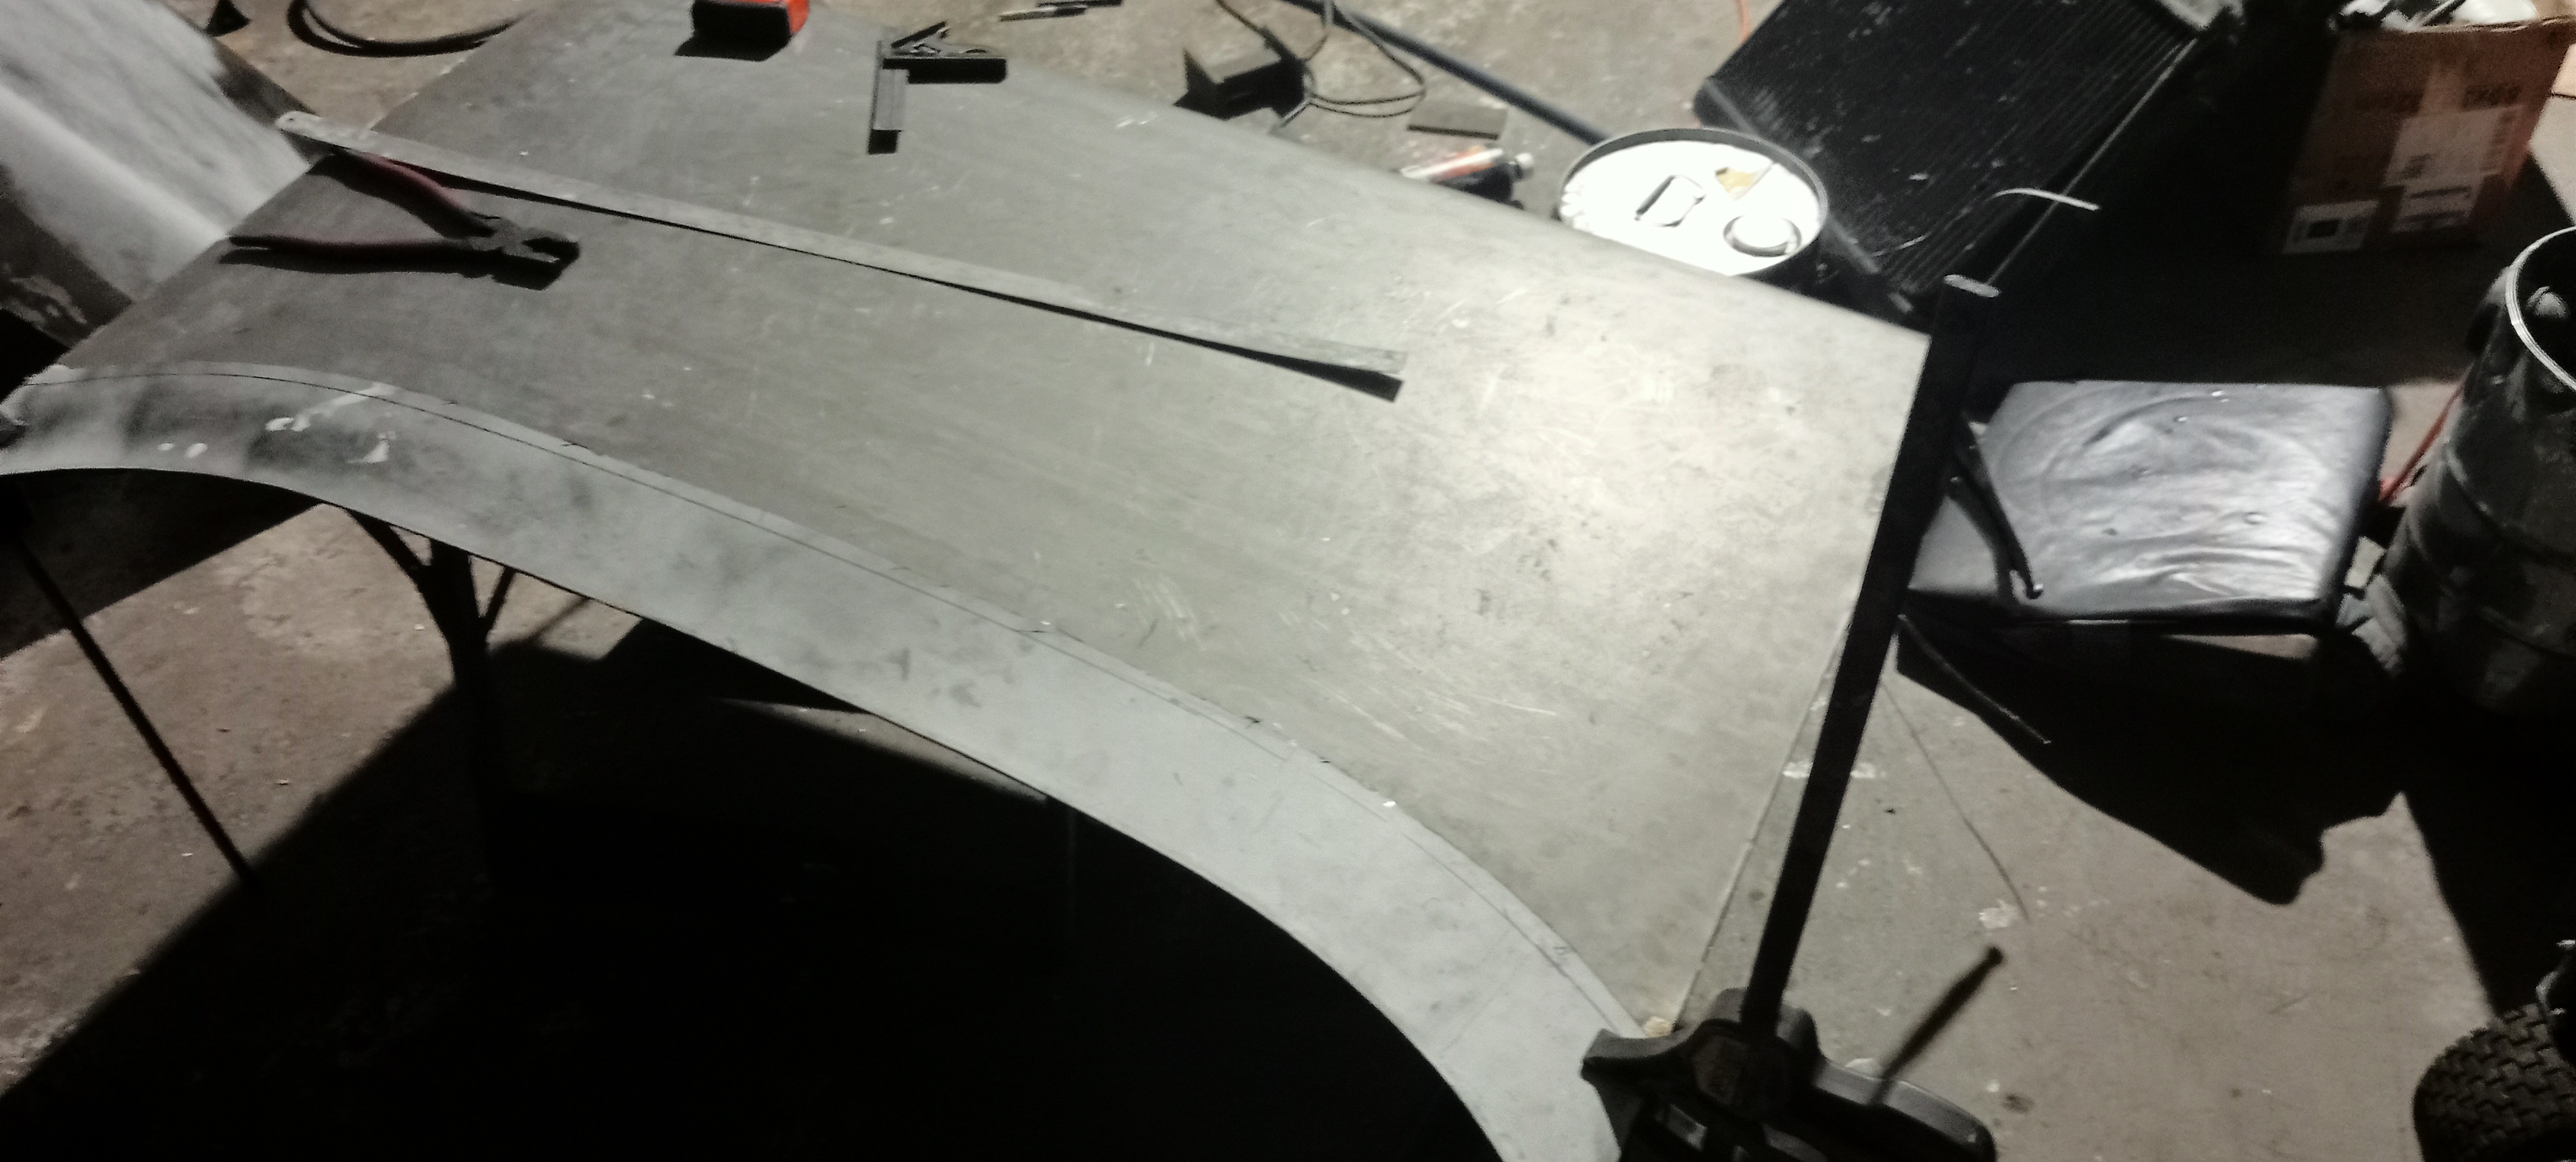
Here,an attempt is made to make a new skin with the curved part from the old one to get the correct shape.
The skin welded together .
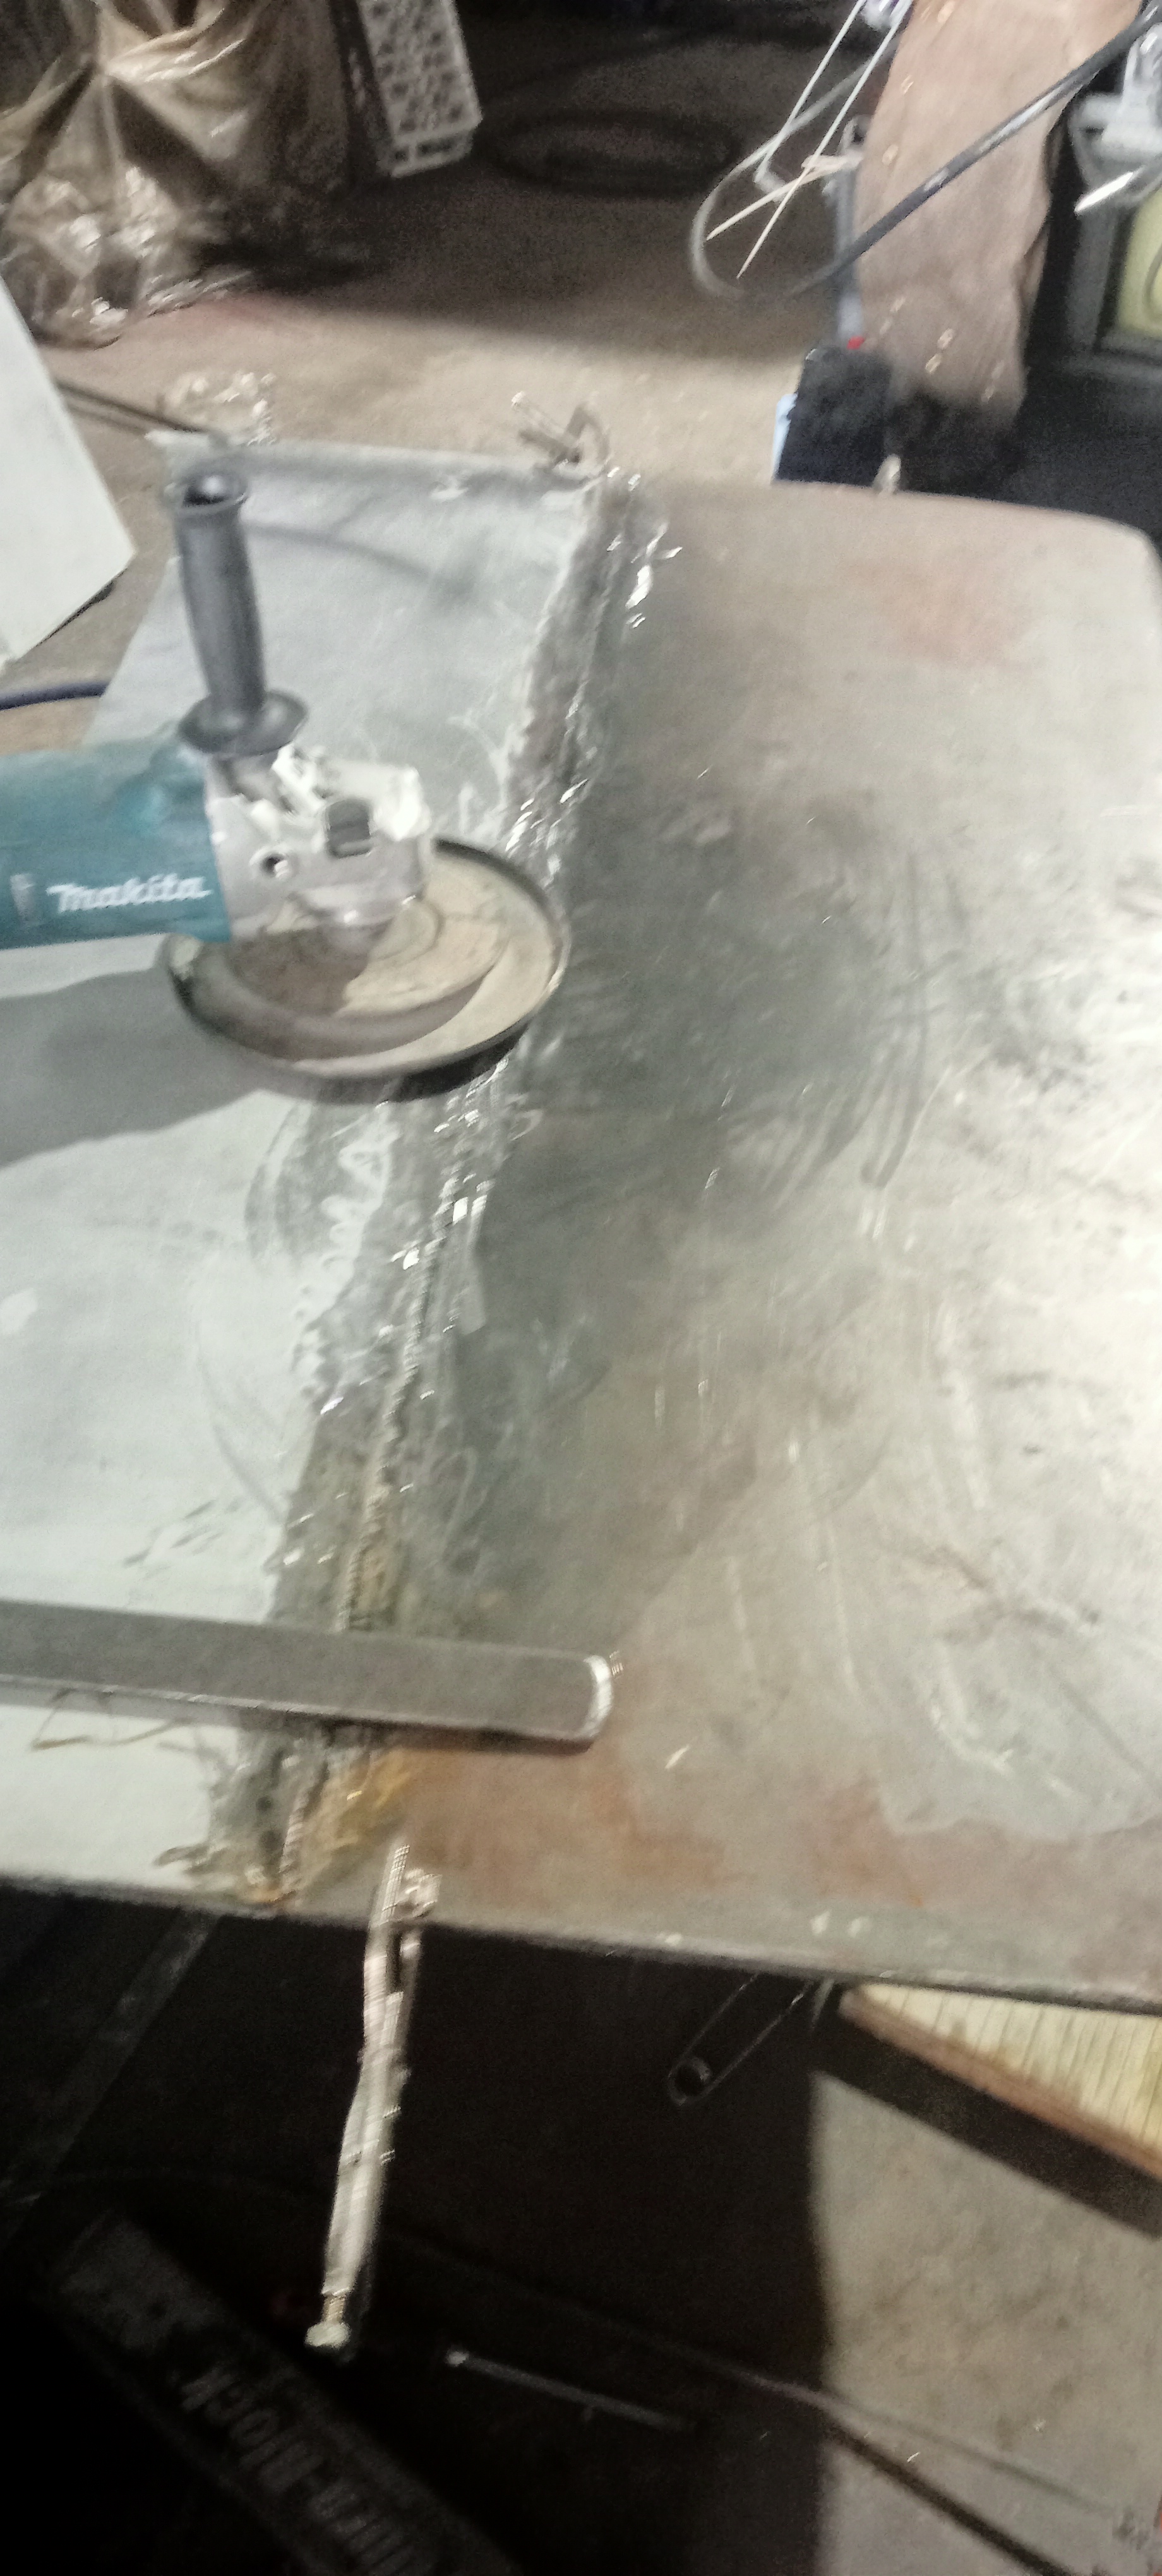
The welding took quite some time.
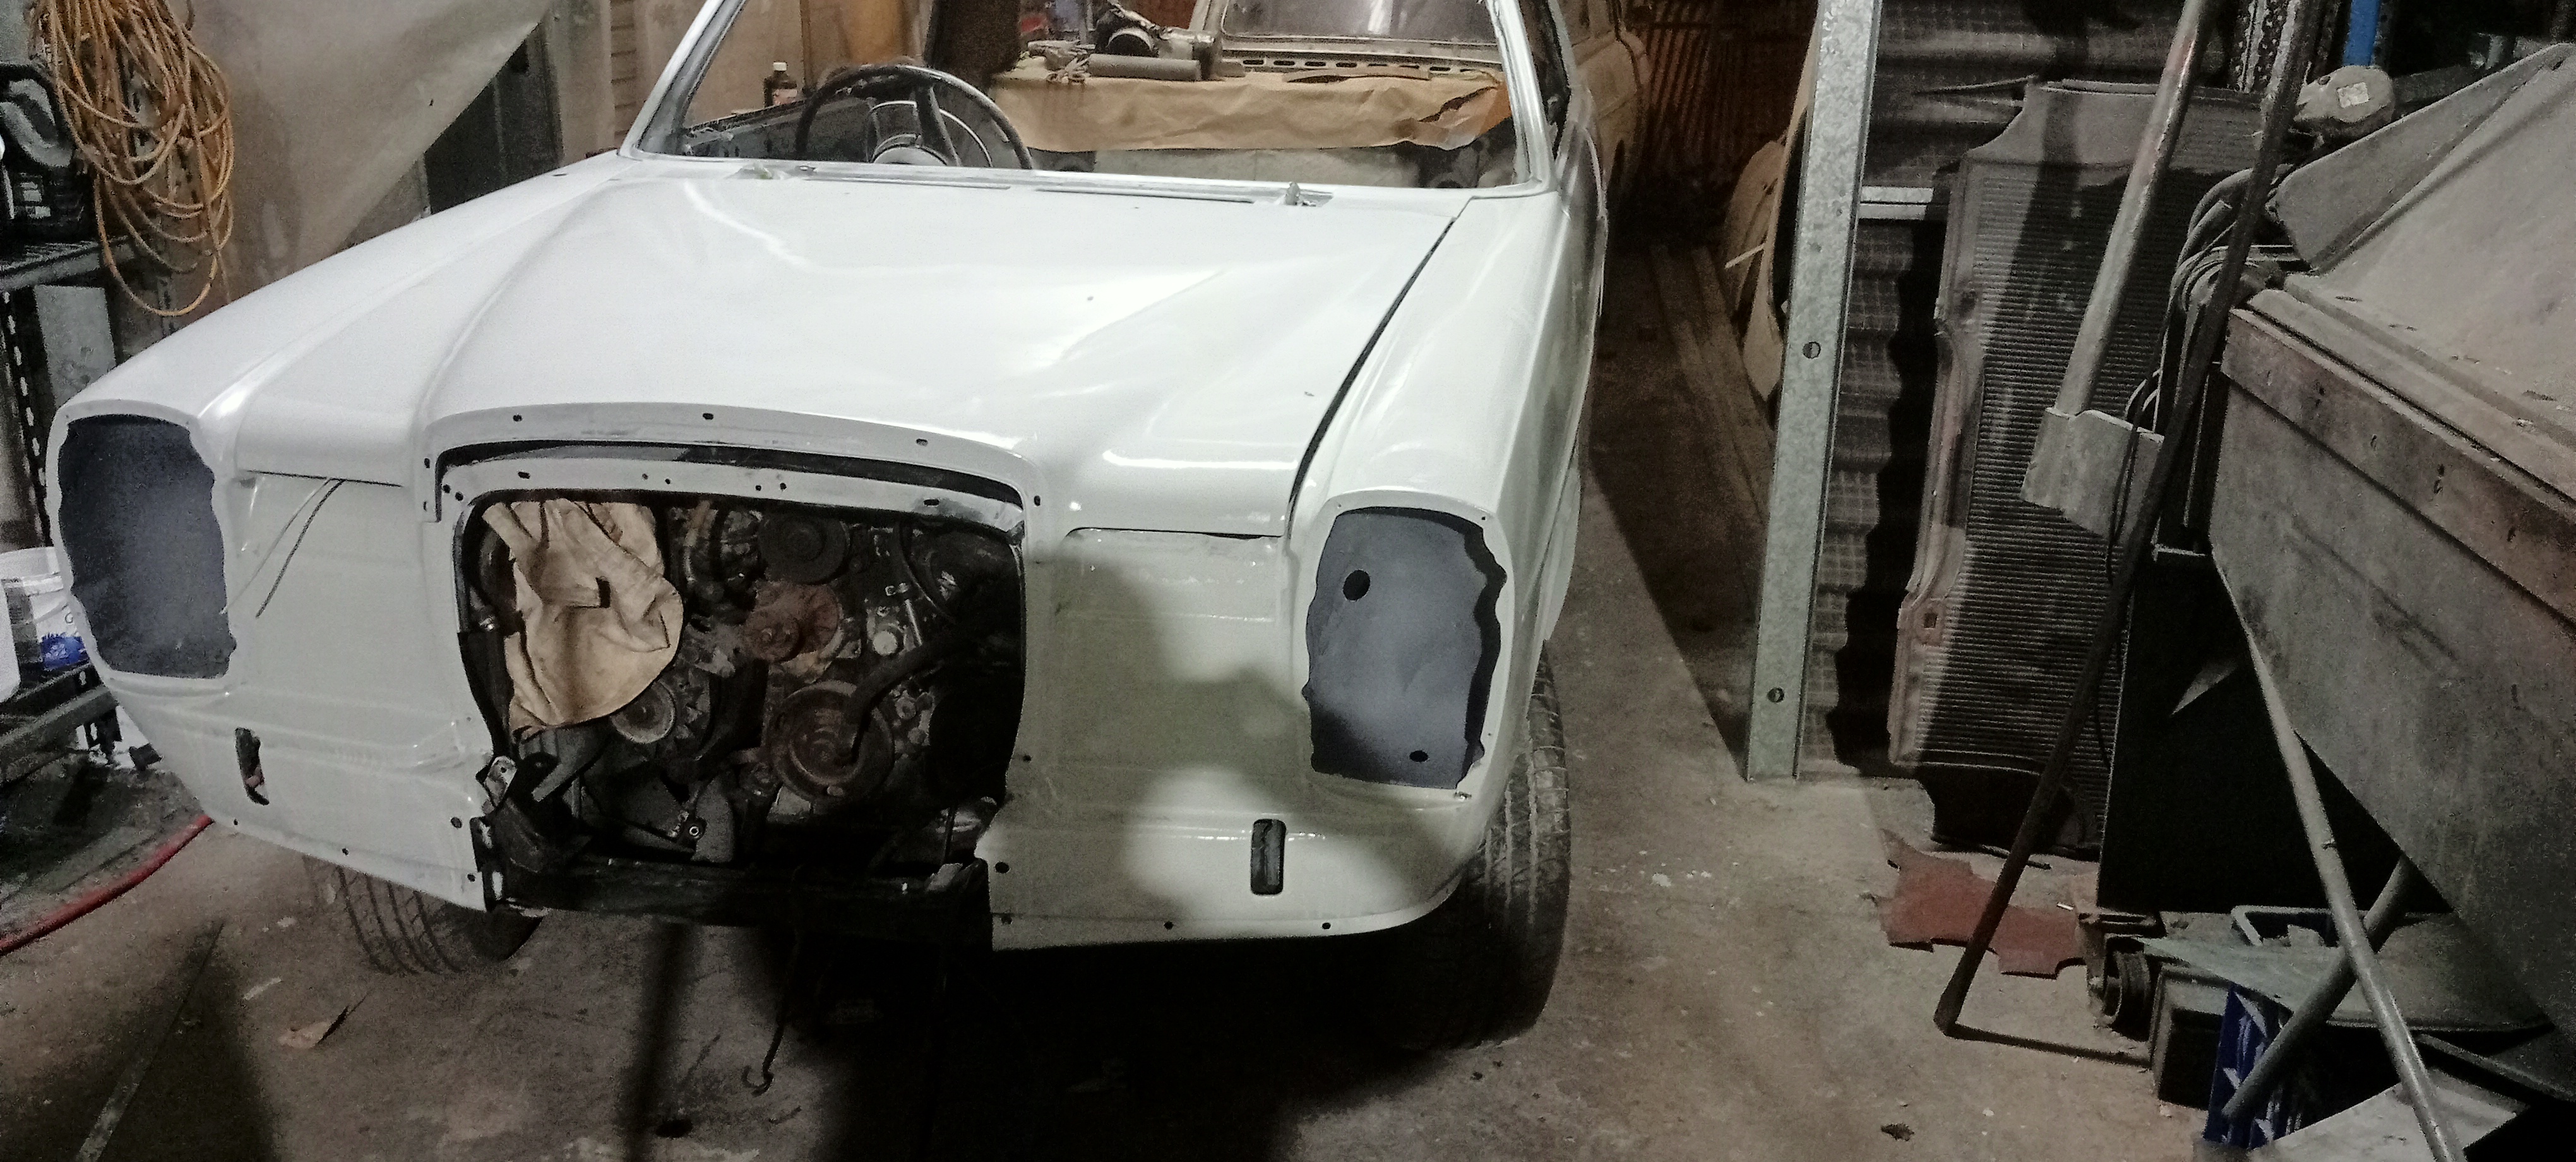
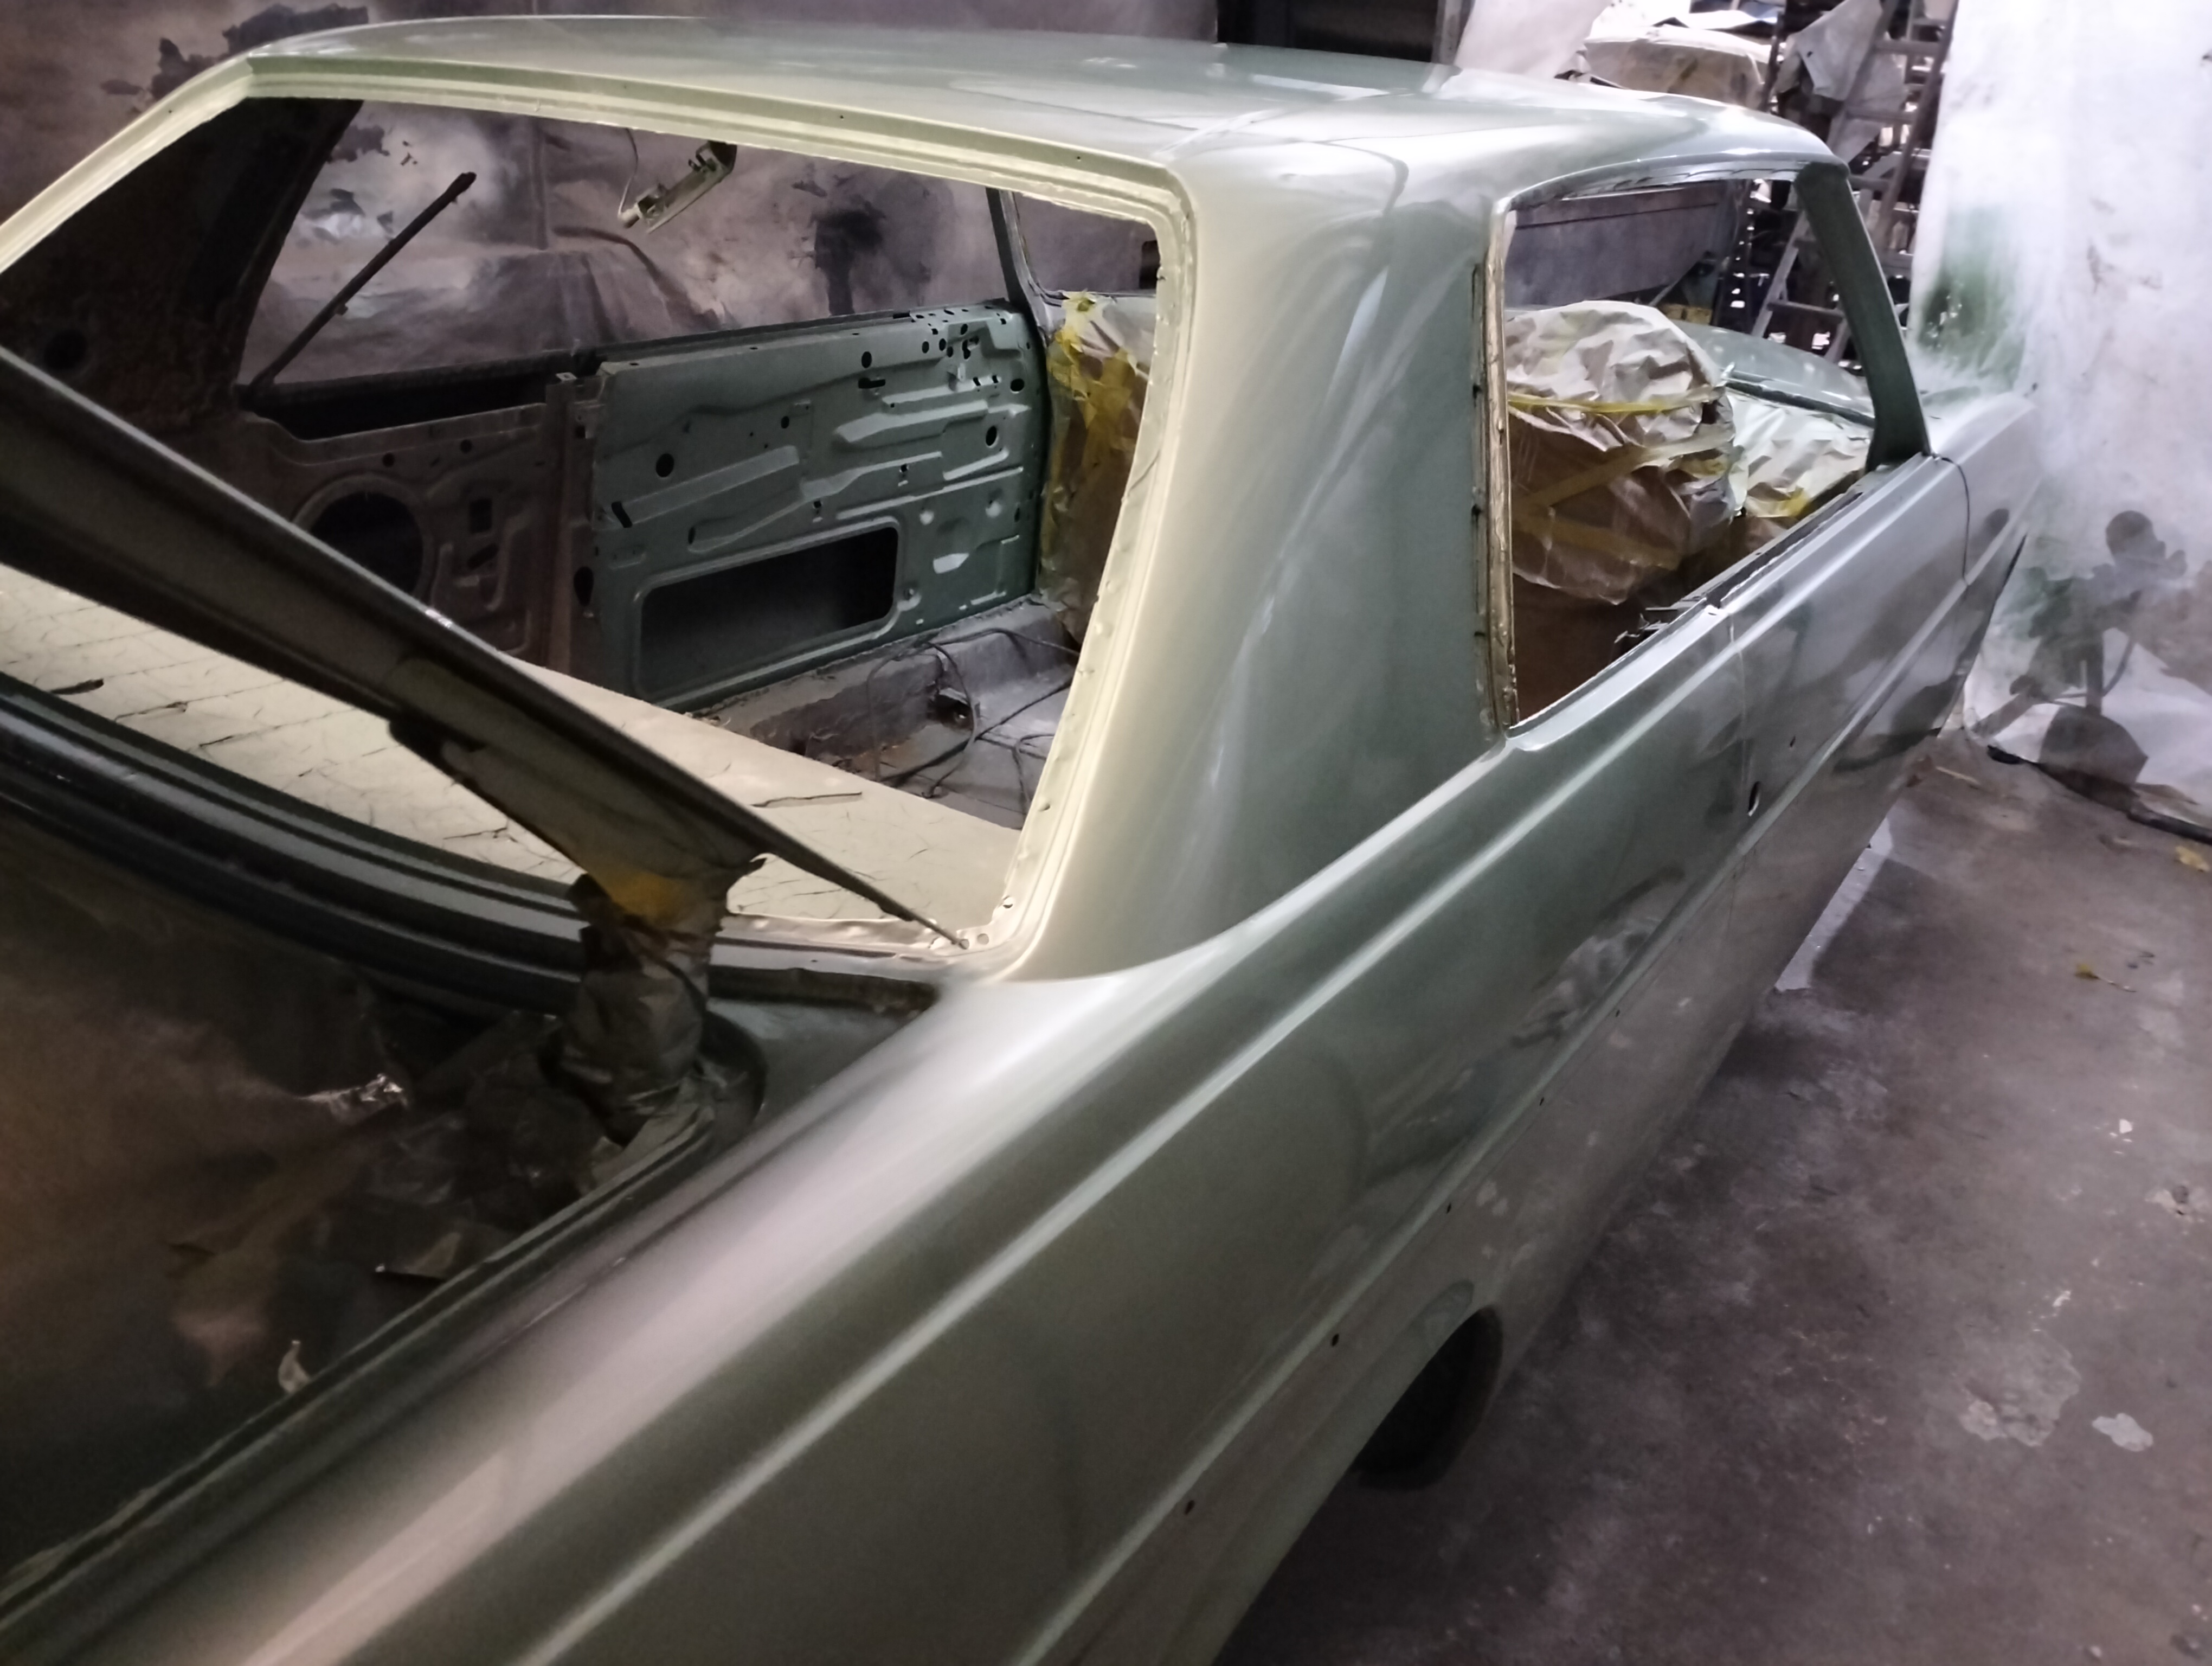
The Body work was mostly completed by this stage and several coats of black epoxy primer were applied. This seals the metal work to prevent rust,Next several coats of white epoxy were applied over this.
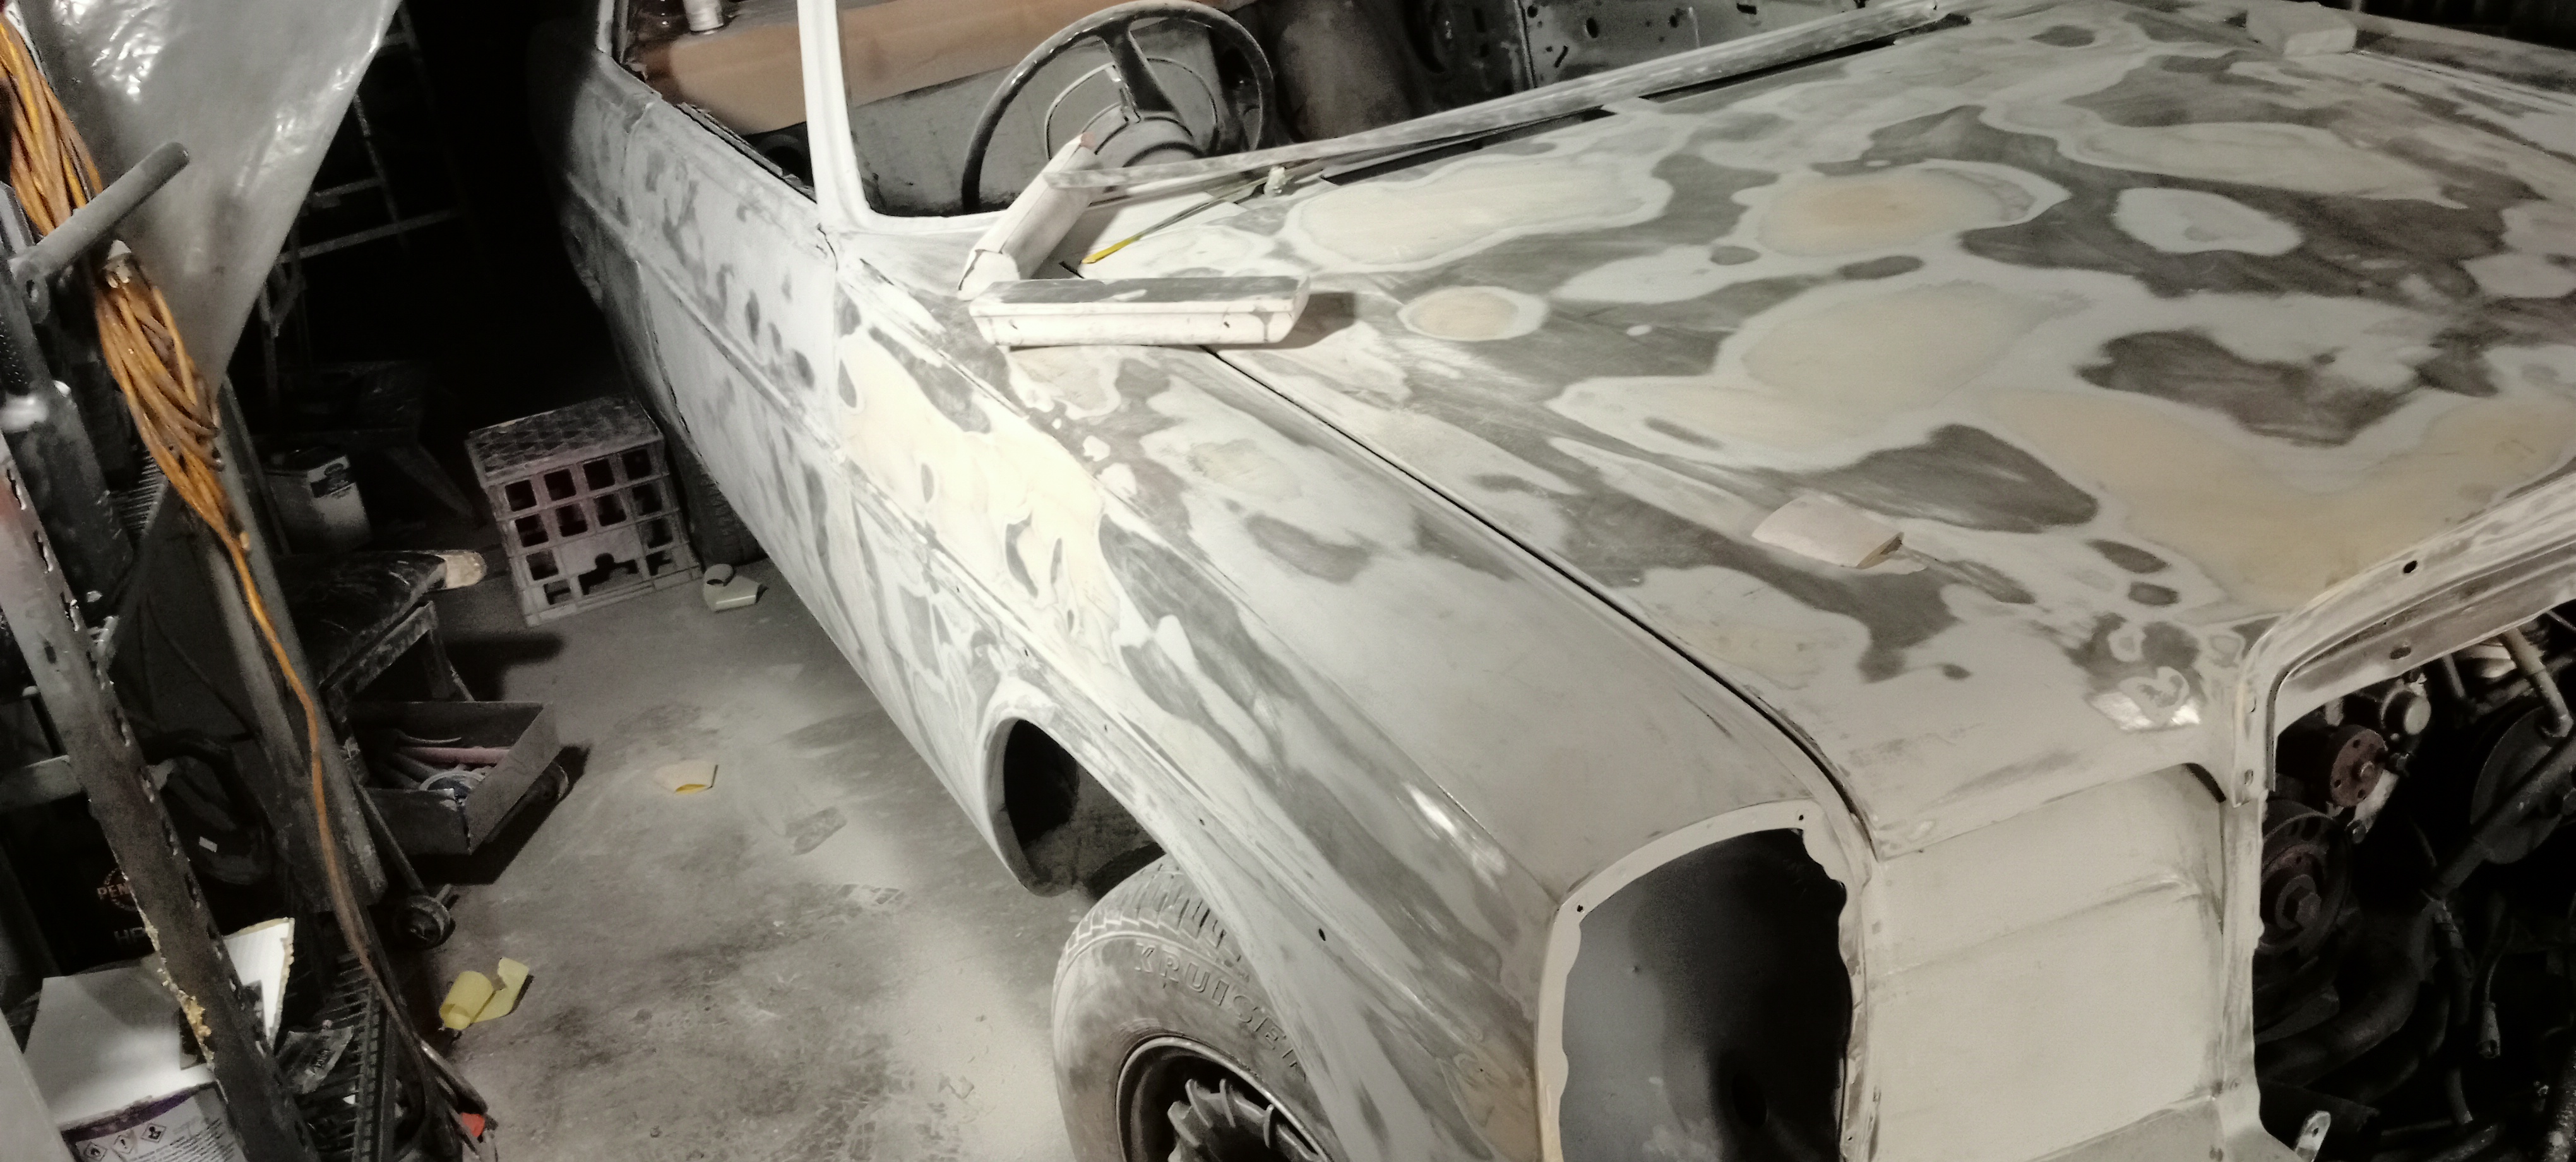
Prior to the black epoxy coats several layers of white epoxy were applied to help get the panel surface into better condition .
Here,more coats of white epoxy are applied to further finnesse the surface using finer and finer grades of sandpaper.
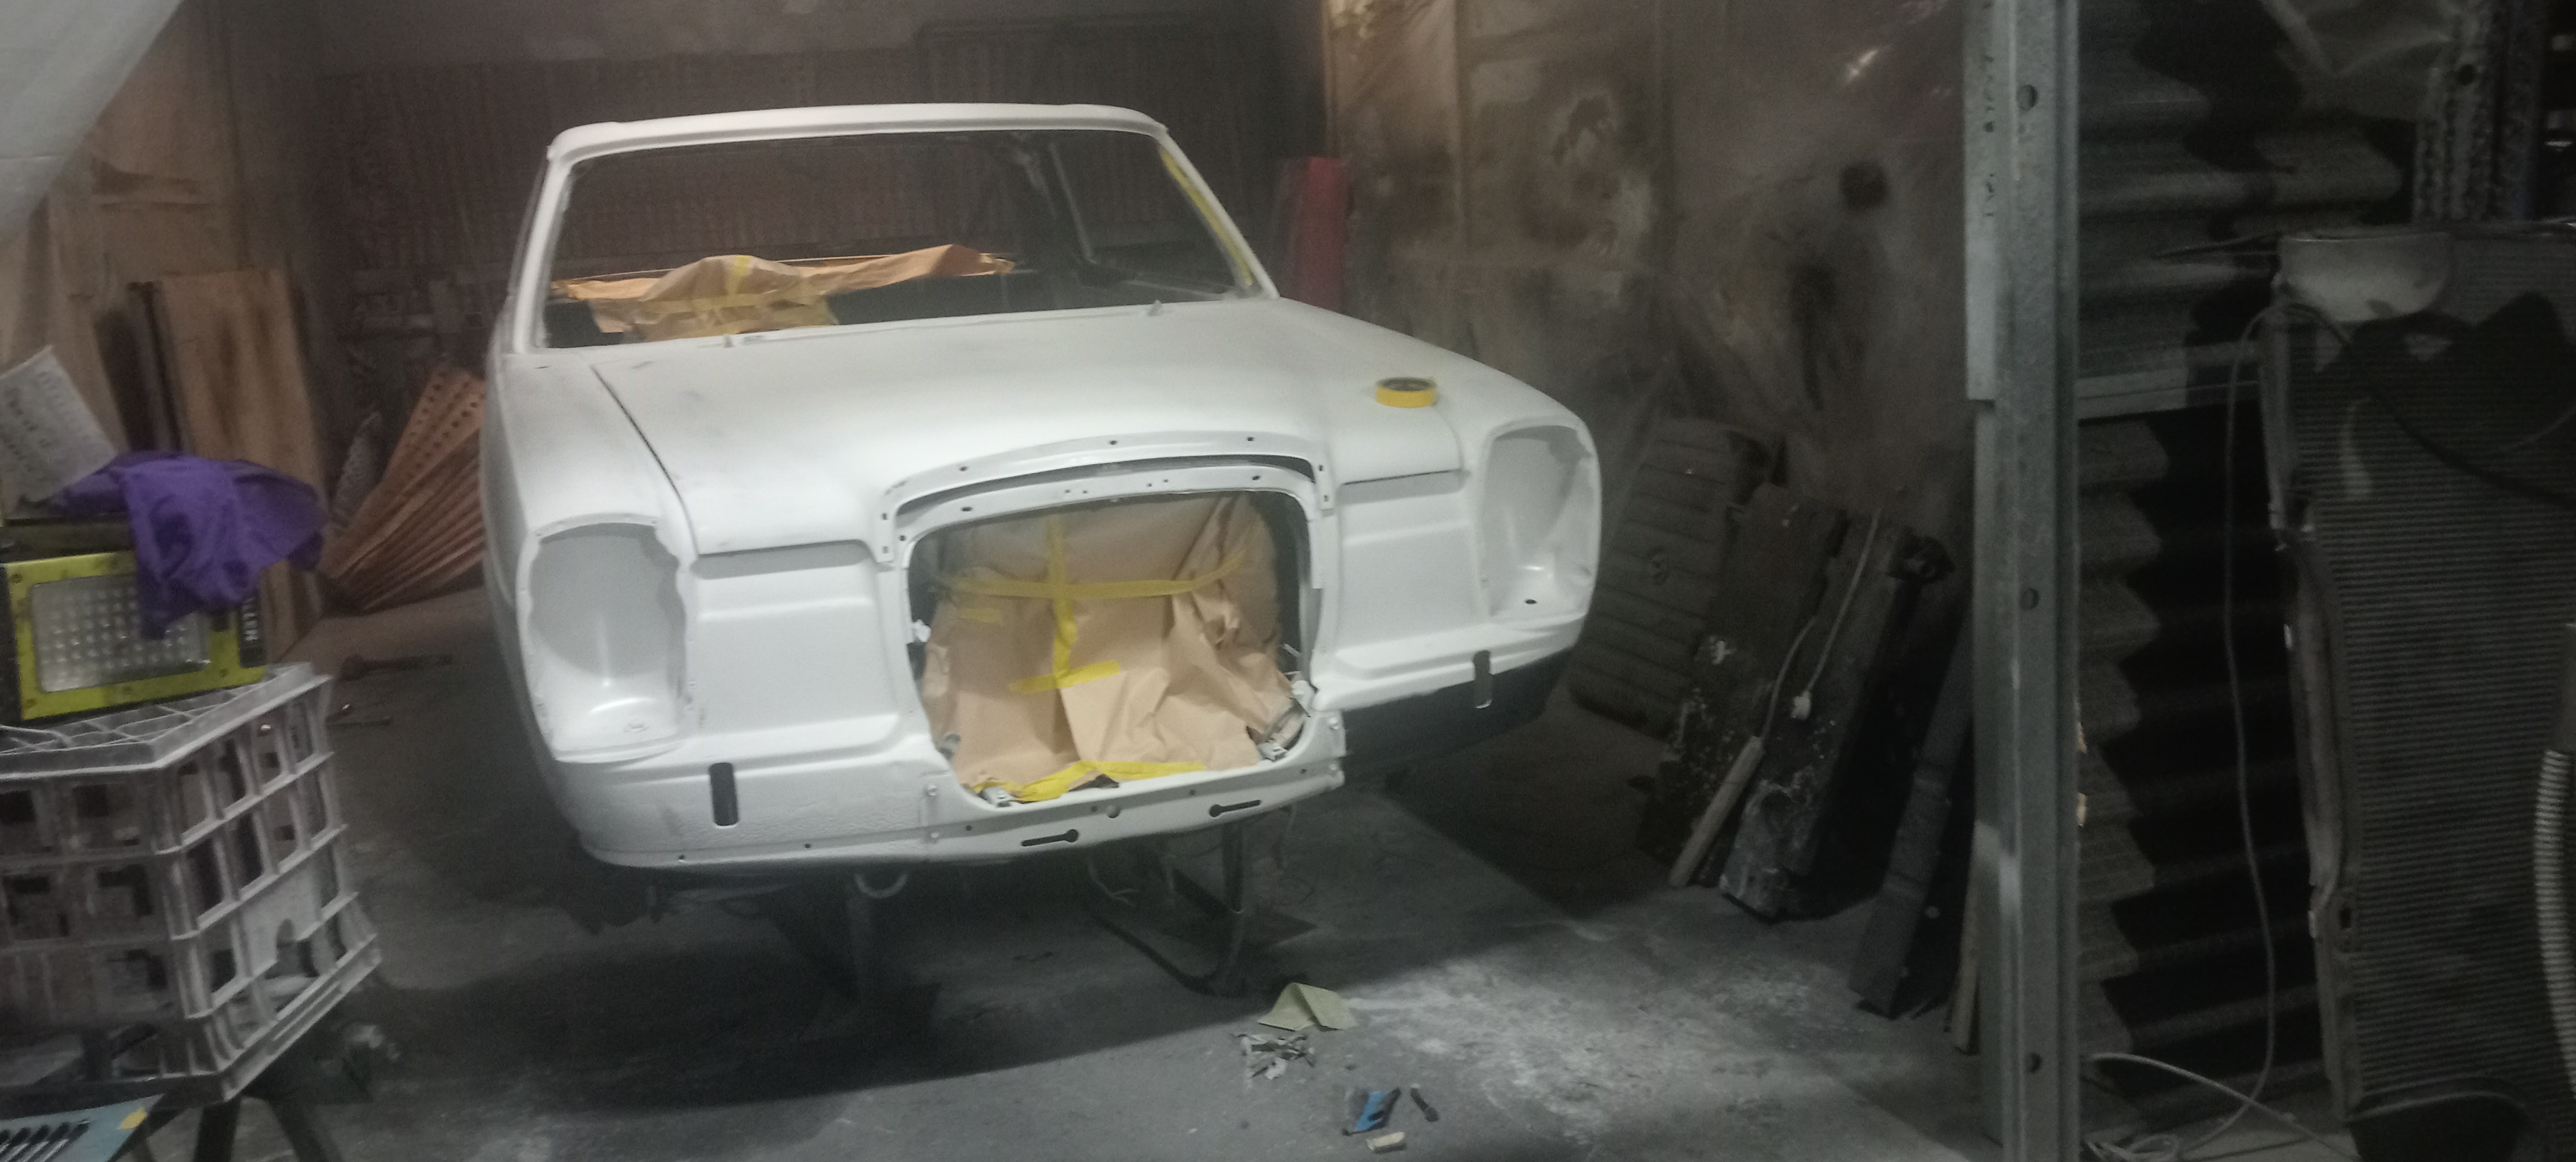
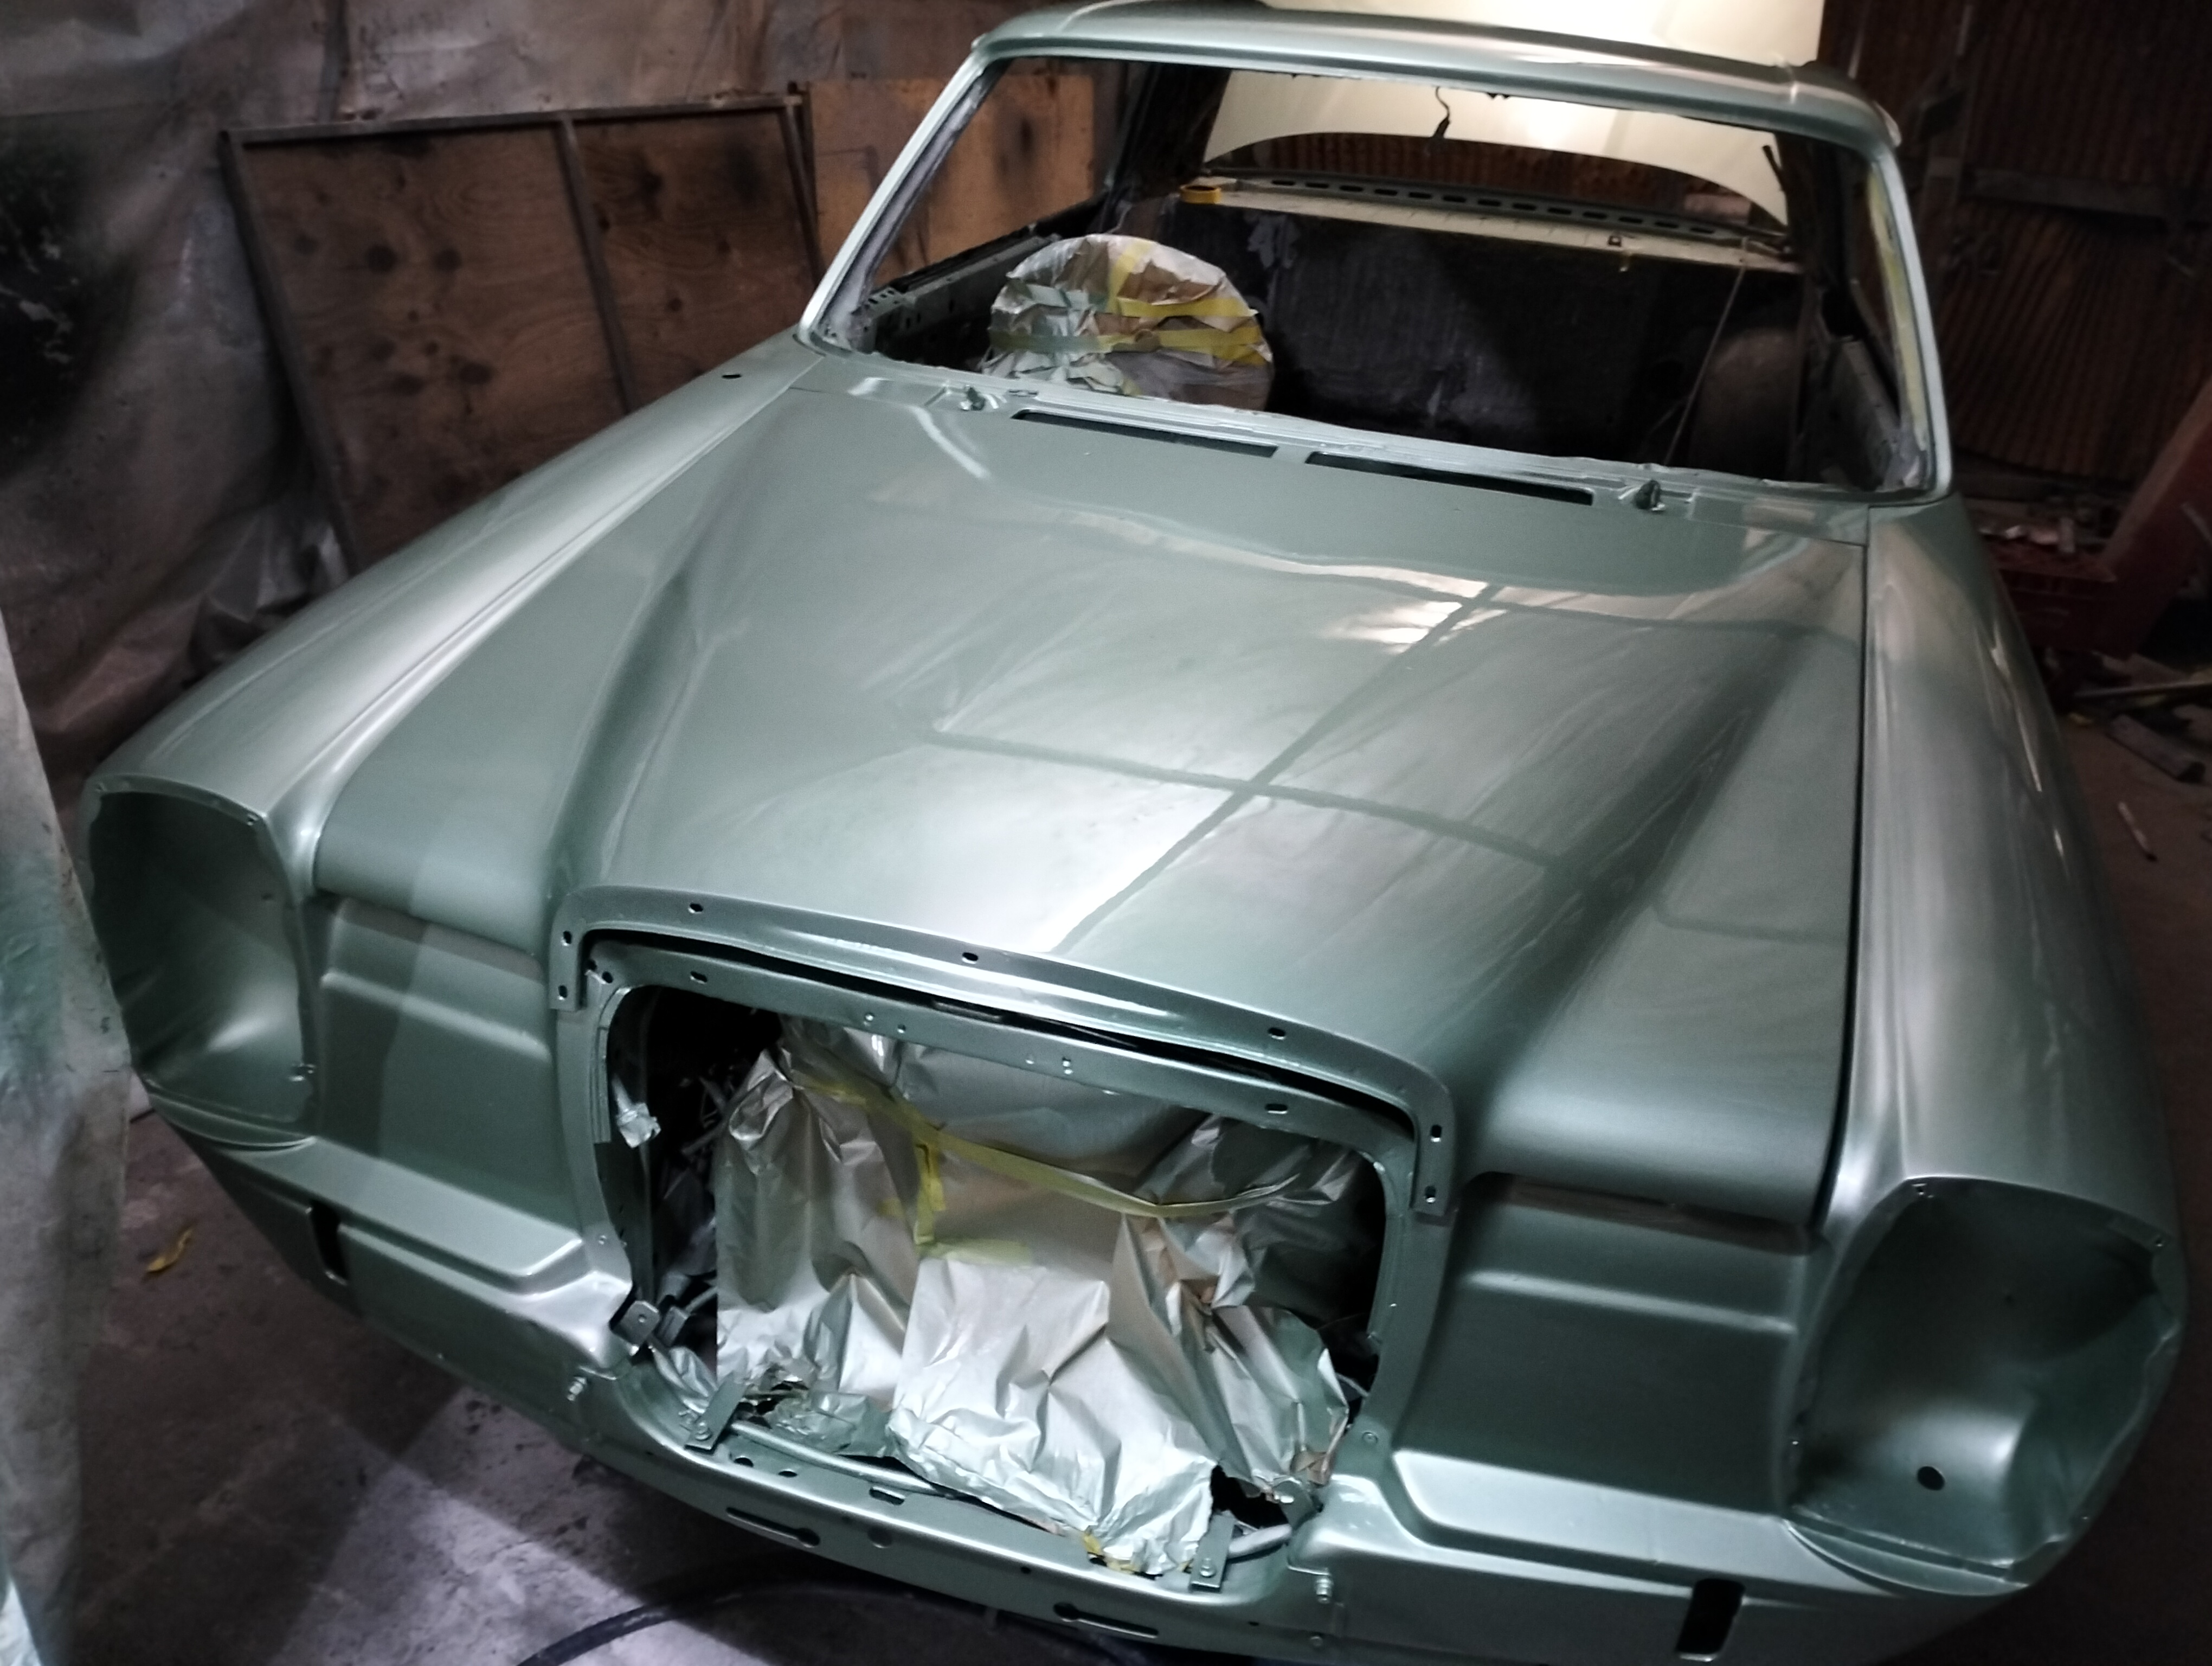
Once the sanndpapaer using 400 grit was used to make sure the surface was a flat as possible,the first coats of Proton rain forest green Base coat were applied.
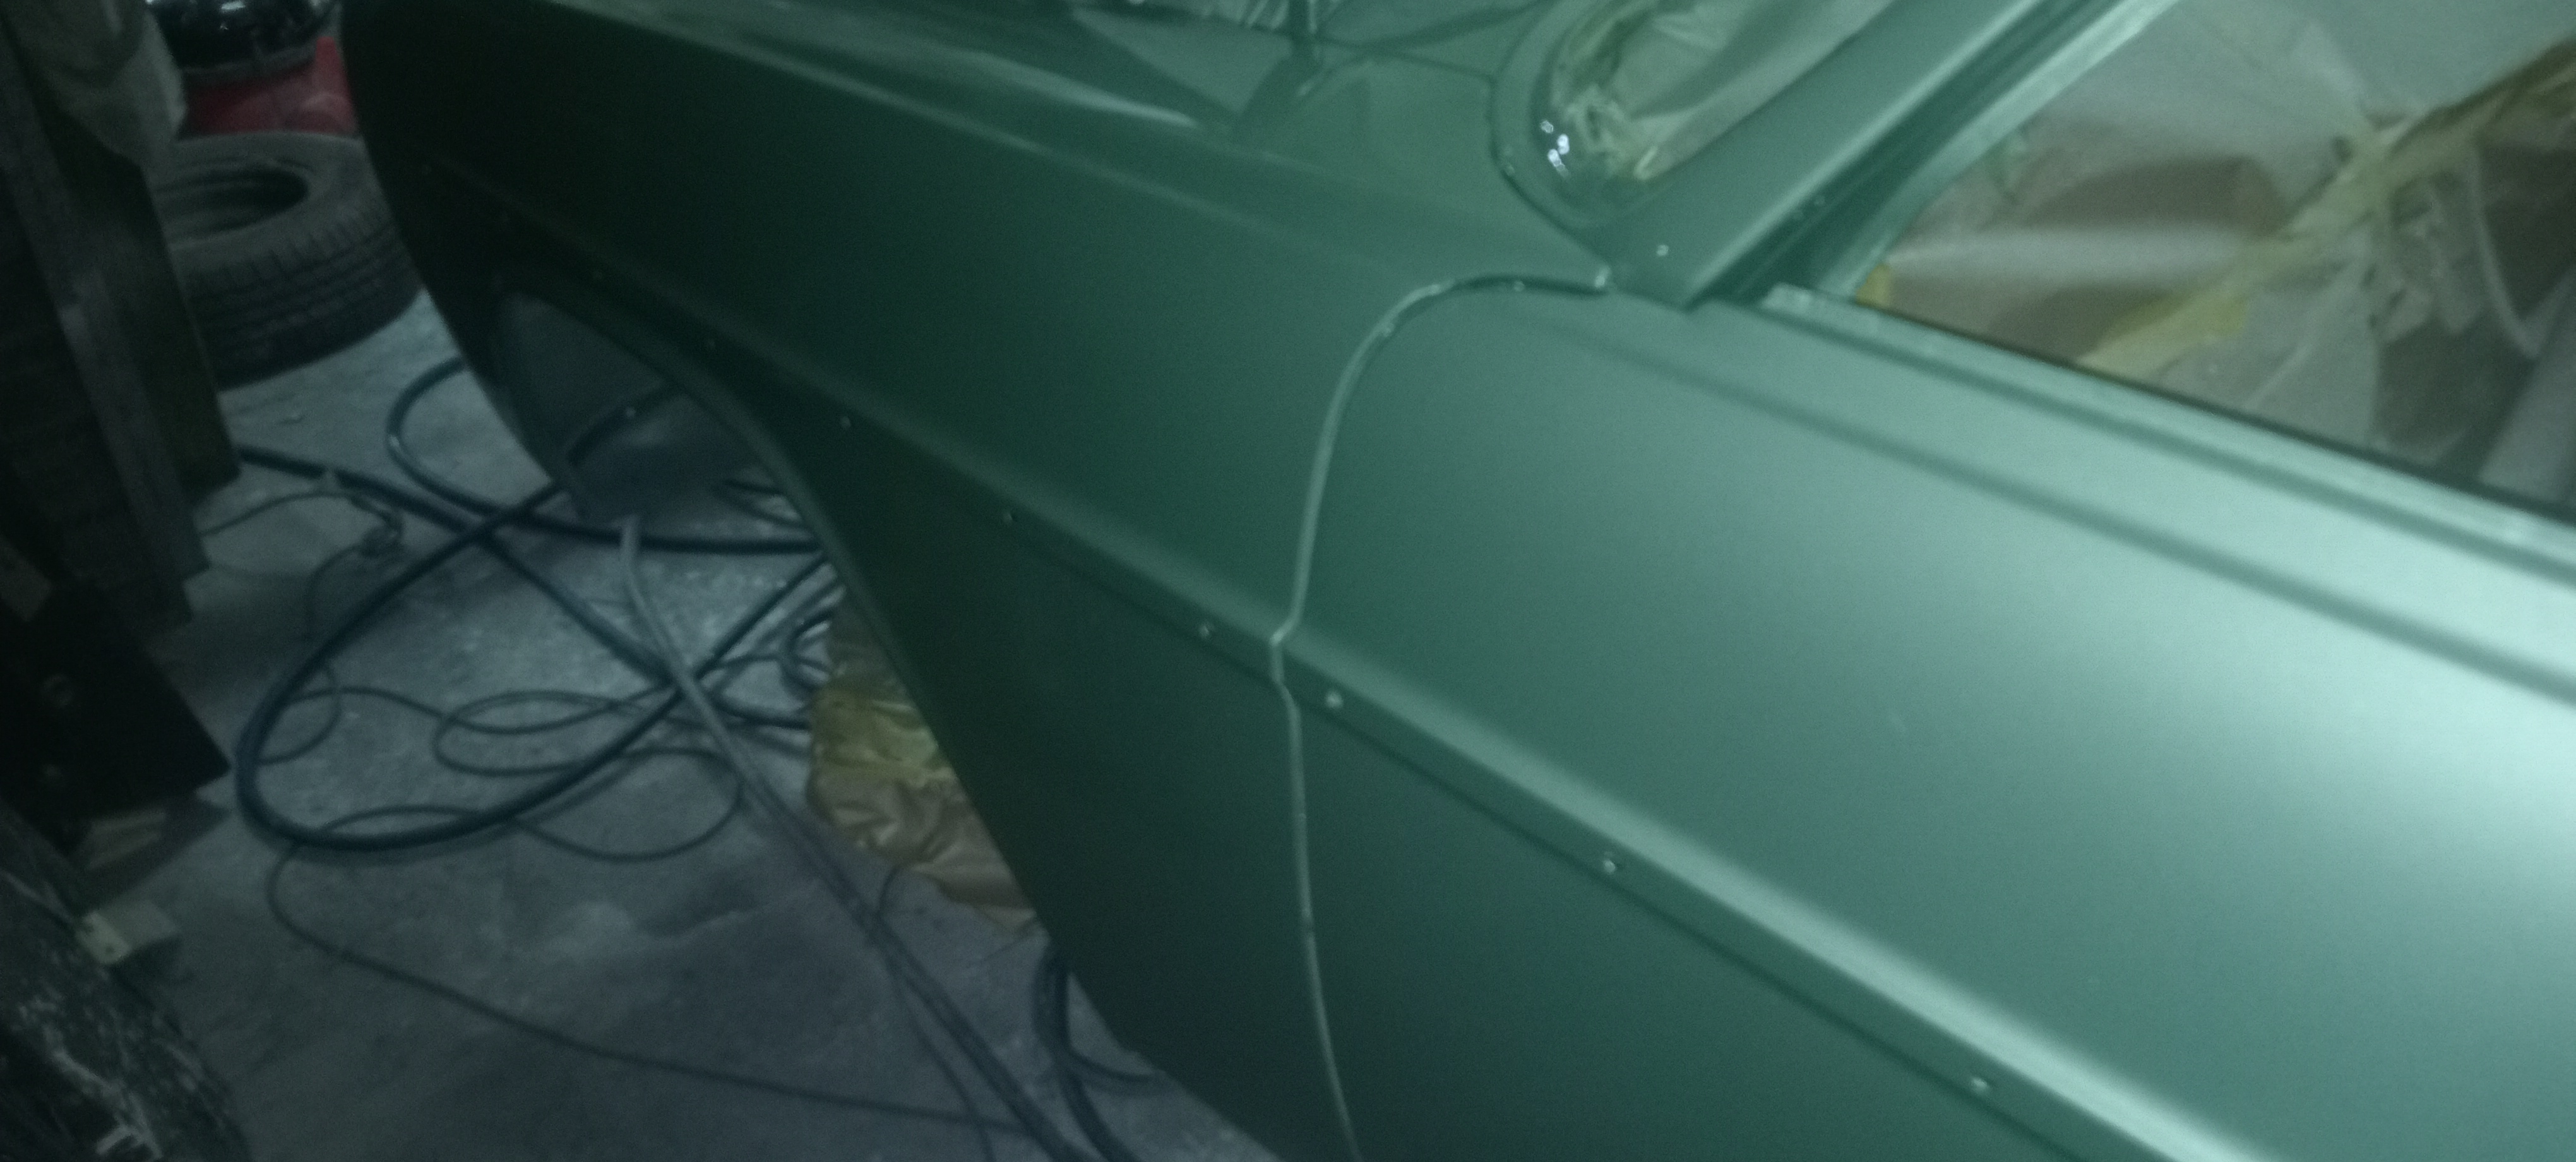
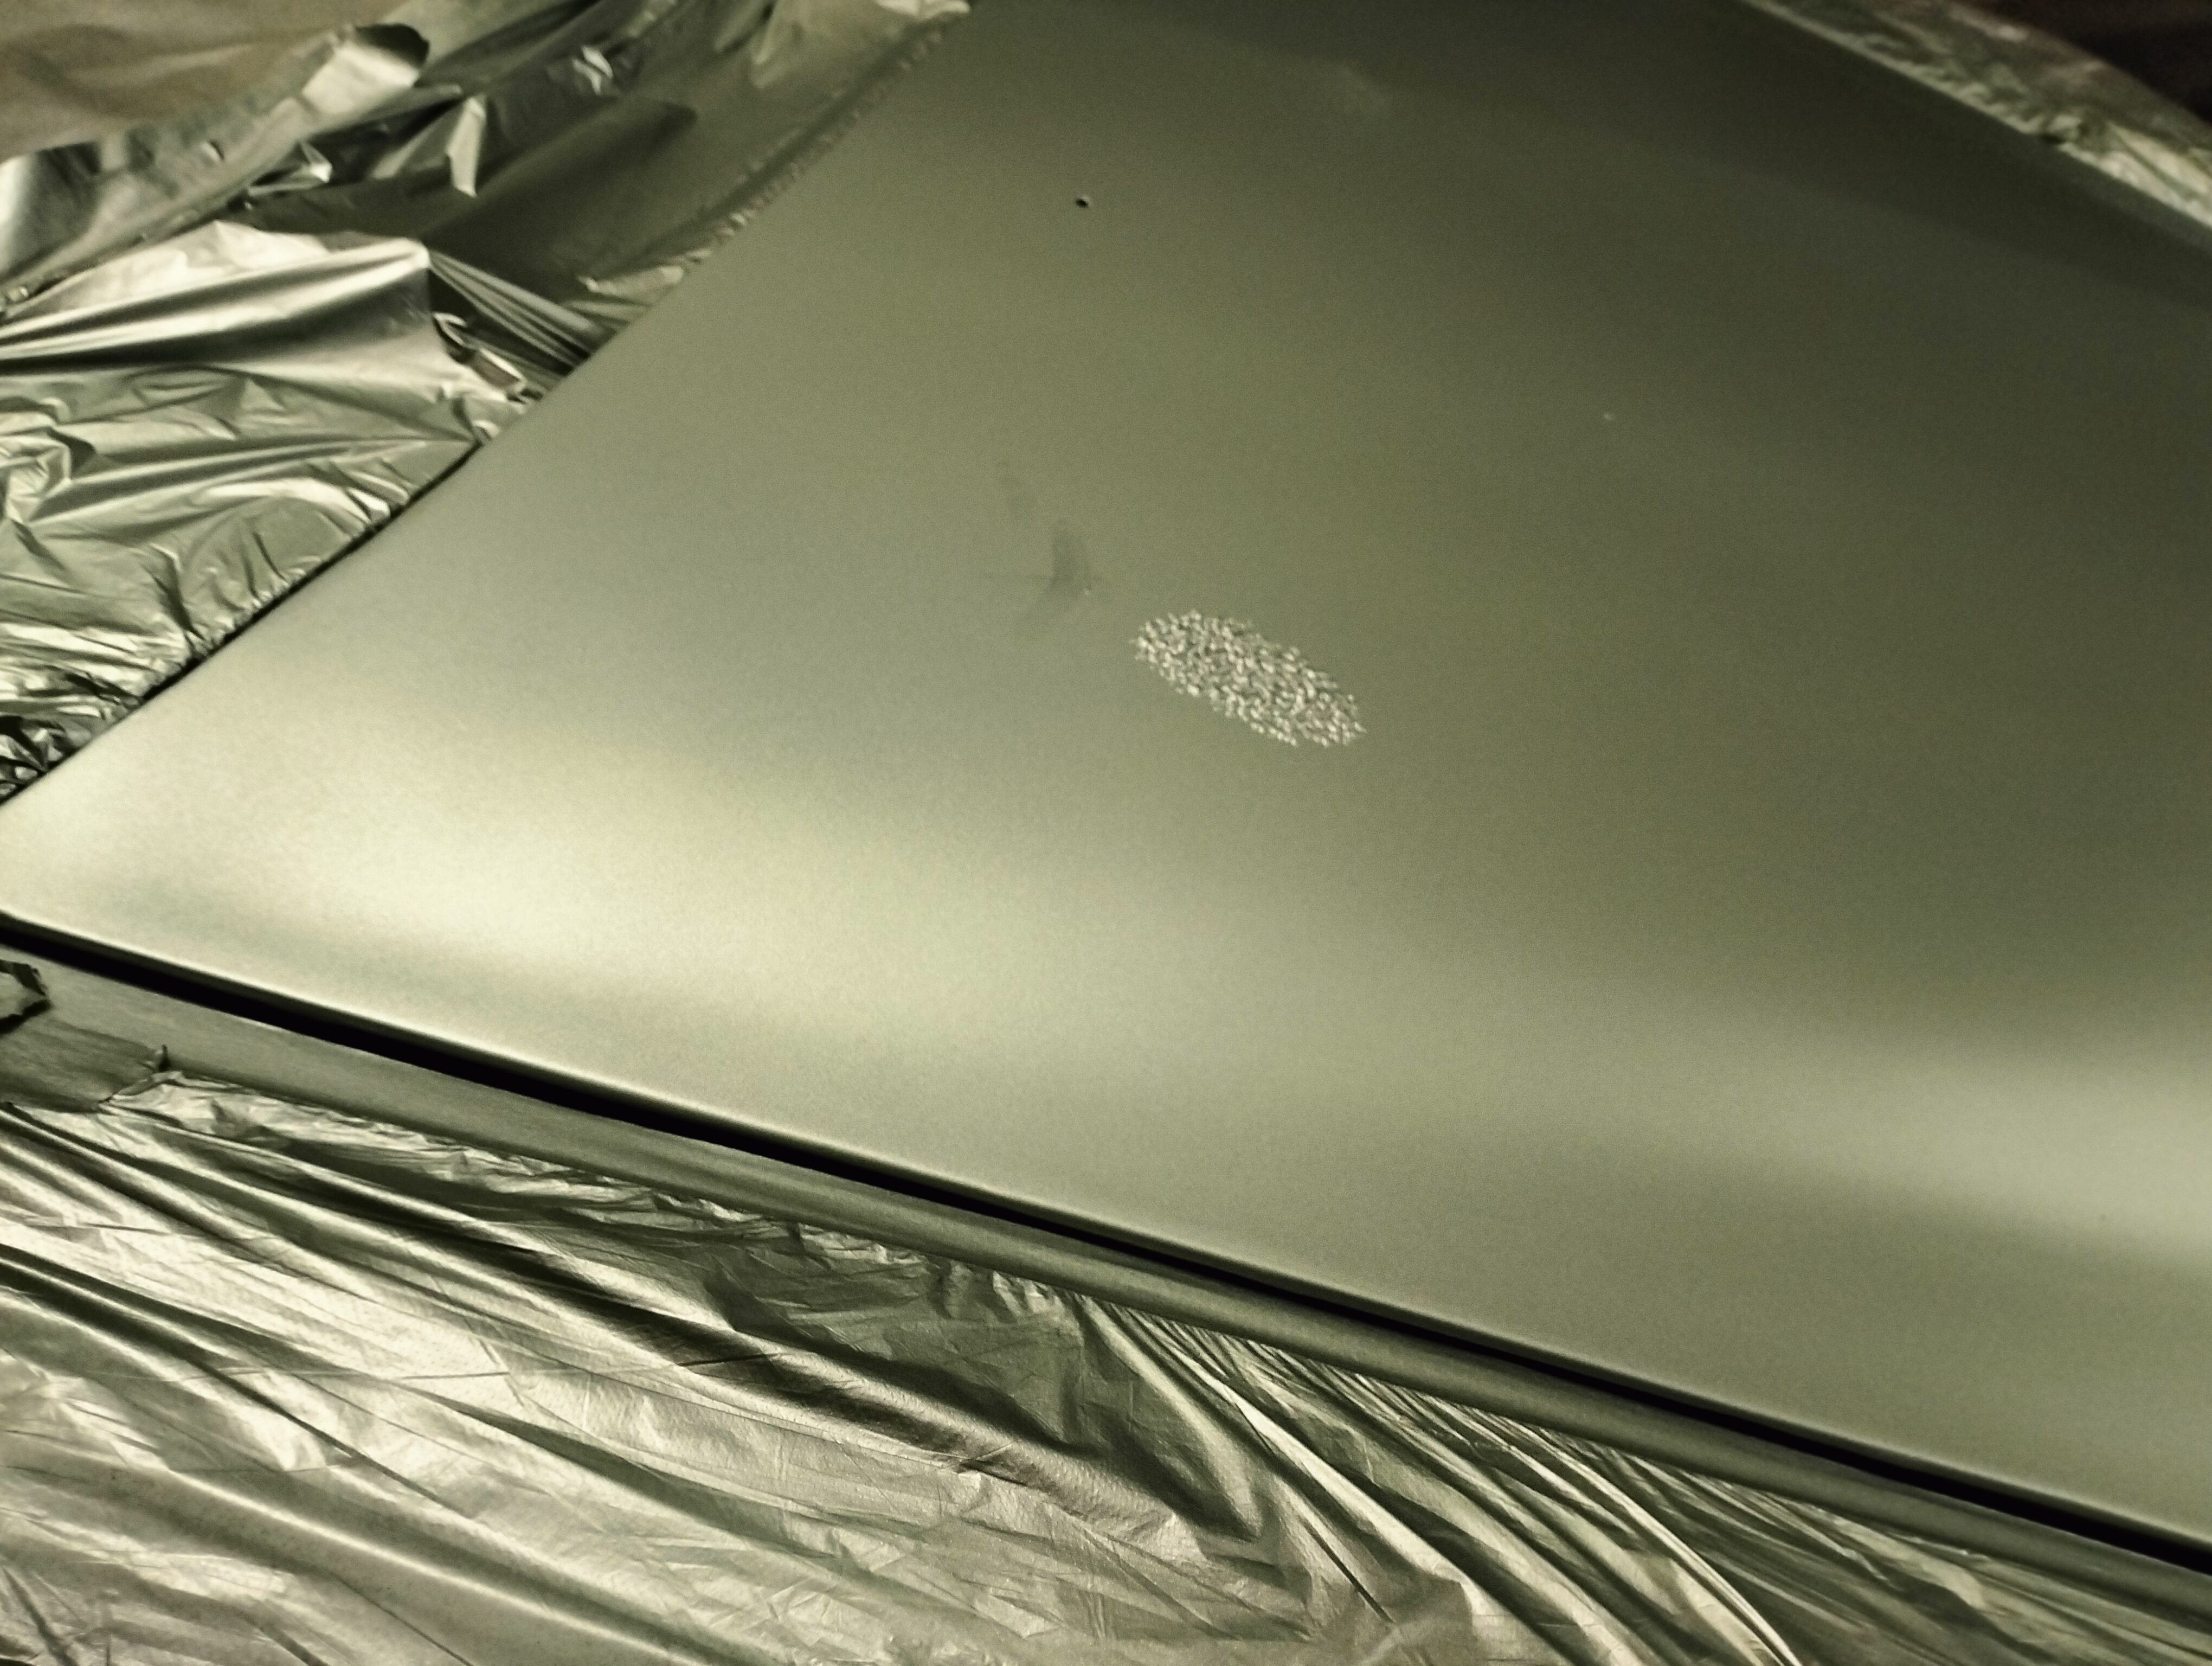
Normally this is followed by three coats of clear but a few strange paint reactions occurred which took several weeks to rectify.
This was before the paint rectification marathon.
….And this is after ,thats the light reflecting into the paint.
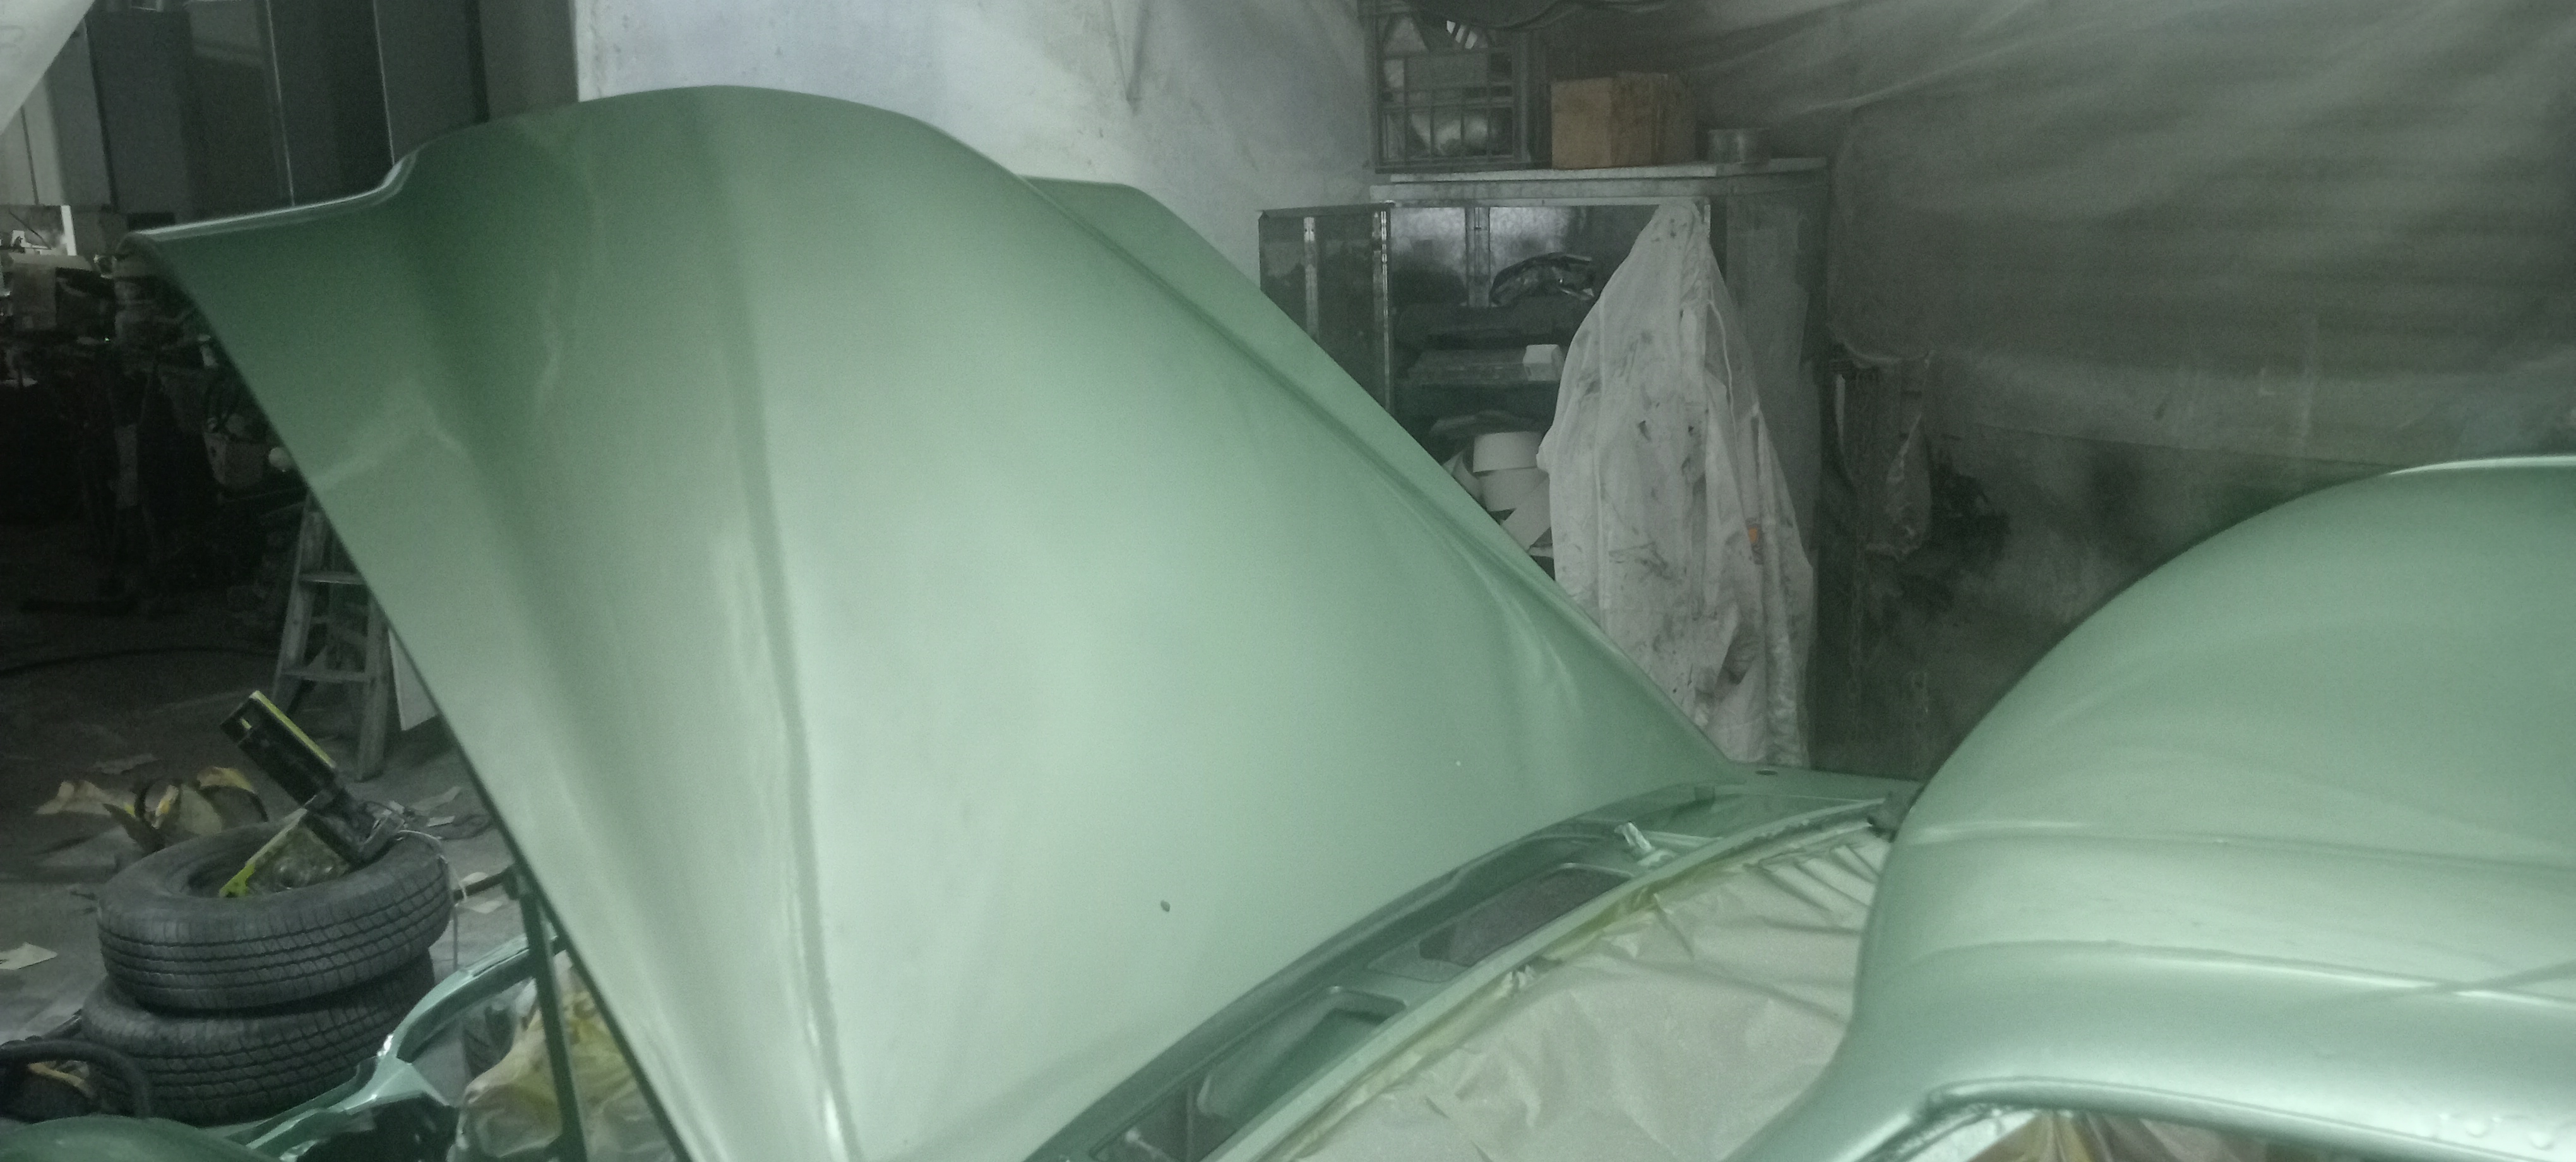
From another angle to demonstrate how the lights affect the colour reflection.
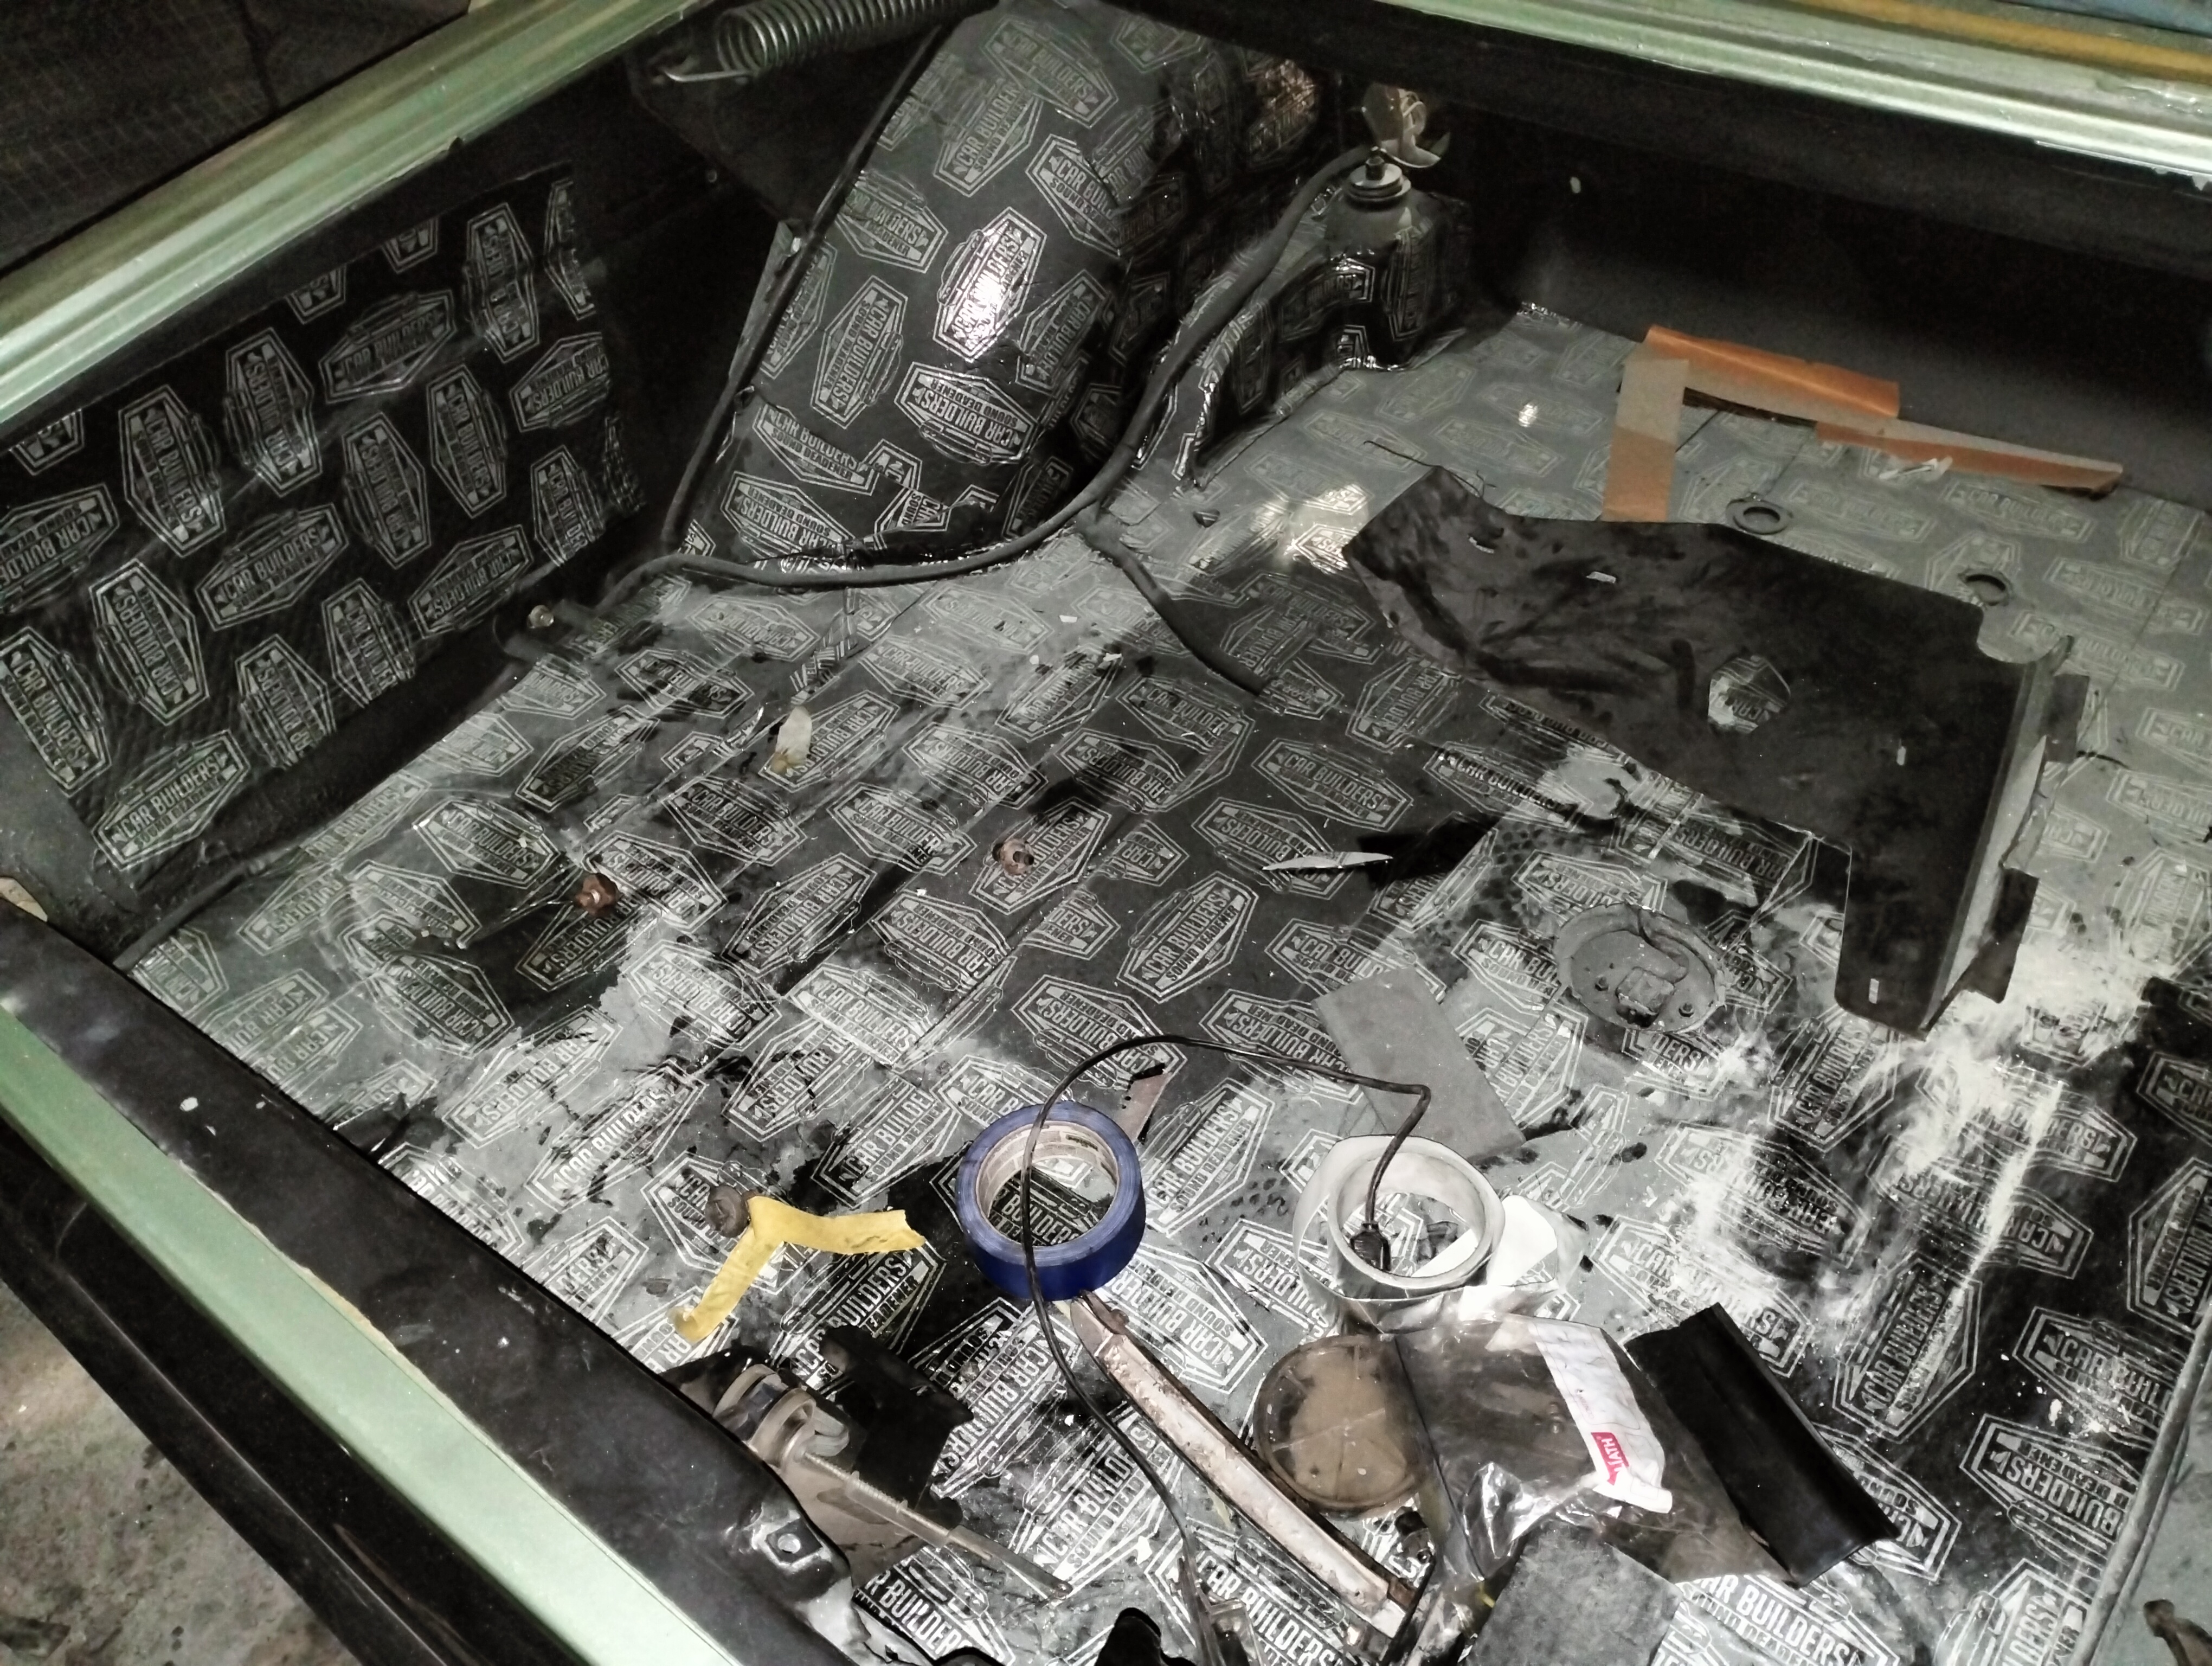
Inside the boot ,which is a bit dusty ,is the 1st layer of heavy sound deadening material .
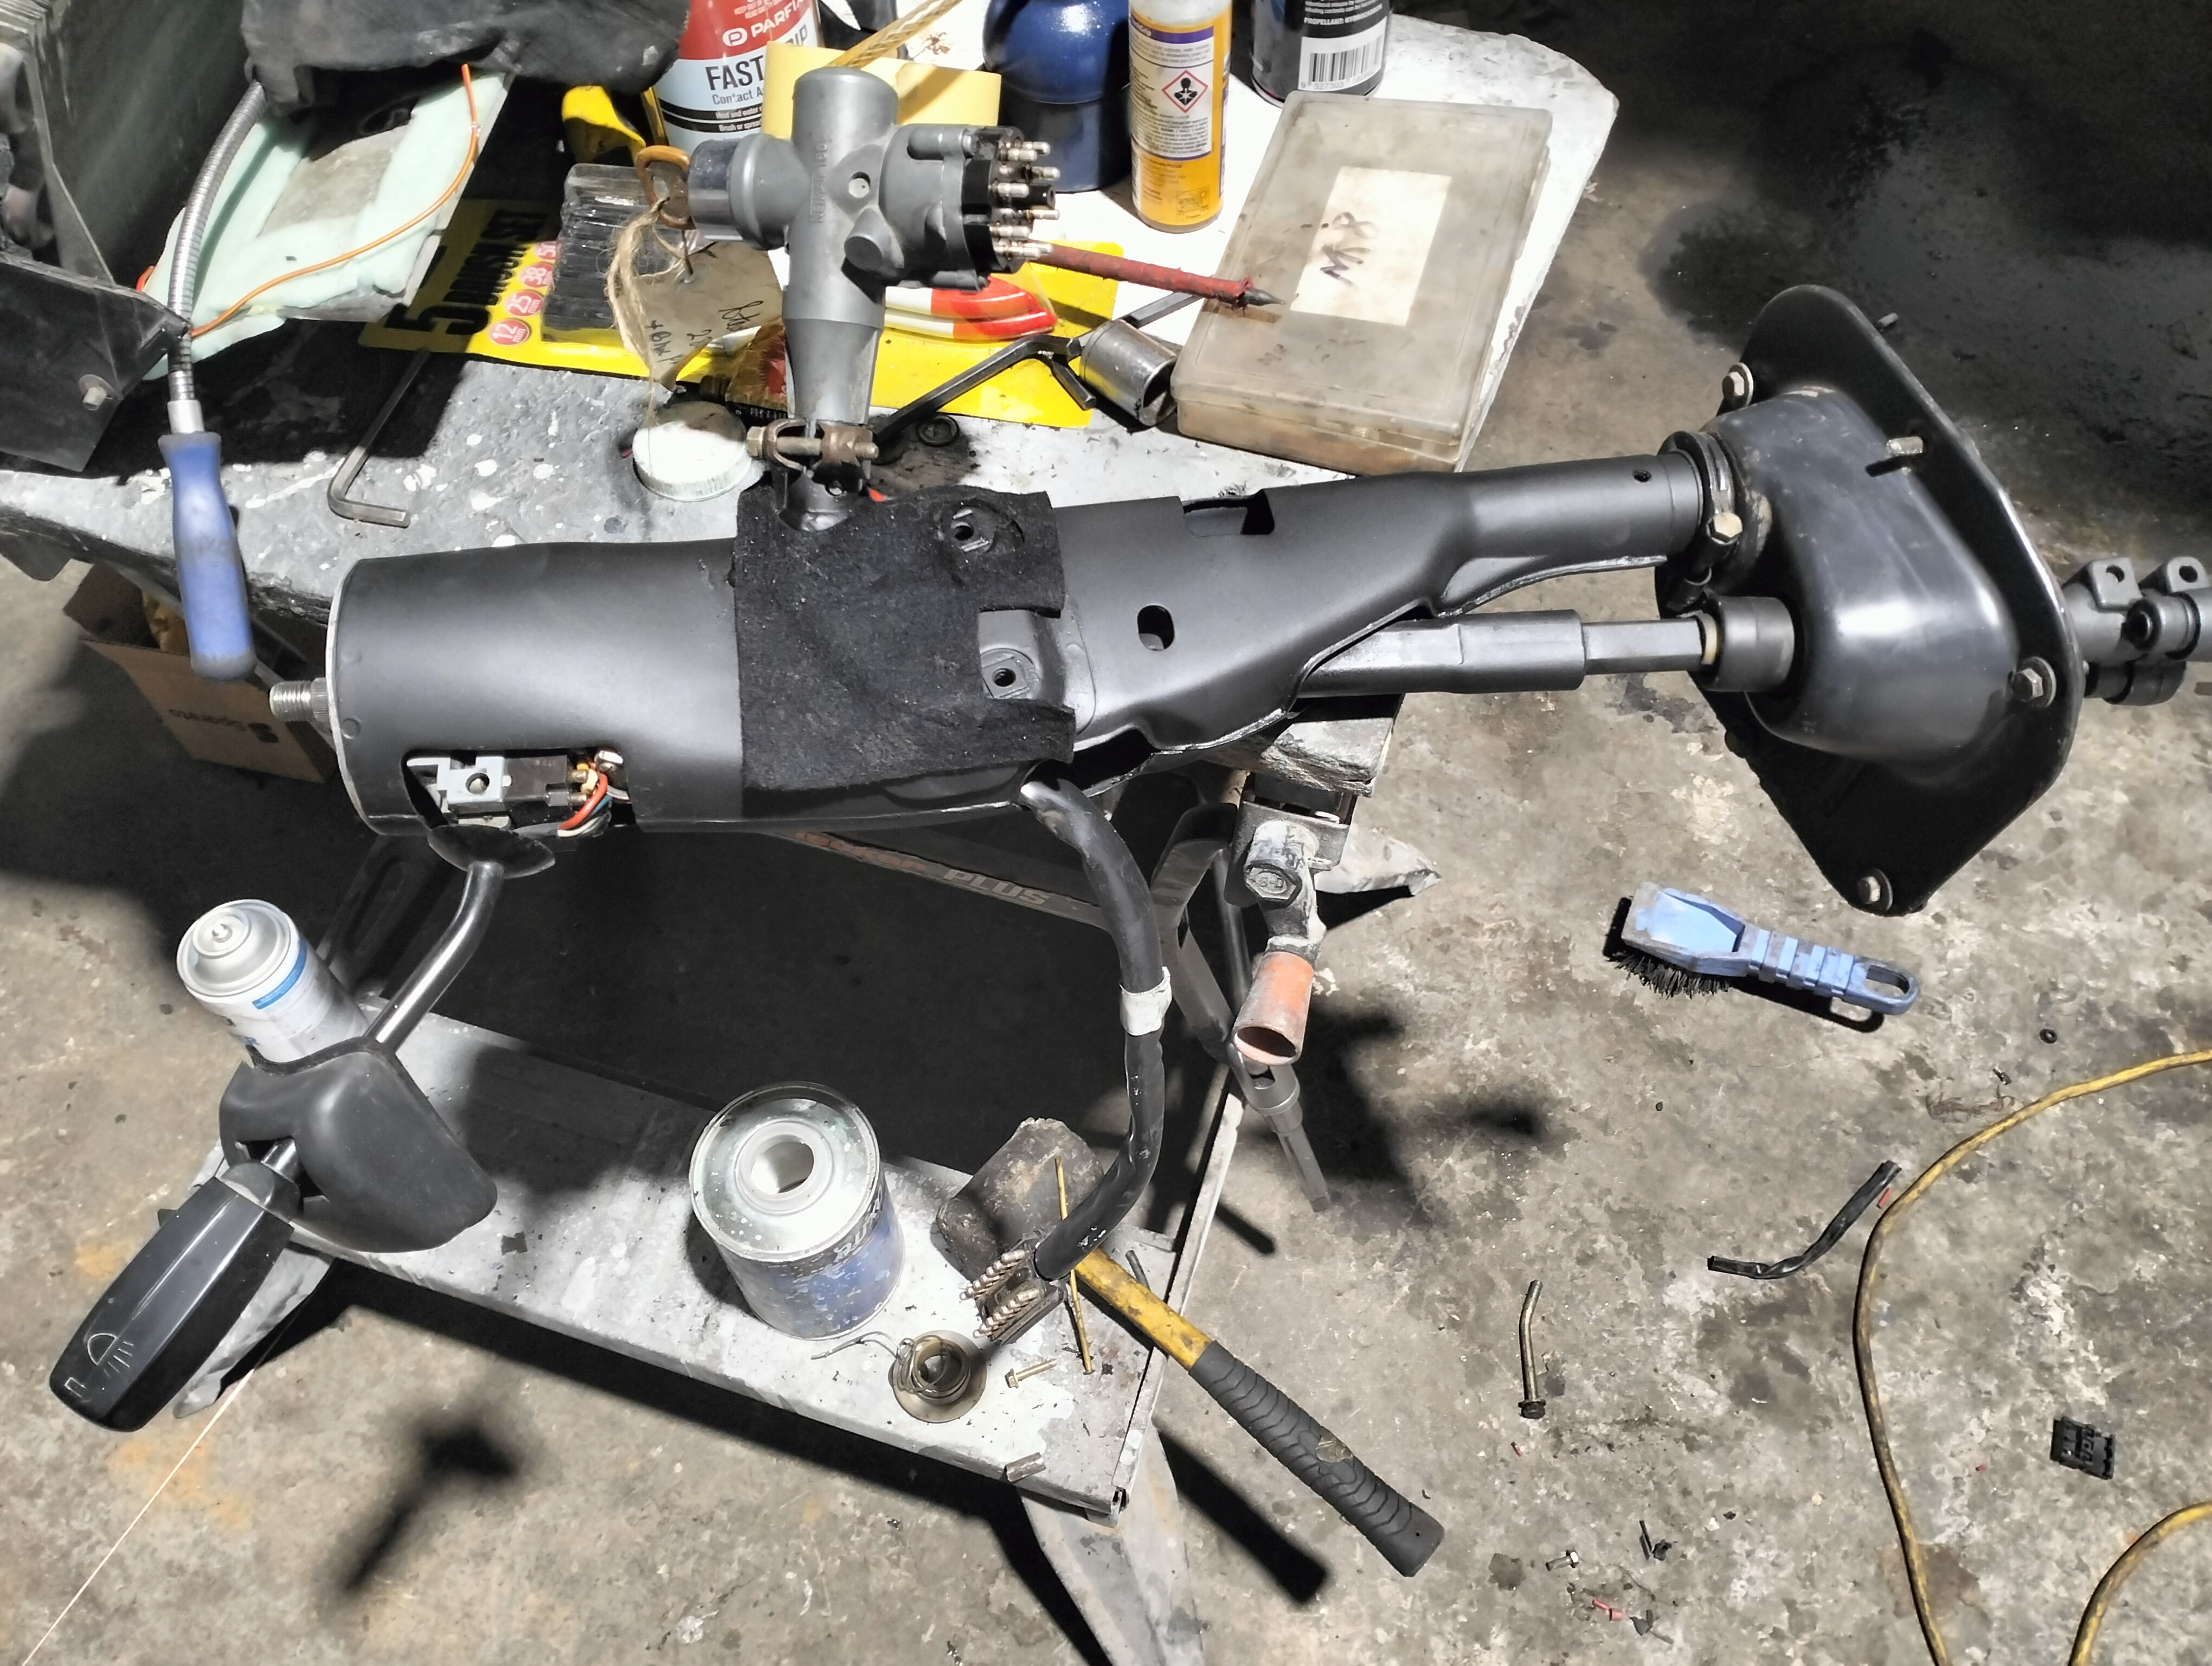
while the paint is curing I took the time to overhaul the steering column,replace the worn out coupler and so on.
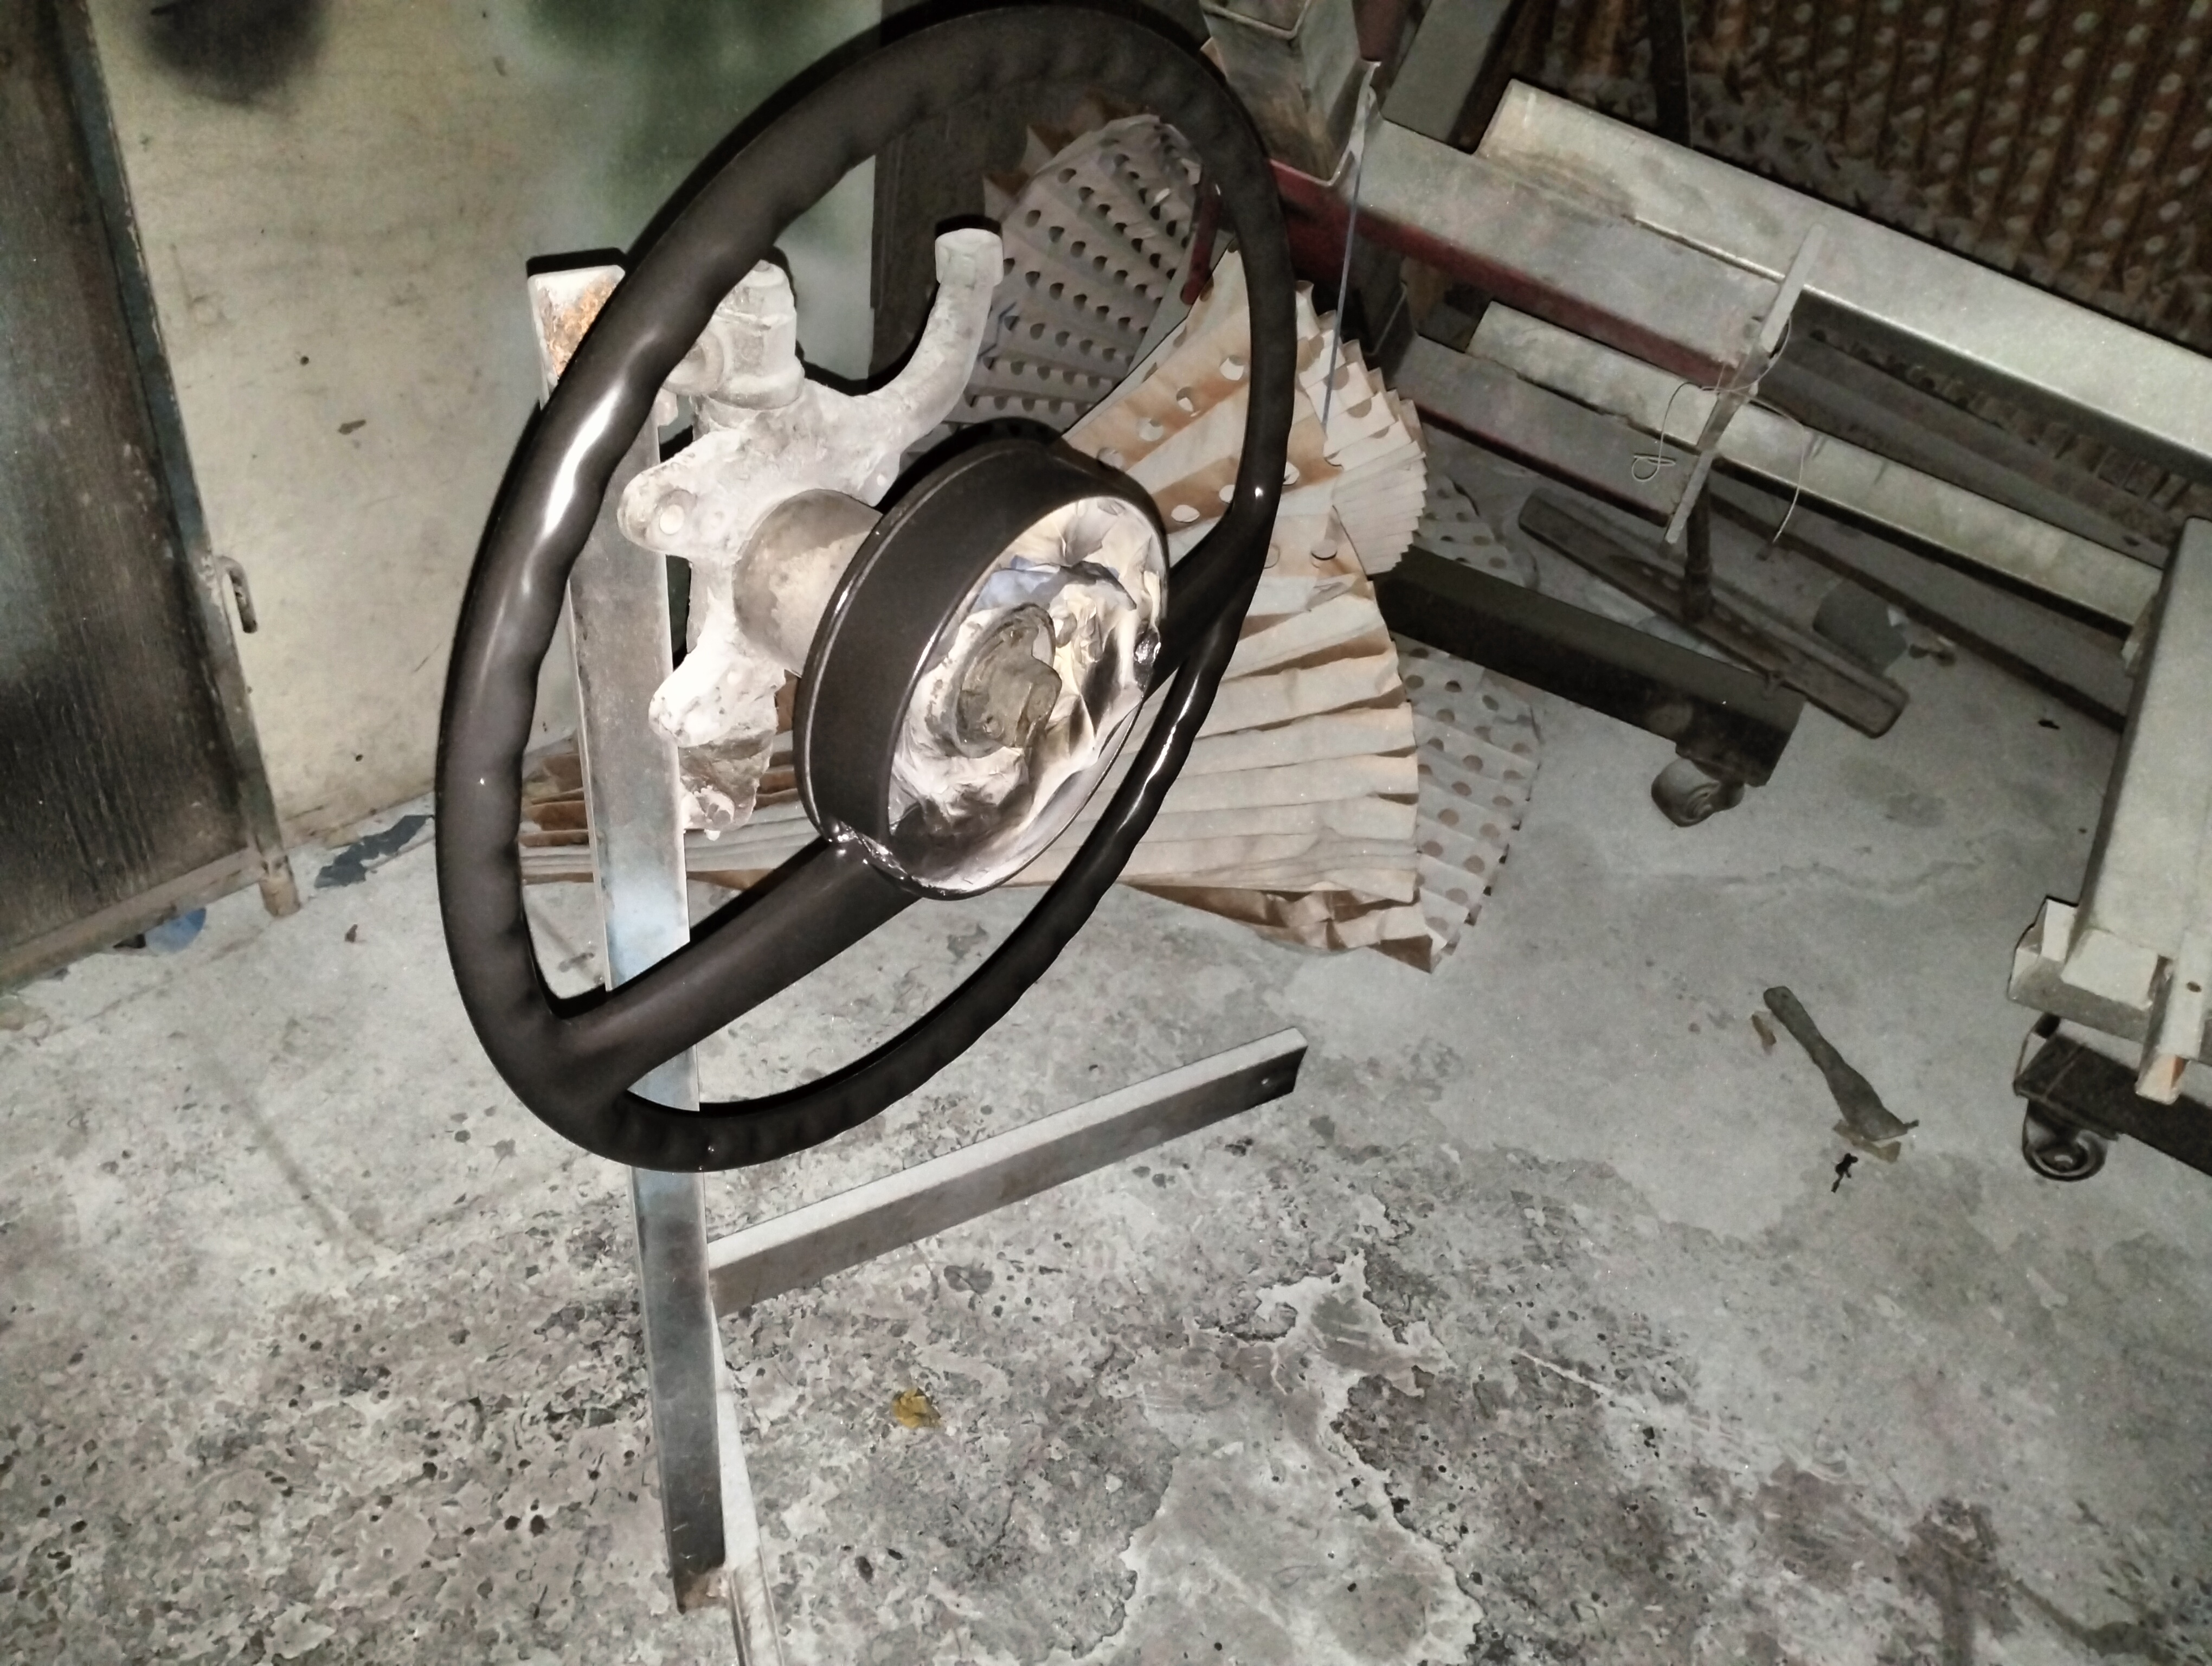
The steering wheel ws full of cracks and wasn’t road worthy,so I repaired the wheel and got the surface colour matched to the original,which looks lighter in the flash than it is in normal light.
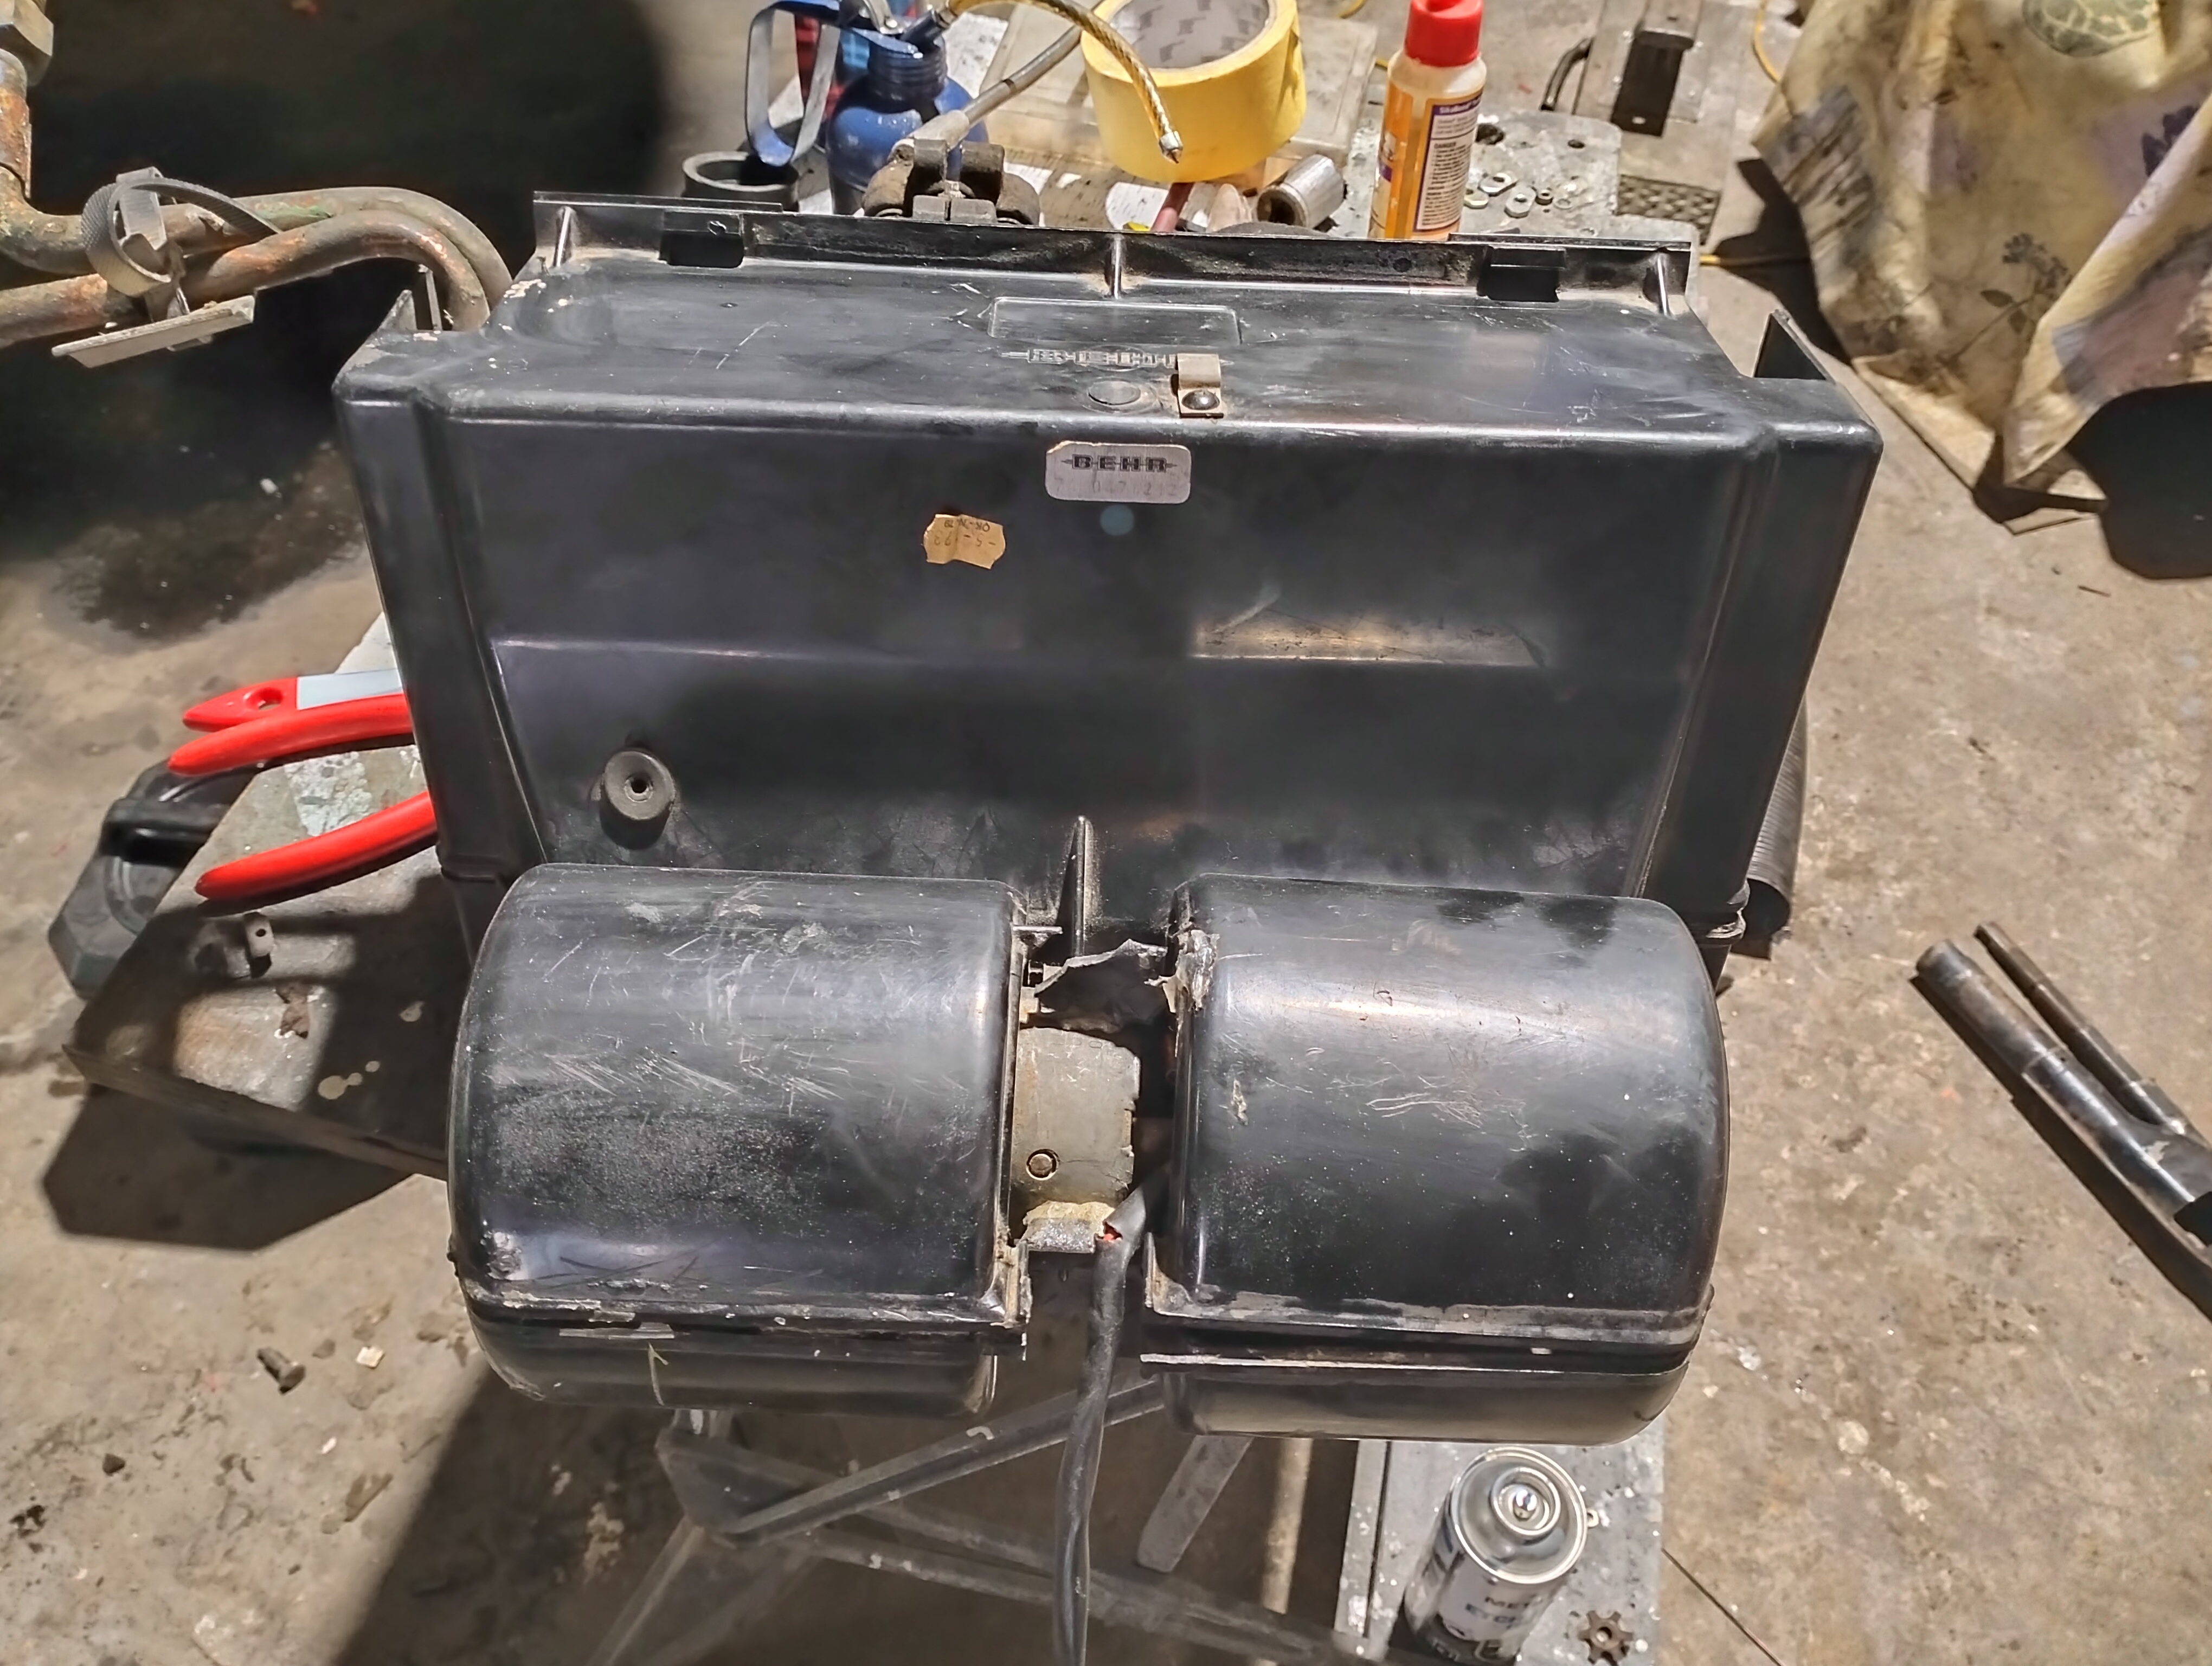
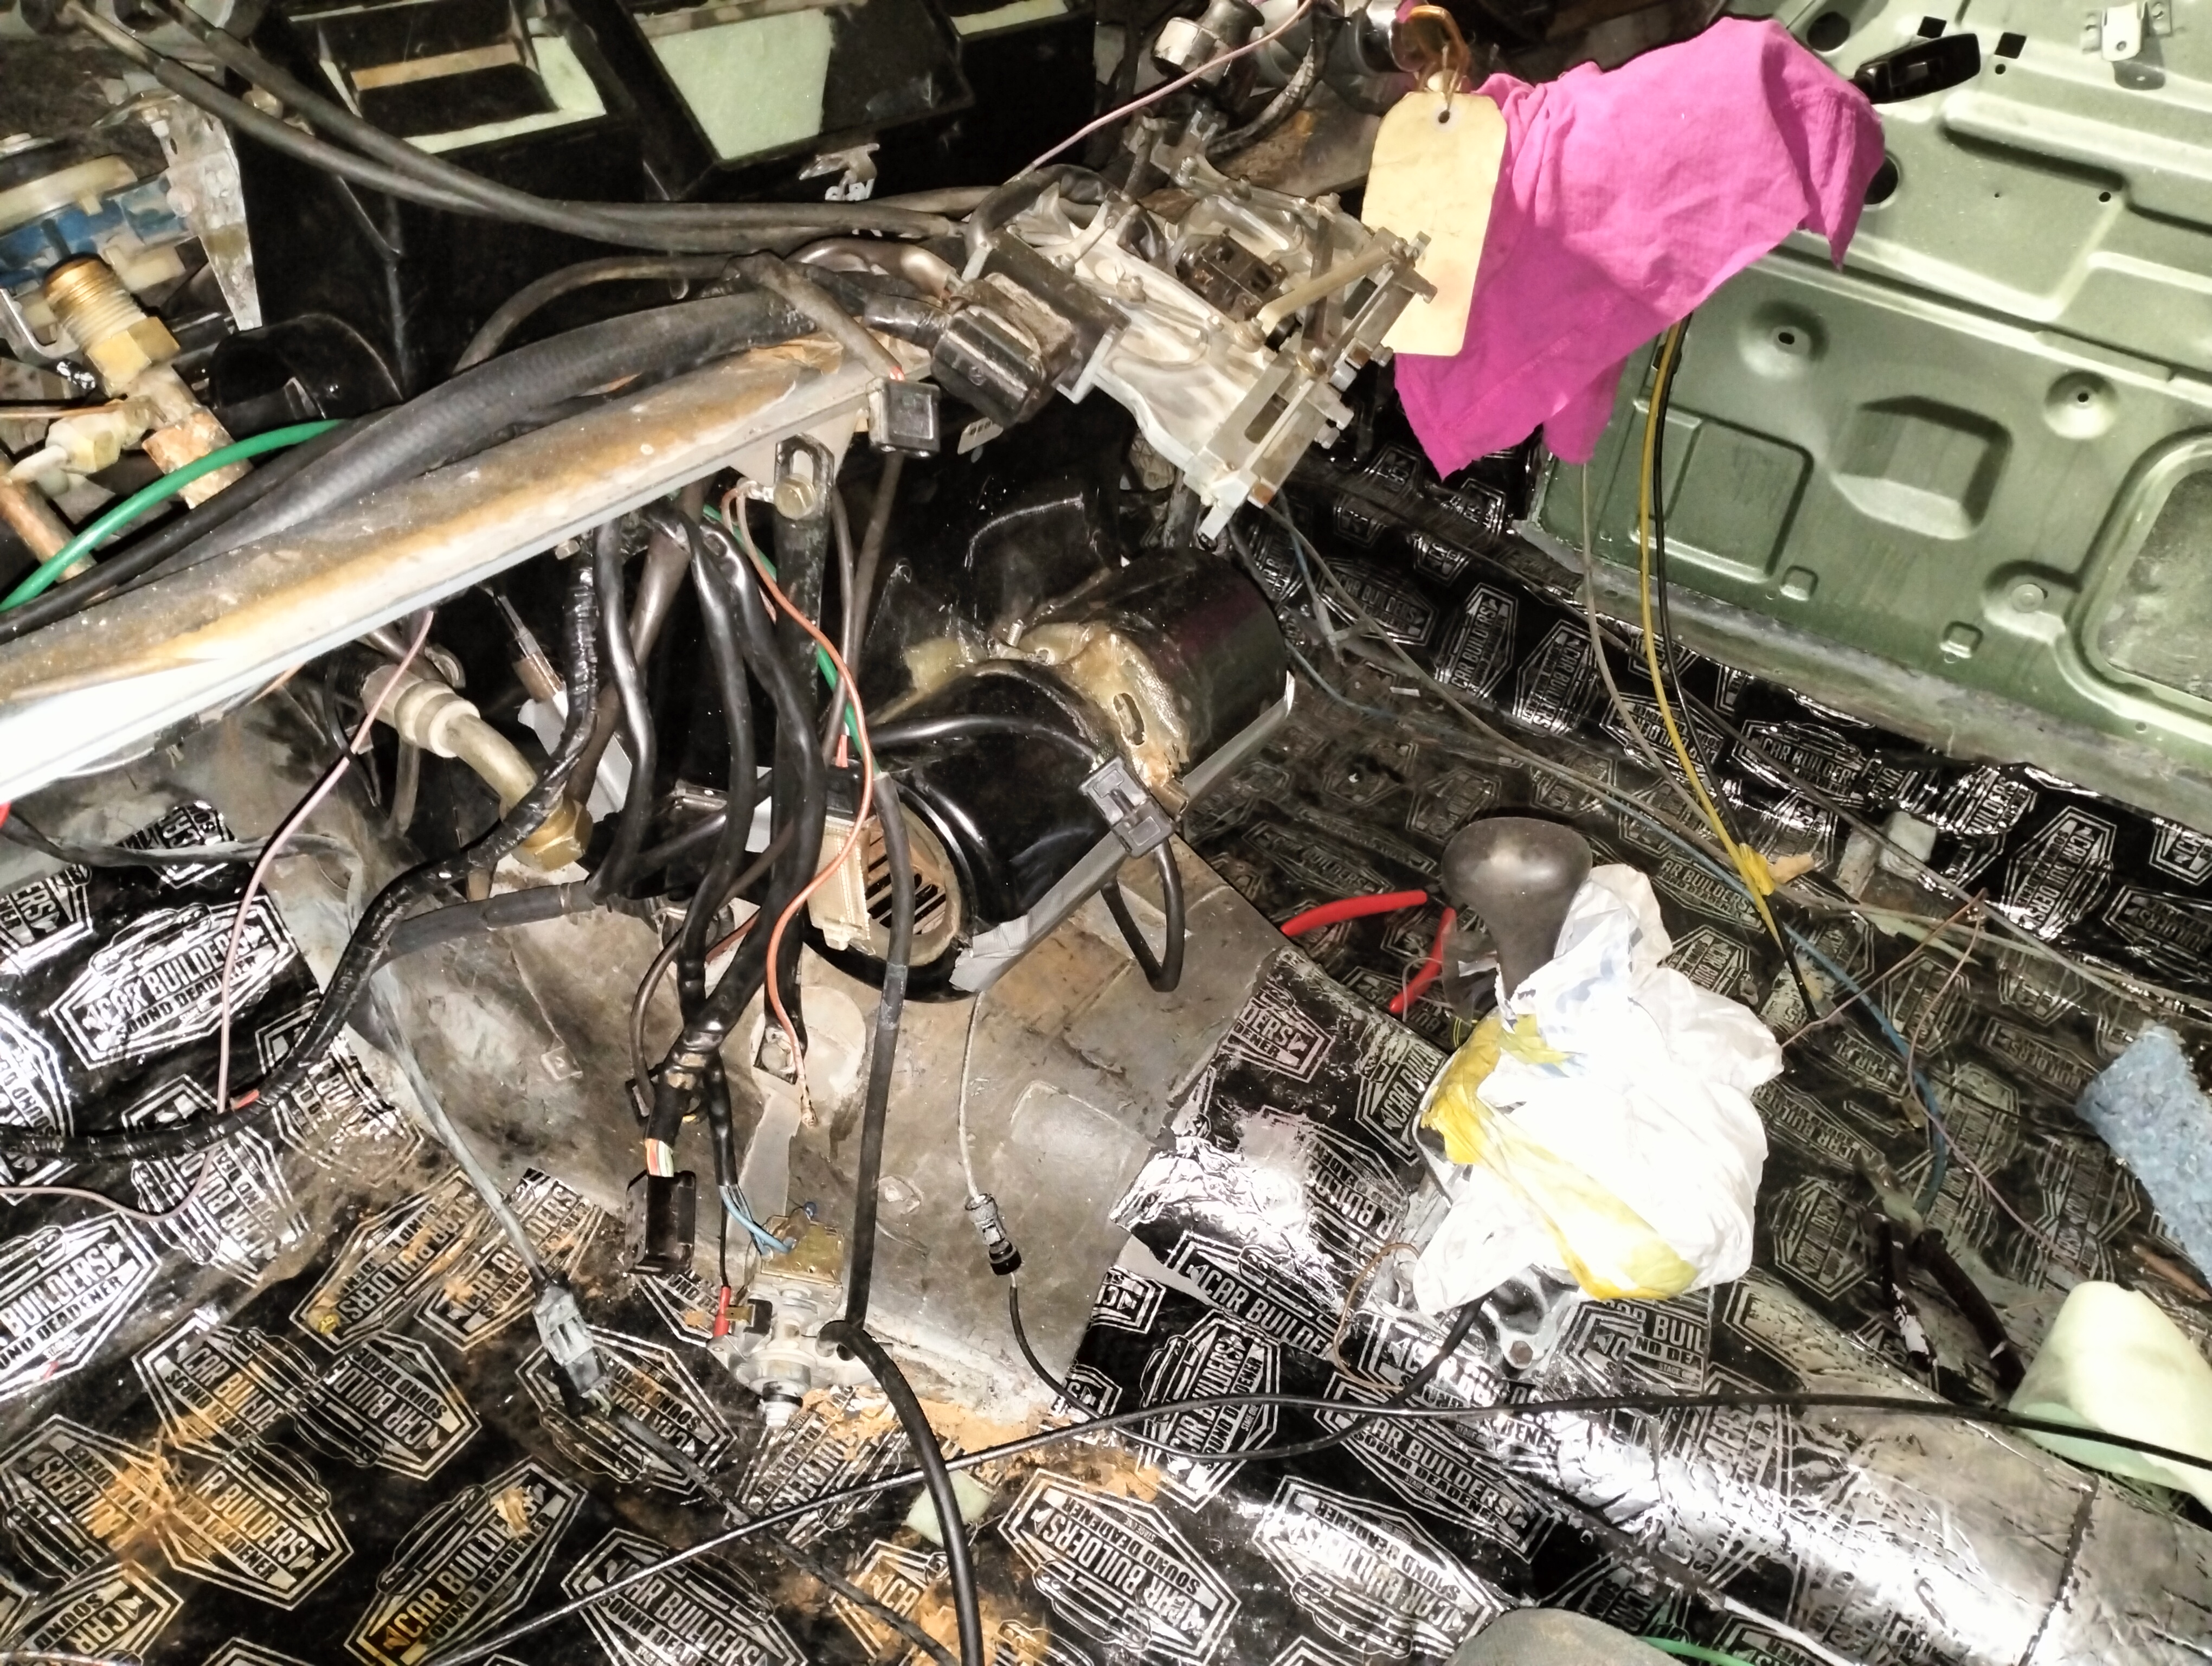
Another important job to be done first was to check the heater blower fan and air con fan motor checked. These hae to be checked because once the dash is back in they can’t be accessed. Here the air con case is very much worse for wear where someone had smashed the hosuing to try and remove the fan. I fixed this by making a dam inside the case with plastercine ,then using fibreglas matt ,I made a new mount for the fan. And I replaced a lot of the missing clips which hold the case together .The seams are supposed to be sealed with duck tape to prevent cold air escaping or warm air getting sucked into the evaporator.
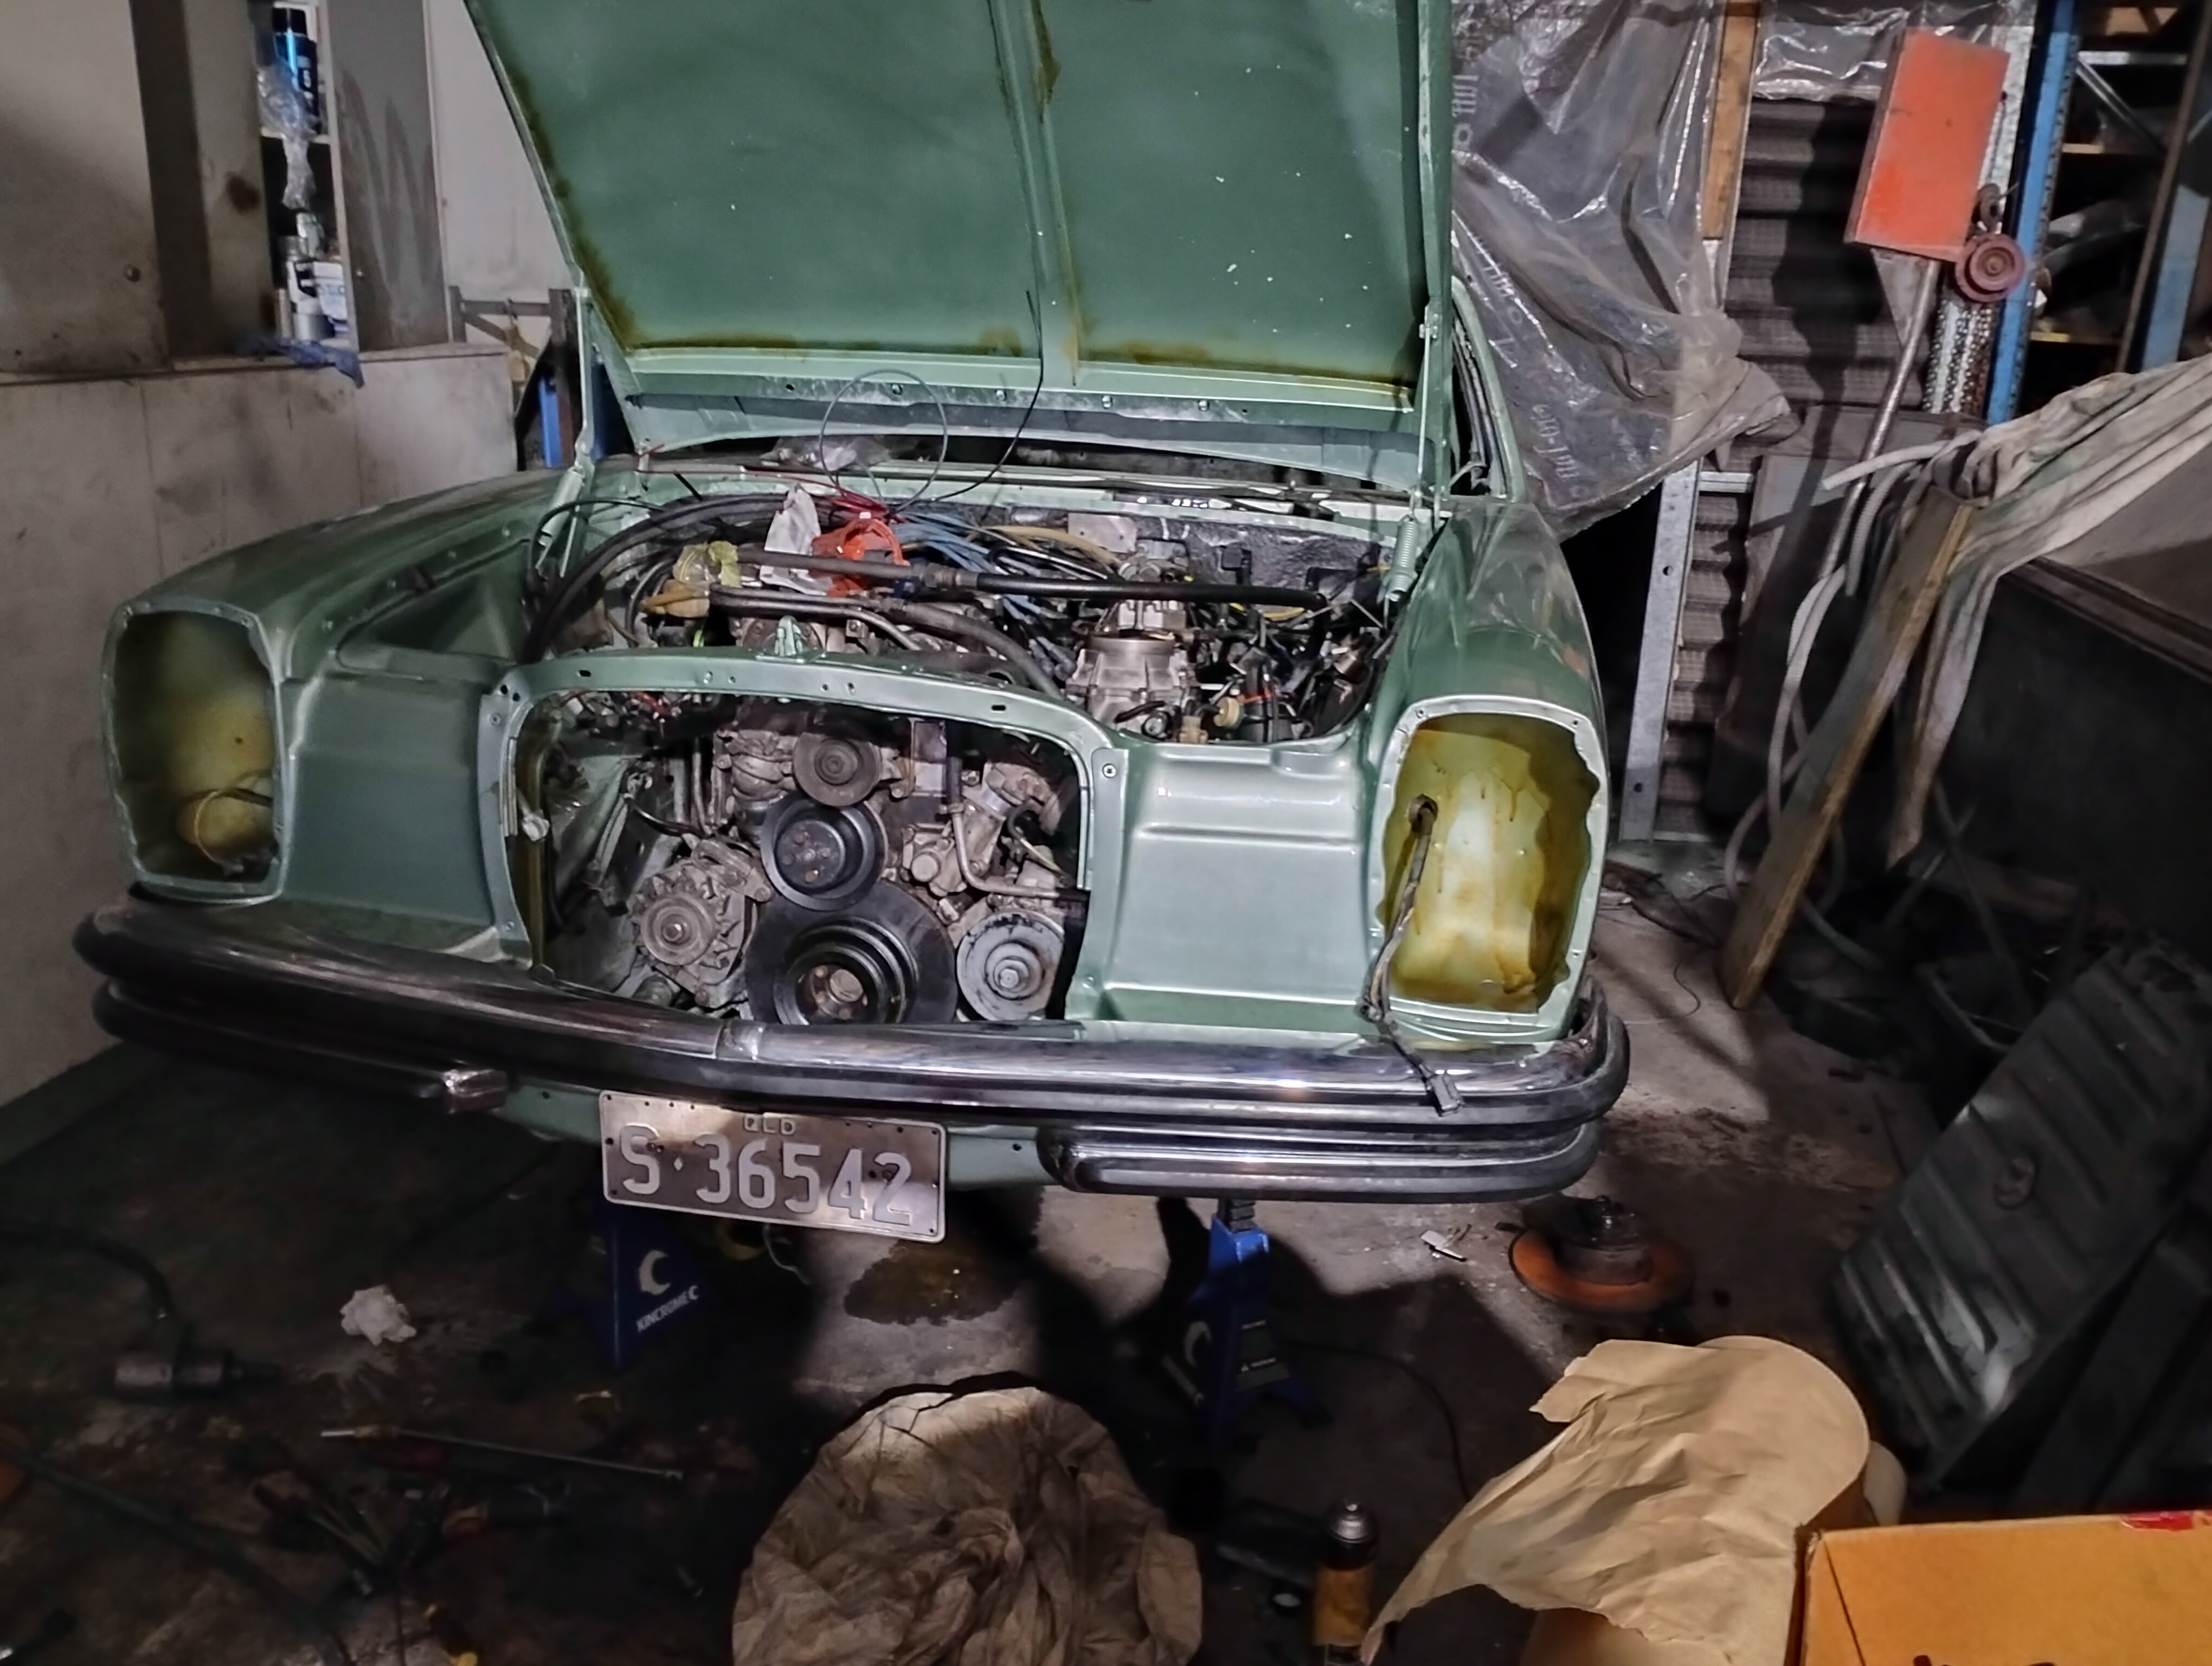
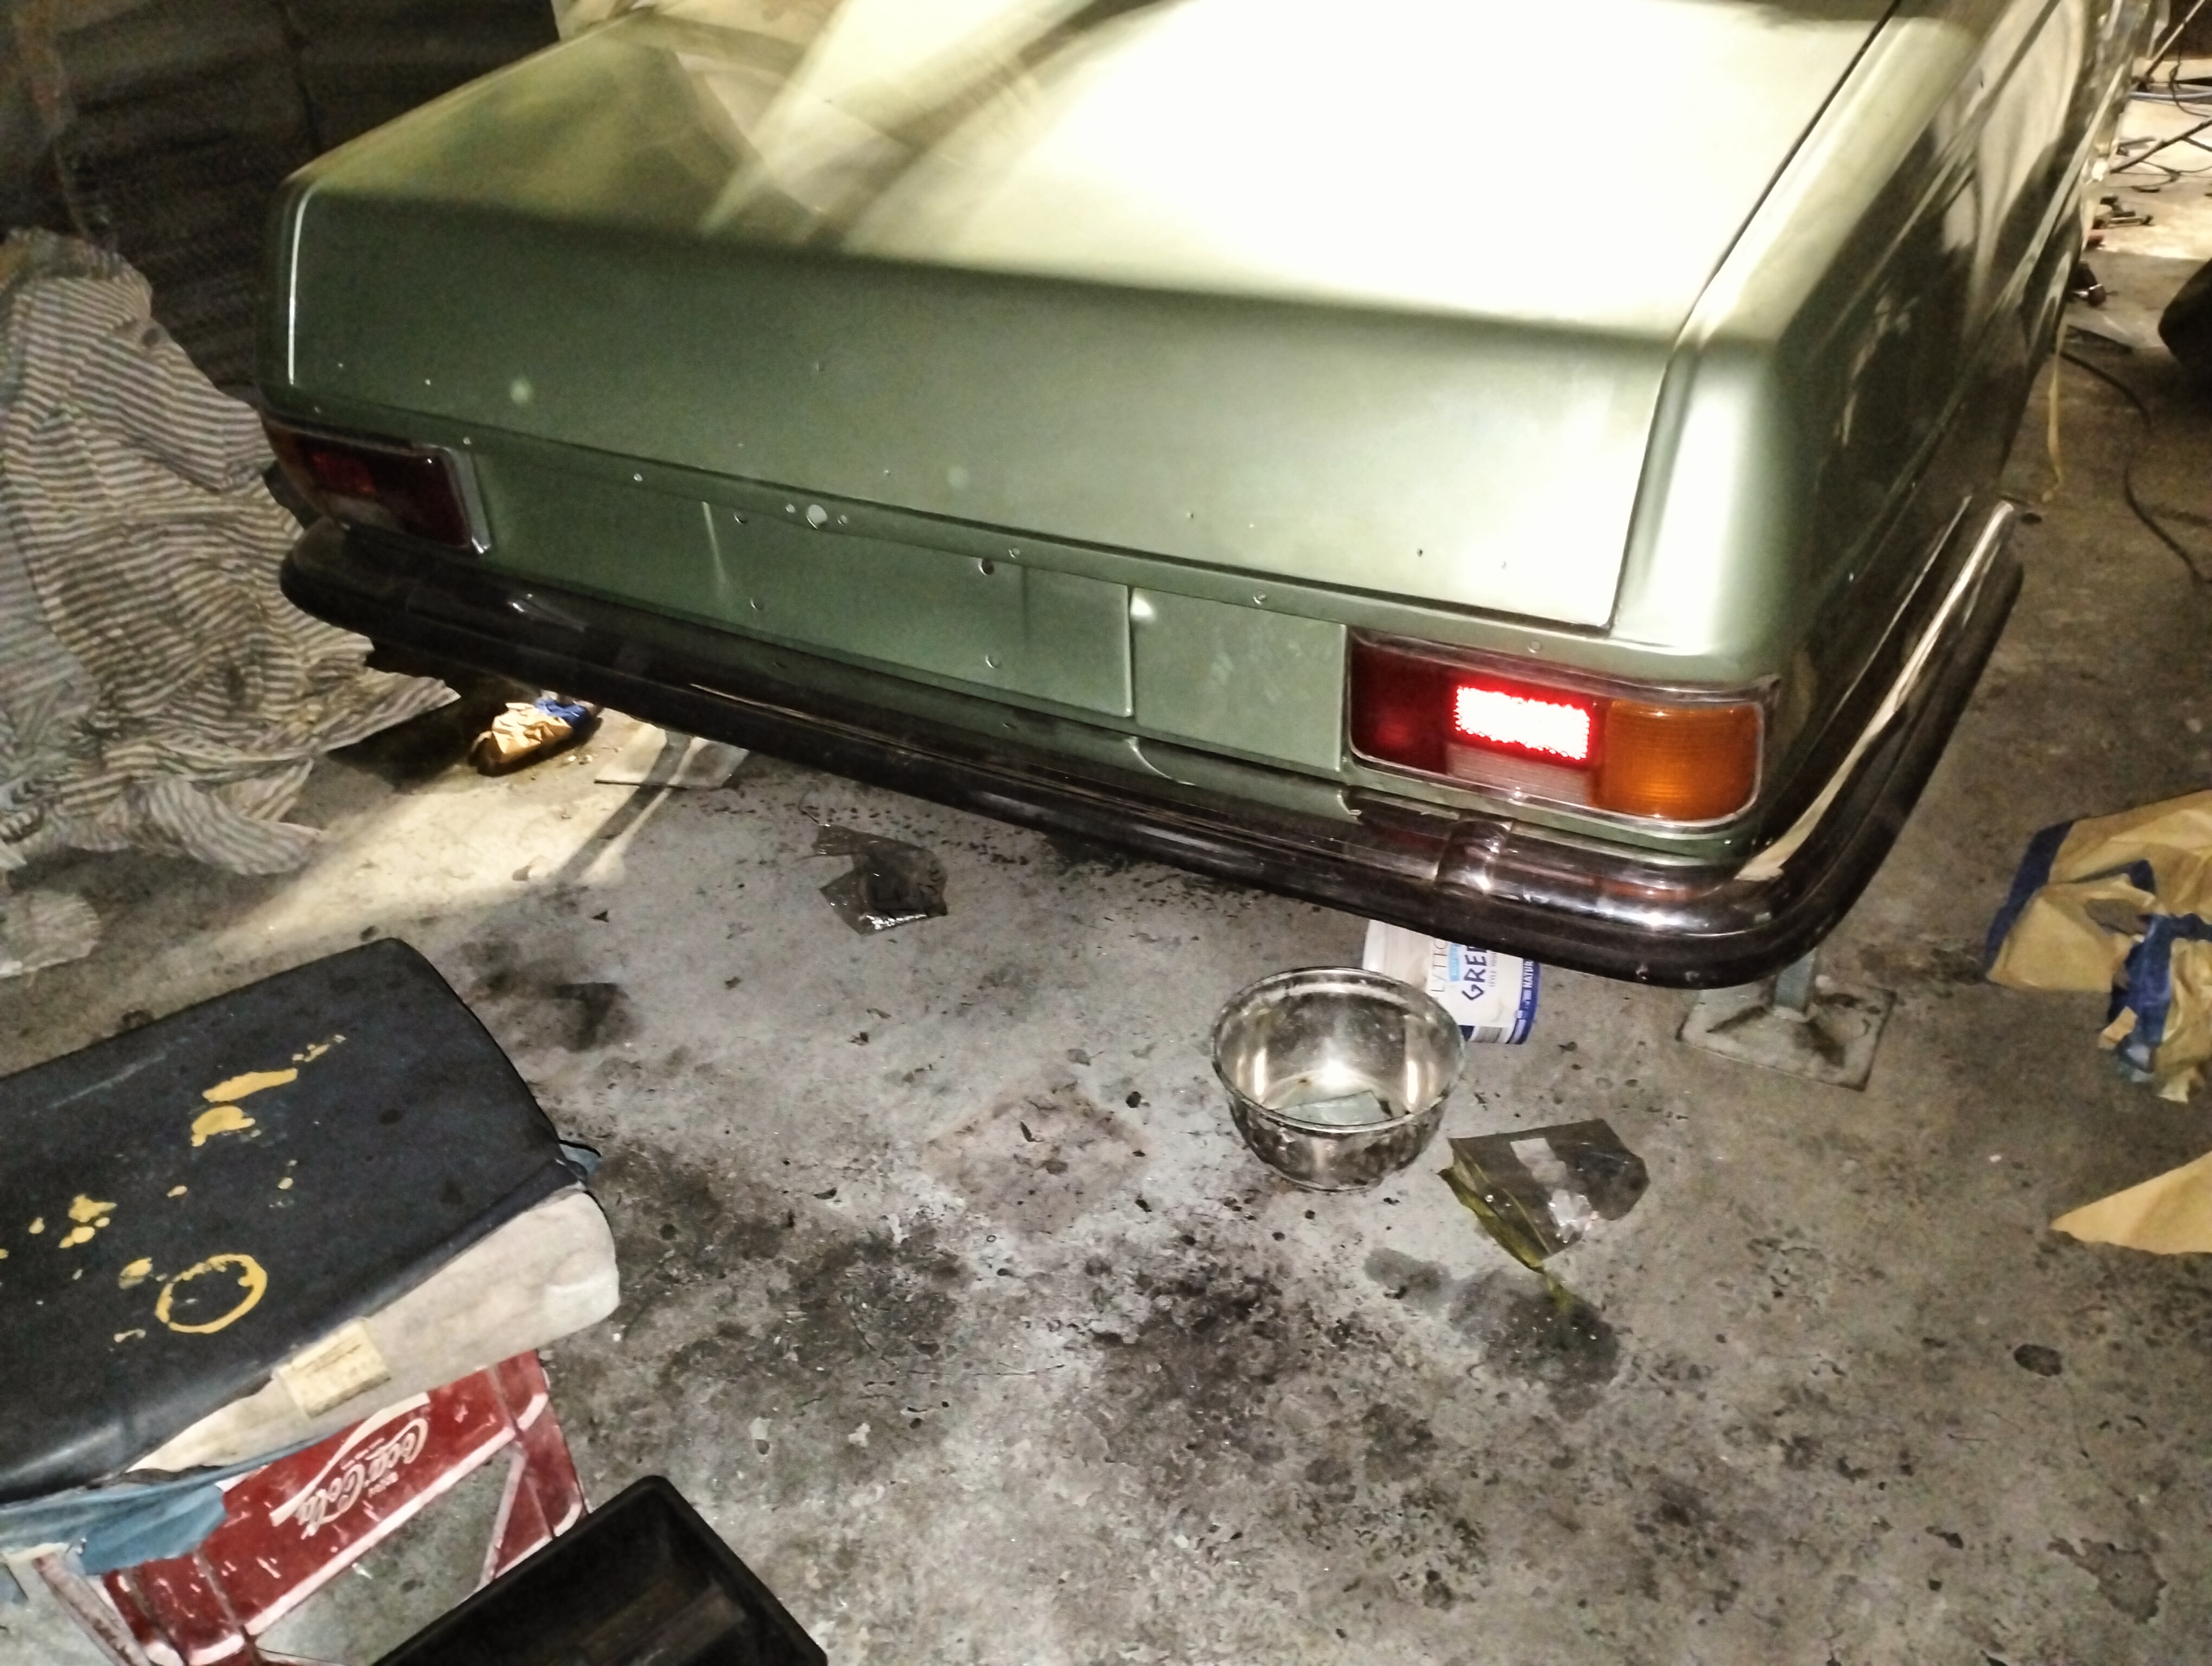
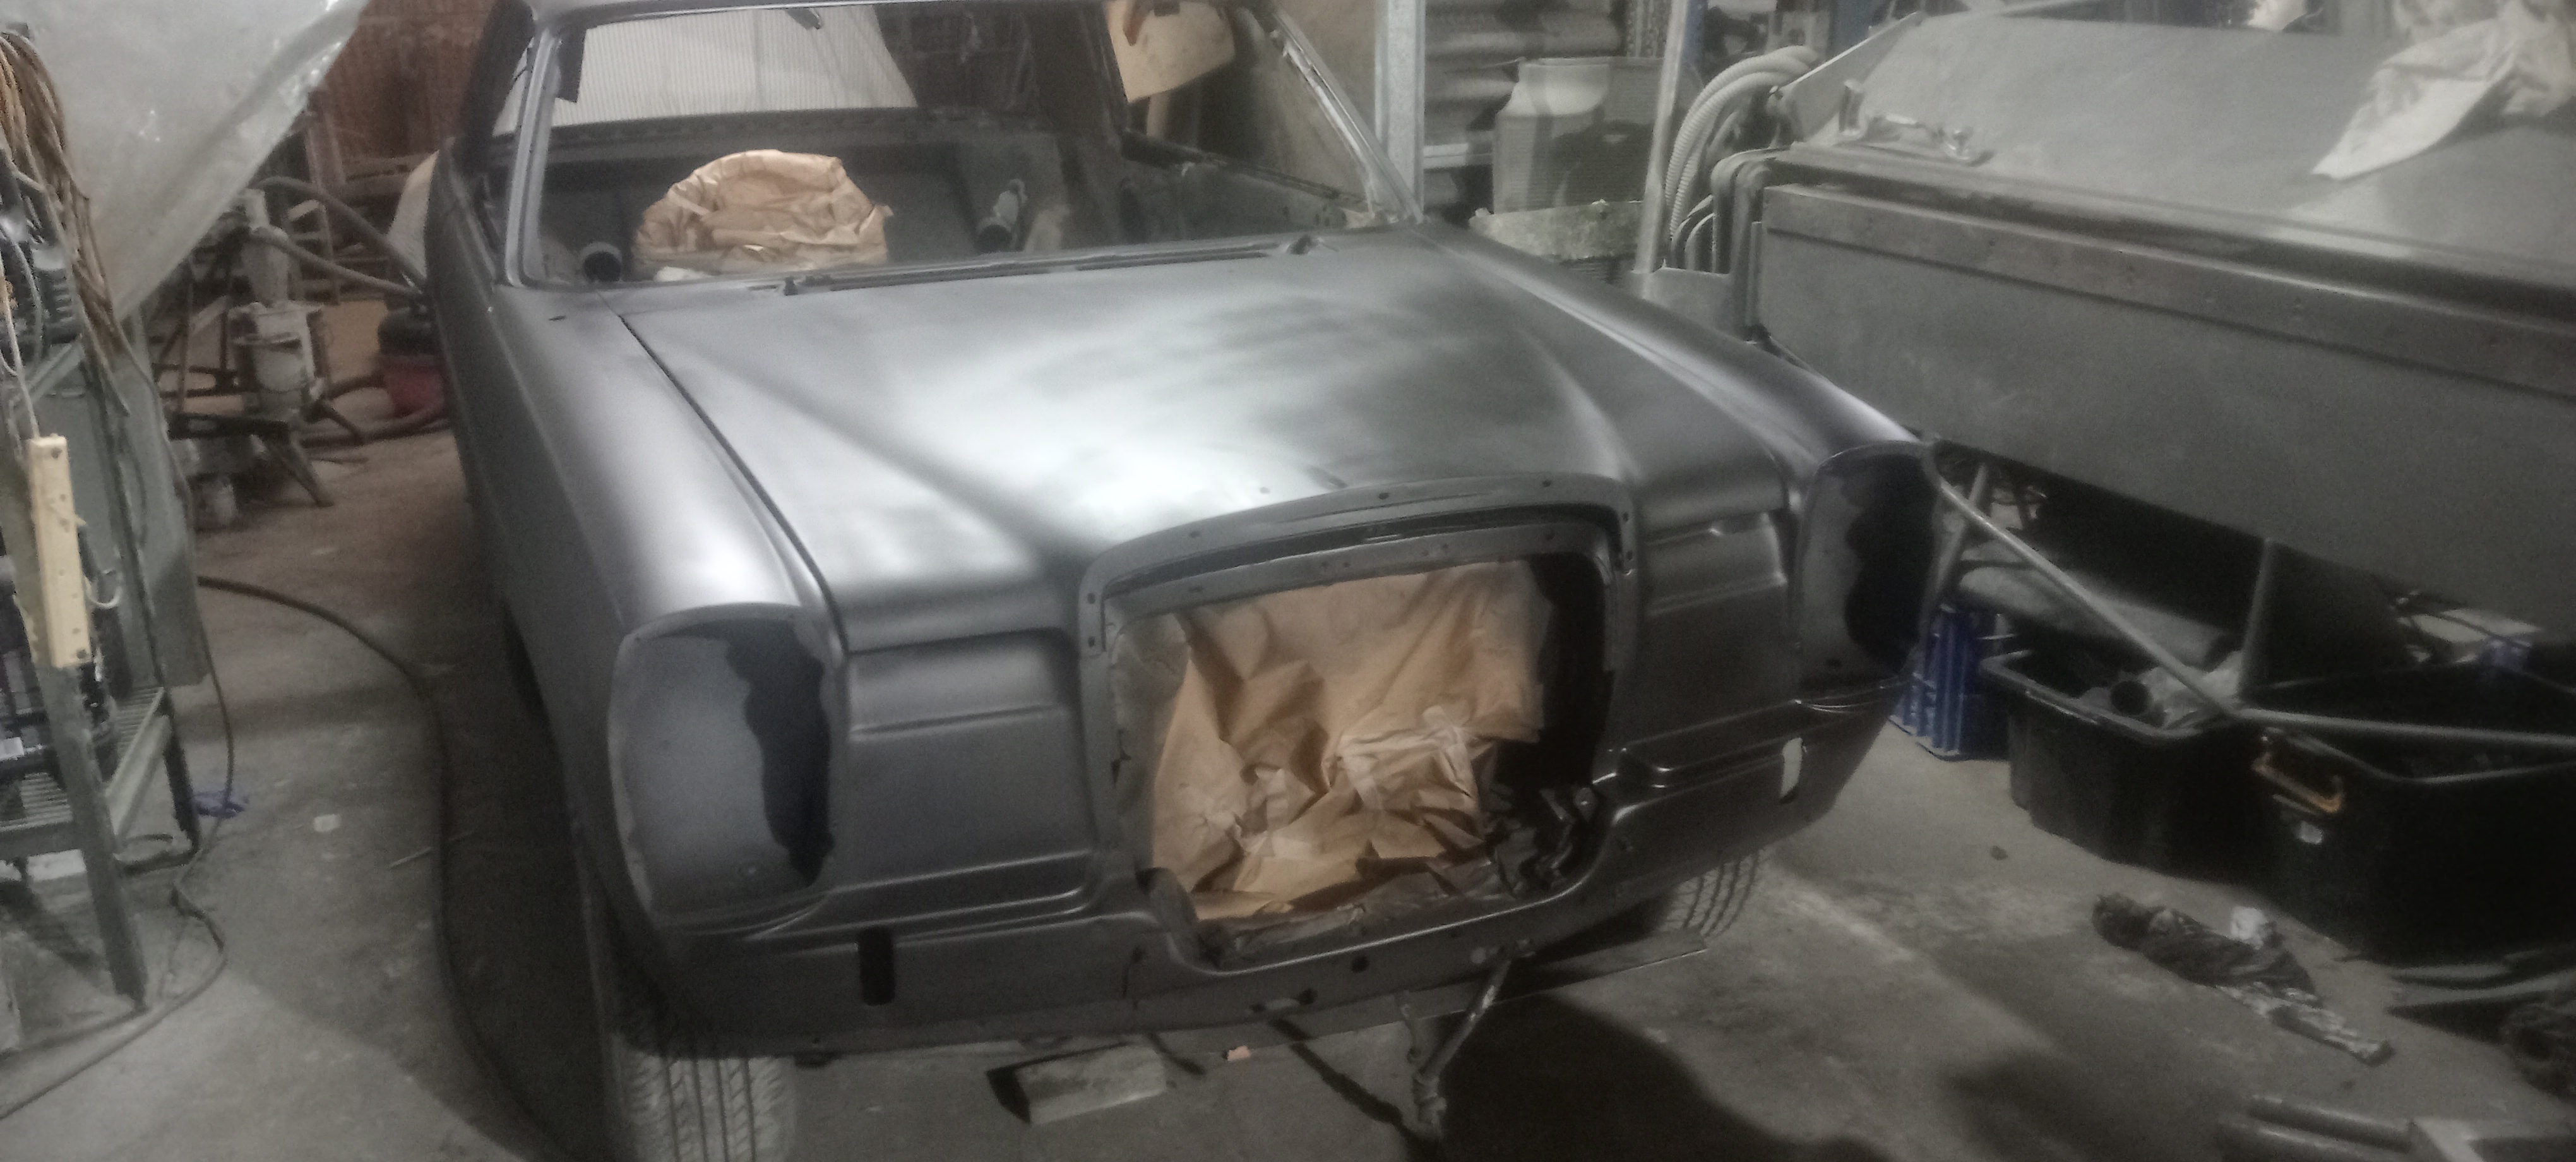
I fitted the front and rear bumpers and the headlight buckets are sealed with wax .The tail lights were replaced with better ones .
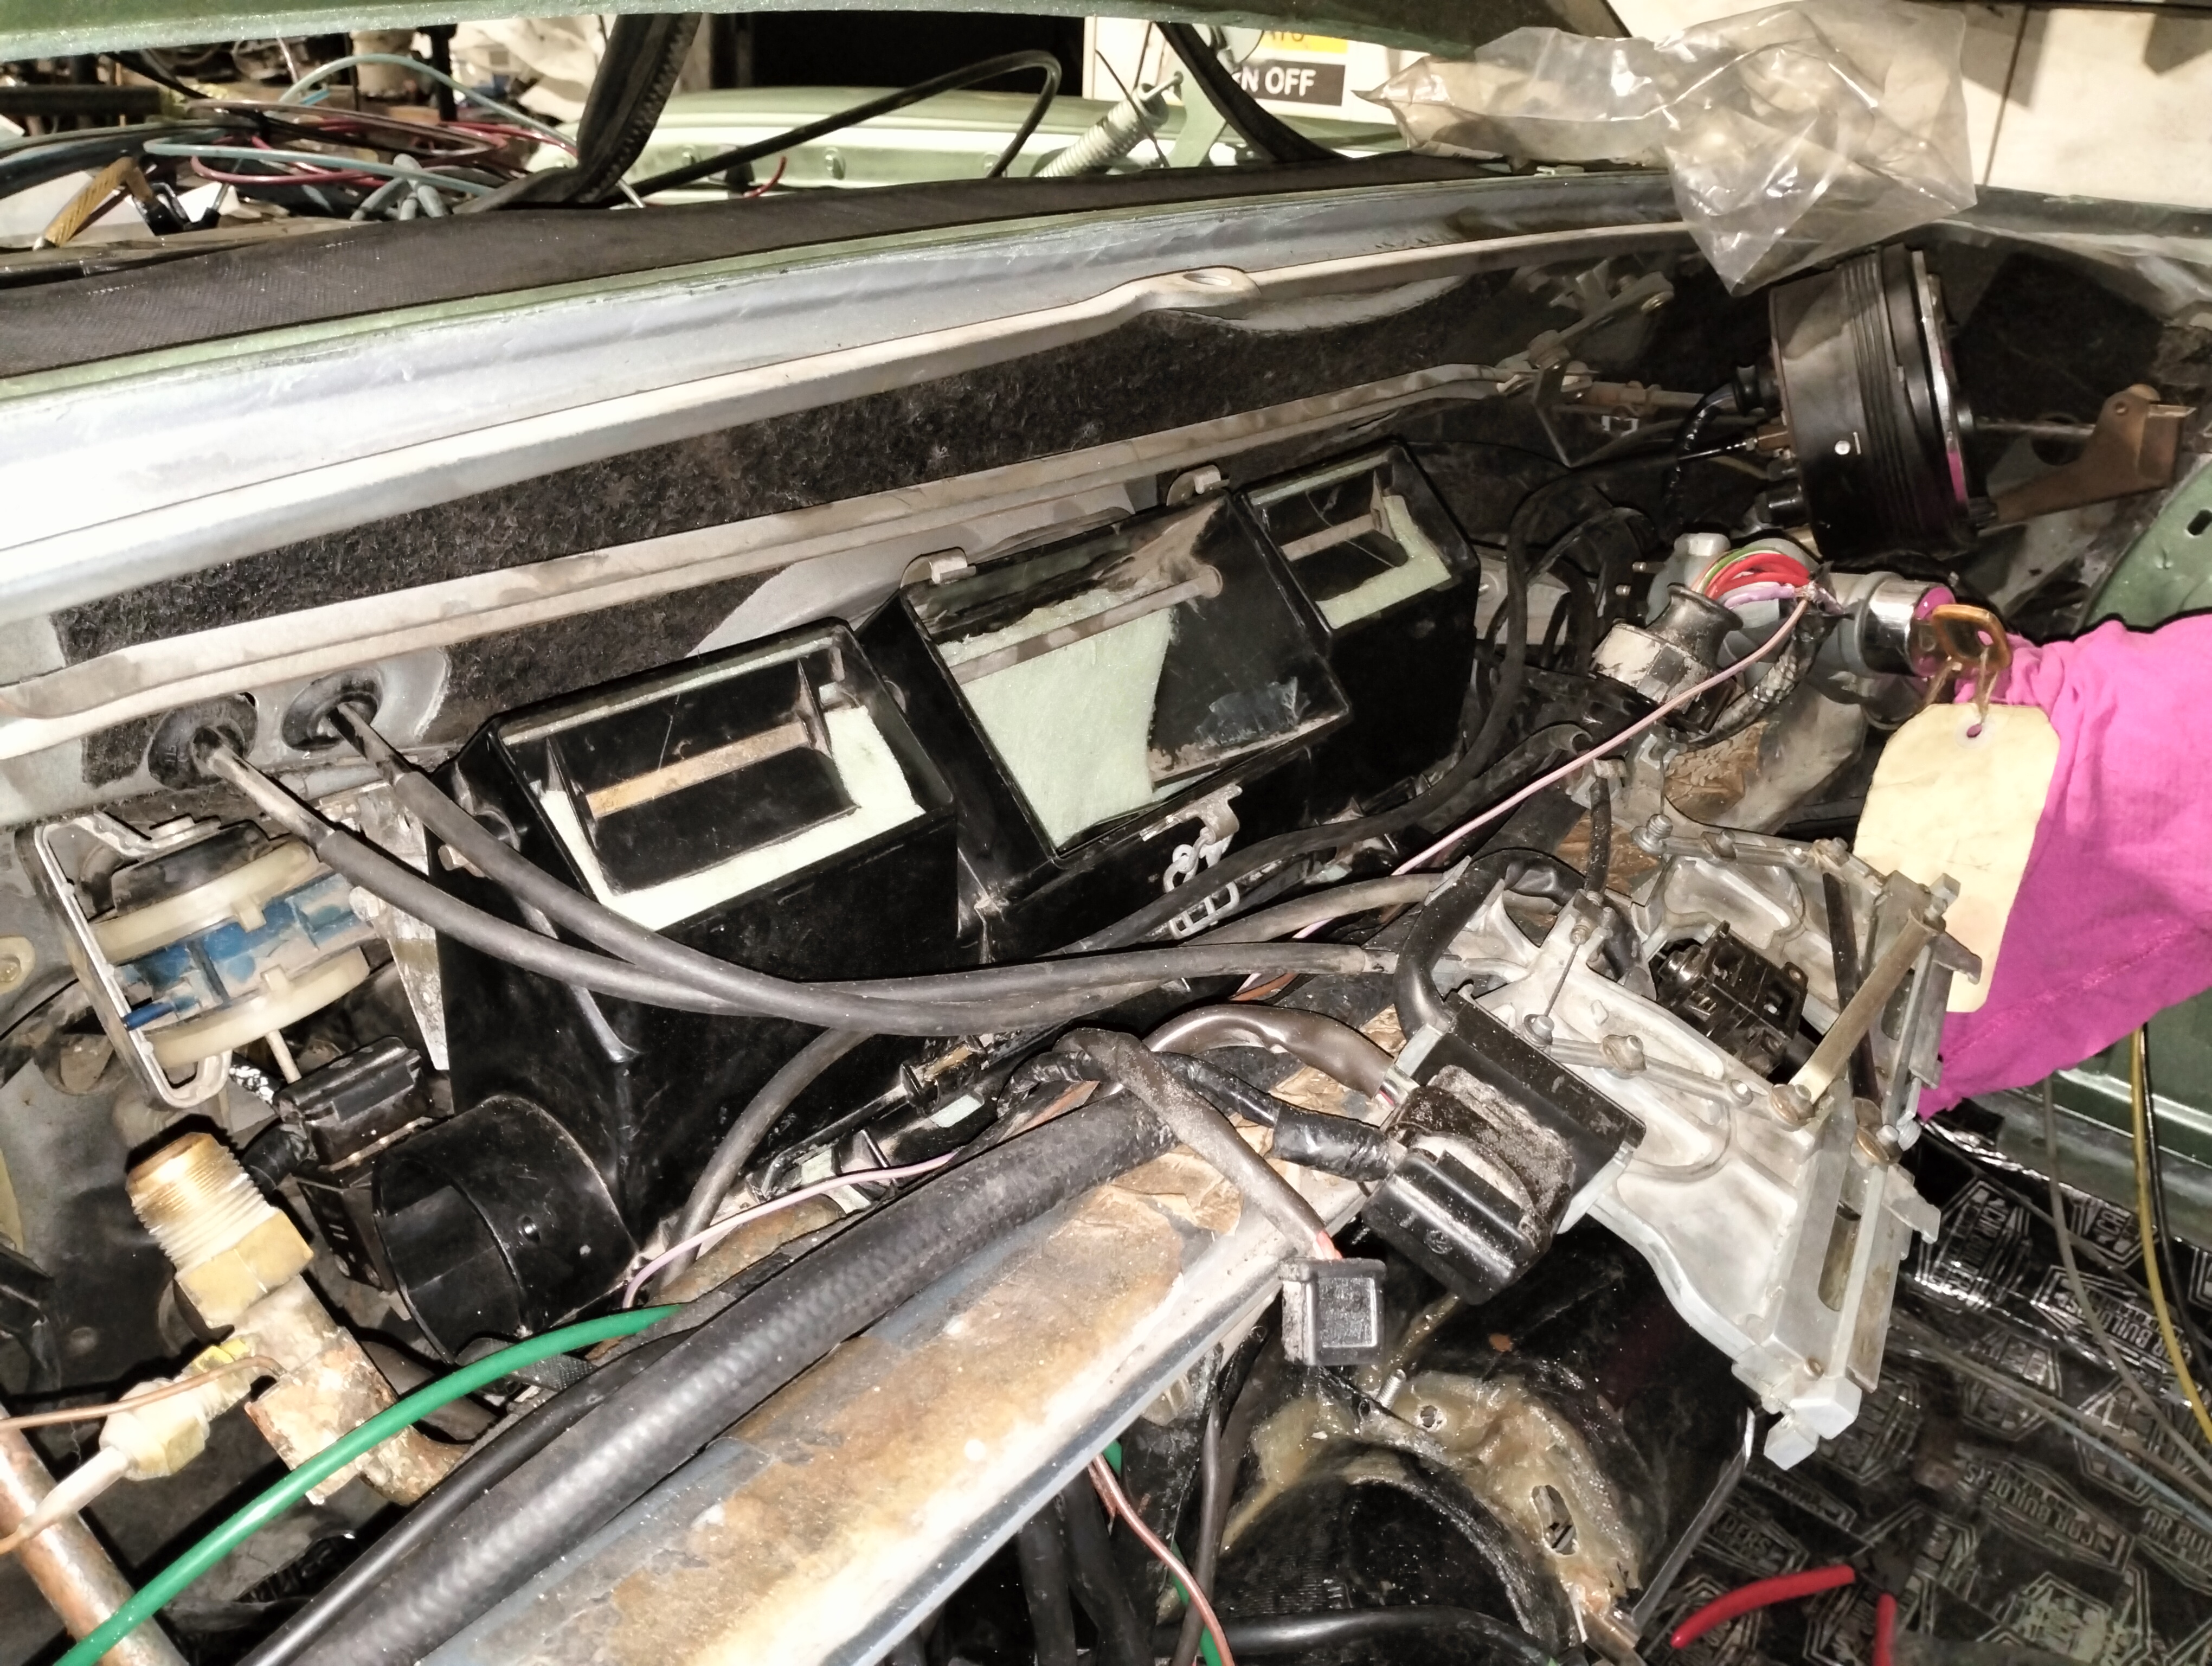
This is the under dash situation as i check every wire to make sure it’s all working properly before the dash is refitted. The demister/heater flaps all have new foam gaskets so they close off properly. The repaired fan motor mount is on the bottom right of the picture.
Here is the 1st layer of sound deadning in the passenger compartment. It’s also in the roof .
